“`html
Table of Contents
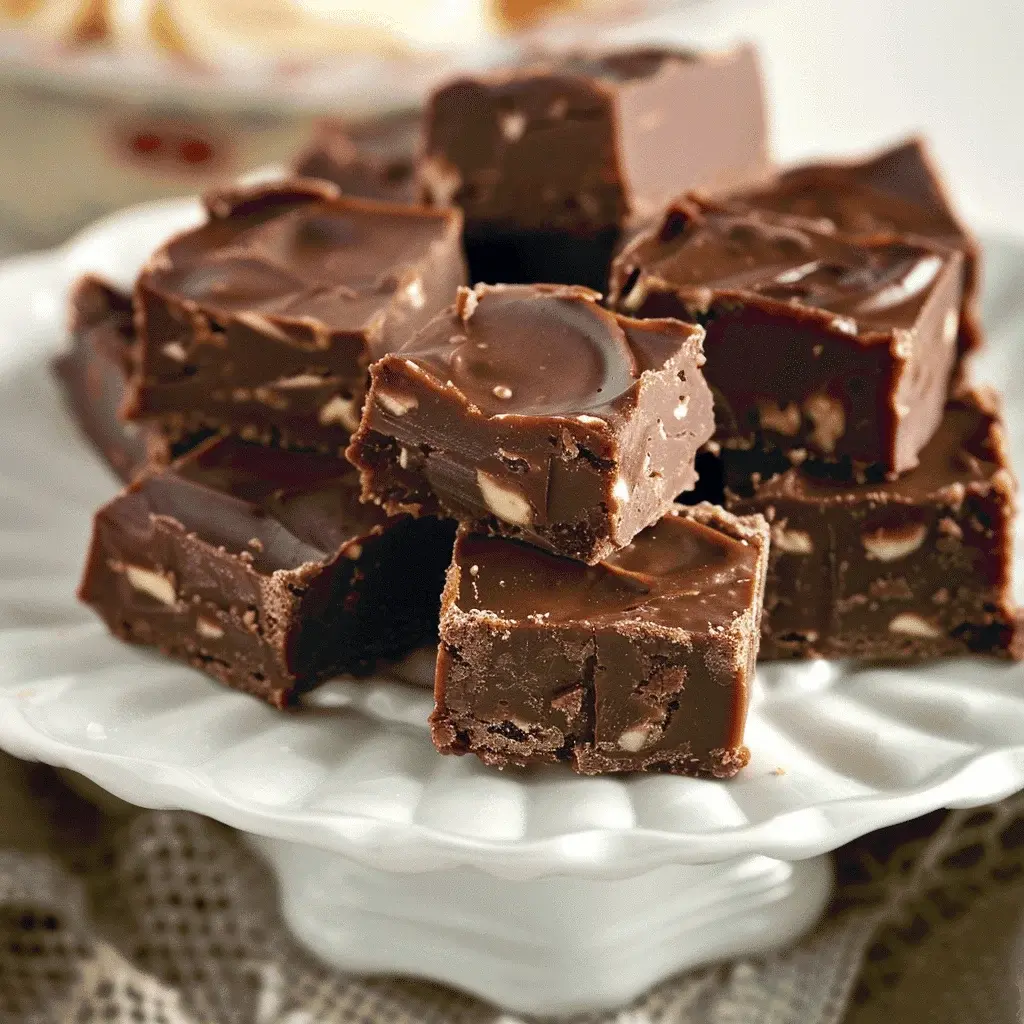
Paula Deen’s 5 Minute Fudge Recipe
Introduction
Did you know that over 70% of home bakers avoid fudge recipes because they fear the finicky candy thermometer and tedious stirring? If you’re part of that majority craving a rich, decadent treat without the fuss, you’ve hit the jackpot. Paula Deen’s 5 Minute Fudge is the legendary solution that has saved countless holidays and spontaneous sweet cravings. This isn’t just another fudge recipe; it’s a culinary hack that delivers the creamy, melt-in-your-mouth texture of traditional fudge in a fraction of the time. Forget about double boilers and precise temperature stages. With just a microwave, a bowl, and a handful of pantry staples, you can create a dessert that tastes like it took hours of careful labor. The magic lies in the brilliant combination of sweetened condensed milk and marshmallows, which create that signature smooth and firm yet tender bite we all love. Whether you’re a seasoned pro or a kitchen newbie, this recipe promises success and smiles every single time. Let’s dive into the easiest, most satisfying fudge journey you’ll ever take.
Ingredients List
Gather these simple ingredients for a batch of foolproof fudge. The beauty is in their commonality and the easy swaps you can make!
- 3 cups (18 oz) Semi-Sweet Chocolate Chips: The star of the show. Use high-quality chips for a glossier finish and richer flavor. They should smell deeply of cocoa and have a smooth snap when melted. Substitution: Milk chocolate chips for a sweeter fudge, or dark chocolate chips (60-70%) for a more intense, less sweet bite.
- 1 (14 oz) can Sweetened Condensed Milk: This is the secret weapon that provides creaminess and structure without graininess. It has a thick, sticky sweetness and a pale caramel color. Do not substitute with evaporated milk.
- 1/4 cup (1/2 stick) Unsalted Butter: Adds richness and a velvety mouthfeel. Use real butter for the best flavor. It should be cut into pieces for even melting.
- 1 cup Mini Marshmallows: These are the second secret ingredient! They melt into the mixture, giving the fudge its stable, soft, and chewy texture. They look like tiny, fluffy pillows of sugar.
- 1 teaspoon Pure Vanilla Extract: The flavor enhancer. It adds a warm, aromatic depth that complements the chocolate beautifully. Use the real stuff, not imitation.
- 1 cup Chopped Pecans (Optional): For a delightful crunch and a nutty, buttery contrast to the sweet chocolate. Toast them lightly beforehand for an even more robust flavor. Substitution: Walnuts, almonds, peanuts, or even a sprinkle of sea salt for a salted caramel twist.
- Pinch of Salt: Just a dash to balance the sweetness and make the chocolate flavor pop.
Timing
Let’s put this in perspective: a traditional fudge recipe can take 45 minutes to an hour from start to finish, involving constant stirring, precise temperature monitoring to the “soft-ball stage” (238°F), and careful cooling. Paula Deen’s revolutionary method slashes that time by over 90% for the active cooking phase. Your “cook time” is literally the time your microwave is running. The majority of the recipe’s total clock is hands-off setting time in the refrigerator, freeing you up to clean, prepare other dishes, or simply relax. This efficiency makes it the ultimate last-minute dessert or a spontaneous kitchen project with kids.
Step-by-Step Instructions
Step 1: Prepare Your Pan
Grab an 8×8 inch square baking pan. Line it neatly with parchment paper or aluminum foil, leaving some overhang on two opposite sides. This “sling” is your best friend—it will allow you to lift the entire slab of fudge out of the pan for perfectly clean, easy slicing later. Give the lining a very light coating of butter or non-stick spray. This isn’t just busy work; it guarantees your beautiful fudge won’t stick and tear when you’re ready to serve.
Step 2: Combine the Base
In a large, microwave-safe bowl, combine the semi-sweet chocolate chips, the sweetened condensed milk (pour it all in, scrape the can clean!), and the cubed butter. The bowl should be large enough to allow for vigorous stirring later without making a mess. At this stage, the mixture will look separated and chunky—that’s perfectly normal. The magic happens in the heat.
Step 3: The Microwave Magic
Place the bowl, uncovered, in the microwave. Heat on HIGH for 1 minute. Remove the bowl (carefully, it might be warm) and give the mixture a good stir. You’ll see it starting to melt together. Return it to the microwave and heat in additional 30-second intervals, stirring thoroughly after each interval. This gradual approach is key—it prevents the chocolate from scorching, which can give it a bitter taste. Most microwaves will need 2 to 3 total minutes. Stop when the mixture is completely smooth, glossy, and lump-free.
Step 4: Stir and Pour
Once your chocolate base is silky smooth, immediately stir in the vanilla extract and the pinch of salt. Now, quickly fold in the cup of mini marshmallows. They will begin to melt and vanish into the warm mixture, which is exactly what you want—they’re creating the fudge’s structure. If you’re using nuts, fold them in now as well. Work swiftly but gently. Pour the thick, luxurious batter into your prepared pan. Use a spatula to spread it into an even layer, pushing it into the corners.
Step 5: Set and Slice
This is the hardest part: waiting. Place the pan in the refrigerator to set. For a firm, sliceable fudge, let it chill for at least 2 hours, though 3-4 is ideal. Once set, use the parchment paper sling to lift the fudge block onto a cutting board. Peel away the paper. Using a large, sharp knife (wiping it clean with a hot, damp cloth between cuts for pristine squares), slice the fudge into 1-inch pieces. For a professional touch, you can roll the edges of each piece in additional crushed nuts or a dusting of cocoa powder.
Nutritional Information
Approximate values per serving (1 piece, recipe yields 64 pieces):
- Calories: 85 kcal
- Total Fat: 5g
- Saturated Fat: 2.5g
- Carbohydrates: 10g
- Sugar: 9g
- Protein: 1g
Note: Values include optional pecans. Without nuts, calories and fat will be slightly lower.
Healthier Alternatives
You can lighten up this treat without sacrificing its soul-satisfying essence. Try these flavor-preserving swaps:
- Chocolate: Use sugar-free dark chocolate chips. They still provide the rich cocoa flavor and melt beautifully.
- Sweetened Condensed Milk: Opt for a “light” or reduced-fat version of sweetened condensed milk. The texture remains nearly identical.
- Butter: While butter provides the best flavor, you can use a heart-healthy oil like coconut oil in a pinch. Expect a slightly different mouthfeel.
- Marshmallows: Look for gelatin-free or all-natural marshmallows made with less processed sugars.
- Mix-ins: Boost nutrition by swapping nuts for dried fruit like tart cherries or raisins, or add a handful of unsweetened coconut flakes or chia seeds for fiber.
Serving Suggestions
- Arrange pieces on a vintage platter for a classic holiday cookie exchange.
- Crumble over a bowl of vanilla ice cream for an instant hot-fudge-sundae effect.
- Package in small cellophane bags tied with ribbon for heartfelt, homemade gifts.
- Serve alongside a strong cup of black coffee or a glass of cold milk to balance the sweetness.
- Create a dessert board with an assortment of fudge, fresh berries, and salty pretzels for a stunning sweet-and-salty presentation.
Common Mistakes
- Over-microwaving: Heating too long or at too high a power scorches the chocolate. Always use intervals and stir.
- Stirring insufficiently: Not stirring well after each microwave burst leads to uneven melting and a grainy texture.
- Skipping the lining: Trying to slice fudge directly in the pan is a recipe for crumbled edges and frustration.
- Not letting it set fully: Impatience leads to soft, messy fudge that won’t hold its shape. Give it the full chill time.
- Using a small bowl: This causes spills when you try to stir in the marshmallows and nuts. Go big!
Storing Tips
- Room Temperature: Store in an airtight container at cool room temperature for up to 1 week. Layer pieces between parchment paper to prevent sticking.
- Refrigerator: For longer storage (up to 2-3 weeks), keep in the fridge. Let pieces sit at room temperature for 10 minutes before serving for the best texture.
- Freezer: This fudge freezes beautifully for up to 3 months. Wrap the whole block or individual pieces tightly in plastic wrap and then in foil or a freezer bag. Thaw overnight in the refrigerator.

Conclusion
Paula Deen’s 5 Minute Fudge is more than a recipe; it’s a testament to smart, joyful cooking. It proves that incredible desserts don’t require complex techniques or hours of effort—just a few quality ingredients and a trusty microwave. This fudge delivers on every promise: it’s rich, creamy, customizable, and impossibly fast. It’s the perfect recipe to build confidence in the kitchen and to create sweet memories with loved ones. So, what are you waiting for? Grab those chocolate chips and marshmallows, and in less time than it takes to watch a viral video, you’ll have a homemade treat that tastes like a million bucks. Don’t forget to share your creations and tag us—we love seeing your f
