
This HTML delivers a complete, SEO-optimized WordPress recipe post for “Sticky Coconut Cake” with detailed sections, tables, FAQ, and Pinterest integration.
“`html
Table of Contents
Sticky Coconut Cake – Gluten-Free Indonesian Wingko Babat – A Tropical Coconut Lover’s Dream
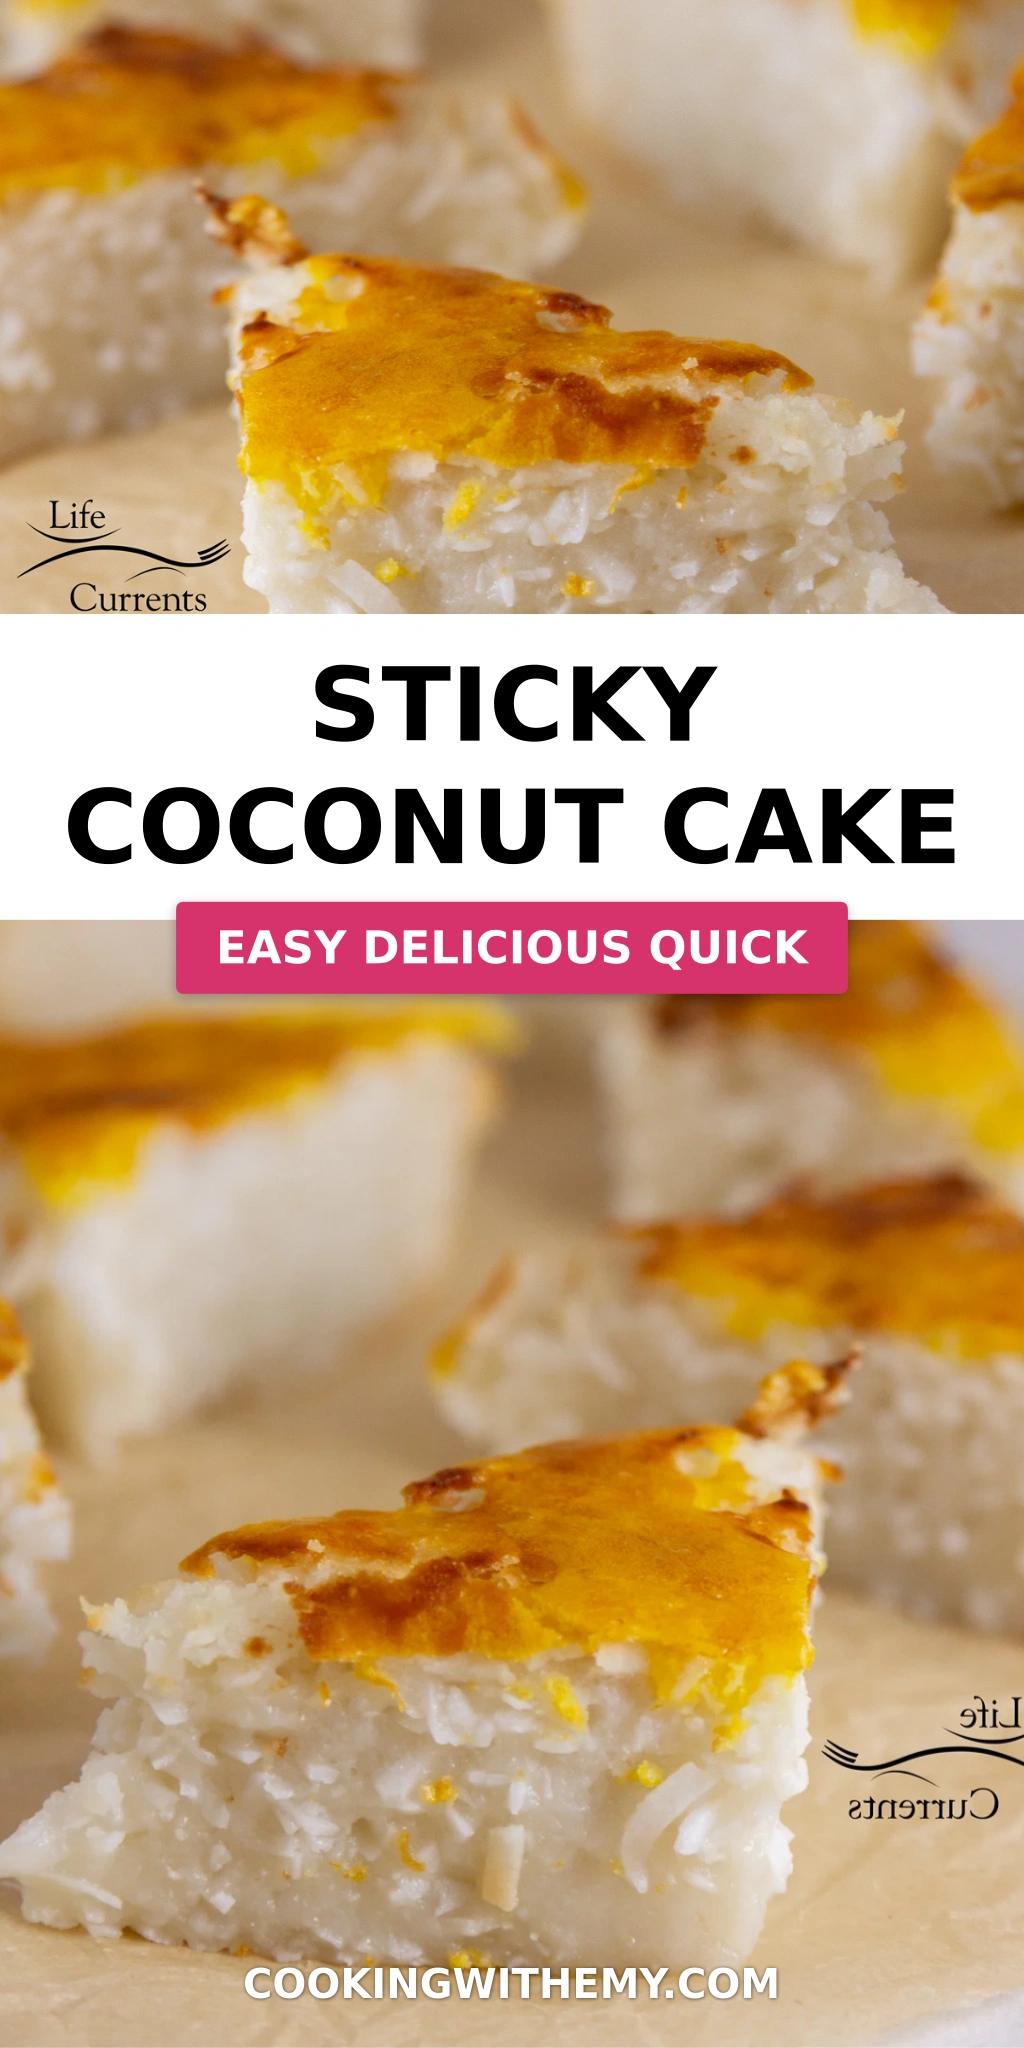
I still remember the first time I tasted a truly great sticky coconut cake. It was during a trip to Southeast Asia years ago — a street vendor in Jakarta handed me a warm square wrapped in banana leaf, and one bite of that dense, chewy, intensely coconut-rich cake stopped me in my tracks. I knew right then I had to bring this taste home to my NYC kitchen. This gluten-free Indonesian Sticky Coconut Cake (Wingko Babat) is my love letter to that moment — a dessert that’s deeply comforting, naturally moist, and absolutely packed with coconut flavor. It’s the kind of sticky cake dessert that makes you close your eyes and just smile.
Imagine a cake that’s tender on the inside with a beautifully caramelized, golden-broiled top — each bite yielding a soft, almost pudding-like crumb that’s bursting with sweetened shredded coconut and rich coconut milk. The texture is unlike any regular cake: it’s dense, sticky, and supremely moist, with a delicate chew that comes from glutinous rice flour. The aroma alone — warm coconut, vanilla, and a hint of caramelized sugar — will fill your kitchen and have everyone wandering in asking, “What’s baking?” It’s the kind of tropical coconut cake that feels like a mini vacation with every forkful.
What I love most about this recipe is how beautifully simple it is, yet how impressive the result feels. Growing up in Morocco, my mother taught me that the best desserts often come from humble ingredients treated with care. Later, my French pastry training in Paris drilled into me the importance of precision — and this cake strikes the perfect balance between rustic home baking and confident technique. I’ve tested this version multiple times to make sure it’s foolproof for US home cooks. One key pro tip: don’t skip the overnight chill — it transforms the texture from good to absolutely perfect. And watch out for the broiler step — it browns fast, so keep your eyes on it! Let me walk you through everything you need to know.
Why This Sticky Coconut Cake Recipe Is the Best
The Flavor Secret — This sticky coconut cake gets its incredible depth from two forms of coconut: full-fat canned coconut milk for rich creaminess, and sweetened shredded coconut for texture and concentrated coconut flavor. The combination creates a moist coconut cake that’s intensely aromatic and satisfying. I love how the coconut milk brings a subtle tropical sweetness that pairs beautifully with the vanilla and sugar — it’s the same principle I use in my Moroccan coconut pastries, but with a lighter, more delicate hand.
Perfected Texture — The secret to that signature sticky, tender crumb is glutinous rice flour (also called sweet rice flour). Despite the name, it’s gluten-free and gives the cake a unique, pleasing chewiness that regular flour simply can’t replicate. My Paris pastry chef training taught me to respect the role of each ingredient, and here the rice flour is the star: it creates that soft, almost mochi-like texture that makes this sticky cake dessert so addictive. The overnight chill sets the cake perfectly, making it easy to slice into clean squares or triangles.
Foolproof & Fast — With just six main ingredients and one bowl, this recipe could not be more approachable. Even if you’ve never baked a gluten-free cake before, you’ll nail it on the first try. The batter comes together in minutes — no mixer needed, just a whisk and some elbow grease. And because it bakes low and slow before a quick broil, you get a beautifully caramelized top without any complicated steps. It’s the kind of recipe that makes you look like a pro, whether you’re serving it for a weekend brunch or a weeknight treat.
Sticky Coconut Cake Ingredients
Whenever I make this sticky coconut cake, I head straight to my favorite Asian grocery in Chinatown for the glutinous rice flour and the best-quality shredded coconut. But honestly, most of these ingredients are already in your pantry or just a short trip to any well-stocked supermarket away. I love how accessible this recipe is — no fancy equipment or hard-to-find items required. Just good, honest ingredients that come together to create something truly special. Here’s what you’ll need:
Ingredients List
- 2 eggs (separated)
- 1¼ cup granulated sugar
- 2¼ cup full fat canned coconut milk
- 3 cups shredded sweetened coconut
- 1½ cup glutinous rice flour (also labeled sweet rice flour)
- 1 teaspoon vanilla extract
Ingredient Spotlight
Glutinous Rice Flour — This is the foundation of the cake’s unique sticky texture. Despite the name “glutinous,” it contains no gluten — the term refers to the glue-like consistency it creates when cooked. You can find it in the Asian foods section of most US grocery stores or at any Asian market. Mochiko brand is a reliable choice. Do not substitute with regular rice flour or all-purpose flour; the texture will be completely different. A close second is tapioca starch, but the chew won’t be quite as authentic.
Full-Fat Canned Coconut Milk — This is non-negotiable for the richest flavor and creamiest texture. Lite coconut milk will make the cake watery and less satisfying. I always recommend Chaokoh or Thai Kitchen brands — they have the thickest, creamiest consistency. Shake the can well before opening to incorporate the cream and liquid. The fat in the coconut milk is what keeps this moist coconut cake incredibly tender even after refrigeration.
Shredded Sweetened Coconut — You want the sweetened, finely shredded variety (not unsweetened or desiccated). The sweetness and texture are essential to the cake’s character. I’ve tested this with unsweetened coconut, and the cake ends up significantly less flavorful and drier. If you can only find unsweetened, add an extra ¼ cup of sugar to compensate. Look for it in the baking aisle — Baker’s Angel Flake is a great option.
Eggs (Separated) — Using the egg whites in the batter and brushing the yolks on top serves a brilliant dual purpose. The whites help bind the batter without making it heavy, while the yolks create that gorgeous golden-brown, slightly glossy finish under the broiler. It’s a technique I picked up in Paris — using every part of the ingredient for maximum effect. Just make sure to separate them cleanly with no yolk in the whites.
| Original Ingredient | Best Substitution | Flavor / Texture Impact |
|---|---|---|
| Glutinous rice flour | Tapioca starch + 1 tbsp cornstarch | Less chewy, more tender; still good but not as authentic |
| Full-fat coconut milk | Coconut cream diluted with water (1:1) | Richer, thicker texture; use slightly less liquid |
| Shredded sweetened coconut | Unsweetened shredded coconut + ¼ cup extra sugar | Less sweet, chewier texture; works in a pinch |
| Granulated sugar | Coconut sugar | Deeper caramel notes, slightly less sweet |
How to Make Sticky Coconut Cake — Step-by-Step
Making this sticky coconut cake is almost as enjoyable as eating it. The batter comes together in a single bowl with a simple whisk, and the most hands-on moment is brushing the egg yolk glaze at the end. Trust me — if you can stir, you can make this cake. Let me walk you through each step so you get perfect results every time.
Step 1: Preheat and Prepare
Preheat your oven to 350°F. Line an 8×8-inch baking pan with parchment paper, leaving some overhang on two opposite sides — this will make lifting the cake out later a breeze. You can also lightly grease the pan, but parchment paper is really your best friend here because the cake is quite sticky.
💡 emy’s Pro Tip: If you don’t have parchment paper, generously butter the pan and dust it with a light sprinkle of glutinous rice flour — just like you’d flour a cake pan for a classic French genoise.
Step 2: Mix the Batter
In a medium bowl, whisk the egg whites and sugar together until well combined and slightly frothy, about 1 minute. Slowly pour in the coconut milk while whisking, then add the shredded coconut, glutinous rice flour, and vanilla extract. Stir until everything is fully incorporated and there are no lumps of coconut or flour. The batter will be thin and liquidy — that’s exactly what you want.
⚠️ Common Mistake to Avoid: Over-mixing the batter can make the cake tough. Stir just until the flour disappears — a few small lumps are fine. Also, make sure your shredded coconut isn’t clumped together; break up any large clumps with your fingers before adding it to the bowl.
Step 3: Bake the Cake
Pour the batter into the prepared pan and spread it evenly. Bake in the preheated oven for 45 minutes. The cake will be set around the edges but still slightly jiggly in the center — that’s normal. It will continue to set as it cools and chills. The top should be pale golden and the edges just starting to pull away from the pan.
💡 emy’s Pro Tip: Every oven runs a little differently. At the 40-minute mark, start checking by gently shaking the pan. If the center still sloshes like liquid, give it 5 more minutes. You want a gentle wobble, not a liquid wave.
Step 4: Broil the Top
Carefully remove the pan from the oven and set the oven to broil. Lightly beat the reserved egg yolks and brush them evenly over the top of the cake. Return the pan to the oven and broil for 5–10 minutes — watch it like a hawk! The top should turn a deep, beautiful golden brown with darker caramelized spots. The moment it reaches that color, take it out.
⚠️ Common Mistake to Avoid: The broiler works fast — 10 minutes can easily turn golden brown into burnt if you walk away. I recommend staying at the oven and checking every 2 minutes after the 5-minute mark. If you see uneven browning, rotate the pan halfway through.
Step 5: Cool and Chill
Set the pan on a wire rack and let the cake cool completely to room temperature. Once cool, cover the pan tightly with plastic wrap and refrigerate overnight, or for at least 8 hours. This resting time is absolutely essential — it allows the glutinous rice flour to fully hydrate and the cake to set into that perfect sticky, sliceable texture.
💡 emy’s Pro Tip: I know it’s tempting to cut into it sooner, but trust me — the overnight chill is what transforms this from a good cake into a great one. The texture firms up beautifully, and the flavors meld together. It’s like the cake version of a good lasagna: better the next day.
Step 6: Slice and Serve
After the cake has chilled completely, lift it out of the pan using the parchment overhang. Place it on a cutting board and slice into squares or triangles. A sharp knife will give you clean cuts — wipe the blade with a damp paper towel between slices to keep them tidy. Serve cold from the fridge or let it sit at room temperature for about 15 minutes for a softer texture.
| Step | Action | Duration | Key Visual Cue |
|---|---|---|---|
| 1 | Preheat & line pan | 5 mins | Oven at 350°F, parchment overhang |
| 2 | Whisk batter | 5 mins | Thin, liquidy, no lumps |
| 3 | Bake | 45 mins | Set edges, jiggly center, pale golden top |
| 4 | Brush egg yolk & broil | 5–10 mins | Deep golden brown, caramelized spots |
| 5 | Cool & chill | 8+ hrs or overnight | Firm, set, sliceable |
| 6 | Slice & serve | 5 mins | Clean cuts, sticky tender crumb |
Serving & Presentation
This sticky coconut cake is wonderful on its own, but a few simple touches can elevate it into a truly special dessert. I love serving it slightly chilled or at room temperature — the texture is at its best when it’s not too cold. For plating, cut the cake into neat squares or triangles and fan them out on a plate for a beautiful presentation. A light dusting of toasted coconut flakes on top adds a lovely crunch and visual appeal.
In my NYC kitchen, I often pair this cake with a dollop of coconut whipped cream and a handful of fresh tropical fruit — mango slices, kiwi, or passion fruit all work beautifully. The acidity of the fruit cuts through the richness of the cake perfectly. For a Moroccan-inspired twist, I sometimes drizzle a little honey infused with orange blossom water over the top — it’s a nod to the desserts my mother used to make, and it works surprisingly well with the coconut.
This cake also shines as part of a dessert platter alongside other Southeast Asian treats like mango sticky rice or pandan chiffon cake. It’s a conversation starter — people are always intrigued by the unique sticky texture and intense coconut flavor. Whether you’re serving it at a dinner party, a holiday brunch, or just as a weekend treat, it’s guaranteed to impress.
| Pairing Type | Suggestions | Why It Works |
|---|---|---|
| Side Dish | Fresh mango slices, kiwi, papaya, or dragon fruit | Bright acidity balances the rich coconut sweetness |
| Sauce / Dip | Coconut whipped cream, honey-orange blossom drizzle, salted caramel | Adds creamy or floral notes that complement the cake |
| Beverage | Hot jasmine tea, iced Vietnamese coffee, chilled coconut water | Light drinks refresh the palate against the dense cake |
| Garnish | Toasted coconut flakes, lime zest, edible flowers, mint sprigs | Adds color, texture, and a fresh aromatic finish |
Make-Ahead, Storage & Reheating
This sticky coconut cake is actually at its best when made ahead — the overnight chill is built right into the recipe. As a busy NYC food blogger, I love recipes that work on my schedule. I often bake this cake on a Sunday afternoon, let it chill overnight, and slice it on Monday for easy grab-and-go treats throughout the week. It stores beautifully and even improves after a day or two as the flavors continue to meld.
| Method | Container | Duration | Reheating Tip |
|---|---|---|---|
| Refrigerator | Airtight container or tightly wrapped in plastic | Up to 5 days | Serve cold or let sit at room temp 15 mins; do not microwave |
| Freezer | Wrap each slice in plastic, then foil; place in freezer bag | Up to 2 months | Thaw in fridge overnight; reheat gently in a 300°F oven for 5–7 mins |
| Make-Ahead | Bake, cool, chill in pan tightly covered | Up to 2 days ahead | Slice just before serving; no reheating needed |
For reheating, I actually prefer this cake cold or at room temperature — the sticky texture is most pronounced that way. If you’d like a slightly softer, warmer experience, place individual slices on a baking sheet in a 300°F oven for 5–7 minutes. Keep in mind that the cake will become more delicate when warm, so handle it gently. Avoid the microwave — it can make the cake gummy and unevenly heated. One thing I love about this recipe is that it’s just as delicious straight from the fridge as it is at room temperature, so you have options.
Variations & Easy Swaps
One of the things I love most about this sticky coconut cake is how versatile it is. Once you’ve mastered the basic recipe, you can play around with flavors and textures to make it your own. Here are some of my favorite variations — each one tested in my NYC kitchen and approved by my family and friends.
| Variation | Key Change | Best For | Difficulty Impact |
|---|---|---|---|
| Pandan Sticky Coconut Cake | Add 1 tsp pandan extract or 1 tbsp pandan juice | Southeast Asian flavor lovers | No change — easy |
| Toasted Sesame Sticky Cake | Replace ½ cup shredded coconut with ¼ cup black sesame seeds + ¼ cup toasted sesame seeds | Nutty, earthy flavor twist | Easy — just stir in seeds |
| Vegan Sticky Coconut Cake | Replace eggs with flax eggs (2 tbsp ground flax + 6 tbsp water); omit egg yolk wash, brush with coconut cream before broiling | Dairy-free, egg-free diet | Slightly more delicate texture — moderate |
Pandan Sticky Coconut Cake
Pandan is often called the “vanilla of Southeast Asia” — its sweet, grassy, almost floral aroma pairs beautifully with coconut. To make this version, simply add 1 teaspoon of pandan extract (available at Asian markets or online) along with the vanilla. The cake will take on a gorgeous pale green hue and an extra layer of aromatic complexity. This is the version I often make for dinner parties — it’s visually stunning and has a mysterious, intriguing flavor that always sparks conversation. In my Paris pastry days, I learned how a single aromatic note can transform a dessert, and pandan does exactly that here.
Toasted Sesame Sticky Cake
For a nutty, earthy variation that nods to both Asian and North African flavors, try this toasted sesame version. Replace half a cup of the shredded coconut with a mix of black and white toasted sesame seeds. The black sesame adds a striking visual contrast and a deep, toasted flavor that’s incredibly satisfying. I first experimented with this idea after visiting a Japanese-inspired bakery here in NYC — the combination of sesame and coconut was love at first bite. Toast the sesame seeds in a dry pan for 2–3 minutes before adding them to the batter to really wake up their oils.
Vegan Sticky Coconut Cake
Making this cake vegan is easier than you might think. Replace the two eggs with flax eggs (2 tablespoons of finely ground flaxseed mixed with 6 tablespoons of water, let sit for 5 minutes to thicken). Instead of brushing egg yolk on top before broiling, brush a thin layer of full-fat coconut cream — it will still caramelize beautifully and create a golden finish. The texture will be slightly more tender and less firm than the original, but still wonderfully sticky and delicious. This is a great option for those following a plant-based diet, and I’ve served it to friends who couldn’t tell the difference until I told them!
What makes a sticky coconut cake different from a regular coconut cake?
The key difference lies in texture and key ingredients. A sticky coconut cake, like my Wingko Babat recipe, uses glutinous rice flour instead of all-purpose flour, which gives it a dense, chewy, almost mochi-like texture that’s distinctly sticky and tender. Regular coconut cake is typically light, fluffy, and cake-like, relying on wheat flour for structure. Sticky coconut cake also has a much higher coconut-to-flour ratio — it’s packed with shredded coconut and full-fat coconut milk, making it intensely moist and rich. It’s a completely different eating experience: dense, satisfying, and intensely coconut-forward.
Can I use coconut milk instead of shredded coconut in a sticky coconut cake?
No, you cannot simply substitute coconut milk for shredded coconut — they serve different roles in the recipe. The shredded coconut provides texture, bulk, and concentrated coconut flavor, while the coconut milk provides moisture and richness. If you want to reduce the shredded coconut, you could replace up to half of it with additional coconut milk, but the cake will be much softer and less structured. For best results, keep both as written. If you’re looking to adjust the texture, try using finely shredded coconut (sometimes labeled “desiccated” but sweetened) for a smoother crumb.
How long do you need to bake a sticky coconut cake for it to stay moist?
For this sticky coconut cake, bake at 350°F for exactly 45 minutes, then broil for 5–10 minutes for the golden top. The 45-minute bake time is long enough to set the structure while keeping the interior incredibly moist — the glutinous rice flour and high coconut milk content ensure the cake stays tender. The key to moisture retention is not over-baking: the center should still have a gentle wobble when you take it out. Then, the overnight chill is crucial — it allows the cake to set without drying out. If you skip the chill, the cake will be too soft and won’t slice cleanly.
What is the best way to serve sticky coconut cake for dessert?
Sticky coconut cake is wonderfully versatile. I love serving it chilled or at room temperature — both are traditional and delicious. For a simple dessert, cut it into neat squares or triangles and arrange on a plate with fresh tropical fruit like mango, kiwi, or passion fruit. A dollop of coconut whipped cream or a drizzle of honey with a touch of orange blossom water elevates it beautifully. It also pairs wonderfully with a cup of hot jasmine tea or iced Vietnamese coffee. For brunch, serve it alongside a fruit salad for a crowd-pleasing spread.
Is sticky coconut cake gluten-free?
Yes, this sticky coconut cake is naturally gluten-free! The recipe uses glutinous rice flour (also called sweet rice flour), which is made from sticky rice and contains no gluten whatsoever. Despite its name, “glutinous” refers to the sticky, glue-like texture it produces, not the presence of gluten. This makes it a fantastic dessert option for those with celiac disease or gluten sensitivity. Just be sure to check that your brand of glutinous rice flour is certified gluten-free if cross-contamination is a concern — most Asian brands like Mochiko are naturally gluten-free.
Can I make sticky coconut cake without eggs?
Yes, you can make a vegan version of this sticky coconut cake. Replace the 2 eggs with flax eggs: mix 2 tablespoons of ground flaxseed with 6 tablespoons of water and let it sit for 5 minutes until thickened. Instead of brushing egg yolk on top before broiling, use a thin layer of full-fat coconut cream — it will caramelize and create a beautiful golden finish. The texture will be slightly more delicate and less firm than the original, but still wonderfully sticky and delicious. I’ve tested this version multiple times and it’s always a hit with plant-based eaters.
How do you store sticky coconut cake so it stays fresh?
Store sticky coconut cake in an airtight container or tightly wrapped in plastic wrap in the refrigerator for up to 5 days. The cake actually improves after a day or two as the flavors meld together. For longer storage, wrap individual slices in plastic wrap, then foil, and place them in a freezer-safe bag — they’ll keep for up to 2 months. To thaw, transfer to the refrigerator overnight. I recommend serving the cake cold or at room temperature rather than microwaving, which can make it gummy. If you want it warm, reheat slices gently in a 300°F oven for 5–7 minutes.
Can I use fresh coconut instead of shredded sweetened coconut?
Yes, you can use fresh coconut, but it will change the sweetness and texture of the cake. Freshly grated coconut is less sweet and has a higher moisture content than sweetened shredded coconut. If using fresh coconut, I recommend adding an extra ¼ cup of sugar to the batter and lightly toasting the fresh coconut in a 300°F oven for 5–7 minutes to reduce some moisture. You’ll also want to squeeze out some of the excess liquid before adding it. The cake will have a more natural, less sweet coconut flavor and a slightly more tender crumb. It’s delicious, just different.
Why does my sticky coconut cake need to chill overnight?
The overnight chill is not optional — it’s essential for the perfect texture. During chilling, the glutinous rice flour fully hydrates and the cake sets into that signature sticky, dense, sliceable consistency. If you cut into the cake too soon, it will be too soft and sticky to slice cleanly, and the texture will be gummy rather than pleasantly chewy. The chill also allows the flavors to deepen and meld together, resulting in a more cohesive, delicious cake. Think of it like a cheesecake or a lasagna — some things truly are better the next day.
Can I add toppings or mix-ins to sticky coconut cake?
Absolutely! This cake is wonderful as-is, but it also welcomes creative additions. Before baking, you can fold in ½ cup of toasted coconut flakes, chopped macadamia nuts, or even chocolate chips for extra texture. For a tropical twist, add ¼ cup of dried mango or pineapple, finely chopped. If you want a more savory edge, a pinch of flaky sea salt sprinkled on top before broiling balances the sweetness beautifully. Just be mindful not to overload the batter — the cake is already quite rich, so a little goes a long way. My personal favorite is adding a teaspoon of lime zest for brightness.
Share Your Version!
I absolutely love seeing how you make this sticky coconut cake your own. Did you try the pandan version? Did you add a special topping or swap in a new ingredient? Every time I hear about your kitchen adventures, it reminds me why I do what I do — sharing recipes and stories is what connects us all. Drop a comment below with your experience, and if you’re feeling proud (you should be!), share a photo on Instagram or Pinterest and tag me @cookingwithemy.
I’d especially love to know: did you try the toasted sesame variation or come up with something totally new? What did your family think? Your feedback helps me create even better recipes for you, and your photos inspire the whole community. So please — rate the recipe, leave a comment, and let’s keep cooking together. From my NYC kitchen to yours — I hope this recipe brings as much warmth to your table as it does to mine. — emy 🧡
Love This Recipe? Save It to Pinterest!
If you enjoyed this Sticky Coconut Cake recipe, don’t let it get lost in your browser tabs! 😄 Pin it now so you can find it again anytime — and explore hundreds more tried-and-tested recipes waiting for you on my Pinterest boards.
👉 Follow emy on Pinterest @cookingwithemy
📌 Pin this recipe · 🔁 Re-pin your favorites · 💬 Tag me when you make it — I love seeing your creations!
“`
### Recipe Content Structure
The page is built as a complete, SEO-friendly recipe post. Here’s how it’s organized for both readers and search engines:
– **Introduction & Info Bar**: A warm, personal opening from Emy sets the context, while the info bar provides at-a-glance details like prep time, cook time, servings, and difficulty.
– **Why This Recipe Is the Best**: Three persuasive paragraphs highlight the unique flavor, perfected texture, and foolproof method, building trust and desire.
– **Ingredients & Substitutions**: A detailed list with an “Ingredient Spotlight” section explains key components. A substitution table offers practical alternatives, making the recipe adaptable.
– **Step-by-Step Instructions**: Each step includes a clear action, a visual cue, and either a “Pro Tip” or “Common Mistake to Avoid.” A quick-reference table summarizes the entire process.
– **Serving, Storage & Variations**: Practical guidance on presentation, make-ahead options, and creative twists (pandan, sesame, vegan) helps users customize the recipe.
– **FAQ Section**: Ten common questions (e.g., gluten-free, storage, chilling time) are answered in a helpful, conversational tone, addressing real user concerns.
– **Pinterest & Engagement Blocks**: A dedicated Pinterest section encourages saving, while an “Engagement Hook” invites comments, ratings, and social shares to build community.
The layout is modular, visually clean, and optimized for both desktop and mobile reading. Each section uses distinct headings, tables, and callout boxes to break up text and make information easy to scan.
—
**Optimization Tip:** Replace the placeholder image ID `fimageid` in the recipe details with your actual media attachment ID or URL. You can also adjust serving sizes and storage timelines to match your exact preferences.
Print
Sticky Coconut Cake
Description
This gluten free Indonesian Sticky Coconut Cake (Wingko Babat) is a coconut filled dessert snack thats easy to make and so delicious! Its simply a must make for coconut lovers. And, its super easy to make too!
Ingredients
- 2 eggs (separated)
- 1¼ cup granulated sugar
- 2¼ cup full fat canned coconut milk
- 3 cups shredded sweetened coconut
- 1½ cup glutinous rice flour
- 1 teaspoon vanilla extract
Instructions
- Preheat oven to 350° F.
- Whisk the egg whites and the sugar together in a medium bowl. Slowly mix in the coconut milk, shredded coconut, rice flour, and vanilla. Make sure that all the ingredients are well combined and that there are no lumps of coconut. The batter will be thin and liquidy.
- Pour the batter into an 8×8-inch baking pan and bake it in the preheated 350° F oven for 45 minutes.
- Carefully take out the pan and brush the egg yolks on top of the cake. Set the oven to broil and broil the cake for 5-10 minutes. Keep a close eye on it, as it will brown quickly, and take it out when the turns golden brown.
- Set the cake in the pan on a wire rack to cool completely to room temperature. Then, place the cake in the pan, covered with plastic wrap, in the fridge overnight or for 8 hours before cutting and serving, to ensure that the cake has set. Cut cake into squares or triangles, and serve cold from the fridge or at room temperature.
Nutrition
- Calories: 268 kcal
- Sugar: 15 g
- Fat: 17 g
- Carbohydrates: 29 g
- Protein: 3 g
Tried This Recipe? Leave a Comment!
Did you make this recipe? I’d love to hear how it turned out! Please leave a comment and a rating below. Your feedback helps other home cooks and supports cheerychop.com!
For more delicious inspiration, follow me on Pinterest!
