“`html
Table of Contents
- Butterfinger Chocolate Caramel Crunch Truffles: The Only Recipe You’ll Ever Need
- Why This Butterfinger Chocolate Caramel Crunch Truffles Recipe is a Game-Changer
- Ingredient Spotlight: Quality Makes the Difference
- Step-by-Step Instructions
- Serving & Presentation
- Make-Ahead & Storage Solutions
- Frequently Asked Questions (FAQ)
Butterfinger Chocolate Caramel Crunch Truffles: The Only Recipe You’ll Ever Need
Imagine a candy that perfectly marries the satisfying crunch of a beloved candy bar with the creamy, decadent embrace of chocolate and caramel. That’s exactly what you get with these Butterfinger truffles. If you’ve ever found yourself craving a treat that’s both intensely flavorful and incredibly easy to make, you’ve landed on the ultimate destination. Forget complicated candy-making processes; this no-bake truffle recipe is designed for home bakers of all skill levels, promising a delightful outcome every single time.
Prepare your senses for an explosion of taste and texture. Each bite delivers the unmistakable peanut-buttery crunch of Butterfinger, seamlessly blended into a rich, smooth ganache that’s infused with luscious caramel. The slight bitterness of the semi-sweet chocolate perfectly balances the sweetness, creating a symphony of flavors that dance on your tongue. The aroma alone, a tantalizing blend of chocolate and caramel, is enough to make anyone weak at the knees.
At cookingwithemy.com, we believe that exceptional treats should be accessible to everyone. That’s why we’ve perfected this easy truffle recipe to be your go-to for parties, holidays, or just a Tuesday afternoon indulgence. We’ve unlocked the secret to achieving that perfect, melt-in-your-mouth texture with an addictive crunch, all without turning on the oven. Get ready to impress yourself and your loved ones with these incredible chocolate caramel truffles.
Why This Butterfinger Chocolate Caramel Crunch Truffles Recipe is a Game-Changer
The Chef’s Secret
The magic behind these Butterfinger truffles lies in the perfect fusion of texture and flavor. Unlike recipes that simply mix crushed candy into frosting, our method incorporates the crushed Butterfinger directly into a warm chocolate and caramel ganache. This allows the caramel sauce to slightly soften the Butterfinger pieces, creating a unique texture that’s both crunchy and chewy, with a luscious caramel undertone that permeates the whole truffle. This isn’t just mixing; it’s an integration that delivers an unparalleled flavor experience.
Unbeatable Texture
The texture of these no-bake truffles is truly something special. The initial melting of the chocolate chips with heavy cream creates a stable, rich ganache. When the crushed Butterfinger, caramel sauce, and vanilla extract are incorporated, the resulting mixture is thick enough to hold its shape but still wonderfully pliable. The firming process in the refrigerator is crucial; it allows the ganache to set around the Butterfinger pieces, creating that signature “crunch” that contrasts beautifully with the smooth, creamy exterior that forms as you roll them. The result is a truffle that’s decadent without being heavy, and satisfyingly complex in every bite.
Foolproof for a Reason
We understand that the true hallmark of a superior recipe is its reliability. This easy truffle recipe has been tested countless times to ensure that from start to finish, you’ll achieve perfect results. The ingredient ratios are meticulously balanced to prevent the mixture from becoming too sticky or too crumbly. The chilling times are precisely calibrated to ensure the truffles are firm enough to roll but not so hard that they won’t hold together. You can be confident that following these steps will lead you to a batch of delicious candy truffles you’ll be proud to share.
Ingredient Spotlight: Quality Makes the Difference
Butterfinger Candy Bars: These are the star of the show, providing that iconic peanut-butter and crispety, crunchety flavor. For the best texture, use fresh Butterfinger bars. Avoid any that may have been exposed to moisture, as this can affect their crispness. If you can’t find traditional Butterfingers, or want to experiment, consider similar crispety, crunchety candy bars, though the unique Butterfinger flavor will be missed. We recommend crushing them in a ziplock bag with a rolling pin or in a food processor until uniformly broken into small pieces, but not a fine powder.
Semi-Sweet Chocolate Chips: The foundation of our truffle’s rich coating. High-quality semi-sweet chocolate chips will yield a smoother, more luxurious ganache. While you can use milk chocolate or dark chocolate chips, semi-sweet offers a balanced sweetness that complements the Butterfinger and caramel perfectly. For an even more gourmet truffle, consider using chopped high-quality chocolate bars (like Ghirardelli or Callebaut) instead of chips, as they often contain a higher percentage of cocoa butter and melt beautifully.
Caramel Sauce: This adds a gooey, sweet, and slightly salty dimension that elevates these Butterfinger truffles to a new level. Store-bought caramel sauce works wonderfully and ensures consistency. Look for a thicker caramel sauce, ideal for baking, rather than a thin ice cream topping. If your caramel sauce is too thin, you might find the truffle mixture too wet. You can also make your own homemade caramel sauce for an extra special touch, but ensure it’s cooled before adding.
Heavy Cream: Essential for creating a smooth, glossy chocolate ganache. The fat content in heavy cream is crucial for emulsifying the chocolate and creating a stable, melt-in-your-mouth texture. Whole milk or half-and-half are not recommended as substitutes because they have lower fat content and can result in a less rich and potentially grainy ganache. For a dairy-free option, you could experiment with full-fat canned coconut milk (the thick cream from the top).
Vanilla Extract: A flavor enhancer that rounds out the sweetness and adds a warm, subtle complexity to the truffles. Always opt for pure vanilla extract over imitation vanilla flavoring. The difference in aroma and taste is significant, especially in simple recipes like this one where vanilla plays a supporting role in bringing out the other flavors.
Salt: A pinch of salt might seem small, but it’s a flavor-booster that balances the sweetness of the chocolate and caramel and intensifies the butter and peanut butter notes in the Butterfinger. It prevents the truffles from tasting one-dimensionally sweet. Use fine sea salt or kosher salt for easy dissolution.
Step-by-Step Instructions
Step 1: Preparing the Chocolate Base
In a microwave-safe bowl, combine the semi-sweet chocolate chips and heavy cream. Microwave in 30-second intervals, stirring well after each interval, until the chocolate is mostly melted and the mixture is beginning to become smooth. For best results, stir until fully smooth. This gentle heating process prevents scalding the chocolate.
Pro Tip: If you don’t have a microwave, you can melt the chocolate and cream over a double boiler. Place a heatproof bowl over a saucepan of simmering water (ensuring the bottom of the bowl doesn’t touch the water). Stir constantly until smooth.
Step 2: Creating the Truffle Mixture
Add the 2 cups of crushed Butterfinger candy bars, 1/2 cup of caramel sauce, 1 teaspoon of vanilla extract, and a pinch of salt to the melted chocolate mixture. Stir everything together thoroughly until it’s all well combined into a thick, cohesive mixture. The crushed Butterfinger should be evenly distributed throughout the chocolate-caramel base.
Common Mistake to Avoid: Overmixing after adding the Butterfinger can cause the candy to break down too much, losing its signature crunch. Stir just enough to combine everything evenly.
Step 3: Chilling to Firm Up
Cover the bowl with plastic wrap, pressing it directly onto the surface of the mixture to prevent a skin from forming, and refrigerate for at least 30 minutes. This step is crucial for allowing the mixture to firm up enough to be rolled into balls. You’re looking for a consistency that’s no longer sticky, but pliable and scoopable.
Step 4: Rolling the Truffles
Once the mixture is firm enough, use a tablespoon or a small cookie scoop to portion out the mixture. Roll each portion between your palms to form smooth, uniform balls. The mixture may be slightly sticky; if it becomes too difficult to handle, you can chill it for another 10-15 minutes.
Pro Tip: For perfectly uniform truffles, use a cookie scoop to ensure each portion is the same size. If the mixture is sticking to your hands, lightly dampen your hands with water or spray with a bit of non-stick cooking spray.
Step 5: Final Chill Before Serving
Place the rolled truffle balls onto a baking sheet lined with parchment paper. This prevents sticking and makes for easy cleanup. Chill the truffles in the refrigerator for another 15 minutes. This final chill helps them hold their shape even better before any optional garnishes are applied.
Step 6: Optional Garnish (For Extra Flair!)
For an extra decadent touch and visual appeal, you can drizzle the chilled truffles with additional caramel sauce or melted semi-sweet chocolate. You can also sprinkle them with a few extra crushed Butterfinger pieces immediately after drizzling. Let the drizzles set before serving.
Common Mistake to Avoid: Drizzling while the truffles are still too warm from the initial chilling can cause the chocolate or caramel to melt and become messy. Ensure the truffles are well-chilled for best results.
Serving & Presentation
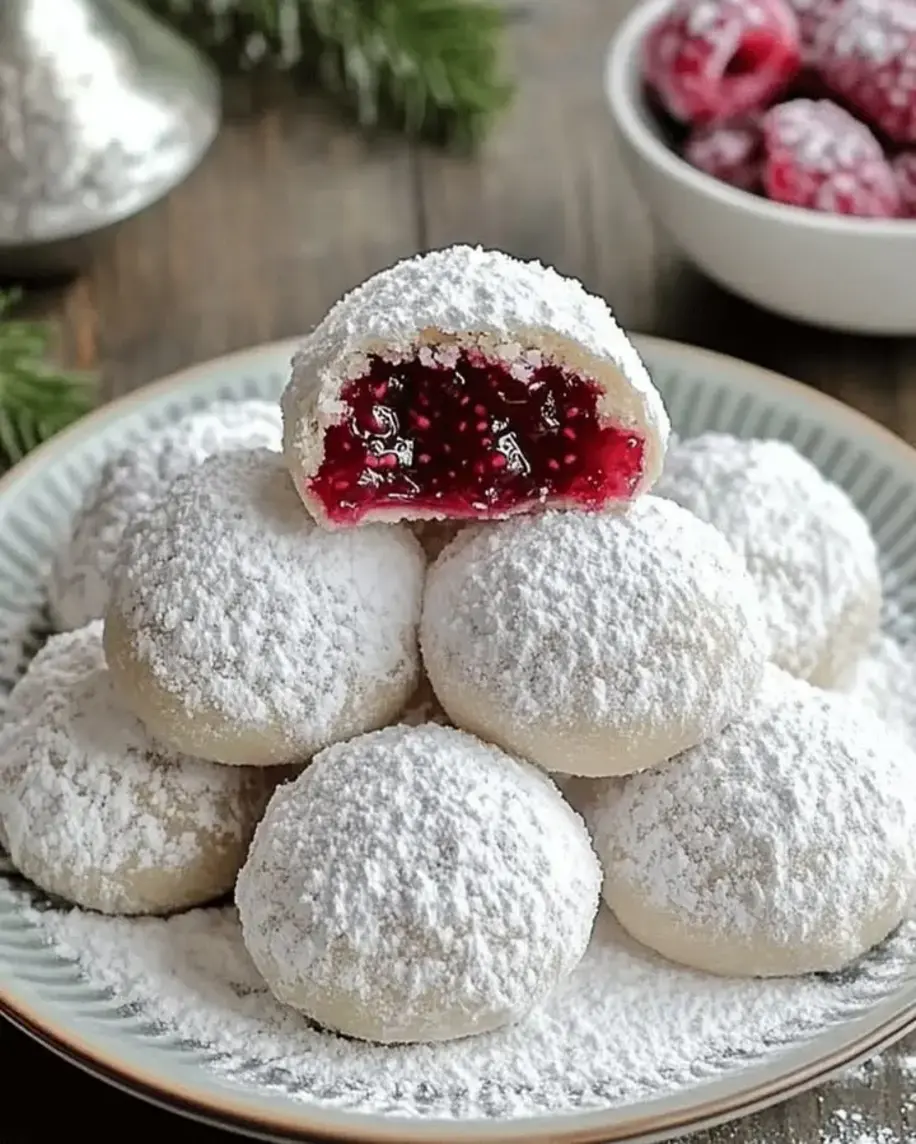
These Butterfinger truffles are miniature works of art, but a little extra touch can elevate them from delicious to dazzling. For a simple yet elegant presentation, arrange them in small, colorful candy liners or on a platter dusted with a bit of cocoa powder or powdered sugar. You can also serve them alongside a scoop of vanilla bean ice cream or a rich chocolate cake for an ultimate dessert experience. For holiday gatherings, consider arranging them in festive themed boxes or cones, perhaps tied with a ribbon. A final scattering of crushed Butterfinger pieces or a thin drizzle of caramel sauce just before serving adds a professional flourish.
Make-Ahead & Storage Solutions
Make-Ahead Strategy: These easy truffle recipes are a dream for make-ahead planning! You can prepare the truffle mixture and chill it for up to 2 days before rolling. Once rolled and placed on the baking sheet, you can keep them covered tightly in the refrigerator for up to 3 days before the optional garnishing step. For best flavor and texture, it is ideal to roll and slightly chill the truffles the day you plan to serve them.
Storing Leftovers: Store your finished candy truffles in an airtight container in the refrigerator. They will keep well for up to a week. For the absolute best texture, allow them to come to room temperature for about 15-20 minutes before enjoying, as they can be quite firm when cold.
The Best Way to Reheat: Reheating isn’t strictly necessary for these no-bake truffles, but bringing them to room temperature ensures the best texture. If they’ve been in the fridge for a while and are quite firm, simply let them sit on the counter for about 15-20 minutes. Avoid microwaving them, as this can cause the chocolate to melt unevenly and ruin the texture.
Frequently Asked Questions (FAQ)
How do you make Butterfinger truffles with caramel?
To make Butterfinger truffles with caramel, you’ll melt semi-sweet chocolate chips with heavy cream to create a ganache. Then, you’ll stir in crushed Butterfinger candy bars, caramel sauce, vanilla extract, and a pinch of salt. Chill the mixture until firm, then roll into balls and chill again before serving. Sometimes, an extra drizzle of caramel is added for garnish.
Can I freeze Butterfinger Chocolate Caramel Crunch Truffles?
Yes, you can freeze these Butterfinger Chocolate Caramel Crunch Truffles. Once rolled and chilled (before any optional garnishes are added), place them in a single layer on a baking sheet and freeze until solid. Then, transfer them to an airtight freezer-safe container or a heavy-duty freezer bag. They can be stored in the freezer for up to 1-2 months. Thaw them slowly in the refrigerator overnight for the best texture.
What is the best way to melt chocolate for candy making?
The best ways to melt chocolate for candy making are using a microwave on low power with stirring at 30-second intervals, or over a double boiler on the stovetop. Both methods allow for gentle, even heating, which prevents the chocolate from scorching or seizing. Ensure any utensils used are completely dry, as even a drop of water can cause melted chocolate to seize.
How long do Butterfinger truffles need to chill before coating?
The initial chilling of the Butterfinger truffle mixture typically needs about 30 minutes to firm up enough to be rolled. After rolling them into balls, they need another 15 minutes of chilling on a parchment-lined baking sheet. This ensures they are firm and hold their shape well, especially if you plan to add a drizzle coating afterward.
How do you get Butterfinger truffles to hold their shape?
To ensure your Butterfinger truffles hold their shape, it’s crucial to allow the mixture to chill sufficiently at each stage: first, until firm enough to roll (about 30 minutes), and then again after rolling (about 15 minutes). Using a good quality chocolate and an appropriate fat content in your cream (heavy cream is best) also contributes to a stable ganache. If the mixture becomes too soft while rolling, don’t hesitate to pop it back in the fridge for a few minutes.
Can I make this recipe vegan/gluten-free?
To make this recipe vegan, you would need to find vegan Butterfinger-style candy bars (some brands offer these) and use dairy-free chocolate chips and a plant-based cream alternative like full-fat canned coconut cream. For a gluten-free version, first ensure your Butterfinger bars are certified gluten-free (traditional Butterfingers contain wheat flour). The other ingredients – chocolate chips, caramel sauce, vanilla extract, and salt – are typically gluten-free, but always check labels for cross-contamination if celiac disease is a concern.
Tried This Recipe? Leave a Comment!
Did you make this recipe? I’d love to hear how it turned out! Please leave a comment and a rating below. Your feedback helps other home cooks and supports cookingwithemy!
For more delicious inspiration, follow me on Pinterest!
“`
.
Print
Butterfinger Chocolate Caramel Crunch Truffles
- Total Time: 50 minutes
- Yield: 24 1x
Description
These delectable truffles feature a crunchy Butterfinger center enveloped in rich chocolate and caramel for a perfect sweet treat.
Ingredients
- 2 cups crushed Butterfinger candy bars
- 1 cup semi-sweet chocolate chips
- 1/2 cup caramel sauce
- 1/4 cup heavy cream
- 1 teaspoon vanilla extract
- Pinch of salt
Instructions
- In a microwave-safe bowl, melt the chocolate chips and heavy cream together, stirring every 30 seconds until smooth.
- Stir in the crushed Butterfinger bars, caramel sauce, vanilla extract, and salt until well combined.
- Refrigerate the mixture for 30 minutes to firm up.
- Once firm, scoop out tablespoon-sized portions and roll into balls.
- Place the balls on a baking sheet lined with parchment paper and chill for another 15 minutes.
- Optional: Drizzle with additional caramel or chocolate for garnish.
Notes
For best results, use fresh Butterfinger bars and store truffles in an airtight container in the refrigerator for up to a week.
- Prep Time: 15 minutes
- Cook Time: 5 minutes
- Method: Dessert
- Cuisine: American
Nutrition
- Calories: 120
- Sugar: 10g
- Fat: 6g
- Carbohydrates: 15g
- Protein: 1g
