Introduction
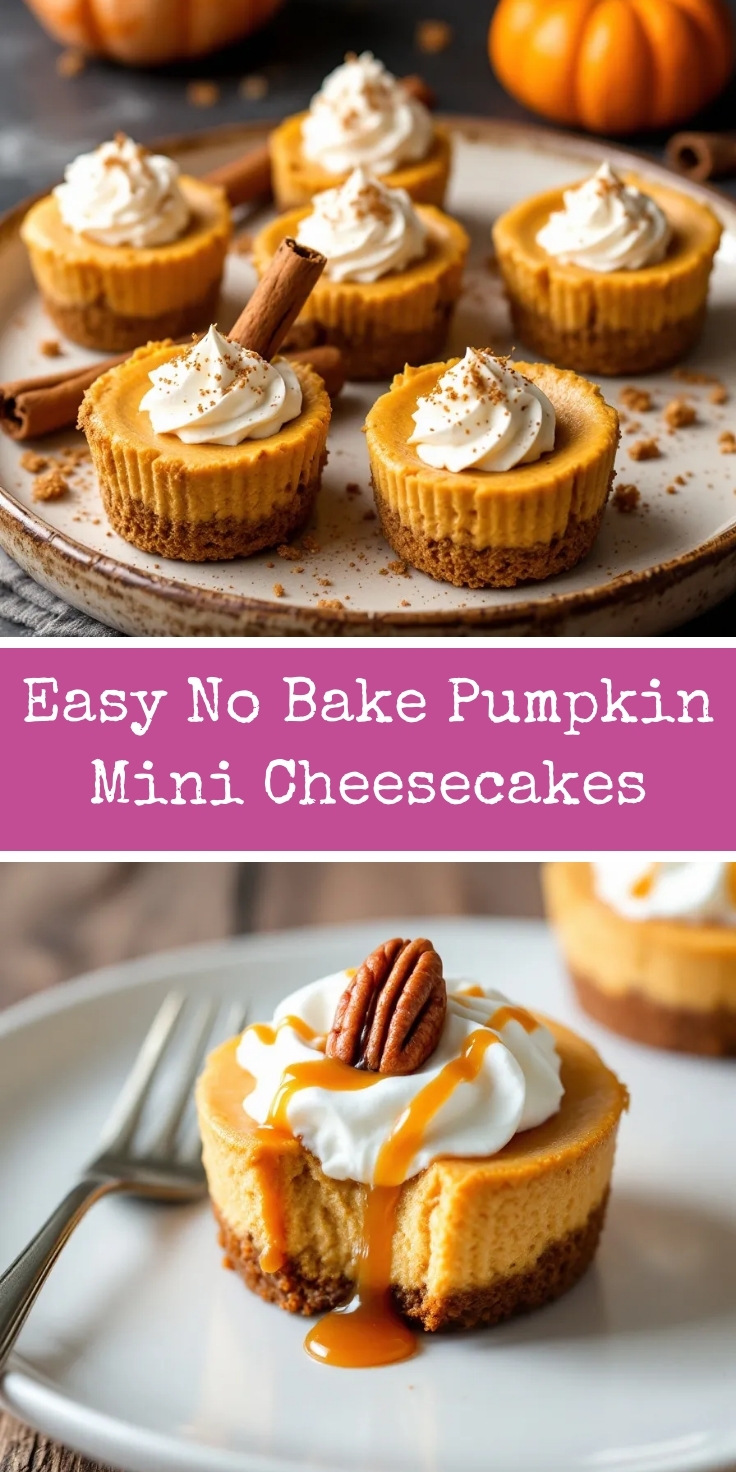
There’s something incredibly special about the flavors of fall, isn’t there? The moment the air turns crisp, I find myself craving all things cozy and spiced. While I adore traditional pumpkin pie, I wanted to create a dessert that captures that same warm, nostalgic feeling without ever turning on the oven. That’s how these irresistible No Bake Pumpkin Mini Cheesecakes came to be. They are the perfect solution for when you need a stunning, crowd-pleasing treat but are short on time or energy.
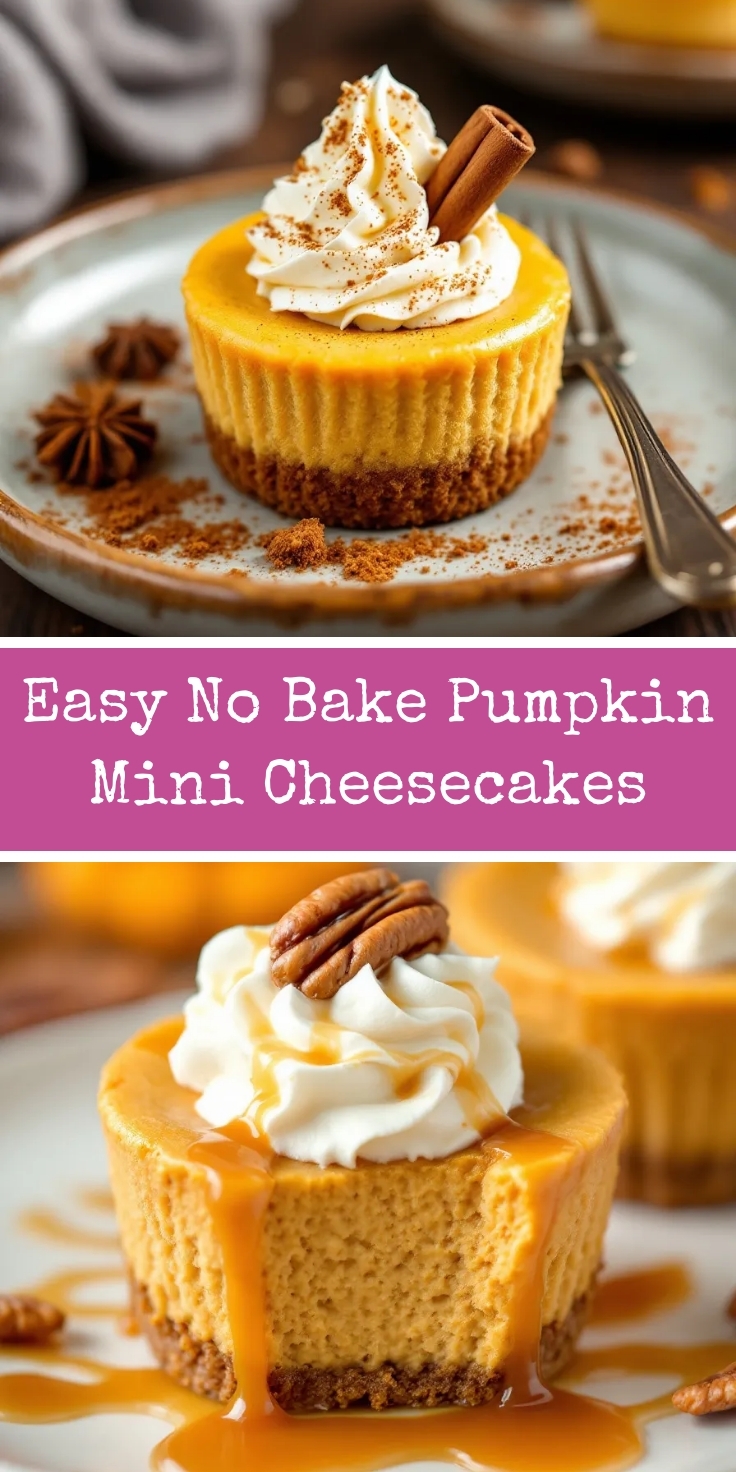
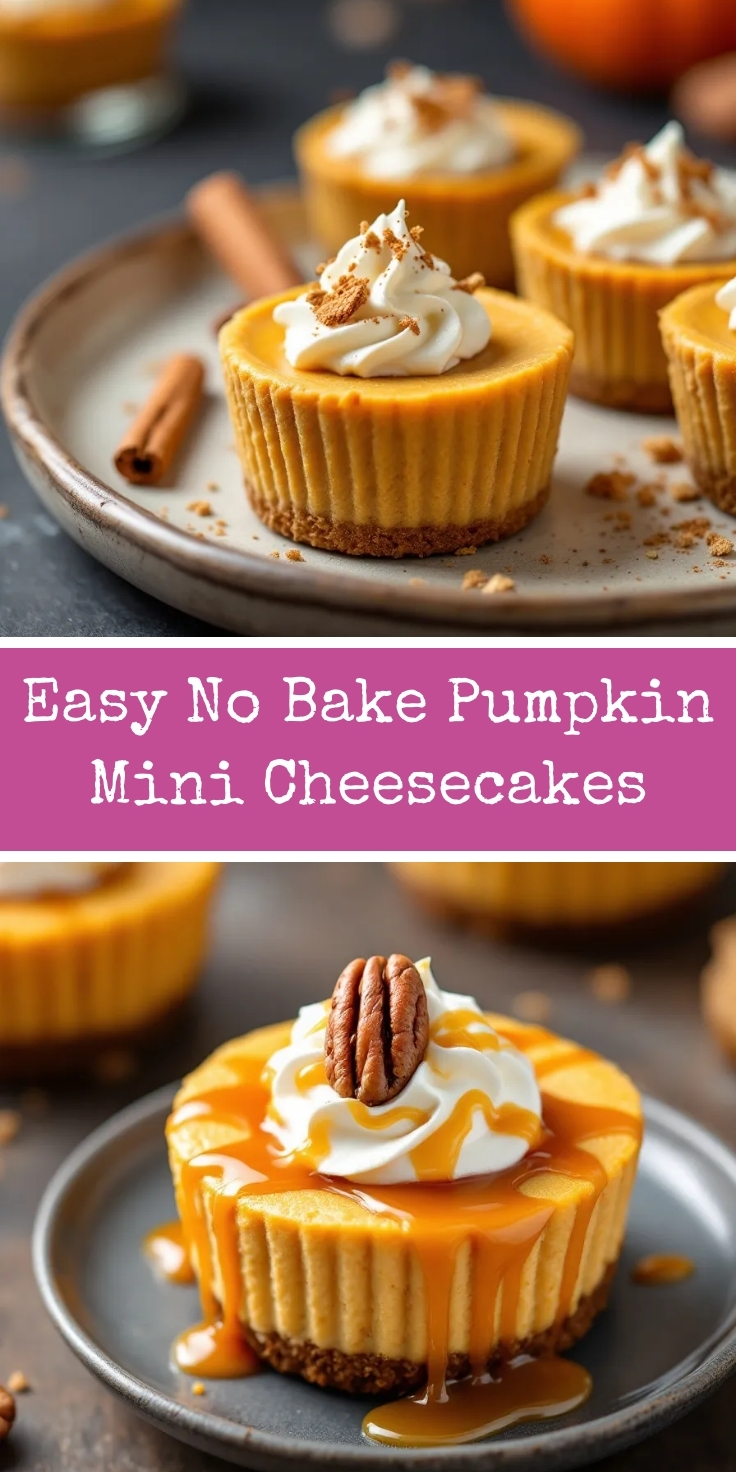
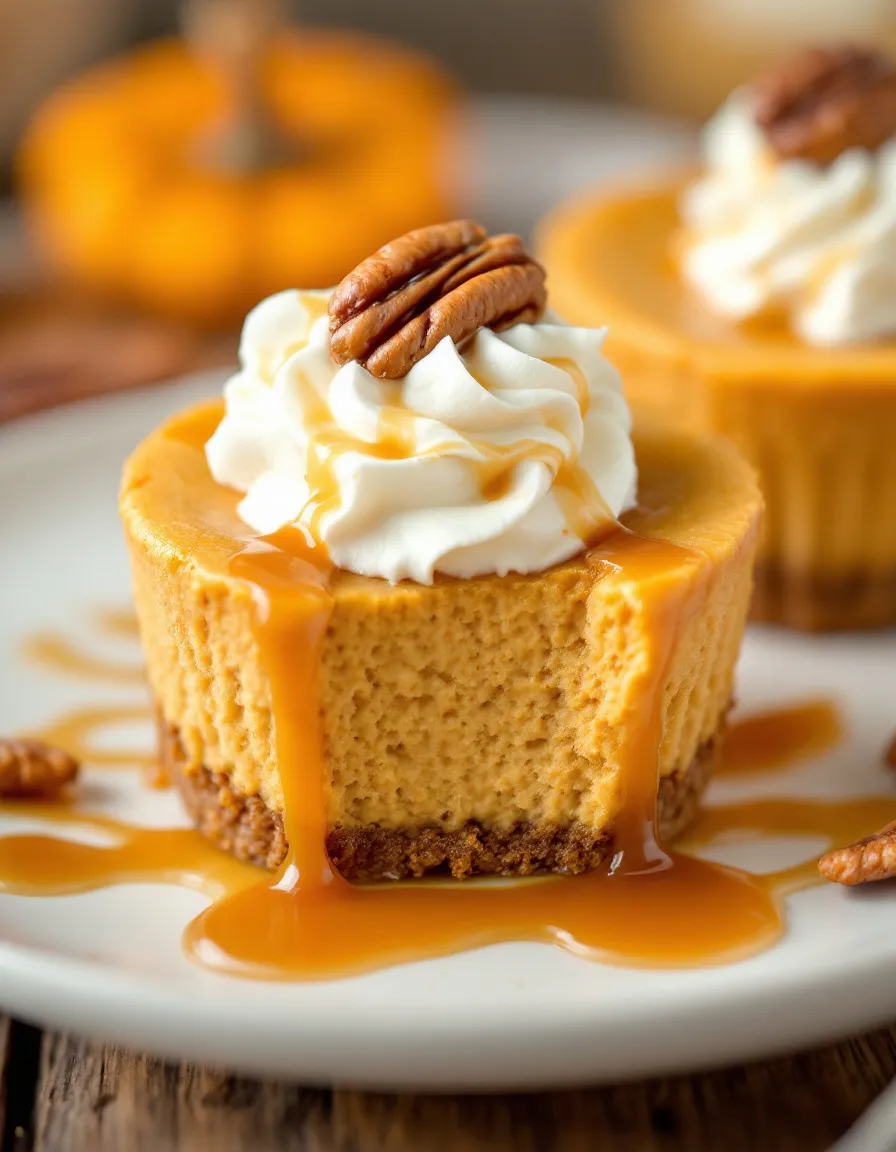
These No Bake Pumpkin Mini Cheesecakes are a delightful twist on the classic dessert because they feature a spiced graham cracker crust that cradles a luxuriously smooth and creamy filling. The filling bursts with the warm, familiar flavor of pumpkin spice, so they feel incredibly festive. Their individual serving size makes them perfect for parties, as there’s no slicing or serving required. This recipe aligns with our blog’s theme because it emphasizes approachable, no-fuss cooking that delivers incredible results. It’s the kind of effortless dessert you’ll want to make all season long, especially when you need a quick and impressive holiday dessert. Best of all, this no-bake method is a lifesaver during a busy week, so you can whip up a gorgeous treat without heating up your kitchen, much like our favorite easy no-bake desserts.
Why I Love This Recipe
I absolutely adore this recipe because it combines my love for autumn flavors with my need for simplicity. I created these mini cheesecakes a few years ago for a last-minute Friendsgiving, and they were such a massive hit that they’ve become a non-negotiable part of our fall traditions. I love that I can make them ahead of time, so I actually get to enjoy the party instead of being stuck in the kitchen. They always feel like a little personal gift to my guests, and seeing their faces light up is the best part.
Health and Nutrition
Why it’s good for your body
No Bake Pumpkin Mini Cheesecakes deliver a surprisingly nutritious punch because they feature real pumpkin puree. Pumpkin is a fantastic source of beta-carotene, which your body converts into immune-boosting Vitamin A. Additionally, this ingredient provides a good amount of fiber, so it aids in digestion and helps you feel satisfied. Although it’s a dessert, you get essential vitamins and minerals with every bite.
These mini cheesecakes also offer a dose of protein from the cream cheese, which is crucial for maintaining muscle. Because the recipe requires no baking, the nutrients from the pumpkin remain more intact. You can enjoy a delicious treat while still nourishing your body. Even though they taste indulgent, No Bake Pumpkin Mini Cheesecakes are a smarter choice than many other desserts. Ultimately, they are a delightful way to enjoy a classic flavor with genuine health perks.
How it fits in a healthy lifestyle
No Bake Pumpkin Mini Cheesecakes fit perfectly into a balanced diet because their individual portion size helps with natural portion control. You can savor a single satisfying dessert without overindulging. For those with specific dietary goals, this recipe is naturally gluten-free when you use a nut-based crust, and it can be adapted for lower sugar needs.
Incorporating wholesome treats like this supports practical eating habits, as it satisfies a sweet tooth without derailing your progress. Pairing a mini cheesecake with a source of protein, like a handful of nuts, can make it an even more balanced snack. For more ideas on creating nutritious desserts, explore our guide to healthy ingredient swaps. Finding recipes that align with your wellness journey is key, and you can discover more inspiration in our collection of gluten-free desserts.
How to Prepare This Dish
Steps and time-saving tips
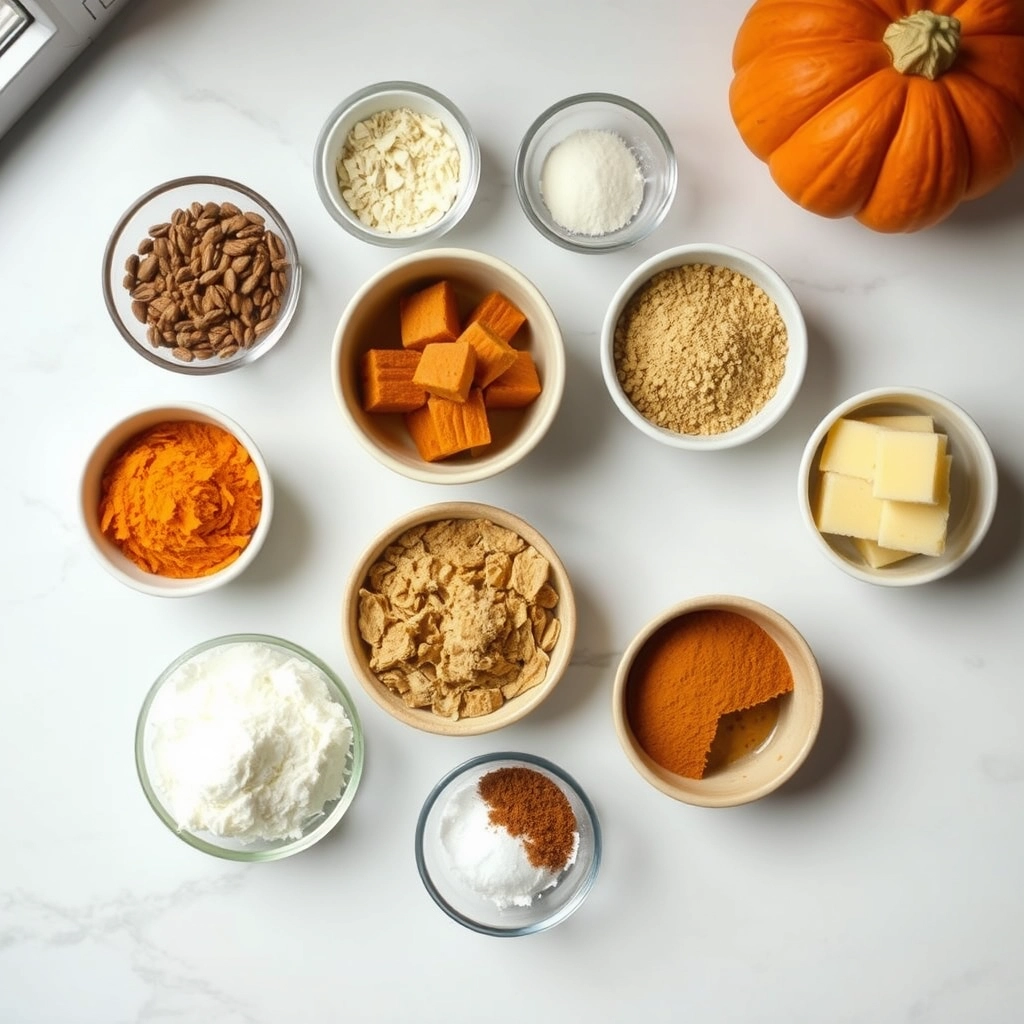
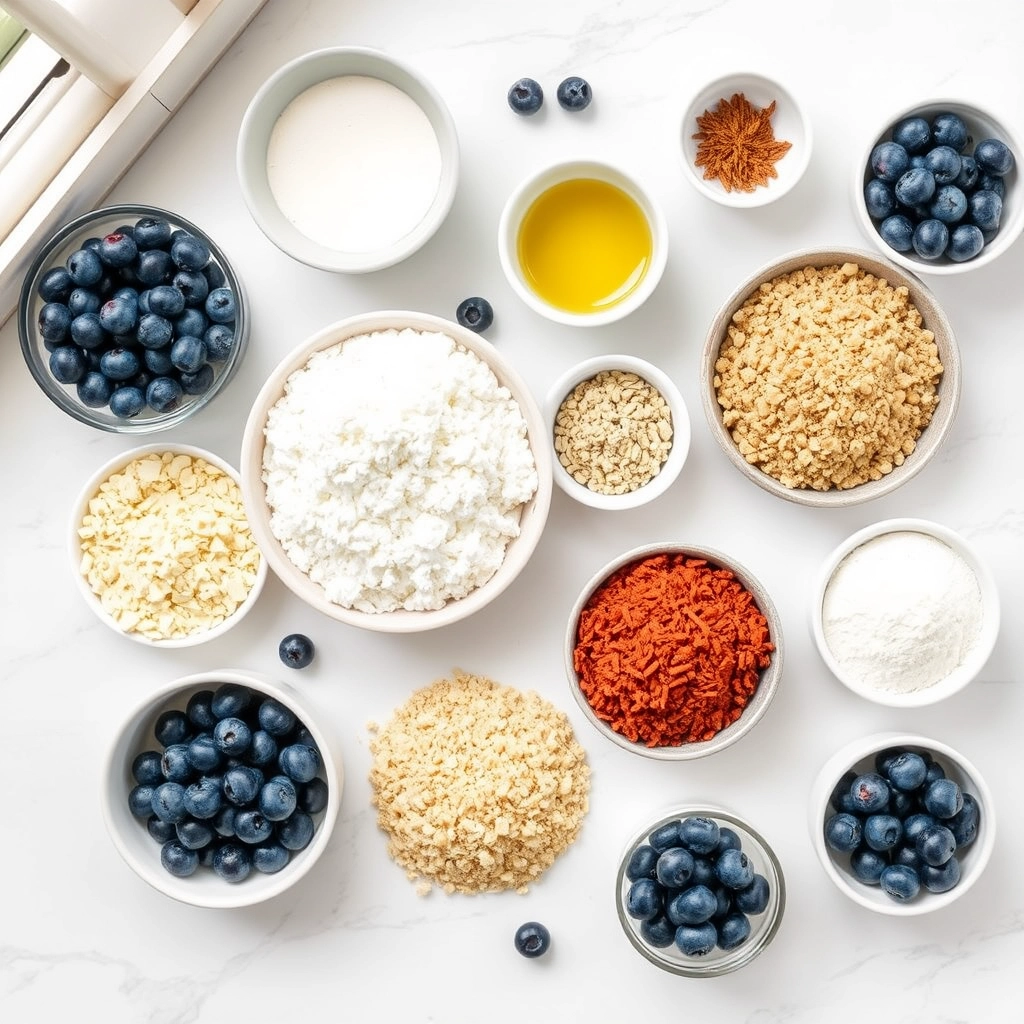
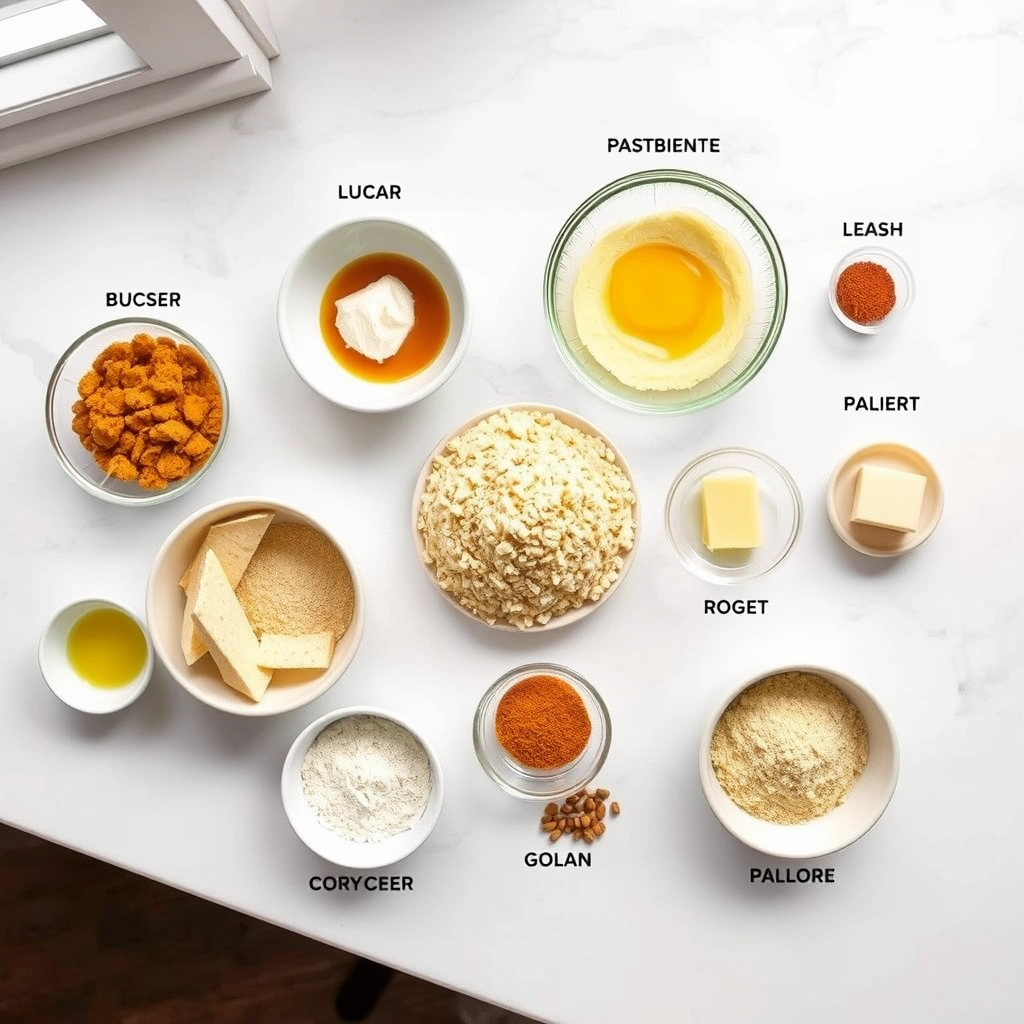
First, make your crust. Combine the graham cracker crumbs, melted butter, and a pinch of cinnamon in a medium bowl. Firmly press about two tablespoons of this mixture into the bottom of each liner in your muffin pan. Consequently, you want to create a solid, compact base. Next, place the entire pan in the refrigerator to chill while you work on the filling. For the filling, beat the softened cream cheese and sugar together in a large bowl until the mixture is completely smooth and lump-free. Importantly, you must ensure your cream cheese is at room temperature to avoid a grainy texture. Afterwards, gently fold in the pumpkin puree, pumpkin pie spice, and vanilla extract until everything is just combined. Then, carefully spoon this luxurious filling over your prepared crusts, smoothing the tops with the back of a spoon. Finally, transfer the pan to the refrigerator to set for at least four hours, though overnight is ideal for the best texture. For a speedy garnish, simply add a dollop of whipped cream and a light dusting of cinnamon or nutmeg right before serving.
Mistakes I’ve made and learned from
I learned the importance of patience the hard way with these No Bake Pumpkin Mini Cheesecakes. Initially, I tried to rush the chilling process, resulting in a soupy, disappointing mess that wouldn’t hold its shape. Now, I always plan to make them the day before I need them. Another common mistake was using cold cream cheese straight from the fridge. This created tiny lumps that no amount of mixing could fix, ruining that perfectly smooth, luxurious texture we all love. Thankfully, I now swear by taking the time to properly soften all my baking ingredients. Trust me, your effort will be rewarded with a flawless, creamy filling every single time. For more tips on avoiding kitchen mishaps, check out my guide on common baking mistakes that everyone makes.
Cultural Connection and Variations
Where this recipe comes from
The story of No Bake Pumpkin Mini Cheesecakes is a beautiful blend of old-world tradition and modern convenience. It pulls its soul from the classic, oven-baked pumpkin pie, a staple of American Thanksgiving tables for generations. That dessert itself has deep roots, often traced back to early colonists adapting native pumpkins into their own custard-based pies. The cheesecake element, however, is a nod to New York style, famously rich and creamy.
This particular no-bake, miniature version is a more recent innovation, born from our desire to enjoy those iconic flavors without heating up the kitchen. Families often prepare them for large gatherings because they are easy to make ahead and serve individually. The personal portion size also makes them perfect for potlucks or as a festive treat during the autumn months when pumpkins are at their peak.
You can find similar no-chill desserts in many cultures, although the flavors change. For a different no-bake treat that also celebrates fresh ingredients, you might enjoy our No Bake Strawberry Cheesecake. Ultimately, whipping up a batch of No Bake Pumpkin Mini Cheesecakes feels like participating in a long, evolving culinary history, all while creating new memories around your own table.
How it fits in today’s cooking
No Bake Pumpkin Mini Cheesecakes have found a firm place in modern cooking by perfectly aligning with today’s lifestyles. They are a superstar during the hectic holiday season, offering a make-ahead dessert that frees up precious oven space for the turkey and other sides. Their individual serving size also caters perfectly to contemporary portion awareness and minimizes plating fuss.
Modern cooks are constantly reimagining this versatile dessert. Some are creating vegan versions using cashew or tofu-based fillings, while others are making them gluten-free by using nut flour crusts. The spice profile is also adaptable; a pinch of cayenne pepper can add a surprising and delightful kick. For those seeking another creative no-bake option that is always a crowd-pleaser, our Chocolate Peanut Butter Pie offers a rich and decadent alternative. This ability to personalize ensures that No Bake Pumpkin Mini Cheesecakes remain a beloved and relevant treat for every kind of cook and eater.
Taste and Texture
What makes it delicious
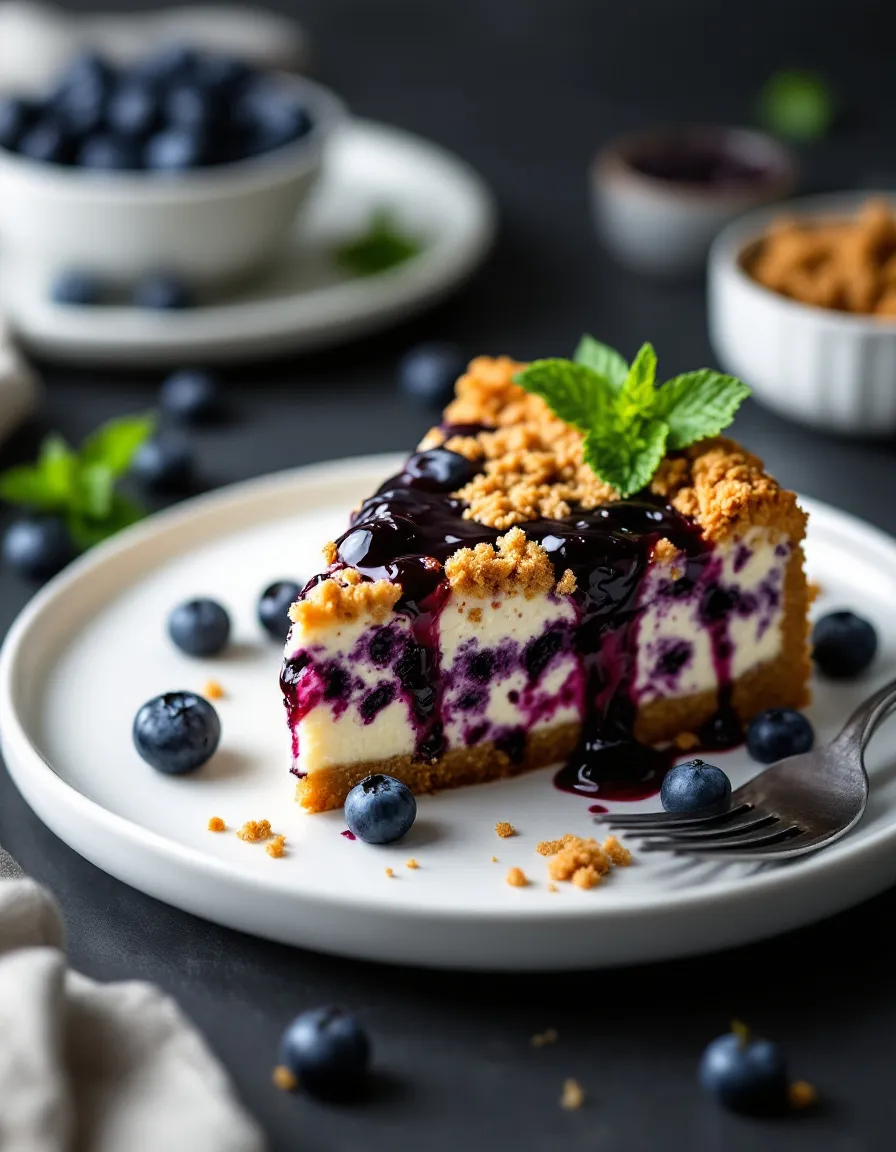
These No Bake Pumpkin Mini Cheesecakes deliver a perfect symphony of creamy texture and warm, spiced flavor. Each bite begins with a crisp, buttery graham cracker crust that provides a delightful crunch. The filling is luxuriously smooth and rich, because it combines velvety cream cheese with real pumpkin puree. That pumpkin flavor is earthy and sweet, while it’s beautifully enhanced by the fragrant warmth of cinnamon, nutmeg, and ginger. A hint of vanilla and brown sugar adds a deep, caramel-like sweetness that makes the entire dessert incredibly comforting. The overall experience is light and airy, even though it feels indulgent, so it never becomes overly heavy. The aroma alone is intoxicating, as it smells like a cozy autumn day. Enjoying these No Bake Pumpkin Mini Cheesecakes is a truly sensory experience, from the initial crisp base to the final, melt-in-your-mouth creamy finish.
Boosting the flavor
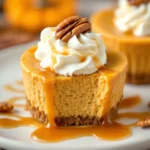
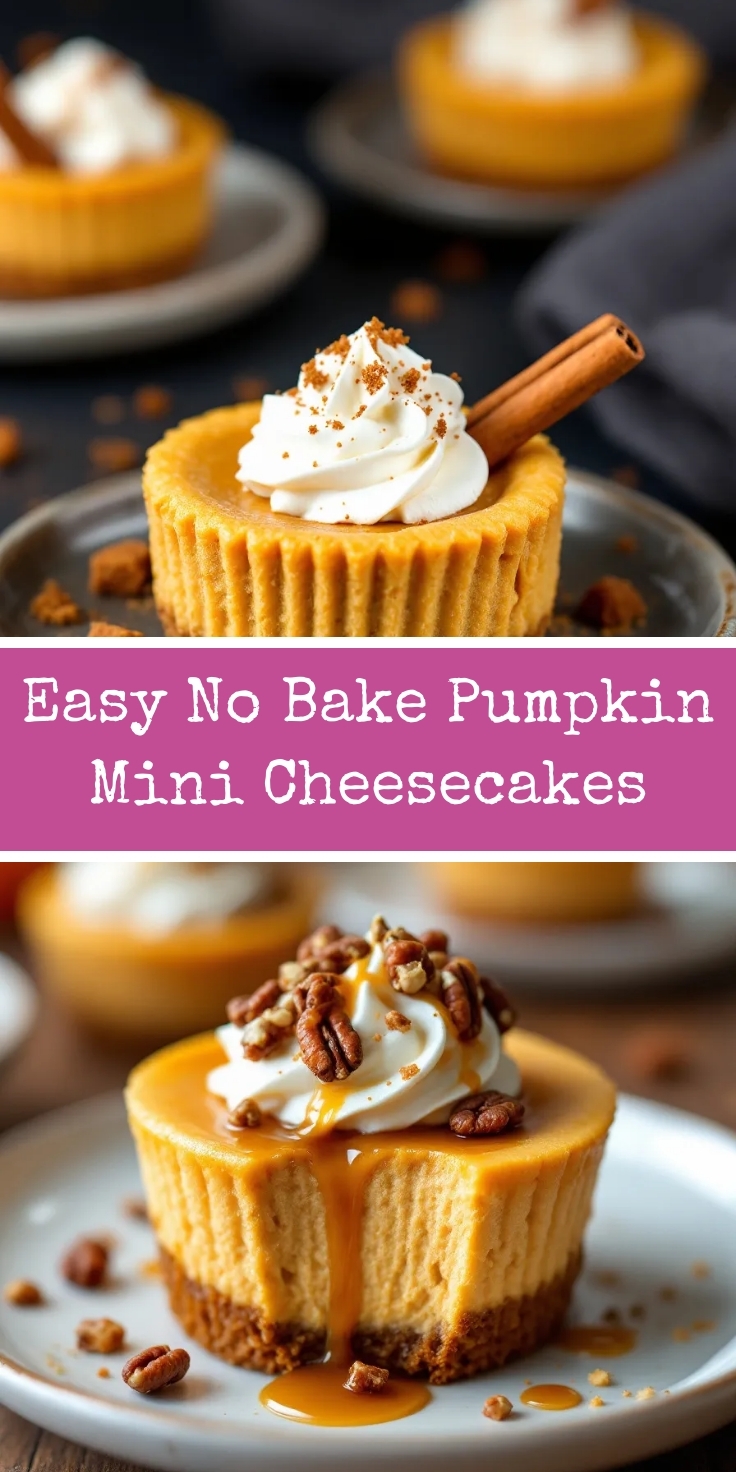
You can easily elevate your No Bake Pumpkin Mini Cheesecakes with a few simple tweaks. For an extra flavor boost, try adding a pinch of espresso powder to the filling, because it deepens the chocolate and spice notes without a coffee taste. A dollop of freshly whipped cream on top provides a lovely light contrast to the rich base, although a drizzle of salted caramel sauce introduces a wonderful sweet-and-salty complexity. Consider rolling the crust edges in finely chopped pecans for a nutty, crunchy texture that complements the creamy center. If you love warm spices, a sprinkle of homemade pumpkin pie spice right before serving will make the aroma even more fragrant. For a festive twist, a handful of mini chocolate chips folded into the filling creates delicious little pockets of melted chocolate. Finally, serving them well-chilled ensures the perfect firm yet creamy texture that makes every spoonful satisfying.
Tips for Success
Best practices for results
For the smoothest and most stable filling, always ensure your cream cheese is at room temperature before you begin, because this prevents any lumps in your No Bake Pumpkin Mini Cheesecakes. Use full-fat cream cheese and cold heavy cream for the best texture, as lower-fat alternatives result in a softer, less set cheesecake. Furthermore, press your crust mixture firmly and evenly into the bottom of each liner, which creates a solid base that won’t crumble when you take a bite. Finally, patience is the most important ingredient; always allow your mini cheesecakes to chill for the full recommended time so they set up perfectly firm.
Mistakes to avoid
A common mistake is not whipping the heavy cream to stiff peaks, although this step is crucial for providing structure and a light, airy texture to the filling. If your cream is under-whipped, the cheesecakes may not hold their shape well, so whip until the cream holds its peak when you lift the beaters. Another error is over-mixing the filling once the whipped cream is incorporated, even though this can deflate the mixture and make it loose. For a flawless presentation and clean removal, consider using a parchment paper liner in addition to your cupcake liners. Additionally, while it’s tempting to add more pumpkin, strictly follow the recipe measurements because adding too much puree makes the filling watery and prevents it from setting, a lesson you can also apply when making our popular No Bake Chocolate Cheesecake.

Serving and Pairing Suggestions
How to serve this dish
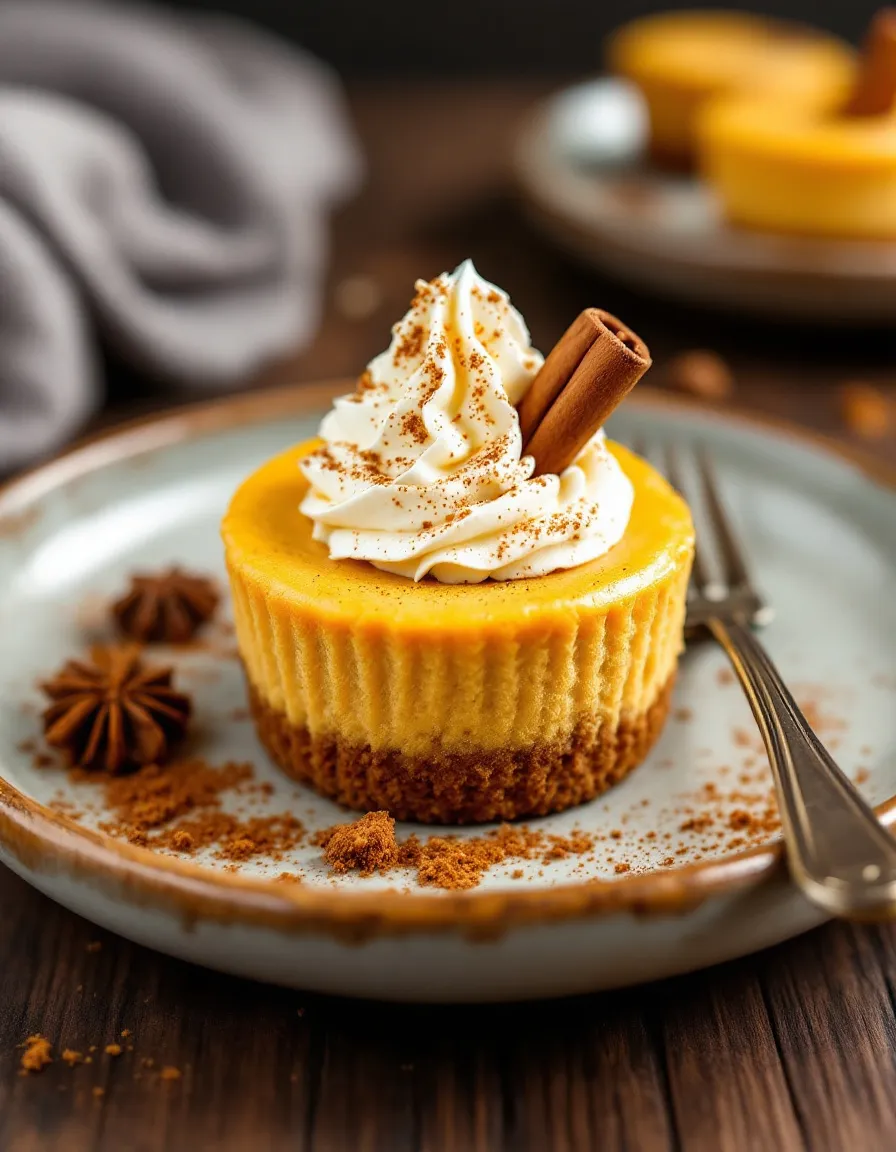
Present your No Bake Pumpkin Mini Cheesecakes on a beautiful cake stand or a rustic wooden board for a stunning visual effect. For a special touch, garnish each mini cheesecake with a dollop of freshly whipped cream and a light dusting of cinnamon or a single pecan half. These individual desserts are perfect for holiday gatherings, as they offer a pre-portioned, elegant end to a festive meal. Alternatively, they make a fantastic treat for a casual brunch or a celebratory potluck, allowing guests to enjoy a personal dessert without any fuss.
Finally, consider drizzling a little caramel sauce over the top just before serving for an extra layer of flavor and a glossy, professional finish. This simple step transforms your No Bake Pumpkin Mini Cheesecakes into a truly restaurant-quality dessert that will impress everyone at your table.
What goes well with it
A warm cup of coffee is the ultimate beverage pairing, as its robust bitterness beautifully cuts through the rich, creamy sweetness of the cheesecake. For a cozy evening, however, a glass of cold milk or a chai latte also makes a wonderfully comforting companion.
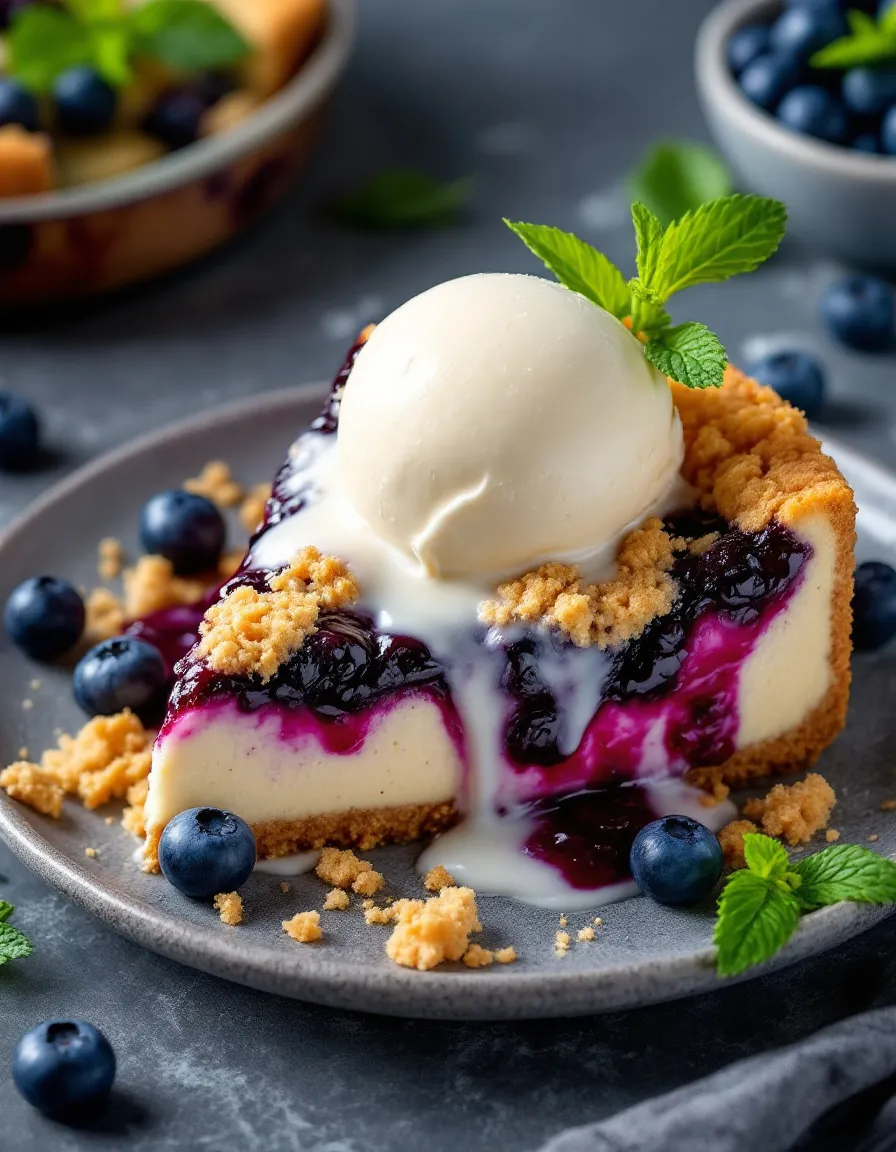
If you are serving these as part of a larger dessert spread, they pair wonderfully with a light and fruity option. For instance, a simple mixed berry salad provides a bright, tart contrast that cleanses the palate between bites. Moreover, a scoop of vanilla bean ice cream alongside your No Bake Pumpkin Mini Cheesecakes creates a delightful hot-and-cold sensation that is always a crowd-pleaser.
For a truly decadent experience, offer a side of homemade caramel or chocolate sauce for dipping. Additionally, a small side of our famously easy candied pecans introduces a delightful crunchy texture that complements the smooth filling perfectly.
They need a minimum of 4 hours in the refrigerator to set properly, but chilling them overnight is ideal for the best texture. This allows the filling to firm up completely, making your No Bake Pumpkin Mini Cheesecakes easy to remove from the pan.
Yes, you can freeze no bake cheesecake. Place the set mini cheesecakes in a single layer on a baking sheet to freeze solid, then transfer them to an airtight container. Thaw them in the refrigerator for several hours before serving your No Bake Pumpkin Mini Cheesecakes.
You can substitute graham cracker crumbs with an equal amount of crushed vanilla wafers, Biscoff cookies, or even ginger snaps for a spiced flavor. These alternatives will create a delicious crust for your No Bake Pumpkin Mini Cheesecakes.
This usually happens if the cream cheese was too warm when mixed or if it didn’t chill long enough. Ensure all ingredients are cool and give the dessert ample time to set in the fridge for perfectly firm mini cheesecakes.