Introduction
There’s something incredibly comforting about the smell of warm apples and cinnamon wafting through the kitchen, especially when it means a delicious treat is moments away. If you adore that classic fall flavor but want a simpler, healthier option than the deep-fried version, you are going to absolutely fall in love with these Baked Apple Fritters. They capture all the cozy, spiced goodness of your favorite apple dessert in a soft, cake-like pastry that’s surprisingly easy to make right at home.
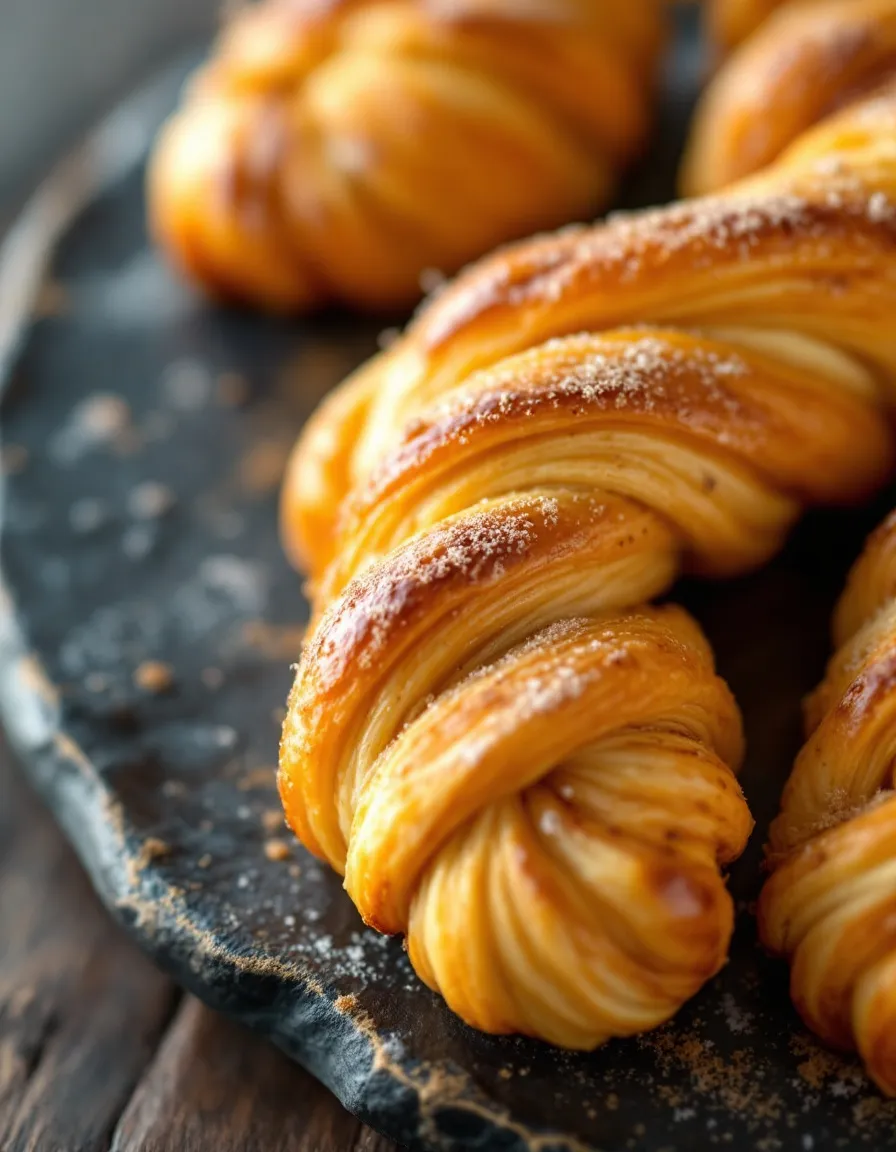
So, what exactly are Baked Apple Fritters? Essentially, they are a delightful twist on the traditional fairground treat. Instead of being submerged in a vat of oil, these fritters are made by folding tender chunks of apple into a simple, spiced batter and then baking them until golden. This method creates a wonderfully soft and cakey interior with a slightly crisp top, all while being significantly lighter. Their uniqueness lies in this perfect balance because they deliver that iconic apple-cinnamon flavor and satisfying texture without the heaviness of frying. This approach to a classic dessert aligns perfectly with my blog’s mission of creating easy family recipes that don’t sacrifice an ounce of flavor. They are the ideal project for a weekend baking session, filling your home with an irresistible aroma and resulting in a treat that everyone will adore. For the best results, I highly recommend using a great baking apple like Honeycrisp or Granny Smith, which you can learn more about in my guide to selecting the best apples for any recipe.
Why I Love This Recipe
I have a serious soft spot for this recipe because it satisfies my biggest cravings without any fuss. I love that I can quickly whip up the batter with pantry staples and have a warm, impressive dessert on the table in under 30 minutes. The smell alone is pure happiness, and seeing my family’s faces light up when I pull these golden Baked Apple Fritters from the oven is the best reward. They feel like a special indulgence, even though I know they’re a much smarter choice than the original.
Health and Nutrition
Why it’s good for your body
These Baked Apple Fritters offer a surprisingly wholesome twist on a classic treat because they are baked instead of fried. You get all the cozy flavor without the heavy grease, so they contain significantly less fat. Apples are the star ingredient, and each bite delivers a dose of soluble fiber. This fiber is fantastic for your digestive health while also helping you feel full and satisfied.
Furthermore, apples provide essential vitamins like vitamin C, which supports your immune system. Cinnamon is another key component because it is a powerful antioxidant. It helps fight inflammation in the body, even though it is used in a delicious dessert. Although it feels indulgent, you are making a smarter choice for your well-being. Enjoying a Baked Apple Fritter means you are treating yourself to a dessert that cares for your body.
How it fits in a healthy lifestyle
Baked Apple Fritters can absolutely be part of a balanced diet when enjoyed mindfully. They work perfectly as a planned treat within your daily calorie goals. Consider pairing one with a source of protein, like Greek yogurt, for a more complete snack that keeps energy levels stable.
You can easily adapt the recipe to meet specific dietary needs. For a gluten-free version, simply use your favorite one-to-one gluten-free flour blend. If you are exploring more wholesome baking, check out our guide to gluten-free flour substitutes for perfect results every time. For those managing sugar intake, natural sweeteners like maple syrup or monk fruit can replace refined sugar. Ultimately, this recipe supports practical, healthy eating because it satisfies a sweet craving without derailing your progress. Finding joy in food is key, so for more inspiration on balancing treats with nutrition, read about creating a balanced plate.
How to Prepare This Dish
Steps and time-saving tips
First, preheat your oven and line a baking sheet with parchment paper. Meanwhile, whisk together your dry ingredients in a large bowl. In a separate bowl, combine the wet ingredients like milk, egg, and melted butter. Next, pour the wet mixture into the dry ingredients and gently fold everything together until just combined. Importantly, do not overmix the batter; a few lumps are perfectly fine. Subsequently, fold in your finely diced apples. For a time-saving tip, use a small cookie scoop to drop uniform mounds of batter onto your prepared sheet. This method is not only faster but also ensures your Baked Apple Fritters cook evenly. Then, pop them in the oven and bake until they are beautifully golden brown. While they cool, whisk up a simple glaze. Finally, drizzle that sweet glaze over the warm fritters for the ultimate finish. For more detailed guidance on baking techniques, check out my guide on baking tips for beginners.
Mistakes I’ve made and learned from
I have absolutely overmixed the batter in my haste, which resulted in dense, tough Baked Apple Fritters instead of the light, cakey texture we all love. Furthermore, I learned the hard way that glopping on the glaze while the fritters are piping hot causes it to melt right off and create a puddle. Now, I always let them cool on a wire rack for about ten minutes first. Another classic mistake I made was using the wrong apple variety; a mushy apple turns into applesauce in the oven. I now swear by a firm, tart apple like Granny Smith for the best texture and flavor. For the perfect apple picking every time, my guide to the best apples for baking is a lifesaver.
Cultural Connection and Variations
Where this recipe comes from
Few treats feel as universally comforting as a warm apple fritter, a dish whose roots stretch across continents and generations. While many cultures have their own version of a fried dough and fruit dessert, the specific charm of Baked Apple Fritters often feels distinctly American, especially during the crisp autumn months. Families would gather after a day of apple picking, transforming their bounty into these spiced, cakey delights. The aroma of cinnamon and baking apples would fill the kitchen, signaling a cozy, shared experience.
This tradition is not unique to one place, however. In Germany, apfelküchle are thinly sliced apples dipped in a yeast batter and deep-fried, often served with vanilla sauce. Meanwhile, in the Netherlands, oliebollen can include apple pieces and are a staple for New Year’s celebrations. The beauty of these Baked Apple Fritters lies in their adaptability, because every family seems to have a cherished recipe passed down, whether it is for a holiday breakfast or a simple Sunday treat.
How it fits in today’s cooking
This classic dessert maintains its popularity today by fitting seamlessly into modern eating habits. While we still love it for its nostalgic value on holiday mornings or as a special weekend project, the baking method offers a lighter, easier approach than traditional frying. Home cooks now reimagine the fritter by incorporating whole wheat flour, reducing sugar, or even making them gluten-free, so everyone can enjoy a warm batch.
Its role has also expanded beyond breakfast. People now serve these fritters as a simple yet impressive dessert, perhaps alongside a scoop of vanilla ice cream. The recipe’s versatility is its greatest strength, allowing for endless personalization with different spices, glazes, or even a handful of nuts. For another fantastic way to use seasonal fruit, explore our popular recipe for Easy Apple Crisp. You can also find more inspiration for using autumn’s best produce in our guide to The Best Pumpkin Recipes for Fall.
Taste and Texture
What makes it delicious
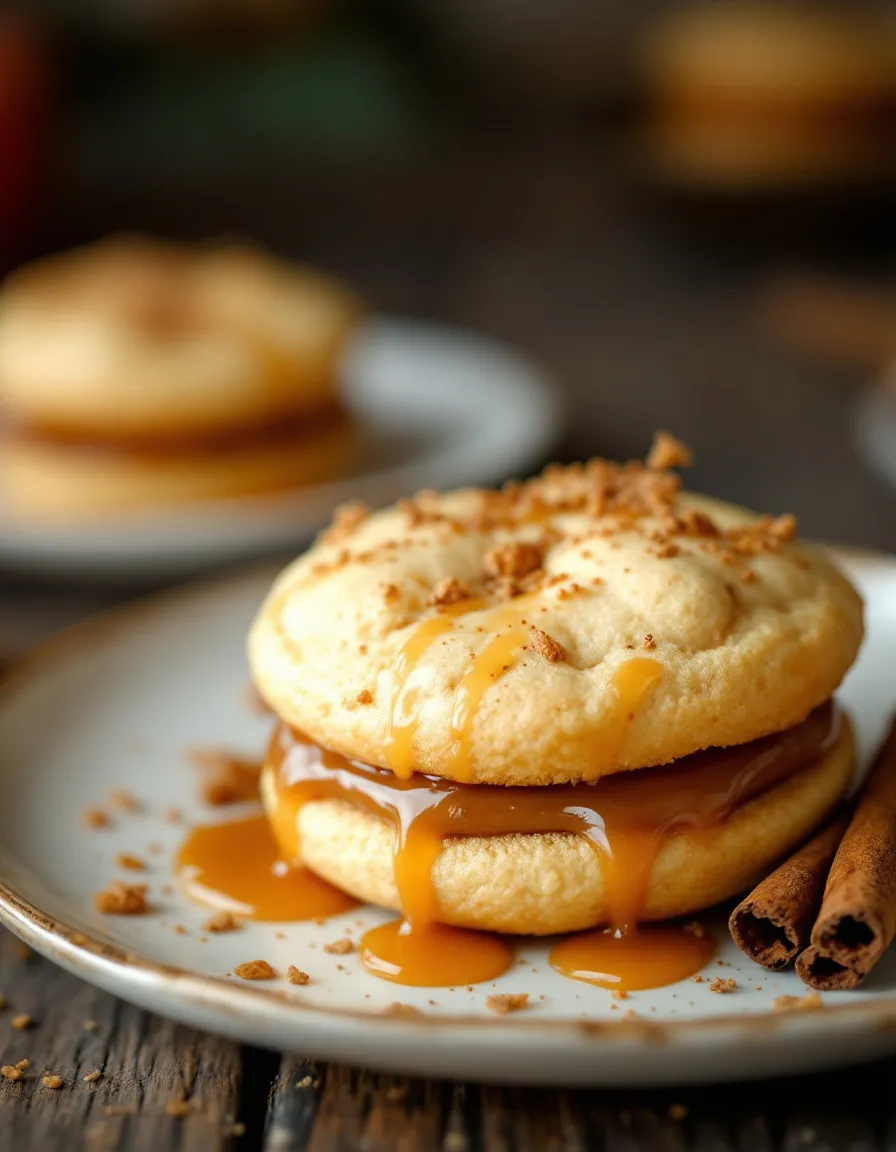
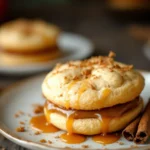
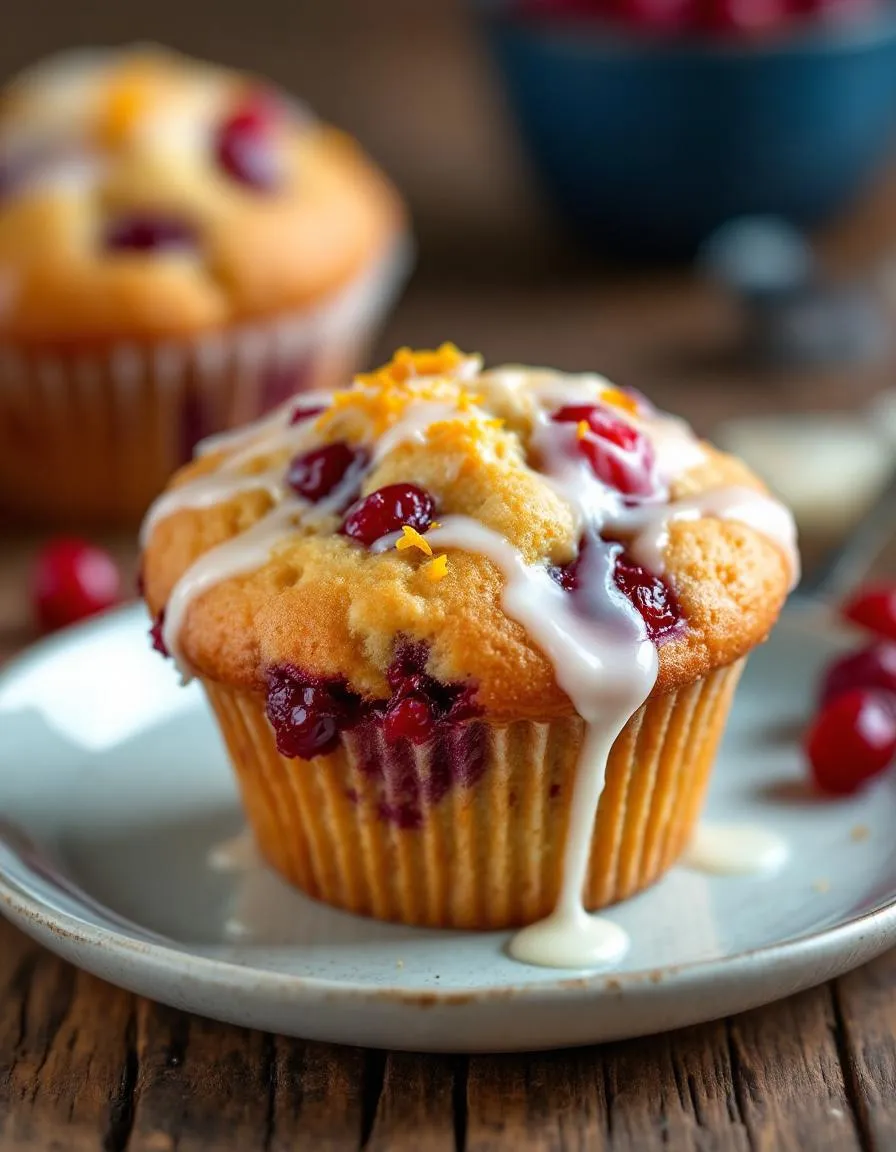
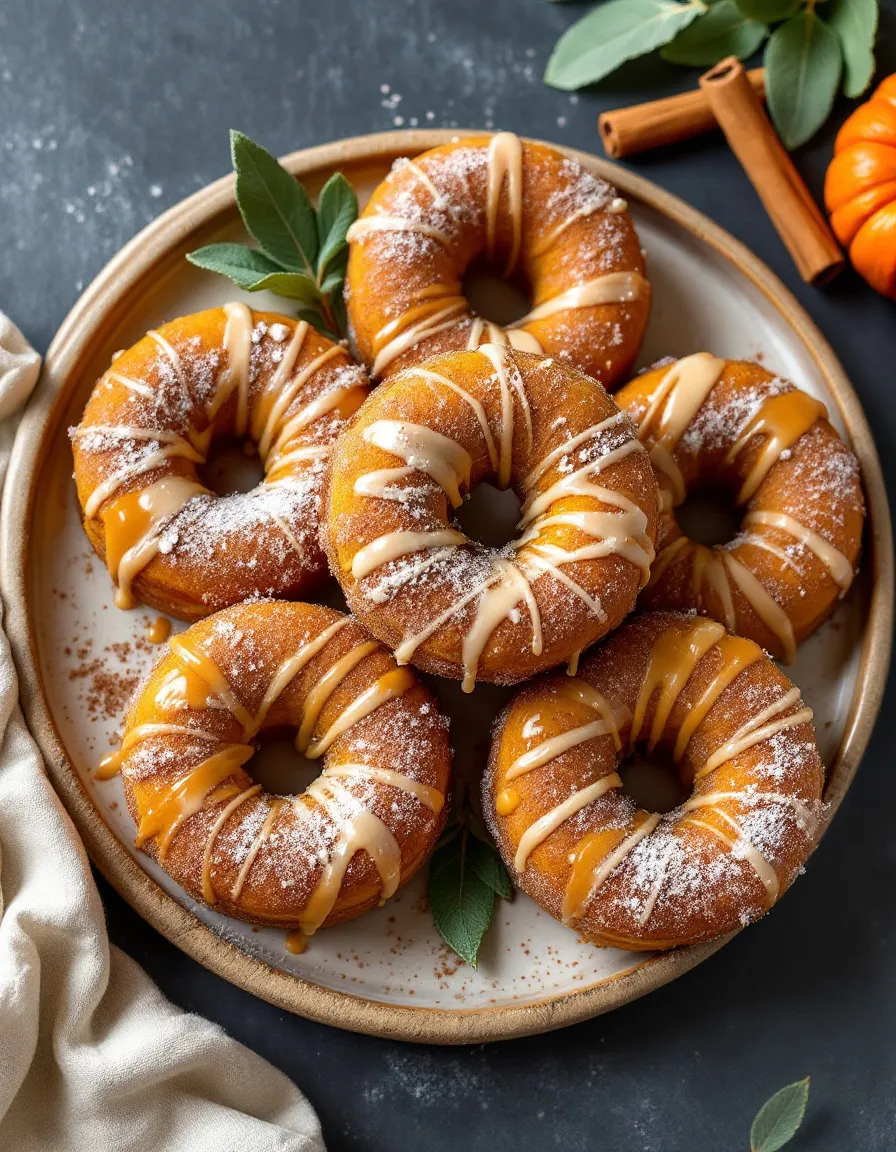
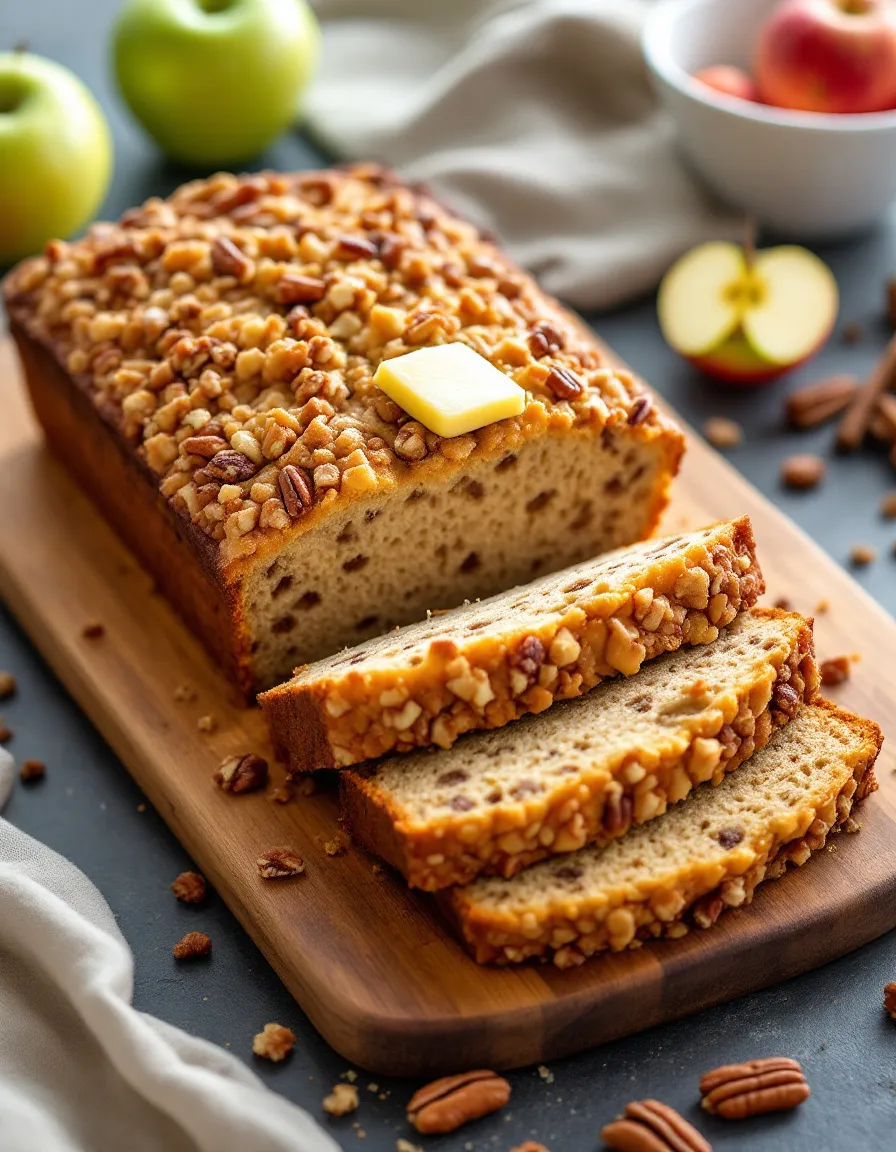
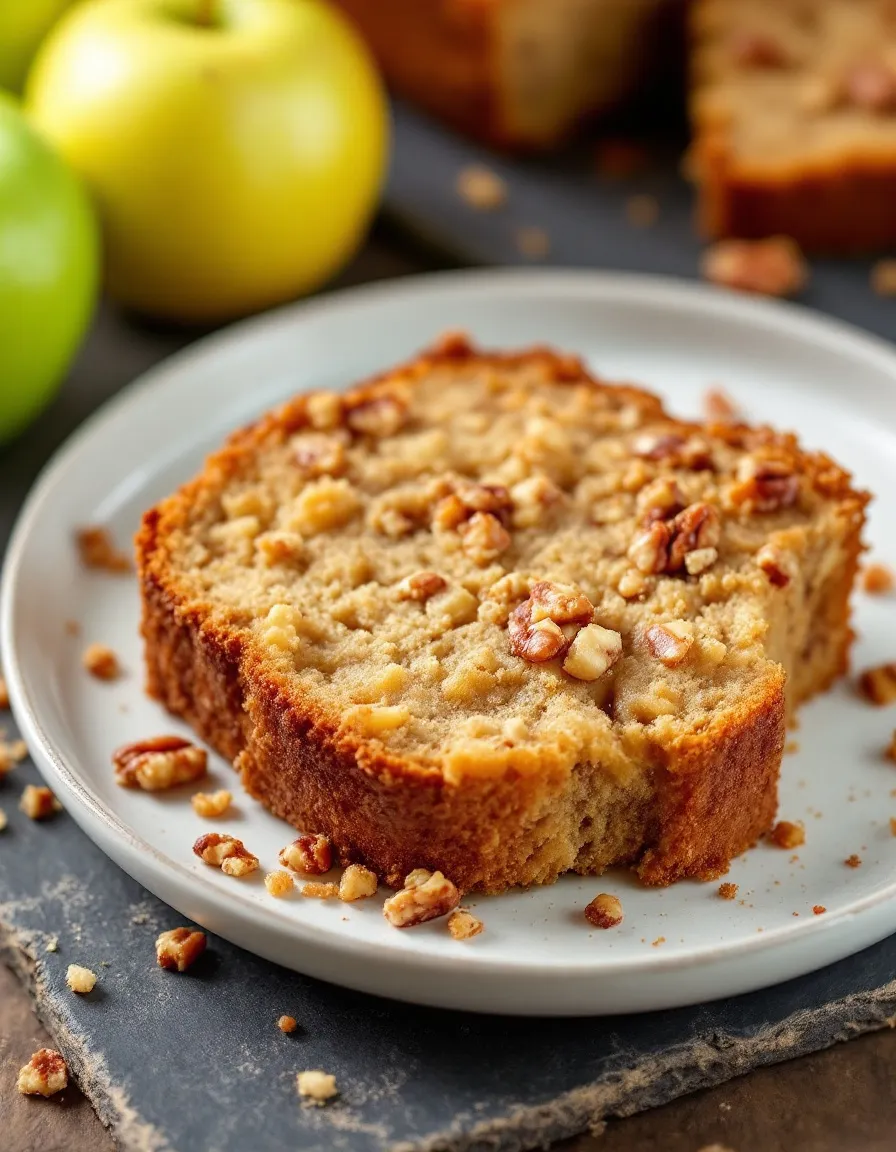
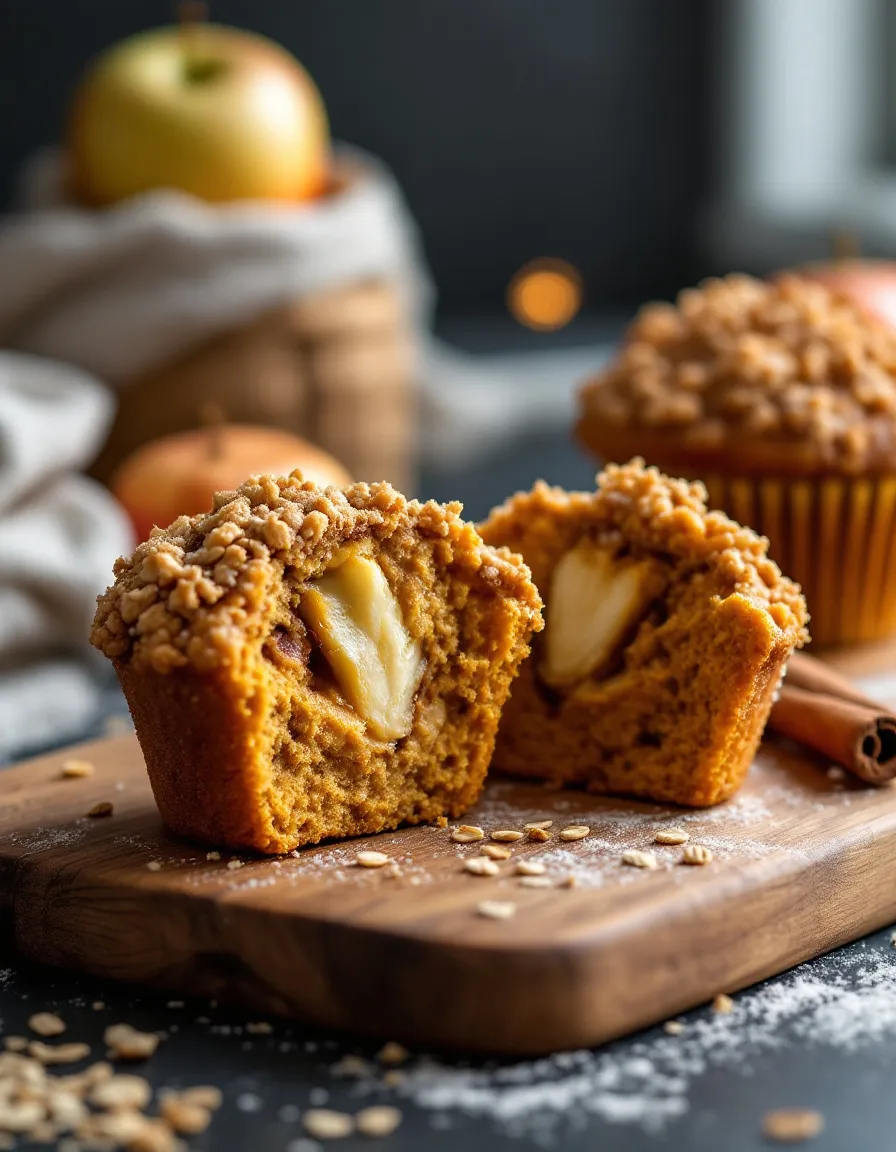
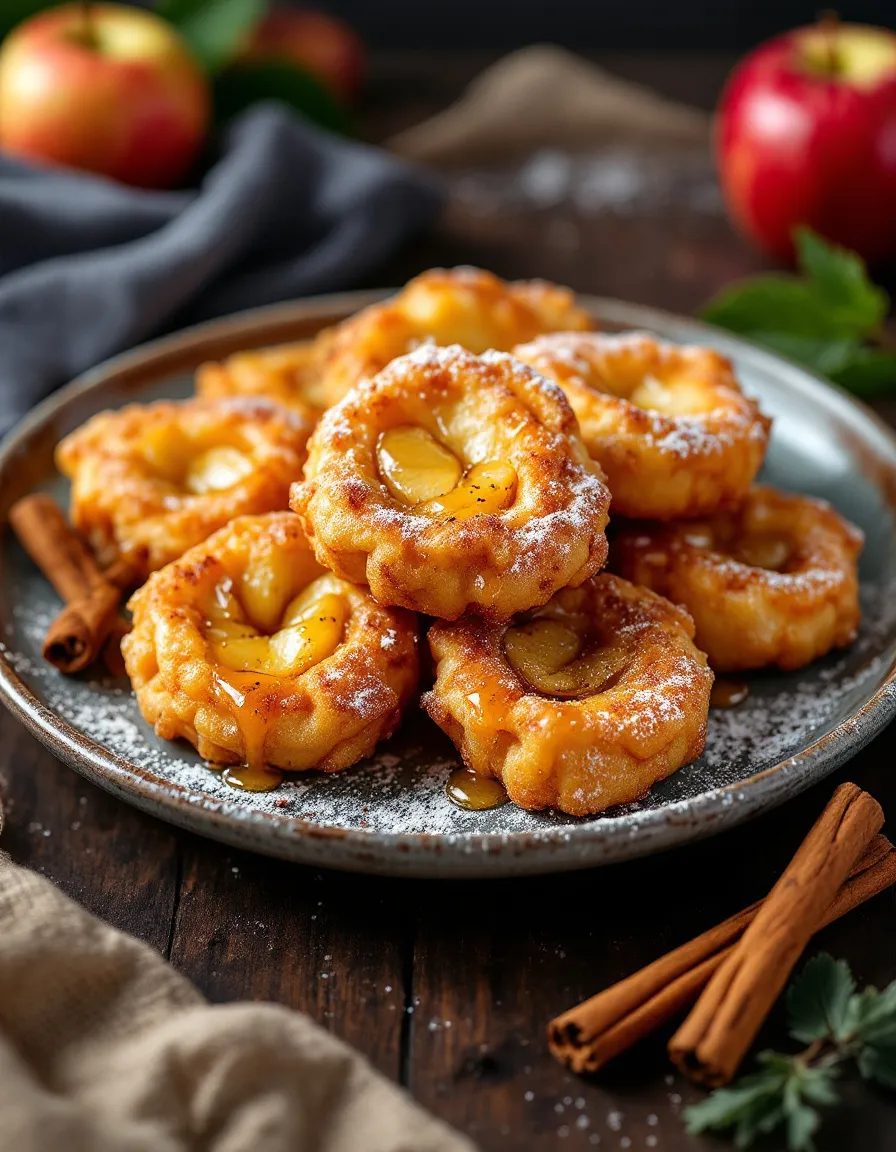
These Baked Apple Fritters offer a symphony of comforting textures and warm, spiced flavors. You are first greeted by a subtly crisp and golden-brown exterior that gives way to an incredibly tender, cake-like crumb inside. Each bite is packed with soft, juicy pieces of apple that provide a gentle, natural sweetness and a slight tang. The warm, fragrant spices like cinnamon and nutmeg mingle beautifully with the rich, buttery notes of the dough, creating a deeply cozy and aromatic experience that fills your kitchen. Because the apples are folded into the batter, they stay wonderfully moist during baking, so you get a delightful contrast between the airy, soft interior and the occasional chewy edge. The overall taste is reminiscent of a classic apple cider doughnut but feels more wholesome and satisfying. Enjoying a warm Baked Apple Fritter is like embracing the best parts of autumn in a single, delicious treat.
Boosting the flavor
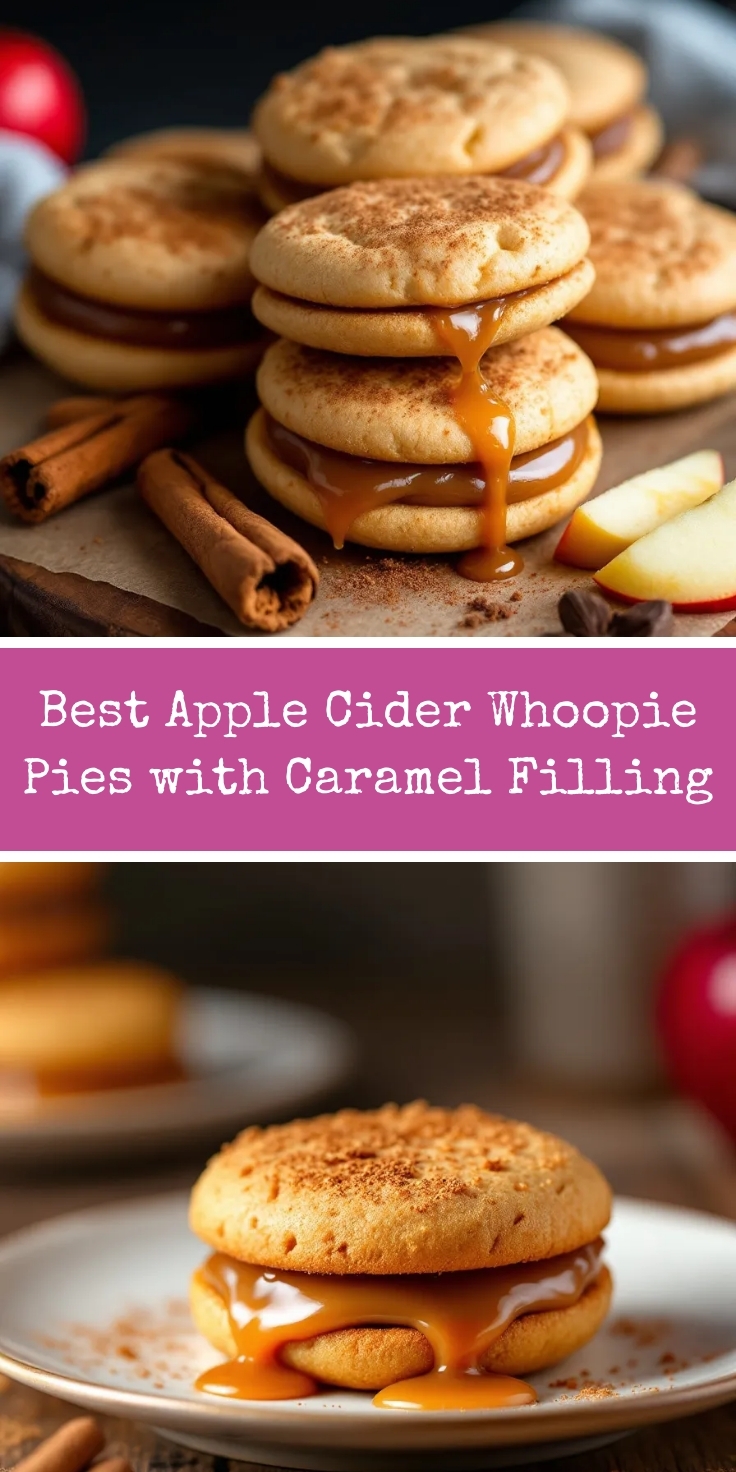
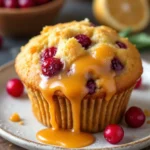
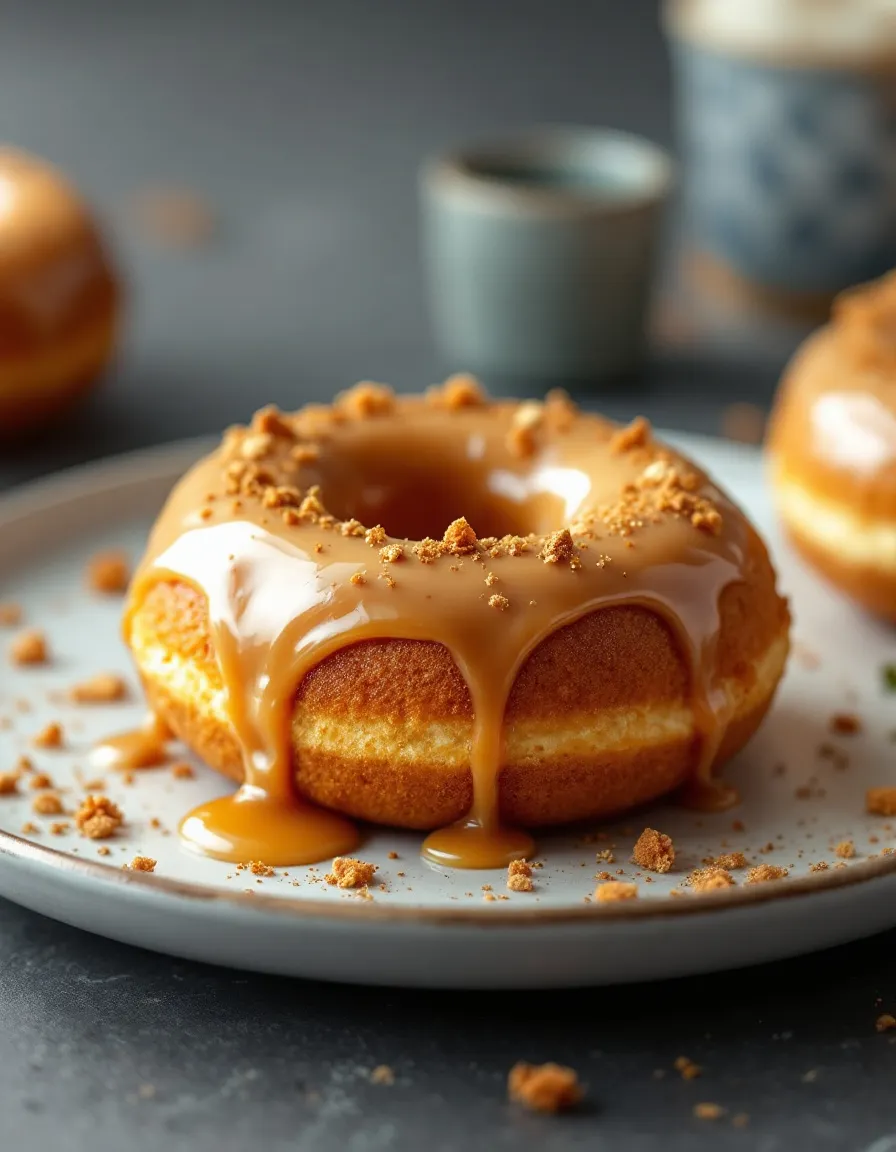
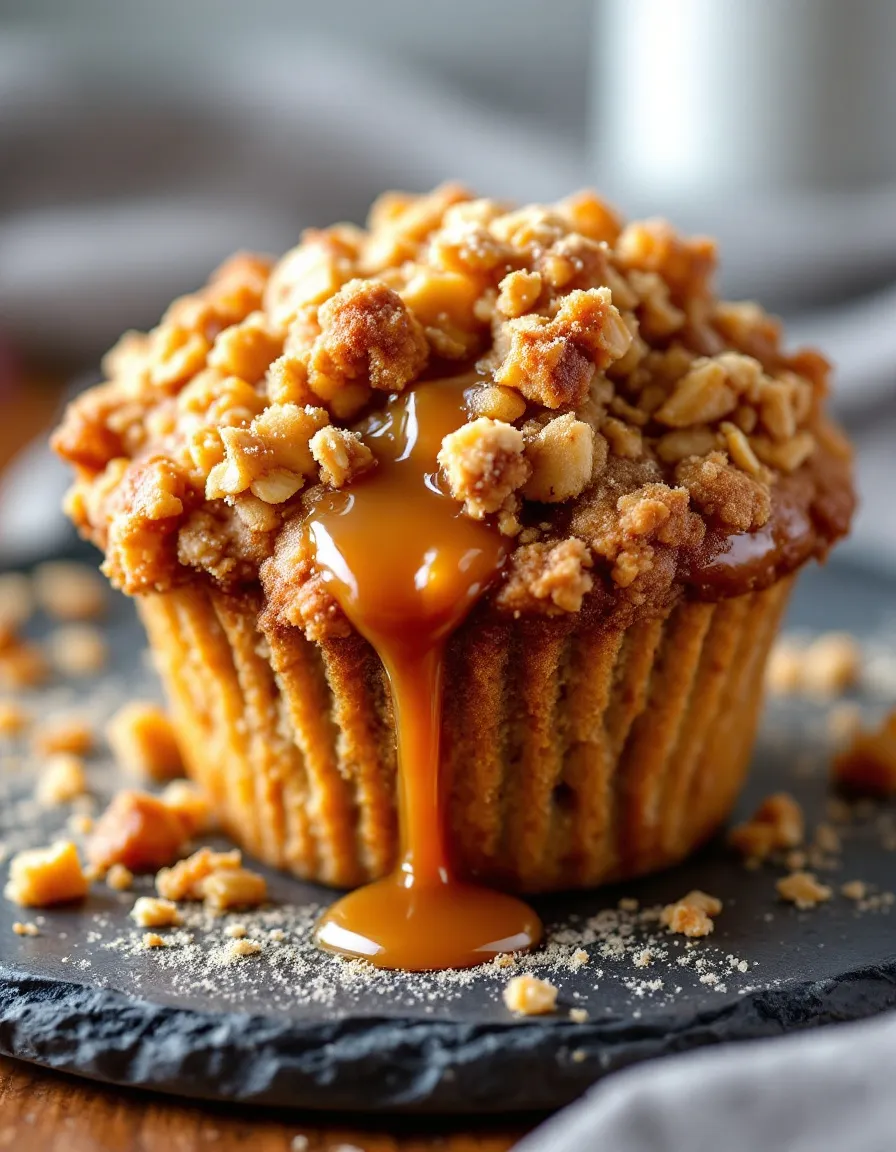
You can easily elevate your Baked Apple Fritters with a few simple tweaks. For an extra layer of cozy flavor, try adding a pinch of cardamom or a dash of ginger to your spice blend. Although they are delicious plain, a simple vanilla glaze drizzled on top while they are still warm adds a sweet, creamy finish that soaks into the tender crumb. Alternatively, a dusting of cinnamon sugar right out of the oven creates a delightful sparkly crust. Consider serving them with a side of homemade vanilla bean ice cream for a fantastic contrast of temperatures, or a dollop of lightly sweetened whipped cream. For a truly decadent twist, a warm caramel sauce makes an incredible companion, echoing the deep notes of brown sugar in the fritters. If you want to experiment with the apple itself, try using a tart Granny Smith for a brighter flavor or a mix of varieties for more complexity. Finally, pairing your fritter with a warm beverage like a pumpkin spice latte makes the entire experience even more special.
Tips for Success
Best practices for results
For the best texture, always chill your dough for at least 30 minutes before baking because this prevents the fritters from spreading too much in the oven. Use a cookie scoop to portion the dough onto your baking sheet, which ensures each of your Baked Apple Fritters is a uniform size and bakes evenly. Although it is tempting to overmix, gently fold the wet and dry ingredients together until just combined so you avoid developing too much gluten, which results in a tough final product. For a beautifully golden and crisp exterior, lightly brush the tops with melted butter or a simple egg wash before they go into the oven.
Mistakes to avoid
A common mistake is using the wrong type of apple, so be sure to choose a firm, tart variety like Granny Smith that holds its shape during baking rather than turning mushy. Another error is not properly draining any excess liquid from your grated apples, which can make your dough soggy and prevent your Baked Apple Fritters from achieving a light and fluffy interior; you can avoid this by wringing them out in a clean kitchen towel. Even though you might be eager to eat them right away, allow your fritters to cool on the baking sheet for a few minutes before transferring them to a wire rack, as this helps them set properly. For more guidance on selecting the perfect fruit, our guide on how to choose apples is an excellent resource, and if your bake time seems off, always verify your oven’s temperature with a standalone thermometer to ensure accuracy, a topic we cover in our article on oven temperature accuracy.

Serving and Pairing Suggestions
How to serve this dish
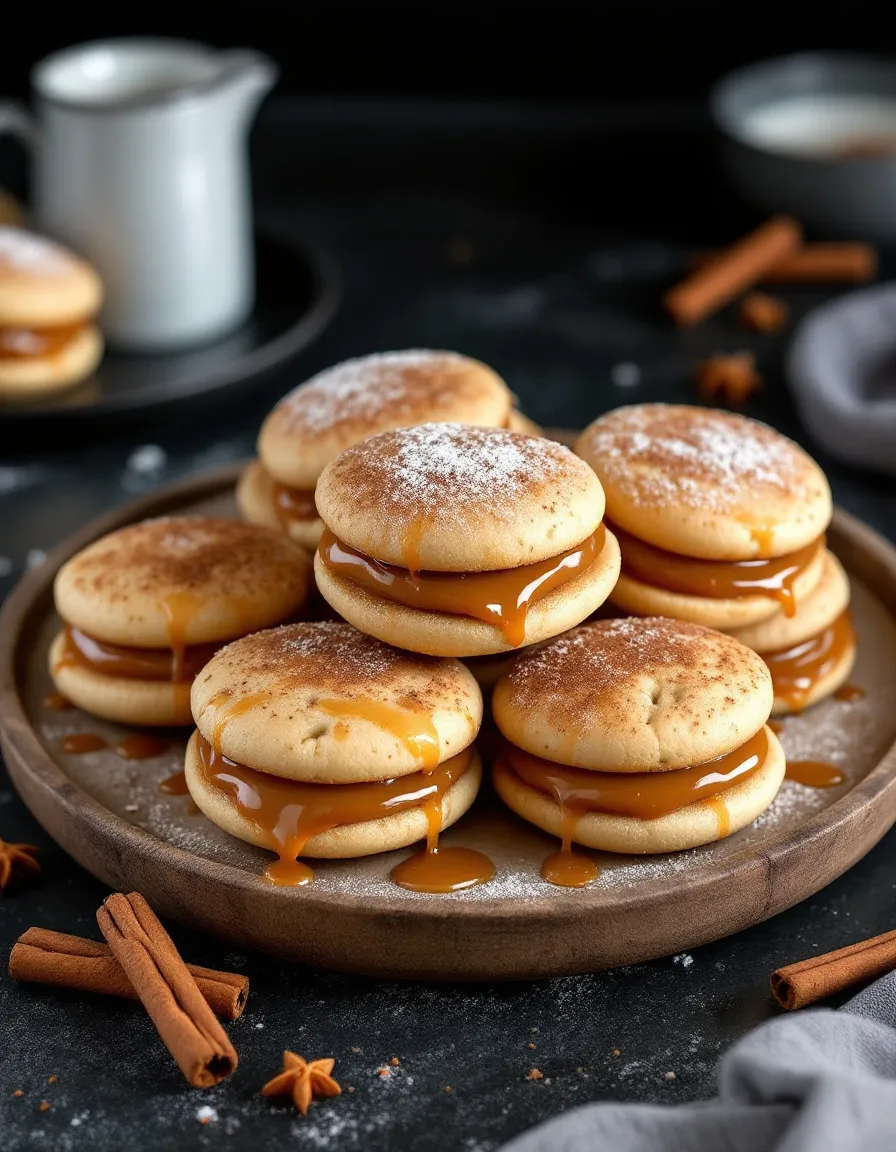
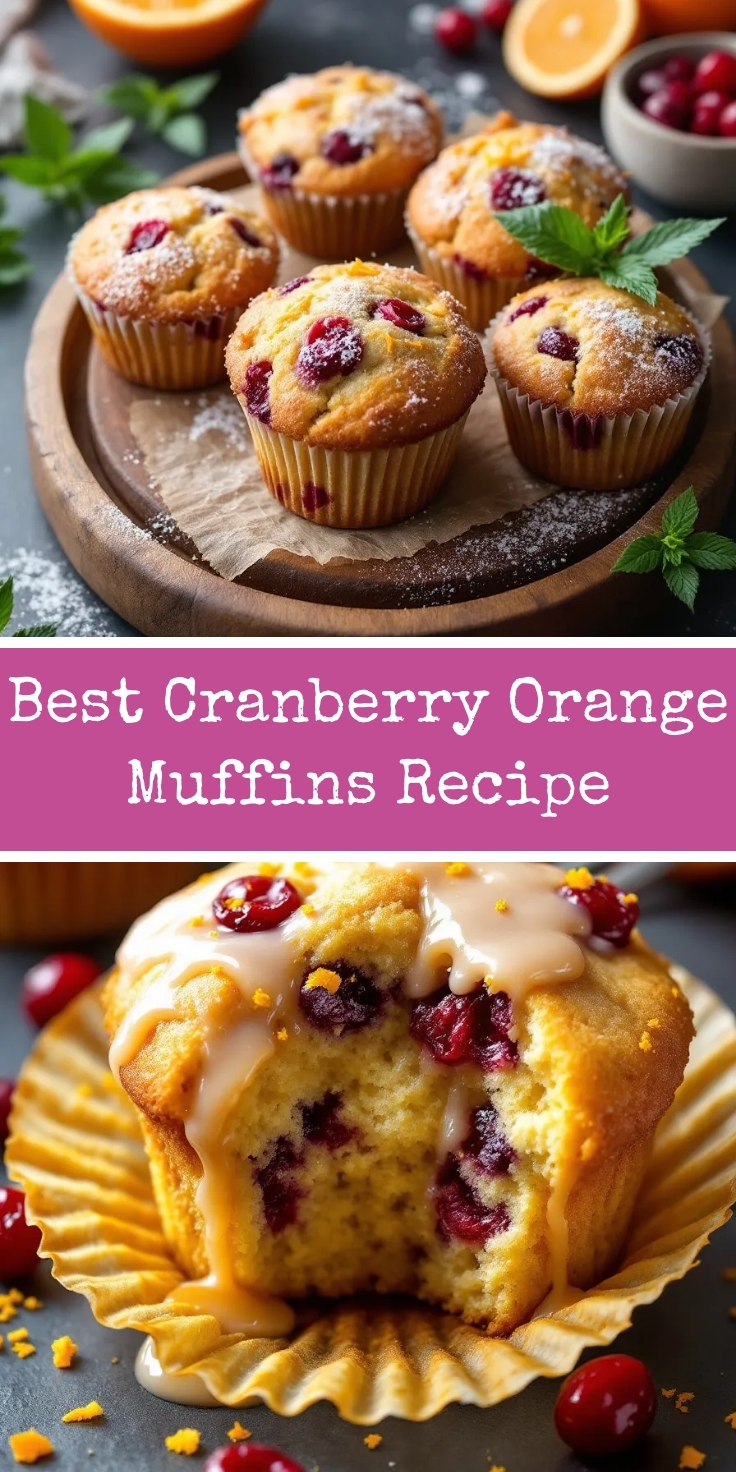
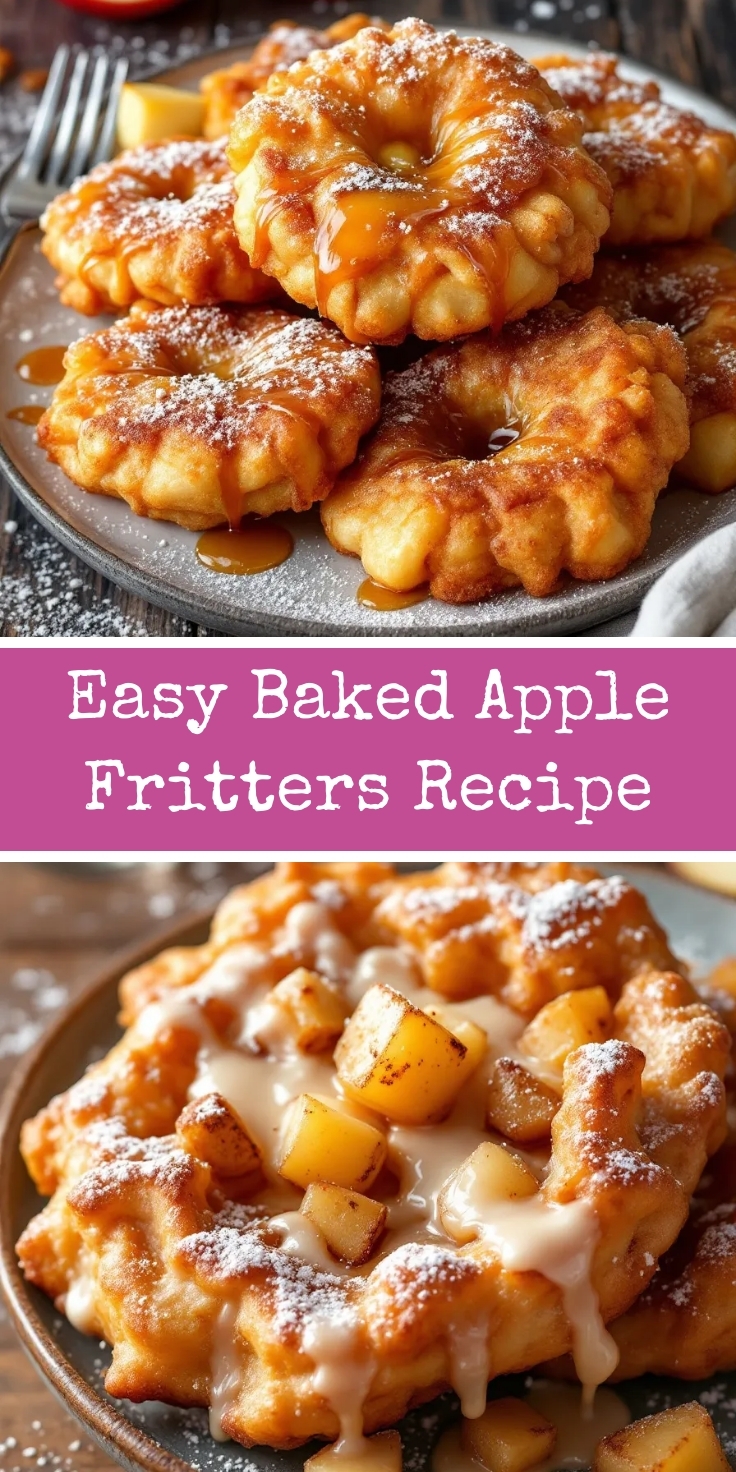
Serve your warm Baked Apple Fritters straight from the oven for the ultimate cozy experience. For a beautiful presentation, dust them with a light snowfall of powdered sugar or a drizzle of simple vanilla glaze. Furthermore, arrange them on a rustic wooden board or a vintage cake stand to create a charming centerpiece for your brunch table. These Baked Apple Fritters are perfect for holiday mornings, celebratory gatherings, or simply as a special weekend treat that makes any day feel extraordinary.
What goes well with it
A hot cup of coffee is the classic partner, as its robust bitterness cuts through the sweetness of the fritters perfectly. For a cold beverage, a tall glass of cold brew or a chai latte also makes a fantastic match. Additionally, a scoop of vanilla bean ice cream transforms this treat into a decadent dessert, melting deliciously over the warm, spiced apples. If you are looking for a savory balance, consider serving them alongside a plate of crispy bacon or our popular Savory Breakfast Casserole for a hearty and complete meal. Finally, for a delightful dipping sauce, a side of our homemade Salted Caramel Sauce adds a rich, buttery dimension that everyone will love.
Firm, tart apples like Granny Smith or Honeycrisp are the best choice for baking. They hold their shape well during the baking process and provide a pleasant contrast to the sweet glaze on your Baked Apple Fritters.
The key is to avoid overmixing the batter and to bake them until they are deeply golden brown. Allowing your Baked Apple Fritters to cool completely on a wire rack also helps steam escape, preventing a soggy bottom.
Yes, you can freeze them for up to 3 months. Ensure they are completely cooled, then place them in a single layer on a baking sheet to freeze solid before transferring to an airtight freezer bag. Thaw at room temperature and warm them in the oven to refresh.
Yes, baked versions are generally healthier as they use significantly less oil. Baking instead of deep-frying reduces the overall fat and calorie content while still delivering a deliciously spiced and satisfying treat.
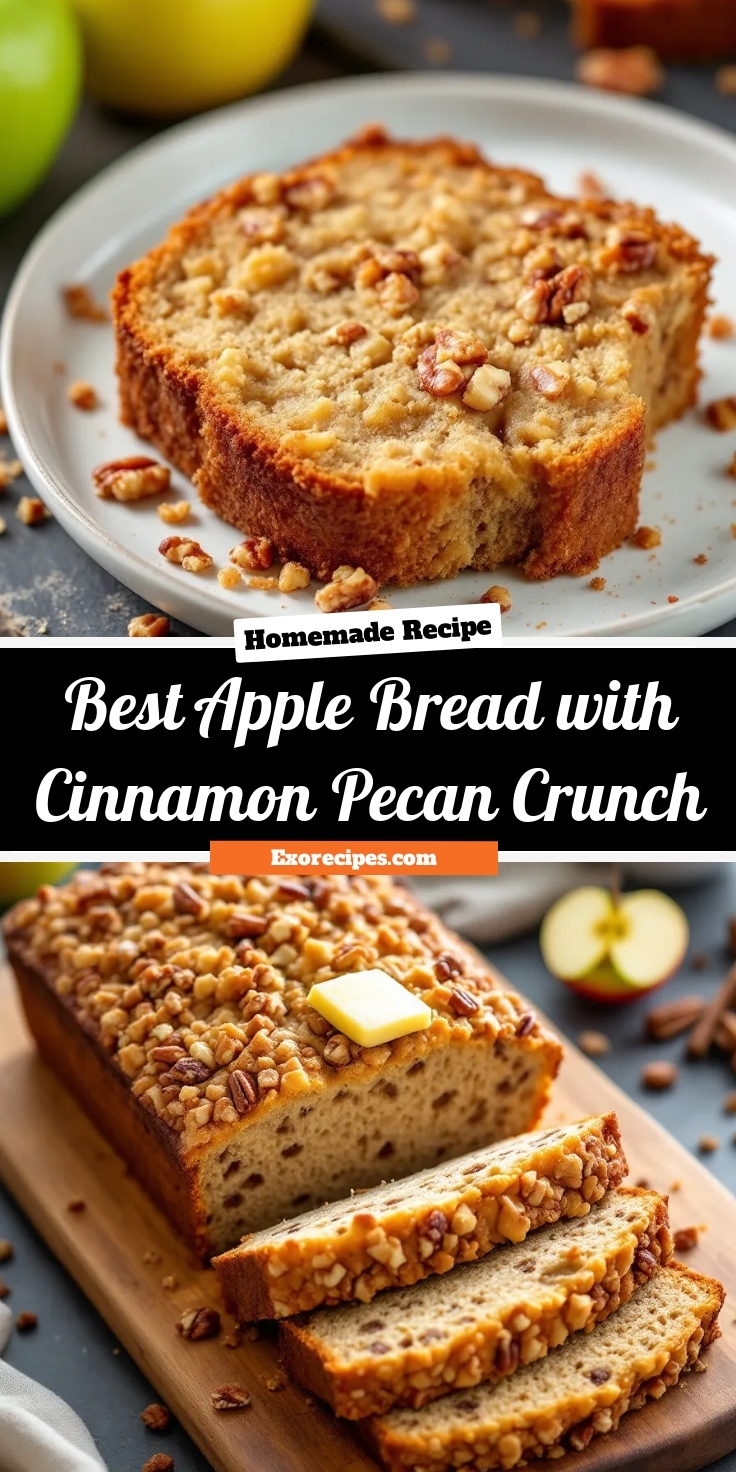
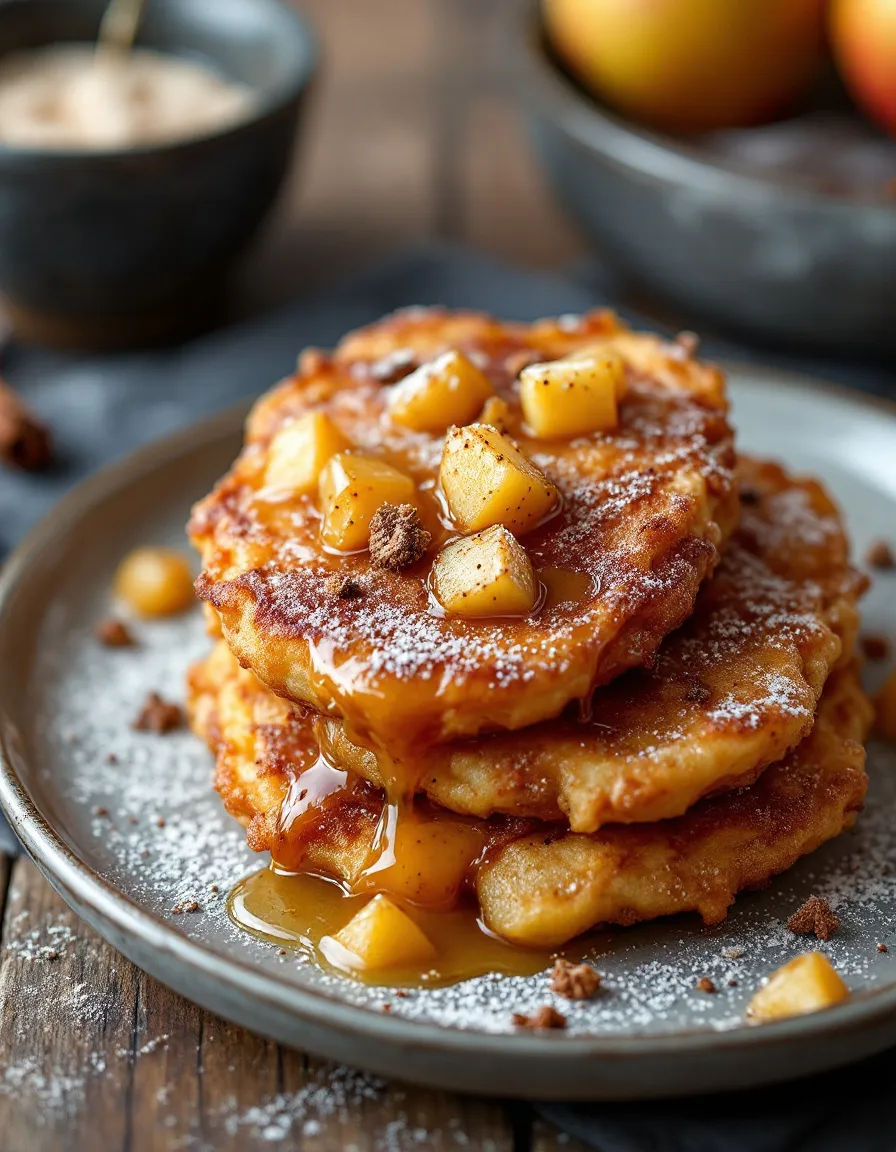
Baked Apple Fritters
Description
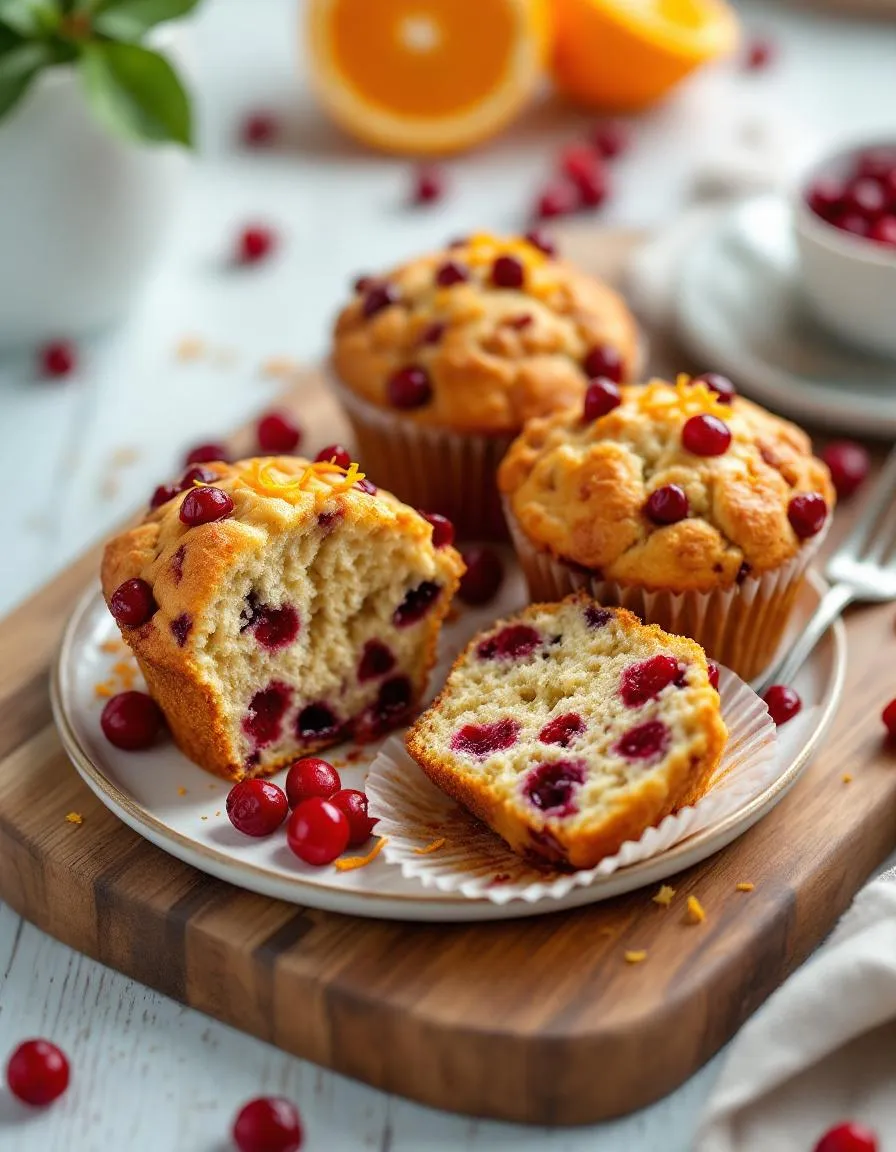
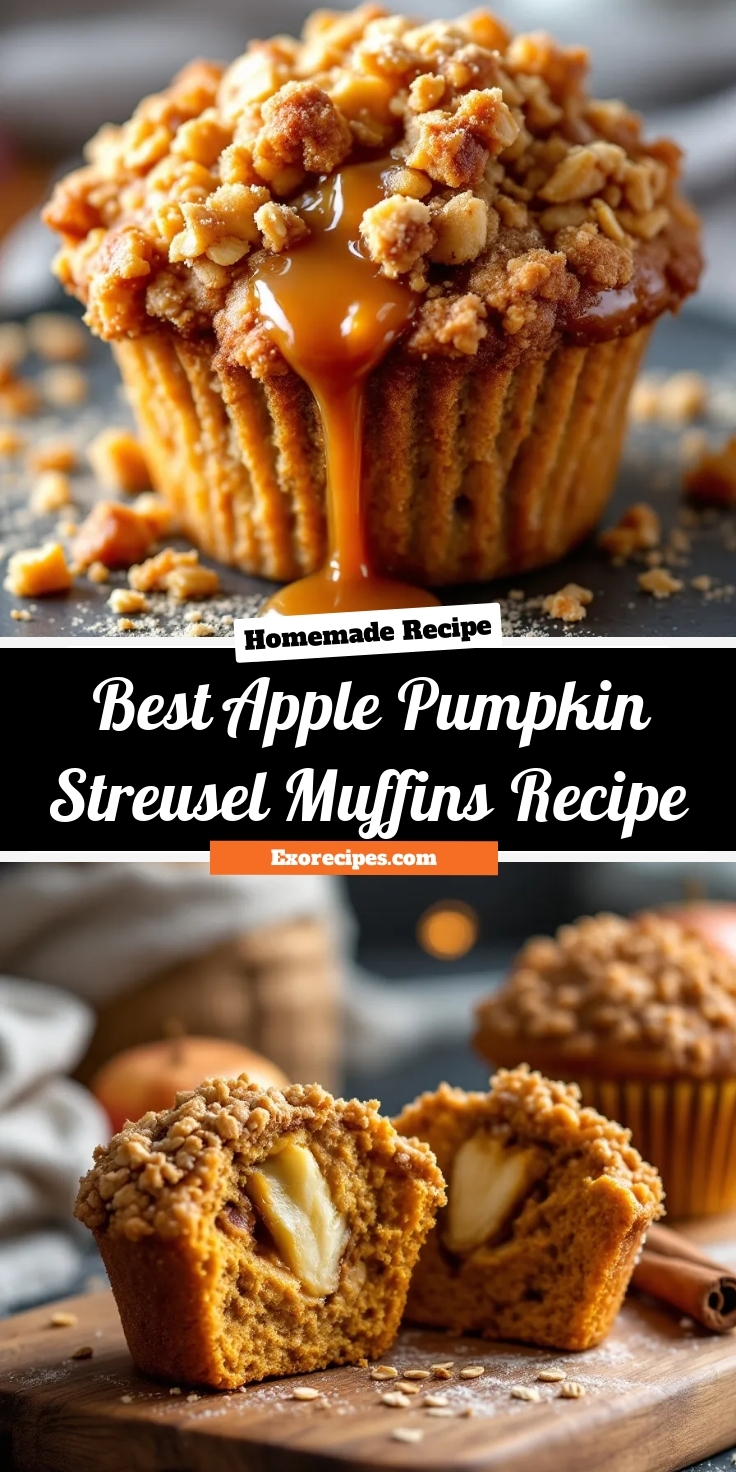
Savor the delightful taste of Baked Apple Fritters, crafted with a blend of all-purpose and whole wheat flours, enriched with brown sugar, spices, and chopped apples, topped with a sweet vanilla glaze. These fritters offer a perfect, healthier alternative to fried desserts, ideal for cozy fall mornings.
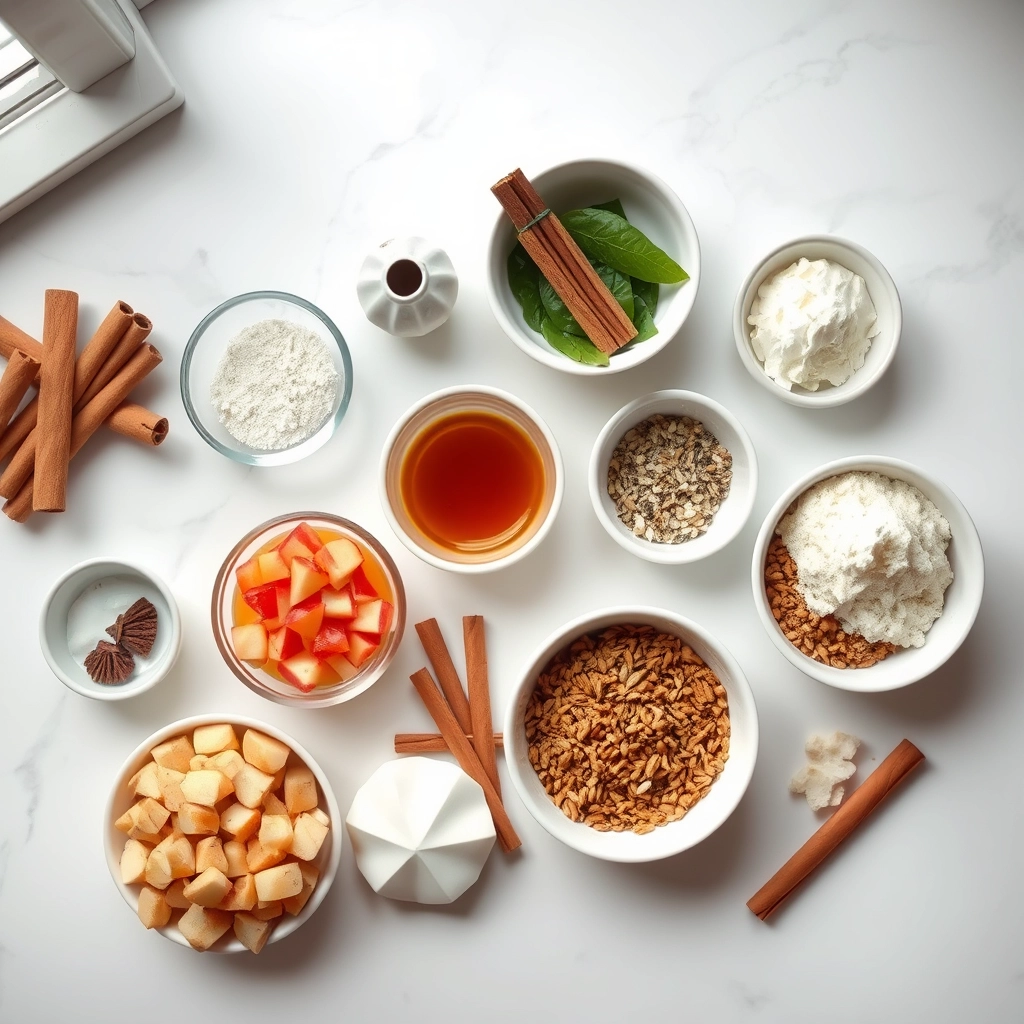
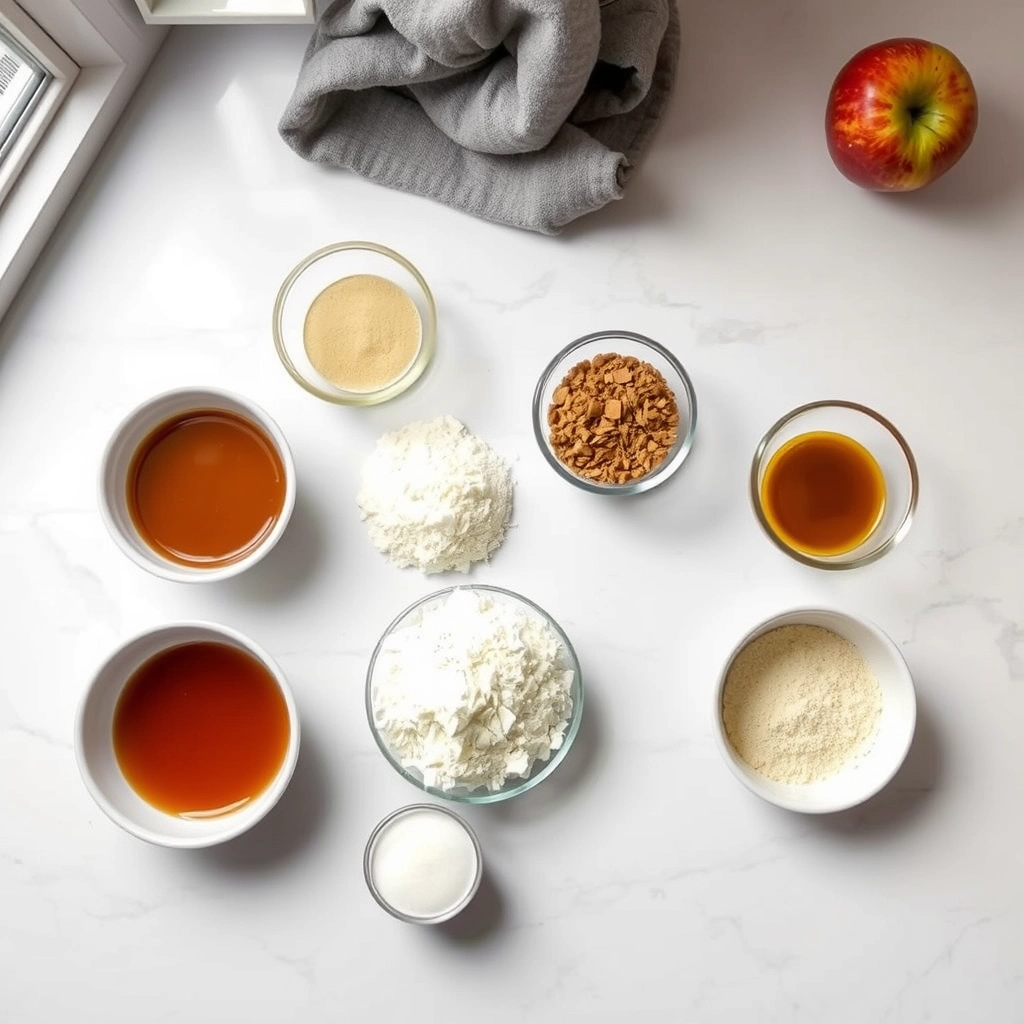
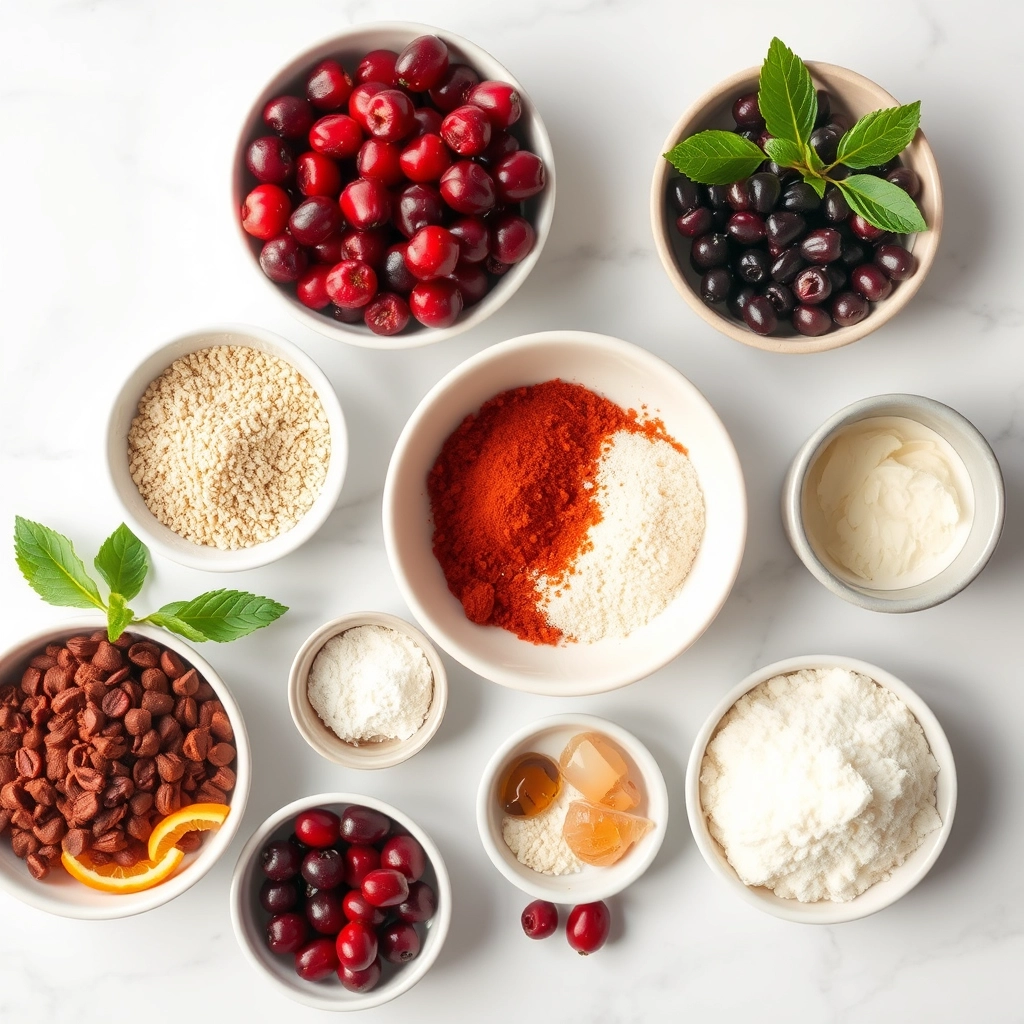
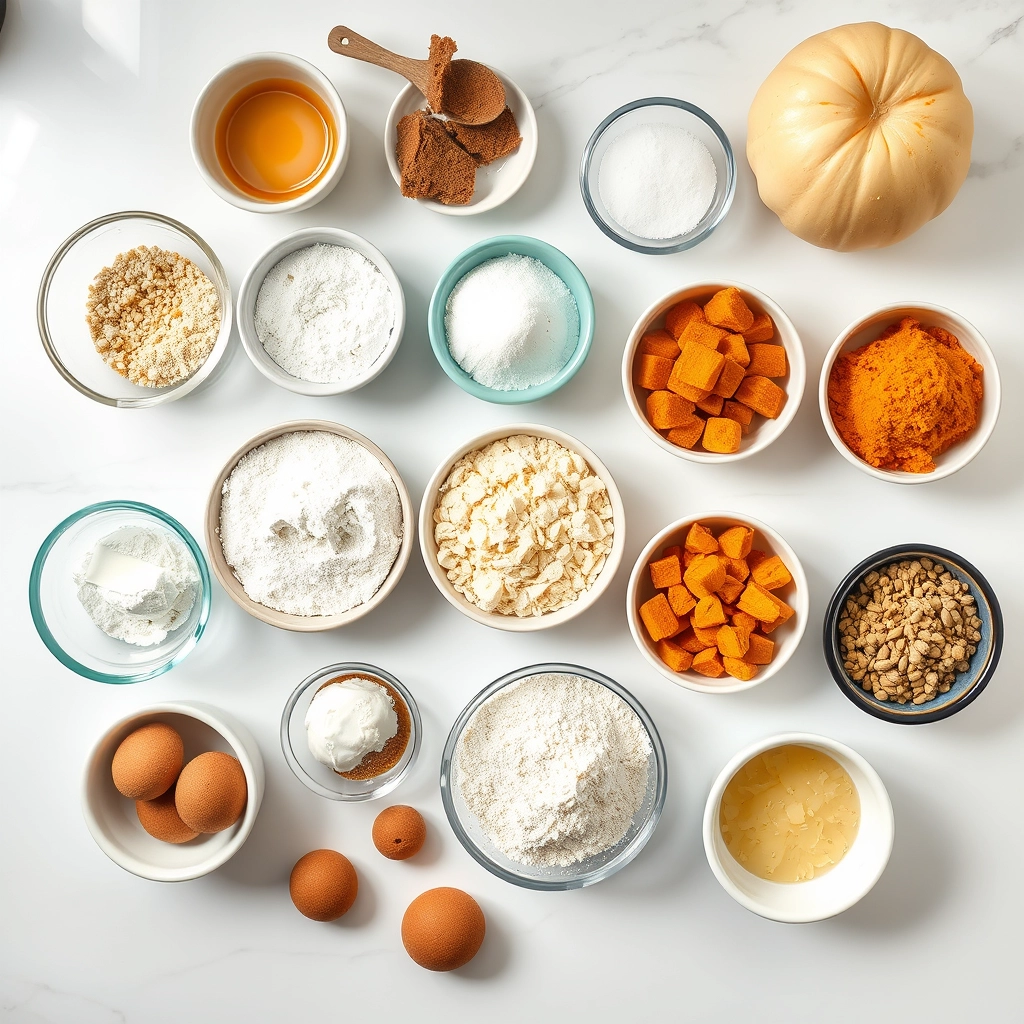
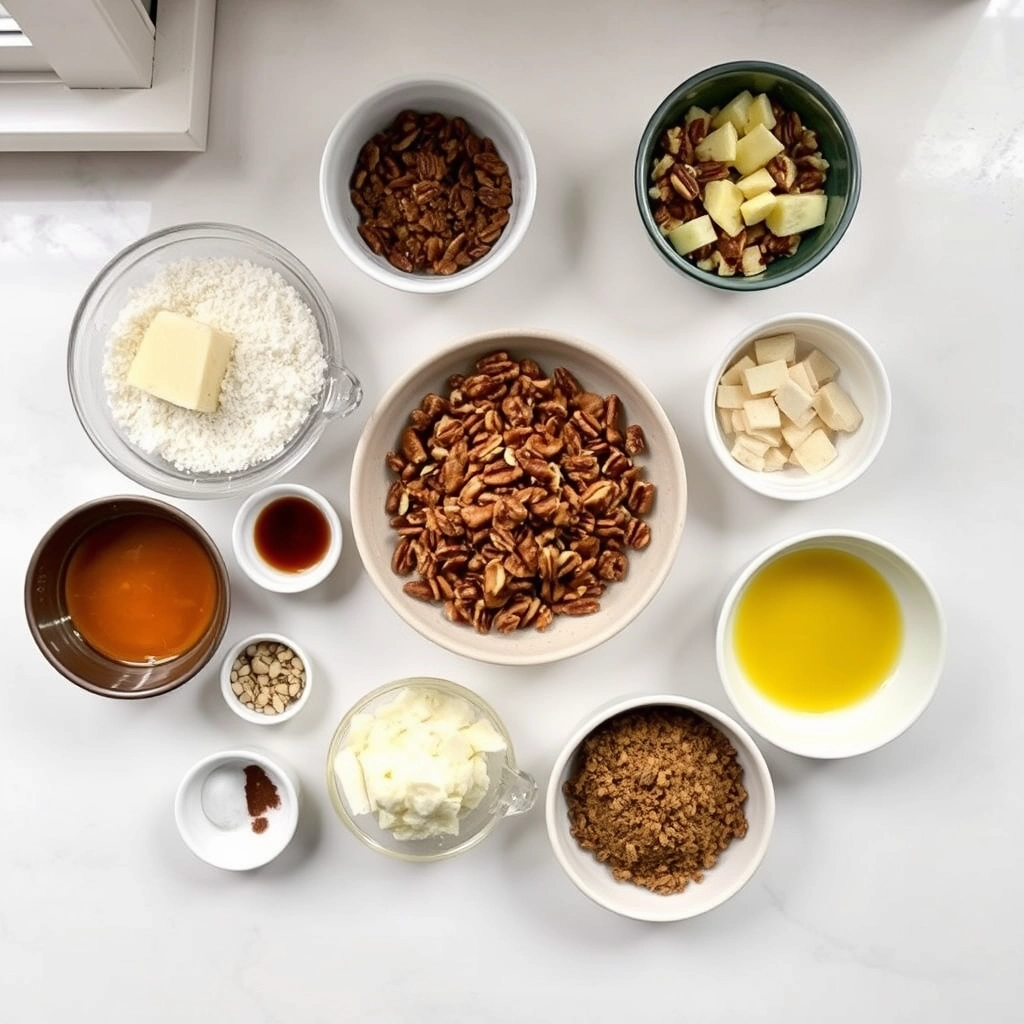
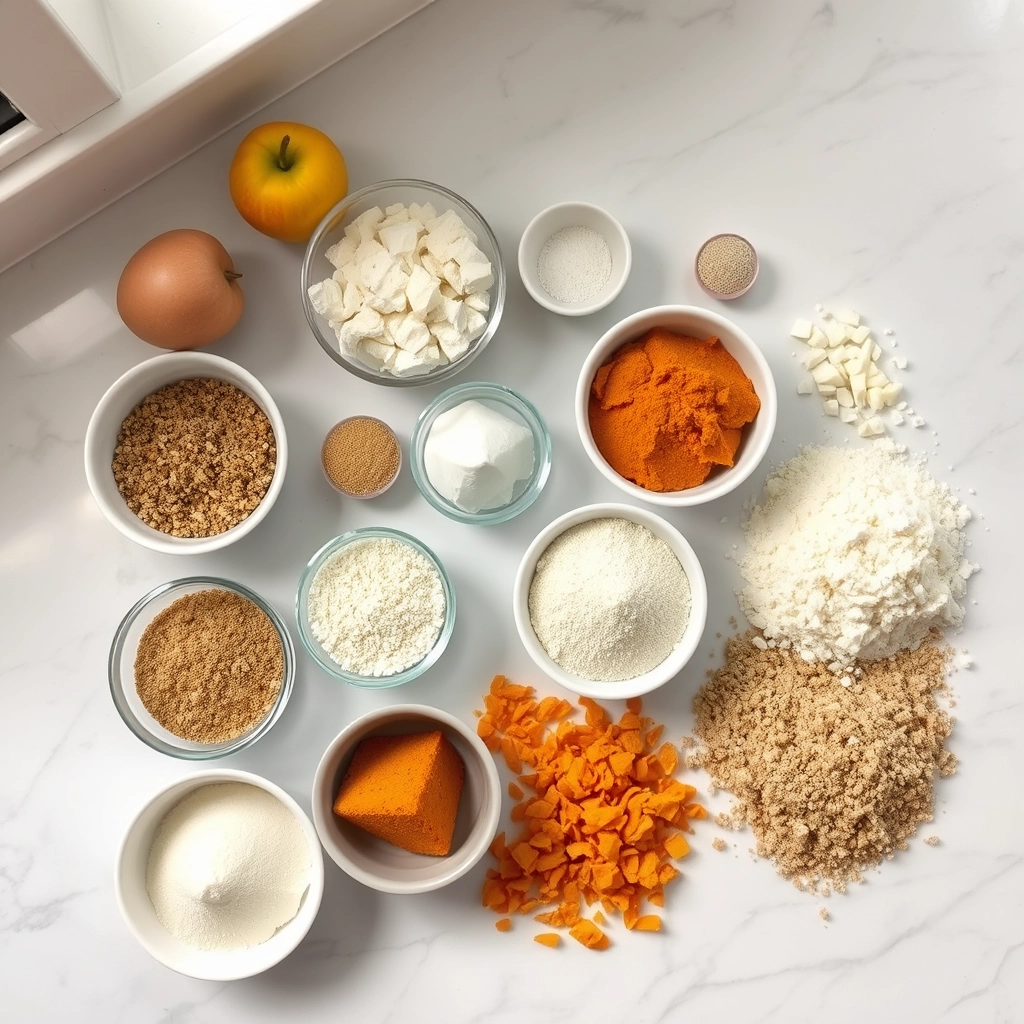
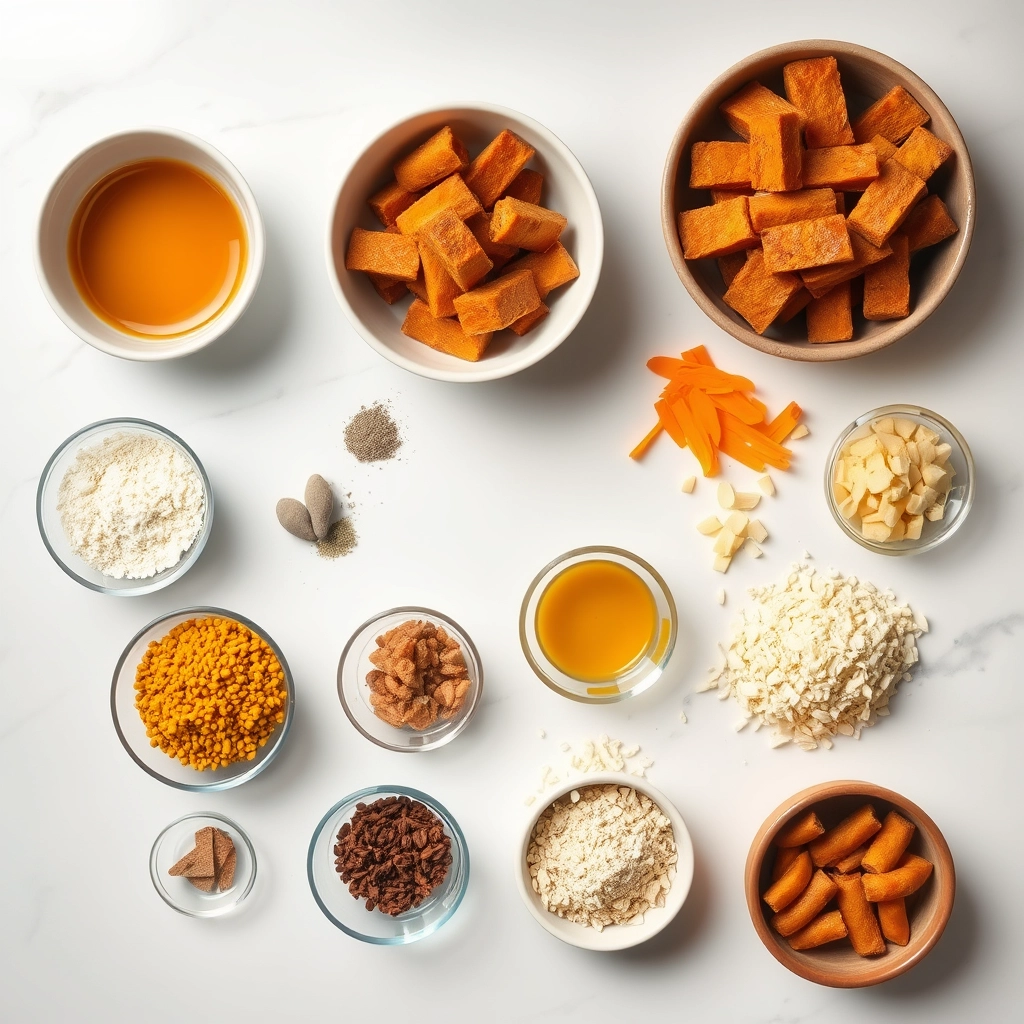
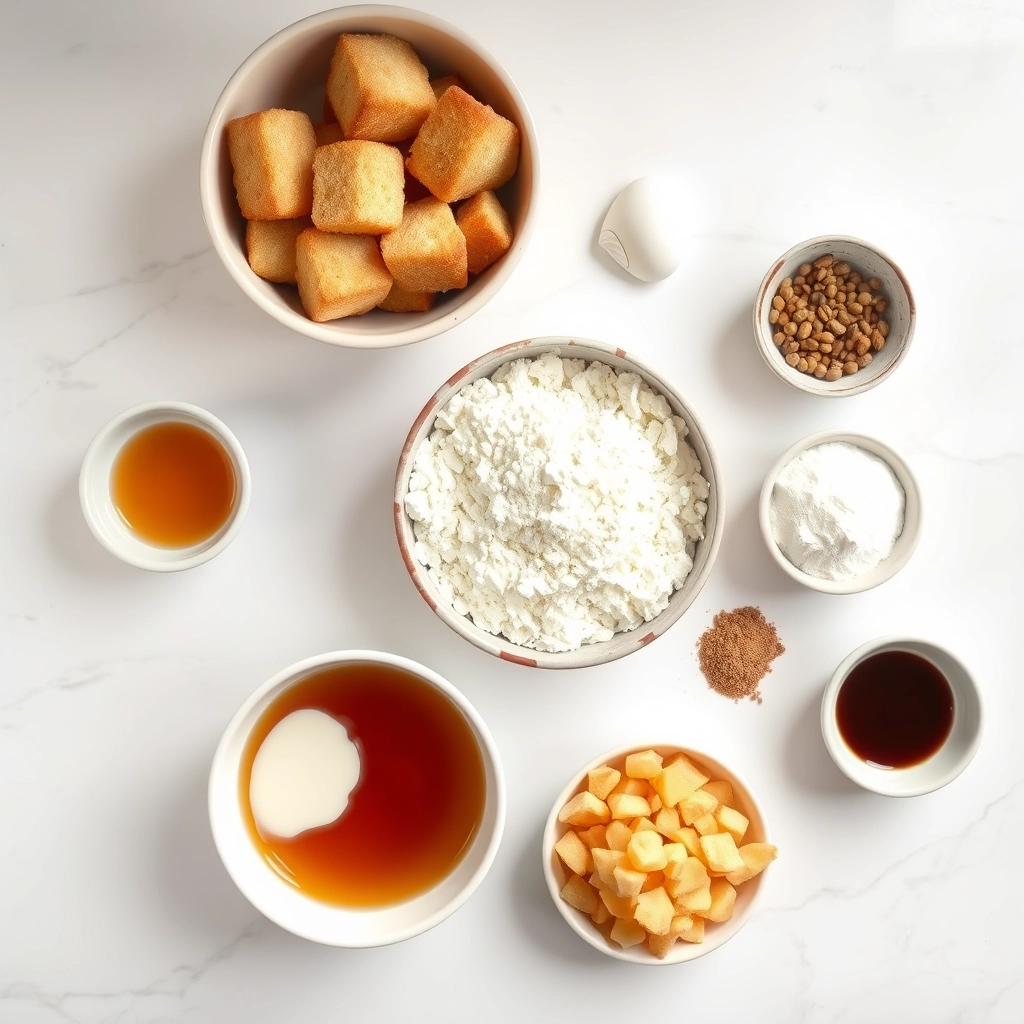
Ingredients
For the Crust:
- 3/4 cup all-purpose flour
- 3/4 cup white whole wheat flour
- 1/2 cup brown sugar
- 2 teaspoons baking powder
- 1 teaspoon cinnamon
- 1/2 teaspoon nutmeg
- 1/4 teaspoon allspice
- 1/4 teaspoon salt
- 6 tablespoons butter (cold and cubed)
- 1/2 cup milk (preferably with high fat content)
- 1 large egg
- 1 teaspoon vanilla extract
- 1 cup finely chopped apples
- 1 cup confectioners’ sugar
- 2 tablespoons milk (with a high percentage of fat for best results)
- 1 teaspoon vanilla extract
Instructions
1. Prepare the Crust:
- Oven Preparation: Begin by preheating your oven to 400 degrees Fahrenheit. Prepare a baking sheet by lining it with a silicone baking mat to prevent sticking; ensure the mat is suitable for use under a broiler.
- Dry Ingredients Mixture: In a large mixing bowl, sift together the all-purpose flour, white whole wheat flour, brown sugar, baking powder, cinnamon, nutmeg, allspice, and salt. Integrate the cold, cubed butter into the dry ingredients using a pastry blender or two forks, until the mixture resembles coarse crumbs.
- Wet Ingredients Mixture: In a separate, smaller bowl, whisk together the milk, egg, and vanilla extract.
- Forming the Fritter Dough: Add the liquid mixture to the dry ingredients, stirring just until combined to avoid overworking the dough. Fold in the chopped apples gently.
- Shaping the Fritters: Using a 1/4 cup measure, drop the dough onto the prepared baking sheet. For smaller fritters, a heaping tablespoon may be used instead.
- Baking: Bake in the preheated oven for approximately 11-13 minutes, or until the bottoms of the fritters are golden brown and the centers are set. If preparing smaller fritters, begin checking for doneness at around 8 minutes.
- Broiling: After baking, remove the fritters from the oven and increase the temperature to broil.
- Preparing the Glaze: While the oven adjusts, whisk together the confectioners’ sugar, milk, and vanilla extract in a bowl until smooth.
- Applying the Glaze: Brush a thin layer of the glaze over each fritter, then place them under the broiler for 2-4 minutes, or until the tops are golden and the glaze begins to bubble.
- Final Glazing: Remove the fritters from the oven and place on a wire rack. Apply a second coating of glaze while the fritters are still warm.
- Serving: Allow the glaze to set before serving the fritters, ideally when they are still warm for best flavor and texture.
- Storage Recommendation: These fritters are optimally enjoyed on the day of baking but can be stored in an airtight container at room temperature for up to 24 hours for short-term enjoyment.