Introduction
Hi there! I’m Emily, the heart and soul behind brekcakes.com. From my earliest memories, the kitchen has always been a place of warmth and creativity. It’s where I discovered the magic of turning simple ingredients into extraordinary meals and learned that the best dishes are often made with love as the main ingredient.
Mornings can feel chaotic, but they don’t have to. Imagine starting your day with a beautiful spread of fresh flavors that excite your taste buds and fuel your body—without the stress. That’s exactly why I created these Breakfast Charcuterie Cups. Whether you’re hosting brunch or just treating yourself, they bring joy to the table while keeping things effortless. Plus, they’re as fun to assemble as they are to eat!
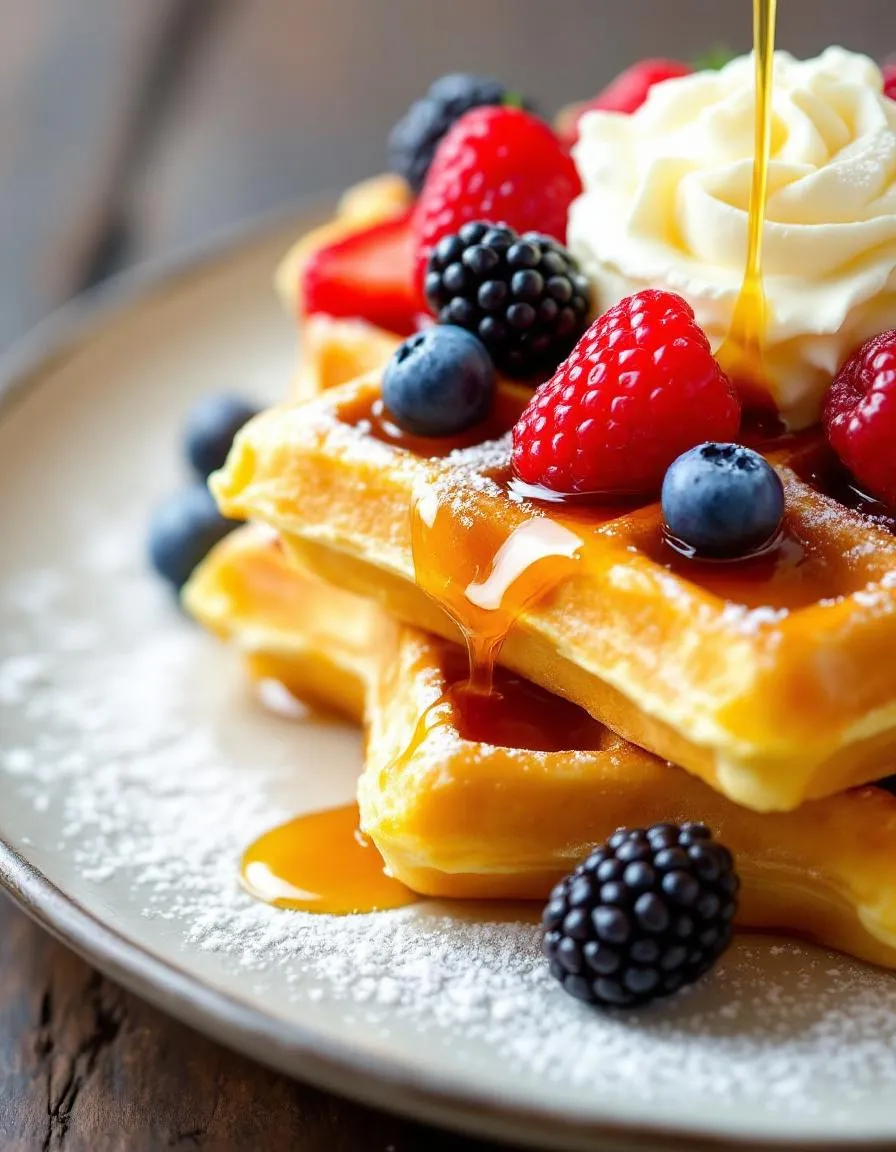
Breakfast Charcuterie Cups are a playful twist on traditional morning meals, combining the elegance of a charcuterie board with the convenience of single-serving cups. Each cup layers wholesome ingredients like creamy yogurt, crunchy granola, fresh fruit, and a drizzle of honey for a balanced bite. Not only do they look stunning, but they also cater to different tastes and dietary preferences, making them perfect for gatherings or meal prep. At brekcakes.com, we celebrate recipes that blend simplicity with creativity, and this one fits right in. If you love easy yet impressive dishes, you’ll adore our Healthy Overnight Oats or Savory Breakfast Muffins too.
Why I Love This Recipe
Breakfast Charcuterie Cups remind me of lazy Sunday mornings with my family, where we’d graze on little bites while sharing stories. They’re more than just food—they’re an experience. I love how versatile they are, letting me swap ingredients based on what’s in season or what cravings strike. Most importantly, they turn breakfast into a moment worth savoring, and that’s something I want everyone to enjoy.
Health and Nutrition
Why it’s good for your body
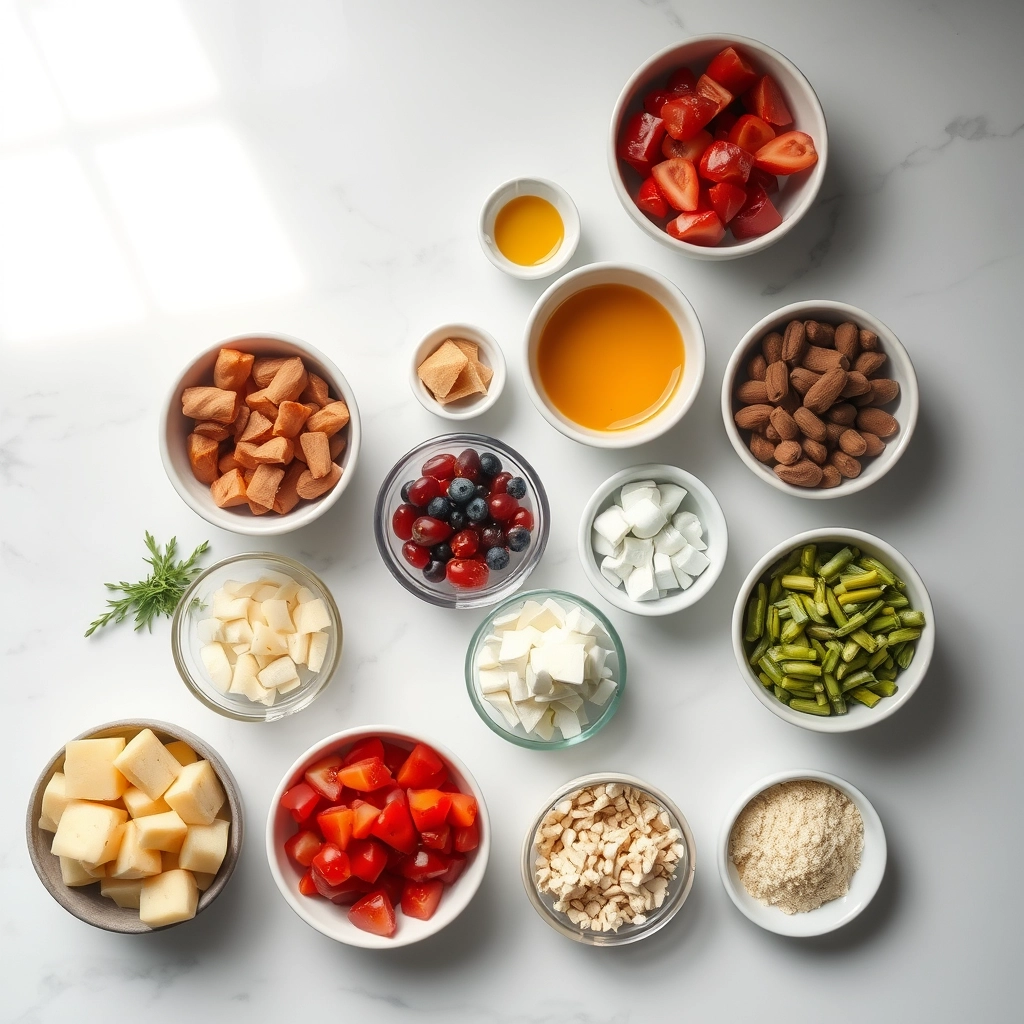
Breakfast Charcuterie Cups pack a nutritious punch while keeping flavors exciting. First, they combine lean proteins like turkey or ham with fiber-rich whole grains, helping you stay full longer. Additionally, the variety of fresh fruits and veggies adds essential vitamins and antioxidants to your morning routine. Because they’re customizable, you can easily balance carbs, fats, and proteins to match your energy needs.
Moreover, Breakfast Charcuterie Cups support gut health with probiotic-rich options like yogurt or cheese. These ingredients promote digestion and strengthen your immune system. Meanwhile, the inclusion of nuts or seeds provides healthy fats, which are great for brain function and heart health. Since you control the portions, you can avoid excess sugar and processed ingredients often found in traditional breakfasts.
Finally, this meal delivers sustained energy without the crash. Unlike sugary cereals or pastries, Breakfast Charcuterie Cups keep blood sugar stable thanks to their balanced macronutrients. Whether you choose hard-boiled eggs for protein or avocado for good fats, every bite fuels your body efficiently. With so many wholesome choices, you’ll start your day feeling nourished and satisfied.
How it fits in a healthy lifestyle
Breakfast Charcuterie Cups adapt effortlessly to different dietary needs, making them a smart choice for almost anyone. If you follow a gluten-free diet, simply swap in gluten-free crackers or skip bread altogether. For a heart-healthy twist, focus on lean meats, nuts, and olive oil instead of processed options. High-protein seekers can load up on eggs, Greek yogurt, or cottage cheese to meet their goals.
These cups also fit perfectly into meal prep routines. Since you can assemble them ahead, they save time on busy mornings while keeping nutrition a priority. Pair them with a smoothie bowl for extra fiber or enjoy them alongside overnight oats for a fuller meal. Whether you’re fueling a workout or need a quick desk-friendly breakfast, Breakfast Charcuterie Cups keep your eating habits on track without sacrificing flavor.
PrintBreakfast Charcuterie Cups
Description
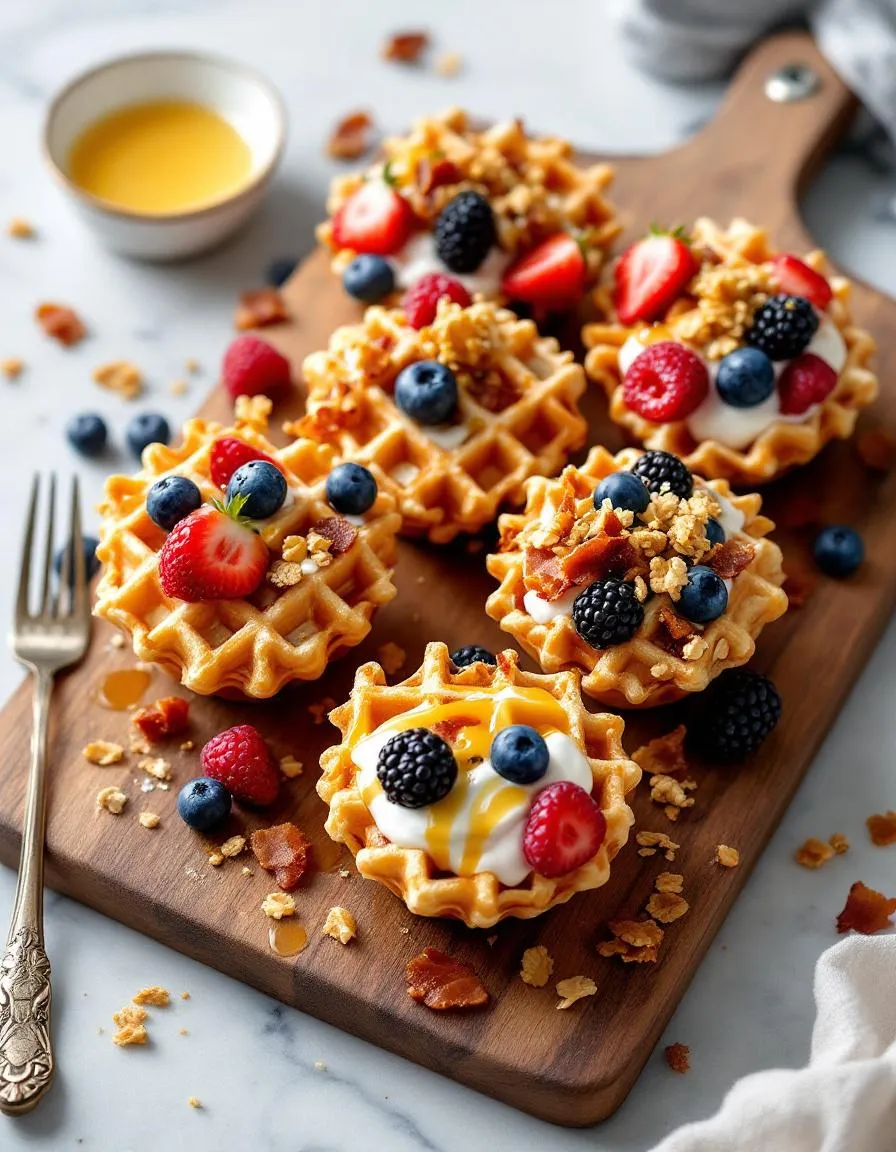
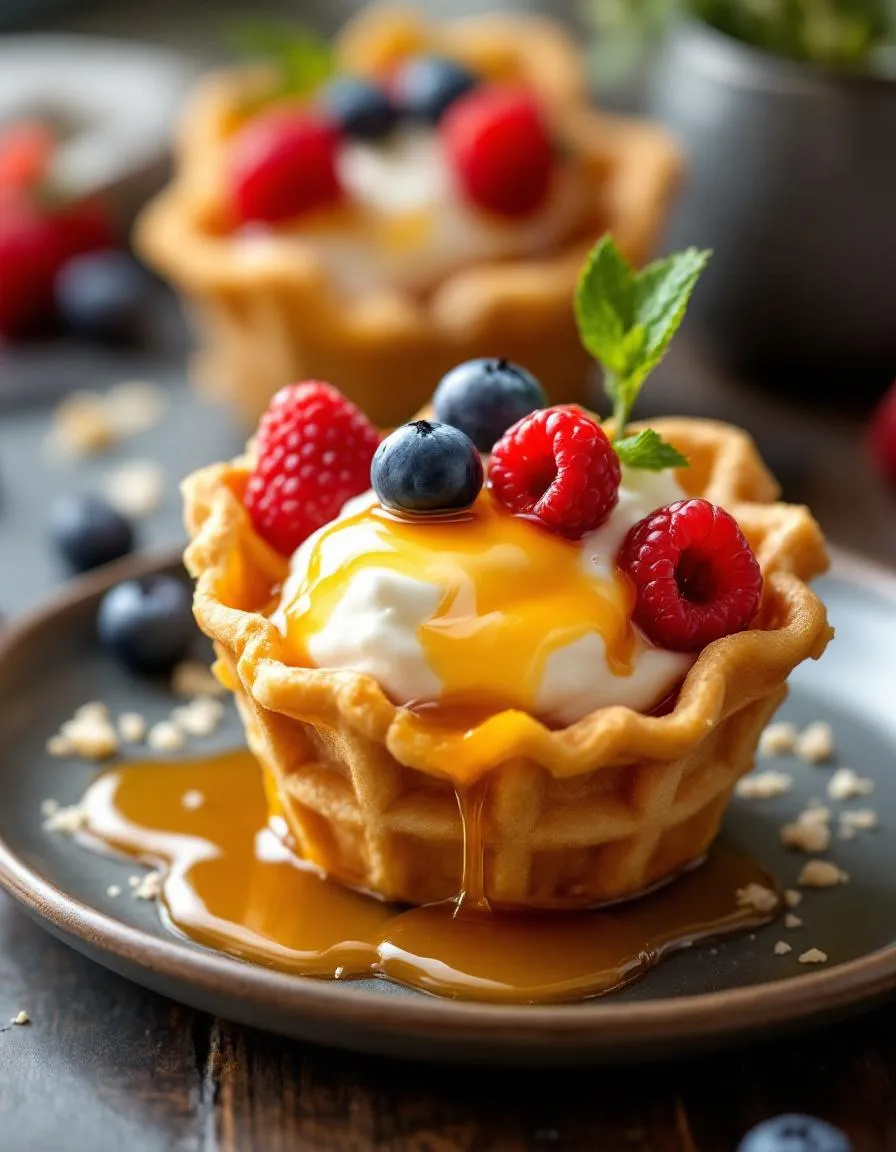
A fun and customizable breakfast option featuring a variety of ingredients served in individual cups for a charcuterie-style morning meal.
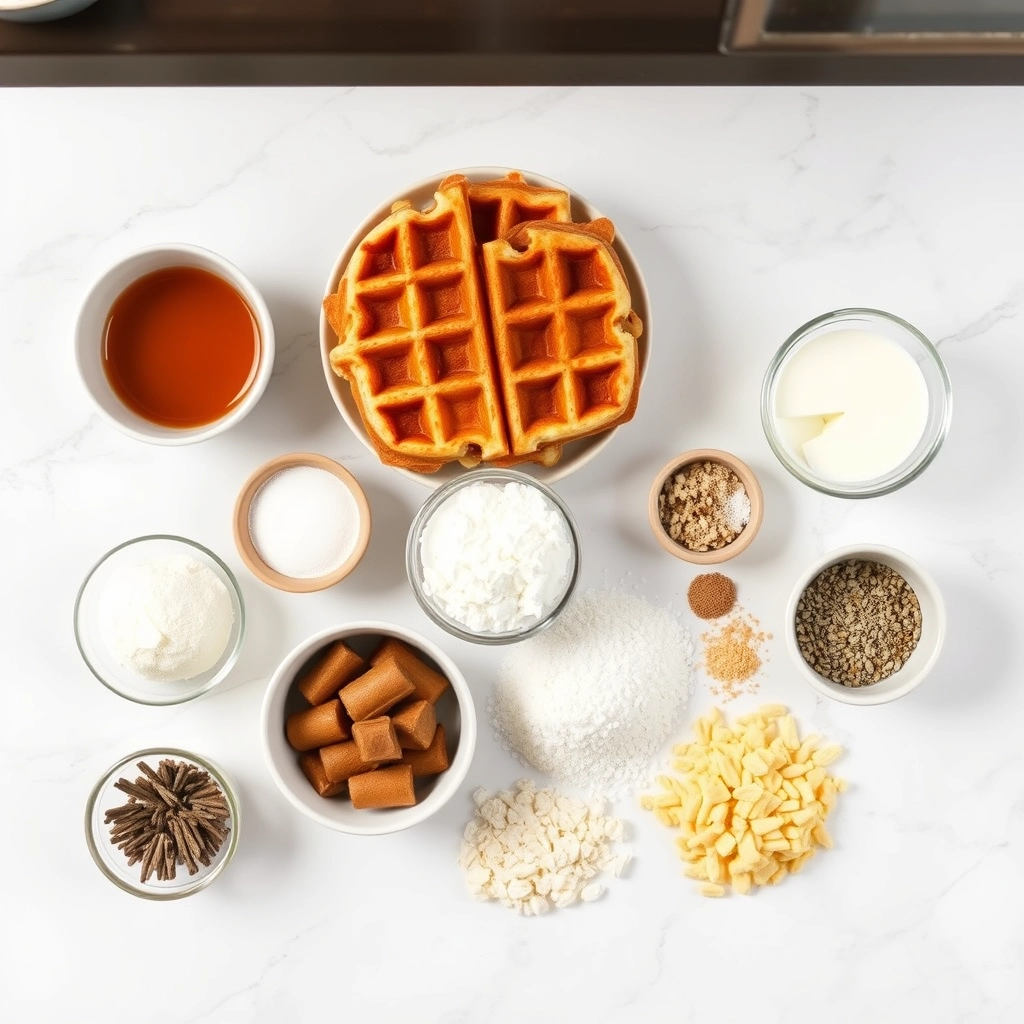
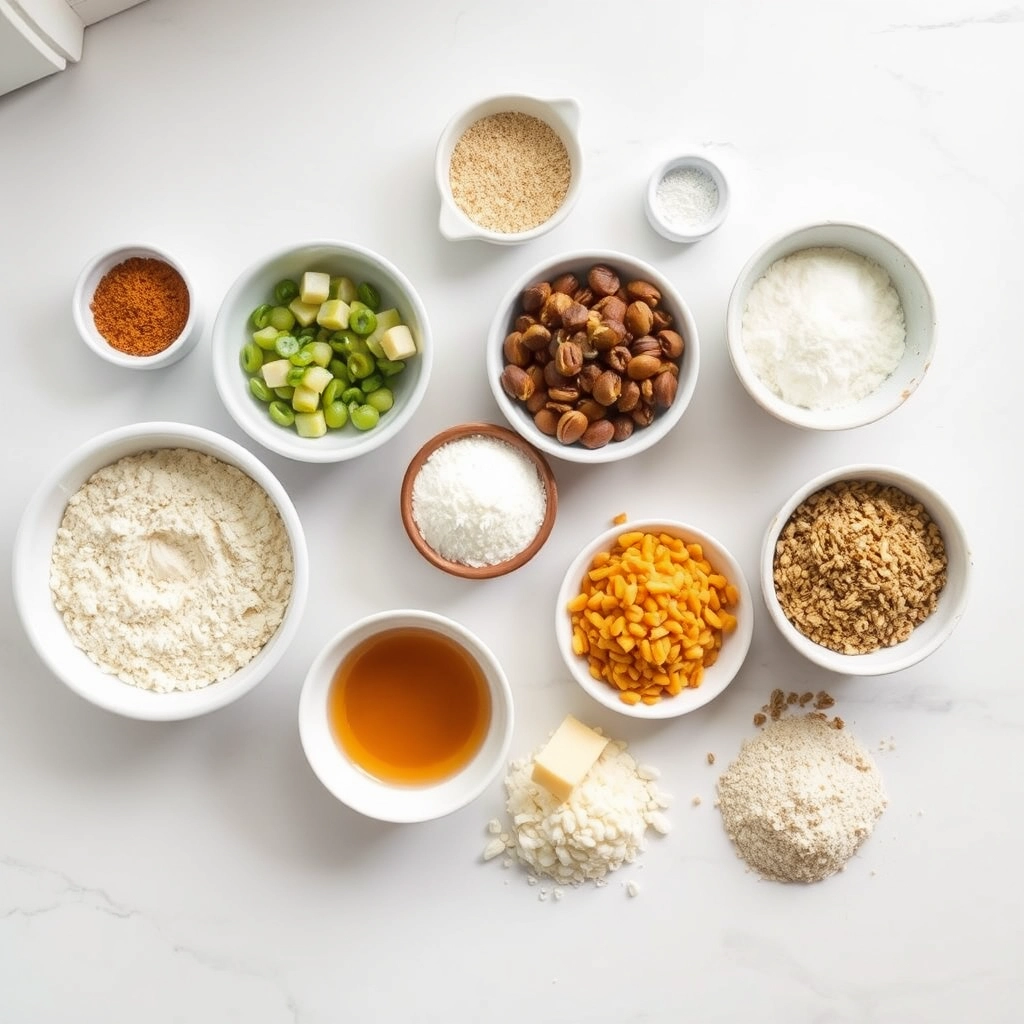
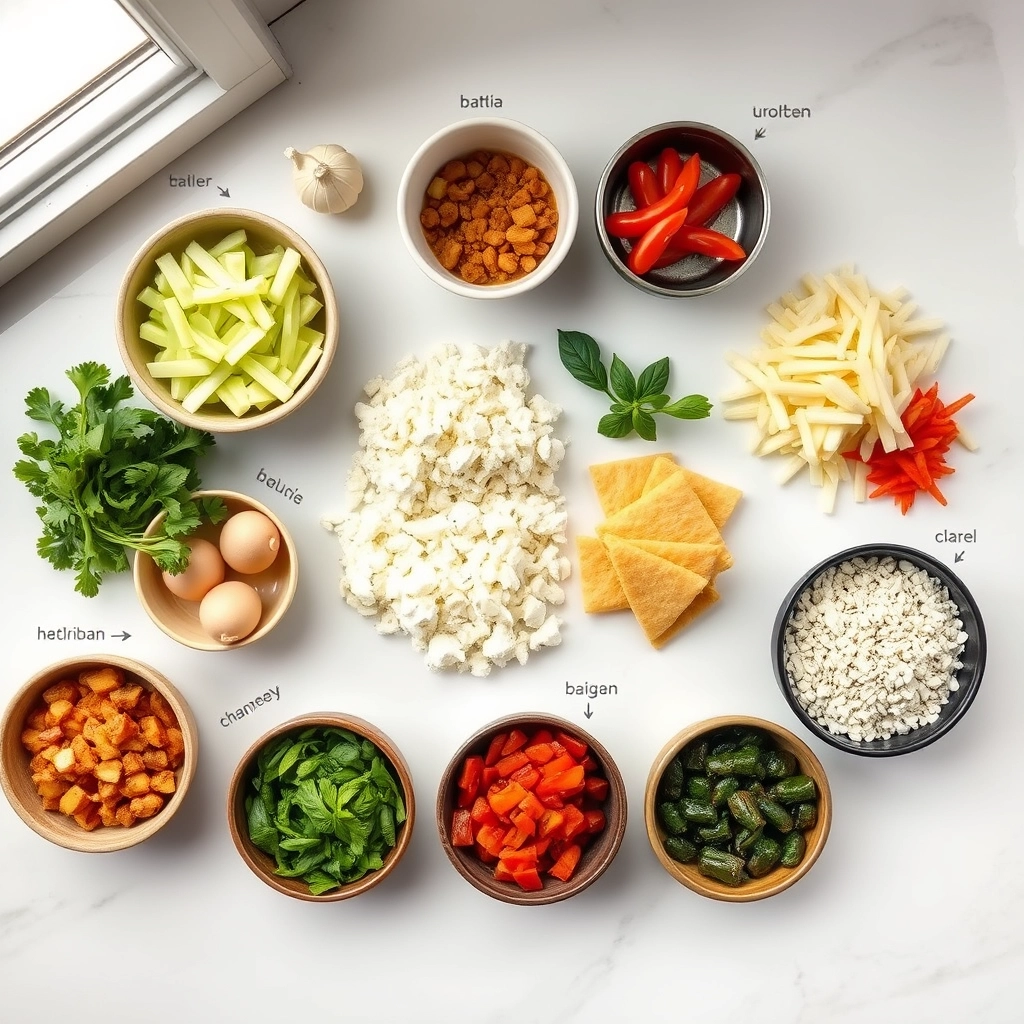
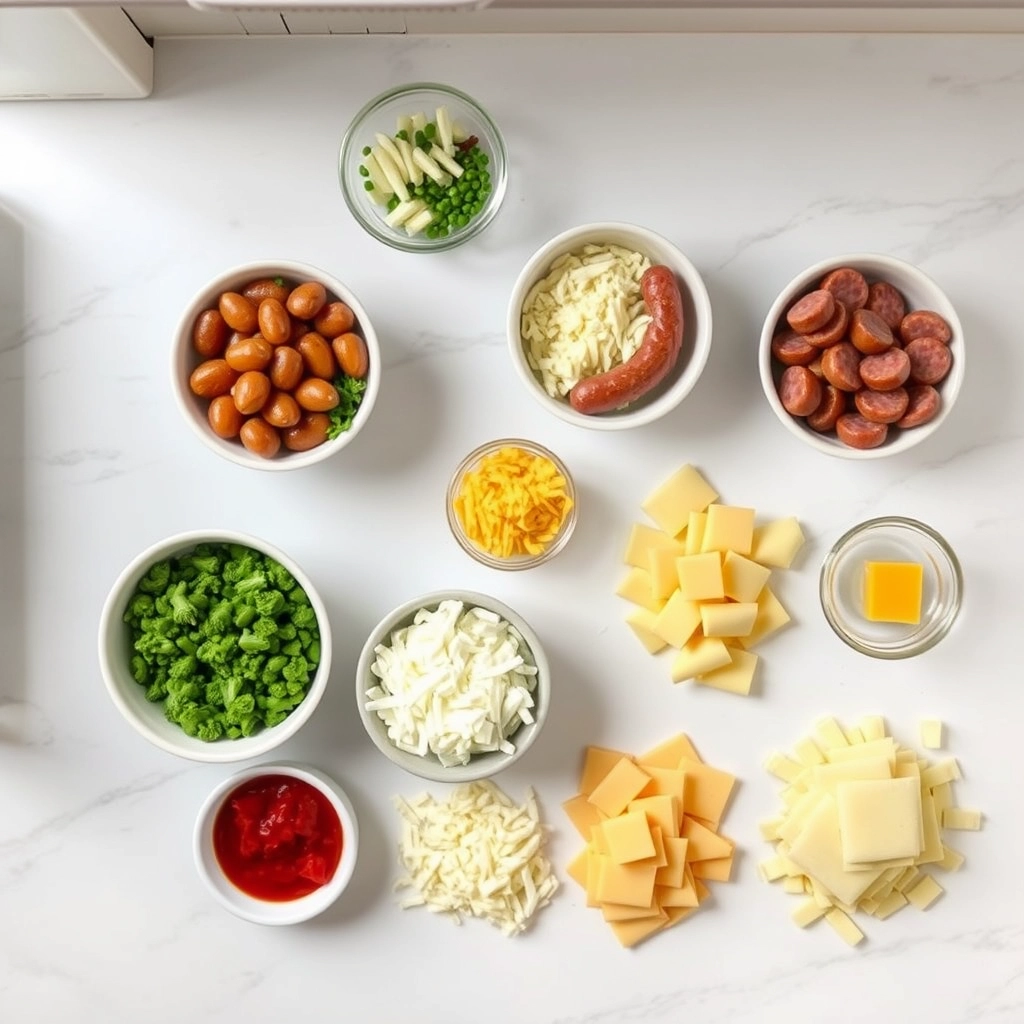
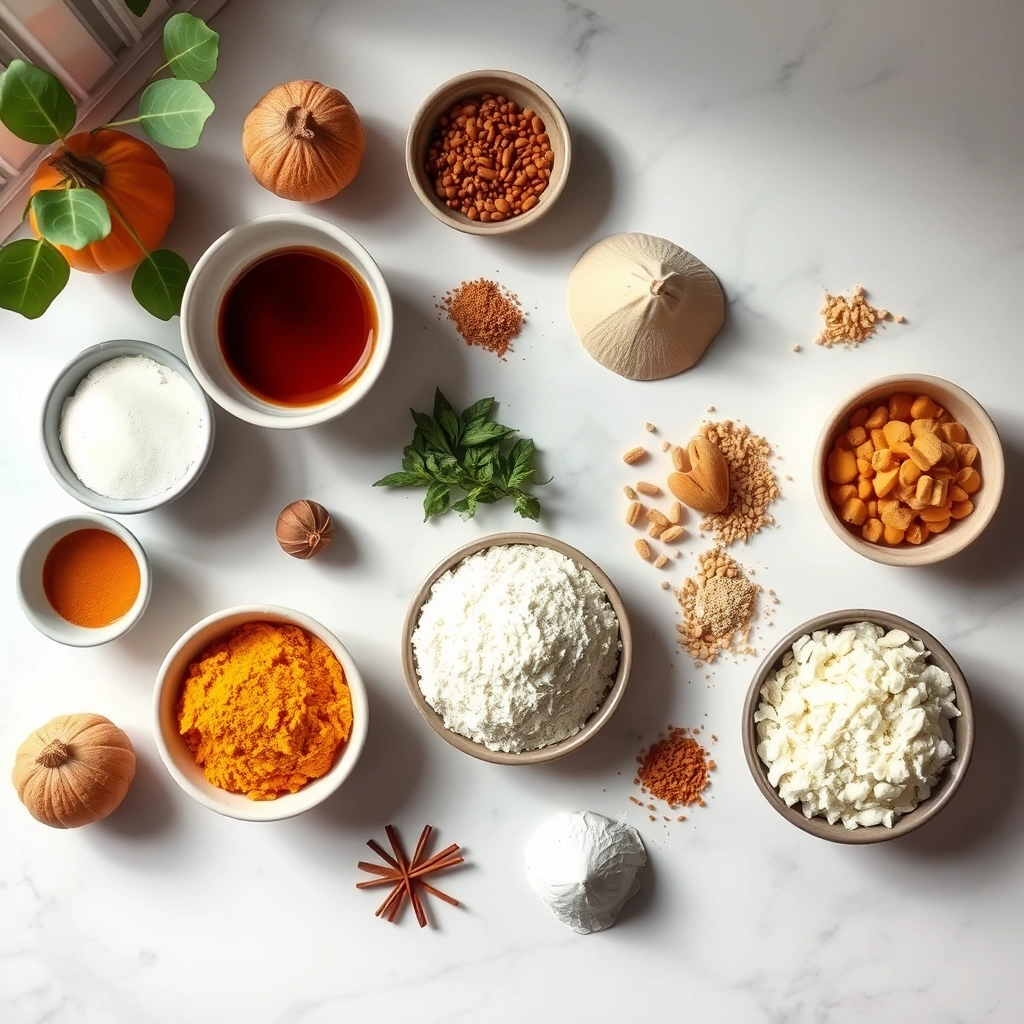
Ingredients
For the Crust:
- 4 mini waffles
- 4 hard-boiled eggs, sliced
- 1 cup Greek yogurt
- 1/2 cup granola
- 1/2 cup mixed berries
- 4 slices bacon, cooked and crumbled
- 2 tbsp honey
- 1/4 tsp cinnamon
Instructions
1. Prepare the Crust:
- Toast the mini waffles until golden and crisp.
- Divide the Greek yogurt evenly among four small cups or bowls.
- Top each cup with granola, mixed berries, and crumbled bacon.
- Add sliced hard-boiled eggs and mini waffles to each cup.
- Drizzle with honey and sprinkle with cinnamon before serving.
Notes
You can customize the seasonings to taste.
How to Prepare This Dish
Steps and time-saving tips
Start by preheating your oven to 375°F to save time while you prep the ingredients. Lightly grease a muffin tin with butter or cooking spray to prevent sticking. Next, whisk together the eggs, milk, salt, and pepper in a large bowl until fully combined. For extra flavor, fold in shredded cheese and diced ham, but feel free to customize with your favorite Breakfast Charcuterie Cups fillings like spinach or mushrooms. Meanwhile, press crescent roll dough into each muffin cup, forming a sturdy base. Pour the egg mixture evenly into each cup, filling them about two-thirds full. Bake for 18-20 minutes until the edges turn golden and the centers set. While they cool, arrange fresh fruit, yogurt, and nuts on a platter for a balanced spread. Drizzle honey over the cups for a touch of sweetness, then serve warm. To save time, prep the egg mixture the night before and store it covered in the fridge. You can also bake the cups ahead and reheat them in the oven for 5 minutes before serving.
Mistakes I’ve made and learned from
I once overfilled the muffin cups, causing the egg mixture to spill and bake unevenly. Now I stick to the two-thirds rule for perfect Breakfast Charcuterie Cups every time. Another mishap? Using cold dough straight from the fridge—it tore easily and didn’t shape well. Letting it sit at room temperature for 10 minutes first made all the difference. If you’re new to working with dough, my guide on handling dough like a pro has more tips. I also learned the hard way that skipping the grease leads to stubborn sticking. A light spray ensures easy removal, just like in my no-fail muffin tin hacks. Trust me, these small adjustments save frustration and elevate your results.
Cultural Connection and Variations
Where this recipe comes from
Breakfast Charcuterie Cups might feel like a modern twist on morning meals, but their roots stretch back to European traditions. In France and Italy, families often start their day with small, artful plates of cured meats, cheeses, and fresh fruit. Over time, this idea evolved into portable, individual servings—perfect for busy mornings or brunch gatherings. Meanwhile, in Mediterranean households, you’ll find similar spreads with olives, figs, and yogurt, proving that Breakfast Charcuterie Cups truly borrow from global flavors.
In my own kitchen, these cups became a weekend ritual. My grandmother used to arrange her breakfast table like a mosaic, balancing salty and sweet bites. Now, I recreate that balance in muffin tins, layering prosciutto with honey-drizzled ricotta or folding smoked salmon into cream cheese clouds. Whether you lean toward Spanish chorizo or Middle Eastern labneh, Breakfast Charcuterie Cups adapt beautifully. They’re a canvas for cultural tastes and personal cravings alike.
How it fits in today’s cooking
Today, Breakfast Charcuterie Cups shine as a versatile solution for fast-paced lifestyles. Meal preppers love them because they’re easy to assemble ahead, while brunch hosts appreciate their Instagram-ready appeal. Plus, they fit seamlessly into health-conscious routines, especially when packed with protein-rich ingredients like turkey slices or almond butter.
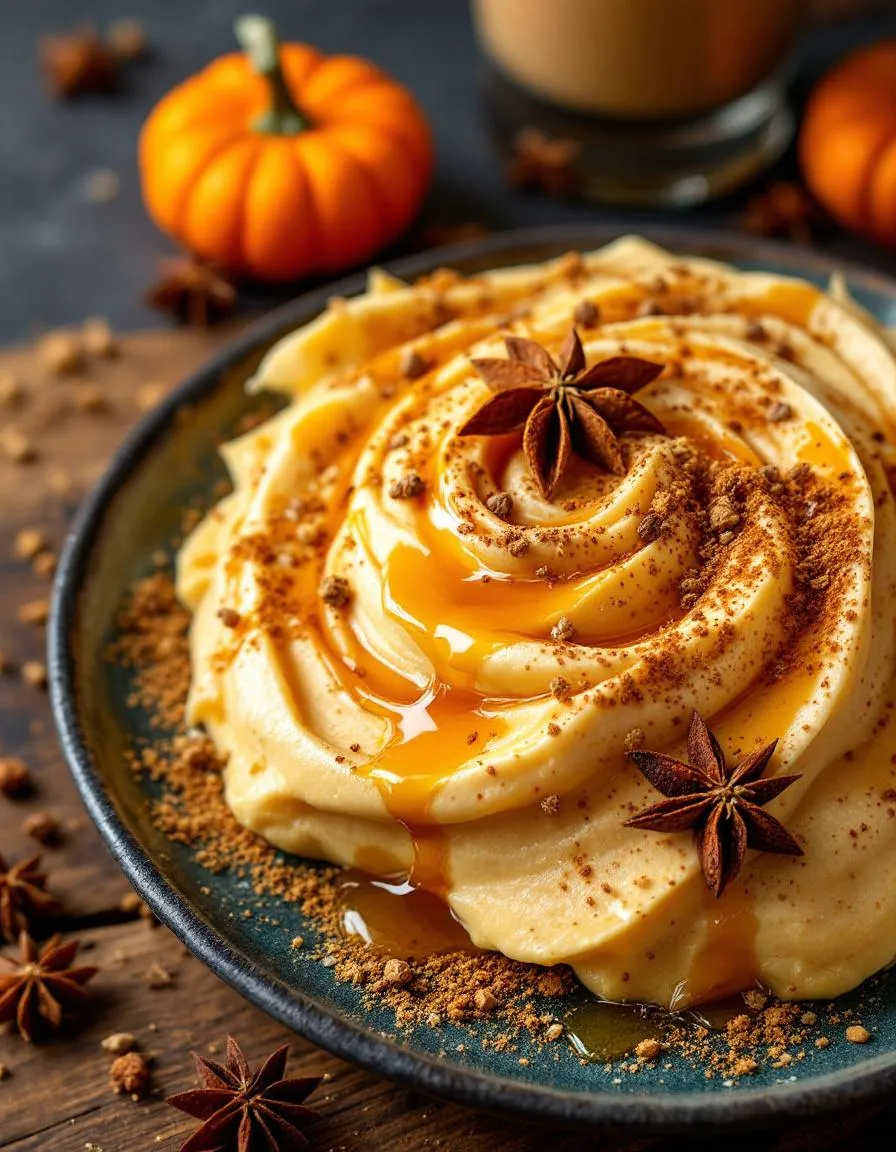
Seasonal twists keep them fresh year-round. Think pumpkin-spiced granola cups in fall or berry-loaded versions in summer. And let’s not forget holidays—these cups make festive edible gifts, especially when paired with holiday brunch cocktails. Whether you’re serving them at a bridal shower or grabbing one on your way to work, Breakfast Charcuterie Cups prove that good mornings start with creativity.
Taste and Texture
What makes it delicious
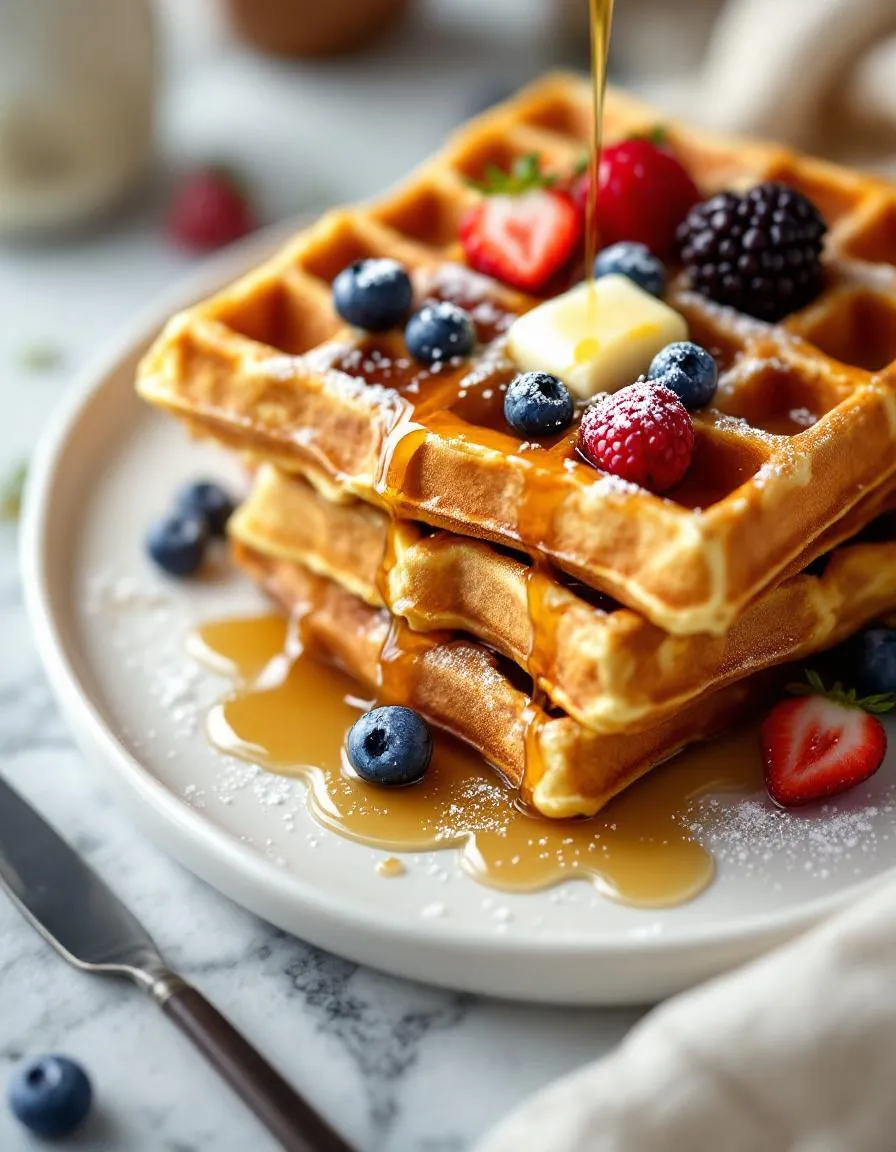
Breakfast Charcuterie Cups deliver a symphony of flavors and textures in every bite. Imagine buttery, flaky pastry cups cradling a mix of savory and sweet ingredients—creamy scrambled eggs, crispy bacon, and tangy cheese. The contrast between the silky eggs and the crunch of toasted bread or fresh veggies keeps each mouthful exciting. Meanwhile, fragrant herbs like chives or rosemary add a bright, aromatic lift. Whether you opt for smoky sausage or juicy berries, Breakfast Charcuterie Cups balance richness with freshness, making them irresistible.
Boosting the flavor
Elevate your Breakfast Charcuterie Cups with a few clever tweaks. For a bolder taste, swap regular cheddar for sharp aged cheese or add a drizzle of homemade honey mustard for a sweet-and-tangy kick. Fresh herbs like basil or thyme amplify the aroma, while a sprinkle of chili flakes brings subtle heat. If you love a touch of sweetness, try folding in cinnamon apple compote for a cozy twist. Experiment with different meats, cheeses, or spreads to keep every batch exciting.
Tips for Success
Best practices for results
Always assemble your Breakfast Charcuterie Cups just before serving to keep ingredients fresh and crisp. Meanwhile, use high-quality cheeses and cured meats for the best flavor balance. For a visually appealing spread, arrange colorful fruits like berries or grapes alongside savory items. Additionally, chill any dairy-based dips beforehand to maintain texture. Finally, opt for sturdy crackers or toasted bread to prevent sogginess in your Breakfast Charcuterie Cups.
Mistakes to avoid
Avoid overcrowding your cups, as too many ingredients can make them messy and hard to eat. Instead, focus on a few well-paired items for better presentation. Also, skip room-temperature meats, which can become greasy. For more pairing ideas, check out our guide to cheese pairings. Another common mistake is using overly soft breads that fall apart. For a sturdier base, try our easy crostini recipe to elevate your Breakfast Charcuterie Cups.
Serving and Pairing Suggestions
How to serve this dish
For a stunning presentation, arrange your Breakfast Charcuterie Cups on a rustic wooden board or a sleek marble tray. Meanwhile, add fresh herbs like rosemary or thyme as garnishes to elevate the visual appeal. These cups shine at brunch gatherings, holiday mornings, or even as a fun weekend treat. If you want to impress guests, layer colorful ingredients like berries, avocado slices, or edible flowers for a vibrant touch. Finally, serve them at room temperature to let all the flavors meld beautifully.
What goes well with it
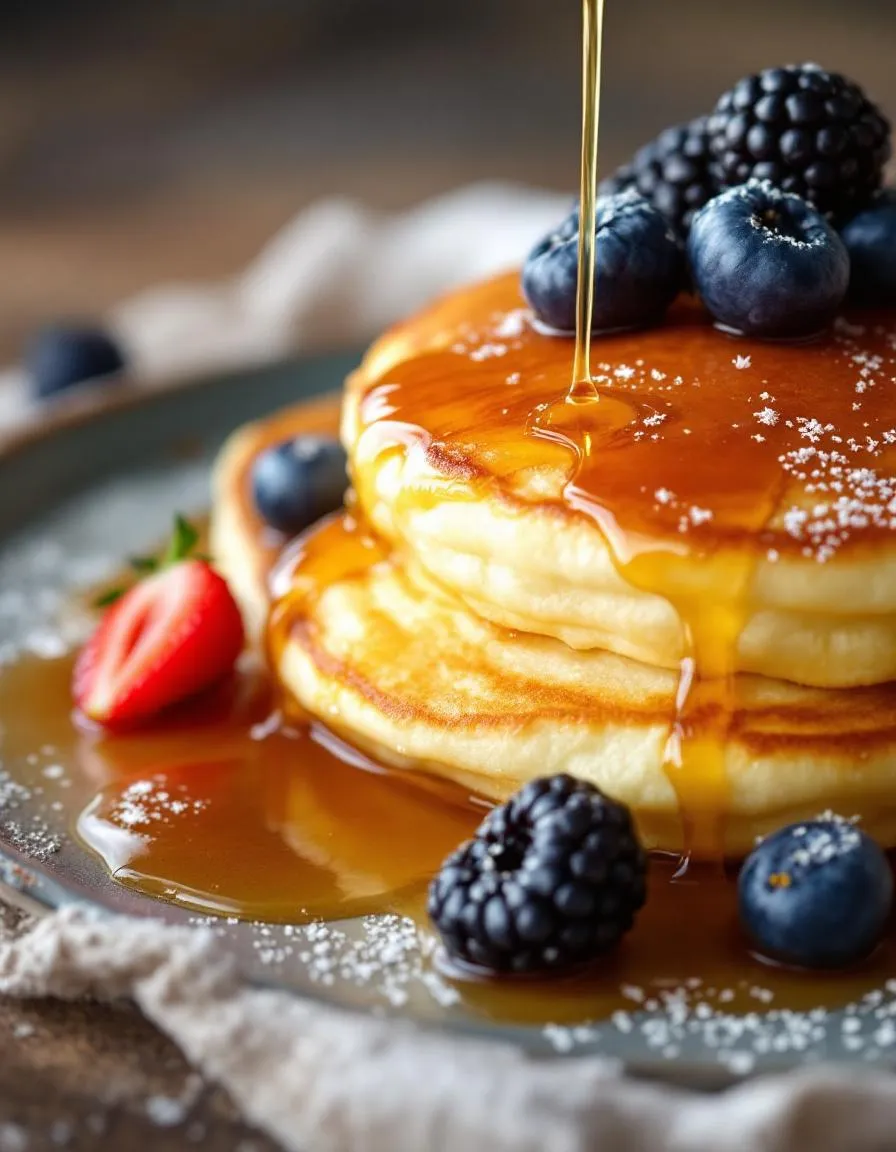
Pair your Breakfast Charcuterie Cups with a refreshing mimosa or a creamy latte for a balanced brunch experience. The citrusy notes in the mimosa cut through the richness, while the latte adds a comforting warmth. For a heartier meal, try serving them alongside fluffy buttermilk pancakes or a light arugula salad. Additionally, a drizzle of honey or a side of tangy yogurt dip enhances the savory and sweet elements. If you love pairing ideas, explore our favorite brunch cocktails or discover the perfect pancake recipe to complete your spread.

Breakfast Charcuterie Cups work best with a mix of sweet and savory ingredients. Try mini pancakes, yogurt parfaits, fresh berries, cheese cubes, and cured meats for variety. Include granola or nuts for crunch, and drizzle honey or maple syrup for extra flavor.
For large gatherings, prep ingredients in bulk and use small cups or mason jars for individual servings. Layer ingredients like yogurt, granola, and fruit, or arrange savory items like cheese and meats in separate compartments. Breakfast Charcuterie Cups make serving easy and mess-free.
Yes! Assemble dry ingredients like granola and nuts in advance, then add fresh items like fruit and yogurt just before serving. Breakfast Charcuterie Cups stay fresh for up to 24 hours if stored airtight in the fridge, making them perfect for meal prep.
Absolutely! Kids love the fun, customizable nature of Breakfast Charcuterie Cups. Use bite-sized fruits, mini muffins, and yogurt dips to make them appealing. Letting kids build their own cups adds an interactive twist to morning meals.