Old School Chocolate Traybake Cake: A Nostalgic Delight
If you’re looking for a simple yet nostalgic dessert that reminds you of childhood treats, this Old School Chocolate Traybake Cake is your answer. A rich and moist chocolate cake topped with a glossy chocolate icing, this recipe brings back memories of school bake sales and family gatherings. Its delightful chocolaty aroma and comforting taste make it a perfect treat for any occasion.
This traybake is incredibly versatile – perfect for birthdays, afternoon tea, or just a midweek treat! The combination of cocoa powder and chocolate brings out deep flavors, while the cake’s soft texture ensures it melts in your mouth. With easy-to-follow steps, this recipe is ideal for bakers of all levels. The best part? It can be made in one bowl, minimizing cleanup and hassle, so you can spend less time in the kitchen and more time enjoying the sweet moments with loved ones.
Quick Recipe Highlights
- Flavor Profile: This cake is rich and chocolatey, with a deep cocoa flavor complemented by a velvety icing that elevates each bite.
- Texture: Expect a soft, moist crumb that contrasts perfectly with the smooth, creamy frosting.
- Aroma: The cake fills your kitchen with an irresistible chocolate scent while baking, enticing everyone to gather around.
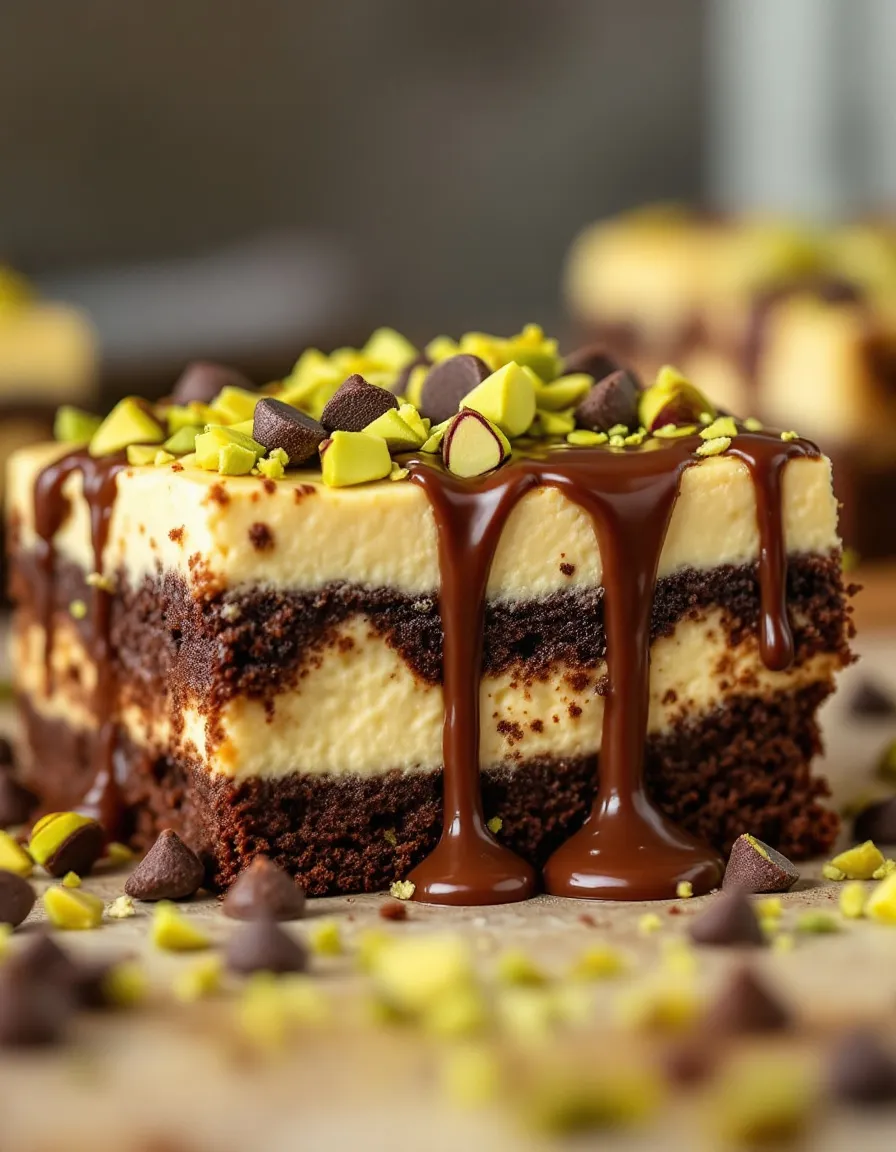
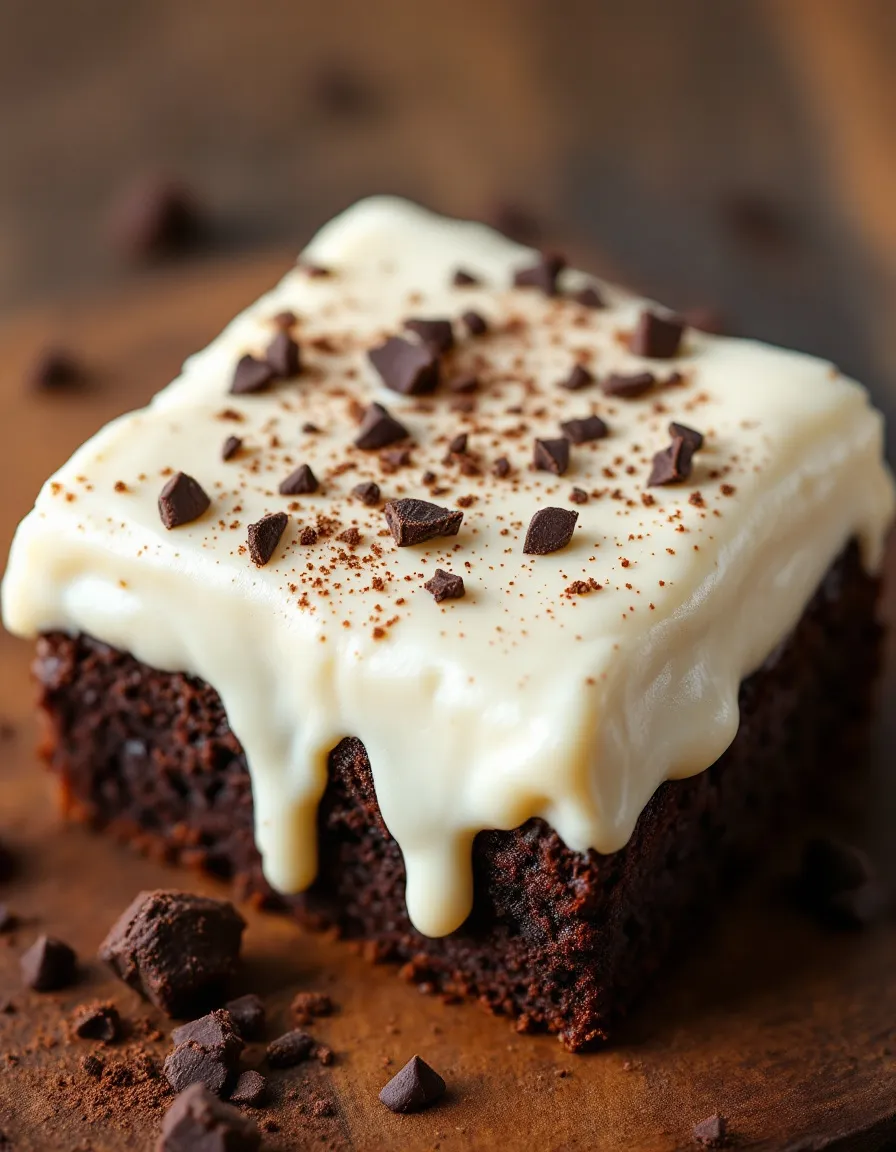
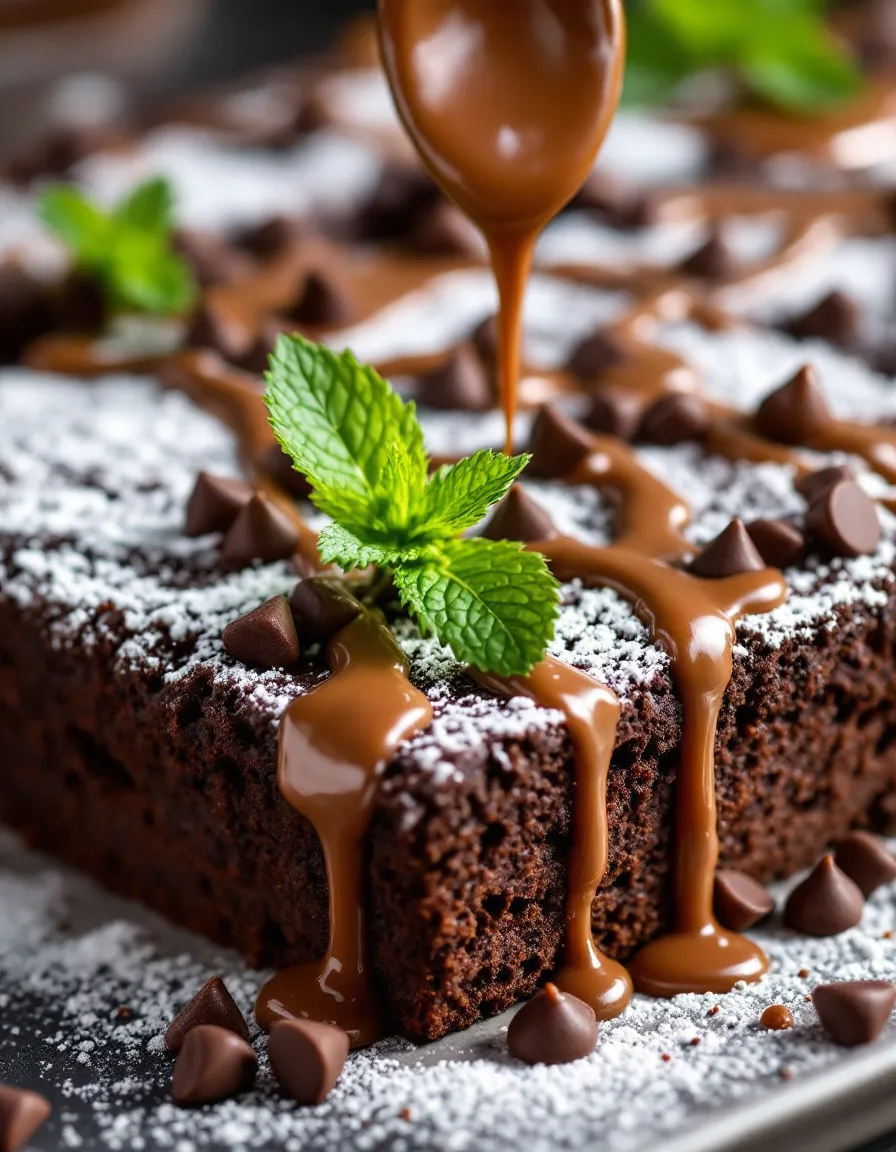
- Visual Appeal: With its glossy icing and perfect square pieces dusted with chocolate shavings, this cake is as beautiful as it is delicious.
- Skill Level Needed: Ideal for beginners, this recipe requires no advanced techniques, making it accessible and fun.
- Special Equipment: A mixing bowl, measuring cups, whisk, and a baking tray are all you need.
Recipe Overview
- Difficulty Level: This Old School Chocolate Traybake Cake is categorized as easy due to its straightforward preparation and minimal ingredients.
- Category: It’s primarily a dessert recipe but can also double as a delightful snack or cafeteria treat.
- Cuisine: Rooted in classic British baking traditions, this cake reflects the simple pleasures of home-cooked desserts.
- Cost: With basic ingredients like flour, sugar, cocoa, and eggs, this recipe offers a cost-effective way to enjoy homemade treats.
- Season: Ideal for any time of year, particularly cozy autumn days or festive winters.
- Occasion: This cake suits casual family gatherings, birthday parties, or celebrations where you want to make people smile with a classic treat.
Why You’ll Love This Recipe
The Old School Chocolate Traybake Cake enchants palates with its rich flavors and delightful textures. Each bite delivers a melt-in-your-mouth experience that makes chocolate lovers rejoice. The creamy icing that drapes over the soft cake adds indulgence, ensuring that every slice is a celebration of flavors. It’s a cake that embodies comfort, perfect for sharing with friends and family, evoking warmth and nostalgia.
This cake’s convenience is another reason to love it. You’ll appreciate its one-bowl mixing process, which allows for quick preparation. Even better, it requires minimal special skills, making it perfect for novice bakers who still want to impress. With just a handful of common ingredients, you can create a stunning dessert without breaking the bank or spending hours in the kitchen.
Not only is it delicious, but this chocolate traybake also has some nutritional advantages, especially when made with quality ingredients. You can feel good about serving a homemade cake without added preservatives or artificial flavors often found in store-bought versions. Plus, it can be easily customized to include healthier swaps, such as using whole grain flour or reducing the sugar content, making it a more balanced treat.
For social occasions, this traybake shines. It is easy to transport to potlucks or parties, and its square pieces are perfect for hands-on eating. This makes it a hit at gatherings where everyone can grab a slice and enjoy the moment together. Whether you’re sharing with colleagues or friends, the Old School Chocolate Traybake Cake creates a sense of community and warmth.
Additionally, the accessibility and affordability of this recipe make it a go-to choice for anyone looking to whip up a delicious dessert without overspending. With simple ingredients usually found in most pantries, baking this cake is a wise choice that doesn’t compromise on flavor or quality.
Historical Background and Cultural Significance
The origins of traybake cakes, including the beloved chocolate version, can be traced back to the 20th century when baking began to evolve in home kitchens across the UK. These cakes offered deliciousness and simplicity, making them staples in family cookbooks. They became popular because they could be easily baked in a tray, cutting down on preparation and cooking time while maximizing serving capabilities.
In British culture, the traybake represents community and family gatherings, often shared at schools, local events, and charity bake sales. Their sturdy nature and simple design make them enjoyable in casual settings, creating memories around dining tables and celebration spaces. The Old School Chocolate Traybake Cake is not only a treat but a cultural artifact that tells a story of togetherness.
Over the years, variations of the traditional chocolate cake have emerged, influenced by different regions and personal preferences. Some recipes add spices, fruits, or alternative flavorings to give a twist on the classic. However, many still stick close to the original format, cherishing the nostalgia and straightforwardness that makes these baked goods enjoyable.
Despite modern baking trends favoring elaborate desserts, the traybake cake continues to hold a cherished place in the hearts of many. Its essence represents comfort food, ideal for bringing together friends and family from all walks of life, reminding us of simpler times filled with sweet treats and shared moments.
Ingredient Deep Dive
Cocoa Powder: Cocoa powder is essential in any chocolate cake recipe. It’s derived from dried cocoa beans and has played a significant role in culinary history, going back centuries to its origins in Central America. Nutritionally, cocoa powder is rich in antioxidants and can enhance mood by promoting the release of endorphins. When selecting cocoa powder, opt for high-quality brands, preferably unsweetened. Store it in a cool, dark place to maintain its potency, and you can substitute it with carob powder for a different flavor profile.
Flour: All-purpose flour is the backbone of baking, providing structure to cakes, cookies, and breads. Its history dates back to ancient grain cultivation, evolving over time. Nutritionally, flour is high in carbohydrates and can be enriched to provide additional fiber and micronutrients. Choose strong, versatile flour for great results and consider using whole wheat flour for added health benefits. Store flour in an airtight container to prolong freshness, and feel free to substitute gluten-free flour for those with dietary restrictions.
Common Mistakes to Avoid
- Not measuring ingredients accurately can lead to a dense or dry cake. Always use the proper tools.
- Overmixing the batter can cause gluten formation, leading to a tough texture; mix until just combined.
- Not preheating the oven may result in uneven baking. Always preheat to ensure the correct rise.
- Opening the oven door too soon can cause the cake to collapse; only check around halfway through baking.
- Skipping the cooling step can cause the icing to melt off the cake; allow it to cool completely before icing.
- Using cold ingredients can affect the final texture. Let eggs and butter reach room temperature before mixing.
- Baking in a pan that’s too small can lead to overflow. Ensure your pan size matches the recipe’s requirements.
- Not adjusting bake time for larger or smaller cakes can result in undercooked or burnt edges; adjust accordingly.
Essential Techniques
Mixing Batter: Proper mixing is crucial for the texture of your cake. Using the creaming method for butter and sugar first will introduce air, leading to a lighter cake. Avoid overmixing after adding dry ingredients, as this can develop gluten. Look for a smooth batter without lumps for optimal results.
Baking: The temperature and timing are essential in baking a perfect cake. Ensure your oven is correctly calibrated, as an incorrect temperature can result in uneven baking. Bake until a toothpick inserted in the center comes out clean. Avoid frequent oven checks until close to the baking time.
Pro Tips for Perfect Old School Chocolate Traybake Cake
1. Use high-quality cocoa powder for a richer flavor in your cake.
2. For added moisture, consider incorporating a sour cream or yogurt into the batter.
3. Let your cake cool completely before icing to prevent melting.
4. Enhance the flavor by adding a splash of vanilla extract or espresso powder.
5. If the icing is too thick, add a splash of milk to achieve a smooth consistency.
6. Experiment with toppings like chopped nuts or sprinkles for added texture and visual appeal.
7. Use a serrated knife to cut clean, even slices, making your cake easier to serve.
8. Store leftovers in an airtight container to maintain freshness.
Variations and Adaptations
For those looking to modify the Old School Chocolate Traybake Cake, many variations exist. You could add seasonal ingredients such as pumpkin puree during autumn or swap cocoa powder for carob for a unique flavor. Consider experimenting with fruit additions like raspberries or cherries for a refreshing twist.
Dietary adaptations are also easy to implement; for a gluten-free version, simply replace all-purpose flour with a gluten-free blend. In terms of healthier modifications, you can substitute coconut sugar for granulated sugar, or use applesauce in place of some fat for fewer calories. These adaptations allow you to cater to various dietary needs while still enjoying a beloved classic.
Serving and Presentation Guide
When serving the Old School Chocolate Traybake Cake, consider plating techniques that enhance its classic appeal. Cutting the cake into perfect squares allows for a neat presentation. Garnish with a sprinkle of powdered sugar or chocolate shavings for a finishing touch. Serve slices alongside a scoop of ice cream for an indulgent twist, or offer with fresh berries for contrast.
Keep the cake at room temperature for serving; if the weather is warm, consider refrigerating it lightly to maintain its structure. Portion control is important, especially if you’re serving at a party; keep slices uniform, so everyone enjoys an equal share of this chocolate delight.
Wine and Beverage Pairing
This decadent chocolate cake pairs beautifully with a rich, full-bodied red wine like a Cabernet Sauvignon or Merlot, which complements the chocolate flavors nicely. If you’re looking for non-alcoholic options, consider serving with a cold glass of milk or a rich coffee for a delightful experience. Hot chocolate could also work beautifully, enhancing the chocolate theme of the dessert.
Storage and Shelf Life
To store the Old School Chocolate Traybake Cake, keep it in an airtight container at room temperature for up to three days. For longer storage, consider refrigerating it for up to a week. Always cover the cake well with plastic wrap or foil to retain moisture. If you’ve made more than you can eat, this cake freezes remarkably well; just wrap it tightly in cling film followed by foil, and it can last up to three months. Thaw before serving, and enjoy it chilled or at room temperature.
Make Ahead Strategies
If you’re planning a gathering, this cake can be made ahead of time. Bake the cake and let it cool completely before storing in an airtight container. You can also prepare the icing in advance and refrigerate it; just let it come to room temperature before spreading. When assembling, consider adding fresh toppings just before serving to maintain their texture and freshness.
Scaling Instructions
For those looking to scale the Old School Chocolate Traybake Cake up or down, it’s simple. To halve the recipe, use a smaller baking tray and check for doneness earlier. Doubling the recipe is straightforward as long as you have a sufficiently large tray. Remember to adjust baking time depending on the thickness of the batter in the tray, as thicker cakes may need an extra few minutes.
Nutritional Deep Dive
Analyzing the nutritional content of the Old School Chocolate Traybake Cake reveals a balance of macronutrients. Each slice typically contains carbohydrates from the flour and sugar, fats from the butter, and protein from the eggs. When you measure out portions wisely, this cake can fit well into a balanced diet, especially around special occasions.
Dietary Adaptations
This cake can easily be tailored to suit various dietary needs. For instance, replacing the eggs with a flaxseed meal or chia seeds will transform it into a vegan-friendly option. You can use almond or coconut milk for the icing to keep it dairy-free. For gluten-free adaptations, a certified gluten-free flour blend works, and you can opt for low-carb sweeteners to cater to those on a keto diet.
Troubleshooting Guide
If your cake comes out too dry, it may have been overbaked or had too much flour. Try reducing the baking time or measuring accurately next time. If the cake is too dense, it could be due to overmixing or a lack of air incorporation; ensure you’re mixing just until combined.
Recipe Success Stories
Many readers have shared their experiences with this Old School Chocolate Traybake Cake, celebrating its delightful taste and straightforward process. People love how the cake has become a family favorite at gatherings, with some adaptations creating new memories. The inclusion of fresh berries sparked creativity, and photos shared on social media have shown the cake in all its glory, showcasing the unique ways it has been presented and served.
Frequently Asked Questions
Q: Can I use melted butter instead of softened butter?
A: While it’s preferable to use softened butter for creaming, melted butter could work. However, it might alter the cake’s texture slightly, making it denser.
Q: What type of chocolate should I use for the icing?
A: Semi-sweet chocolate or dark chocolate works best for the icing to balance sweetness with rich flavors.
Q: How long can I store the cake?
A: The cake can be stored at room temperature for about 3 days or in the refrigerator for up to a week. If frozen, it can last about 3 months.
Q: Can I adjust the sugar content in the recipe?
A: Yes, you can reduce the sugar amount to make it less sweet, or use alternatives like honey or maple syrup for a different flavor.
Q: What adjustments can I make for high altitude baking?
A: For high altitude, you may need to decrease the sugar slightly and increase the baking time. It may also require more flour or less liquid.
Q: Can I make this cake in advance and freeze it?
A: Absolutely! The cake freezes well, just ensure it’s wrapped tightly to keep it fresh.
Q: How do I know when the cake is done baking?
A: The cake is done when a toothpick inserted into the center comes out clean or with a few moist crumbs attached.
Q: Is it okay to use self-raising flour instead?
A: Yes, but if using self-raising flour, reduce the baking powder accordingly to avoid an overly risen cake.
Q: Can I make this cake with whole wheat flour?
A: Yes, whole wheat flour can be used, but it will yield a denser texture, so you might want to mix it with all-purpose flour for best results.
Q: What’s the best way to decorate the chocolate traybake?
A: You can top it with chocolate ganache, sprinkles, or even fresh fruit for a colorful touch.
Additional Resources
For more delightful recipes, you may enjoy exploring our collection of baking tutorials, ingredient guides, and baking equipment recommendations. Whether you want to learn techniques for perfect cakes or discover seasonal variations, there are plenty of resources available to help you master the craft of baking.
Join the Conversation
We would love to hear about your experience with the Old School Chocolate Traybake Cake! Share your baking successes, photos, and variations on social media, and feel free to leave feedback in the comments below. Engaging with our community enhances our recipe-sharing experience, allowing bakers to connect and thrive together.
The Recipe
Old School Chocolate Traybake Cake
Serves: 12
Prep Time: 20 mins
Cook Time: 30 mins
Total Time: 50 mins
Kitchen Equipment Needed
- Baking tray (9×13 inches)
- Mixing bowl
- Measuring cups and spoons
- Whisk or electric mixer
- Spatula
Ingredients
- 200g all-purpose flour
- 200g granulated sugar
- 100g cocoa powder
- 1 tsp baking powder
- 1/2 tsp baking soda
- 1/4 tsp salt
- 2 large eggs
- 150ml milk
- 150ml vegetable oil
- 1 tsp vanilla extract
- 100g icing sugar (for icing)
- 50g dark chocolate (for icing)
Directions
- Preheat the oven to 180°C (350°F) and grease the baking tray.
- In a mixing bowl, whisk together the flour, sugar, cocoa powder, baking powder, baking soda, and salt.
- Create a well in the center, and add the eggs, milk, vegetable oil, and vanilla extract. Mix until just combined.
- Pour the batter into the prepared baking tray and smooth the top with a spatula.
- Bake for 30 minutes or until a toothpick inserted comes out clean.
- Let the cake cool completely in the tray.
- For the icing, melt the dark chocolate and mix with icing sugar. Spread it evenly over the cooled cake.
- Let the icing set before cutting into squares and serving.
Recipe Notes
- For a richer taste, consider adding instant coffee granules to the batter.
- Store any leftovers in an airtight container to keep the cake fresh.
- You can substitute the icing sugar with powdered erythritol for a sugar-free option.