“`html
Table of Contents
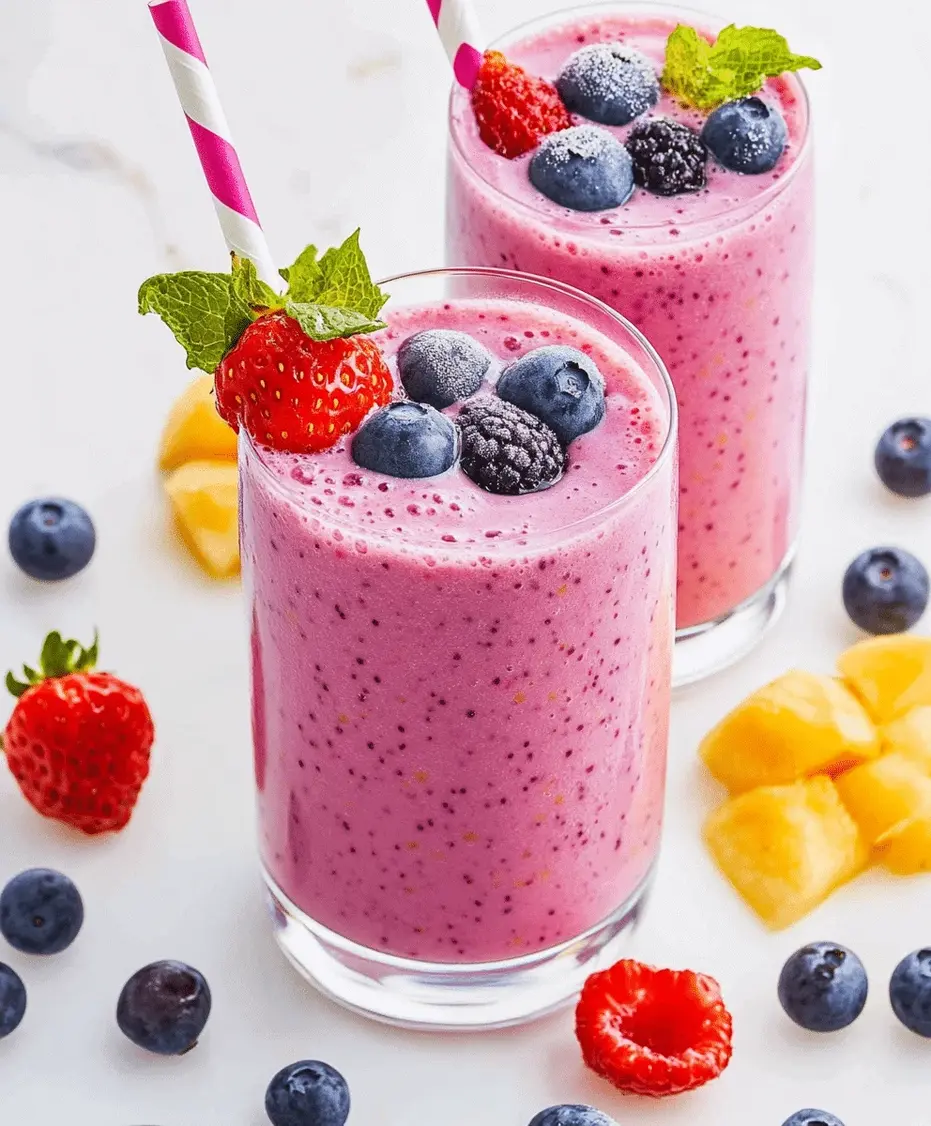
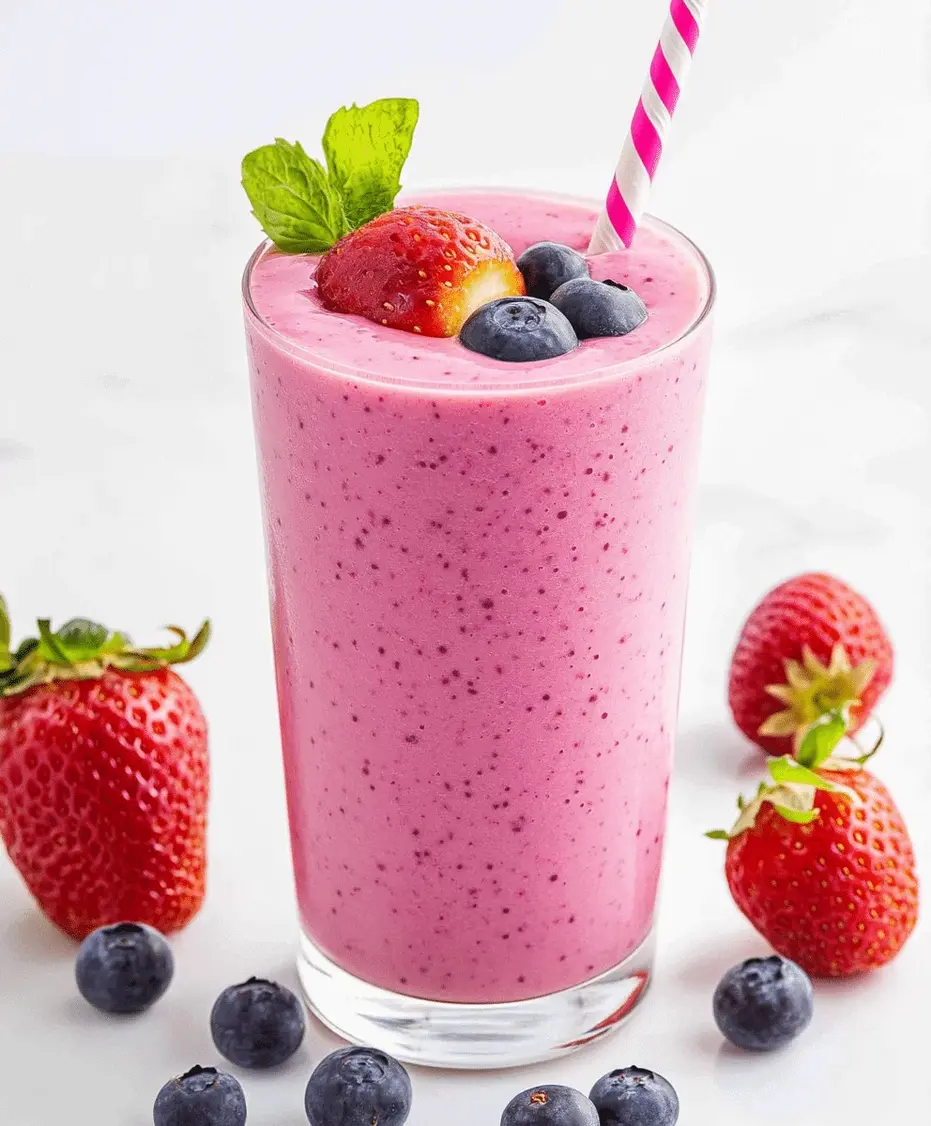
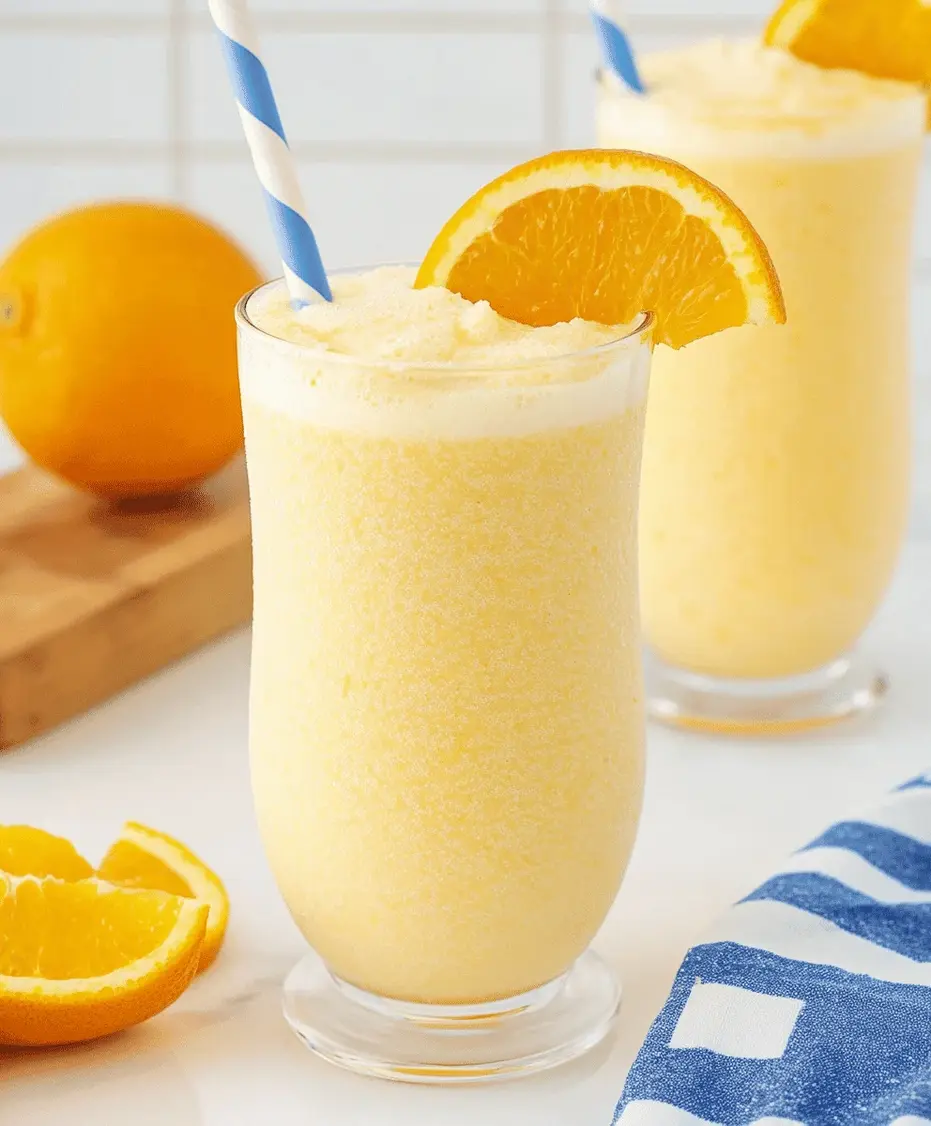
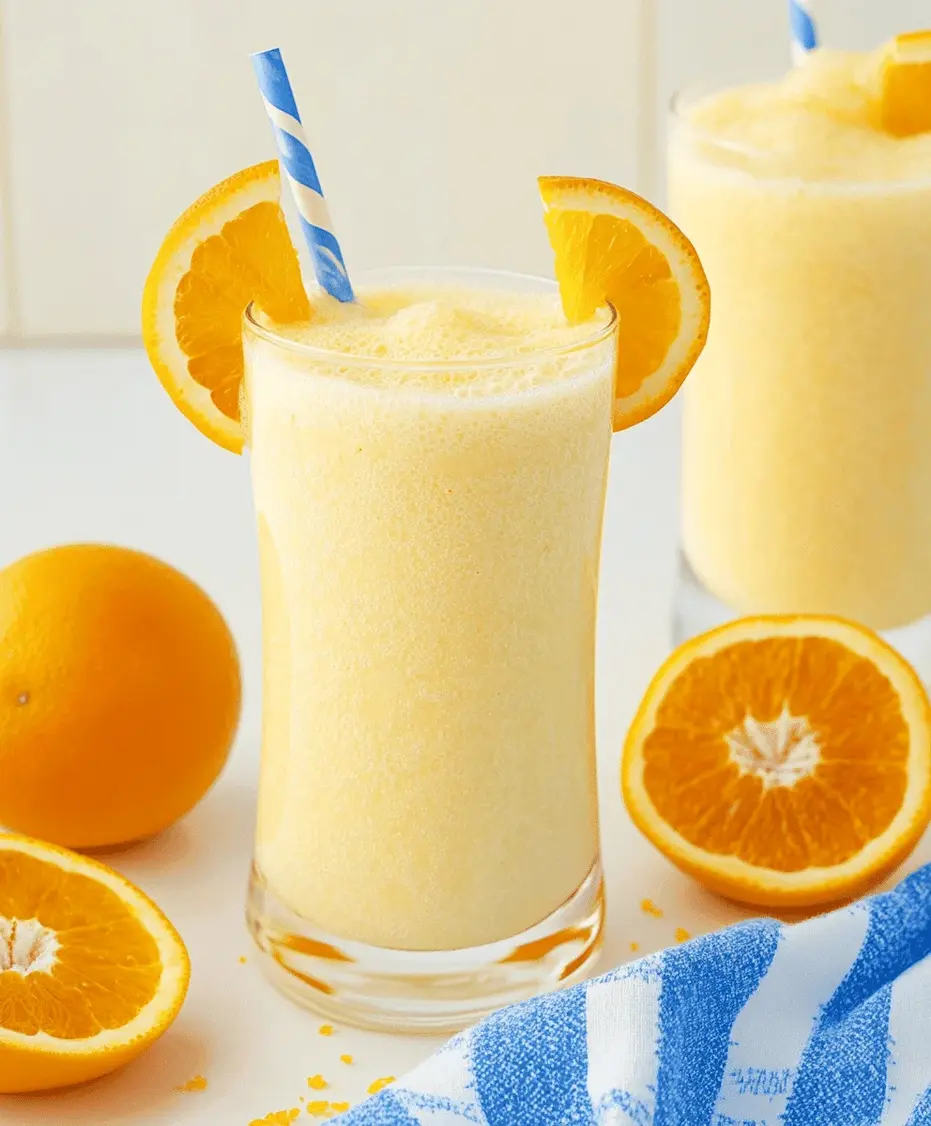
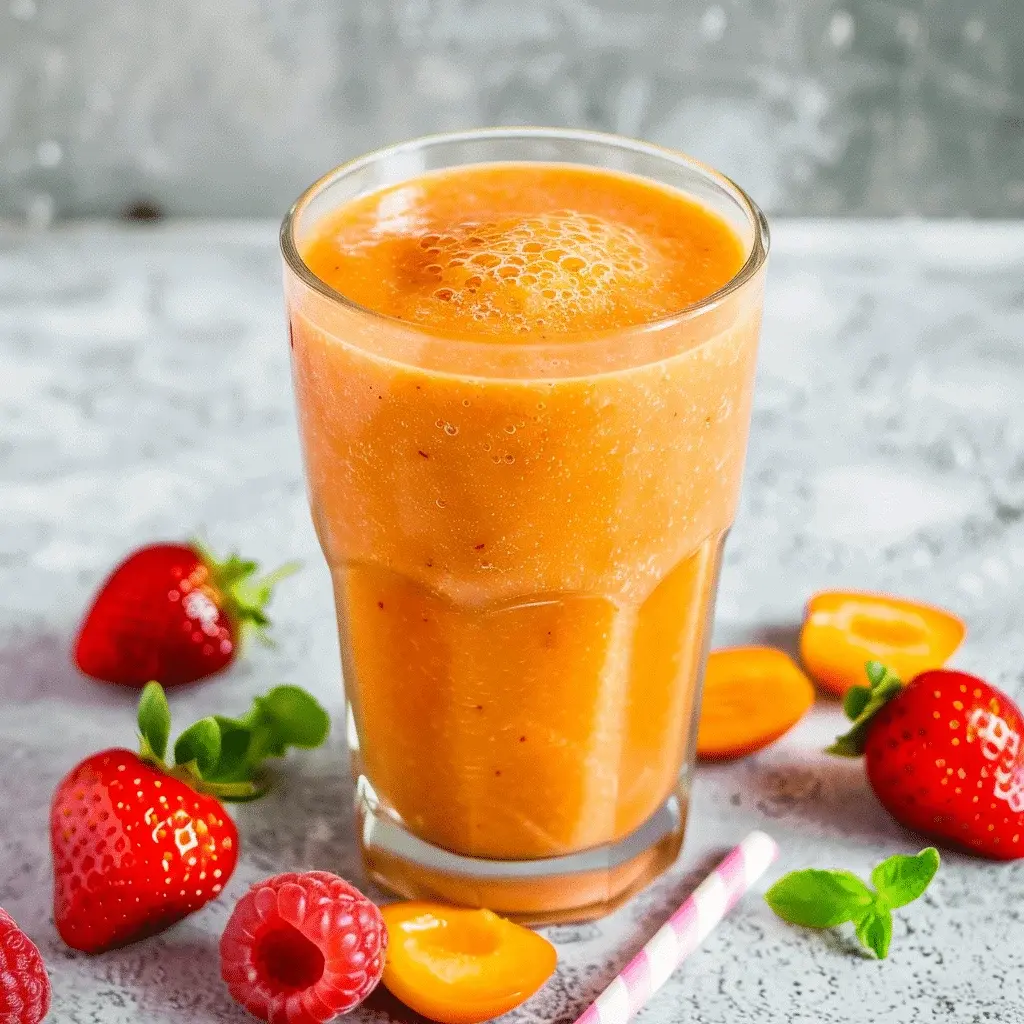
Apricot Strawberry Smoothies Recipe
Introduction
Did you know that a study published in the American Journal of Clinical Nutrition found that individuals who consume smoothies regularly have a 42% higher intake of essential vitamins and antioxidants? If you’re looking for a delicious way to boost your daily nutrition, this vibrant Apricot Strawberry Smoothie is your answer. More than just a pretty drink, this recipe is a masterful blend of hydrating coconut water, sweet strawberries, tangy apricots, and tropical pineapple. It’s a symphony of flavors designed to refresh, energize, and nourish your body from the inside out. Perfect for a quick breakfast, a post-workout refresher, or a sunny afternoon pick-me-up, this smoothie is a testament to how healthy can also be incredibly delicious. Let’s dive into creating this liquid sunshine!
Ingredients List
Gather these fresh, flavorful ingredients for two generous servings. Each component brings its unique texture and nutritional profile to create the perfect balance.
- 1 cup Coconut Water: The ultimate hydrating base, packed with electrolytes like potassium. It has a subtly sweet, nutty flavor that lets the fruits shine. Substitution: Use almond milk or oat milk for a creamier texture.
- 1 cup Fresh Strawberries, hulled: These ruby-red gems provide natural sweetness, a gorgeous color, and a powerful dose of vitamin C. Look for berries that are fragrant and bright red all over. Substitution: Frozen strawberries work perfectly and create a thicker, frostier smoothie.
- 2 Fresh Apricots, pitted and chopped: They offer a distinct tangy-sweet flavor and a velvety texture. Their beautiful orange hue adds to the smoothie’s vibrant color. Substitution: 1/2 cup of dried apricots (soaked in warm water for 10 minutes) or 3/4 cup of canned apricots in juice (drained).
- 1 cup Fresh Pineapple Chunks: The tropical star that adds a bright, acidic punch and digestive enzymes (bromelain). Its juicy sweetness ties all the flavors together. Substitution: Frozen pineapple chunks or 3/4 cup of pineapple juice (reduce coconut water by 1/4 cup).
- 1/2 Banana (optional, for extra creaminess): Adds a luscious, thick texture and natural sweetness without overpowering the other fruits. Substitution: 1/4 of an avocado for healthy fats and creaminess.
- 1 tablespoon Chia Seeds or Flax Seeds (optional): For a boost of omega-3s, fiber, and a delightful slight crunch. They also help thicken the smoothie.
- Ice Cubes (as needed): Start with 4-5 cubes if using all fresh fruit for a chilled, refreshing result.
Timing
10 minutes
0 minutes
10 minutes
At just 10 minutes total, this recipe is significantly faster than the average breakfast smoothie or cooked meal, which often takes 15-20 minutes of active prep and cooking. The efficiency lies in the minimal prep—simple washing, hulling, and chopping—and the instantaneous blending process. You can have a restaurant-quality, nutrient-dense drink ready faster than it takes to brew a pot of coffee, making it an unbeatable option for busy mornings.

Step-by-Step Instructions
Step 1: Prepare Your Fruits
Begin by giving all your fruits a gentle rinse under cool water. Hull the strawberries by removing the green leafy tops. For the apricots, slice them in half, twist to separate, and remove the pit. Chop the apricots and pineapple into rough, blender-friendly chunks. I like to keep the banana peeled and ready on the side. This simple prep is your moment of mindfulness—appreciating the colors and aromas of the fresh ingredients sets the tone for the delicious drink to come.
Step 2: Blend to Perfection
To your high-speed blender, first add the liquid base: the coconut water. This helps the blades move freely from the start. Next, add the softer fruits—the strawberries, apricots, and banana (if using). Top with the pineapple chunks and any optional add-ins like chia seeds. Secure the lid tightly. Start blending on low speed for 10 seconds to break down the larger pieces, then ramp up to high speed for 45-60 seconds. You’re looking for a completely smooth, homogenous, and pourable consistency with no visible fruit chunks.
Step 3: Taste and Adjust
This is the chef’s secret step! Once blended, pause and give your creation a taste. Is it tart enough? Sweet enough? Thick enough? Personalize it:
- Too thick? Add more coconut water, one tablespoon at a time.
- Not sweet enough? Add half a pitted Medjool date or a teaspoon of raw honey.
- Want more tang? A squeeze of fresh lime juice can work wonders.
Blend again for another 10-15 seconds after any adjustments.
Step 4: Serve Immediately
Pour the vibrant, coral-colored smoothie into two tall glasses. For a touch of elegance, you can garnish the rim with a thin slice of strawberry or a small wedge of apricot. The goal is to enjoy it immediately to get the maximum nutritional benefits, the best texture, and the most vibrant flavor. The vitamins, especially vitamin C, are at their peak right after blending.
Nutritional Information
(Approximate values per serving, without optional banana or seeds)
- Calories: ~150 kcal
- Total Fat: 0.5g
- Saturated Fat: 0g
- Carbohydrates: 38g (Primarily natural fruit sugars)
- Fiber: 5g (Excellent for digestion!)
- Sugars: 28g
- Protein: 2g
- Vitamin C: Over 100% of the RDI
- Potassium: ~500mg (Thanks to coconut water and apricots)
Healthier Alternatives
You can easily tailor this smoothie to fit specific dietary goals without sacrificing the fantastic flavor profile:
- Lower Sugar: Reduce the pineapple to 1/2 cup and add 1 cup of spinach or kale. The greens are virtually undetectable flavor-wise but add minerals and cut the sugar content.
- Higher Protein: Add a scoop of unflavored or vanilla plant-based protein powder, or 1/2 cup of silken tofu. Both blend seamlessly and create a more filling meal-replacement smoothie.
- Boost Healthy Fats: Swap the optional banana for 1/4 avocado or add a tablespoon of almond butter. This increases satiety and helps with the absorption of fat-soluble vitamins.
- Detox Boost: Add a 1-inch knob of fresh ginger (peeled) or a handful of fresh mint leaves for an extra cleansing, refreshing zing.
Serving Suggestions
- Breakfast Bowl: Pour a thicker version into a bowl and top with granola, shredded coconut, sliced almonds, and a few extra strawberry slices for a “smoothie bowl” experience.
- Post-Workout Fuel: Enjoy within 30 minutes of exercise. The natural sugars help replenish glycogen stores, and the electrolytes in coconut water aid rehydration.
- Kids’ Favorite: Serve in a colorful cup with a fun reusable straw. You can even freeze it into popsicle molds for a healthy frozen treat.
- Elegant Brunch: Serve in champagne flutes with a sprig of mint for a non-alcoholic, stunning brunch beverage.
Common Mistakes
- Over-blending: Blending for more than 90 seconds can incorporate too much air, create a foamy texture, and potentially oxidize some nutrients. Blend just until smooth.
- Wrong Blending Order: Putting hard frozen fruit in first without enough liquid can strain your blender’s motor. Always add liquid first, then soft items, then frozen/hard items on top.
- Using Overripe or Underripe Fruit: Overripe bananas can dominate the flavor, while underripe apricots or pineapple can make the smoothie unpleasantly tart. Aim for fruit at its peak ripeness.
- Skipping the Taste Test: Not adjusting for personal preference is a missed opportunity. Smoothies are meant to be customized!
Storing Tips
- Short-Term (24 hours): Store any leftovers in a sealed jar or bottle in the refrigerator. It may separate slightly; just give it a vigorous shake or a quick re-blend before drinking.
- Freezing for Later: Pour smoothie into ice cube trays. Once frozen, transfer the cubes to a freezer bag. To use, blend 6-8 cubes with a splash of fresh coconut water or milk for an instant smoothie.
- Prep Ahead: You can pre-portion all the chopped fruits (except banana) into freezer bags and freeze them. In the morning, just dump the bag’s contents into the blender with your liquid.
Conclusion
This Apricot Strawberry Smoothie is more than a recipe—it’s a vibrant, liquid expression of health and flavor. It proves that nourishing your body can be an absolute delight for your taste buds. With its perfect balance of sweetness, tang, and hydration, it’s a versatile drink that fits into any part of your day. I encourage you to make this recipe your own. Experiment with the substitutions, play with the toppings, and find your perfect blend. Don’t forget to share your beautiful creations with us on social media using #SpiceMingleSmoothies! Now, grab your blender and let’s make some sunshine.
Loved this recipe? Pin it to your “Healthy Drinks” board on Pinterest to save it for later and share the goodness with your friends and family!
FAQs
***Can I make this smoothie dairy-free and vegan?***