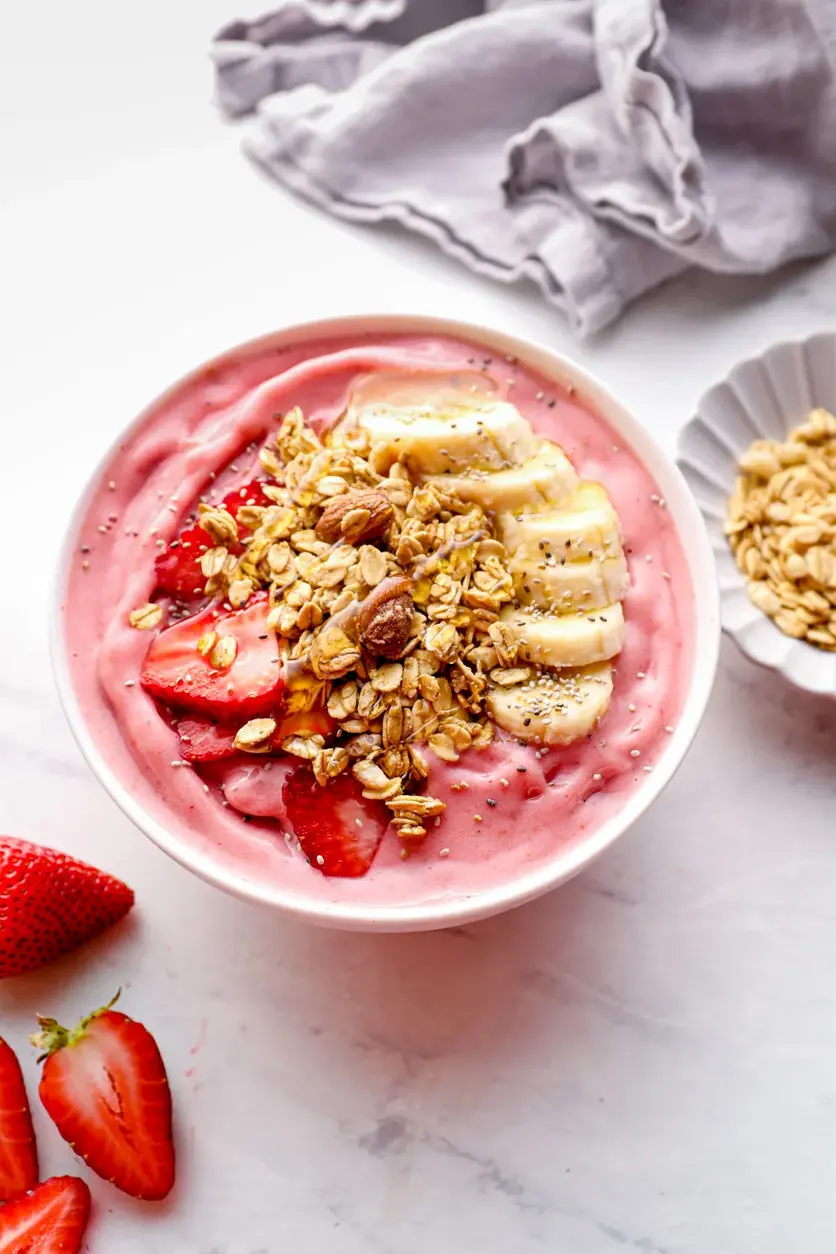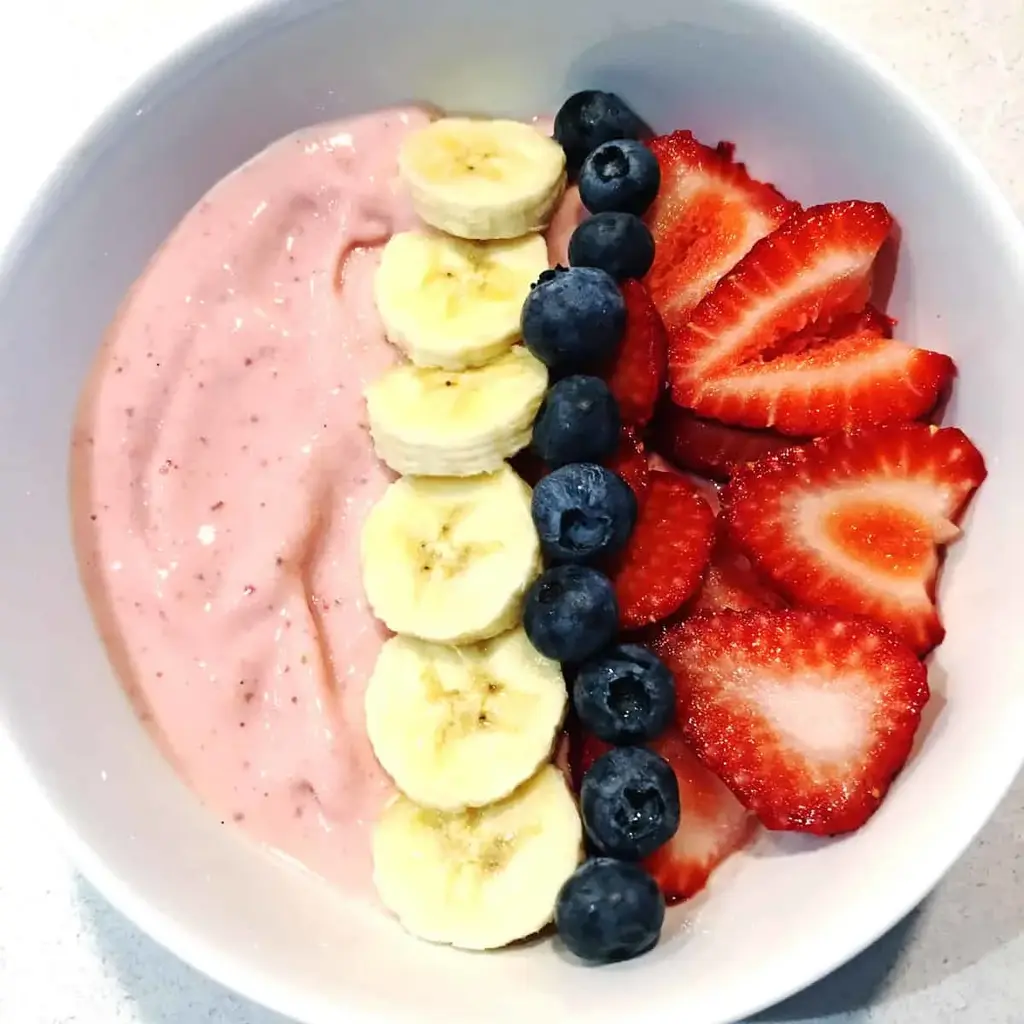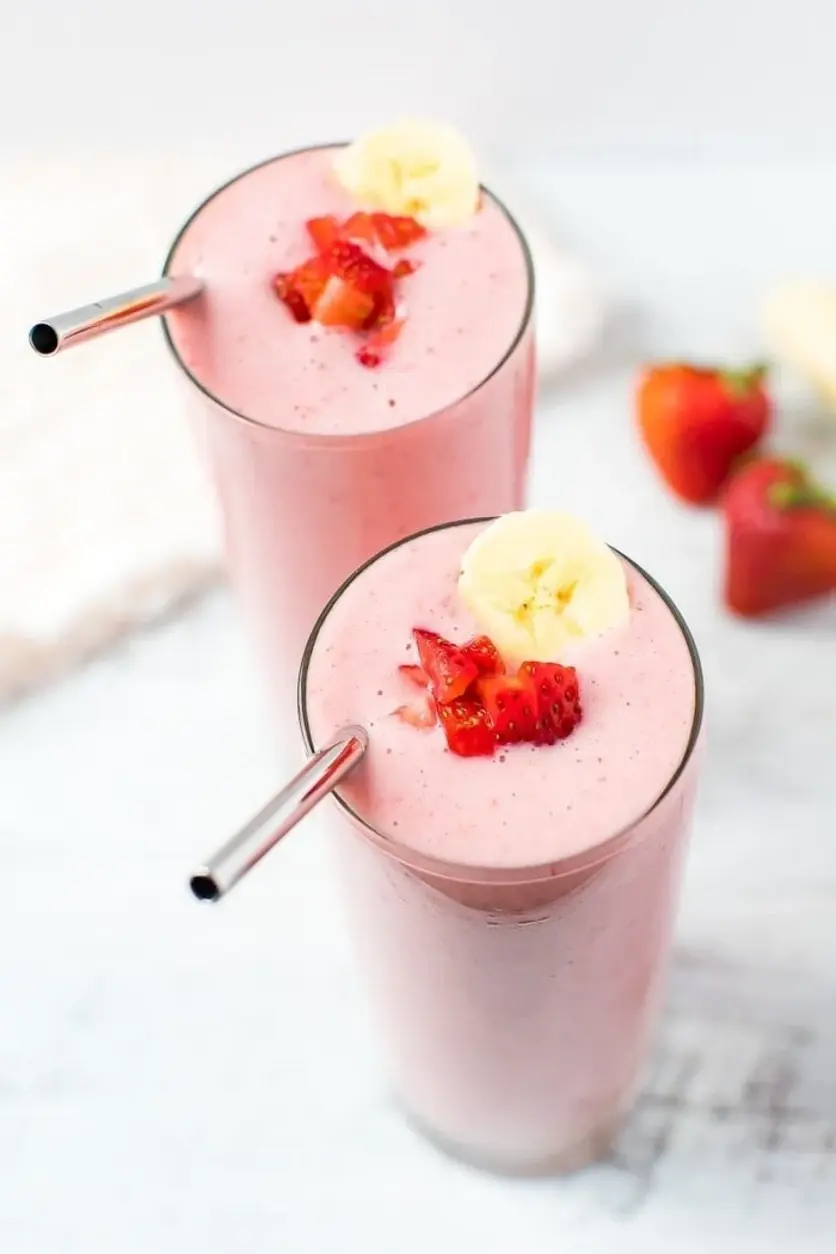
There’s nothing better than a classic strawberry banana smoothie! This one has Greek yogurt for an added protein boost. The perfect quick and easy healthy snack or refreshing breakfast recipe! Gluten-free + vegetarian.
Print

Strawberry Banana Smoothie
Description
There’s nothing better than a classic strawberry banana smoothie! This one has Greek yogurt for an added protein boost.
Ingredients
- 1 banana, peeled and frozen
- 3 fresh or frozen strawberries
- cup milk, I like almond milk
- ¼ cup plain Greek yogurt*
- 1 teaspoon honey, optional
Instructions
- Blend: Place all ingredients in a high-powered blender and blend until smooth and creamy. The honey is optional. You can make it without the honey, taste and then add it if you'd like the smoothie to be a little sweeter.
- Serve: Enjoy immediately after making.
Notes
Honey If youre looking to keep the sugar content down I would skip this ingredient.
Dairy-free You can use non-dairy yogurt to make this smoothie dairy-free.
Protein powder Feel free to add in protein powder to amp up the protein if you are enjoying this for breakfast or as a post-workout snack.
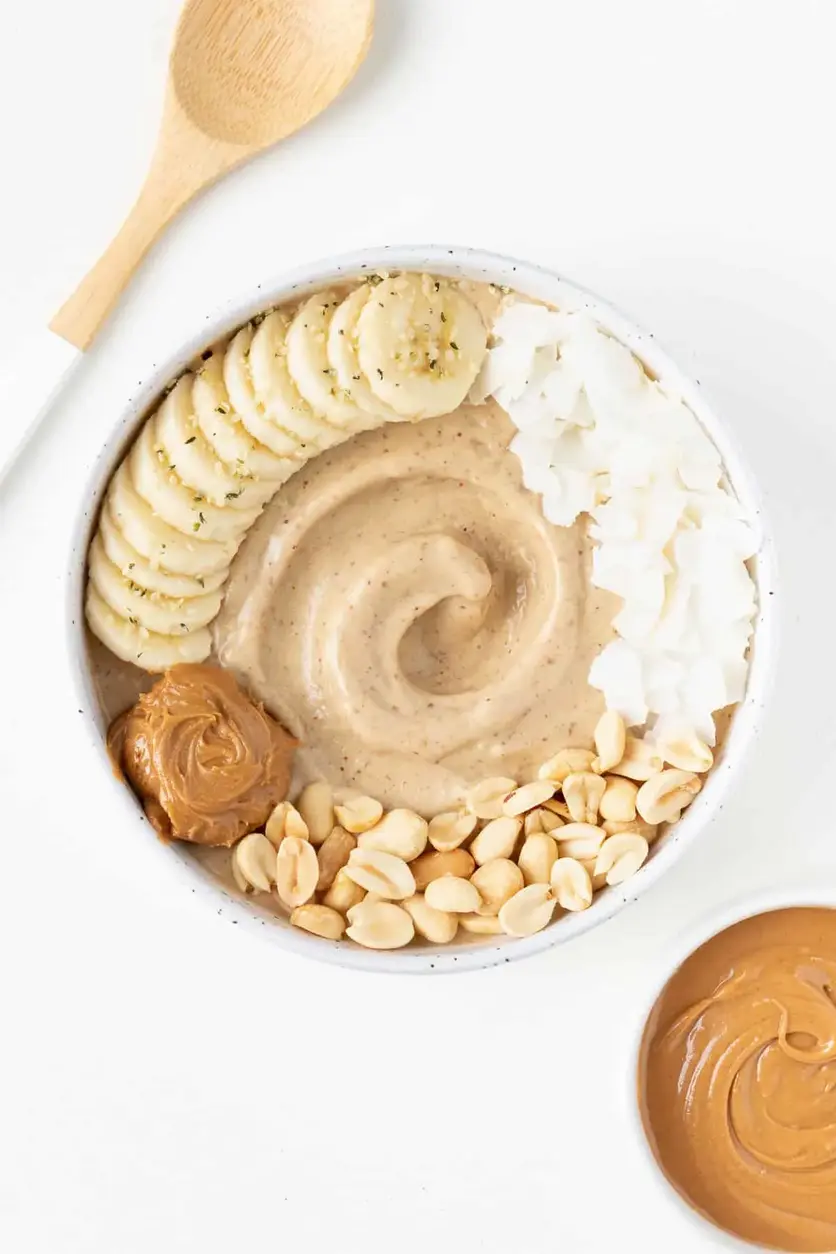
Mix-ins This is a great recipe to build off of so if youre feeling creative go ahead and experiment with other ingredients!
Nutrition
- Calories: 217kcal
- Sugar: 27g
- Protein: 9g