Easy Cheesecake Cupcakes: A Delightful Dessert Treat
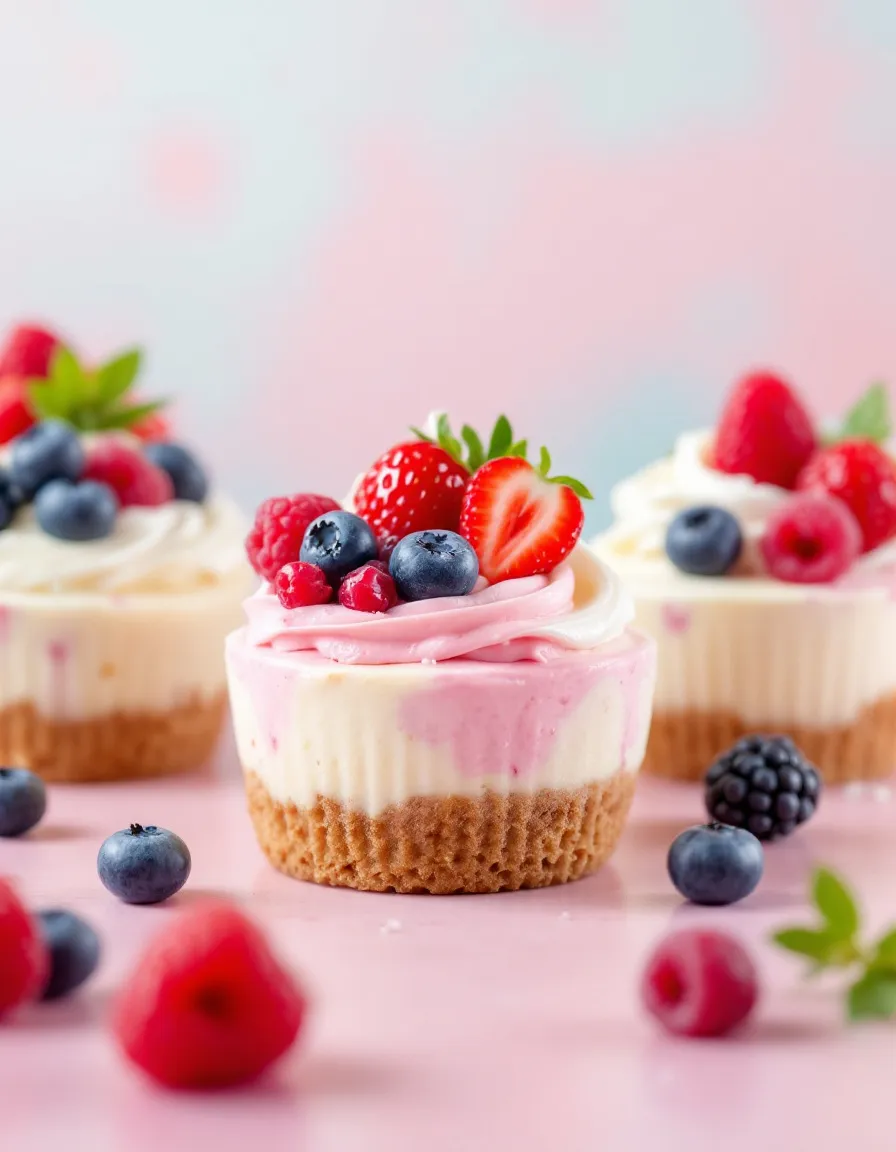
Cheesecake Cupcakes are a delightful dessert that perfectly captures the creamy, rich flavor of traditional cheesecake, all while being presented in individual cupcake form. These make for an exceptional treat at parties, family gatherings, or even a cozy night in. You will love how easy they are to prepare and the way they set perfectly to create a delicious bite-sized dessert that everyone can enjoy.
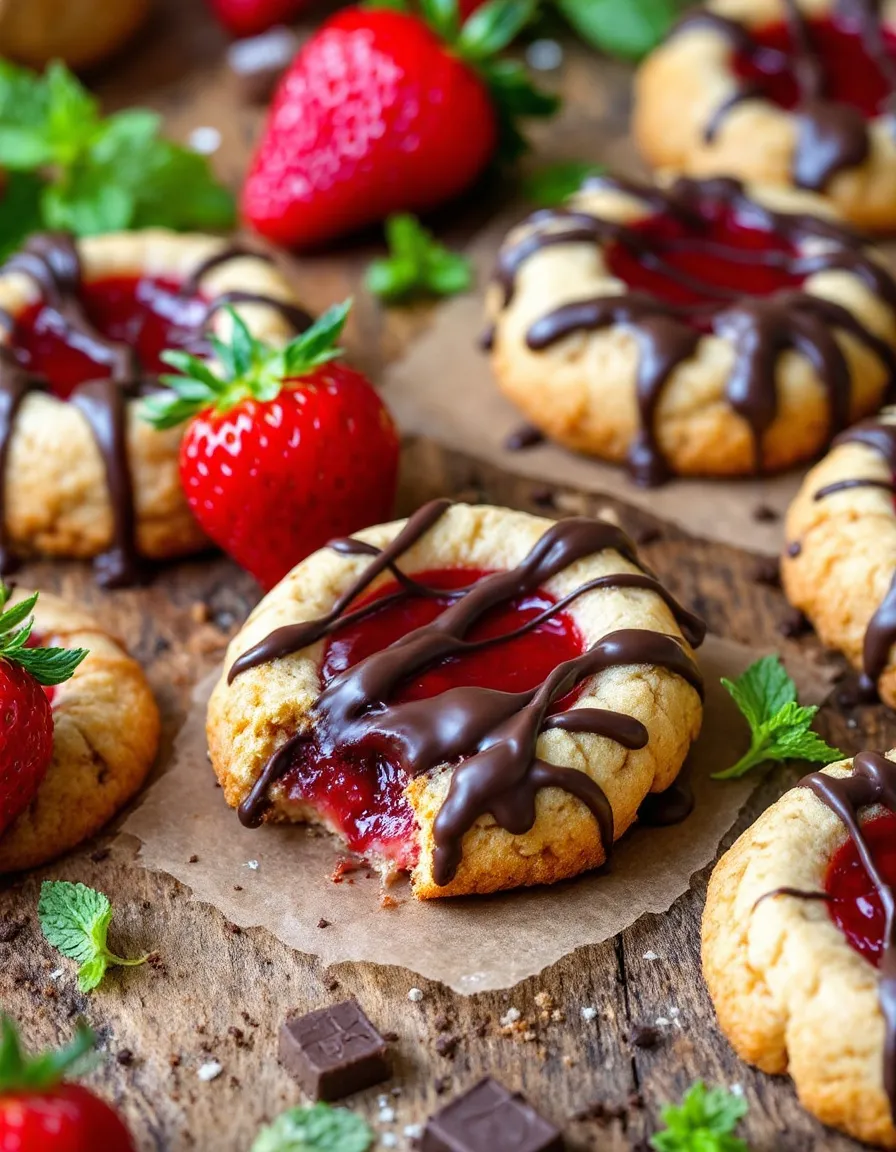
The allure of these Easy Cheesecake Cupcakes lies not only in their heavenly taste but also in their versatility. You can drape them in a rich fruit topping, drizzle with chocolate, or keep them simple with a dusting of powdered sugar. The texture is wonderfully creamy, with a luscious filling that contrasts beautifully against a graham cracker crust.
Quick Recipe Highlights
- Flavor Profile: These cupcakes blend rich cream cheese and sweet vanilla to create a perfectly balanced flavor.
- Texture: You’ll experience a creamy and smooth filling with a crunchy graham cracker base.
- Aroma: Each bite emits sweet notes of vanilla and buttery graham cracker.
- Visual Appeal: The classic white of the cheesecake filling contrasts wonderfully with the golden crust.
- Skill Level Needed: This is an ideal recipe for beginners, requiring no special baking techniques.
- Special Equipment: You will need a muffin tin and cupcake liners for easy baking.
Recipe Overview
- Difficulty Level: This recipe is designed for bakers of all levels, especially for those just starting out, as it simplifies the cheesecake-making process.
- Category: This dessert falls into the categories of both party treats and sweet snacks, perfect for any occasion.
- Cuisine: Inspired by classic American dessert tradition, these cupcakes are a favorite in many households.
- Cost: This dessert is budget-friendly, with most ingredients being pantry staples.
- Season: Cheesecake is enjoyed year-round, making it perfect for any season, particularly summer gatherings.
- Occasion: They shine as a dessert for birthdays, holidays, and special celebrations.
Why You’ll Love This Recipe
The creamy filling of these Easy Cheesecake Cupcakes delivers a delightful taste that will tantalize your taste buds. It’s a combination of sweet and tangy that makes every bite utterly addictive. Unlike traditional cheesecakes that need to be sliced, these cupcakes provide a portioned treat that is perfect for serving guests or enjoying as a late-night snack.
Convenience is another reason to adore this recipe. These cupcakes can be whipped up in under an hour, making them a fantastic option for impromptu gatherings or sweet cravings. The use of familiar ingredients means minimal preparation time and less mess, making them accessible for even the busiest schedules.
From a nutritional standpoint, these Easy Cheesecake Cupcakes can be made with low-fat cream cheese or natural sweeteners, allowing you to tailor the recipe to your dietary needs without sacrificing flavor.
When entertaining, these cupcakes are sure to impress. Their individual portions eliminate the fuss of slicing a traditional cheesecake, allowing guests to enjoy them at their own pace. The appealing texture and flavor profile will have everyone asking for the recipe.
Finally, the cost-effectiveness of this recipe can’t be overlooked. With simple and economical ingredients, these cupcakes can be made in bulk for less than the price of store-bought desserts, providing a homemade touch to any occasion without breaking the bank.
Historical Background and Cultural Significance
Originating from the ancient Greeks, cheesecake has undergone several transformations over the centuries. In America, cheesecakes became popular in the 19th century with the introduction of cream cheese, which revolutionized the recipe. This led to the creation of today’s deliciously fluffy cheesecake variation that we adore in cupcakes.
Cheesecake holds a special cultural significance in numerous traditions, often served as a celebratory dish at weddings and communal feasts. The variety of toppings, including fruits and chocolates, reflects regional preferences and culinary innovations.
As the cheesecake evolved, it adapted to the tastes and ingredients available in different parts of the world. Each region added its unique twist, leading to the plethora of cheesecake styles we see today, from New York-style dense cheesecakes to airy mousse-like versions.
The cupcake variation emerged in the late 20th century as baking became trendy, highlighting the practicality of portion-control desserts. This adaptation brought the indulgence of classic cheesecake into a format suitable for modern lifestyles, further cementing its popularity at events and casual get-togethers.
Ingredient Deep Dive
For the cream cheese, it provides the rich flavor and creamy texture essential to any cheesecake. When selecting cream cheese, look for brands that use fresh ingredients without fillers to ensure the best taste. It’s best stored in the refrigerator and consumed before its expiration date, but can also be frozen for future use.
Sugar is the sweetener of choice, and using granulated sugar results in a smooth texture. You can substitute some of the sugar with natural sweeteners, like honey or maple syrup, for a healthier twist.
Graham crackers create the signature crust. Opt for plain graham crackers for a neutral flavor that pairs well with the creamy filling. These should be kept sealed in an airtight container to preserve their crunch.
Common Mistakes to Avoid
- Overmixing the cream cheese can cause the texture to become grainy. Mix just until smooth for the best consistency.
- Not letting the cream cheese come to room temperature can result in lumps in the batter. Always let it warm up before mixing.
- Using low-quality ingredients can affect the flavor; always choose fresh, high-quality products.
- Skipping the cooling time can lead to cracks in the cupcakes. Allow them to cool properly before serving.
- Overbaking can dry out the cupcakes; remove them once they are just set.
- Not lining the muffin tin may cause the cupcakes to stick. Always use cupcake liners.
- Forgetting to preheat the oven can lead to uneven baking. Ensure your oven is at the right temperature before starting.
- Not checking for doneness with a toothpick can result in undercooked centers; make sure it comes out mostly clean.
Essential Techniques
Mixing properly is key to achieving a smooth filling. Always use a hand mixer or stand mixer on low to avoid incorporating too much air, which can cause cupcakes to rise excessively and crack.
Cooling your cupcakes is another important step. Once out of the oven, let them rest at room temperature, then refrigerate to allow the creaminess to develop and set, leading to a better flavor.
Pro Tips for Perfect Easy Cheesecake Cupcakes
Use room temperature ingredients to create a creamy filling without lumps. This ensures a smooth batter and an even bake.
Experiment with flavors by adding citrus zest or extracts, such as almond or coconut, to customize the taste of your cupcakes.
Don’t be afraid to top your cupcakes with your favorite sauces, be it chocolate ganache, caramel, or fruit compote for added indulgence.
Keep your cupcakes covered in the refrigerator to maintain freshness and avoid them absorbing any odors.
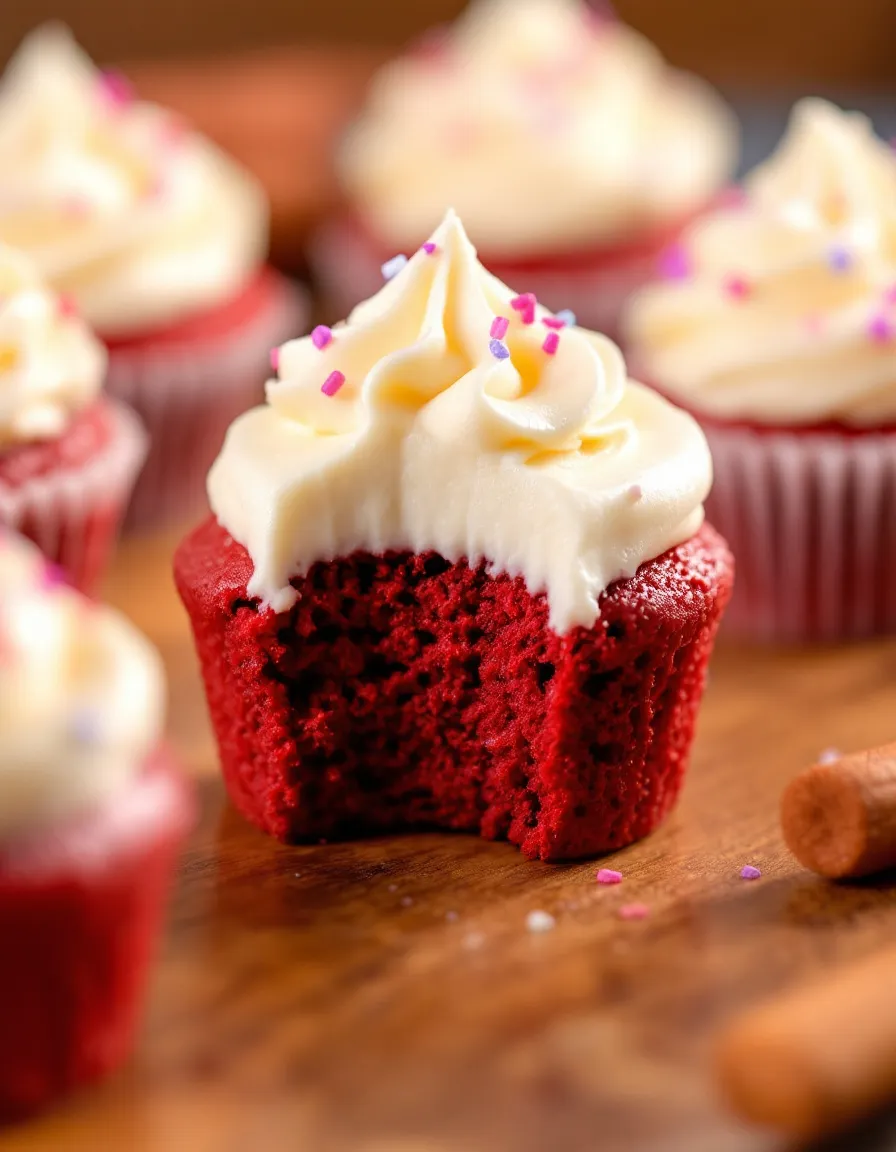
For a colorful presentation, consider using fresh berries or edible flowers as garnishes on top of the cupcakes.
Allow your cupcakes to chill overnight to enhance the flavor and texture before serving; they taste even better the next day.
Variations and Adaptations
You can enjoy these Easy Cheesecake Cupcakes with different flavored crusts. Consider using chocolate cookies or even crushed nuts for a unique twist.
Seasonal adaptations allow you to switch up the toppings; think pumpkin puree in the fall or fresh strawberries in the spring for a festive touch.
If you have dietary restrictions, such as a gluten-free diet, substitute the graham crackers with gluten-free alternatives while keeping the other ingredients constant for a deliciously safe treat.
Explore different flavor profiles by adding spices like cinnamon or nutmeg to the batter for a deeper taste experience.
Consider making mini versions of the cupcakes for bite-sized treats perfect for events and gatherings, simply adjust the baking time.
To give your cupcakes a sophisticated touch, try drizzling with white chocolate or topping with a dollop of whipped cream for an elegant presentation.
Serving and Presentation Guide
Presentation is key when serving desserts, and with these Easy Cheesecake Cupcakes, consider using decorative cupcake liners that merit a beautiful display.
To garnish, fresh fruits or a light dusting of powdered sugar can add color and vibrancy, making them even more inviting.
For a modern twist, serve with a small scoop of ice cream on the side for an added delight, particularly during warmer months.
Keep portion sizes in mind; a single cupcake per person is perfect, especially if you have other desserts on the table.
Cupcakes should be served chilled for the best taste and texture; providing them straight from the refrigerator offers a refreshing treat.
Wine and Beverage Pairing
Pair your Easy Cheesecake Cupcakes with a sweet white wine, like Riesling or Moscato, whose fruity flavors complement the rich cheesecake filling wonderfully.
For a non-alcoholic alternative, a sparkling lemonade or iced tea can refresh the palate and enhance the dessert experience.
If you prefer coffee or tea, a light roast coffee or chamomile tea works well, providing a nice contrast to the sweet and creamy cupcakes.
When serving wine, make sure it’s chilled to enhance the overall understanding of the cupcake flavors.
Storage and Shelf Life
These cupcakes can be stored in an airtight container in the refrigerator for up to one week, maintaining their freshness and flavor.
It is advisable to keep them covered to avoid unintentional drying or the absorption of other refrigerator odors.
For longer storage, consider freezing them; they can last up to two months. Make sure to wrap them well to prevent freezer burn.
To thaw, place them in the refrigerator overnight, preserving their texture and taste.
Make Ahead Strategies
You can prepare the filling the night before and store it in the refrigerator, saving time on the day of baking.
Once baked, these cupcakes keep well in the fridge, making them an ideal make-ahead dessert for parties.
Consider assembling the cupcakes in advance and topping them right before serving to maintain freshness and flavor.
If you have leftover cupcake batter, use muffin tins to bake additional mini cheesecakes as treats for later.
Scaling Instructions
When scaling the recipe, doubling or tripling the ingredients works without any drastic changes, making it easy to create more cupcakes for larger gatherings.
Ensure you have enough muffin tins available or consider baking in batches to accommodate the recipe scale.
Adjust the baking time if you use a different-sized muffin tin or if you bake in a larger batch, checking for doneness consistently.
Leftover batter can be refrigerated for up to 24 hours, providing flexibility when scaling the recipe.
Nutritional Deep Dive
Each Easy Cheesecake Cupcake is a delightful balance of creamy richness and sweetness that can serve as a satisfying treat without excessive calories.
The nutritional composition will vary depending on the brand and type of ingredients you choose; consider low-fat cream cheese for a lighter version.
With the use of healthier crust options like nut-based crusts, the overall carbohydrate count can be adjusted for those mindful of sugar intake.
Portion control is also a great advantage, allowing for a satisfying dessert without overindulging.
Dietary Adaptations
For a gluten-free option, use gluten-free graham crackers or almond flour to create the crust, maintaining the delicious flavor without compromising dietary needs.
Dairy-free adaptations can be made by substituting traditional cream cheese with a plant-based alternative, resulting in a vegan-friendly treat.
For those on a low-carb or Keto diet, consider using erythritol or other sugar substitutes to maintain the sweetness without the carbs.
With the right substitutions, you can cater to a variety of dietary preferences without sacrificing flavor or texture.
Troubleshooting Guide
If you encounter texture issues, like graininess, ensure your cream cheese is thoroughly softened before mixing.
For flavor imbalance, consider adjusting the level of sweetener or adding a teaspoon of lemon juice for a fresh balance.
If your cupcakes sink in the middle, they may have been overmixed; ensure to mix just until combined.
Temperature problems can arise if your oven is not calibrated—always check the internal temperature or use an oven thermometer for accuracy.
Ingredient substitutions can lead to unexpected results; be cautious when swapping ingredients and test in smaller batches first.
Keep an eye on the baking time; underbaking can cause a soggy bottom while overbaking can dry them out.
Recipe Success Stories
Readers have shared their successes with this cheesecake cupcake recipe, often mentioning how easy it is to impress guests who think they are store-bought.
Some bakers have experimented with flavors, creating chocolate or pumpkin variations that received rave reviews from friends and family.
Photography tips from the community suggest capturing the cupcakes in natural light to highlight their inviting appearance perfectly.
Variations, such as topping with fruit preserves or drizzling caramel, have encouraged some to experiment more with this versatile recipe.
The feedback highlights how adaptable and forgiving this recipe is; whether for beginner bakers or experienced chefs, the Easy Cheesecake Cupcakes continue to be a hit.
Frequently Asked Questions
Can I use homemade crust instead of graham crackers?
Absolutely! Using a homemade crust can elevate the flavor. Just ensure it balances the cheesecake filling with the right texture and sweetness.
How do I know when my cupcakes are done baking?
Check for doneness by inserting a toothpick into the center; it should come out mostly clean with a few moist crumbs. They may still feel slightly jiggly but will firm up as they cool.
Can I make these cupcakes dairy-free?
Yes, substituting with dairy-free cream cheese and a suitable butter alternative will yield delicious results, maintaining the essence of cheesecake.
What toppings work best for cheesecake cupcakes?
Fruit compote, chocolate ganache, or whipped cream are all excellent topping choices that add flavor and visual appeal.
How should I store leftovers?
Store in an airtight container in the refrigerator for up to a week to keep them fresh and delicious.
Can I freeze these cupcakes?
Yes! They freeze well for up to two months; just ensure they are stored properly to prevent freezer burn.
What is the difference between these and regular cheesecake?
The main difference lies in portion size and ease of serving. Cheesecake cupcakes offer a more manageable, individual serving while retaining the same flavor profile.
Is it okay to use low-fat cream cheese?
Absolutely! Low-fat cream cheese can still provide a creamy texture and flavor, making for a lighter dessert option.
What are some flavor variations I can try?
Mix in fruit purees, chocolate chips, or spices like cinnamon and nutmeg to customize your cupcakes to your liking. The options are endless!
Can I make mini versions of these cupcakes?
Yes, mini versions work beautifully! Just adjust the baking time and keep an eye on them as they bake.
Additional Resources
Explore more recipes from our collection to expand your baking repertoire. For technique guides, consider learning about basic cake decorating to elevate your presentation skills. You might also find ingredients like high-quality vanilla and cream cheese essential in many dessert recipes. Don’t forget to view seasonal variations that can inspire unique twists on traditional recipes!
Join the Conversation
We want to hear your experiences, so please share your photos on social media! Engage with our community by sharing your adaptations and creative variations of the recipe. Leaving reviews helps fellow bakers learn more about this recipe, inspiring all to get in the kitchen and create something delicious. Your suggestions can spark new ideas within our growing community!
The Recipe
Easy Cheesecake Cupcakes
Serves: 12 cupcakes
Prep Time: 15 mins
Cook Time: 20 mins
Total Time: 35 mins
Kitchen Equipment Needed
- Muffin tin
- Cupcake liners
- Mixing bowl
- Hand mixer or stand mixer
- Measuring cups and spoons
Ingredients
- 8 oz cream cheese, softened
- 1/2 cup granulated sugar
- 1 tsp vanilla extract
- 2 large eggs
- 1 cup graham cracker crumbs
- 1/4 cup butter, melted
Directions
- Preheat your oven to 325°F (163°C). Line a muffin tin with cupcake liners.
- In a mixing bowl, combine graham cracker crumbs and melted butter, then spoon into each prepared liner to form the crust.
- In another bowl, beat the softened cream cheese with sugar and vanilla until smooth. Beat in eggs one at a time.
- Pour the cream cheese mixture over the crusts in the muffin tin.
- Bake in the preheated oven for about 20 minutes, or until set around the edges and slightly jiggly in the center.
- Remove from the oven and let cool at room temperature. Refrigerate for at least 2 hours before serving.
Recipe Notes
- For a chocolate version, add cocoa powder to the cream cheese mixture.
- You can substitute some of the cream cheese with sour cream for a tangy flavor.
- Top with fresh berries or fruit preserves before serving for added flavor.