20 Of The Best Starbucks Copycat Recipes: Enjoy Café Perfection at Home
Starbucks has cultivated a massive following thanks to its wide array of delightful drinks and delicious pastries. But did you know that you can recreate those beloved flavors right in your kitchen? This collection features 20 of the best Starbucks copycat recipes that bring the café experience home. From tantalizing lattes to decadent pastries, every recipe serves as an invitation for you and your loved ones to indulge in luxurious flavors without leaving your house.
Imagine waking up to the aroma of freshly brewed coffee mingling with the scent of warm cinnamon rolls. Picture the joy of enjoying your favorite Starbucks drink while lounging on your couch. These recipes are crafted to not only tantalize your taste buds but also to spark a sense of nostalgia associated with your preferred café treats. With just a handful of ingredients and a bit of creativity, you can achieve café perfection in the comfort of your own kitchen.
Quick Recipe Highlights
- Flavor Profile: Each recipe features familiar flavors ranging from sweet vanilla to rich chocolate and smooth caramel, hitting all the right notes.
- Texture: Enjoy creamy and frothy beverages paired with soft and flaky pastries that melt in your mouth.
- Aroma: The enticing scents of espresso, baked goods, and seasonal spices fill your kitchen as you craft these beloved treats.
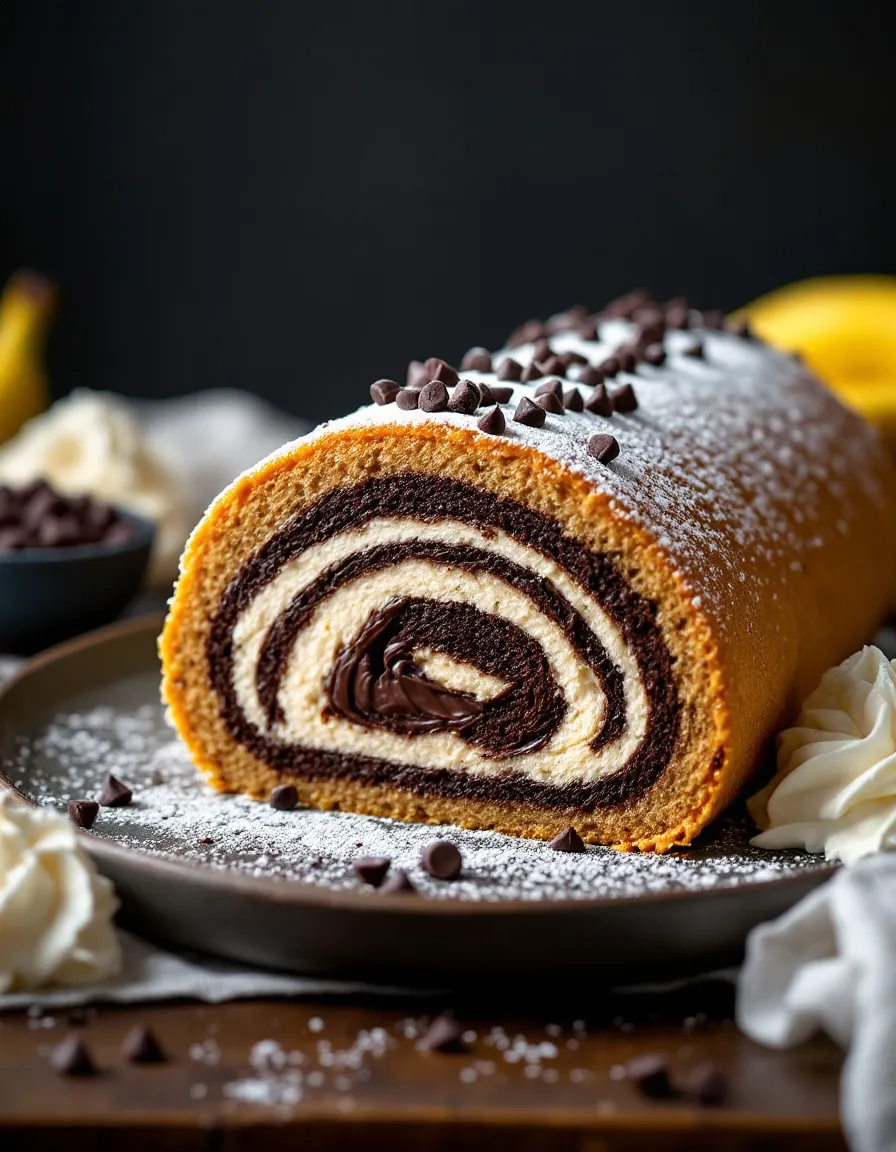
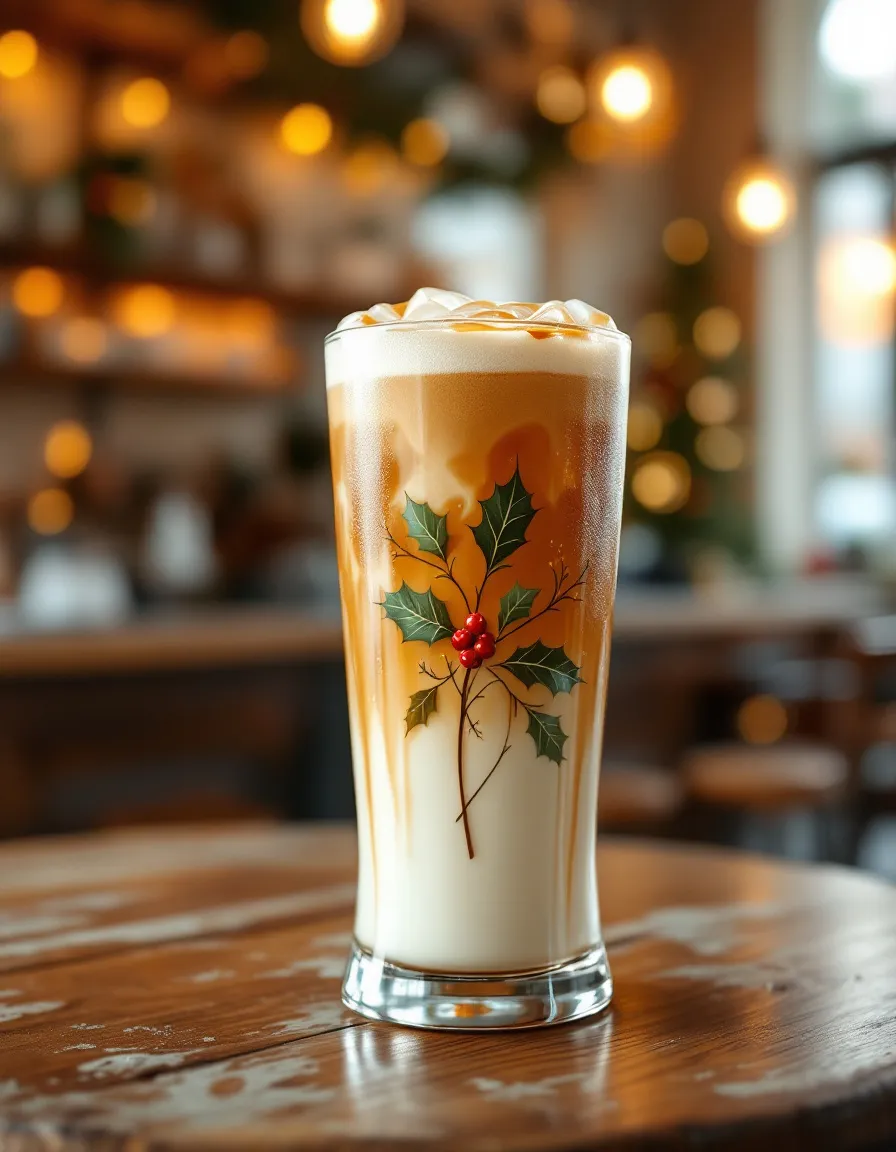
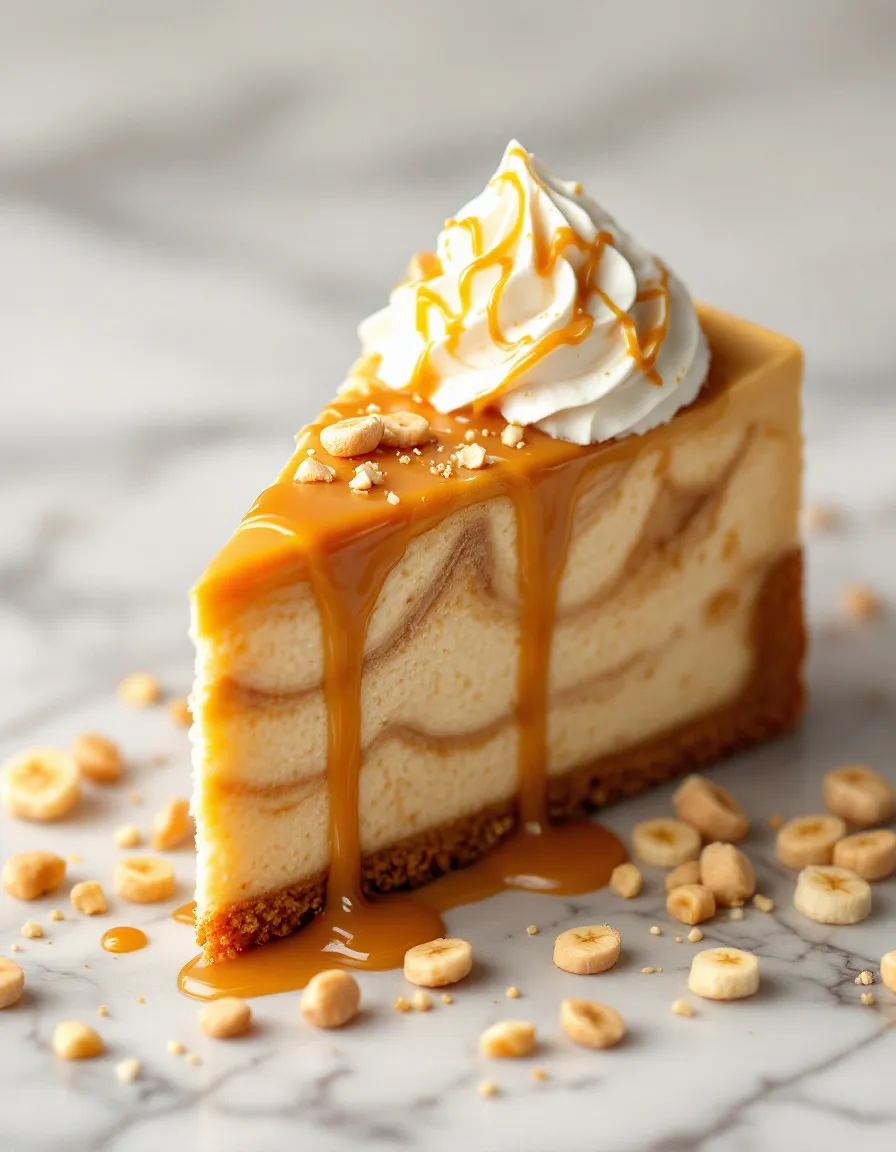
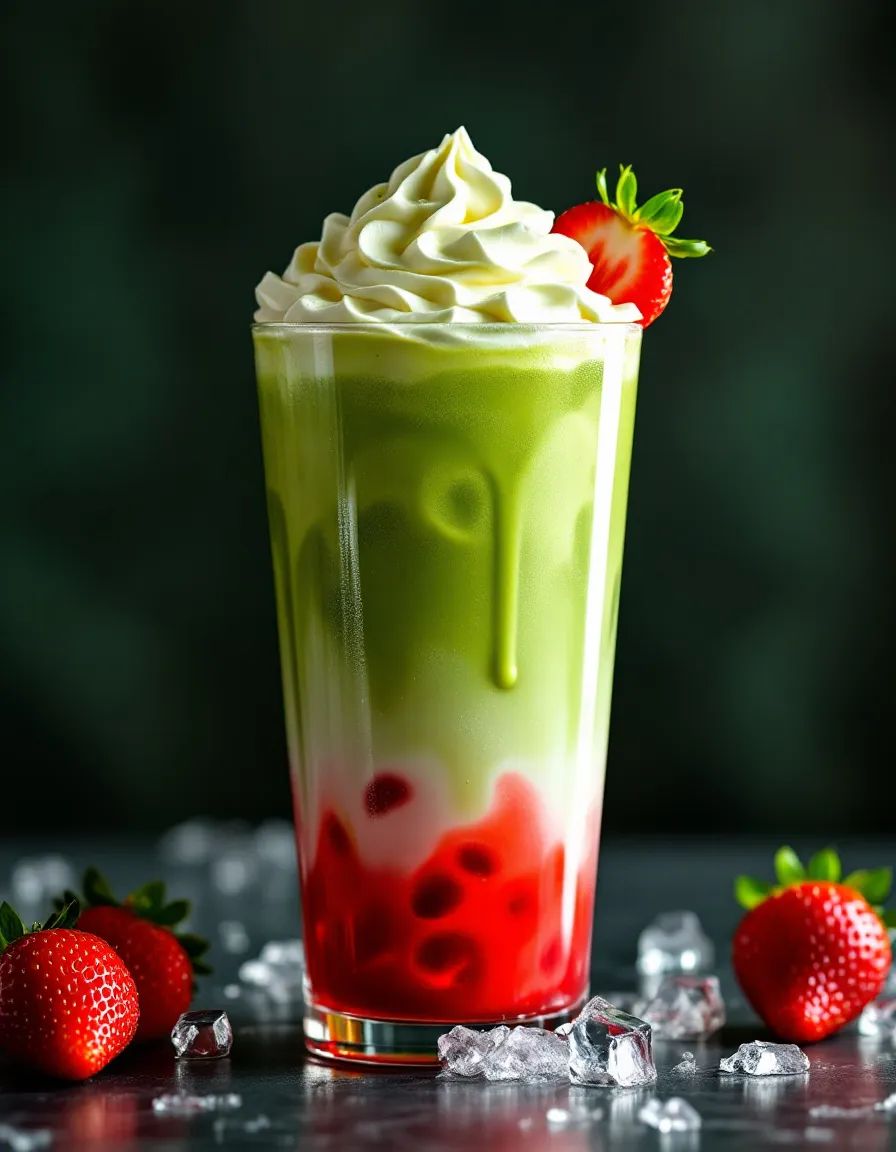
- Visual Appeal: Gorgeous lattes topped with artful foam designs and pastries that look as good as they taste create a feast for the eyes.
- Skill Level Needed: While these recipes are easy enough for beginners, they offer opportunities for more adventurous cooks to refine their skills.
- Special Equipment: Most recipes require common tools, such as coffee makers, baking sheets, and mixing bowls, making them accessible to all.
Recipe Overview
- Difficulty Level: These recipes have been categorized as moderate, offering challenges that are suitable for home cooks with some experience.
- Category: The recipes fall under beverages and baked goods, perfect for breakfast or a delightful afternoon snack.
- Cuisine: Inspired by North American café culture, these recipes combine traditional baking with specialty coffee techniques.
- Cost: Most ingredients are affordable and easily sourced at your local grocery store, ensuring a cost-effective meal option.
- Season: These recipes can be enjoyed year-round, with some seasonal adaptations perfect for festive celebrations.
- Occasion: Ideal for casual gatherings, brunches, or even quiet nights at home, these dishes add a special touch to any occasion.
Why You’ll Love This Recipe
Recreating Starbucks favorites at home is an easy way to enjoy rich, satisfying flavors without breaking the bank. The taste and texture of each recipe are designed to mirror that of your preferred café indulgences, ensuring that every sip and bite delights. With these delicious copies, you can customize sweetness and ingredients to cater to your personal preferences.
Preparation is a breeze, whether you’re making an afternoon pick-me-up or a tasty treat for guests. Many of the recipes feature simple steps and common ingredients, allowing even novice cooks to achieve impressive results. This accessibility means you can focus on savoring the moment rather than stressing over complex cooking techniques.
Nutritionally, many of these recipes can be tweaked to offer healthier alternatives without sacrificing flavor. Whether you’re looking to reduce sugar, opt for dairy-free options, or add more whole grains, there’s plenty of room for creativity.
Moreover, preparing these recipes can transform casual gatherings into memorable occasions. Enjoying homemade Starbucks beverages becomes an act of sharing joy and warmth with friends and family. It’s the perfect opportunity to create lasting memories over a cup of coffee.
Last but not least, crafting these recipes yourself is a wallet-friendly way to indulge in gourmet-style treats. From frappuccinos to scones, crafting your favorite Starbucks copycat recipes saves you money while delivering luscious taste at home.
Historical Background and Cultural Significance
The origin of Starbucks can be traced back to a small coffee bean store in Seattle in 1971 when it catered to those seeking quality coffee. The unique blend of beans and expert brewing methods quickly drew a local following. Starbucks gained a foothold in coffee culture by emphasizing high-quality beverages over mass-market options.
Starbucks has evolved into a prominent symbol of café culture, shaping how people enjoy coffee in the modern age. The brand introduced innovative menu items, transforming traditional coffee drinks into trendy favorites. Seasonal themed drinks and unique flavor profiles widened the appeal and contributed to the brand’s cultural significance.
The evolution of recipes in Starbucks reflects changing consumer tastes as the chain adapts to modern dietary preferences, from vegan options to low-calorie beverages. This responsiveness cements Starbucks as a leader in the café industry.
Regional variations of Starbucks drinks often incorporate local ingredients, accommodating diverse tastes and preferences worldwide. This international approach has greatly increased the company’s influence, establishing a widespread community of coffee lovers who enjoy both traditional and contemporary recipes inspired by the chain.
Ingredient Deep Dive
Coffee Beans
Coffee beans are at the heart of every Starbucks drink. The choice of beans influences flavor, with Arabica beans often creating a sweeter, fruitier profile. Rich in antioxidants and essential nutrients, coffee can provide energy and enhance cognitive function. When selecting coffee beans, look for a roast date to ensure freshness. Store your beans in an airtight container in a cool, dark place to maintain their robust flavor.
Milk Alternatives
Dairy and non-dairy milk substitutes enhance many Starbucks offerings. Almond, oat, and soy milk provide varying flavor profiles and can cater to dietary restrictions. Each type has unique health benefits, such as lower calories in almond milk or the creaminess of oat milk. Be sure to check labels for added sugars or preservatives.
Cocoa Powder
Cocoa powder adds a rich chocolate flavor to drinks and desserts. The history of cacao dates back thousands of years, with ancient cultures using it in rituals and as currency. Nutritionally, cocoa is rich in flavonoids, which can support heart health. When selecting cocoa powder, choose unsweetened varieties for better control over sugar content. Store in a cool, dry place to prevent clumping and preserve freshness.
Spices
Spices like cinnamon and nutmeg lend warmth and depth to beverages. Their origins date back to ancient civilizations, where they were treasured for culinary and medicinal purposes. Both spices are packed with antioxidants and may aid digestion. When using spices, consistency and freshness matter, so store them in airtight containers and replace them every six months to maintain flavor.
Common Mistakes to Avoid
- Using stale coffee beans can lead to bland flavors; always opt for freshly roasted beans.
- Overheating milk can create a burnt taste; use a thermometer to monitor temperature.
- Skimping on the steeping time for teas or cold brews can result in weak flavors.
- Neglecting to preheat your baking sheets can lead to uneven cooking for pastries.
- Ignoring ingredient measurements can throw off taste and texture balance.
- Skipping the fine straining step can leave gritty sediment in drinks.
- Serving iced drinks immediately after blending can lead to dilution; let them sit for a moment before serving.
- Not using fresh spices can result in muted flavors, so replace them regularly.
- Failing to cool baked goods properly before storage can cause moisture and sogginess.
- Overcomplicating recipes can lead to confusion; keep it simple to enhance enjoyment.
Essential Techniques
Perfecting the art of brewing coffee is crucial to achieving café-quality drinks. Use coarsely ground beans for cold brews and finely ground for espresso, ensuring optimal flavor extraction. Avoid boiling water when brewing; 195-205°F is ideal for coffee preparation.
Foaming milk can elevate any drink’s presentation. Use a steam wand or handheld frother to create a rich, creamy texture. Keep the milk cold prior to steaming for best results and avoid overfilling your frothing pitcher.
Baking pastries calls for accuracy in temperature and detail. Always preheat the oven and double-check that ovens are calibrated correctly to avoid undercooked or burnt goods. Small imperfections are normal, but focus on visual cues like golden-brown tops to determine doneness.
Pro Tips for Perfect Starbucks Copycat Recipes
1. Invest in quality ingredients to ensure each recipe shines—especially coffee and spices can elevate a dish dramatically.
2. Experiment with flavor combinations to create your own unique version of popular Starbucks offerings.
3. Keep tools like a thermometer and scale handy for precise measurements that yield consistent results.
4. Immerse pancakes or waffles in flavored syrups to mimic seasonal Starbucks specials.
5. Don’t rush the brewing process; allow drinks to steep dependably for the best flavor.
6. Opt for freshly whipped cream to top drinks, giving them an indulgent café touch.
7. For iced beverages, make coffee ice cubes to prevent dilution as they melt.
8. Personalize your drinks’ sweetness by experimenting with sugar alternatives like agave or honey.
Variations and Adaptations
Transforming Starbucks copycat recipes to suit different tastes can create an exciting twist. Consider incorporating seasonal flavors, such as pumpkin spice in the fall or peppermint during the winter holidays, to each recipe, making them relevant and timely.
Dietary modifications can also enhance these recipes. For vegan versions, substitute almond or oat milk for dairy and use flaxseed or chia seeds in baked goods instead of eggs.
Texture variations can be brought about by adjusting baking times. Softening pastries slightly under-permits a chewy inside, while longer baking yields a crisper finish.
To alter flavors, consider adding unexpected ingredients. A splash of vanilla extract or dash of nutmeg can contribute to drinks’ layered complexity.
Presentation methods, such as serving drinks in unique glassware or incorporating colorful fruits, can elevate the overall experience, making each sip feel special and celebratory.
Serving and Presentation Guide
Serving Starbucks-inspired drinks can be an affair of its own. Use clear glass cups to showcase colorful drinks artfully layered with frothy milk or creamy whips. Garnish lattes with cinnamon sticks or a sprinkle of cocoa for a gourmet feel.
When plating pastries, consider a rustic look featuring either a wooden or slate cutting board. Pair with fresh fruits or a side of specialty honey for added interest.
Temperature is crucial; ensure that cold drinks are served with plenty of ice to maintain refreshment, while hot drinks should be consumed directly after preparation to retain their warmth.
For portion control, create smaller, appetizer-sized servings of pastries, allowing guests to sample different flavors without feeling overwhelmed.
Wine and Beverage Pairing
While pairing wine with coffee-based drinks can be unconventional, certain wines do complement these flavors well. A sweet dessert wine like Moscato can pair nicely with frothy, sweet lattes or flavored whipped beverages.
For non-alcoholic options, consider serving herbal teas alongside baked goods, providing a refreshing contrast to rich flavors. Herbal infusions work perfectly with coffee for a “pick-me-up” experience.
Coffee pairings are integral, too; lighter coffees can accompany fruity pastries, while darker roasts complement richer desserts. Keep flavor profiles balanced to enhance the tasting experience.
For iced beverages, consider crafting a light lemonade or mocktail for a refreshing take. Serve all drinks chilled to balance the flavors of both hot and cold offerings.
Storage and Shelf Life
Proper storage is key to maintaining the freshness of homemade Starbucks treats. After preparing baked goods, cool completely before transferring to airtight containers to preserve moisture.
Coffee can deteriorate quickly; store it in an airtight container at room temperature. Avoid exposure to light and heat to extend freshness, and consider freezing unused grounds.
Milk and milk alternatives should be consumed within a week of opening for optimum freshness. Pay attention to expiration dates and refrigeration conditions to maintain quality.
When reheating items, avoid microwave misuse that can dry out pastries; instead, try an oven to rejuvenate crispness.
For beverages, cool any leftovers and store them in the refrigerator, ideally consuming within 2-3 days for the best flavor experience.
Make Ahead Strategies
Planning is essential for a successful Starbucks-inspired brunch. Prepare dry ingredients such as flour, sugars, and spices ahead of time for baked goods, combining them into a mix that can be stored for easy access.
Coffee drinks can be made in large batches and stored in the fridge. Cold brew coffee lasts about two weeks, offering a quick potential pick-me-up on busy mornings.
Assemble pastries the night before baking to minimize preparation time, ensuring they’re ready to pop in the oven when you wake up.
Consider keeping fresh fruits on hand to enhance presentation without cutting into prep time.
Lastly, if creating layered beverages, prep specific components in advance. For example, create flavored syrups or whipped toppings beforehand to speed up assembly.
Scaling Instructions
Scaling recipes up or down can help you cater to different gatherings and tastes. For smaller servings, cut recipes in half while ensuring ingredient ratios remain consistent. Use smaller measuring cups to keep amounts precise.
When preparing for events, doubling the recipe allows for bulk preparation. Keep in mind changes in baking times; larger batches may require extra processing time.
Consider adapting equipment sizes; a larger mixer or multiple baking sheets may be necessary for scalability, ensuring even cooking across batches.
Be cautious of timing adjustments; larger quantities might require longer cooking times, while halved portions will need monitoring to avoid overcooking.
For storage, plan ahead. Increased quantities may lead to needing additional container space, so prepare by having the appropriate size.
Nutritional Deep Dive
Examining the nutritional breakdown of Starbucks copycat recipes unveils a variety of benefits. Most recipes can be easily modified to lower calorie counts while maintaining flavor. Utilizing healthier ingredients, such as whole grain flour or plant-based sweeteners, enhances overall health.
A macro breakdown reveals a balance of carbohydrates from baked goods, healthy fats from milk alternatives, and antioxidants from coffee. Balancing these macros ensures satisfying meals that contribute to well-being.
Micronutrient levels, including vitamins and minerals from fresh fruits used in toppings, enhance the recipe’s health profile. These additions make each bite both enjoyable and nourishing.
Portions matter, especially when managing weight; serving sizes should align with dietary goals. Utilize small cups for drinks and portioned servings for pastries to help maintain control.
Dietary considerations, such as specific needs for low-sugar or gluten-free diets, are increasingly easy to accommodate, demonstrating the versatility of Starbucks-inspired recipes.
Dietary Adaptations
Adapting Starbucks copycat recipes for various dietary needs ensures everyone can enjoy these café favorites. Gluten-free options can include almond or coconut flour substitutes to create delicious pastries that cater to gluten sensitivities.
For vegan adaptations, replace eggs with flaxseed or applesauce and choose soy or oat milk instead of dairy. Many drinks can also be topped with a plant-based whipped cream alternative to maintain richness.
Low-carb and keto diets can integrate almond flour for baked goods while swapping out sugars for stevia or erythritol, successfully mimicking sweetness without added carbs.
Paleo fans can stay on track by utilizing unprocessed ingredients. Replace traditional wheat flour with nut flours while sweetening with natural pods or honey for balanced flavor.
Each adaptation preserves the spirit of Starbucks’s iconic flavors while ensuring all dietary preferences are acknowledged and celebrated.
Troubleshooting Guide
Common challenges may arise while recreating Starbucks treats, but solutions are readily available. If your coffee lacks richness, try a finer grind and ensure water temperature is optimal for extraction.
For beverages that are too sweet, balance with added acidity from citrus or plan with frothy milk layering to enhance taste and avoid excess sugar.
If baked goods turn out dry, consider incorporating moisture through ingredients like yogurt or adding fruit purées.
Temperature mistakes while brewing can lead to bitter flavors; adjusting steeping times or temperatures can remedy the situation simply.
Ingredient substitutions may lead to unexpected outcomes; experiment beforehand to find the best ratios for equal performance in original recipes.
Lastly, timing concerns during baking or brewing can be meticulous. Use visual guides, such as color and texture, to ensure desired readiness and avoid over/undercooking.
Recipe Success Stories
Many home cooks have shared their successes with replicating Starbucks treats, fostering a community of passionate bakers and coffee lovers. These stories not only inspire others but often include tips for adaptation that elevate techniques.
Variations on classic recipes have led to delightful results. Some bakers report creating their own signature coffee beverages by adjusting flavor ratios, consistently receiving rave reviews from family and friends.
Photography has become part of the experience, with home cooks sharing beautiful images of their creations on social media platforms. Step-by-step guides are often accompanied by stunning visuals that engage the community and promote recipe sharing.
Reader suggestions frequently enrich the recipe experience, leading to further experimentation. Ingredients may shift with availability, prompting creative thinking, and leading to delightful surprises.
From struggles to success, each journey offers valuable insights into how homemade treats can transform regular days into special occasions.
Frequently Asked Questions
Can I use regular coffee instead of espresso for these recipes?
Yes, while espresso provides a strong flavor, regular coffee can be a suitable alternative in many recipes. Opt for a bold coffee to achieve similar intensity.
How long do the Starbucks copycat drinks last in the fridge?
Most homemade drinks can last in the fridge for up to 3 days if stored in airtight containers. Always check for freshness before consuming.
Can I freeze the pastries?
Yes! Many pastries freeze well. Wrap them tightly to prevent freezer burn and reheat in the oven for optimal texture.
What’s the best way to froth milk at home?
Using a steam wand provides the best results, but handheld frothers or even shaking milk in a jar can achieve satisfactory results for beginners.
Can I make these recipes sugar-free?
Definitely! Many recipes can accommodate sugar substitutes like stevia, erythritol, or maple syrup to adjust sweetness without added sugars.
Do I need special equipment to make these recipes?
No special equipment is necessary. Basic kitchen tools like baking sheets, mixing bowls, and a coffee maker or French press will suffice.
How do I adjust these recipes for altitude cooking?
If you are at a higher elevation, reduce baking temperatures slightly and increase cooking time, as adjustments can lead to puffier results at high altitudes.
Is it better to serve these drinks hot or cold?
This often depends on personal preference! Many recipes offer delicious variations to enjoy both cold and hot, making them versatile throughout the year.
Are these recipes kid-friendly?
Most recipes are suitable for kids! Simply adjust the caffeine content or substitute with decaffeinated options to cater to younger palates.
Can I find gluten-free ingredients for these recipes?
Yes, gluten-free flour options are widely available, allowing for delicious pastries and treats without gluten, making inclusivity easy.
Additional Resources
For those eager to dive deeper into the world of homemade Starbucks copycat recipes, consider exploring other related recipes. Think about blending brews with various milk alternatives or searching for baking guides specifically tailored to café-style muffins and scones.
Ingredient information can further improve your choices, ensuring quality and authenticity in recreating your favorite coffeehouse treats.
Equipment recommendations help streamline your cooking experience. Investing in a good coffee maker, a quality frother, and versatile bakeware will enhance your endeavors.
Seasonal variations—such as festive pumpkin lattes or cozy holiday cookies—heighten relevance and enrich your recipe repertoire, making every season special.
Join the Conversation
Engaging with your community enhances the cooking experience. Share photos of your creations on your favorite social media platforms, enticing others to join in the fun. Capture your creations in vibrant settings, and don’t hesitate to invite friends and family over to taste your Starbucks-inspired meals.
Leave recipe reviews to help fellow cooks navigate their culinary paths. By sharing suggestions, you foster a sense of connection and support within the cooking community.
Participate in discussions about unique adaptations and swap personalized recipe variations. This collaboration enriches culinary expertise and brings fresh ideas to the forefront.
Ultimately, celebrating the simple joys of cooking and the enjoyment of flavor is what connects us all. Explore, create, and relish each delicious moment with your homemade Starbucks copycat recipes.
The Recipe
Starbucks Copycat Recipes
Serves: 4 servings
Prep Time: 15 mins
Cook Time: 30 mins
Total Time: 45 mins
Kitchen Equipment Needed
- Mixing bowls
- Baking sheets
- Coffee maker or French press
- Handheld frother
- Measuring cups and spoons
Ingredients
- 2 cups coffee or espresso
- 1 cup milk or milk alternative
- 1/2 cup cocoa powder
- 1/4 cup sugar or sweetener of choice
- 2 tsp cinnamon or seasonal spices
- 2 cups flour (or gluten-free substitute)
- 1/2 cup butter
Directions
- Brew your coffee or espresso to your liking.
- In a mixing bowl, combine dry ingredients (flour, sugar, cocoa powder, and spices).
- In a separate bowl, whisk together wet ingredients (milk and melted butter).
- Combine both mixtures until just blended, avoiding over-mixing.
- Pour batter onto greased baking sheet, spreading evenly.
- Bake in preheated oven at 350°F (175°C) for about 20-30 minutes.
- Once cooled, froth milk and drizzle with flavored syrups before serving.
- Enjoy as part of your homemade Starbucks experience!
Recipe Notes
- Adapt sweeteners to suit personal preferences or dietary needs.
- Experiment with different textures and toppings according to taste.
- Store leftovers in an airtight container for up to three days.