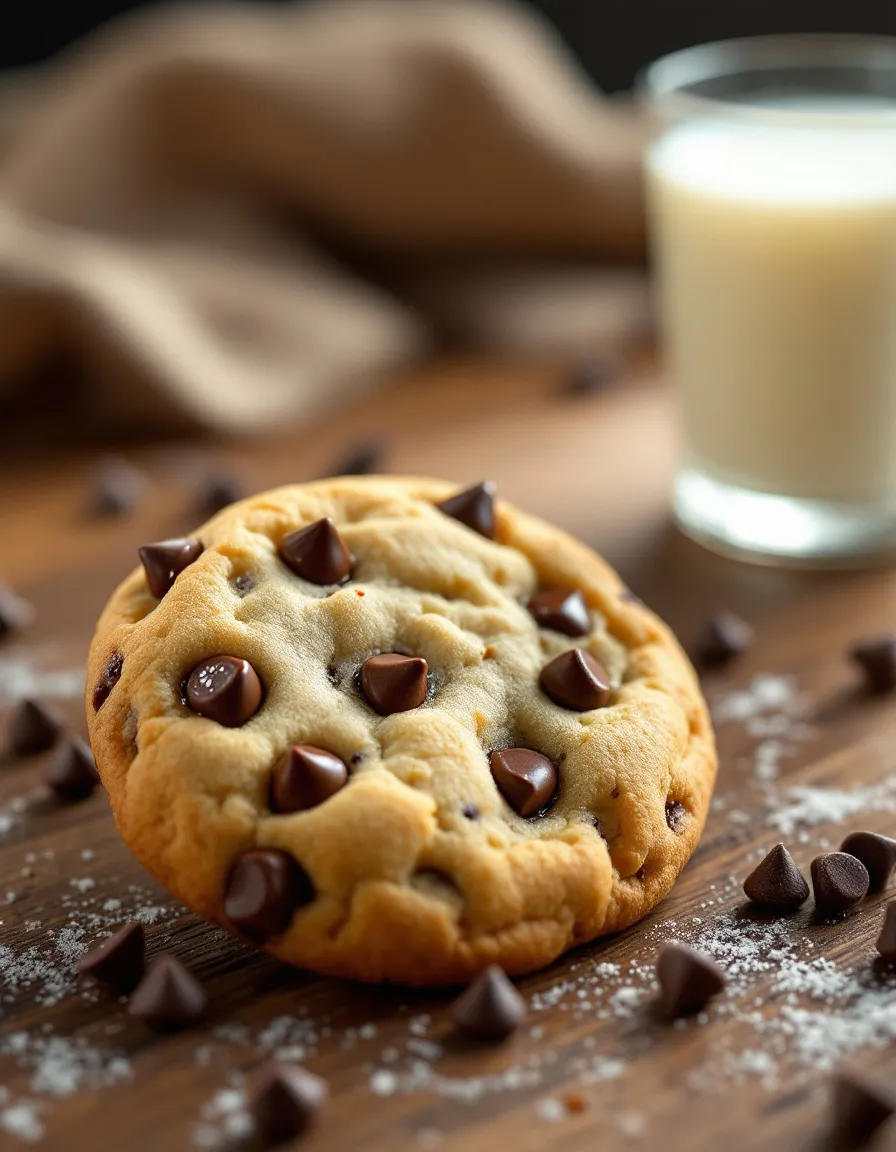
Ultimate Chocolate Chip Cookies: A Delicious Treat for Every Occasion
Chocolate chip cookies are a quintessential dessert, beloved by many for their perfect combination of warm, gooey chocolate and a crisp, tender cookie base. The process of creating these delightful treats is surprisingly simple, yet the results are nothing short of spectacular. As you pull your freshly baked cookies from the oven, the rich aroma of melting chocolate fills your kitchen, instantly transporting you back to cherished moments shared with family and friends.
With each bite, you experience the delightful blend of flavors; the sweetness of brown sugar perfectly marries with the deep, rich notes of chocolate, creating an indulgent experience. Whether enjoyed as an afternoon snack or as an after-dinner treat, these chocolate chip cookies are sure to please anyone who takes a bite.
Quick Recipe Highlights
- Flavor Profile: The balance of sweetness from brown sugar and the richness of dark chocolate creates a dessert that is wonderfully indulgent yet not overly sweet.
- Texture: The exterior is delightfully crisp, while the inside remains soft and chewy, providing the perfect textural contrast in each bite.
- Aroma: A heavenly blend of vanilla and chocolate fills the air, instantly drawing in anyone nearby with its enchanting scent.
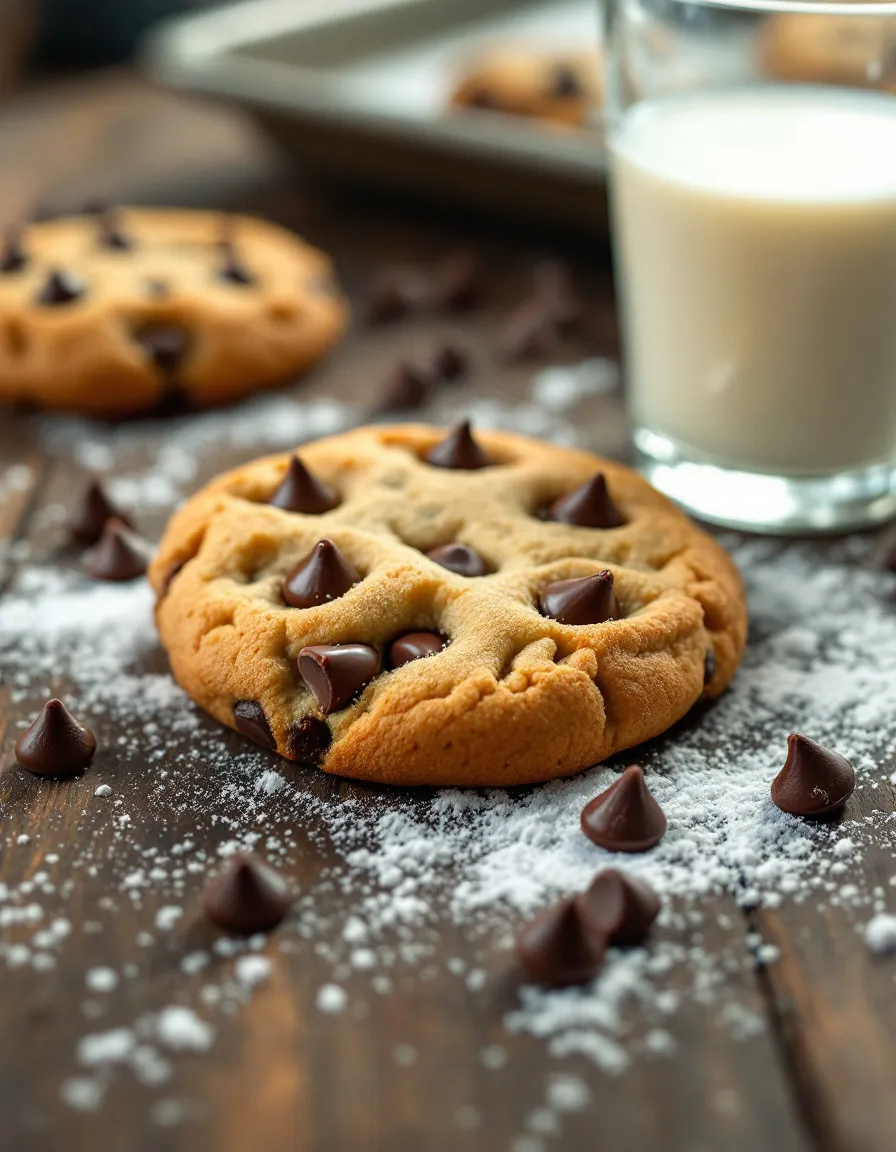
- Visual Appeal: Golden-brown cookies with melting chocolate chunks are simply irresistible, making for an eye-catching treat.
- Skill Level Needed: Perfect for beginners and seasoned bakers alike, this recipe requires simple techniques that yield delicious results.
- Special Equipment: All you need is a mixing bowl, spoon, baking sheet, and an oven to make these mouthwatering cookies.
Recipe Overview
- Difficulty Level: This recipe sits at an easy difficulty, making it accessible for bakers of all skill levels. The straightforward steps and common ingredients ensure that even novice bakers can achieve success.
- Category: Chocolate chip cookies fall under dessert, and they are perfect for sweet cravings or as a delightful dessert for special occasions.
- Cuisine: These cookies are rooted in American culinary tradition, known for their comforting, homemade feel that brings back nostalgic memories.
- Cost: The ingredients for this recipe are budget-friendly, making it an affordable dessert choice for families and gatherings.
- Season: Chocolate chip cookies are enjoyed year-round, but they hold special significance during holidays and family gatherings when everyone comes together to share treats.
- Occasion: These cookies are ideal for birthdays, holidays, or simply a rainy afternoon when you crave something sweet.
Why You’ll Love This Recipe
Chocolate chip cookies possess a taste and texture appeal that is hard to resist. With their crispy edges and gooey centers, they provide that perfect bite, satisfying your sweet tooth while delivering a comforting hug of nostalgia. The rich chocolate chunks melt in your mouth, making each cookie a delightful experience that brings joy with every morsel.
Convenience is another reason why this recipe stands out. With just a short list of common ingredients and simple preparation steps, you can whip up a batch of delicious cookies in no time. Ideal for spontaneous cravings, these cookies allow you to indulge without spending hours in the kitchen.
From a nutritional perspective, homemade chocolate chip cookies can be made healthier than store-bought versions. By choosing quality ingredients, such as dark chocolate and organic sugars, you can control the sweetness and enhance the overall quality of your treat. This allows you to enjoy a beloved dessert without the additives often found in commercial products.
Socially, these cookies are perfect for entertaining. Whether you’re hosting a gathering, preparing school lunches, or simply want a sweet treat to share with friends, chocolate chip cookies bring people together. They invite sharing and create perfect moments around a warm tray of freshly baked cookies.
Lastly, the cost-effectiveness of this recipe is a significant advantage. Common pantry staples are all that’s needed, making them both economical and accessible for anyone. You can double or triple the batch for larger gatherings without breaking the bank.
Historical Background and Cultural Significance
The origin of chocolate chip cookies dates back to the 1930s, when Ruth Wakefield created what would become an iconic American dessert. While experimenting in her own kitchen, she added bits of chocolate to her butter drop dough, resulting in the happy accident that led to the creation of the chocolate chip cookie.
Culturally, these cookies represent a unique aspect of American dessert tradition, often evoking feelings of warmth and nostalgia. They are frequently associated with home baking, family gatherings, and childhood memories, making them a beloved staple in many households.
The evolution of the chocolate chip cookie has seen various adaptations and innovations over the decades. Today, it comes in various forms—soft-baked, chewy, and crisp, each with its own unique twist on the classic formula.
Regional variations have also emerged, showcasing local ingredients and flavors. From adding nuts to utilizing flavored chocolate, chocolate chip cookies have morphed into a versatile treat that celebrates diverse culinary creativity.
Ingredient Deep Dive
Chocolate Chips
Chocolate chips are the star ingredient in chocolate chip cookies, providing the rich flavor that defines this classic treat. Historically, chocolate was once reserved for the elite, but as it became more accessible, it transformed into a beloved staple of everyday desserts. Rich in antioxidants, chocolate also provides a satisfying sweetness when paired with the buttery cookie base.
Choosing the right chocolate chips is essential for maximizing flavor. Opt for high-quality dark chocolate for a robust taste, and consider using semi-sweet chips for a balanced sweetness. Proper storage in a cool, dry place is important to maintain their quality. If you don’t have chocolate chips, chopped chocolate bars can serve as a suitable substitute.
All-Purpose Flour
All-purpose flour serves as the foundation for chocolate chip cookies, creating the structure and texture needed for a perfect bake. With its versatility, all-purpose flour is a kitchen necessity and has been a staple in baking for generations. This ingredient contributes essential carbohydrates as a source of energy while also helping achieve the right cookie consistency.
When selecting flour, look for a finely milled variety for the best results. It should be stored in an airtight container to prevent moisture absorption. If you’re aiming for gluten-free cookies, almond flour or gluten-free all-purpose blends can work well as substitutes.
Common Mistakes to Avoid
- Overmixing the dough can lead to tough cookies. Mix just until combined to maintain a tender texture.
- Using cold ingredients can affect dough consistency. Ensure that ingredients like butter and eggs are at room temperature for optimal blending.
- Measuring flour incorrectly can lead to dense cookies. Always spoon flour into measuring cups and level it off with a knife.
- Skipping the chilling step can result in cookies spreading too much. Allowing the dough to chill helps maintain shape during baking.
- Not preheating the oven can lead to uneven baking. Always preheat your oven for consistent results.
- Baking on a crowded tray can result in cookies that bake unevenly. Space your cookies at least 2 inches apart.
- Using expired baking soda or powder can affect the rise of your cookies. Always check expiration dates before baking.
- Opening the oven door too early can cause cookies to collapse. Wait until they are almost done before checking for doneness.
Essential Techniques
When it comes to cookie baking, mastering ingredient temperature is crucial. Ensuring your butter is at room temperature allows for better incorporation into the dough, resulting in a more evenly baked cookie. Visual cues for success include a slightly softened texture, making it from a solid state to a creamy one.
Measuring accurately is another essential technique. Use proper measuring tools for both dry and wet ingredients to get consistent results. A kitchen scale can also be beneficial for precise measurements, preventing any inconsistencies that could impact baking.
Cooling is an often-overlooked technique that can significantly affect the final product. Allowing cookies to sit on the baking tray for a few minutes before transferring them to a wire rack helps them firm up and reduces the chance of them falling apart.
Pro Tips for Perfect Chocolate Chip Cookies
1. Use high-quality chocolate for the best flavor—don’t be afraid to splurge a little on chocolate chips.
2. Experiment with different types of sugar; mixing brown and white sugar can enhance flavor complexity.
3. Add a pinch of sea salt on top before baking for an enhanced flavor contrast.
4. Try chilling the dough for at least an hour to develop flavors and improve the texture.
5. Opt for baking sheets lined with parchment paper for easy release and minimal cleanup.
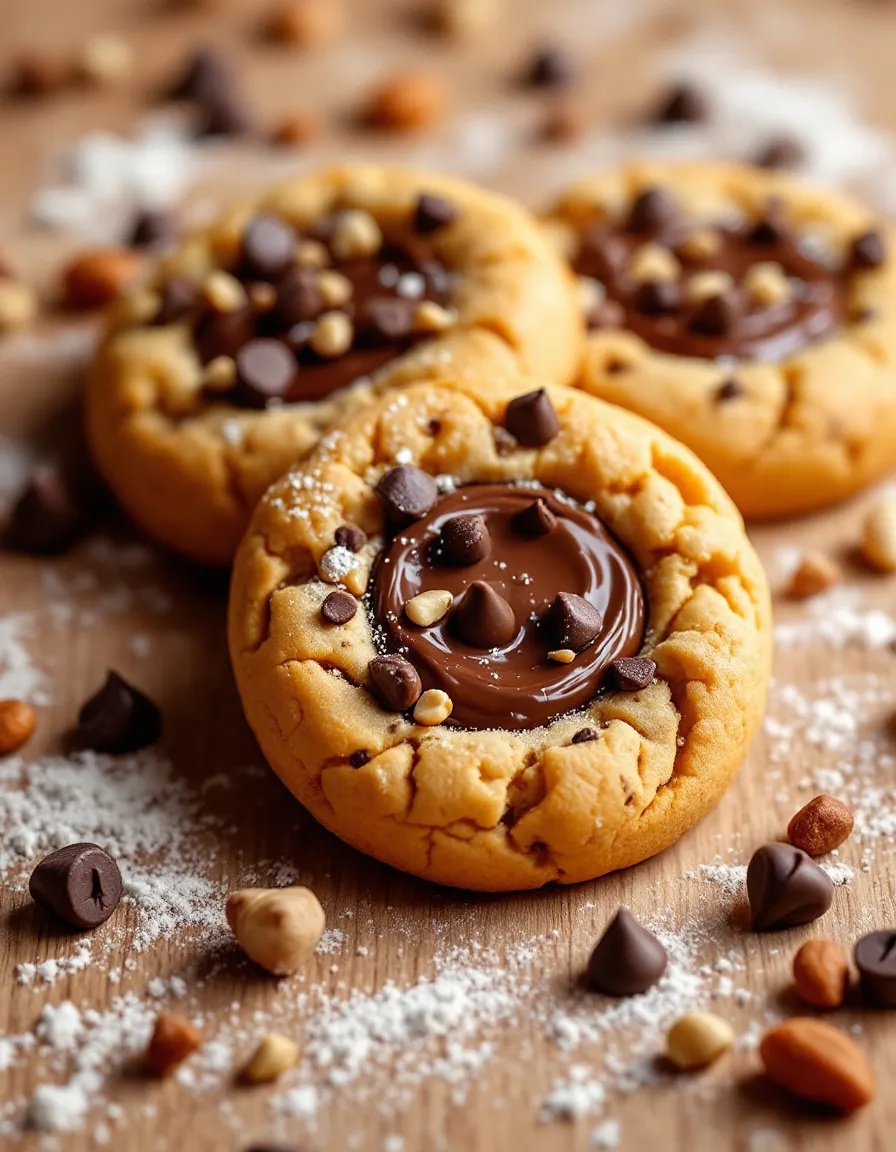
6. For variation, incorporate nuts or dried fruit into the dough for added texture and taste.
7. Underbake slightly; cookies will continue to cook on the baking sheet after removing from the oven.
8. Store cookies in an airtight container to maintain freshness, or freeze for longevity.
Variations and Adaptations
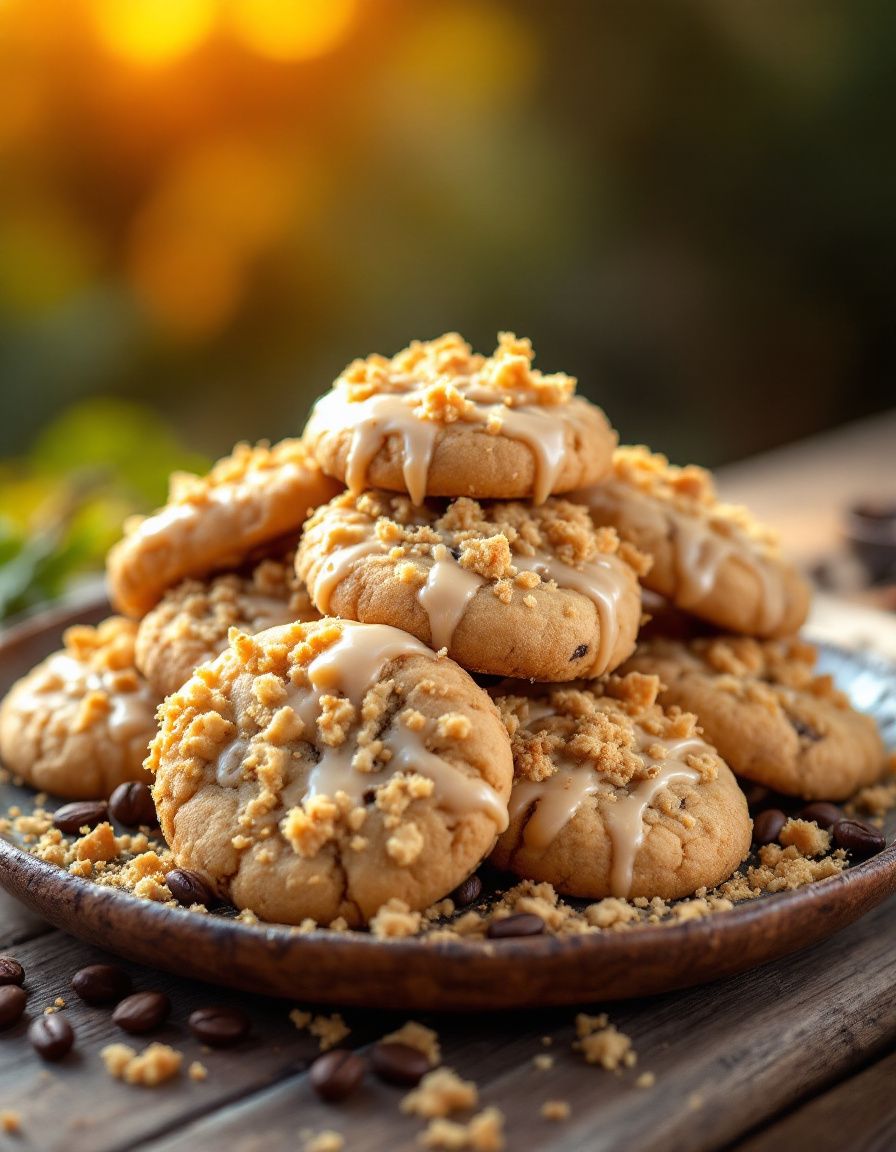
Chocolate chip cookies can be adapted to fit various preferences and dietary needs. For a regional variation, try adding espresso powder for a mocha flavor, or incorporate peanut butter chips for an added twist.
Seasonal adaptations can include festive spices such as cinnamon or nutmeg during autumn to evoke cozy vibes. For those on specific diets, it’s easy to modify this classic recipe by substituting almond flour for a gluten-free option or replacing butter with coconut oil for a dairy-free alternative.
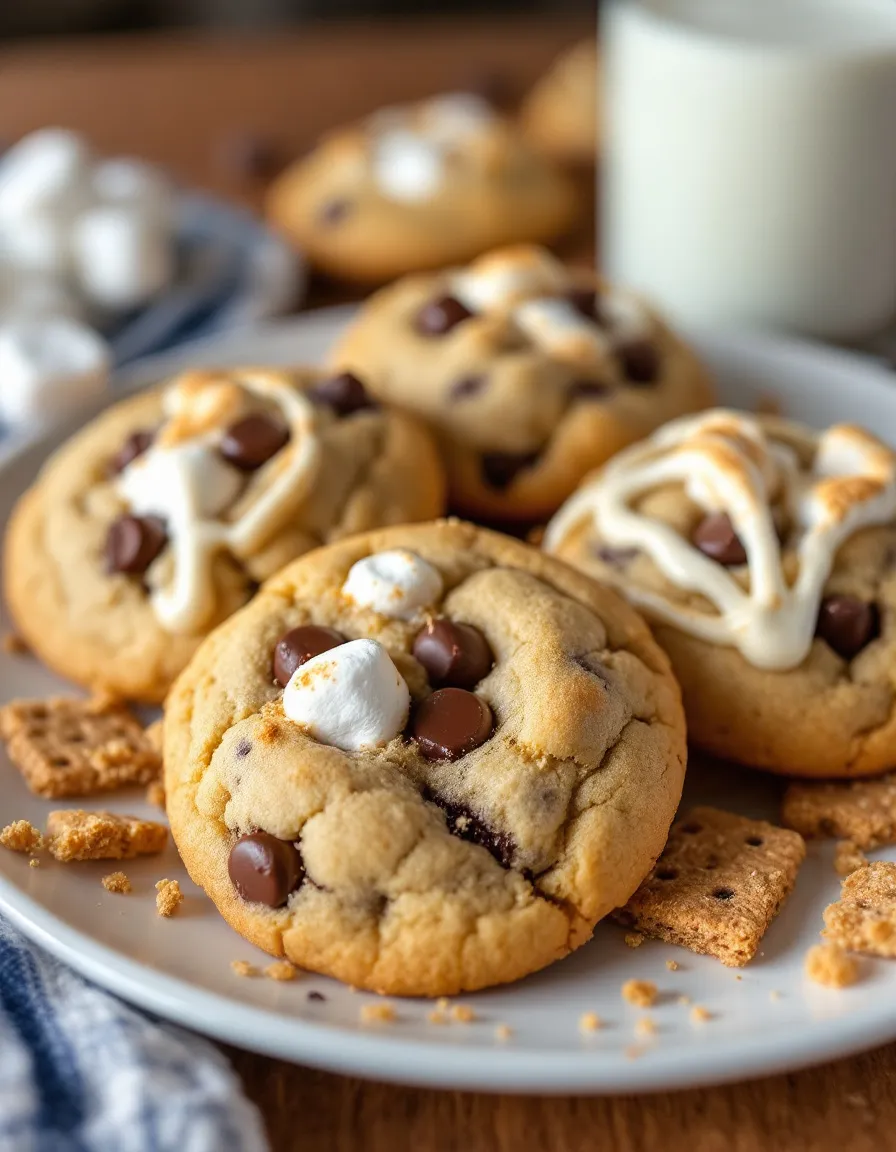
Flavor variations such as substituting dark chocolate for milk chocolate can change the whole experience, while adding ingredients like sea salt or caramel can heighten the taste even further. For a visual change, consider drizzling melted chocolate over baked cookies for an appealing presentation.
Serving and Presentation Guide
Plating chocolate chip cookies can be simple yet effective. Arrange them in a rustic basket lined with a cloth for a homey feel, or stack them on a cake stand for an inviting look. Garnishing with a sprinkle of sea salt or additional chocolate shavings can enhance visual appeal.
Consider serving these cookies warm with a glass of milk or alongside a scoop of vanilla ice cream. Chocolate chip cookies also make excellent gifts; wrap them in cellophane with a decorative bow for a thoughtful gesture. Presentation can include warm, melted chocolate sauce for dipping, giving your guests an interactive dessert experience.
Temperature preferences can greatly impact the enjoyment of this treat; serving them slightly warm highlights the gooey chocolate, while letting them cool to room temperature showcases their texture better.
Wine and Beverage Pairing
When it comes to pairing beverages with chocolate chip cookies, milk remains the classic choice, providing a delightful contrast to the sweetness. For an adult twist, consider pairing with a dessert wine like Port, which complements the rich flavors of chocolate beautifully.
Non-alcoholic alternatives include a refreshing iced coffee or a creamy hot cocoa for those chocolate enthusiasts looking for a delicious beverage combination. When it comes to temperature, serving your beverage chilled can enhance the overall experience, especially on a warm day.
For tea lovers, a strong black tea can cut through the sweetness while adding depth. Ensure serving suggestions align well with the richness of the cookies, providing balance and enhancing the overall taste experience.
Storage and Shelf Life
Proper storage is key to maintaining the freshness of chocolate chip cookies. Place cooled cookies in an airtight container at room temperature to keep them soft and chewy. For optimal preservation, a dry, cool environment is essential.
If freezing cookies, ensure they are individually wrapped or placed in a freezer-safe bag to prevent freezer burn. They can last up to three months in the freezer without significant loss in quality. Signs of spoilage include a dry texture or off-putting smells.
Reheating cookies is simple; place them in a microwave for a few seconds or warm them in an oven to bring back that fresh-baked goodness. A quick zap in the microwave can revive that gooey texture, making them as delightful as when they were first baked.
Make Ahead Strategies
Preparing cookie dough ahead of time is a fantastic way to save on prep time when cravings hit. You can refrigerate the dough for a few days before baking, or freeze it for longer storage. When ready to bake, simply portion the dough onto sheets and follow your regular baking instructions.
When making multiple batches, consider preparing dough and freezing it in logs; then you can slice cookies directly from the frozen dough for a super fresh treat. This method maintains the quality while offering the convenience of quick baking.
Quality may be slightly affected if cookies are pre-baked and stored, so it’s usually best to bake just before consumption. However, if you opt to bake ahead, ensure they are cooled completely before placing them in an airtight container for optimal freshness.
Scaling Instructions
Scaling your chocolate chip cookie recipe is straightforward. To halve the recipe, simply cut all ingredient amounts in half, ensuring proportions remain consistent for flavor and texture.
When doubling or tripling, keep an eye on your mixing bowl size—it’s important to have enough room to successfully incorporate all ingredients without overflow. Timing adjustments may also be necessary depending on your oven’s capacity and baking sheets used; longer baking times may be required with larger batches.
Remaining mindful of storage considerations is crucial when scaling; manage the number of cookies you expect to produce. Plan for freezing excess dough or cookies to prevent waste, allowing you to enjoy these treats down the line.
Nutritional Deep Dive
The macro breakdown of chocolate chip cookies typically includes carbohydrates, fats, and a moderate amount of protein depending on the ingredients used. With energy coming mostly from sugars and fats, they can serve as a delightful treat rather than a primary energy source.
Micronutrient analysis reveals minimal vitamins and minerals, although dark chocolate does provide some antioxidants. From a dietary perspective, incorporating whole grains or nut flours can enhance nutritional value while offering additional fiber.
Health benefits are limited in typical chocolate chip cookies, but employing better quality ingredients can improve overall nutrition. Balancing portions is vital; enjoying smaller sizes can mitigate overconsumption while allowing for pleasure.
For those mindful of weight management, considering ingredient choices carefully and moderating intake can help. This recipe can easily fit within a balanced diet—just remember, moderation is key.
Dietary Adaptations
For gluten-free adaptations, substitute traditional flour with almond flour or a certified gluten-free mix. Ensure that other ingredients are also gluten-free to maintain integrity across the recipe.
Dairy-free versions are achievable using non-dairy margarine and dairy-free chocolate chips, allowing those with lactose intolerance to enjoy these cookies without discomfort. Vegan adaptations also include flax eggs or apple sauce as replacements for chicken eggs, maintaining the desired texture and structure.
Low-carb and keto versions can be created by utilizing almond flour or coconut flour, paired with sugar substitutes like erythritol or monk fruit for decreased carbohydrate content. Other diets like Paleo may require natural sweeteners and nut-based flours, steering clear of processed ingredients.
Every dietary adaptation can greatly benefit from careful recipe adjustments, which can still yield delicious results without sacrificing flavor or texture.
Troubleshooting Guide
If your cookies turn out too flat, consider checking for ingredient accuracy, particularly regarding flour measurement. If they are overly dense, ensure the baking soda is fresh, as its effectiveness diminishes over time.
A lack of flavor may stem from insufficient mixing of sugar and butter, which incorporates air and enhances taste. Batching multiple recipes can sometimes lead to uneven baking; avoid overcrowding your baking sheets to promote even cooking.
If speed is needed, but cookies are browning too quickly, try lowering the oven temperature to allow for even cooking while the centers firm up. Adjusting baking times based on your specific oven can significantly influence the success of your batch.
Be mindful that ingredient substitutions may influence texture and flavor; understanding this will help mitigate any surprise outcomes when trying new combinations.
Recipe Success Stories
Our readers have shared numerous success stories about creating chocolate chip cookies that leave everyone wanting more. From family gatherings where these cookies stole the show to children’s birthday parties, the smile on a kid’s face upon biting into a gooey chocolate chip cookie is priceless.
Many have found creative ways to adapt the recipe, adding personal touches that reflect their unique tastes. Variations introduced by readers, such as adding toasted nuts or experimenting with different chocolate varieties, have resulted in exciting new versions appreciated by all.
Photography tips shared among the community highlight the importance of natural light, allowing the cookies to capture their golden hue beautifully. The visual appeal of cookies prompts engagement on social media, where vibrant images of cookies evoke cravings and inspire others to try their hand at baking.
It’s exhilarating to hear how one simple recipe has united discussions, forging connections over this beloved treat. By sharing experiences, readers contribute to the community’s success and inspire others to embark on their baking journeys.
Frequently Asked Questions
Can I freeze chocolate chip cookie dough?
Yes! You can freeze chocolate chip cookie dough for up to three months. Portion it out into balls, freeze them, and store in an airtight container. This allows you to bake fresh cookies at a moment’s notice.
Why are my cookies spreading too much?
Cookies spreading too much can be a result of soft butter or not enough flour. Ensure your butter is softened but not melted, and measure your flour accurately to avoid excessive spread.
What can I use instead of eggs in chocolate chip cookies?
You can substitute one egg with ¼ cup of unsweetened applesauce, ¼ cup mashed banana, or a flax egg made from one tablespoon of ground flaxseed mixed with three tablespoons of water.
How should I store baked cookies?
Baked cookies should be stored in an airtight container at room temperature for up to a week. For longer storage, they can be frozen and will maintain their quality for several months.
What’s the best type of chocolate to use?
Using a mix of semi-sweet and dark chocolate chips provides a delightful balance of flavor. High-quality chocolate enhances the overall taste, making your cookies more indulgent.
How do I make cookies chewier?
For chewier cookies, consider using brown sugar instead of white sugar, adding an extra egg yolk, or slightly underbaking them. These techniques create a soft, tender texture that melts in your mouth.
Can I make the dough ahead of time?
Absolutely! You can prepare dough ahead of time and chill it in the refrigerator for up to three days, or freeze it for longer storage. Just remember to let it come to room temperature before baking.
What is the ideal baking temperature for chocolate chip cookies?
The ideal baking temperature for chocolate chip cookies is 350°F (175°C). This allows for even cooking, creating a nice balance between soft centers and crisp edges.
How do I prevent my cookies from burning?
To prevent cookies from burning, ensure your oven is properly calibrated and watch the baking time closely. Consider rotating the baking sheet halfway through to promote even cooking.
What if I don’t have brown sugar?
If you don’t have brown sugar, you can substitute it with white sugar mixed with a little molasses, or just use plain white sugar. The cookies will be less moist but will still taste good!
Additional Resources
For those eager to expand their baking repertoire, consider exploring other related recipes like oatmeal cookies, peanut butter cookies, or loaded cookie bars. These alternate treats can often share similar techniques and ingredients, making your experience in the kitchen even richer.
Dive into technique guides such as the importance of ingredient temperatures, the art of mixing dough correctly, or learning about the science behind baking. Knowledge of ingredients will help you make informed choices, ensuring your baked goods turn out as you envision.
A well-equipped kitchen goes a long way; consider investing in a quality mixer, measuring tools, and baking sheets to ensure the best results. Lastly, seasonal variations can inspire creativity, directing focus toward ingredients that reflect the best flavors of each time of year.
Join the Conversation
We love to hear from our readers! Share your experiences, success stories, and any variations you’ve tried. Engaging with our community through social media allows you to connect with fellow bakers, exchange photography tips, and explore creative recipe reviews.
Sharing your cookie creations using the hashtag #ChocolateChipCookies brings extra joy, as we watch everyone’s unique interpretations unfold. Your reviews and photographs inspire others, nurturing a vibrant baking community where all are welcome to share their passion for delicious treats.
Join us in celebrating the joy of baking. Your insights could spark someone else’s creativity in the kitchen, leading to unforgettable cookie moments that draw family and friends together.
The Recipe
Chocolate Chip Cookies
Serves: 24 cookies
Prep Time: 15 mins
Cook Time: 10 mins
Total Time: 25 mins
Kitchen Equipment Needed
- Mixing bowls
- Whisk or electric mixer
- Baking sheet
- Parchment paper (optional)
- Measuring cups and spoons
- Cooling rack
Ingredients
- 1 cup unsalted butter, softened
- 3/4 cup granulated sugar
- 3/4 cup packed brown sugar
- 1 teaspoon vanilla extract
- 2 large eggs
- 2 1/4 cups all-purpose flour
- 1 teaspoon baking soda
- 1/2 teaspoon salt
- 2 cups semisweet chocolate chips
Directions
- Preheat your oven to 350°F (175°C).
- In a mixing bowl, cream together softened butter, granulated sugar, brown sugar, and vanilla extract until light and fluffy.
- Add in the eggs one at a time, beating well after each addition.
- In another bowl, whisk together the flour, baking soda, and salt.
- Gradually mix in the dry ingredients into the wet ingredients until just combined.
- Stir in the chocolate chips until evenly distributed.
- Scoop tablespoonfuls of dough onto a prepared baking sheet, leaving space between each.
- Bake for 9-11 minutes, or until lightly golden brown around the edges.
- Remove from the oven and allow the cookies to cool on the sheet for a few minutes before transferring to a wire rack.
Recipe Notes
- For chewier cookies, try using a mix of semi-sweet and dark chocolate chips.
- Chill the dough for a better texture and flavor development.
- Store leftovers in an airtight container for up to a week.
