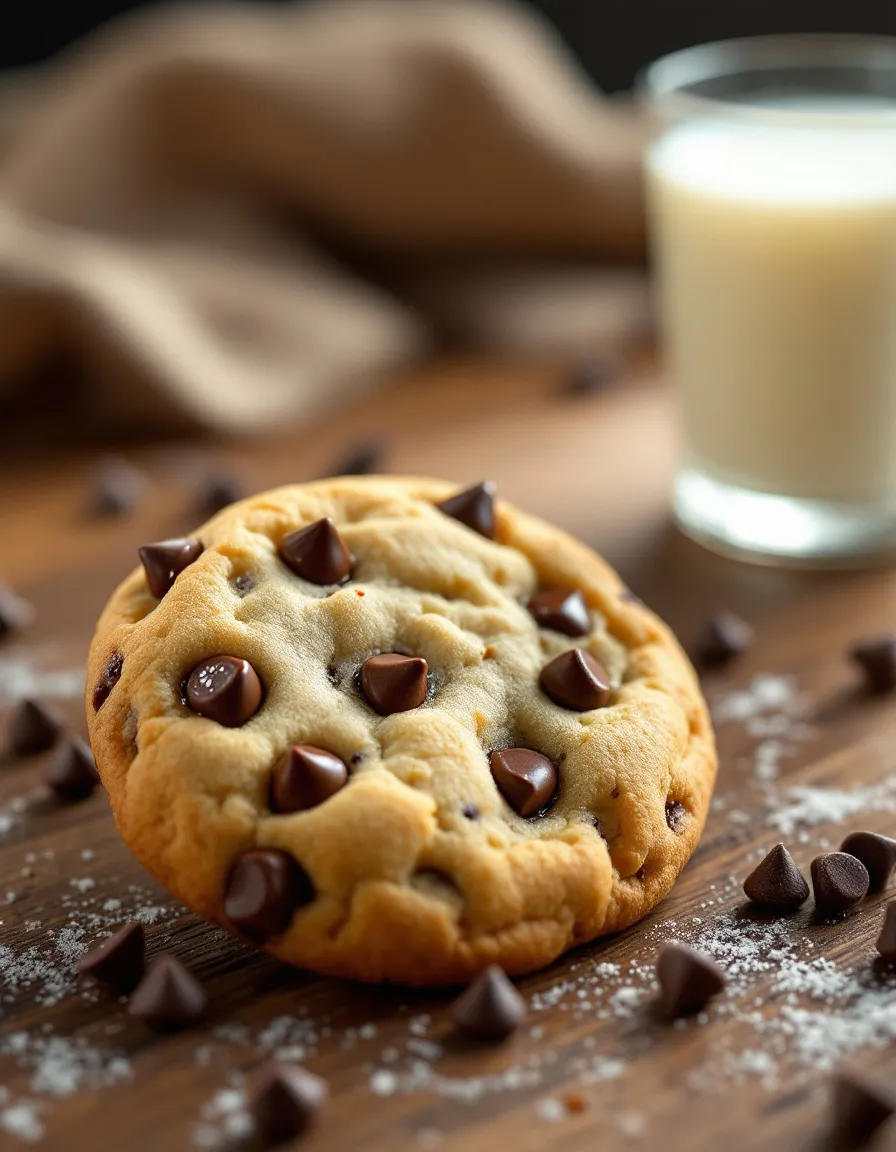
Classic Chocolate Chip Cookies: The Ultimate Treat for Cookie Lovers
Indulging in a freshly baked Classic Chocolate Chip Cookie is truly one of life’s simple pleasures. With each bite, you experience the perfect harmony of soft, chewy dough and melted chocolate chips, creating a delightful contrast of flavors and textures. These iconic cookies are not just dessert; they are a warm hug for your senses, evoking nostalgia and joy that comes only from the smell of cookies baking in the oven. Whether served warm from the oven or cooled with a glass of milk, they never fail to bring a smile to your face.
This Classic Chocolate Chip Cookie recipe stands out by balancing sweet and salty notes, making every bite irresistible. The use of brown sugar creates that signature chewy texture and deep flavor, while the semi-sweet chocolate chips add a delightful richness. It’s a timeless treat that is incredibly versatile and can be enjoyed at any time, making it a favorite among bakers of all ages. Let’s dive deeper into why this homemade cookie is sure to become a staple in your sweet repertoire.
Quick Recipe Highlights
- Flavor Profile: These cookies combine sweet, buttery flavors with notes of vanilla and a hint of salt, perfectly highlighted by rich chocolate.
- Texture: The cookies boast a soft center with crispy edges, creating a satisfying crunch and chew in every bite.
- Aroma: Expect a delightful aroma of baked dough and melting chocolate that wafts through your home, making it impossible to resist.
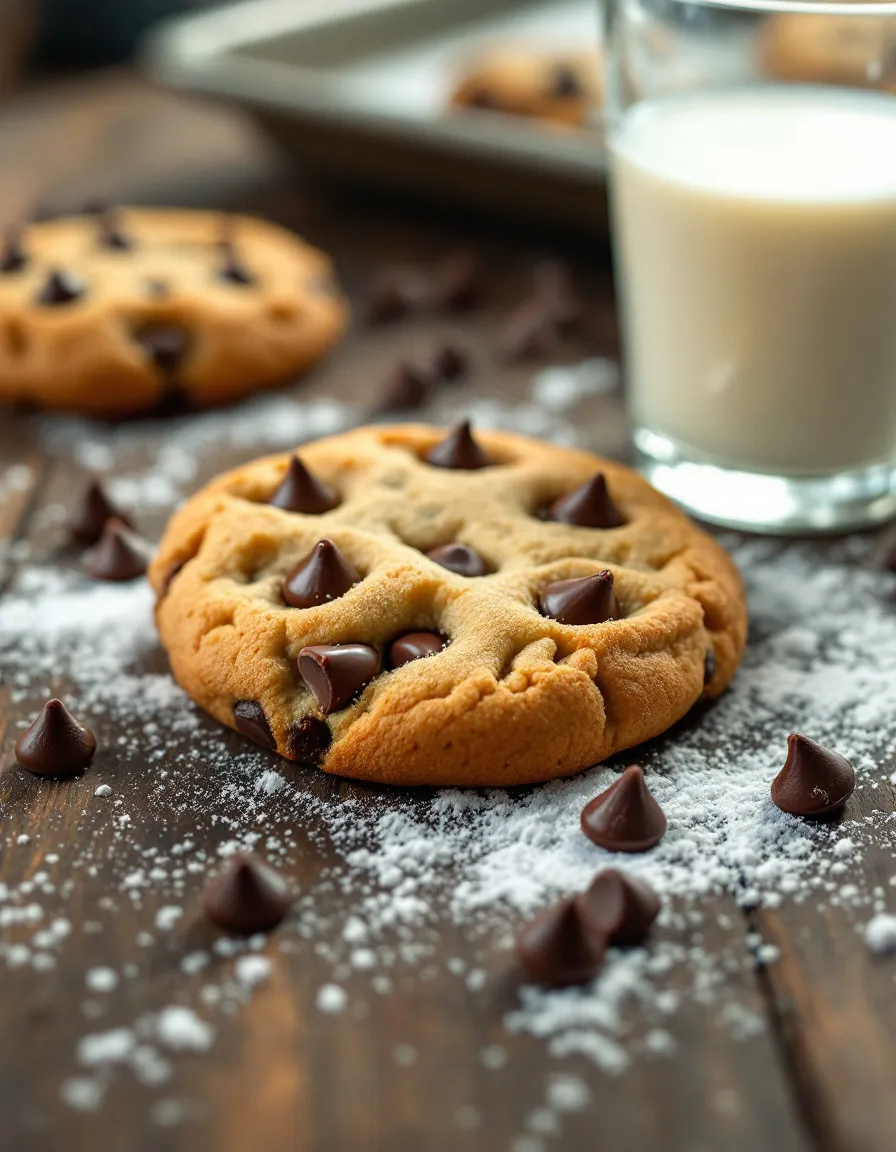
- Visual Appeal: Golden brown edges with a gooey center dotted with glossy chocolate chips make these cookies simply irresistible.
- Skill Level Needed: This cookie recipe is beginner-friendly, requiring minimal baking skills to achieve perfect results.
- Special Equipment: All you need is a mixing bowl, baking sheet, and an oven to create these delicious cookies.
Recipe Overview
- Difficulty Level: Unlike other baking recipes that can be complex, making Classic Chocolate Chip Cookies is straightforward and quick, perfect for novice bakers.
- Category: This recipe falls under desserts and snacks, making it a go-to for any sweet cravings or celebrations.
- Cuisine: American culinary traditions have embraced chocolate chip cookies since their invention, turning them into a hallmark of home baking across the country.
- Cost: The ingredients for this recipe are affordable and commonly found in most kitchens, ensuring that you can whip up a batch without breaking the bank.
- Season: Classic Chocolate Chip Cookies can be enjoyed all year round, perfect for cozy winter nights or summer cookouts.
- Occasion: Whether it’s a holiday gathering, a casual get-together, or simply a treat for yourself, these cookies fit any occasion beautifully.
Why You’ll Love This Recipe
Discover the unparalleled taste and texture of these Classic Chocolate Chip Cookies as they offer a delightful balance of sweetness and buttery flavor. Each cookie melts in your mouth, enhanced by the warm chocolate that oozes with every bite. The simple list of ingredients combined with the ease of preparation makes this recipe attractive for busy families and anyone looking to satisfy a sweet tooth quickly.
The convenience of this recipe cannot be overstated. It requires minimal ingredients and just a few steps to create a batch of cookies that can be enjoyed fresh from the oven or stored for later. The quick prep and cook time make these cookies an excellent choice for impromptu baking sessions, allowing you to enjoy homemade dessert without a long wait.
In addition to their deliciousness, these cookies have some nutritional benefits due to their main ingredients. While they are indulgent, the use of real butter gives them a richness that packaged cookies might lack. Plus, the incorporation of eggs adds protein, making them a slightly more balanced sweet treat.
Sharing these cookies will undoubtedly bring joy to gatherings and celebrations. Imagine the smiles on friends’ faces as they bite into a warm chocolate chip cookie, creating memories over sweet treats. Baking is often a communal activity that brings people together, and this recipe can be the catalyst for that joy and connection.
Lastly, the cost-effectiveness of this recipe makes it appealing. Most of the ingredients are staples in many households, and you can easily make a significant number of cookies for a low price. Homemade cookies are not only cheaper than store-bought options, but they also offer a personal touch that elevates any dessert experience.
Historical Background and Cultural Significance
Classic Chocolate Chip Cookies have an interesting origin story that dates back to the 1930s when Ruth Wakefield, the owner of the Toll House Inn, accidentally created this delicious treat. She developed the recipe by combining chocolate chunks into her butter cookie dough, expecting them to melt and create a chocolate cookie. Instead, they retained their shape, resulting in the delightful chocolate chip cookies we know today.
The cultural importance of chocolate chip cookies in American cuisine cannot be overstated. This sweet treat quickly became a household favorite, spawning countless family recipes, variations, and leading to the creation of commercial pre-made cookie dough. It is often linked to family gatherings, holidays, and childhood memories, solidifying its place in the hearts of many.
Over the years, the recipe has evolved to include a wide variety of adaptations, such as using different types of chocolate, nuts, and even incorporating spices. Each variation adds a personal touch, allowing bakers to experiment and customize their cookies to suit their taste preferences.
Different regions also boast unique interpretations of chocolate chip cookies. For instance, some may include sea salt for an added flavor boost, while others may opt for more artisanal chocolate or whole-grain flours. These regional variations showcase the flexibility of the classic recipe, making it beloved across the nation.
Ingredient Deep Dive
Butter: Butter adds richness and flavor to chocolate chip cookies, creating that signature taste we all love. It’s essential for achieving the soft and chewy texture that makes these cookies irresistible. When selecting butter, choose unsalted for better control over the cookie’s overall saltiness. Always store butter in a cool place and consider freezing it if you’re not planning to use it soon.
Chocolate Chips: The type of chocolate chips you choose can significantly affect the cookie’s flavor profile. Semi-sweet chocolate is the traditional choice, but dark chocolate and even white chocolate can elevate the taste experience. When storing chocolate chips, keep them in a cool, dry place to prevent melting and clumping. If you’re looking for healthier options, consider using sugar-free or dairy-free chocolate chips.
Brown Sugar: Brown sugar plays a critical role in achieving that chewy texture in chocolate chip cookies. It also contributes a deep, caramel note that enhances the overall flavor. When selecting brown sugar, light brown is commonly used, but dark brown can add extra richness. Store it tightly sealed to prevent hardening and consider using molasses for a homemade version. If you need a substitute, granulated sugar works but will alter the texture.
Eggs: Eggs are essential for binding the ingredients together and adding moisture to the dough. They also contribute to the structure of the cookies. Fresh eggs are always best, and store them in the refrigerator to maintain their quality. If you’re out of eggs, unsweetened applesauce or flaxseed meal can be excellent substitutes for a binding agent.
Common Mistakes to Avoid
- Using Cold Butter: It’s essential to use softened butter for proper creaming. Cold butter won’t incorporate well, leading to a dense cookie.
- Overmixing the Dough: Overmixing can result in tough cookies. Mix just until the ingredients are combined for the best texture.
- Skipping Parchment Paper: Baking directly on a pan may lead to burnt bottoms. Always use parchment paper for evenly cooked cookies.
- Not Chilling the Dough: Chilling the dough helps to prevent the cookies from spreading too much during baking. Be patient and let them chill.
- Measuring Flour Incorrectly: Don’t scoop flour directly with the measuring cup. Use the spoon and level method to avoid dense cookies.
- Using Low-Quality Chocolate: The flavor of the chocolate is crucial. Use good-quality chocolate chips for the best taste.
- Not Allowing Cookies to Cool: Cookies continue to cook as they cool. Allowing them to rest on the baking sheet helps achieve that perfect texture.
- Ignoring Oven Temperature: Always preheat your oven for consistent baking results. Baking at the wrong temperature can ruin the cookies.
- Setting the Timer Incorrectly: Keep an eye on the cookies, as baking times may vary by oven. Underbaking slightly can enhance chewiness.
- Baking in Batches: Baking multiple trays at once can impact even baking. Stick to one tray at a time for the best outcome.
Essential Techniques
Creaming Butter and Sugar: This technique is vital because it incorporates air into the mixture, resulting in fluffy cookies. To master this, use softened butter and mix until light and creamy. Avoid over-mixing as it can make cookies tough; look for a pale, fluffy consistency as an indicator of success.
Measuring Ingredients: Proper measuring ensures that your cookies have the right texture and flavor. Always use dry measuring cups for flour and sugar and liquid measuring cups for liquids. Learn to spoon flour into the measuring cup and level it off for accuracy, which is essential for baking.
Chilling the Dough: Chilling allows the flavors to meld together and reduces spreading during baking. It’s crucial to wrap the dough tightly in plastic wrap and refrigerate it for at least 30 minutes. This technique can lead to thicker, more flavorful cookies.
Using the Right Baking Temperature: Baking at the right temperature is key to achieving evenly baked cookies. Always preheat your oven to ensure accurate temperature and consistent results. Invest in an oven thermometer to double-check your oven’s calibration.
Pro Tips for Perfect Classic Chocolate Chip Cookies
1. For a deeper flavor, try browning the butter before adding it to the sugar. This step adds a nutty richness to your cookies.
2. Experiment with different types of chocolate; try a mix of milk, dark, and white chocolate chips for an exciting flavor explosion.
3. For a fun twist, add a pinch of sea salt on top before baking for a sweet and salty combination that’s delectable.
4. Keep dough portions uniform by using a cookie scoop to ensure even baking and portion control.
5. For added texture, mix in nuts such as walnuts or pecans to the cookie dough.
6. If possible, let your dough rest overnight in the fridge. This enhances the flavor and texture of your cookies significantly.
7. Always check for doneness a minute or two before the timer goes off, as cookies can quickly turn from golden to burnt.
8. Store baked cookies in an airtight container with a slice of bread to keep them soft and chewy for longer.
Variations and Adaptations
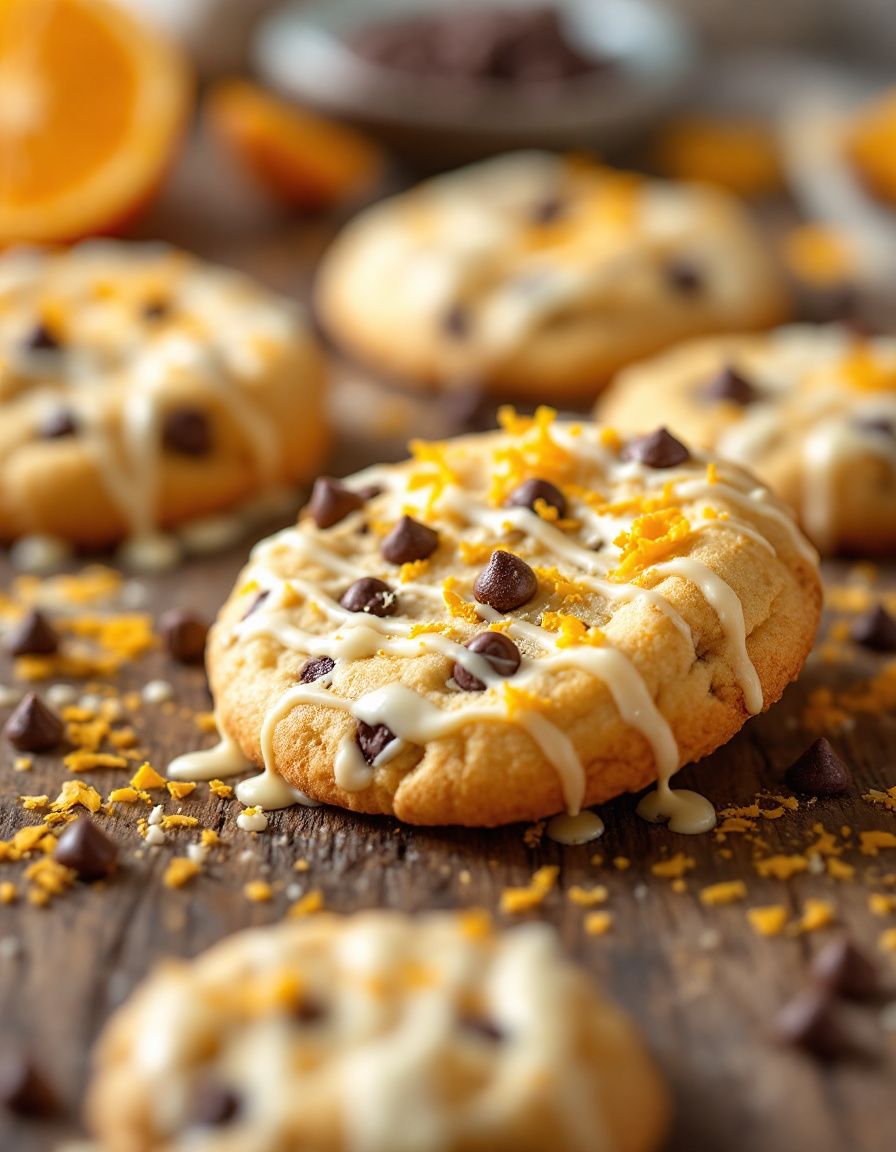
Classic Chocolate Chip Cookies can be easily adapted to suit different tastes and dietary requirements. For those looking for a unique twist, try adding flavors like cinnamon or espresso powder for depth. You can also swap chocolate chips for M&Ms or dried fruit for a fun take on the classic recipe.
If you want to embrace seasonal ingredients, consider incorporating pumpkin spice during the fall months or peppermint extract during winter holidays, allowing your chocolate chip cookies to reflect the season’s spirit.
For dietary modifications, gluten-free alternatives are widely available. You can use a combination of almond flour and coconut flour or store-bought gluten-free flour blends without sacrificing texture and taste.
To make these cookies lower in sugar, try using mashed bananas or applesauce in place of some of the sugar without significantly losing flavor. This substitution adds fruitiness too.
Texture modifications are also possible: for crunchier cookies, leave the dough unchilled and bake a minute longer. For chewier cookies, veering toward thicker dough, chilling longer before baking can yield great results.
When presenting these cookies, try drizzling them with melted chocolate or sprinkling them with sea salt to enhance their appearance and taste visually. Each of these adaptations allows the classic cookie to shine in new and exciting ways.
Serving and Presentation Guide
When it comes to serving your Classic Chocolate Chip Cookies, opt for a simple yet elegant presentation. Arrange them on a decorative plate or tiered cake stand for an appealing display. Consider dusting them with powdered sugar or pinching a few sea salt flakes on top for a gourmet touch.
Garnishing with fresh mint leaves can add color and a hint of freshness to your cookie platter. For a homemade touch, consider wrapping cookies individually in clear cellophane tied with a ribbon–perfect for gifting!
Pair Chocolate Chip Cookies with a cold glass of milk or a scoop of ice cream for an indulgent treat. If serving at a party, consider offering them alongside coffee or hot chocolate, where the warm beverages complement the sweet flavors beautifully.
Temperature matters when serving cookies; ensure they are adequately warm, as this enhances the chocolate melty richness. Moderation in portion sizes is essential when serving at gatherings: small bites go well for mingling events, while larger servings can serve as dessert after meals.
Wine and Beverage Pairing
For a delightful pairing, rich desserts such as Classic Chocolate Chip Cookies work well with sweet dessert wines like Port or a light-bodied Merlot. The chocolate notes harmonize beautifully, creating a symphony of flavors.
If alcohol isn’t your preference, classic beverages like cold milk or homemade vanilla-flavored almond milk enhance the cookie experience. Another great option is artisan coffee–a medium roast complements the sweetness without overpowering it.
For those who enjoy tea, consider pairing these cookies with a creamy chai or a fruity tea blend, which will add an appealing contrast to the chocolate richness. Adjust serving temperatures for the best experience; cookies shine when warm, while drinks should be served chilled or at optimal serving temperatures.
Storage and Shelf Life
To store your Classic Chocolate Chip Cookies effectively and extend their freshness, place them in an airtight container lined with parchment paper. This method prevents cookies from becoming too soggy or dried out. Proper storage allows cookies to last for up to one week at room temperature.
If you want to keep cookies for longer, consider freezing them. Place them in a resealable plastic bag separated by layers of wax paper. They can be stored in the freezer for up to three months. When you’re ready to enjoy, simply thaw at room temperature, or warm them slightly in the oven for a fresh-baked taste.
Keep an eye out for signs of spoilage, such as an off smell or changes in texture. Cookies may lose their softness over time, signaling that it’s time to dispose of them.
When reheating, aim for a low temperature to maintain the chewy texture; bake at 300°F for a few minutes until warm. Avoid microwaving as it can dry cookies out or make them overly chewy.
Make Ahead Strategies
To streamline the baking process, consider preparing the dough in advance. The dough can be made up to a week ahead of time and stored in the refrigerator. For longer storage, freeze the dough in individual cookie scoop portions and bake straight from the freezer; just add an extra minute or two of baking time.
Plan your baking schedule by mixing the dry ingredients ahead of time and storing them in a sealed container. This way, you can quickly combine the dry and wet ingredients for a last-minute baking adventure.
When assembling, consider skipping baking sheets between batches to optimize oven usage. After baking the first batch, allow them to cool and place the next sheet directly into the oven to maintain temperature and efficiency.
Quality is maintained when cookies are prepared ahead, as resting dough enhances flavor development. Finally, add fresh ingredients like nuts or chips to the dough just before baking, ensuring that each bite features a burst of flavor.
Scaling Instructions
Scaling your Classic Chocolate Chip Cookie recipe is easily manageable. To halve the recipe or to double, ensure to adjust ingredient quantities simply by using measuring tools. This means you can cater your batch size based on your needs—perfect for small gatherings or larger family events.
When doubling, ensure your mixing bowl is large enough to accommodate the increased quantities. You may need to work in batches when mixing, especially for larger amounts of dough to ensure even blending.
Pay attention to baking times when scaling. Larger batches may require slightly longer bake times, while smaller batches often bake quicker. Start checking for doneness a few minutes before the end of the suggested baking time.
When storing larger quantities, keep portion control in mind. Using smaller containers can help maintain freshness. Label your batches if freezing, including the date, so you can maximize shelf life while enjoying your cookies.
Nutritional Deep Dive
A typical serving of Classic Chocolate Chip Cookies offers a balance of macronutrients ideal for an occasional treat. On average, each cookie contains generous amounts of carbohydrates for energy, along with fats from butter and chocolate for richness.
In terms of micronutrients, chocolate chip cookies can provide minimal amounts of iron and calcium, particularly when recipes include whole grains or fortified ingredients. Understanding portion sizes is essential for maintaining a balanced diet while enjoying sweet treats without excess.
Consider the health benefits of indulging mindfully. Enjoying a cookie as part of a balanced diet can contribute to satisfaction and happiness, essential aspects of holistic wellness. Choose whole ingredients and consider using alternatives to enhance nutritional value without compromising flavor.
For weight management, it’s wise to be conscious of added sugars. Reducing sugar proportions or using natural sweeteners can create healthier versions of this beloved treat.
Dietary Adaptations
Adapt your Classic Chocolate Chip Cookie recipe to suit various dietary needs. For a gluten-free version, substitute all-purpose flour with a gluten-free flour blend that includes xanthan gum for binding. This allows those with gluten sensitivities to enjoy mouthwatering cookies without gluten.
If you’re looking for a dairy-free treat, use coconut oil or vegan butter instead of conventional butter. Additionally, choose dairy-free chocolate chips to make the recipe fully dairy-free and still rich in flavor.
For those wanting a vegan alternative, replace eggs with flaxseed meal or chia seeds soaked in water, creating a binding agent. Incorporate almond milk or any plant-based milk for a seamless vegan version.
Fans of low-carb or Keto diets can replace sugar with erythritol or stevia, while using almond flour instead of traditional flour to maintain a low carb count without sacrificing sweetness or texture.
Moreover, adapting recipes to fit the Paleo diet often involves using almond flour and less refined sweeteners such as honey or maple syrup, bringing a nutritious twist without losing the essence of a chocolate chip cookie.
Troubleshooting Guide
In making Classic Chocolate Chip Cookies, texture issues can arise if the dough is too dry or crumbly. This often happens due to measuring inaccuracies. Always use the spoon and level method for measuring flour. If the dough feels too dry, add a little extra butter or a splash of milk.
If cookies spread too thin while baking, the dough likely was not chilled enough before baking. Ensure you follow the chilling step for more structured cookies. Avoid using overly warm baking sheets, as this can cause spreading too.
Flavor balance can sometimes be a concern. If cookies taste too sweet, consider reducing sugar in subsequent batches. Adding a pinch of salt can enhance overall flavor and add contrast to sweetness, rounding out the taste.
Timing issues are equally common. To avoid baking cookies too long and drying them out, begin checking a couple of minutes before the prescribed time is up. Remember that cookies continue to cook slightly after removing from the oven due to residual heat.
Ingredient substitutions can lead to unexpected results. When adapting recipes, the ratio of wet to dry ingredients must be carefully considered; some alternative ingredients require modifications to maintain texture. Always test new substitutions in small batches to perfect them.
Recipe Success Stories
Community feedback highlights the love for Classic Chocolate Chip Cookies, showcasing personal variations and adaptations shared extensively online. Readers frequently share their unique substitutions, with some opting for flavored chocolate chips or different nuts, expanding the cookie’s versatility.
Many have shared photographs of their baking endeavors, showcasing cookies with perfectly gooey centers paired artistically with ice cream. These visual successes inspire bakers new and old to recreate these photographic moments in their homes.
Feedback often reflects satisfaction, with users praising the simplicity and speed of this recipe. The ease of preparation makes it a go-to for families, often leading to cookies being baked multiple times a month.
Truly, Classic Chocolate Chip Cookies unite bakers of all levels. Reader suggestions often lead to fruitful experiments in taste, forming a rich tapestry of experiences that highlight the cookie’s adaptability and enduring appeal.
Frequently Asked Questions
Can I freeze the cookie dough?
Yes, cookie dough can be frozen for up to three months! Scoop the dough into balls and freeze them individually on a baking sheet before transferring to a freezer bag for easy baking later.
How do I keep cookies soft?
To keep your cookies soft, store them in an airtight container with a slice of bread. The moisture from the bread will keep the cookies from drying out.
Can I use whole wheat flour?
Absolutely! You can substitute whole wheat flour for half or all of the all-purpose flour in the recipe. This will add a nuttier flavor and extra fiber.
What can I use instead of eggs?
If you need an egg substitute, you can use 1/4 cup unsweetened applesauce or 1 tablespoon ground flaxseed mixed with 3 tablespoons water for each egg.
How do I know when the cookies are done?
Cookies are typically done when the edges are golden brown, and the center looks slightly underbaked. They will continue to firm up as they cool on the baking sheet.
Can I add other mix-ins?
Yes! Feel free to add other mix-ins such as chopped nuts, M&Ms, or even dried fruit to customize your cookies.
What if my cookies are too flat?
Flat cookies often result from warm butter or not chilling the dough. Be sure your butter is softened, not melted, and chill the dough before baking.
How should I store leftover cookies?
Store leftover cookies in a sealed container at room temperature for up to a week. For longer storage, consider freezing them.
Can I use chocolate syrup instead of chocolate chips?
While you can experiment, using chocolate syrup will alter the consistency of the dough significantly. Stick with chips or chunks for best results.
What if I don’t have brown sugar?
If you don’t have brown sugar, you can make a substitute by mixing white sugar with a small amount of molasses—about 1 tablespoon of molasses per cup of sugar to mimic the flavor.
Can I make mini cookies?
Of course! Simply use a smaller scoop to portion out your dough and adjust the baking time, usually reducing it slightly, to avoid overbaking.
Additional Resources
If you enjoyed this Classic Chocolate Chip Cookie recipe, explore related recipes on our blog for other delightful desserts. Check out our collection of brownie recipes or learn the essentials of making homemade ice cream to pair perfectly with your cookies.
For further guidance on baking essentials, browse our technique guides that cover everything from how to temper chocolate to essential knife skills for preparing baked goods. In addition, consider exploring detailed ingredient information, where you’ll learn about the science behind baking and the role each component plays in creating delicious treats.
Equipment recommendations can make your baking endeavors even easier. Check out our top picks for mixers, baking sheets, and silicone mats that streamline your cookie-making experience, ensuring delicious results every time.
Finally, keep an eye on seasonal variations! We provide exciting new flavors and themes throughout the year tailored to specific holidays, offering fresh takes on Classic Chocolate Chip Cookies that you won’t want to miss out on.
Join the Conversation
We invite you to join in on the conversation by sharing your baking successes with our Classic Chocolate Chip Cookie recipe. Post your cookie photos on social media, or leave reviews of your creations on our blog. Your feedback helps foster a vibrant community of home bakers who seek to connect over recipes and ideas.
Don’t hesitate to share your unique twists or personal stories related to this recipe; we love hearing about how our readers adapt their favorites. Consider creating a digital album of your baking adventures; it not only serves as a reminder of joyful moments but also inspires others to try their hand at baking.
Engage with fellow bakers to swap tips and tricks. We always encourage our audience to seek support from our online community to enhance their culinary skills and explore new flavor combinations together.
Let’s continue the joy of baking Classic Chocolate Chip Cookies—your perfect sweet treat awaits!
The Recipe
Classic Chocolate Chip Cookies
Serves: 24 cookies
Prep Time: 10 mins
Cook Time: 12 mins
Total Time: 22 mins
Kitchen Equipment Needed
- Mixing bowl
- Baking sheet
- Parchment paper
- Cookie scoop (optional)
- Measuring cups and spoons
- Mixer (hand or stand)
Ingredients
- 1 cup unsalted butter, softened
- 1 cup brown sugar, packed
- 1/2 cup granulated sugar
- 2 large eggs
- 1 teaspoon vanilla extract
- 2 1/4 cups all-purpose flour
- 1 teaspoon baking soda
- 1/2 teaspoon salt
- 2 cups semi-sweet chocolate chips
Directions
- Preheat your oven to 375°F (190°C) and line a baking sheet with parchment paper.
- In a mixing bowl, cream together the softened butter, brown sugar, and granulated sugar until light and fluffy.
- Add the eggs one at a time, mixing well after each addition, then stir in the vanilla extract.
- In a separate bowl, whisk together the flour, baking soda, and salt. Gradually add to the wet mixture, mixing just until combined.
- Fold in the chocolate chips until evenly distributed throughout the dough.
- Drop rounded tablespoons of dough onto the prepared baking sheet, leaving space between each cookie.
- Bake in the preheated oven for 9 – 12 minutes, or until golden brown around the edges.
- Cool on the baking sheet for a few minutes before transferring to a wire rack to cool completely.
Recipe Notes
- For chewier cookies, let the dough rest in the refrigerator for at least 30 minutes.
- Substituting half of the all-purpose flour with whole wheat flour adds additional fiber and nutrients.
- If using a convection oven, reduce the baking time by a couple of minutes as they may bake faster.