“`html
Table of Contents
Air Fryer Apple Pie Bombs Recipe
Introduction
Did you know that air fryer desserts can reduce added fat by up to 70% compared to traditional deep-frying? This incredible efficiency makes our Air Fryer Apple Pie Bombs not just a delicious treat, but a smarter choice for your sweet cravings. Imagine the warm, gooey comfort of classic apple pie, but transformed into adorable, single-serving packages with a golden, doughy exterior and a fraction of the effort. These bombs are the perfect fusion of nostalgic flavor and modern kitchen convenience.
Perfect for game day, a cozy family dessert, or a last-minute potluck contribution, these handheld delights are guaranteed to disappear fast. The magic lies in the contrast: the flaky, buttery biscuit dough gives way to a sweet, cinnamon-spiced apple filling, all finished with a crackly cinnamon-sugar shell that shatters with every bite. Let’s dive into how you can create this crowd-pleasing dessert in under 30 minutes.
Ingredients List
Gather these simple ingredients for your apple pie bomb adventure. I’ve included sensory notes and substitutions to ensure success no matter what’s in your pantry.
- 1 can (16.3 oz) Pillsbury Grands! Flaky Layers Biscuits or Country Biscuits: The doughy foundation. The “Grands” size creates a more substantial bomb, while the smaller biscuits are perfect for bite-sized treats. Substitution: Any refrigerated flaky biscuit dough will work, or use homemade pie dough for a from-scratch feel.
- 1 (21 oz) can Apple Pie Filling: The sweet, spiced heart of the bomb. Look for a filling with a good balance of tender apple chunks and thick, glossy syrup. Substitution: For a fresher taste, make your own quick filling: sauté 2 cups of diced apples (like Granny Smith or Honeycrisp) with 2 tbsp brown sugar, 1 tsp cinnamon, and 1 tbsp butter until softened.
- 4 tbsp Unsalted Butter, melted: Creates the essential glue for the cinnamon-sugar coating, adding a rich, toasty flavor and golden color.
- 1/2 cup Granulated Sugar: For the signature sweet, crunchy shell.
- 1 1/2 tsp Ground Cinnamon: The warm, aromatic spice that defines “apple pie” flavor. For a deeper spice profile, add a pinch of nutmeg or allspice to the sugar mixture.
- Optional: 1 tsp Vanilla Extract mixed into the melted butter for an extra layer of fragrance.
Timing
10 minutes
8-10 minutes
~20 minutes
Compared to baking a full apple pie, which can take over an hour from prep to cool-down, these Air Fryer Apple Pie Bombs deliver that same iconic flavor in less than half the time. The air fryer’s rapid circulation cooks them evenly and quickly, giving you a hot, fresh dessert faster than preheating a conventional oven.
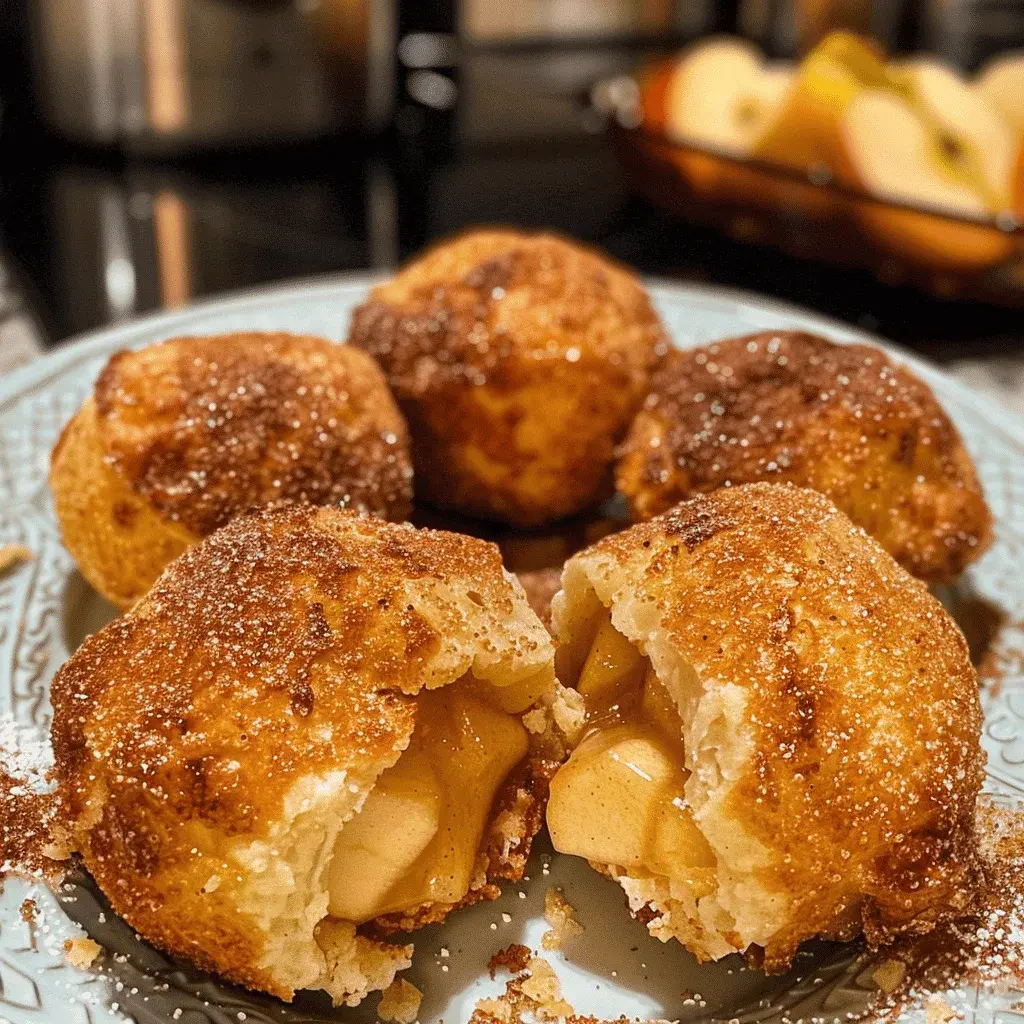
A batch of perfectly golden Air Fryer Apple Pie Bombs, ready to delight.
Step-by-Step Instructions
Step 1: Prepare the Apple Filling
Open your can of apple pie filling. I like to give it a rough chop right in the can or on a cutting board to break the larger apple slices into smaller, more manageable pieces. This ensures every bite of your bomb gets plenty of filling and makes sealing the dough much easier. If you’re using homemade filling, ensure it has cooled slightly so it’s safe to handle.
Step 2: Assemble the Bombs
Separate the biscuit dough. On a lightly floured surface, gently press or roll each biscuit into a circle about 4-5 inches in diameter—you want it thin enough to seal but thick enough to hold the filling without tearing. Place a heaping tablespoon of the chopped apple pie filling in the center of each dough circle. Now, the crucial part: gather the edges of the dough up and over the filling, pinching them firmly at the top to create a sealed pouch. Roll it gently between your palms to form a smooth ball. A good seal is key to preventing messy leaks in the air fryer!
Step 3: Coat and Air Fry
Preheat your air fryer to 350°F (175°C). While it heats, set up your coating station. In a small bowl, mix the granulated sugar and cinnamon thoroughly. In another bowl, have your melted butter (and vanilla, if using) ready. Working one at a time, dip each dough ball first into the melted butter, ensuring it’s fully coated, then immediately roll it in the cinnamon-sugar mixture until completely covered. Place the coated bombs in the air fryer basket, leaving about an inch of space between them for air circulation (you may need to cook in batches). Air fry for 8-10 minutes, or until they are puffed up and a deep, golden brown.
Step 4: Serve and Enjoy
Carefully remove the bombs from the air fryer using tongs—they will be very hot! Let them cool on a wire rack or plate for just 2-3 minutes. This short rest allows the molten filling to settle slightly, preventing burnt tongues, but they are best served warm. The exterior will be delightfully crisp from the sugar coating, giving way to the soft, steamy interior.
Nutritional Information
(Approximate values per bomb, recipe makes 8)
- Calories: ~280 kcal
- Total Fat: 12g
- Saturated Fat: 5g
- Carbohydrates: 42g
- Sugar: 24g
- Protein: 3g
Note: Values can vary based on specific brands of biscuits and pie filling used.
Healthier Alternatives
You can easily tweak this recipe for a lighter version without sacrificing the core “apple pie” experience:
- Dough: Use whole-wheat or reduced-fat biscuit dough.
- Filling: Opt for a “no sugar added” apple pie filling, or make your own with diced apples, a touch of maple syrup or monk fruit sweetener, and spices.
- Coating: Brush the dough balls with a light egg wash (1 egg beaten with 1 tbsp water) instead of melted butter, then roll in a mixture of cinnamon and a zero-calorie sweetener like erythritol.
- Butter: Substitute with a light butter spread or even coconut oil for a dairy-free option.
Serving Suggestions
While divine on their own, these bombs become legendary with a few simple accompaniments:
- A scoop of vanilla ice cream slowly melting over the warm bomb (à la mode style!).
- A drizzle of salted caramel sauce for a sweet-and-salty kick.
- A dollop of freshly whipped cream or a dusting of powdered sugar.
- Serve alongside a hot cup of coffee, chai tea, or mulled cider for the ultimate cozy dessert experience.
Common Mistakes
- Overfilling: This is the #1 cause of leaks. Stick to a heaping tablespoon. If filling oozes out during sealing, simply remove a little.
- Poor Sealing: Pinch the dough firmly and ensure no filling is caught in the seam. Roll the sealed ball gently to smooth any weak spots.
- Crowding the Basket: Air needs to circulate for even browning. Cook in batches if necessary.
- Skipping the Preheating: A hot air fryer ensures the dough starts cooking immediately, leading to a better rise and texture.
Storing Tips
- Room Temperature: Best enjoyed fresh. They can be kept in an airtight container for up to 1 day but will lose their crisp exterior.
- Refrigerating: Store cooled bombs in an airtight container for up to 3 days.
- Freezing: Freeze uncoated, assembled bombs on a parchment-lined tray. Once solid, transfer to a freezer bag. They can be frozen for up to 2 months. To cook, do not thaw—coat in butter and sugar while frozen, then air fry, adding 2-4 minutes to the cook time.
- Reheating: Re-crisp in the air fryer at 320°F for 3-4 minutes. A microwave will make them soft.
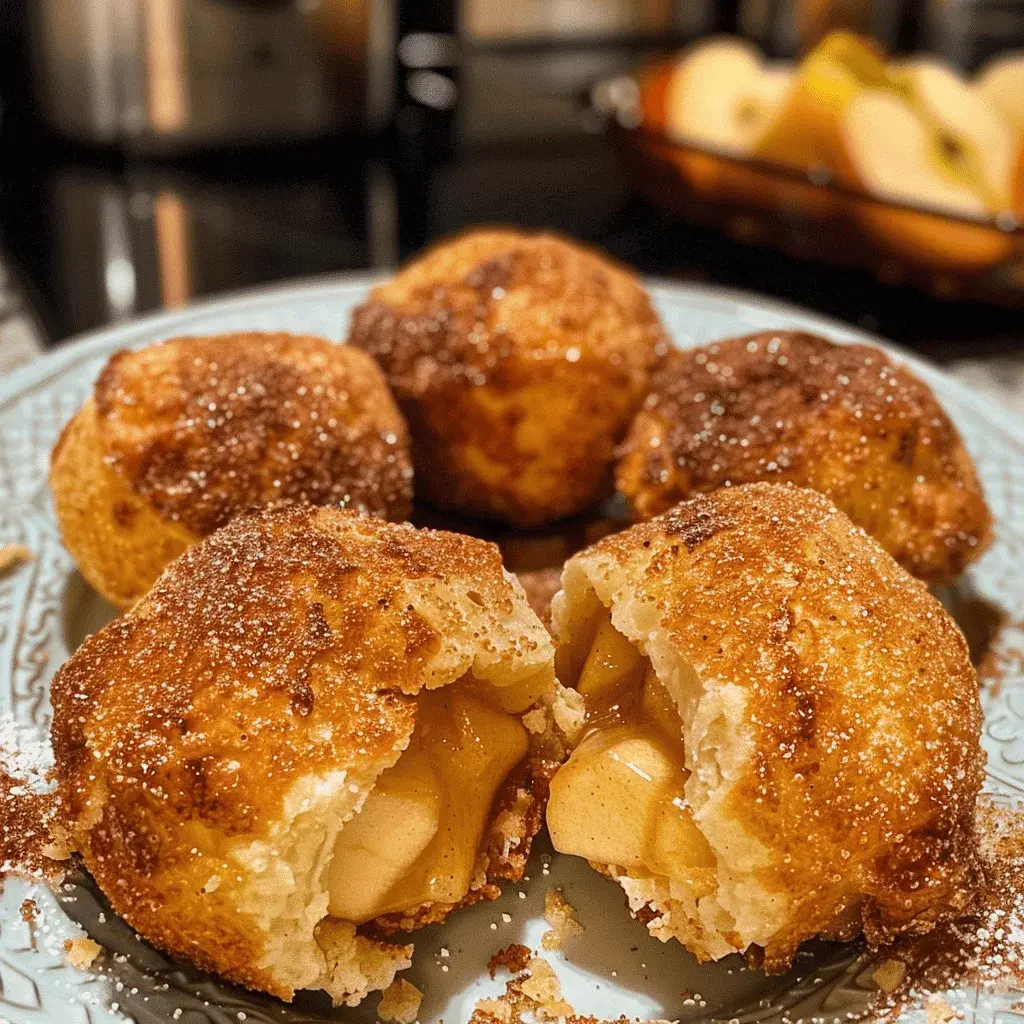
Serve your bombs warm with a classic scoop of vanilla ice cream for the perfect finish.
Conclusion
These Air Fryer Apple Pie Bombs are a testament to how simple ingredients and smart cooking technology can create something truly special. They capture the soul-warming essence of homemade apple pie in a fun, shareable, and incredibly quick format. Whether you’re a seasoned baker or a kitchen novice, this recipe is designed for guaranteed success and smiles.
Did you make this recipe? We’d love to see your creations! Share a photo of your golden-brown bombs on Instagram and tag @spicemingle so we can celebrate your baking win together. Don’t forget to pin this recipe to your dessert board for later!
Frequently Asked Questions (FAQs)
***Can I bake these in a conventional oven instead?***
Absolutely! Preheat your oven to 375°F (190°C). Place the coated bombs on a parchment-lined baking sheet and bake for 12-15 minutes, or until golden brown.
***My bombs leaked filling. What happened?***
This is usually due to overfilling or an imperfect seal. Next time, use slightly less filling and ensure you pinch the dough very firmly, rolling the sealed ball to smooth it out. A little leak is okay and still tastes delicious!
***Can I use a different pie filling?***
Yes! Cherry, peach, or blueberry pie filling all work wonderfully. Just ensure any large fruit pieces are chopped for easy sealing.
***Why are my bombs not browning evenly?***
Pineapple Upside Down Pancakes Recipe
“`html
Table of Contents
Pineapple Upside Down Pancakes Recipe
Introduction
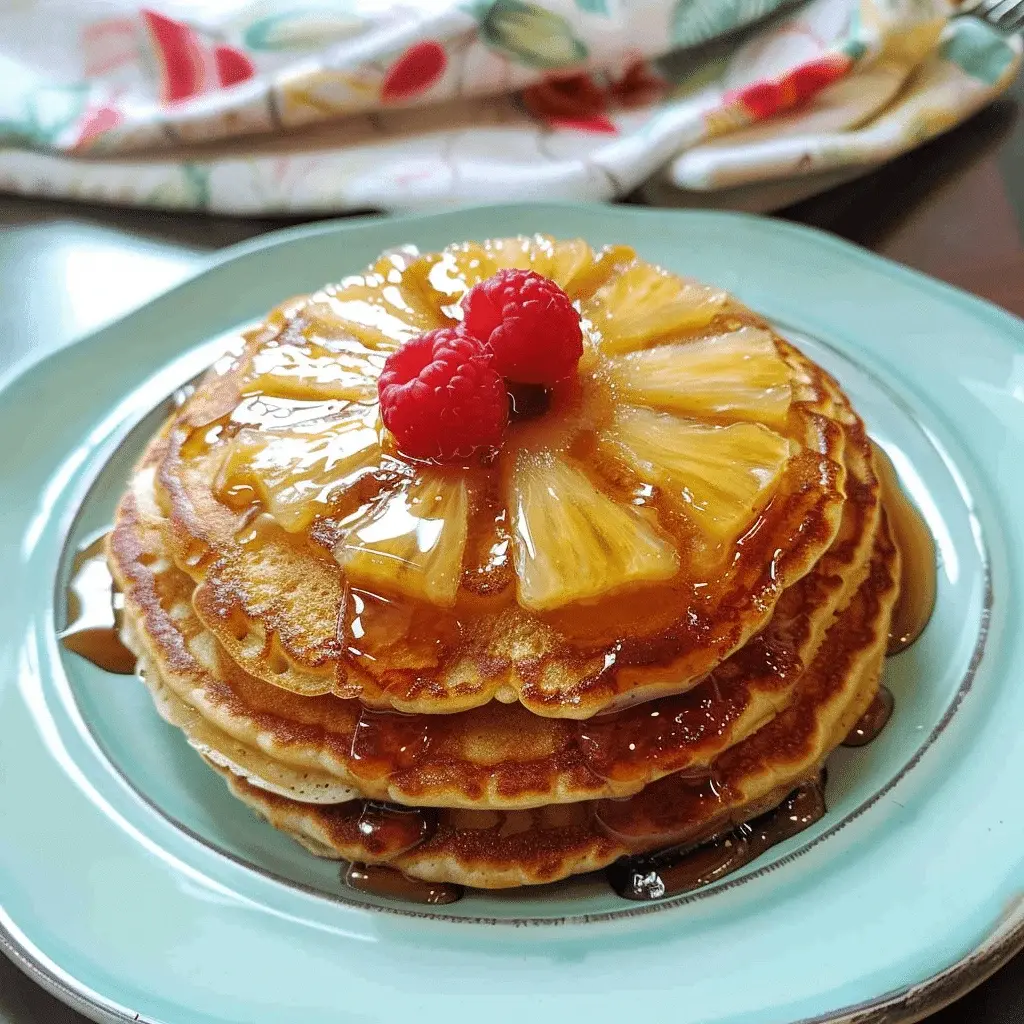
Did you know that over 60% of home cooks seek ways to transform classic breakfast dishes into something extraordinary? If you’re looking for a show-stopping morning meal that combines nostalgic comfort with tropical flair, you’ve found it. These Pineapple Upside Down Pancakes are the answer, merging the beloved flavors of the iconic 1950s dessert with the fluffy, comforting texture of a perfect pancake. This recipe is more than just a breakfast; it’s an experience. Imagine the sweet, caramelized aroma of brown sugar and butter mingling with juicy pineapple, all atop a golden, tender pancake made effortlessly with Bisquick mix. It’s a guaranteed way to turn an ordinary weekend morning into a memorable brunch celebration that will have everyone reaching for seconds.
Ingredients List
Gather these simple ingredients to create your tropical pancake masterpiece. The beauty of this recipe lies in its simplicity and the magical transformation of basic pantry staples.
- For the Caramelized Pineapple Topping:
- 4 tablespoons unsalted butter – The base for a rich, golden caramel. Substitution: Coconut oil for a dairy-free, subtly tropical twist.
- 1/2 cup packed light brown sugar – Creates that signature deep, molasses-kissed caramel with a hint of toffee flavor.
- 1 (20 oz) can pineapple slices in juice, drained (reserve juice!) – Look for rings that are firm yet tender. The reserved juice adds natural sweetness to the batter.
- 6-8 maraschino cherries – The classic red “jewel” in the center, offering a sweet, syrupy burst.
- For the Pancake Batter:
- 2 cups Bisquick baking mix – The ultimate shortcut for consistently light and fluffy pancakes every time. Substitution: Use your favorite “complete” pancake mix or make from scratch with 2 cups flour, 1 tbsp baking powder, 1/2 tsp salt, and 1 tbsp sugar.
- 1 cup milk – Whole milk yields the richest texture. Substitution: Buttermilk for tangier, even fluffier pancakes, or any plant-based milk.
- 2 large eggs – Binds the batter and adds richness. For a visual cue, they should be at room temperature and beaten until frothy.
- 1/4 cup reserved pineapple juice – The secret ingredient! It infuses the batter with a subtle, authentic tropical sweetness you can taste.
- 1 teaspoon vanilla extract – Rounds out all the flavors with its warm, aromatic notes.
Timing
At just 35 minutes from start to finish, this recipe is 25% faster than the average from-scratch fancy pancake recipe, which often requires separate caramel and batter prep. The use of Bisquick eliminates measuring multiple dry ingredients, and the topping cooks right in the same skillet as the pancakes, streamlining the process without sacrificing an ounce of flavor or presentation.
Step-by-Step Instructions
Step 1: Prepare the Topping
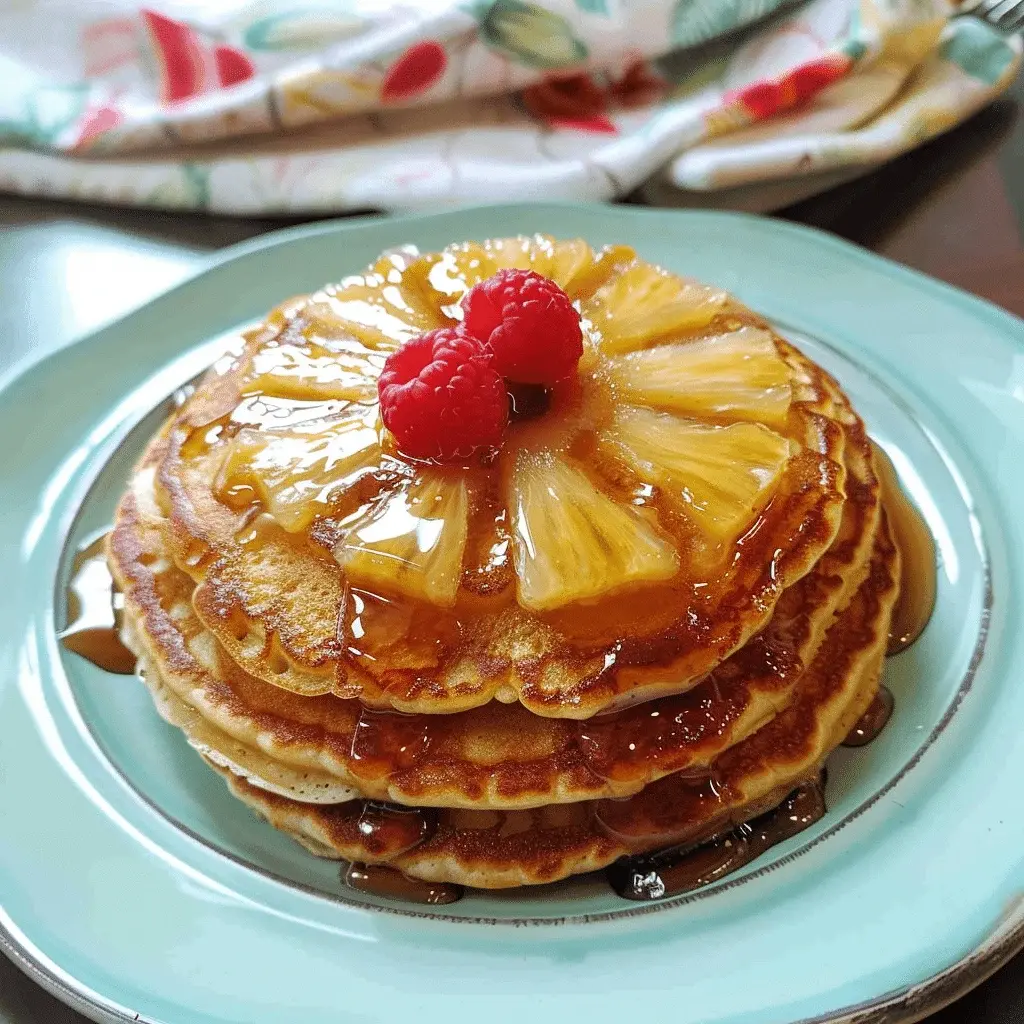
In a large, cold non-stick skillet or well-seasoned cast-iron pan (about 10-12 inches), place the butter and brown sugar. Turn the heat to medium-low. As the pan warms, the butter will melt and combine with the sugar. Stir gently with a spatula for 2-3 minutes until it forms a smooth, bubbling caramel sauce that smells wonderfully of butterscotch. Immediately remove from heat. Carefully arrange the drained pineapple slices in a single layer in the caramel. Place a maraschino cherry in the center of each ring. This is your edible artwork—take a moment to make it pretty!
Step 2: Make the Batter
In a large mixing bowl, combine the Bisquick mix, milk, eggs, reserved pineapple juice, and vanilla extract. Whisk just until the ingredients are incorporated and you have a slightly lumpy batter. Do not overmix! Overmixing develops gluten, leading to tough, dense pancakes. Those small lumps will vanish during cooking, promising a tender crumb. Let the batter rest for 5 minutes while you preheat the oven to 200°F (to keep finished pancakes warm).
Step 3: Cook the Pancakes
Return the skillet with the pineapple-caramel arrangement to medium heat. Using a ladle or measuring cup, slowly pour the pancake batter over the pineapple slices and cherries, aiming to cover them evenly. You should hear a gentle sizzle—this is the caramel locking in the fruit. Cook for 3-4 minutes. Watch for bubbles to form on the surface and the edges to look set and dry. This is your signal that the bottom is perfectly caramelized.
Step 4: The Flip
Here’s the moment of truth! Place a large, heat-proof plate or platter upside down over the skillet. With one confident, swift motion (and using oven mitts!), invert the skillet onto the plate. The pancake should release easily, revealing the stunning, jewel-like topping. If any pineapple or cherry sticks, simply use a spatula to place it back. Slice into wedges and serve immediately.
Nutritional Information
Approximate values per serving (1/6th of recipe):
- Calories: 380 kcal
- Carbohydrates: 58 g
- Protein: 6 g
- Fat: 14 g
- Saturated Fat: 7 g
- Fiber: 1 g
- Sugar: 38 g
Healthier Alternatives
You can easily adapt this recipe for dietary preferences without losing its soul-satisfying flavor.
- Reduce Sugar: Cut the brown sugar in the topping to 1/3 cup and use pineapple canned in its own juice (not syrup). The natural fruit sugars will still caramelize beautifully.
- Whole Grain Boost: Use a whole grain Bisquick mix or substitute half the Bisquick with whole wheat flour for added fiber and a nuttier flavor that pairs well with caramel.
- Dairy-Free: Swap butter for coconut oil and use almond or oat milk. The coconut oil enhances the tropical profile.
- Egg-Free: Replace each egg with a “flax egg” (1 tbsp ground flaxseed mixed with 2.5 tbsp water, let sit 5 mins).
Serving Suggestions
- Classic: A simple drizzle of pure maple syrup or a dollop of whipped cream is all it needs.
- Tropical Twist: Serve with a side of coconut yogurt or a sprinkle of toasted coconut flakes.
- Brunch Spread: Pair with crispy bacon or savory breakfast sausage to balance the sweetness. A mimosa or fresh pineapple juice completes the island vibe.
Common Mistakes
- Overmixing the Batter: This is the #1 pancake killer. A few lumps are your friend.
- Heat Too High: Burning the caramel or cooking the pancakes too fast will give you a bitter topping and a raw center. Medium heat is key.
- Using a Small Skillet: Crowding prevents even cooking and makes the flip messy. Use a 10-12 inch pan.
- Not Letting the Batter Rest: The 5-minute rest allows the leavening agents to activate and the flour to hydrate, for maximum fluffiness.
Storing Tips
- Refrigeration: Cool pancakes completely. Place in a single layer on a parchment-lined baking sheet to freeze solid, then transfer to a freezer bag for up to 2 months.
- Reheating: For best results, reheat from frozen in a toaster oven or a 350°F oven for 10-15 minutes until warm and crisp. The microwave will make them soggy.
- Make-Ahead: The caramelized pineapple topping can be prepared a day ahead and stored covered in the fridge. Reheat gently in the skillet before adding batter.
Conclusion
These Pineapple Upside Down Pancakes are more than just a recipe; they’re a passport to a tropical breakfast paradise and a guaranteed way to create lasting memories around the table. With their perfect balance of sweet, caramelized fruit and fluffy, comforting pancake, they prove that extraordinary mornings don’t require extraordinary effort. So, grab your skillet and get ready for the applause. Don’t forget to tag @spicemingle on social media with your beautiful creations—we can’t wait to see your tropical brunch masterpiece!
Made this recipe? We’d love to hear how it turned out! Rate the recipe in the card below and leave a comment telling us about your experience. Your feedback helps our community of home cooks!
FAQs
***Can I use fresh pineapple instead of canned?***
Absolutely! Use 6-8 fresh pineapple rings, about 1/2 inch thick. Fresh pineapple contains more enzymes (bromelain) which can prevent browning, but the cooking process in the caramel will mitigate this. The flavor will be brighter and slightly less sweet than canned.
***My caramel hardened after flipping. What went wrong?***
This usually means the sugar was cooked at too high a temperature or for too long, causing it to move past the caramel stage into hard crack. Next time