“`html
Introduction
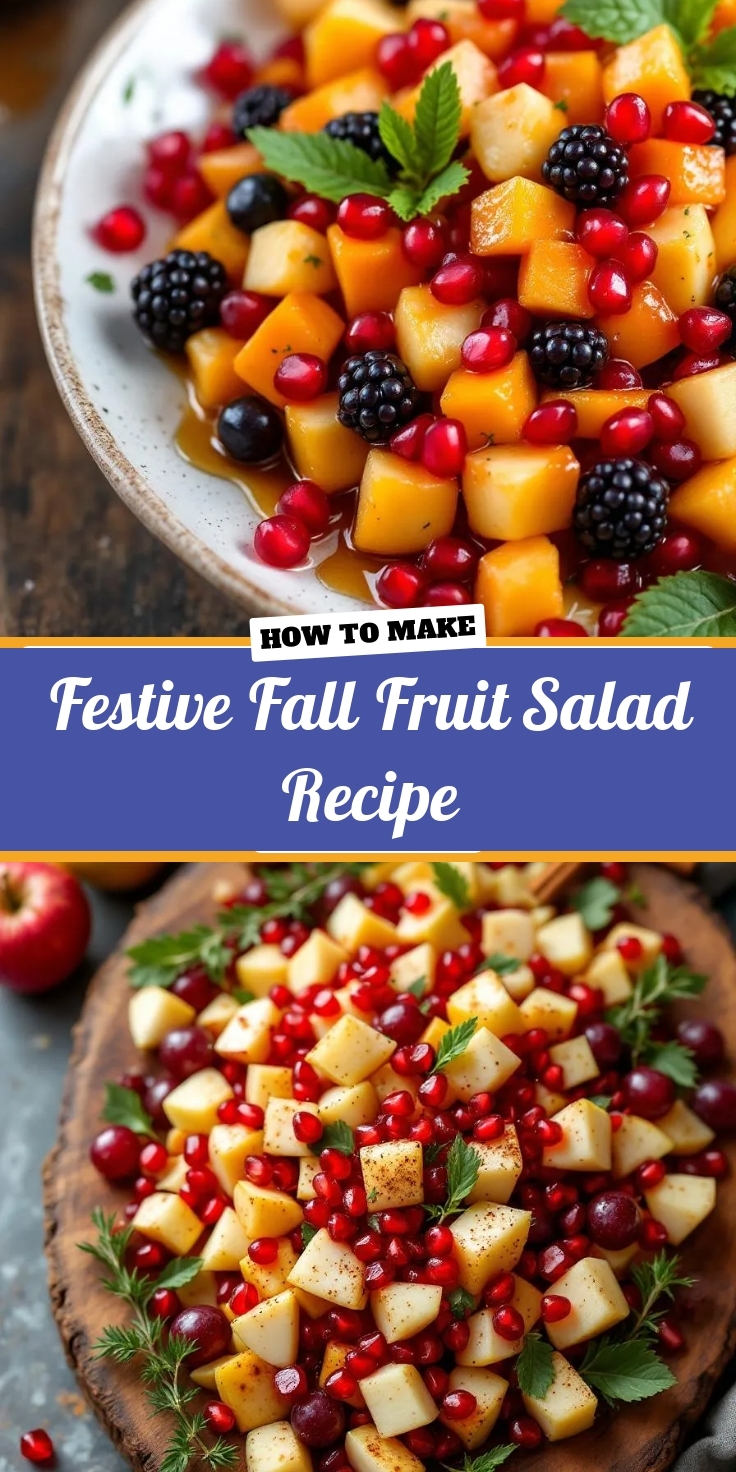
There’s something magical about the flavors of fall—warm spices, crisp apples, and juicy pears all coming together in a vibrant dish. If you’re craving a refreshing yet cozy treat that celebrates the season, this Festive Fall Fruit Salad Recipe is your perfect match. Whether you’re hosting a holiday gathering or simply treating yourself, this colorful medley brings joy to every bite. Plus, it’s effortless to whip up, making it a go-to for busy weeknights or last-minute potlucks. Let’s dive into why this recipe deserves a spot on your table.
About This Recipe
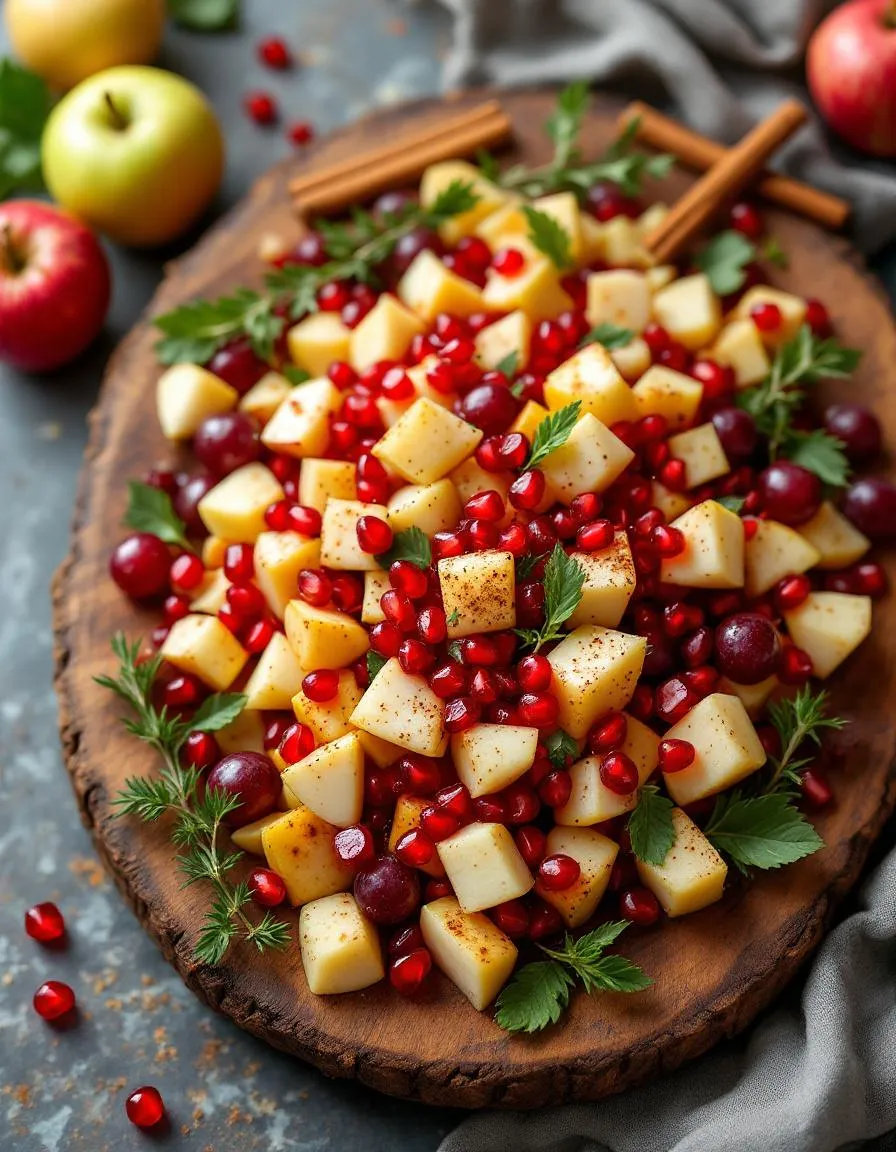
The Festive Fall Fruit Salad Recipe is a delightful blend of seasonal fruits like apples, pears, and pomegranate seeds, tossed with a hint of cinnamon and honey for that extra warmth. Unlike heavy desserts, this dish feels light yet satisfying, making it ideal for balancing indulgent holiday meals. What sets it apart is its versatility. You can serve it as a side dish, dessert, or even a breakfast topping. For more inspiration on seasonal recipes, check out our autumn baking ideas.
Beyond its delicious taste, this recipe matters because it embraces simplicity without sacrificing flavor. Fall often brings hectic schedules, so having a quick, nutritious option matters. The Festive Fall Fruit Salad Recipe also fits our blog’s tone—approachable, wholesome, and full of personality. If you love easy yet impressive dishes, you’ll adore our quick holiday desserts collection too. Whether you’re a seasoned cook or a beginner, this recipe welcomes everyone to the table with open arms.
Why I Love This Recipe
This Festive Fall Fruit Salad Recipe holds a special place in my heart because it reminds me of family gatherings during the holidays. My grandmother always made a similar version, and the aroma of cinnamon and fresh fruit instantly transports me back to her kitchen. It’s more than just a dish—it’s a memory on a plate. I also love how adaptable it is. Some days, I add a handful of toasted nuts for crunch, or a drizzle of maple syrup for extra sweetness. No matter how I tweak it, the result always feels like a celebration of the season.
“`
Health and Nutrition
Why it’s good for your body
Festive Fall Fruit Salad Recipe packs a powerful nutritional punch with its vibrant mix of seasonal fruits. First, it delivers a hefty dose of antioxidants, which help combat inflammation and protect your cells. Additionally, the natural sugars in the fruit provide quick energy without the crash of processed sweets. Moreover, the fiber content keeps digestion smooth and promotes long-lasting fullness.
Beyond that, Festive Fall Fruit Salad Recipe supports immune health thanks to vitamin C-rich ingredients like apples and pomegranates. These nutrients strengthen your body’s defenses, especially during colder months. Furthermore, the potassium in pears and grapes helps regulate blood pressure, while the antioxidants in cranberries may boost heart health. With every bite, you’re nourishing your body with essential vitamins and minerals.
Finally, this dish is naturally low in calories yet high in flavor, making it a guilt-free treat. Whether you enjoy it as a snack or dessert, Festive Fall Fruit Salad Recipe keeps your health goals on track. Its hydrating properties also help maintain optimal fluid balance, especially when paired with water-rich fruits like oranges. Truly, it’s a delicious way to fuel your body.
How it fits in a healthy lifestyle
Festive Fall Fruit Salad Recipe effortlessly fits into a balanced diet, whether you’re gluten-free, vegan, or simply mindful of nutrition. Its whole-food ingredients align with clean eating principles, and you can easily pair it with protein-rich options like yogurt or nuts for a satisfying meal. If you’re exploring more heart-healthy recipes, check out our avocado toast variations for another nutrient-dense option.
For those managing weight or sugar intake, this salad offers natural sweetness without refined sugars. It’s also a fantastic way to meet daily fruit recommendations, especially if you struggle with cravings. Plus, its simplicity makes meal prep a breeze. If you love quick, wholesome dishes, our overnight oats recipes provide another easy solution for busy mornings. Together, these choices help you build a sustainable, health-forward routine.
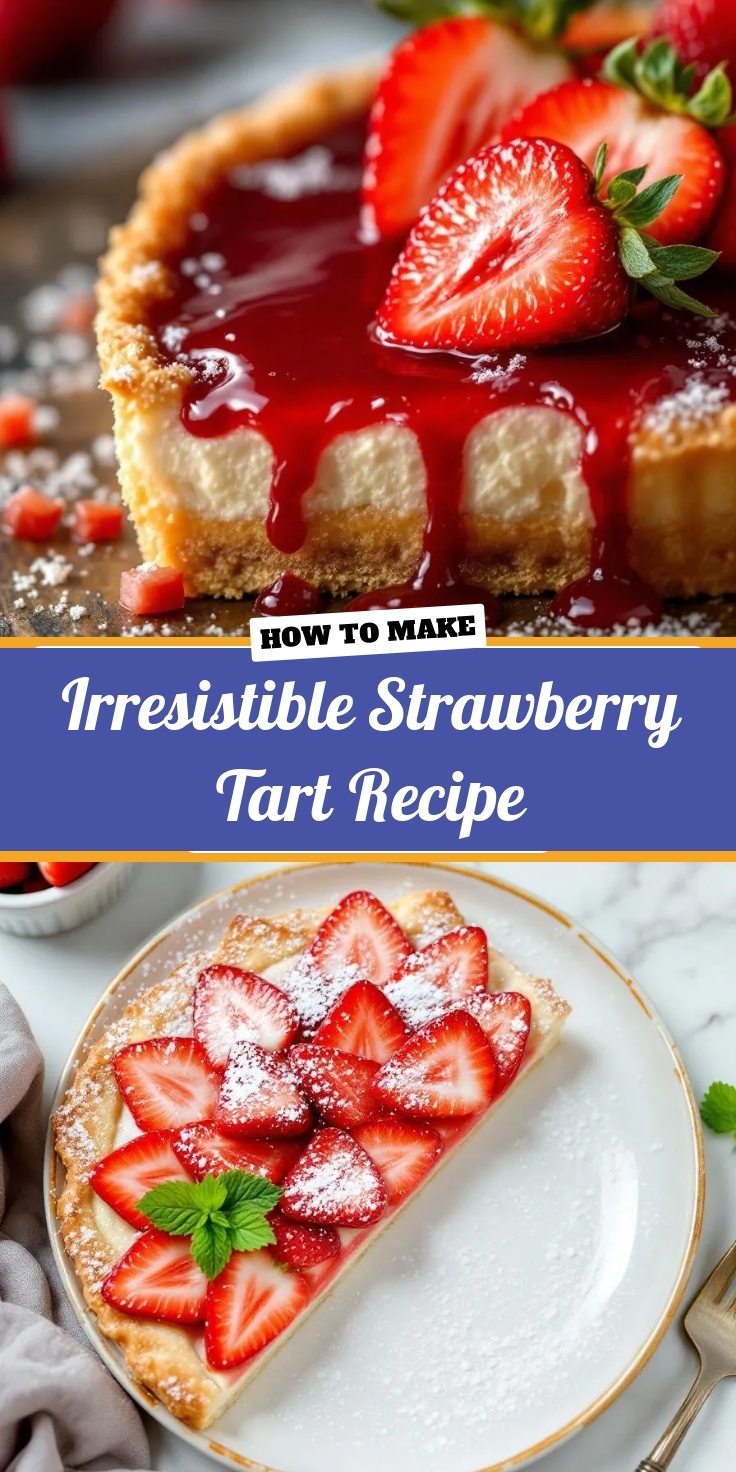
PrintFestive Fall Fruit Salad
Description
A vibrant and refreshing fruit salad featuring seasonal fall fruits with a hint of cinnamon and honey.
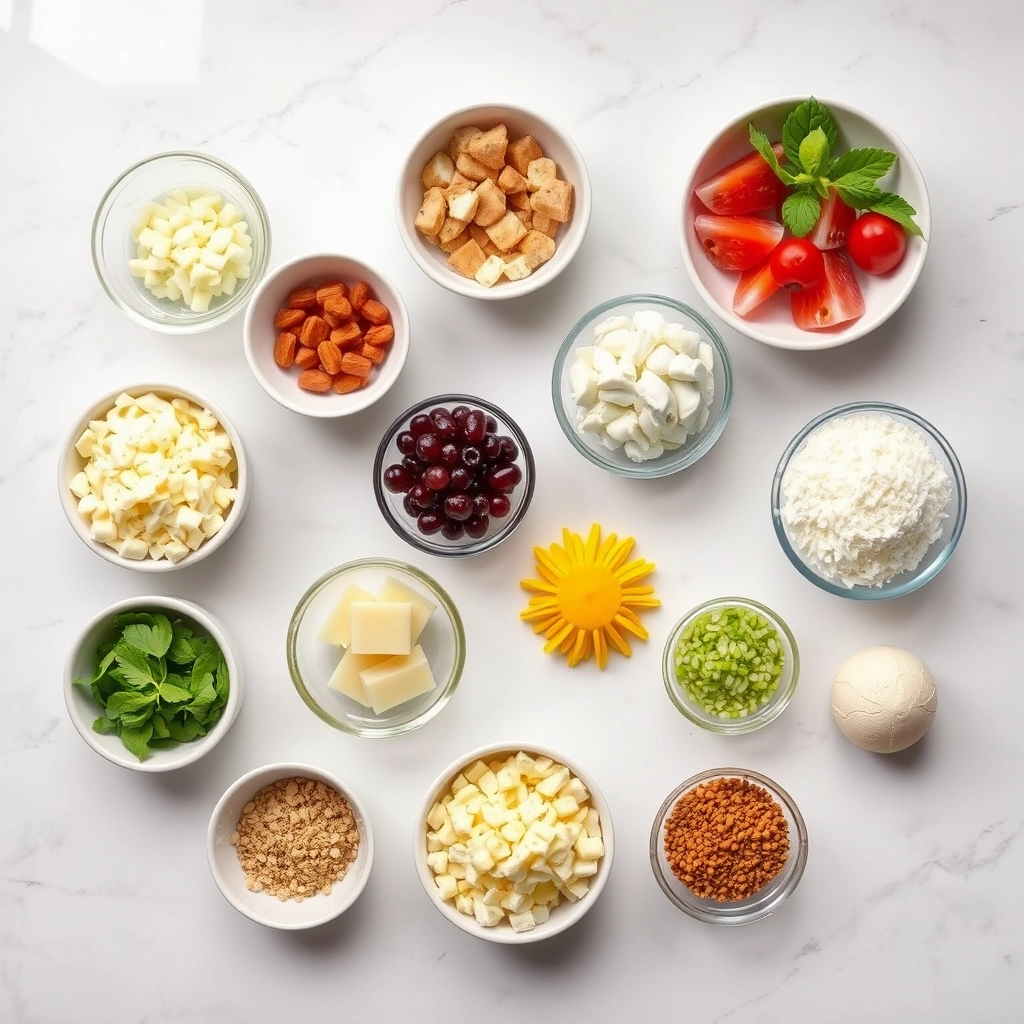
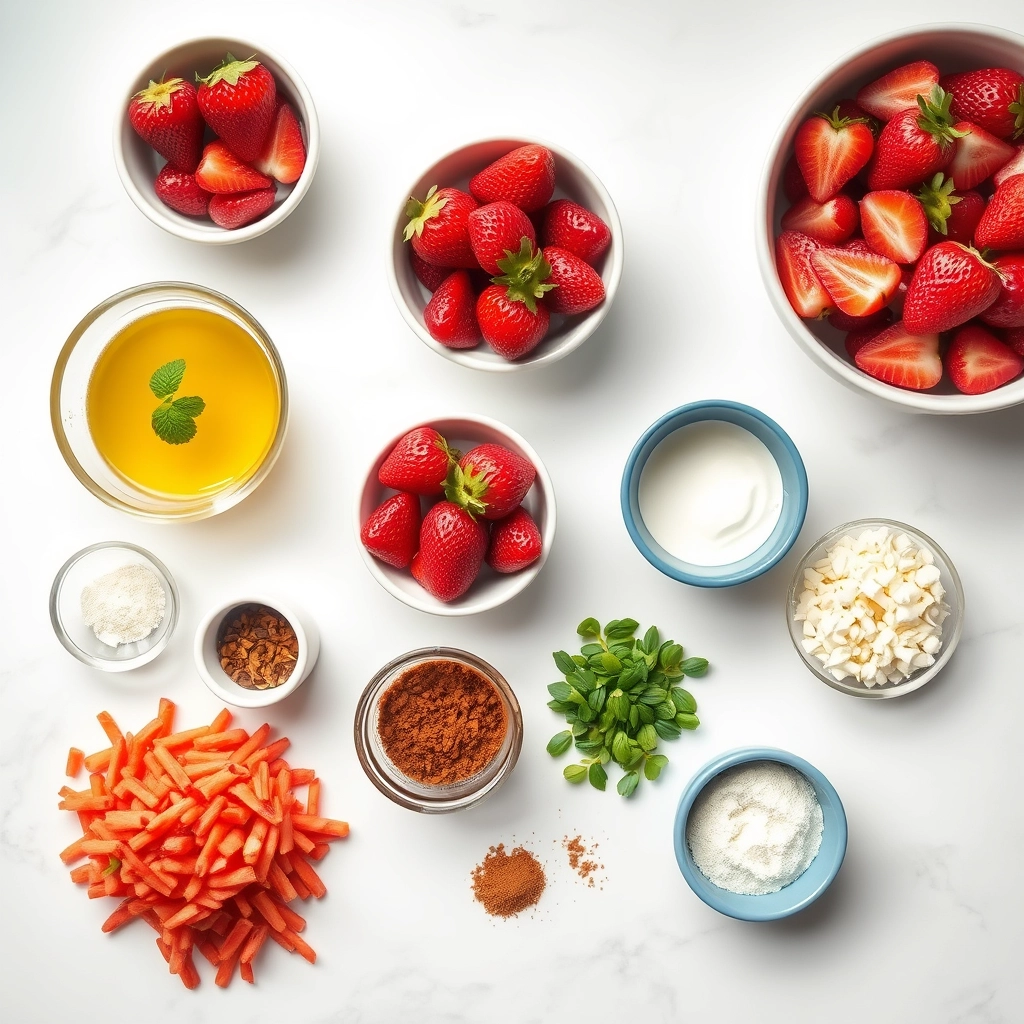
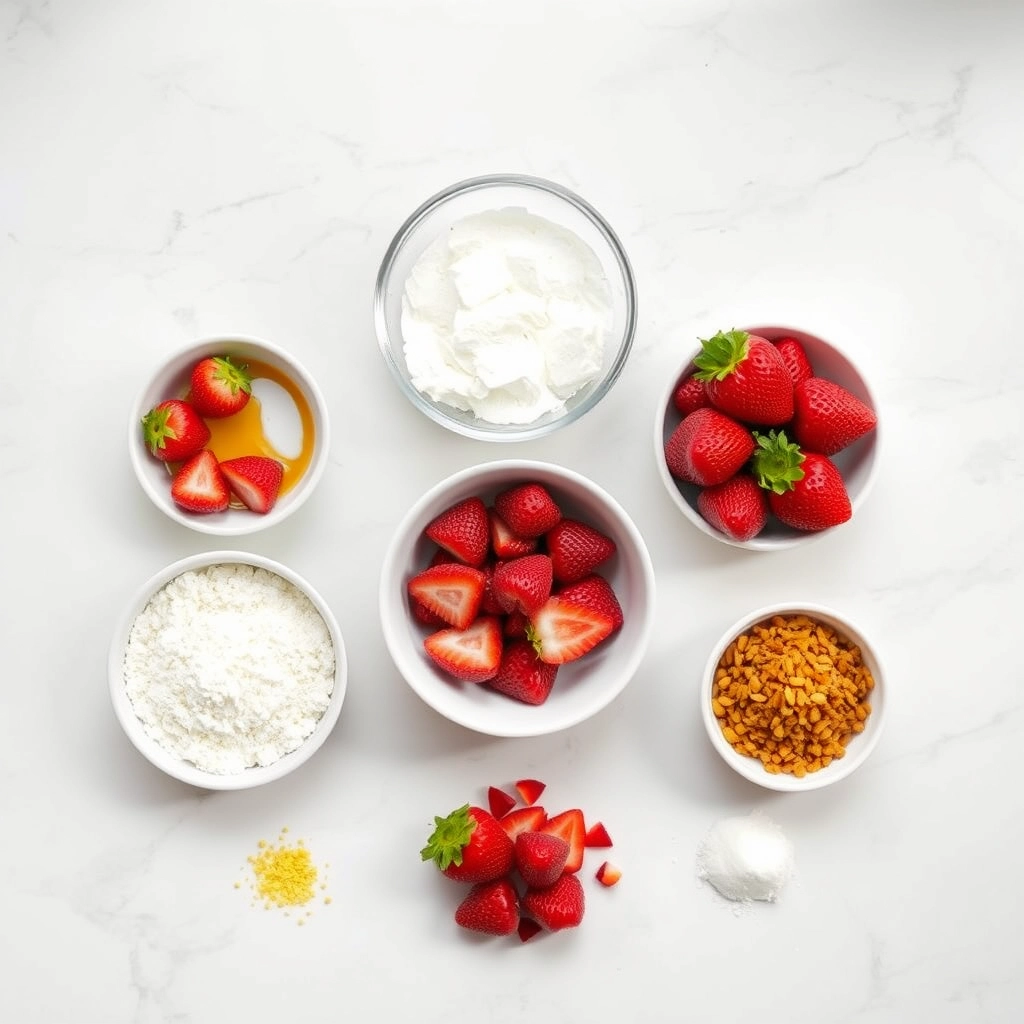
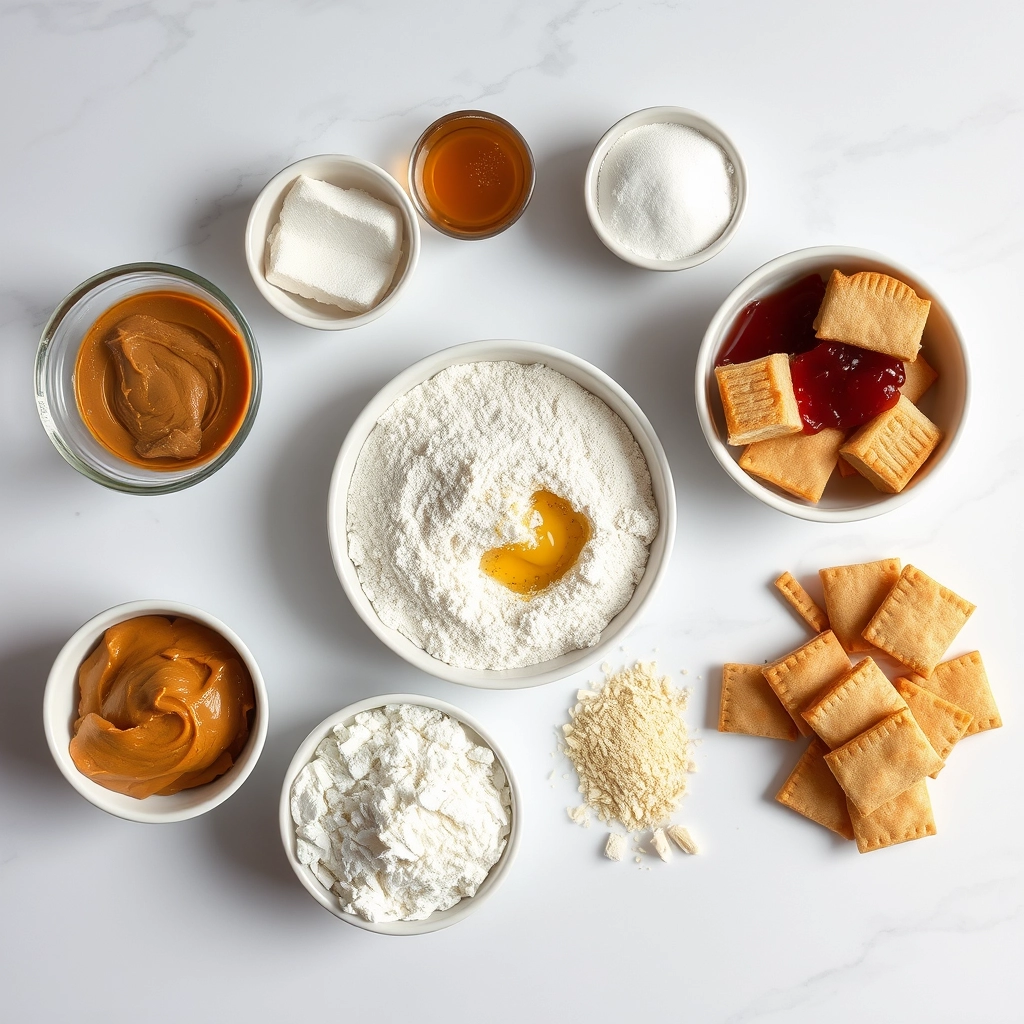
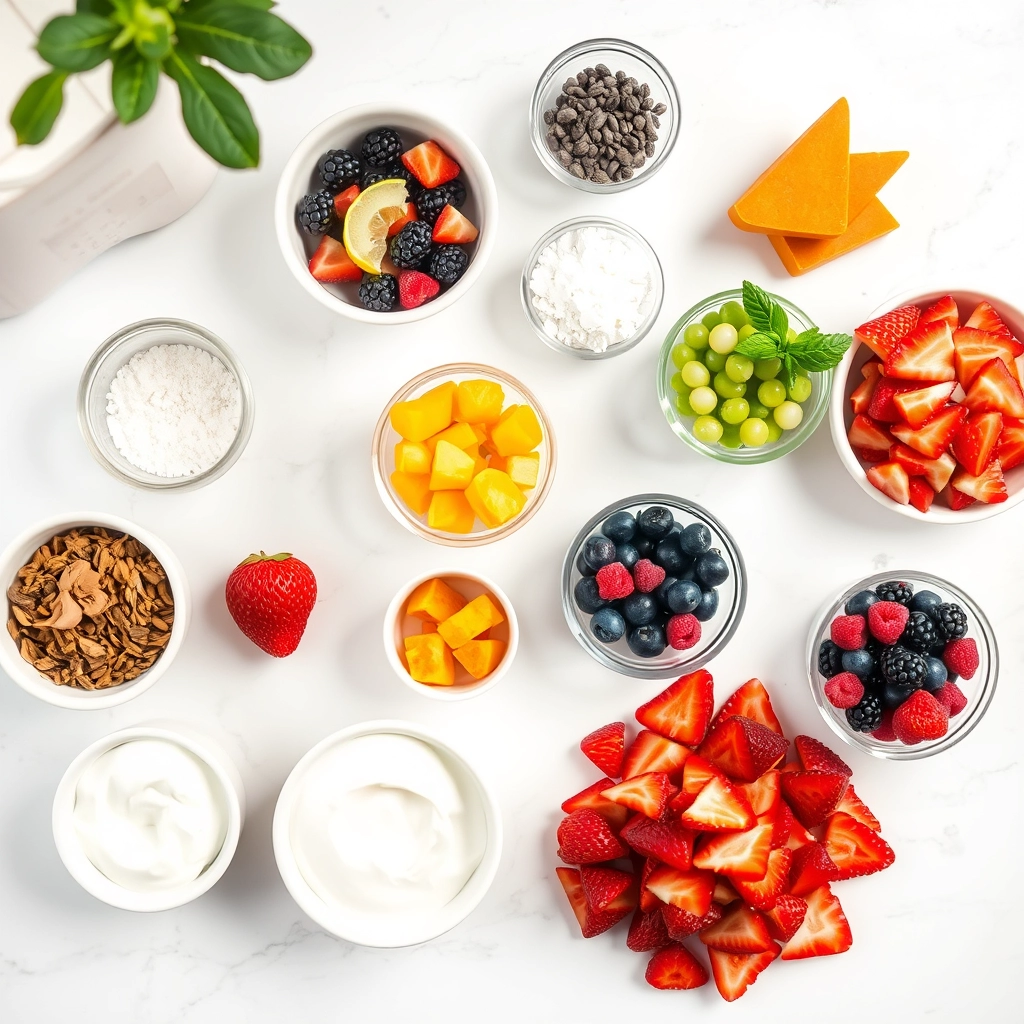
Ingredients
For the Crust:
- 2 apples, diced
- 2 pears, diced
- 1 cup red grapes, halved
- 1 cup pomegranate seeds
- 1/4 cup honey
- 1 tsp cinnamon
- 1 tbsp lemon juice
Instructions
1. Prepare the Crust:
- Wash and dice all fruits, then combine in a large bowl.
- Drizzle honey and lemon juice over the fruits, then sprinkle with cinnamon.
- Gently toss until all fruits are evenly coated.
- Chill for at least 30 minutes before serving.
Notes
You can customize the seasonings to taste.

“`html
How to Prepare This Dish
Steps and time-saving tips
Start by washing and drying all your fruit for the Festive Fall Fruit Salad Recipe thoroughly. Slice apples and pears into thin, bite-sized pieces, then toss them with a squeeze of lemon juice to prevent browning. Meanwhile, peel and segment oranges, removing any seeds. Next, gently fold in pomegranate arils and halved grapes for a burst of color and sweetness. In a small bowl, whisk together honey, cinnamon, and a splash of orange juice to create a light dressing. Drizzle this over the fruit and toss everything carefully to coat. For the best flavor, chill the salad for at least 30 minutes before serving. If you’re short on time, prep the fruit ahead and store it in airtight containers, then mix the dressing and combine everything just before serving. This Festive Fall Fruit Salad Recipe stays fresh for up to two days in the fridge, making it perfect for meal prep or holiday gatherings.
Mistakes I’ve made and learned from
I once rushed the prep for this Festive Fall Fruit Salad Recipe and skipped the lemon juice, only to find my apples turned brown by serving time. Now, I always take that extra minute to toss them—it makes all the difference. Another lesson? Over-mixing can crush delicate fruits like pomegranate arils, so I fold everything gently. If you’re new to working with pomegranates, check out my guide on seeding pomegranates for stress-free prep. I also learned the hard way that dressing the salad too early makes it soggy. For more tips on keeping ingredients crisp, my freshness hacks post covers simple tricks that save time and texture.
“`
Cultural Connection and Variations
Where this recipe comes from
The Festive Fall Fruit Salad Recipe captures the essence of autumn, blending seasonal produce with warmth and nostalgia. Many cultures celebrate harvest time with fruit-centric dishes, but this version leans into the cozy, spiced flavors of American and European traditions. In the South, for example, cooks might add pecans or a drizzle of bourbon caramel, while Mediterranean variations could feature pomegranate seeds and a touch of honey. Families often pass down their own twists, like tossing in candied ginger or swapping apples for persimmons.
Interestingly, the Festive Fall Fruit Salad Recipe also mirrors global traditions. In Mexico, similar fruit mixes pair with chili powder for a sweet-spicy kick. Meanwhile, German cooks might layer fruits with quark or yogurt for a creamy texture. No matter the region, this dish thrives on adaptability. Some versions even incorporate roasted squash or a sprinkle of cinnamon to deepen the fall vibe. Whether served at Thanksgiving or a casual weekend brunch, it’s a dish that invites creativity.
How it fits in today’s cooking
Today, the Festive Fall Fruit Salad Recipe remains a staple for its simplicity and versatility. Busy home cooks love how it doubles as a healthy dessert or a vibrant side dish. Many modern adaptations include meal-prep shortcuts, like pre-chopped fruits or a squeeze of citrus to keep ingredients fresh. It’s also a hit at holiday gatherings, offering a lighter counterpoint to rich dishes like classic pumpkin pie or spiced apple cake.
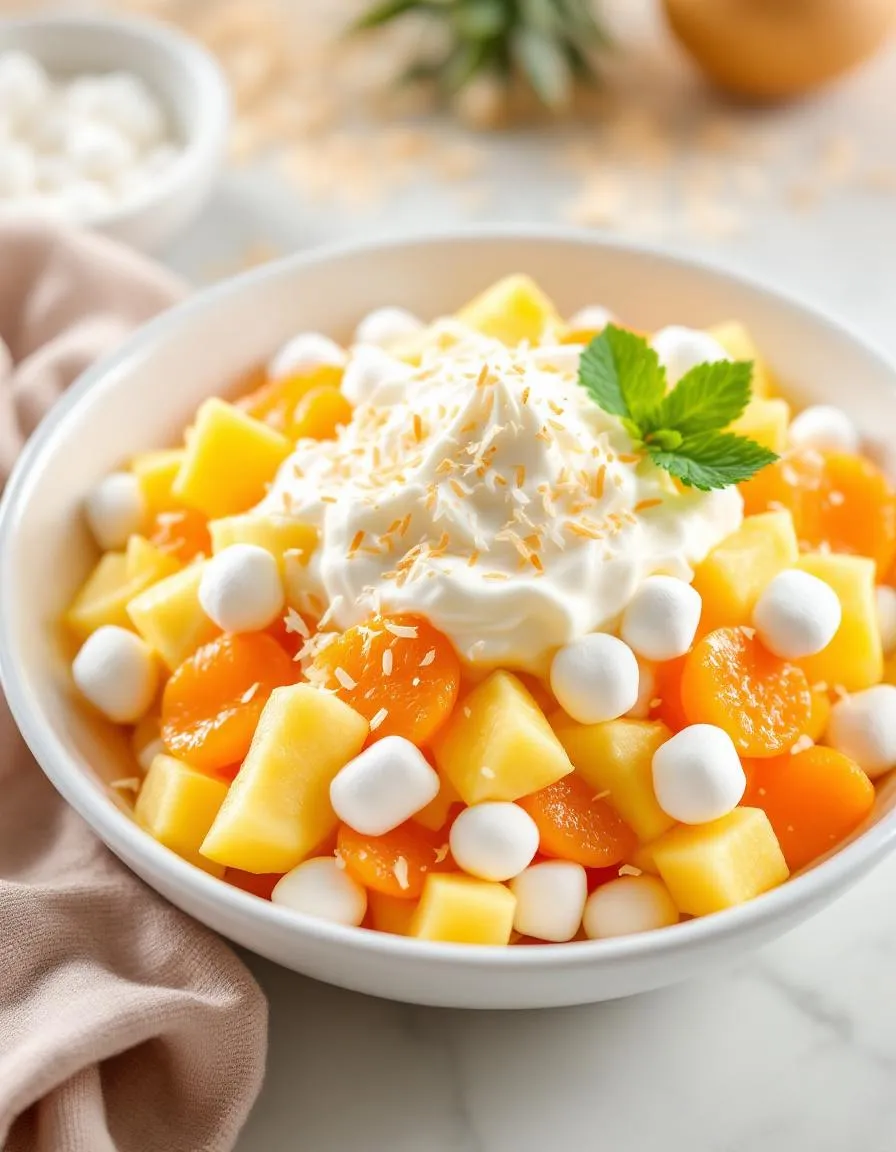
Seasonal eating trends have only boosted its popularity. Nutritionists praise its fiber-rich ingredients, while food bloggers spotlight vegan or paleo tweaks. Some even serve it warm with a scoop of coconut yogurt for a cozy breakfast. Whether you’re honoring family traditions or experimenting with new flavors, this recipe fits seamlessly into today’s kitchens. After all, few dishes bridge nostalgia and modern health trends as effortlessly as a fruit salad celebrating fall’s bounty.
Taste and Texture
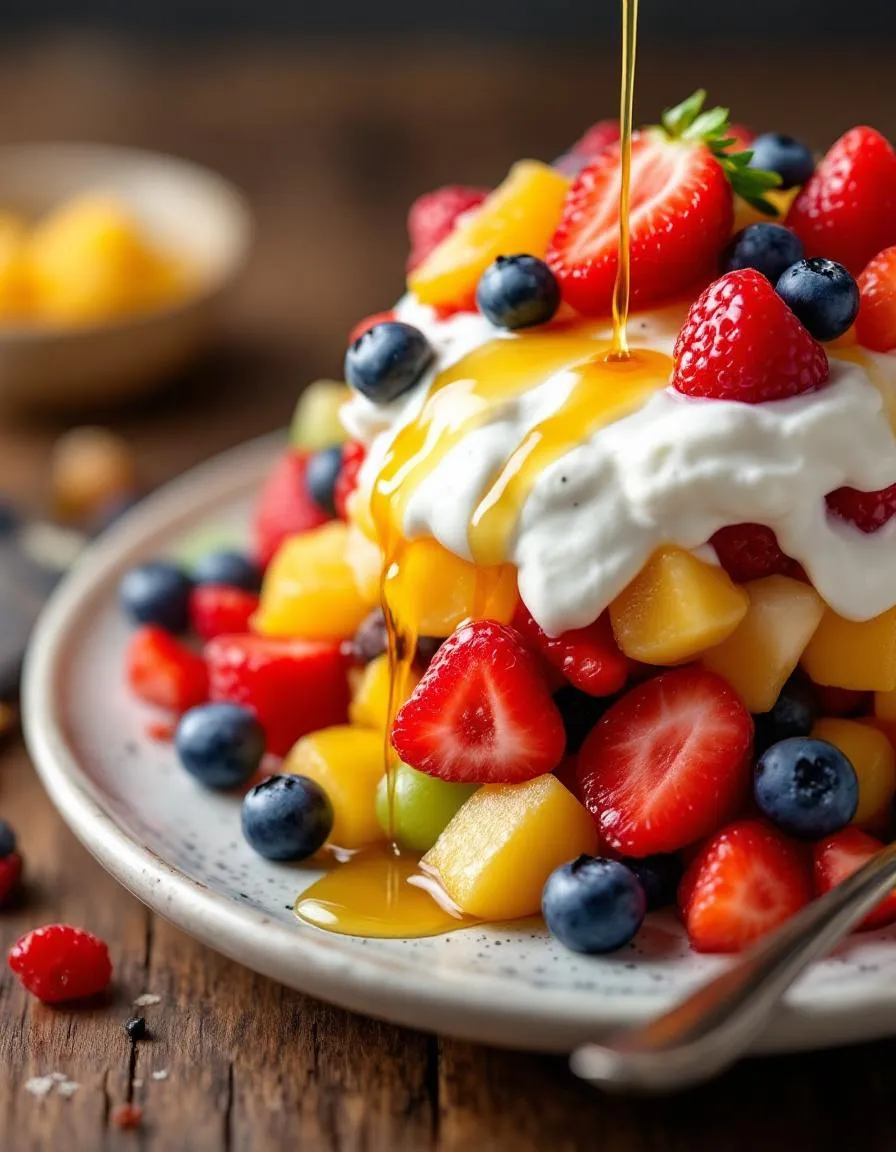
What makes it delicious
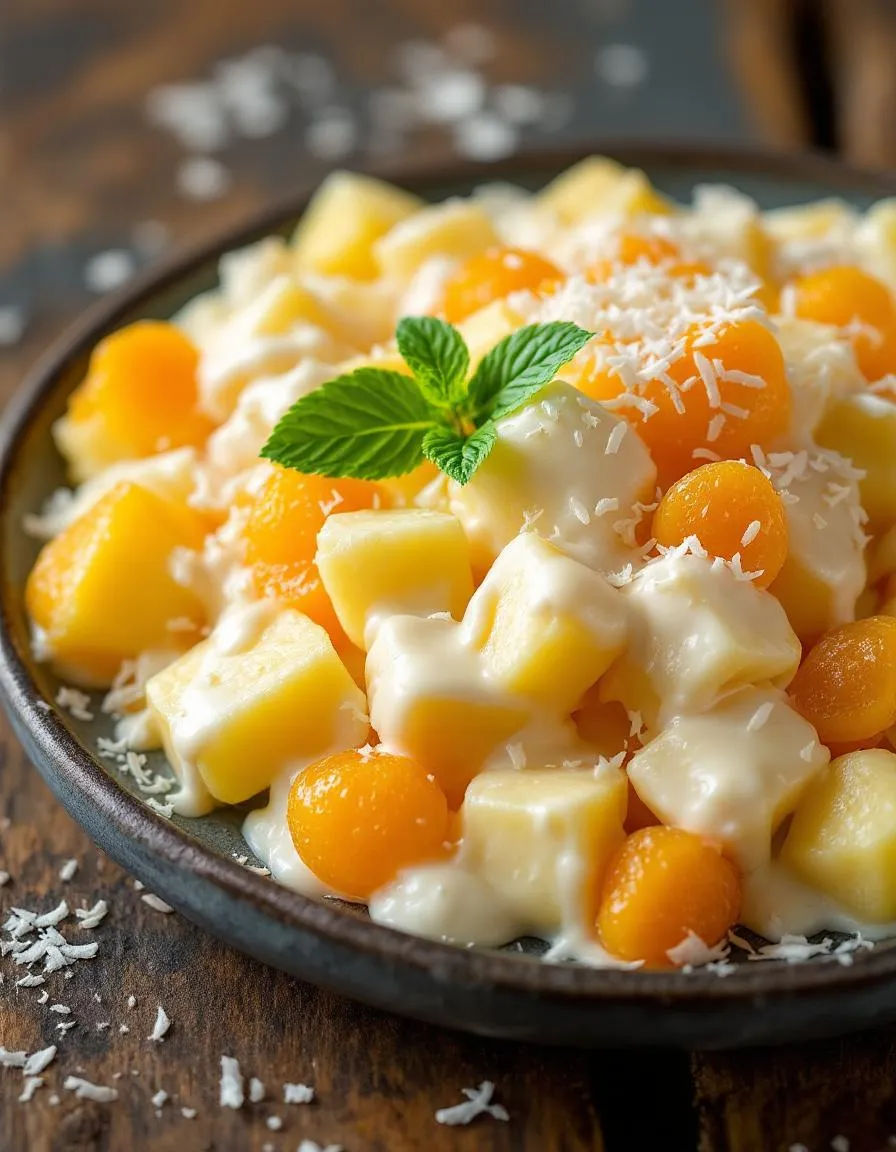
The Festive Fall Fruit Salad Recipe bursts with juicy sweetness and warm, spiced undertones. Crisp apples and tender pears offer a satisfying crunch, while plump pomegranate seeds add a playful pop. Meanwhile, cinnamon-kissed citrus dressing ties everything together with a fragrant, zesty finish. Each bite of this Festive Fall Fruit Salad Recipe feels like a cozy autumn hug—bright, refreshing, and layered with seasonal charm.
Boosting the flavor
For extra depth, drizzle the salad with a touch of honey vanilla yogurt dip to balance the tartness. Alternatively, sprinkle toasted pecans for a buttery crunch that pairs perfectly with the fruit. If you love warm spices, a pinch of cinnamon-cardamom sugar will elevate the aroma. Experiment with a splash of orange juice in the dressing for a brighter twist. With these tweaks, your fruit salad will shine even brighter.

Tips for Success
Best practices for results
Chop all fruit into even, bite-sized pieces so every forkful of your Festive Fall Fruit Salad Recipe has balanced flavors. Additionally, toss the fruit gently with the dressing to prevent bruising, especially if using softer varieties like pears or plums. For the best texture, serve the salad immediately after mixing, or refrigerate it for up to an hour to let the flavors meld. Finally, always taste and adjust the honey or citrus in the dressing before adding it to the fruit.
Mistakes to avoid
Avoid overloading the salad with heavy dressings, as this can make the fruit soggy. Instead, use a light hand when coating the ingredients. Another common mistake is skipping the acid in the dressing, which helps keep the fruit fresh and bright. For more dressing tips, check out our guide on perfect salad dressings. Also, don’t mix the salad too far in advance, or the colors may dull. If you need make-ahead strategies, our meal prep basics can help you plan better.
Serving and Pairing Suggestions
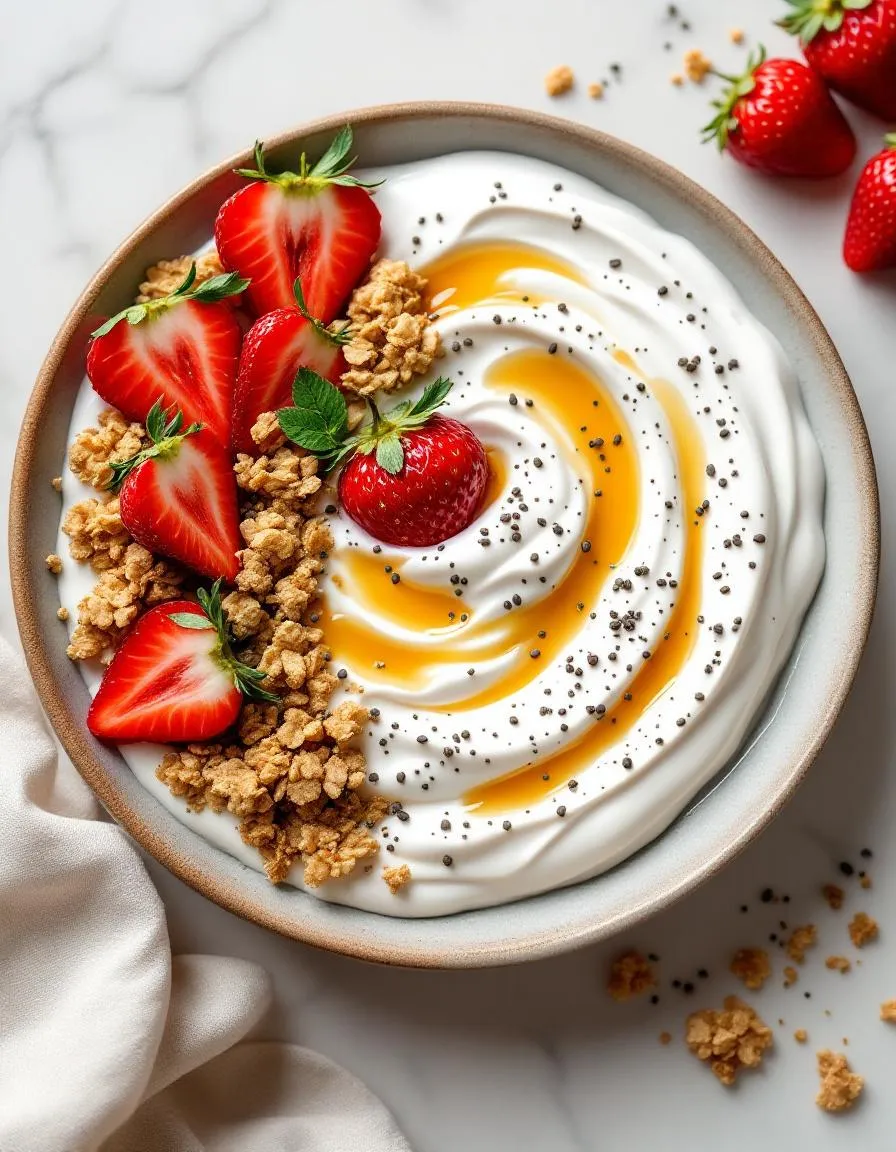
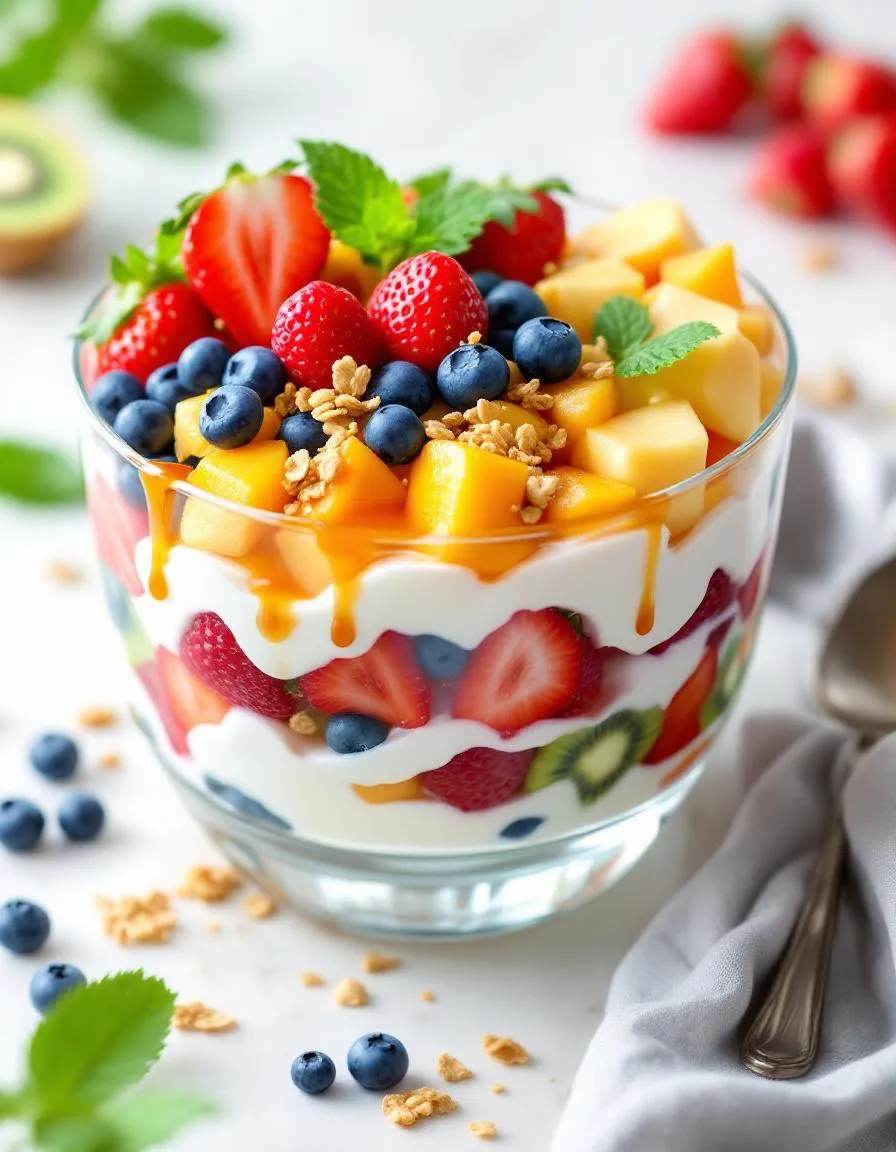
How to serve this dish
Bring out the vibrant colors of your Festive Fall Fruit Salad Recipe by serving it in a rustic wooden bowl or a sleek white platter. For a special touch, drizzle a light honey glaze over the top and sprinkle with chopped mint or pomegranate seeds. This dish shines at holiday gatherings, brunches, or even as a refreshing side for Thanksgiving dinner. Alternatively, layer it in individual mason jars for a portable yet elegant presentation at picnics or potlucks.
What goes well with it
Pair your Festive Fall Fruit Salad Recipe with a warm cup of spiced apple cider to enhance its cozy autumn flavors. For a heartier meal, serve it alongside our Pumpkin Spice Pancakes for a brunch that feels like a hug in a bowl. If you prefer something savory, try it with our Roasted Butternut Squash Soup to balance the sweetness with rich, earthy notes.
Seasonal fruits like apples, pears, pomegranate seeds, and grapes work perfectly in a Festive Fall Fruit Salad Recipe. You can also add cranberries or persimmons for extra color and flavor. These fruits hold up well and complement the autumn theme.
Toss cut apples and pears in a little lemon juice or honey to prevent browning in your Festive Fall Fruit Salad Recipe. Storing it in an airtight container in the fridge also helps maintain freshness for up to 24 hours.
Yes, you can prepare this Festive Fall Fruit Salad Recipe 4-6 hours in advance. Just wait to add delicate fruits like bananas until serving time. The flavors often improve as they meld together in the fridge.
A light maple-yogurt dressing or cinnamon-honey glaze enhances the flavors in a Festive Fall Fruit Salad Recipe without overpowering the natural sweetness. For a dairy-free option, try an orange-vanilla syrup.