Introduction
There’s something undeniably comforting about a cake that feels like a warm hug, and that’s exactly what my Heavenly Honey Cake Recipe delivers. Whether you’re celebrating a special occasion or simply craving a slice of homemade joy, this cake wraps you in golden sweetness with every bite. Moreover, its simplicity makes it perfect for bakers of all levels, while its rich flavor keeps everyone coming back for more. Trust me, once you try it, you’ll understand why it’s a staple in my kitchen—and soon, yours too.
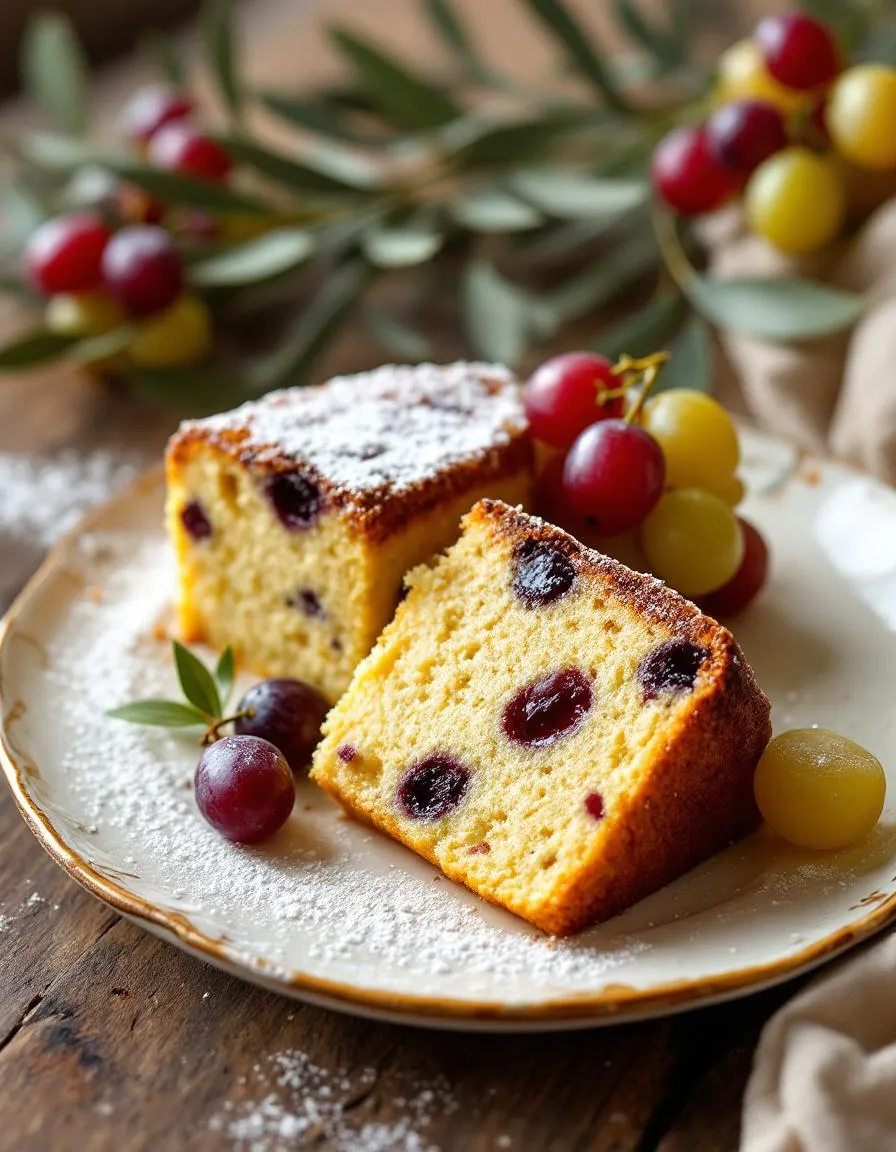
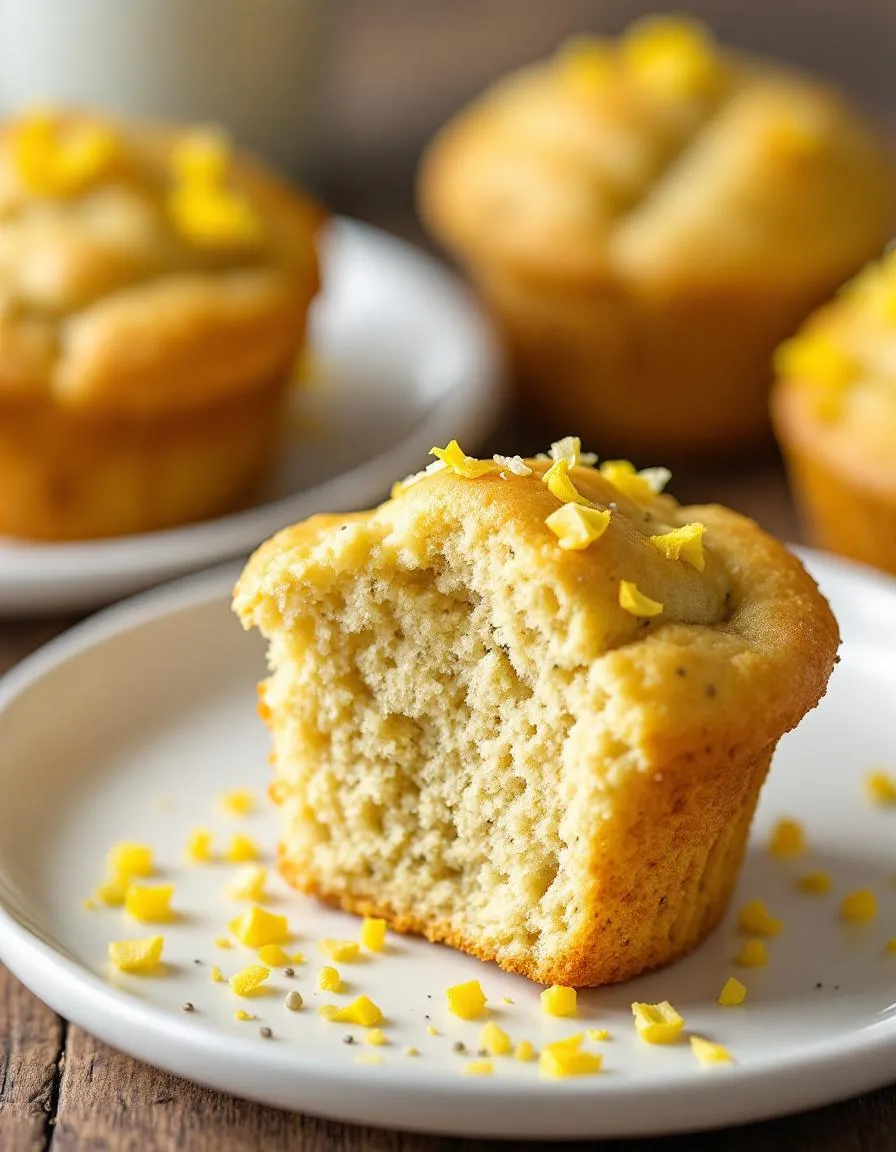
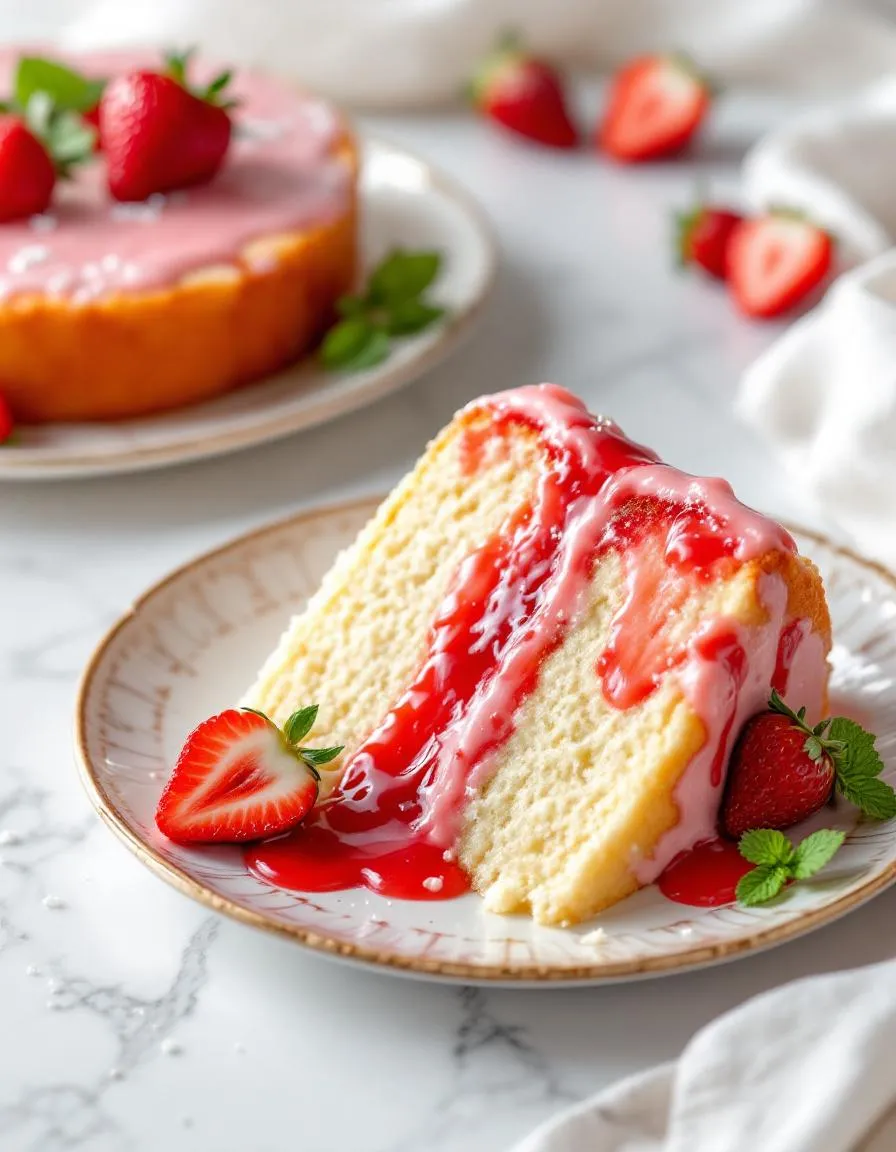
The Heavenly Honey Cake Recipe is a tender, moist dessert that balances the floral depth of honey with a delicate crumb. Unlike overly sugary treats, this cake lets the natural sweetness of honey shine, creating a sophisticated yet approachable flavor. It’s perfect for afternoon tea, holiday gatherings, or even as a sweet ending to a weeknight dinner. What makes it truly special is its versatility—you can dress it up with whipped cream and berries or enjoy it plain with a cup of coffee. On brekcakes.com, we celebrate recipes that blend tradition with ease, and this cake fits right in. If you love classic bakes with a twist, you’ll adore our Vanilla Bean Cupcakes or the cozy warmth of our Cinnamon Apple Bread.
Why I Love This Recipe
This Heavenly Honey Cake Recipe holds a special place in my heart because it reminds me of my grandmother’s kitchen. She used to bake it every Sunday, filling the house with the most inviting aroma. Now, whenever I make it, I feel that same sense of warmth and connection. It’s more than just a dessert—it’s a little piece of home, shared with every slice.
Health and Nutrition
Why it’s good for your body
Heavenly Honey Cake Recipe packs a nutritious punch while satisfying your sweet tooth. First, honey replaces refined sugar, offering natural sweetness along with antioxidants and trace minerals. Additionally, this cake often includes whole wheat flour or almond flour, which adds fiber and healthy fats. These ingredients help stabilize blood sugar levels, so you avoid energy crashes.
Moreover, Heavenly Honey Cake Recipe incorporates eggs or Greek yogurt for a protein boost. Protein keeps you full longer and supports muscle repair. Meanwhile, cinnamon or nutmeg, common spices in this recipe, have anti-inflammatory properties. Together, these ingredients make each slice a smarter indulgence.
Finally, Heavenly Honey Cake Recipe can include heart-healthy fats like olive oil or coconut oil. These fats promote good cholesterol levels and brain function. Whether you enjoy it as a dessert or a snack, this cake delivers flavor and nourishment in every bite.
How it fits in a healthy lifestyle
Heavenly Honey Cake Recipe fits seamlessly into balanced eating habits. For gluten-free diets, simply swap regular flour for almond or oat flour. The natural sweetness from honey also makes it a better choice than processed desserts, especially if you’re reducing added sugars.
Pair a slice with a protein-rich breakfast or enjoy it as an afternoon pick-me-up. If you’re exploring more wholesome desserts, check out our healthy baking guide for easy swaps. For those focused on heart health, this cake aligns well with Mediterranean-inspired eating, which emphasizes honey and olive oil. Discover more heart-friendly recipes in our Mediterranean dessert collection.
Moderation is key, but Heavenly Honey Cake Recipe proves you don’t have to sacrifice flavor for nutrition. It’s a delicious way to stay on track without feeling deprived.
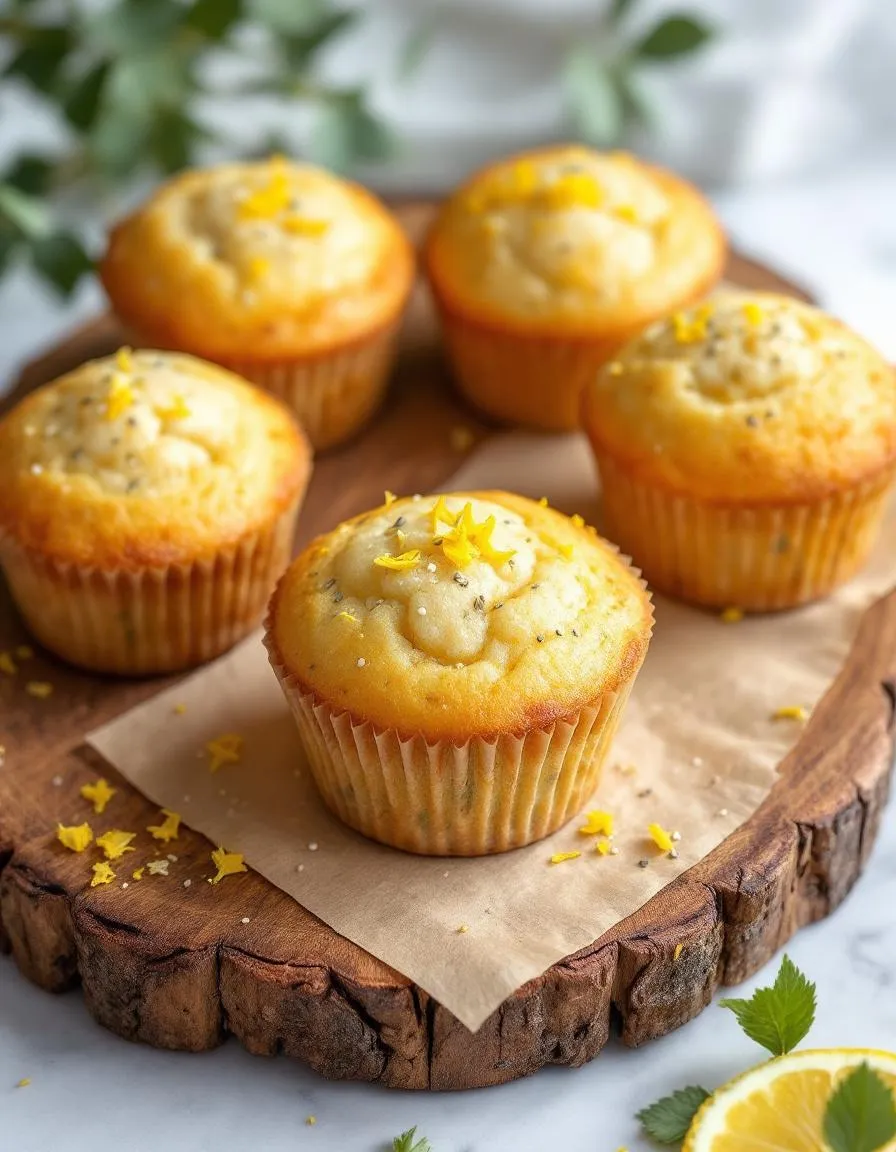
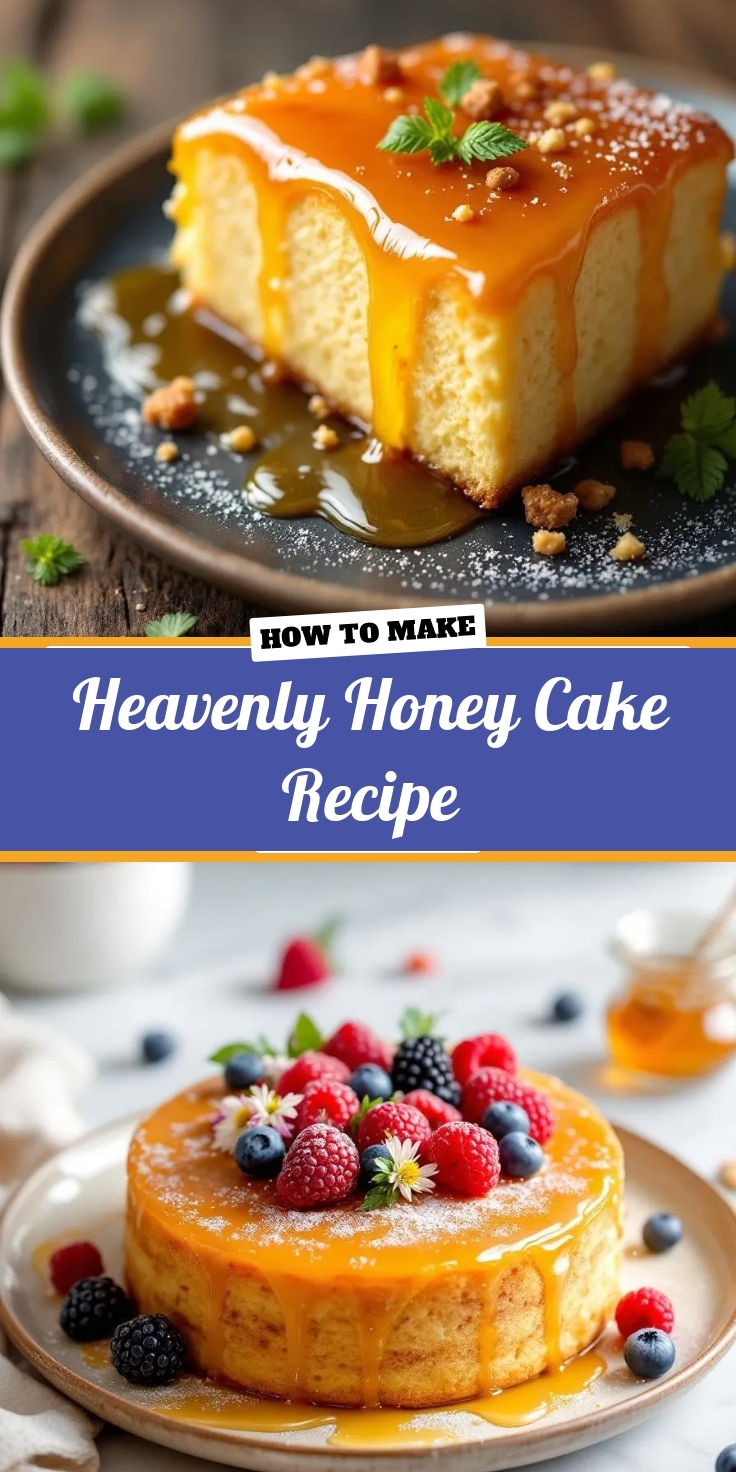
Heavenly Honey Cake
Description
A moist and flavorful honey cake with a delicate sweetness perfect for any occasion.
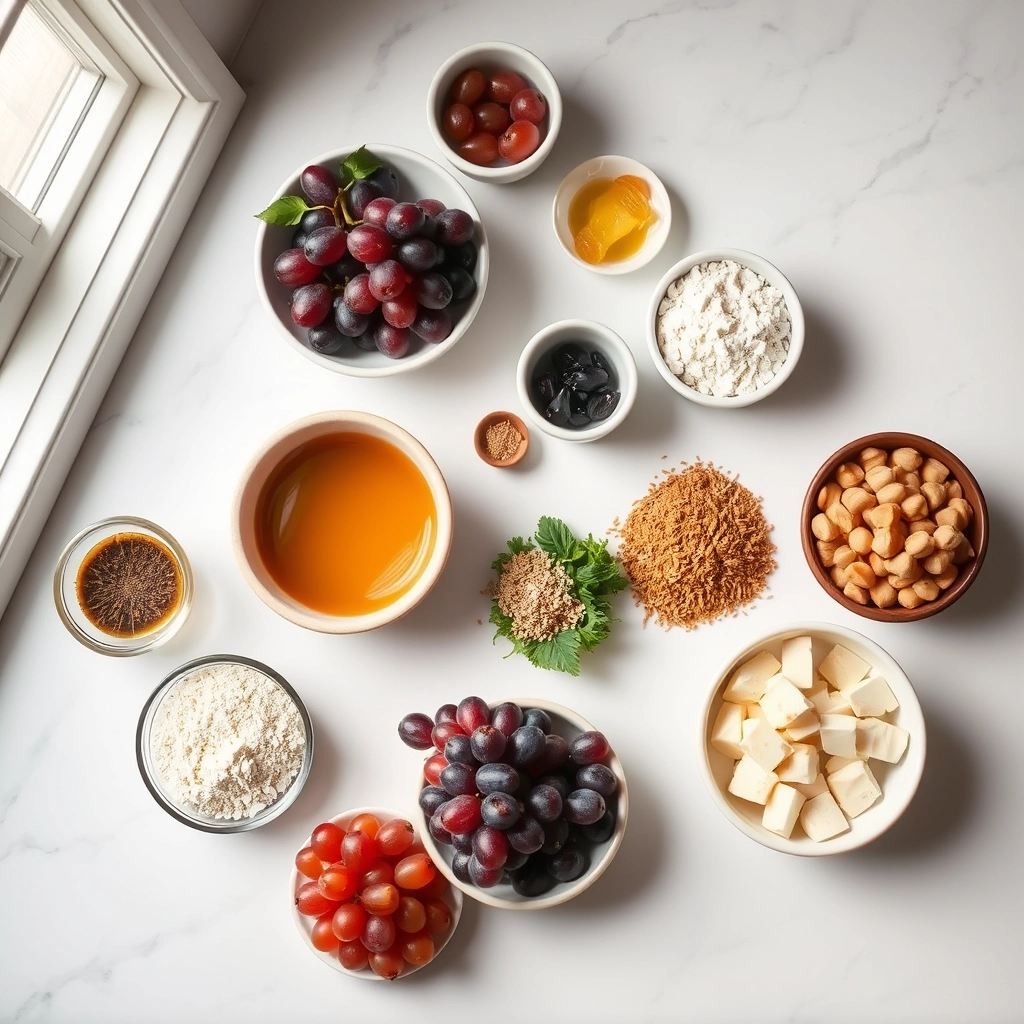
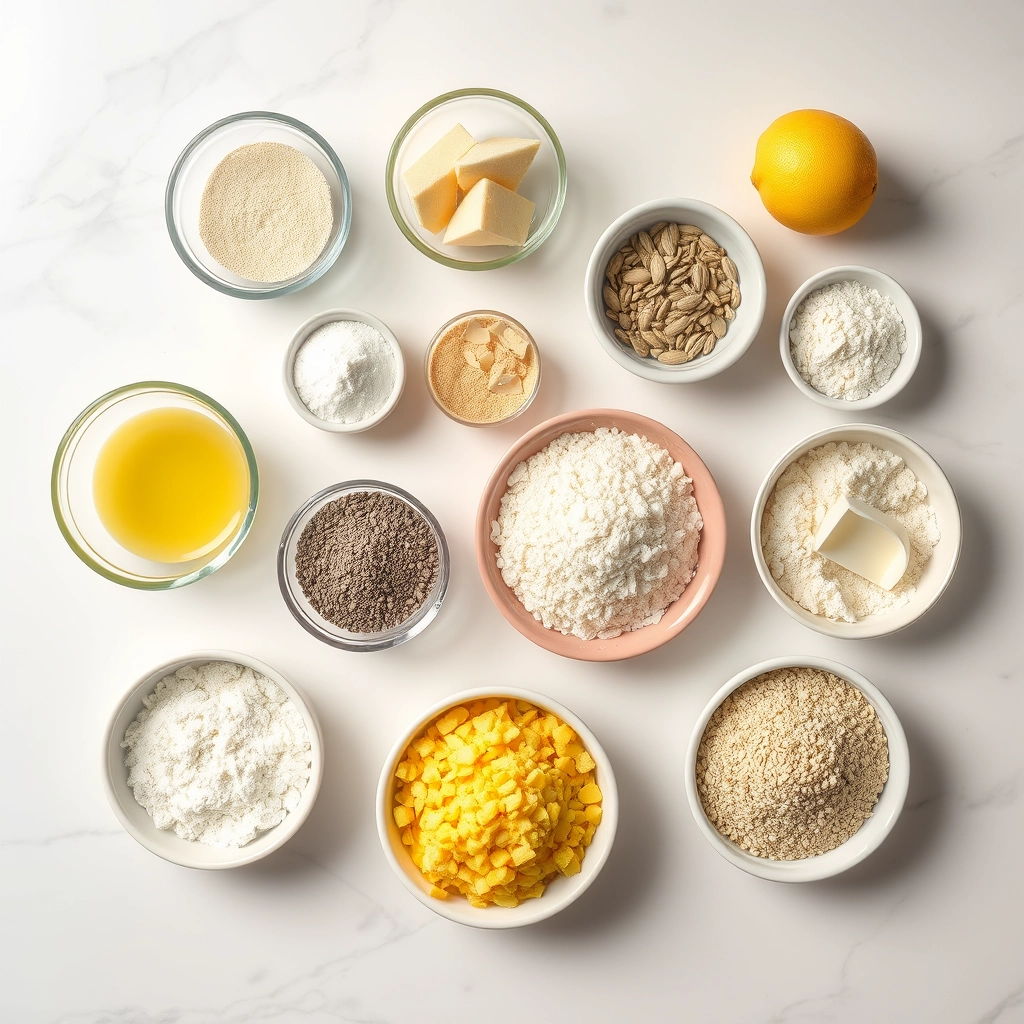
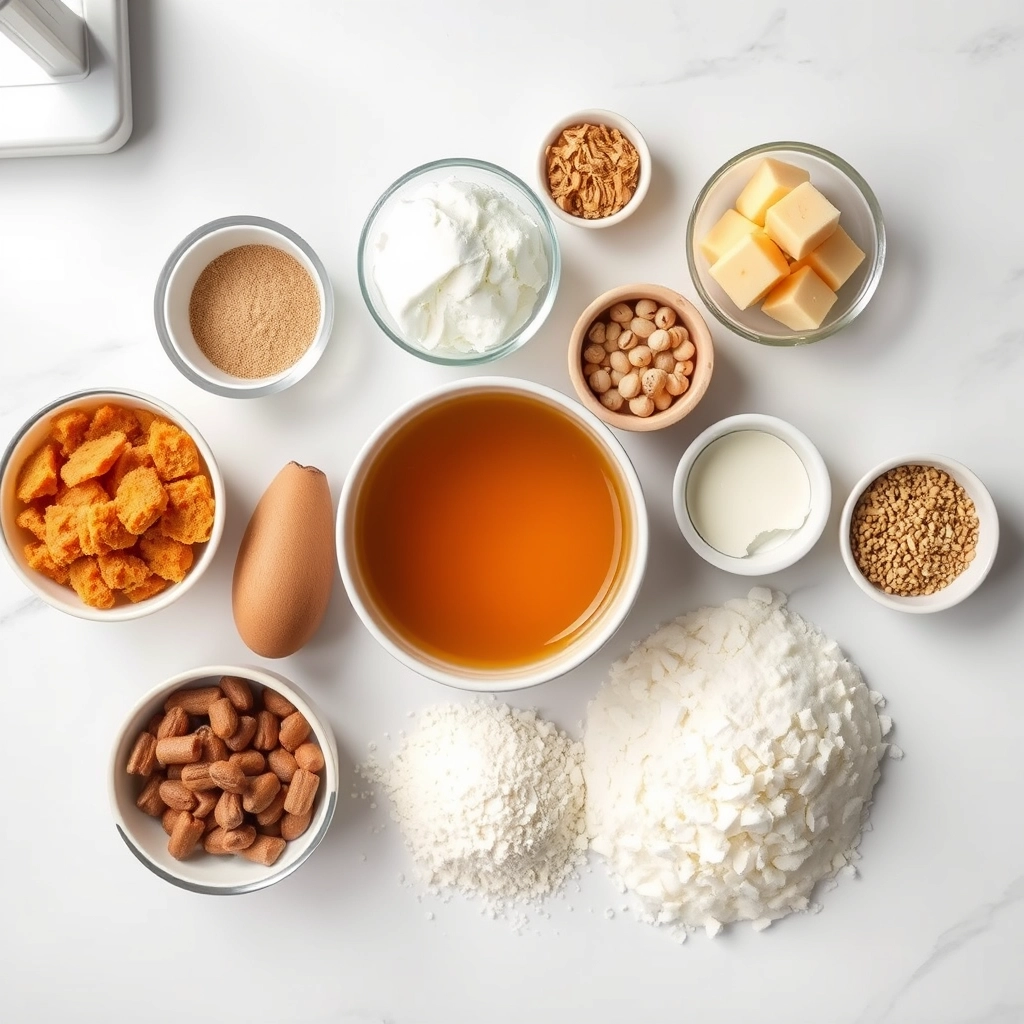
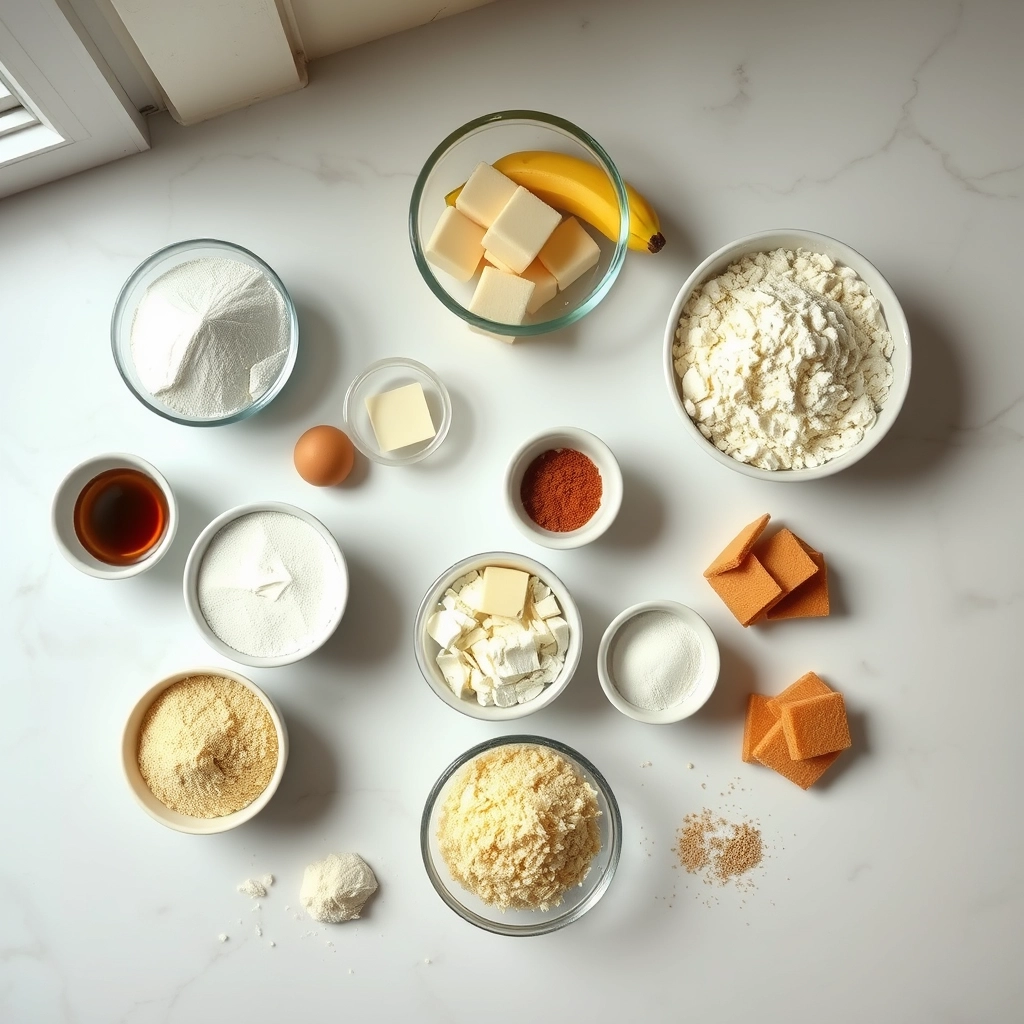
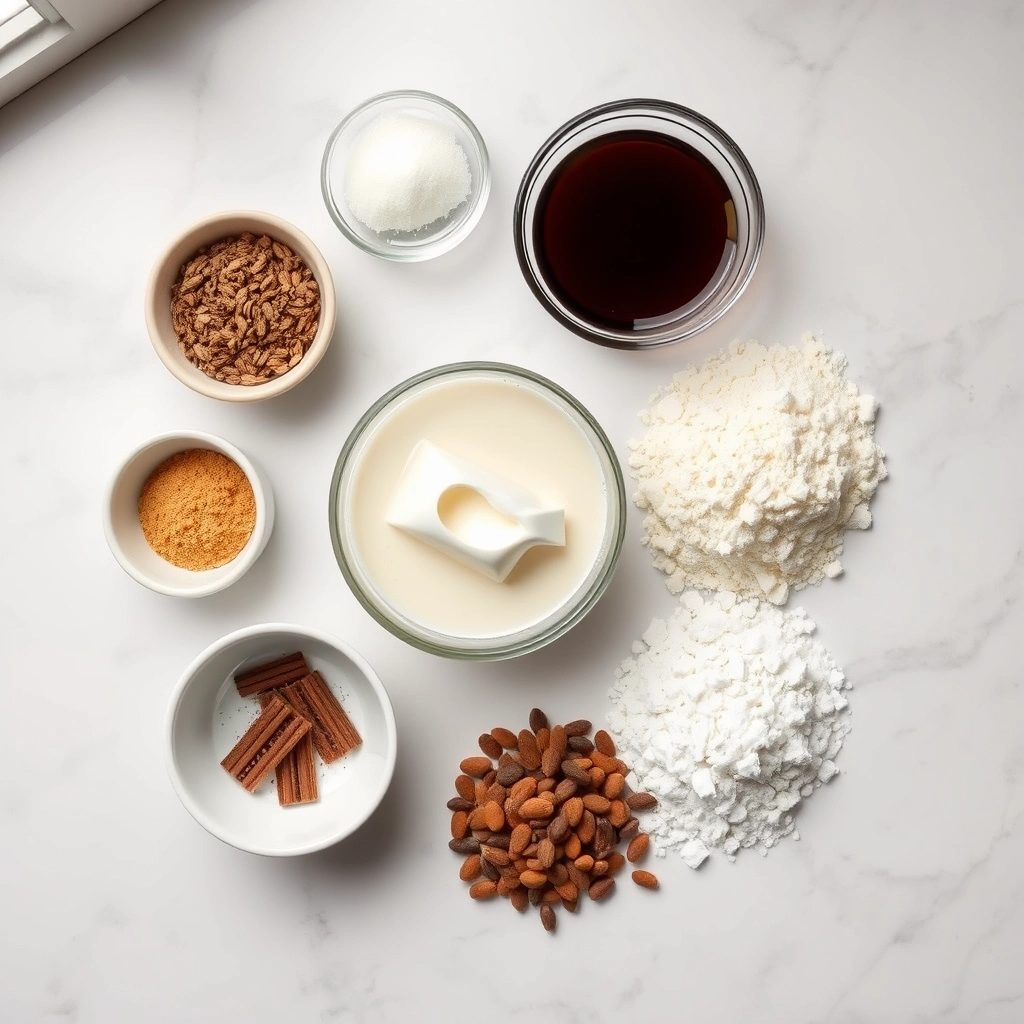
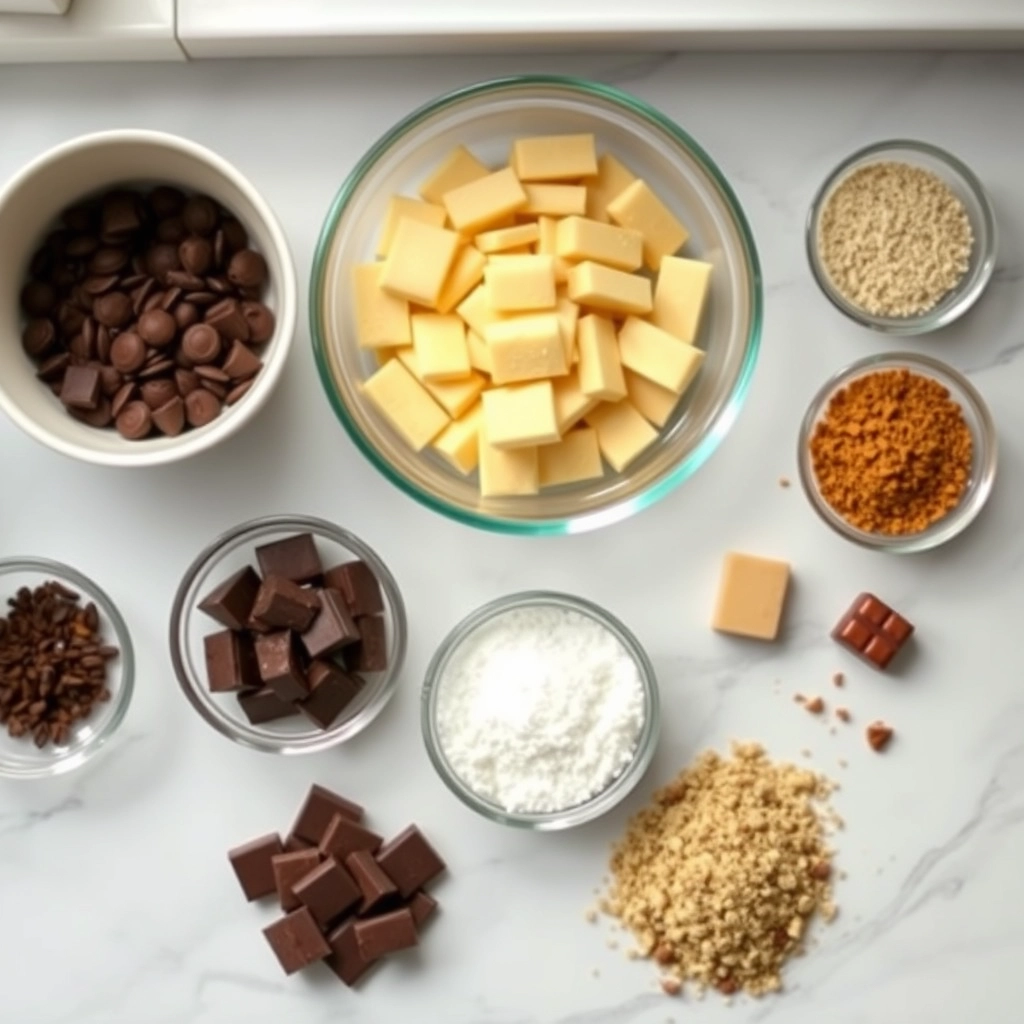
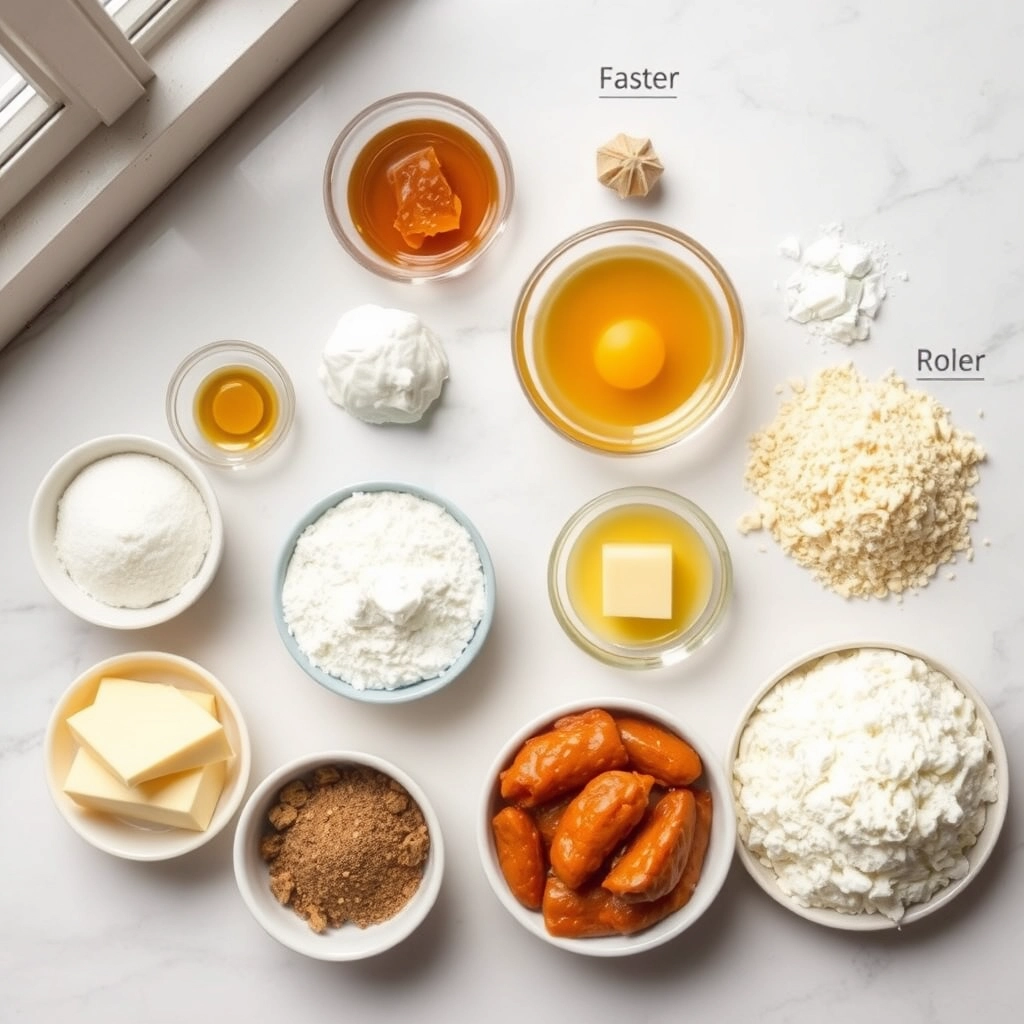
Ingredients
Scale
For the Crust:
- 2 cups all-purpose flour
- 1 tsp baking powder
- 1/2 tsp baking soda
- 1/2 tsp salt
- 1 tsp ground cinnamon
- 1/2 cup honey
- 1/2 cup granulated sugar
- 1/2 cup vegetable oil
- 2 large eggs
- 1 tsp vanilla extract
- 1/2 cup warm water
Instructions
1. Prepare the Crust:
- Preheat oven to 350°F (175°C). Grease a 9-inch round cake pan.
- In a bowl, whisk together flour, baking powder, baking soda, salt, and cinnamon.
- In another bowl, mix honey, sugar, oil, eggs, and vanilla until smooth.
- Gradually add the dry ingredients to the wet mixture, alternating with warm water, until well combined.
- Pour the batter into the prepared pan and bake for 30 minutes or until a toothpick comes out clean.
- Let the cake cool in the pan for 10 minutes before transferring to a wire rack.
Notes
You can customize the seasonings to taste.
How to Prepare This Dish
Steps and time-saving tips
Start by preheating your oven to 350°F and greasing a 9-inch cake pan to ensure your Heavenly Honey Cake Recipe slides out effortlessly later. In a large bowl, whisk together the flour, baking powder, and a pinch of salt until evenly combined. Meanwhile, beat the eggs and sugar in another bowl until fluffy, then slowly drizzle in the honey while mixing. Gradually fold the dry ingredients into the wet mixture, alternating with warm milk to keep the batter smooth. For a time-saving hack, use room-temperature ingredients—they blend faster and prevent overmixing. Pour the batter into the prepared pan and bake for 30-35 minutes, or until a toothpick comes out clean. While the cake cools, whip up a quick honey glaze by simmering honey, butter, and a splash of vanilla. Drizzle it over the cake while still warm so it soaks in beautifully. If you’re short on time, skip the glaze and simply dust with powdered sugar for an elegant finish.
Mistakes I’ve made and learned from
I once rushed the mixing process for my Heavenly Honey Cake Recipe and ended up with a dense, uneven texture. Now, I patiently fold the dry ingredients in batches and avoid overworking the batter. Another blunder? Baking at the wrong temperature—my oven runs hot, so I learned to use an oven thermometer for accuracy. If your cake browns too quickly, tent it with foil halfway through, just like I do with my Perfect Sponge Cake. And don’t skip the honey glaze step! I did once, and the cake tasted dry. A pro tip: warm your honey slightly before mixing—it blends better, as I discovered while perfecting my Honey Glaze Techniques. Trust me, these small tweaks make all the difference.
Cultural Connection and Variations
Where this recipe comes from
The Heavenly Honey Cake Recipe carries a rich history, often tied to Jewish traditions where it stars during Rosh Hashanah as a symbol of sweetness for the new year. Families pass down their versions, some adding coffee for depth or orange zest for brightness. In Eastern Europe, bakers might layer it with spices like cinnamon and cloves, while Mediterranean variations often feature a drizzle of floral honey syrup.
My grandmother’s Heavenly Honey Cake Recipe always included a splash of whiskey, which she swore kept it moist for days. Over time, I’ve seen friends tweak it with almond flour or swap honey for maple syrup in allergy-friendly twists. No matter the adaptation, the cake’s warmth and sticky-sweet aroma bridge generations and geographies. Whether served at holidays or just because, it’s a edible hug.
How it fits in today’s cooking
Today, the Heavenly Honey Cake Recipe thrives as both a nostalgic treat and a versatile modern dessert. Busy bakers love its make-ahead ease, often pairing it with afternoon tea or repurposing leftovers into trifles. For those embracing seasonal baking, it’s a fall favorite alongside spiced lattes—though I’ve seen it shine at summer picnics too, especially when matched with fresh berries.
Creative cooks now riff on the classic, like folding in roasted pears or topping it with a salted honey glaze. If you’re exploring other heritage desserts, our apple cinnamon bundt cake shares the same cozy appeal. And for gluten-free folks, swapping all-purpose flour for oat flour works wonders—just like in our almond flour brownies. However you slice it, this cake proves timeless.
Taste and Texture
What makes it delicious
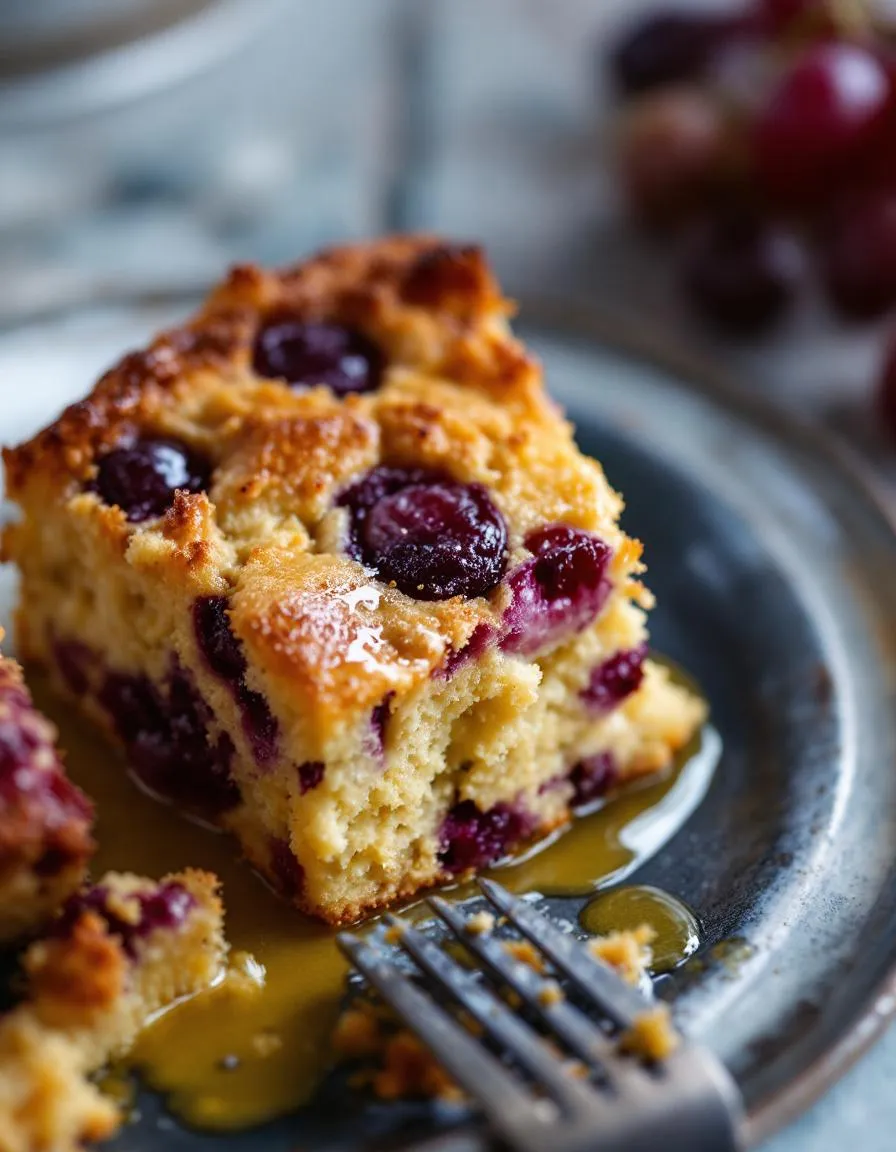
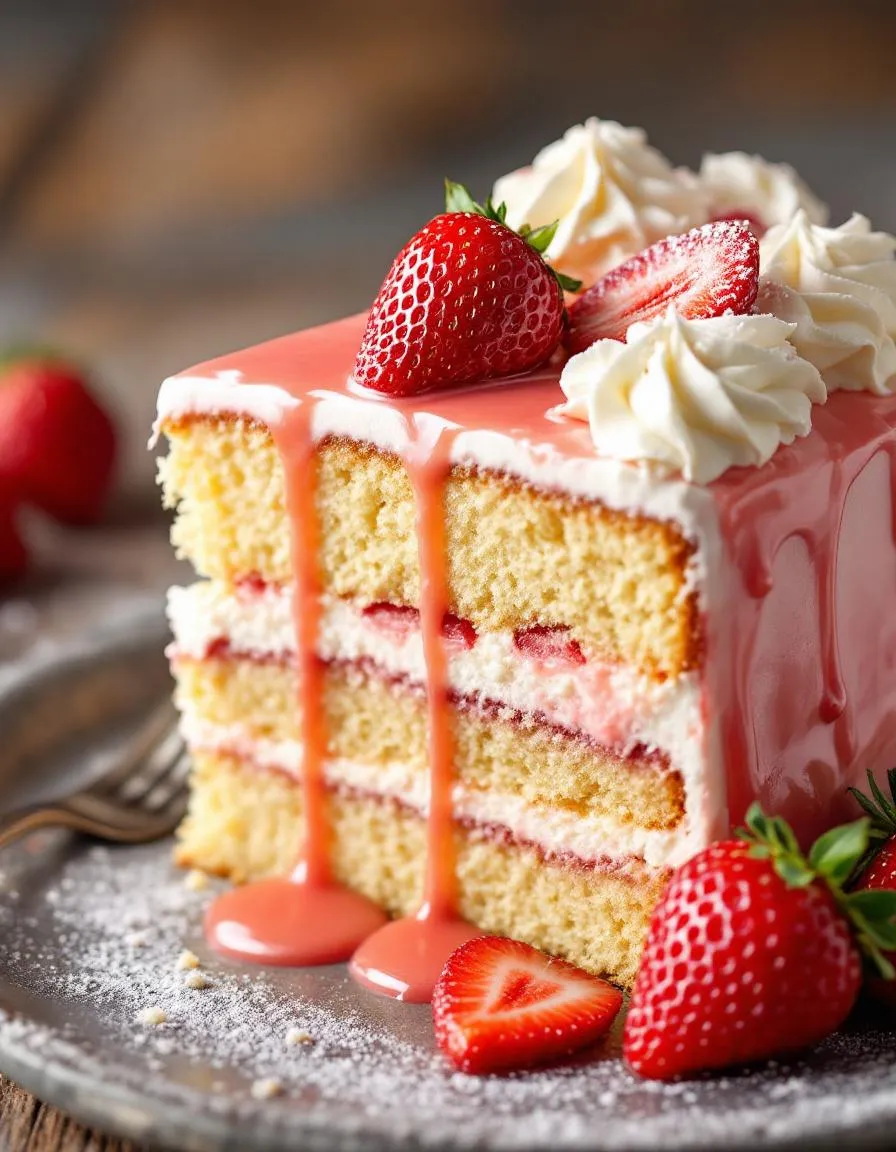
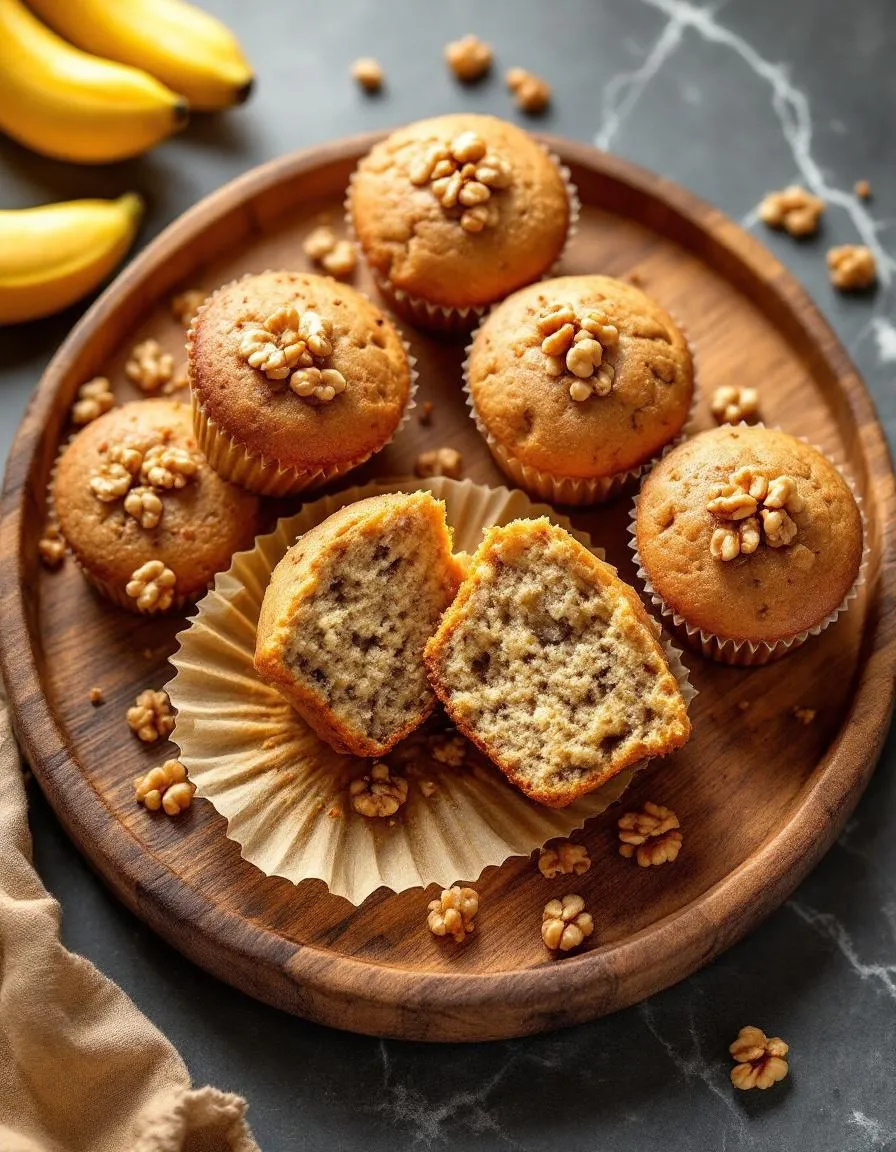
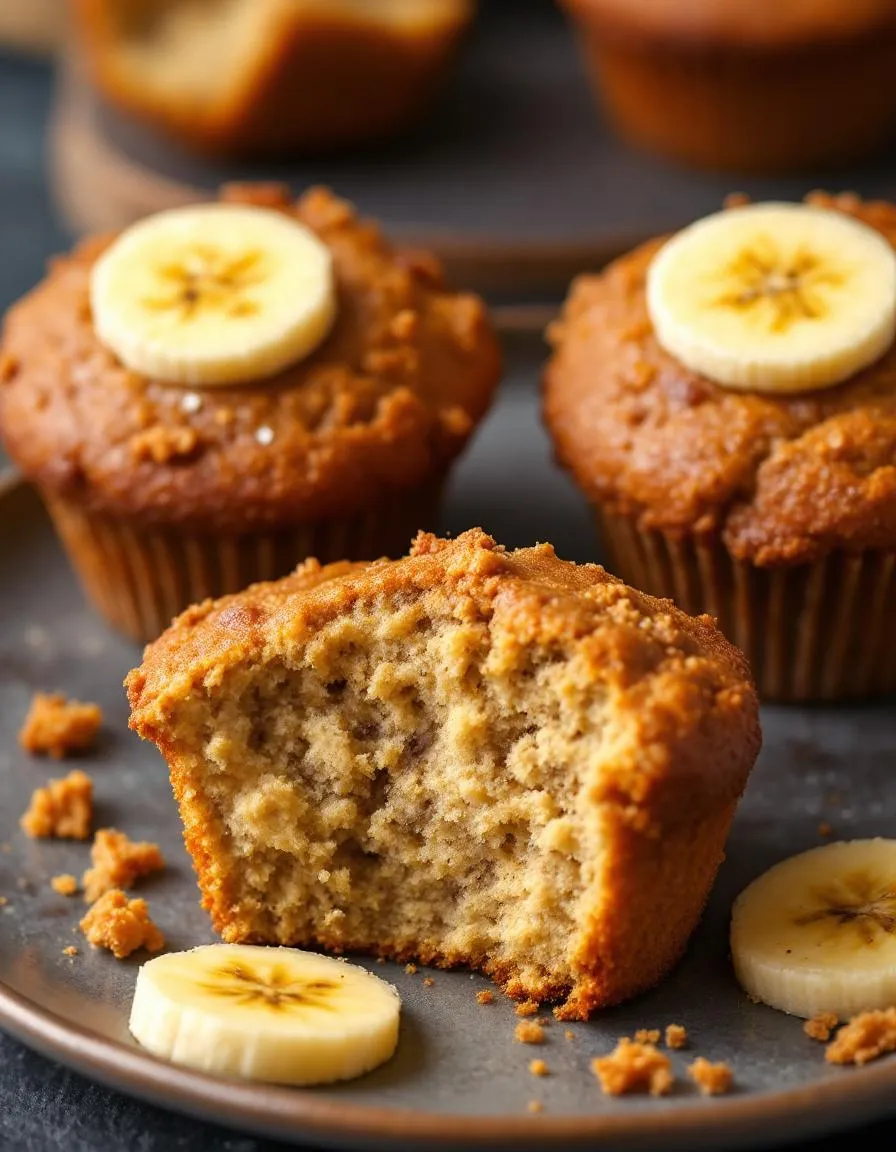
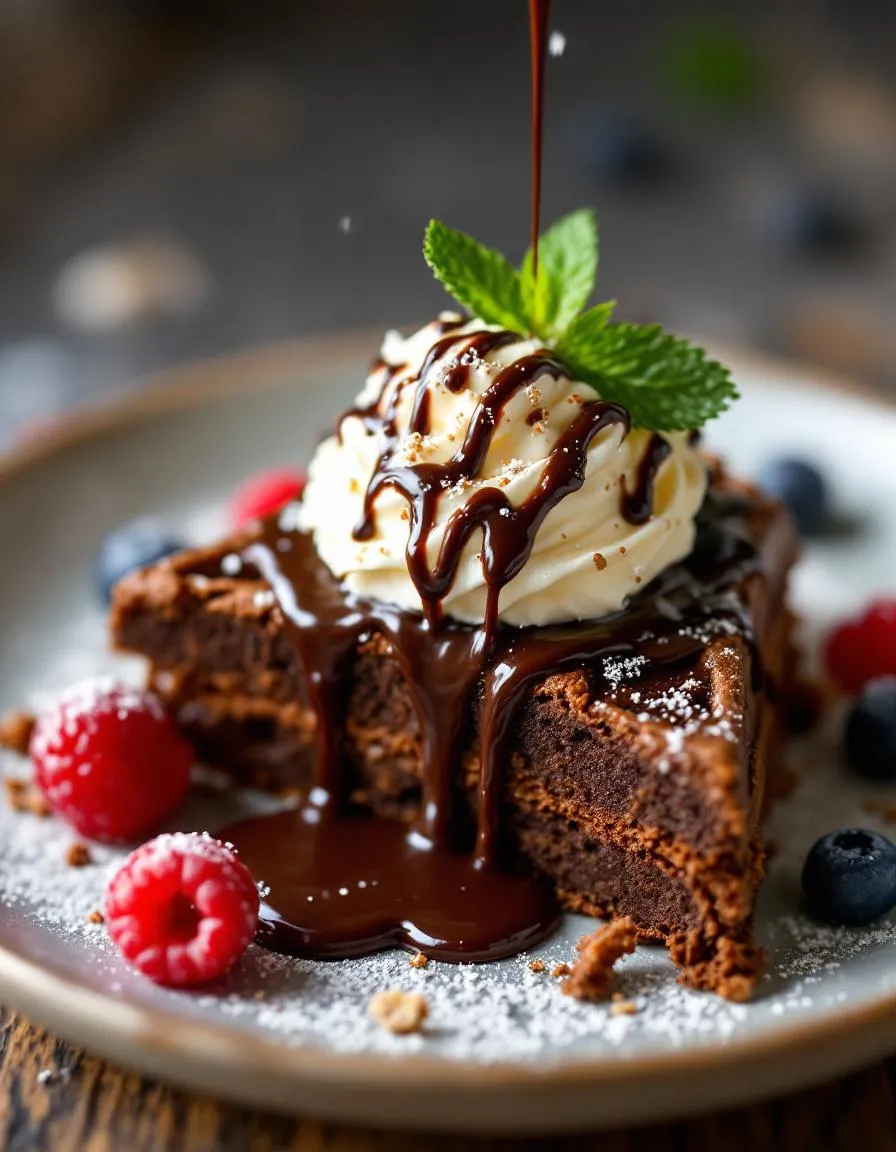
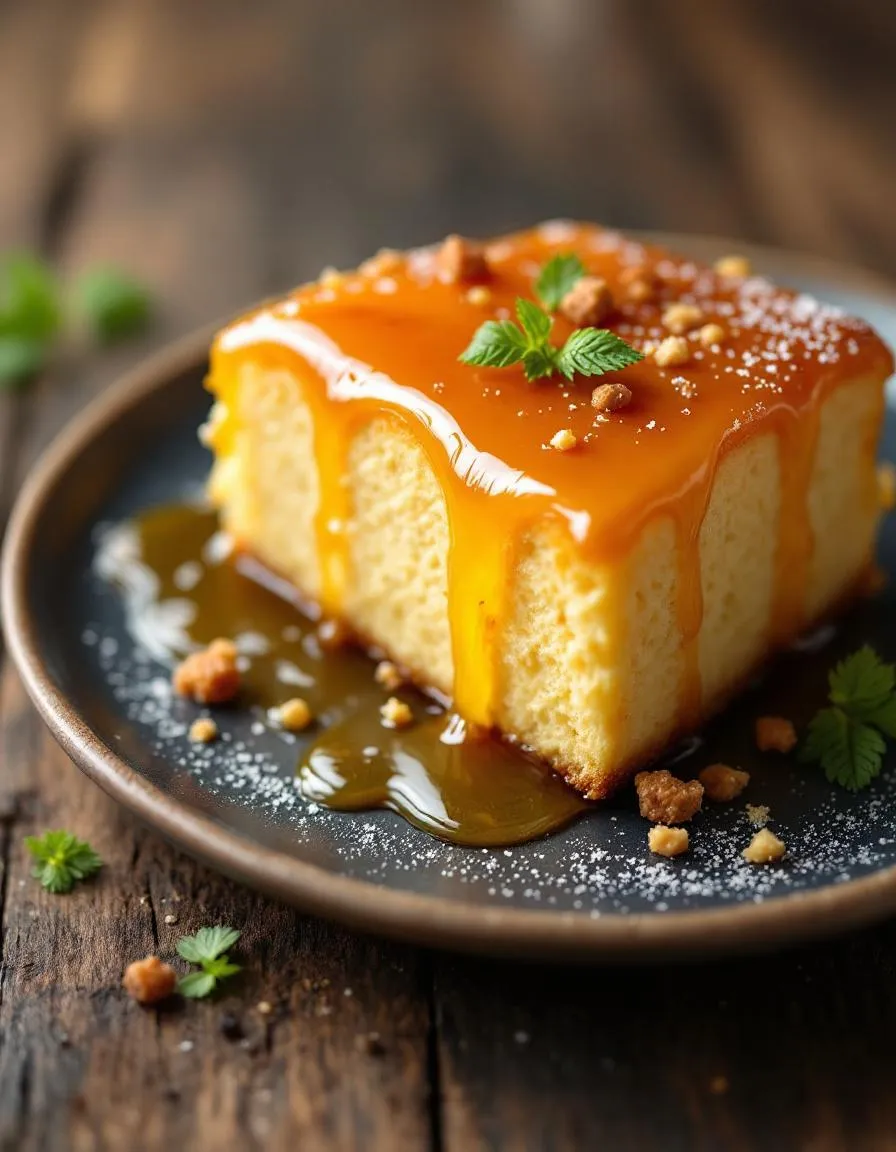
The Heavenly Honey Cake Recipe delivers a melt-in-your-mouth experience with its tender, moist crumb and delicate sweetness. Each bite carries the warm, floral notes of honey, balanced by a hint of vanilla and a subtle spice undertone. Meanwhile, the golden-brown crust adds a whisper of crispness, creating a perfect contrast to the soft interior. As it bakes, your kitchen fills with an irresistible aroma—rich, buttery, and just a touch caramelized. Whether served warm or at room temperature, the Heavenly Honey Cake Recipe feels indulgent yet comforting, making it a crowd-pleaser for any occasion.
Boosting the flavor
For an extra layer of decadence, drizzle the Heavenly Honey Cake Recipe with a citrus-infused glaze or a dollop of whipped cream infused with cinnamon. Alternatively, fold in toasted nuts like walnuts or pecans for a nutty crunch. If you love bold flavors, try pairing it with a spiced chai latte or a scoop of vanilla bean ice cream. For more inspiration, explore our guide on baking with honey or discover creative twists in our spiced cake variations. Small tweaks can elevate this classic dessert into something extraordinary.
Tips for Success
Best practices for results
Measure your honey precisely for the Heavenly Honey Cake Recipe to ensure the perfect balance of sweetness and moisture. Additionally, always preheat your oven at least 15 minutes before baking to guarantee even cooking. For best results, use room-temperature eggs since they blend more smoothly into the batter. Finally, let the cake cool completely before slicing to maintain its tender texture.
Mistakes to avoid
Avoid overmixing the batter for the Heavenly Honey Cake Recipe, as this can lead to a dense cake. Instead, gently fold ingredients until just combined. Another common mistake is skipping the parchment paper lining, which can cause sticking. For more baking tips, check out our guide on perfect cake texture. Also, don’t substitute liquid sweeteners without adjusting other ingredients—learn more about honey vs. syrup to make informed swaps.
Serving and Pairing Suggestions
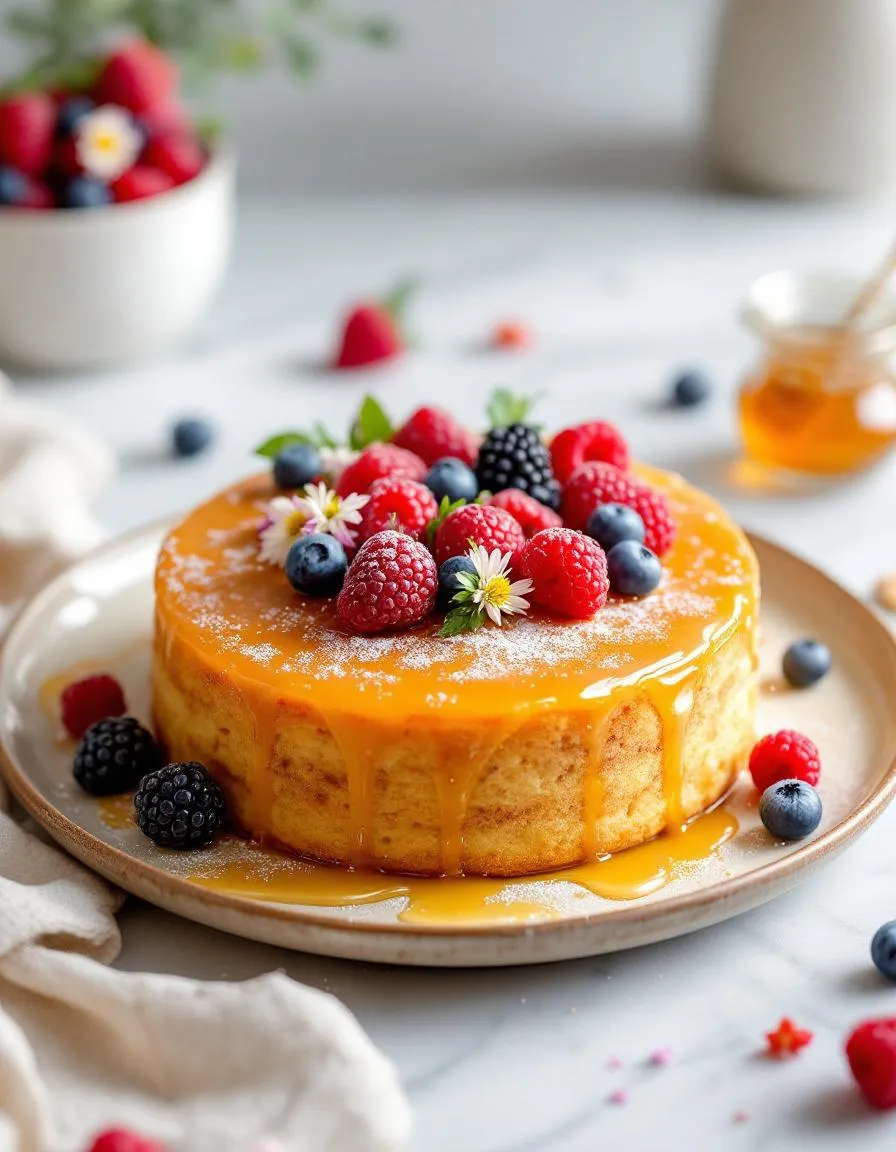
How to serve this dish
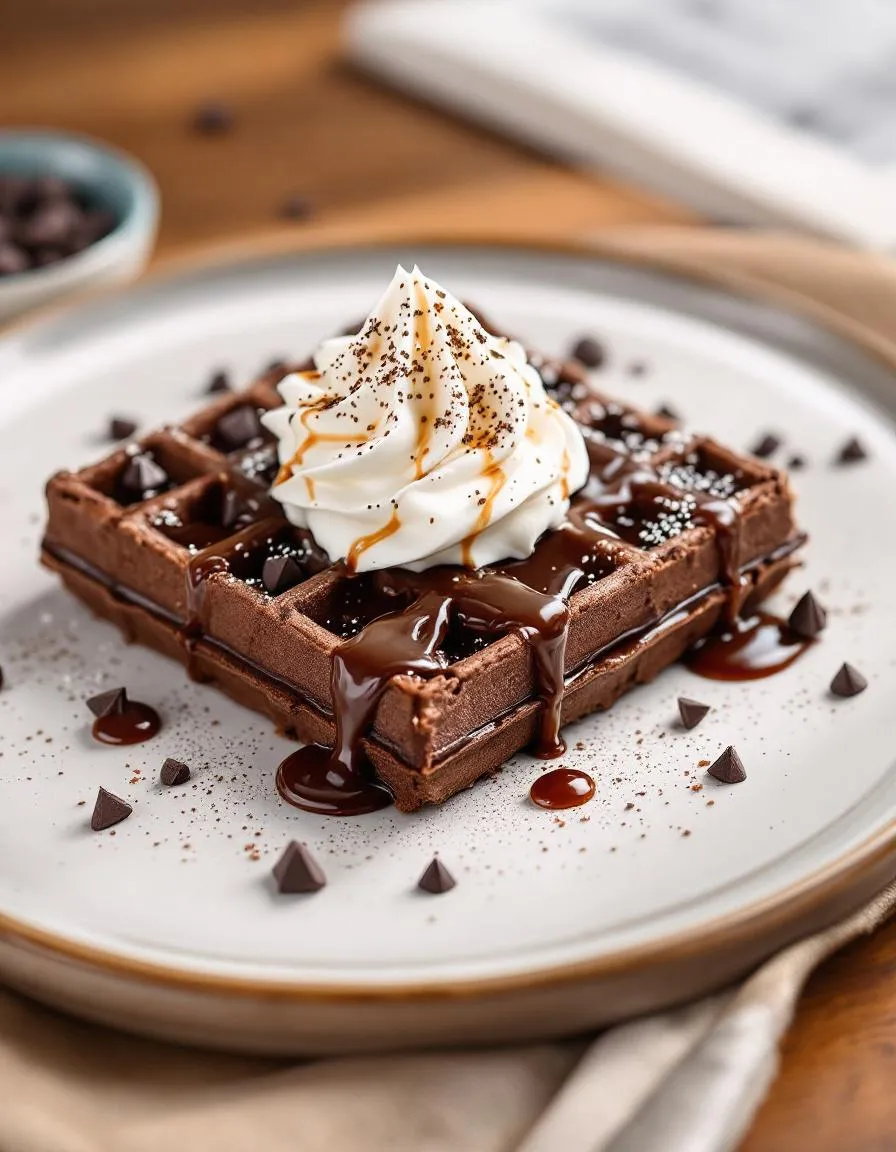
For a stunning presentation, slice the Heavenly Honey Cake Recipe into thick wedges and dust them lightly with powdered sugar. Alternatively, drizzle extra honey over each piece and top with fresh berries or edible flowers for a pop of color. Serve it on a rustic wooden board or elegant cake stand to match the occasion. Whether you’re hosting a holiday brunch or an afternoon tea, this cake shines as the centerpiece. To make it extra special, pair individual slices with a dollop of whipped cream or a scoop of vanilla ice cream.
What goes well with it
A warm cup of spiced chai tea enhances the floral notes in the Heavenly Honey Cake Recipe, creating a cozy pairing perfect for chilly evenings. If you prefer something refreshing, try a glass of crisp Prosecco to balance the cake’s sweetness. For a complete dessert spread, serve it alongside our Vanilla Bean Panna Cotta or Cardamom Spiced Poached Pears. These pairings highlight the cake’s rich flavors while adding variety to your menu.
The key to a moist Heavenly Honey Cake Recipe lies in the balance of honey, oil, and eggs. Honey acts as a natural humectant, locking in moisture, while oil ensures a tender crumb. For best results, avoid overbaking and let the cake cool completely before slicing.
While you can substitute sugar, it will alter the flavor and texture of your Heavenly Honey Cake Recipe. Honey adds unique moisture and a floral sweetness that sugar can’t replicate. If needed, use ¾ cup honey for every 1 cup of sugar and reduce other liquids slightly.
A properly stored Heavenly Honey Cake Recipe stays fresh for 3-4 days at room temperature in an airtight container. The honey content helps preserve moisture, but for longer storage, wrap individual slices and freeze for up to 3 months.
Heavenly Honey Cake Recipe shines when served slightly warmed to enhance its aromatic flavors. Pair it with a dollop of whipped cream or a drizzle of extra honey. For a festive touch, garnish with edible flowers or toasted nuts.