Introduction
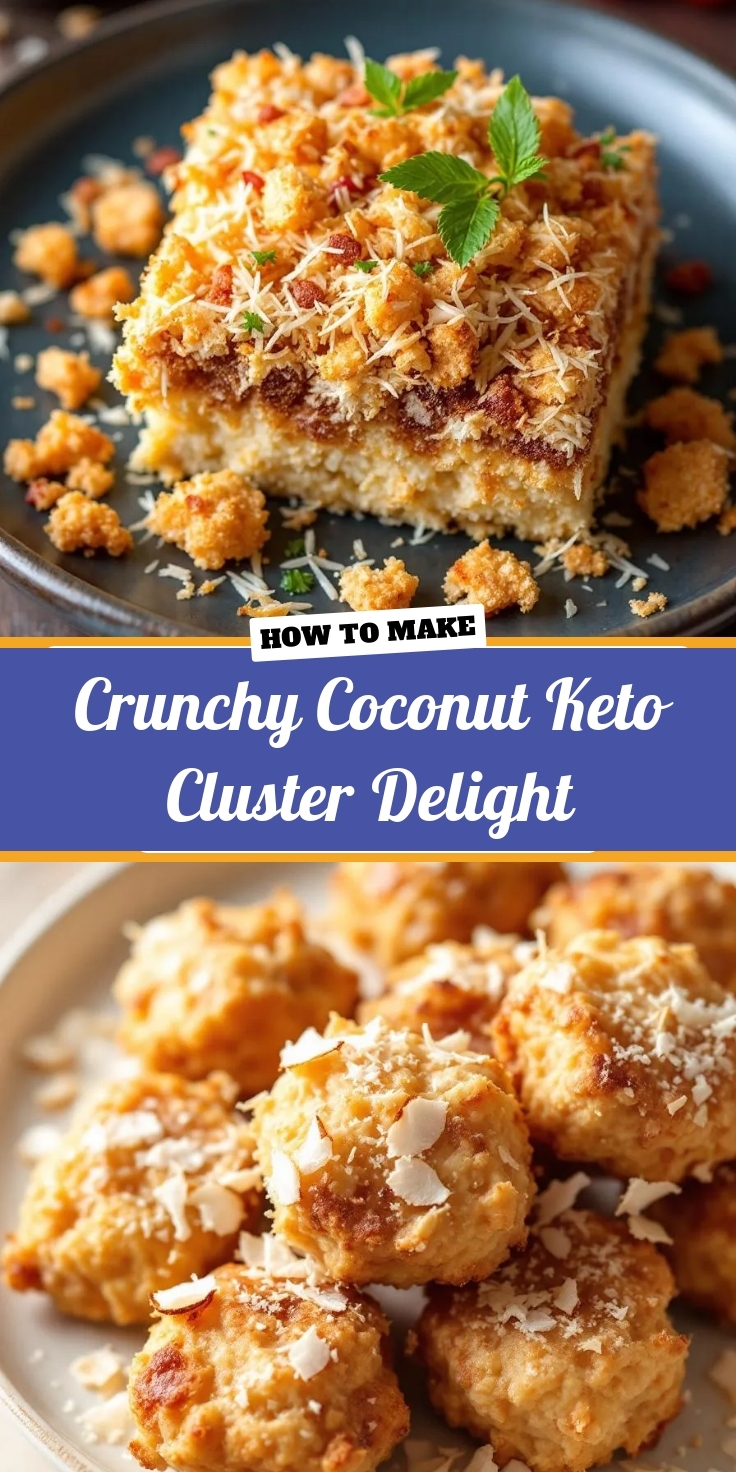
If you’ve ever craved a snack that’s both indulgent and guilt-free, you’re in the right place. Today, I want to share something truly special—my Crunchy Coconut Keto Cluster Delight. Whether you’re following a keto lifestyle or simply love a satisfying crunch, this recipe delivers flavor and texture in every bite. Plus, it’s incredibly easy to make, so you can enjoy a wholesome treat without spending hours in the kitchen.
Crunchy Coconut Keto Cluster Delight is a game-changer for anyone seeking a delicious, low-carb snack. Combining toasted coconut flakes, rich dark chocolate, and a hint of sea salt, these clusters strike the perfect balance between sweet and savory. What makes them stand out? They’re not just keto-friendly—they’re also packed with healthy fats and natural sweetness, making them a smarter choice for mindful eaters. If you’ve tried my keto dessert recipes, you’ll love how this one fits seamlessly into your routine. Best of all, they’re perfect for meal prep, so you can always have a wholesome snack on hand. Whether you’re packing lunchboxes or need a quick energy boost, these clusters deliver every time. And if you’re new to keto baking, don’t worry—this recipe is as simple as my easy keto snacks, so you’ll feel confident from the first step.
Why I Love This Recipe
Crunchy Coconut Keto Cluster Delight holds a special place in my heart because it reminds me of lazy Sunday afternoons spent experimenting in the kitchen. I created this recipe during a time when I needed a quick, energizing snack that wouldn’t derail my health goals. The moment I took my first bite, I knew I’d stumbled onto something magical. Now, it’s become a staple in my home—and I can’t wait for you to experience that same joy.
Health and Nutrition
Why it’s good for your body
Crunchy Coconut Keto Cluster Delight packs a powerful nutritional punch while satisfying your sweet cravings. First, its coconut base delivers healthy fats that support brain function and energy levels. Additionally, the recipe skips refined sugars, making it a smarter choice for blood sugar balance. Because it’s keto-friendly, Crunchy Coconut Keto Cluster Delight helps maintain ketosis, which can aid in weight management.
Moreover, coconut provides fiber to promote digestion and keep you feeling full longer. The nuts and seeds often included add plant-based protein and essential minerals like magnesium. Unlike processed snacks, Crunchy Coconut Keto Cluster Delight avoids artificial additives, so you get clean, wholesome ingredients. Finally, the natural sweetness from ingredients like monk fruit or stevia means no energy crashes afterward.
How it fits in a healthy lifestyle
Crunchy Coconut Keto Cluster Delight fits seamlessly into a balanced diet, whether you’re keto, gluten-free, or just mindful of sugar intake. Its high-fat, low-carb profile aligns perfectly with ketogenic goals, while the absence of grains makes it ideal for gluten-sensitive eaters. For a heart-healthy boost, pair it with other nutrient-dense snacks like our almond flour pancakes for a satisfying meal.
Busy lifestyles also benefit from this snack’s convenience. Keep a batch in your bag for quick energy without derailing your diet. If you’re exploring more keto-friendly options, try our keto chocolate avocado mousse for another delicious way to stay on track. With Crunchy Coconut Keto Cluster Delight, you’re choosing a snack that supports your health without sacrificing flavor.
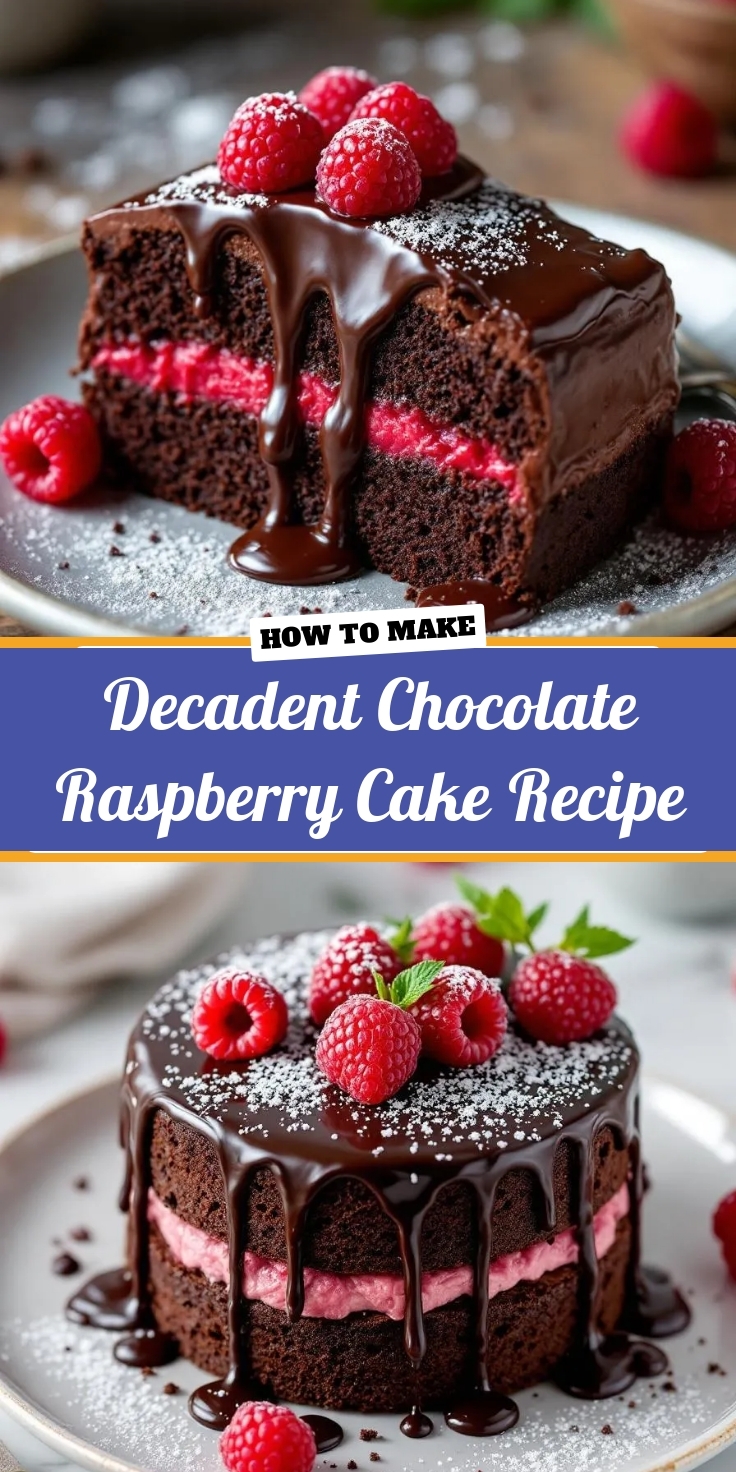
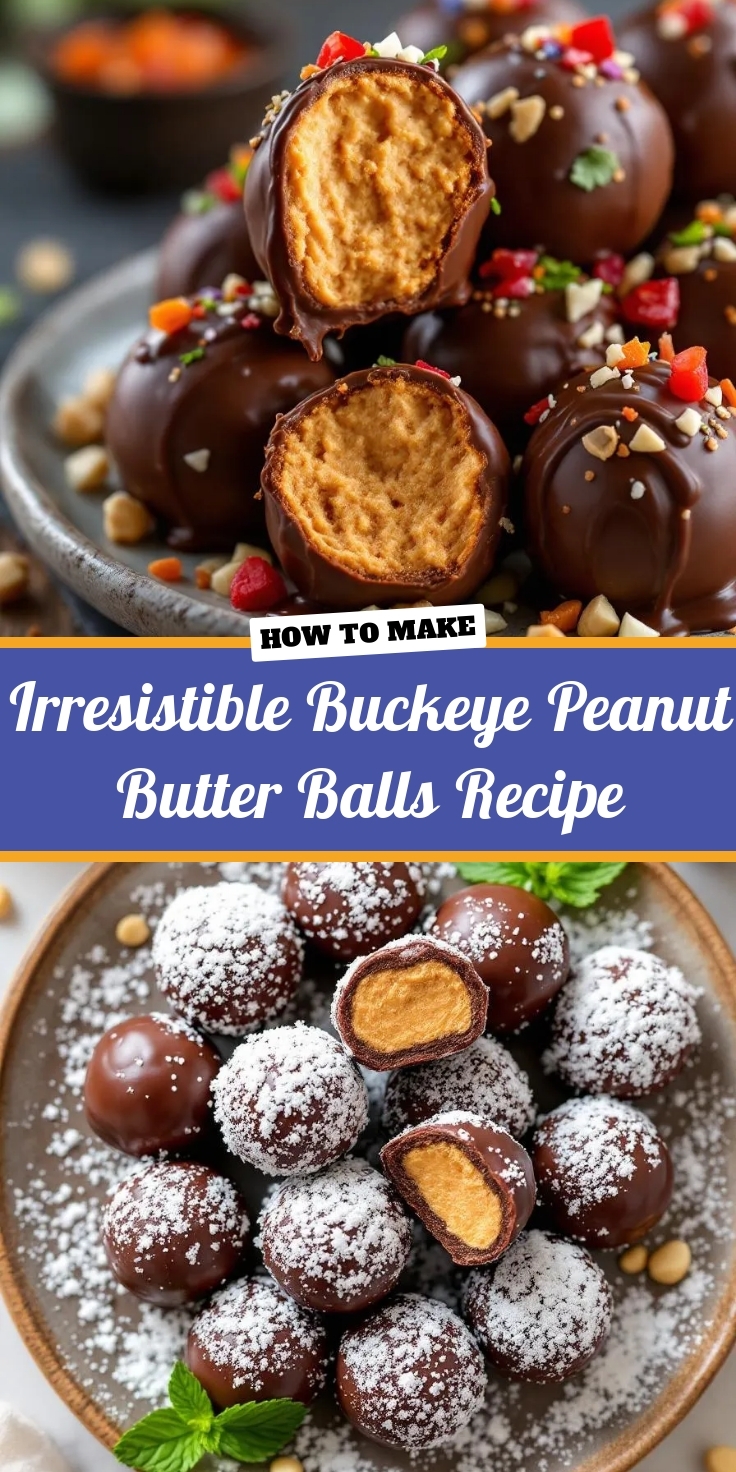
Crunchy Coconut Keto Cluster Delight
Description
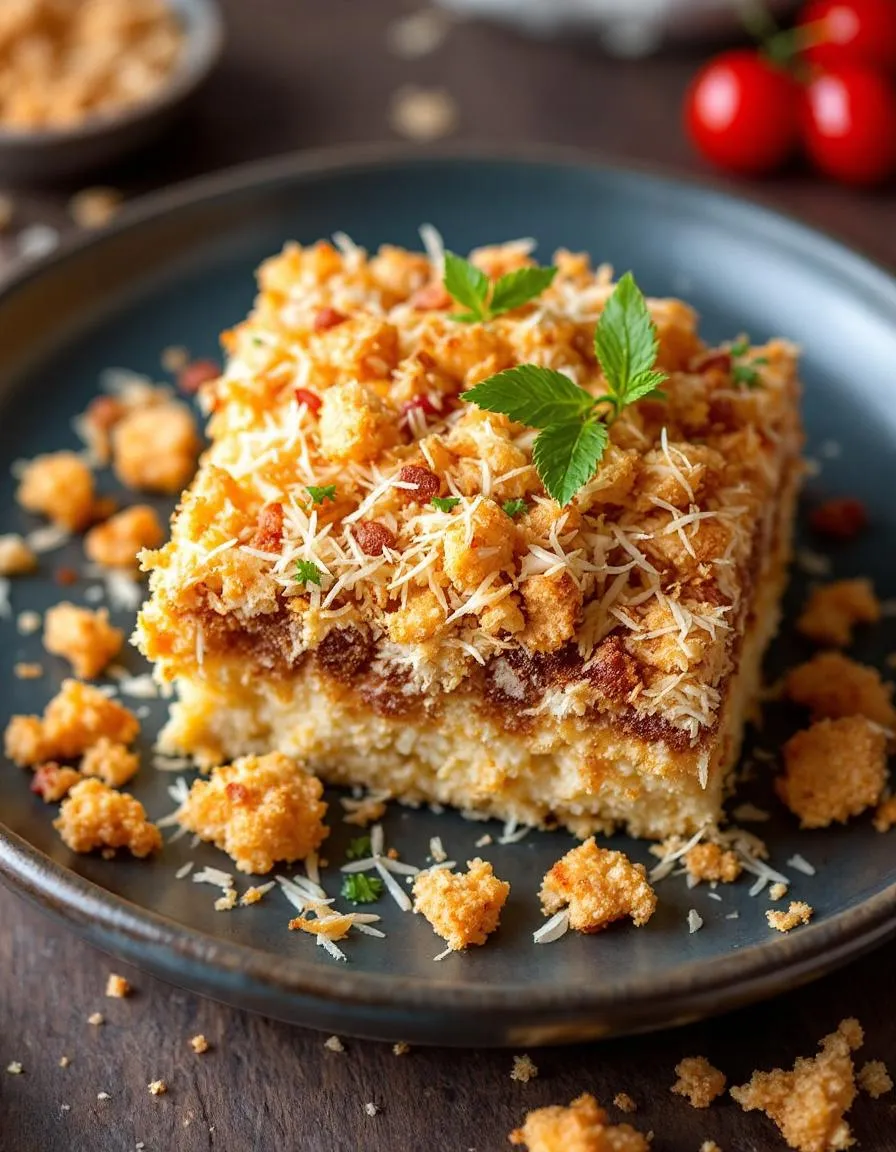
A delicious low-carb, keto-friendly snack with crunchy coconut clusters.
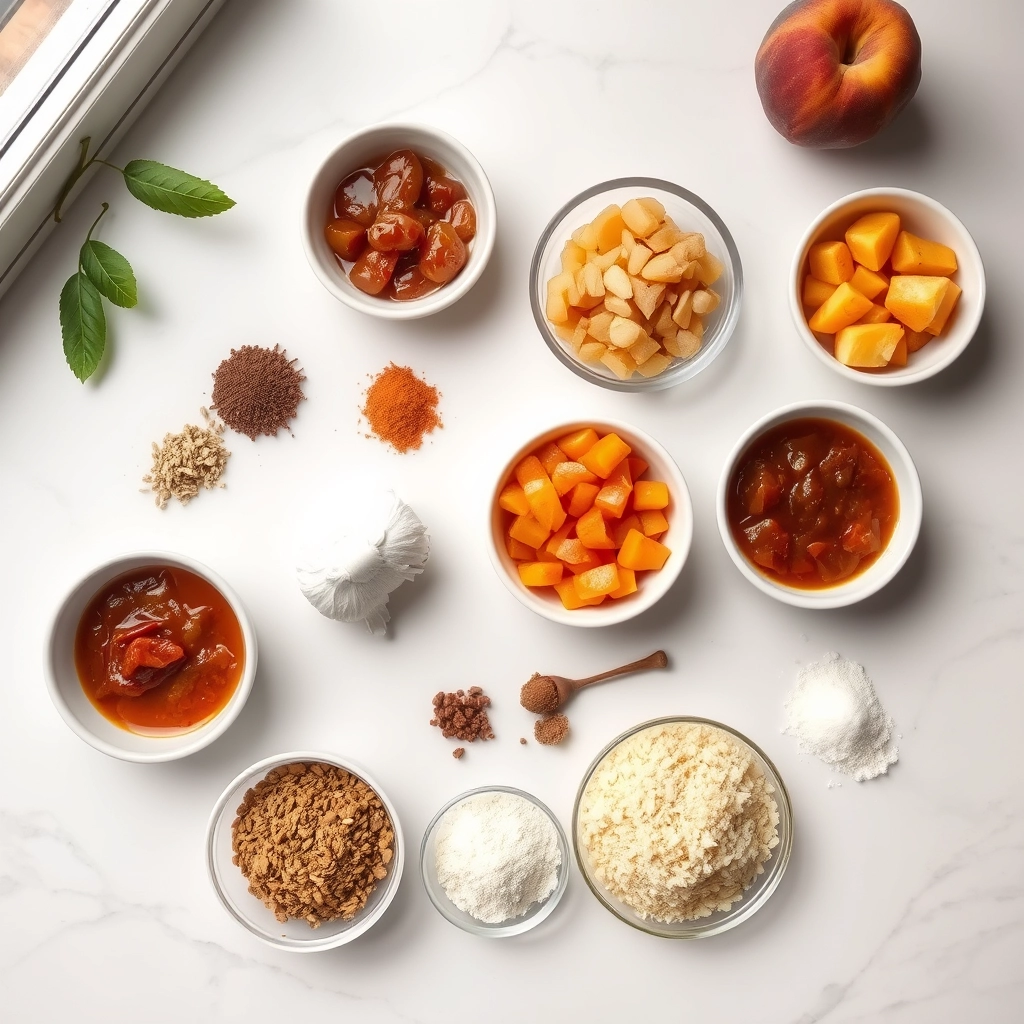
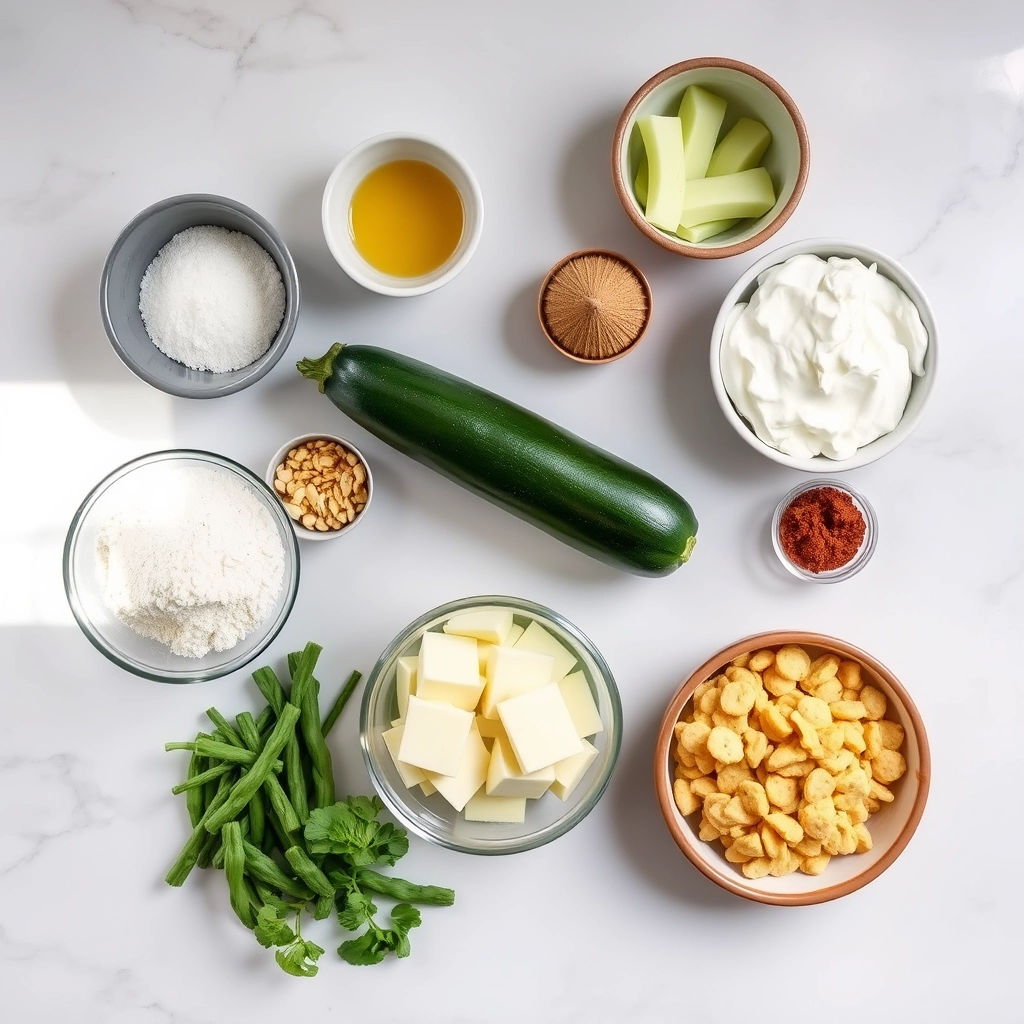
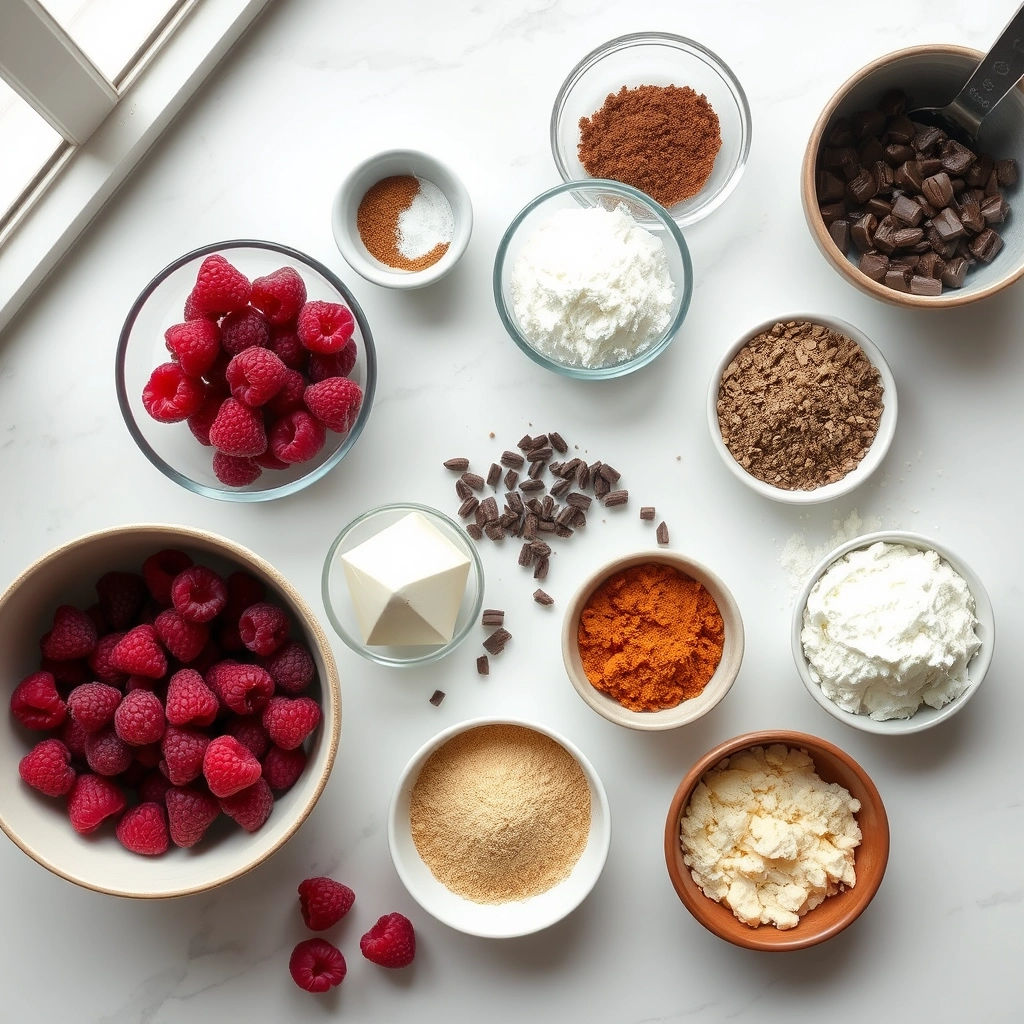
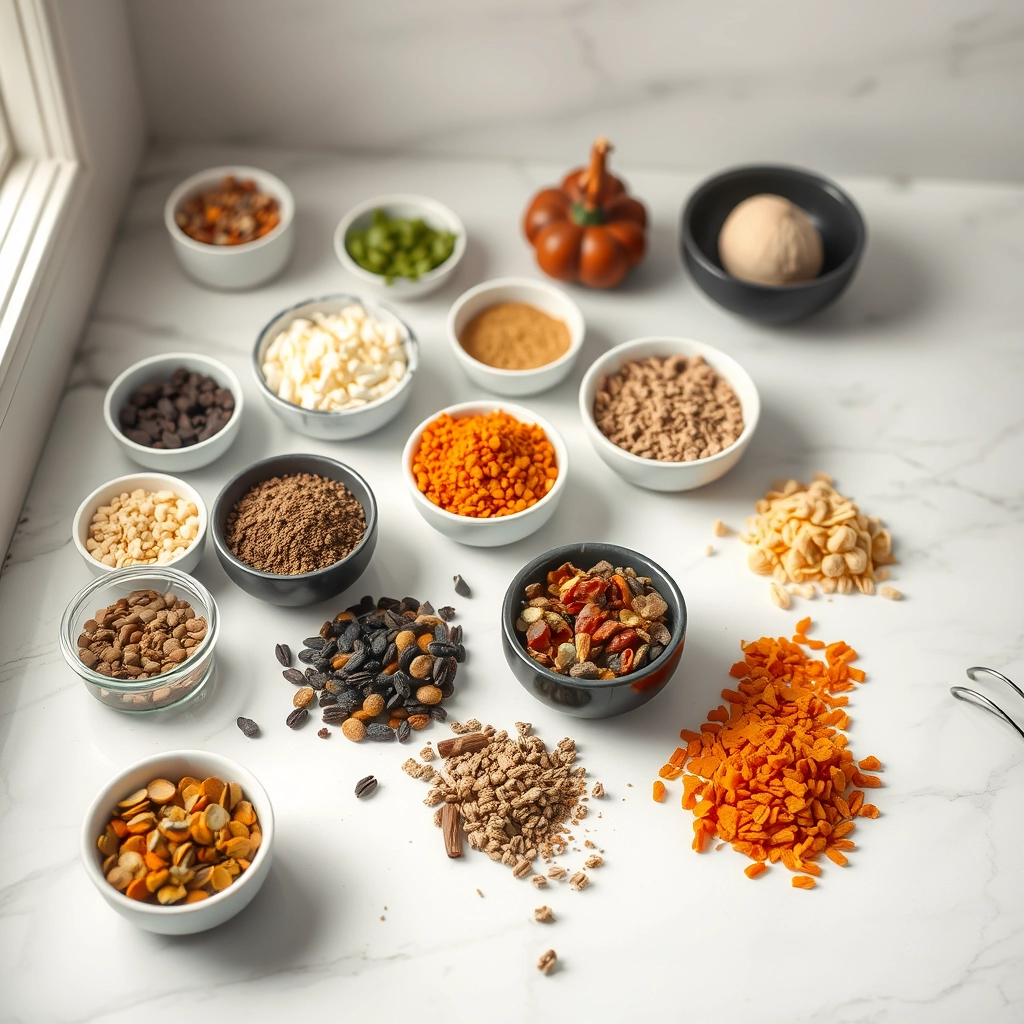
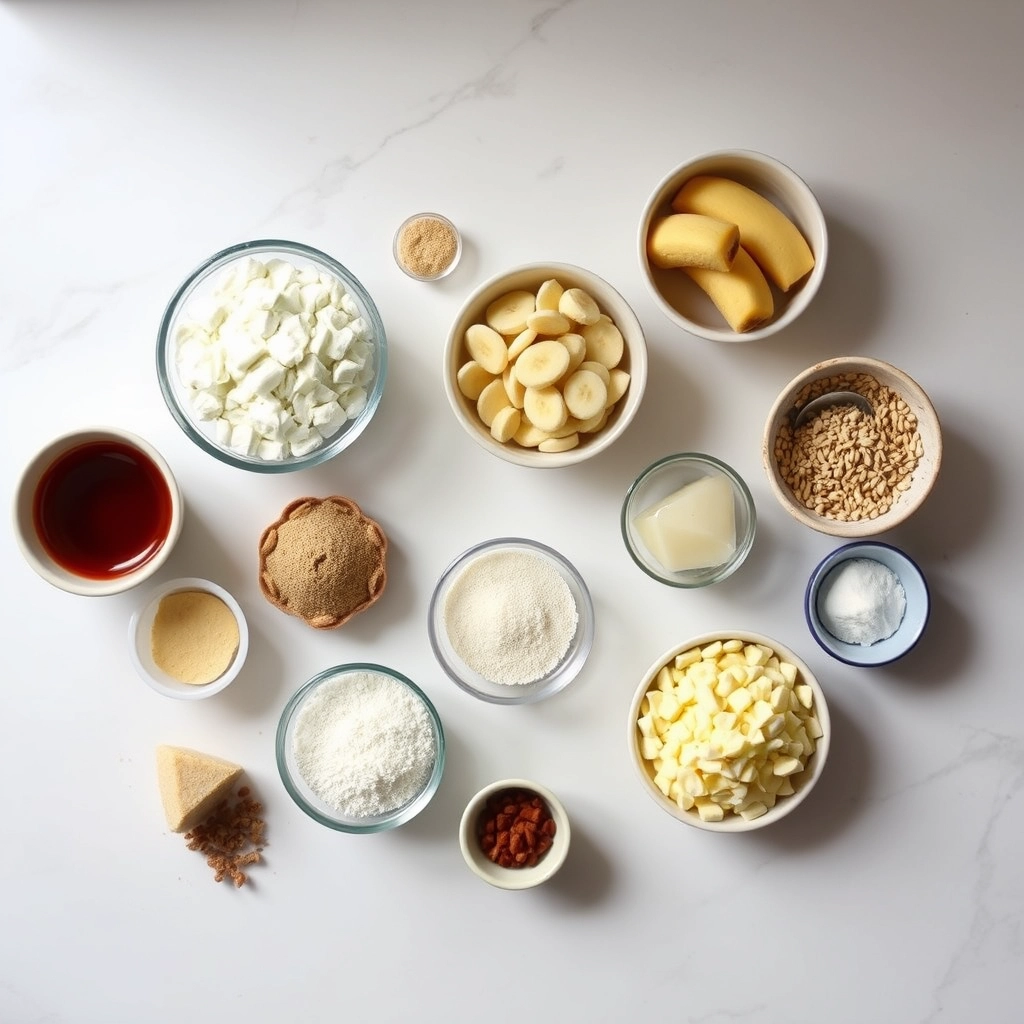
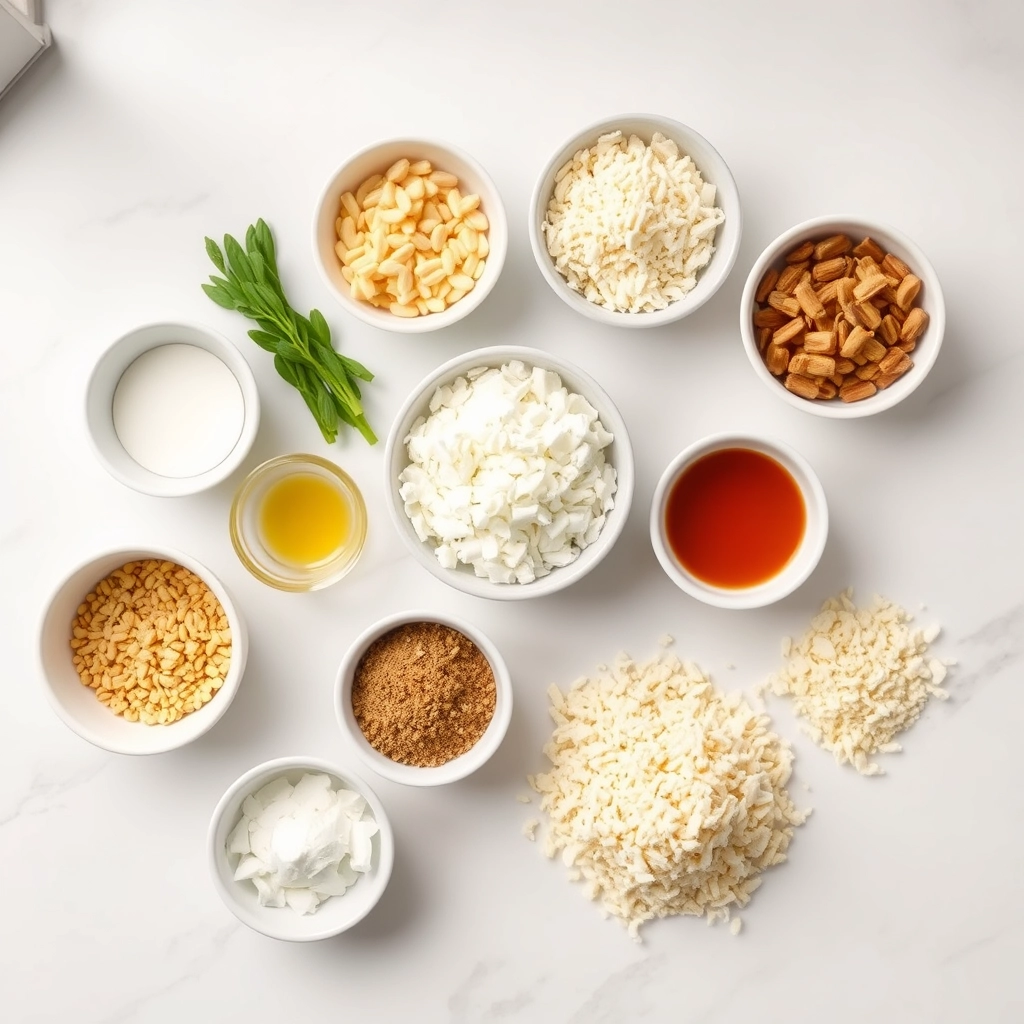
Ingredients
Scale
For the Crust:
- 1 cup unsweetened shredded coconut
- 1/4 cup almond flour
- 2 tbsp coconut oil, melted
- 1/4 cup keto-friendly sweetener (like erythritol)
- 1/2 tsp vanilla extract
- Pinch of salt
Instructions
1. Prepare the Crust:
- Preheat oven to 325°F (165°C) and line a baking sheet with parchment paper.
- In a bowl, mix shredded coconut, almond flour, sweetener, and salt.
- Add melted coconut oil and vanilla extract, stirring until well combined.
- Drop tablespoon-sized clusters onto the baking sheet and press lightly.
- Bake for 12-15 minutes until golden brown. Let cool completely before serving.
Notes
You can customize the seasonings to taste.
“`html
How to Prepare This Dish
Steps and time-saving tips
Start by preheating your oven to 325°F to ensure it reaches the right temperature while you prepare the ingredients. In a large mixing bowl, combine shredded coconut, almond flour, and a pinch of sea salt. Whisk these dry ingredients until they blend evenly. Next, melt coconut oil and sugar-free sweetener in a small saucepan over low heat, stirring constantly to avoid burning. Once melted, drizzle this mixture over the dry ingredients and fold everything together until the coconut flakes clump slightly. Spread the mixture evenly on a parchment-lined baking sheet and bake for 12-15 minutes, checking often to prevent over-browning. While the Crunchy Coconut Keto Cluster Delight cools, melt sugar-free chocolate chips in short bursts in the microwave, stirring between intervals for a smooth texture. Drizzle the chocolate over the clusters and sprinkle with crushed nuts if desired. Chill in the fridge for 20 minutes to set, then break into pieces. For a time-saving hack, prepare a double batch and store half in an airtight container—they stay fresh for up to two weeks!
Mistakes I’ve made and learned from
When I first made Crunchy Coconut Keto Cluster Delight, I rushed the baking step and ended up with unevenly toasted coconut—some bits were golden while others stayed pale. Now I stir the mixture halfway through baking for even color. Another blunder? I once skipped the parchment paper, and the clusters stuck stubbornly to the pan. Lesson learned: always line your tray! If you’re new to keto baking, check out my guide on keto-friendly substitutions to avoid common pitfalls. Also, if your chocolate seizes when melting, a splash of coconut oil saves the day—just like in my sugar-free chocolate tips post. Trust me, a little patience and the right tools make all the difference.
“`

Cultural Connection and Variations
Where this recipe comes from
Crunchy Coconut Keto Cluster Delight has roots that stretch across tropical kitchens and modern health-conscious homes. Originally inspired by traditional coconut candies from Southeast Asia, this recipe blends the rich, toasty flavor of coconut with a satisfying crunch. In places like Thailand and the Philippines, families often prepare similar treats during festivals, using palm sugar or honey. Meanwhile, in the Caribbean, coconut clusters might include spices like nutmeg or cinnamon for extra warmth.
In my own kitchen, Crunchy Coconut Keto Cluster Delight became a staple during holiday gatherings. My grandmother used to make a version with condensed milk, but we’ve since adapted it to fit low-carb lifestyles. Some cooks add dark chocolate drizzle, while others mix in nuts for extra texture. No matter the twist, the essence remains—a bite of sweet, crispy joy that feels both nostalgic and fresh.
How it fits in today’s cooking
Today, Crunchy Coconut Keto Cluster Delight fits perfectly into modern routines, whether as a quick snack or a guilt-free dessert. Busy parents love it for lunchboxes, and keto dieters rely on it to satisfy sweet cravings without derailing their goals. Seasonal twists, like peppermint extract during winter or citrus zest in summer, keep it exciting year-round.
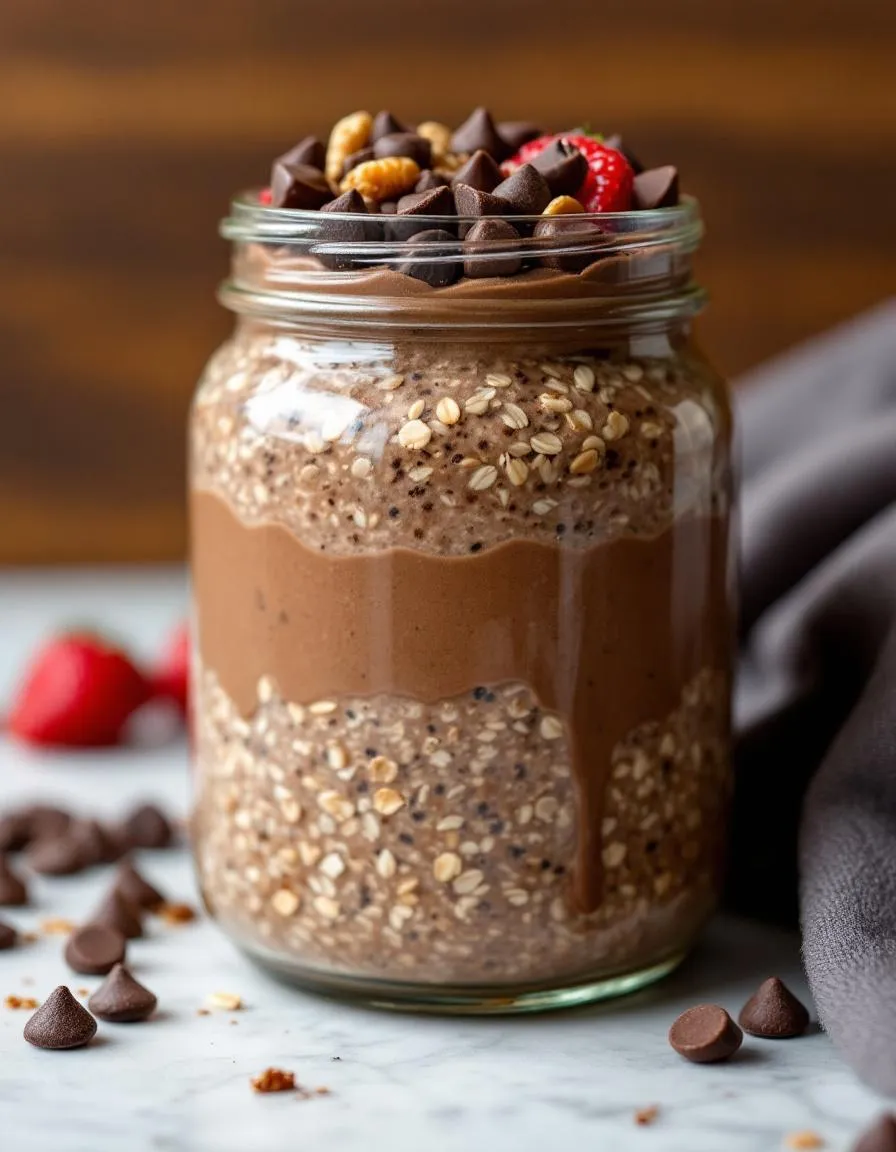
Many home cooks also pair it with other keto-friendly treats, such as these fluffy keto blueberry muffins, for a balanced breakfast spread. Others crumble it over creamy keto chia pudding for added texture. However you enjoy it, this recipe proves that tradition and innovation can deliciously coexist.
Taste and Texture
What makes it delicious
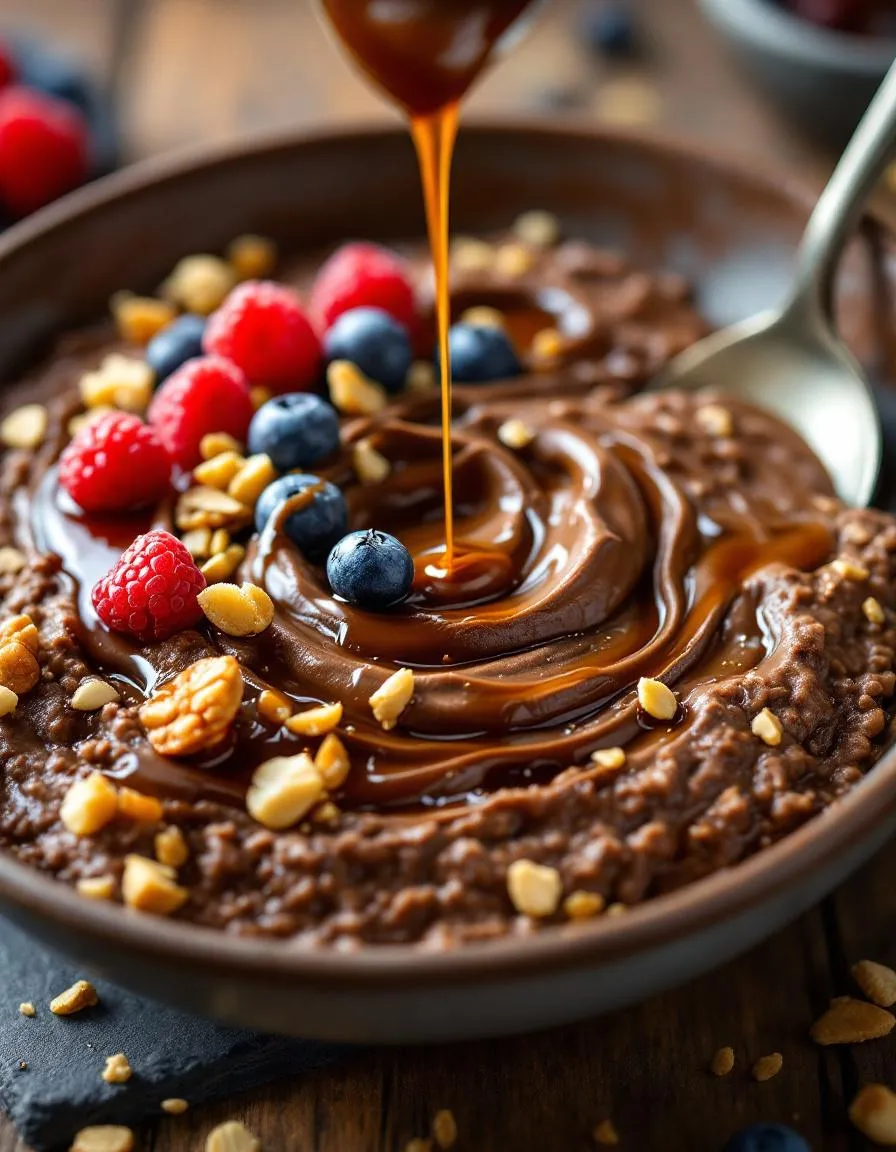
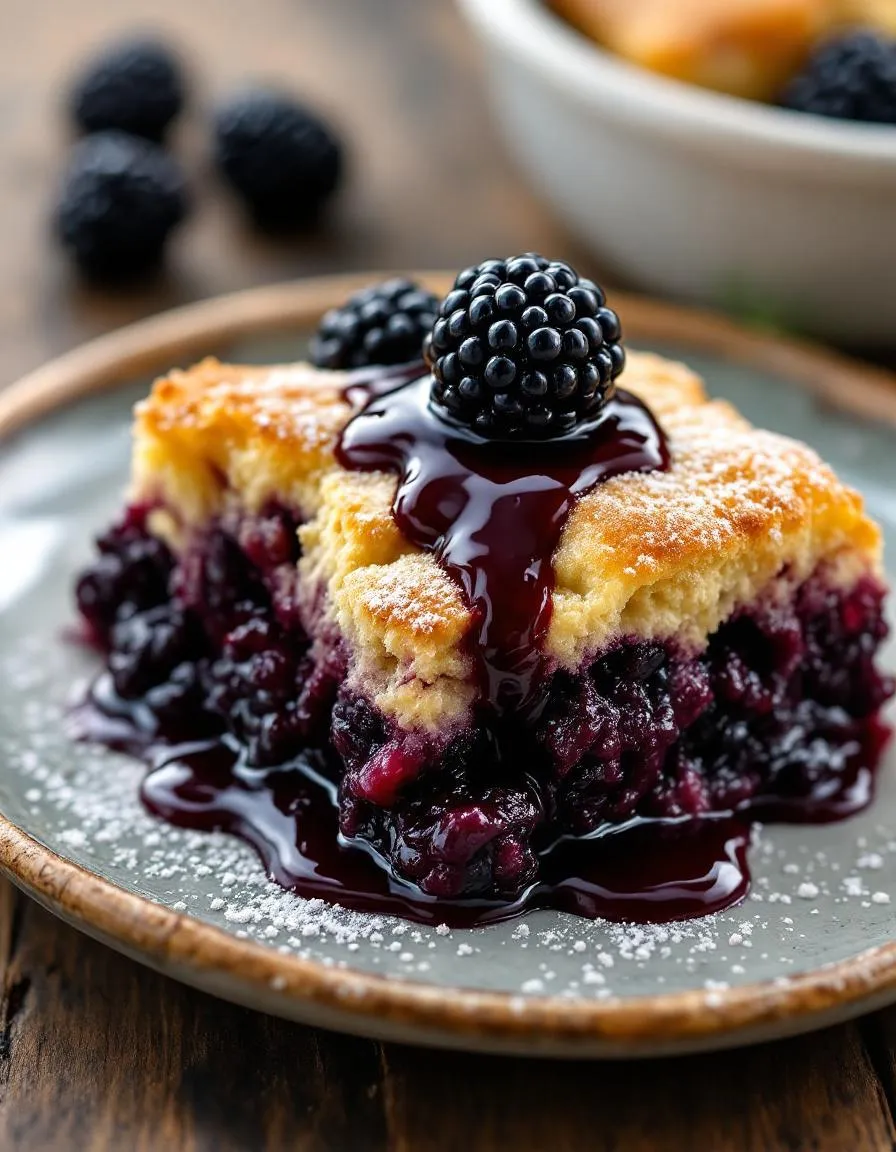
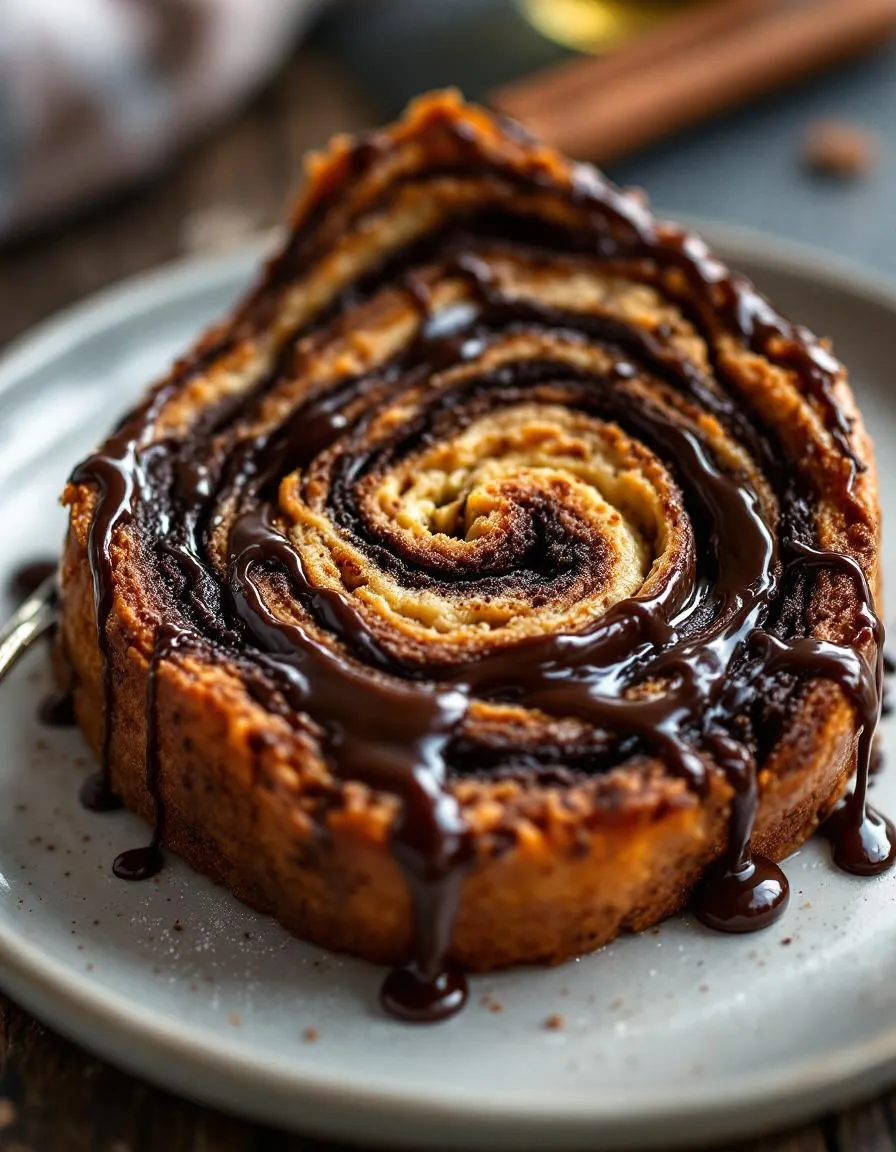
Crunchy Coconut Keto Cluster Delight delivers a symphony of textures and flavors that make every bite irresistible. The toasted coconut flakes bring a crisp, nutty sweetness, while the rich dark chocolate adds a velvety smoothness that melts on your tongue. Meanwhile, the keto-friendly nuts provide a satisfying crunch, balancing the creamy undertones. As you take a bite, the fragrant aroma of coconut and cocoa fills your senses, making it impossible to stop at just one piece. Whether you savor it slowly or enjoy it as a quick snack, Crunchy Coconut Keto Cluster Delight keeps you coming back for more.
Boosting the flavor
For an extra flavor kick, try drizzling melted keto chocolate sauce over the clusters before they set—it deepens the richness without overpowering the coconut. Alternatively, sprinkle a pinch of sea salt or cinnamon to highlight the natural sweetness. If you love a tropical twist, fold in diced macadamia nuts for buttery contrast. These small tweaks elevate Crunchy Coconut Keto Cluster Delight into a customizable treat that suits any craving.

Tips for Success
Best practices for results
Always measure your ingredients precisely for the best Crunchy Coconut Keto Cluster Delight texture. Use parchment paper to prevent sticking and ensure easy removal. Chill the mixture for at least 30 minutes before shaping to help it hold together. Additionally, toast the coconut flakes lightly for extra crunch and flavor. Finally, store the clusters in an airtight container to keep them fresh longer.
Mistakes to avoid
Avoid overmixing the dough, as this can make your Crunchy Coconut Keto Cluster Delight too dense. Instead, gently fold the ingredients until just combined. Also, don’t skip the chilling step—otherwise, the clusters may fall apart. For more keto-friendly baking tips, check out our guide on keto baking basics. If your clusters turn out too soft, you might need a binding agent like xanthan gum, which we cover in our keto ingredient swaps post.
Serving and Pairing Suggestions
How to serve this dish
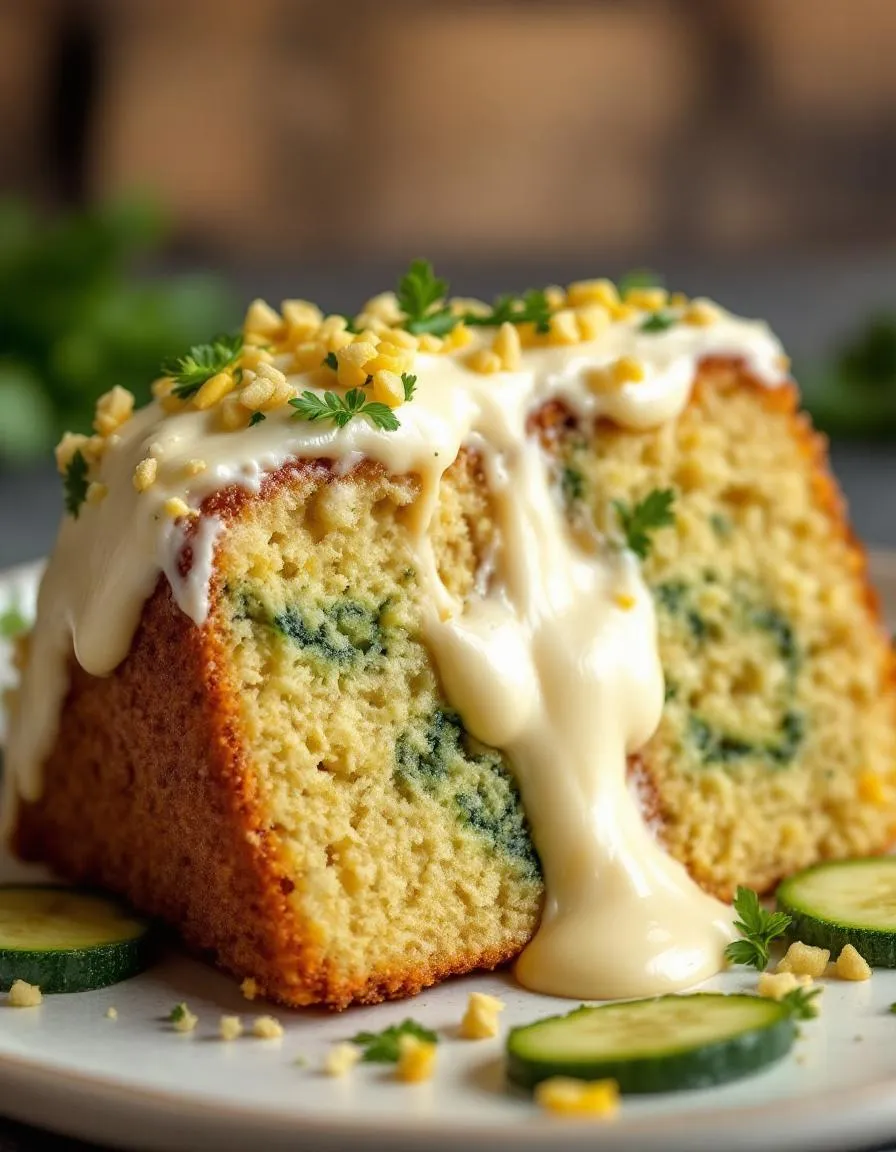
For a stunning presentation, arrange your Crunchy Coconut Keto Cluster Delight on a rustic wooden board or a pastel-colored dessert plate. Meanwhile, sprinkle extra toasted coconut flakes on top for texture and a pop of visual appeal. Since these clusters are naturally elegant, they shine at holiday gatherings or as a sweet finish to brunch. Alternatively, pack them in mini mason jars for a charming on-the-go treat. Whether you serve them warm or chilled, their golden crunch always delights.
What goes well with it
Pair your Crunchy Coconut Keto Cluster Delight with a creamy keto vanilla latte for a cozy morning combo. The latte’s smooth richness balances the clusters’ crisp texture perfectly. For a refreshing contrast, try it alongside our Berry Chia Pudding, which adds a tangy twist. Finally, if you’re hosting a dessert spread, our Almond Flour Brownies make a decadent partner, creating a satisfying mix of chewy and crunchy bites.
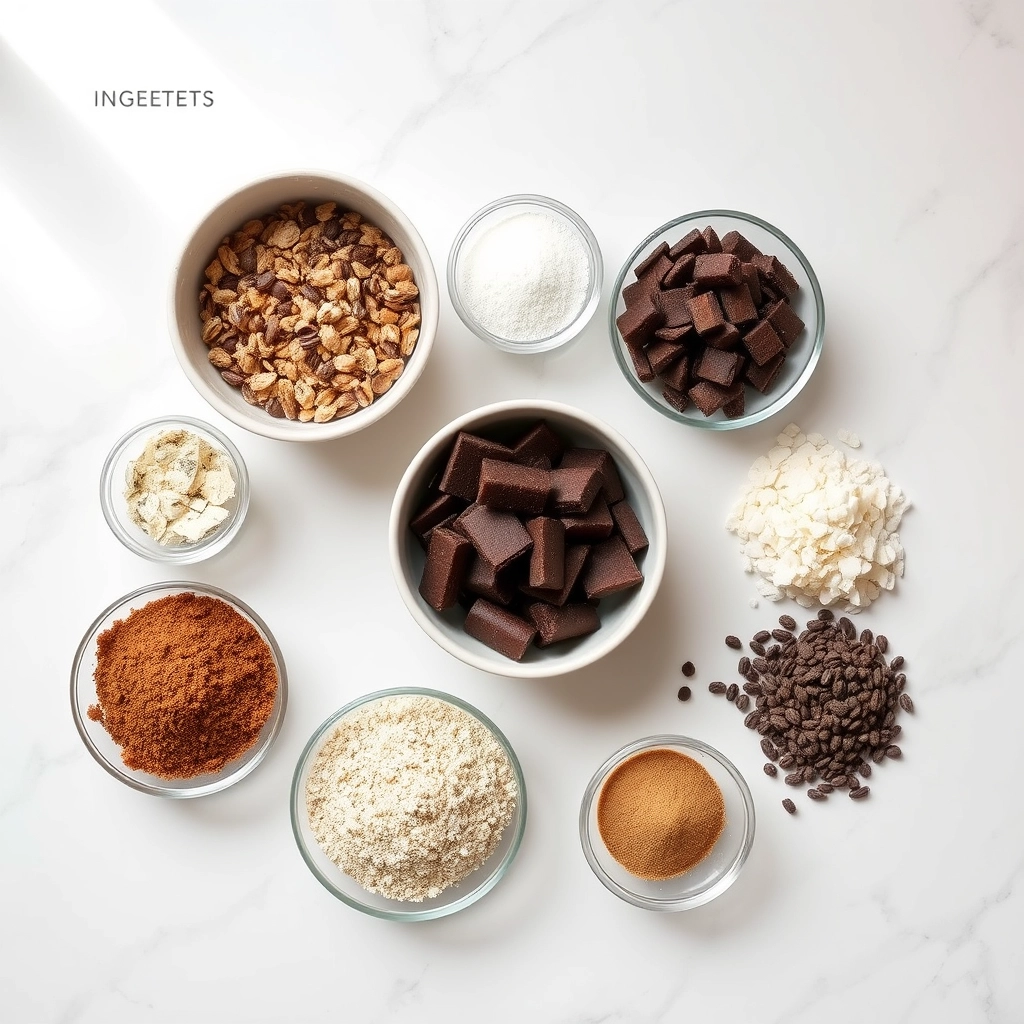
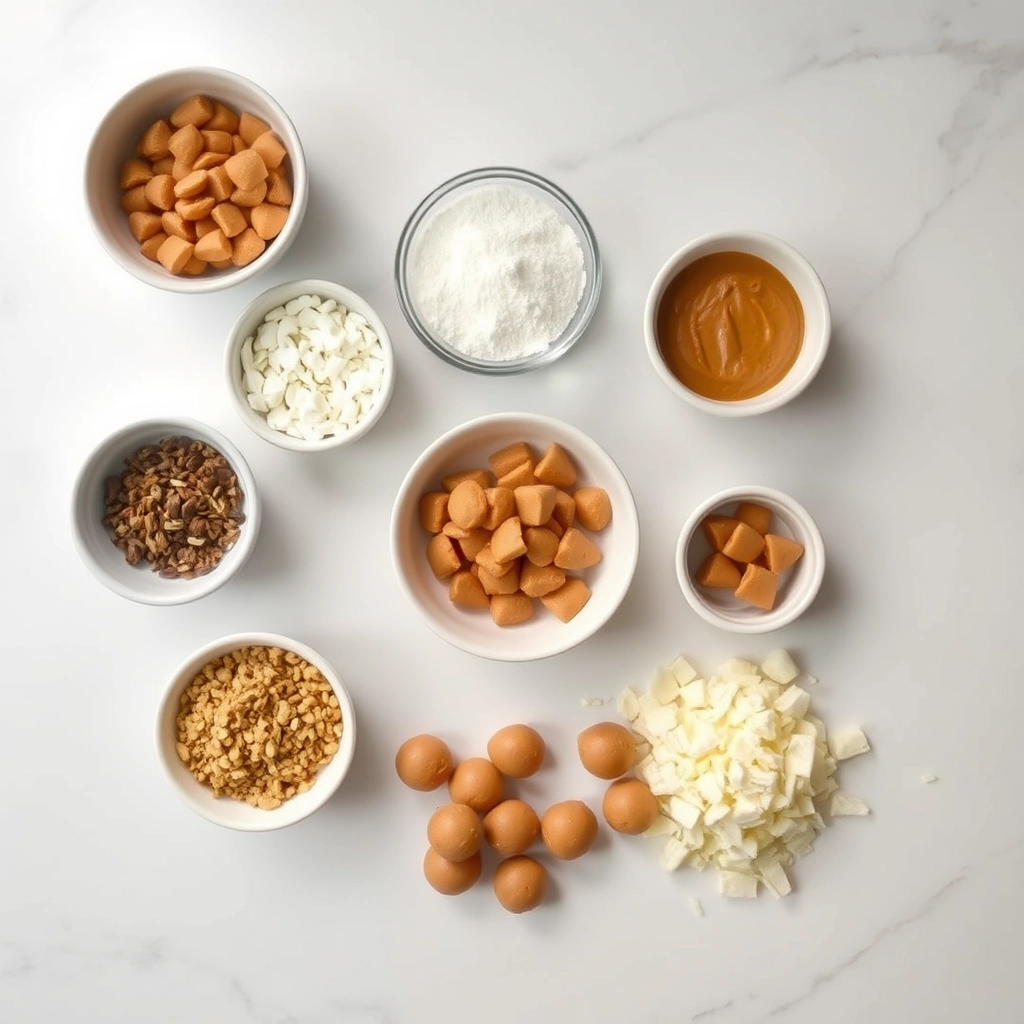
Crunchy Coconut Keto Cluster Delight typically includes unsweetened shredded coconut, keto-friendly sweeteners like erythritol or stevia, coconut oil, and nuts like almonds or pecans. These ingredients create a delicious low-carb treat that’s perfect for satisfying sweet cravings while staying in ketosis.
A serving of Crunchy Coconut Keto Cluster Delight usually contains around 2–4 grams of net carbs, depending on the specific recipe and ingredients used. This makes it an excellent snack for those following a strict keto diet while still enjoying a crunchy, coconutty treat.
Yes! You can easily customize Crunchy Coconut Keto Cluster Delight by omitting nuts or replacing them with seeds like sunflower or pumpkin seeds for a nut-free version. The coconut and sweetener still provide plenty of flavor and crunch, making it a versatile keto-friendly snack.
Store Crunchy Coconut Keto Cluster Delight in an airtight container at room temperature for up to a week, or refrigerate for up to two weeks. For longer storage, freeze the clusters and thaw them at room temperature before enjoying their crispy texture.