Introduction
There’s something undeniably joyful about biting into a soft, colorful cookie that instantly takes you back to childhood. That’s exactly why I adore these Chewy Sprinkles Cookies—they’re a burst of happiness in every bite. Whether you’re baking for a special occasion or just craving a sweet treat, these cookies promise to deliver nostalgia and delight. Plus, they’re incredibly easy to make, so you can whip up a batch whenever the mood strikes.
Chewy Sprinkles Cookies are a playful twist on classic sugar cookies, packed with vibrant sprinkles and a perfectly tender texture. Unlike traditional recipes that turn crisp or crumbly, these stay soft and chewy for days, making them ideal for gifting or storing. They’re also versatile—swap the sprinkles for seasonal colors or add a drizzle of glaze for extra flair. Here at brekcakes.com, we celebrate recipes that balance simplicity and fun, and these cookies fit right in. If you love easy desserts with big flavor, you’ll also enjoy our Vanilla Cupcakes or Chocolate Chip Cookies. After all, life’s too short for boring baked goods.
Why I Love This Recipe
Chewy Sprinkles Cookies hold a special place in my heart because they remind me of baking with my mom during holidays. She’d let me pour in the sprinkles, and I’d watch in awe as they transformed plain dough into something magical. Now, I love sharing that same excitement with my kids—and with you. These cookies aren’t just delicious; they’re tiny edible memories. Every time I make them, I’m reminded that the simplest recipes often create the sweetest moments.
Health and Nutrition
Why it’s good for your body
Chewy Sprinkles Cookies pack more than just fun flavors and vibrant colors. First, they often include wholesome ingredients like whole wheat flour or almond flour, which add fiber and healthy fats. Additionally, these cookies can provide a quick energy boost thanks to their balanced mix of carbs and sugars. While they’re a treat, their chewy texture slows down eating, helping you savor each bite mindfully.
Moreover, Chewy Sprinkles Cookies often contain small amounts of protein from ingredients like eggs or nut butters. This helps stabilize blood sugar levels, preventing energy crashes. For those who enjoy baking at home, you can easily swap in healthier alternatives like coconut sugar or dark chocolate chips. Finally, sprinkles add a dash of joy, which research shows can uplift your mood—because happiness is part of wellness too!
How it fits in a healthy lifestyle
Chewy Sprinkles Cookies fit perfectly into a balanced diet when enjoyed in moderation. Pair them with a protein-rich snack like Greek yogurt or nuts to create a satisfying treat that keeps cravings in check. If you’re watching sugar intake, try baking a batch with natural sweeteners or enjoy them as an occasional indulgence.
For gluten-free diets, simply substitute regular flour with almond or oat flour—our gluten-free baking guide makes it easy. These cookies also work well for active lifestyles, offering a quick pick-me-up before or after workouts. Want more ideas for smart swaps? Check out our healthy dessert alternatives to keep your sweet tooth happy without derailing your goals.
Chewy Sprinkles Cookies
Description
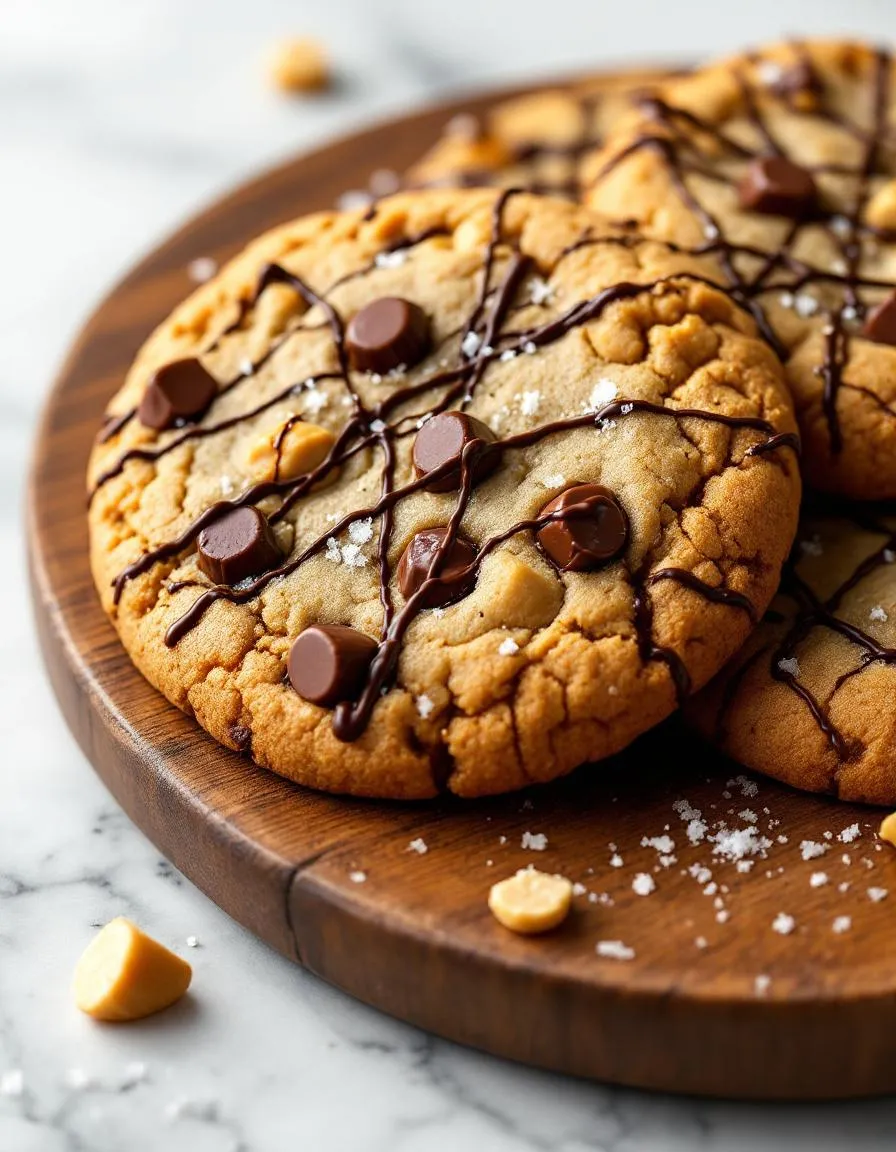
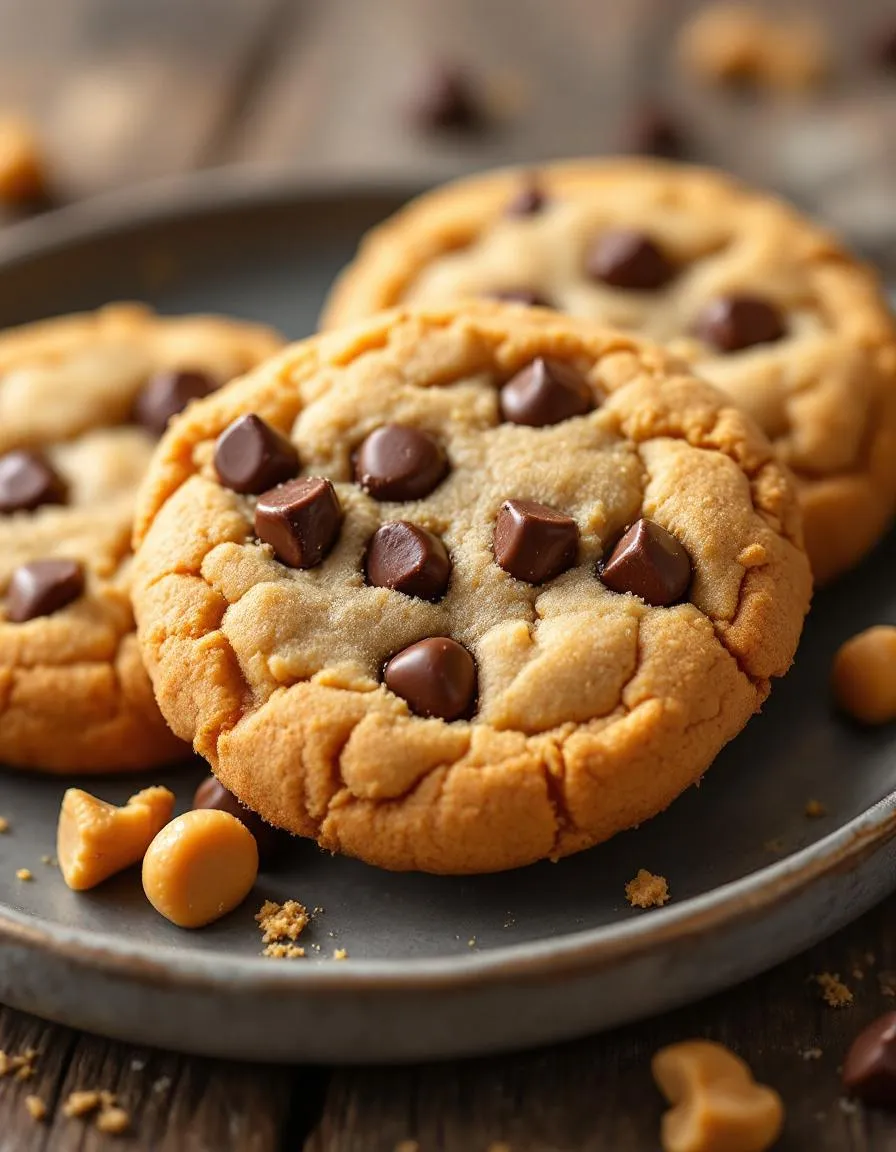
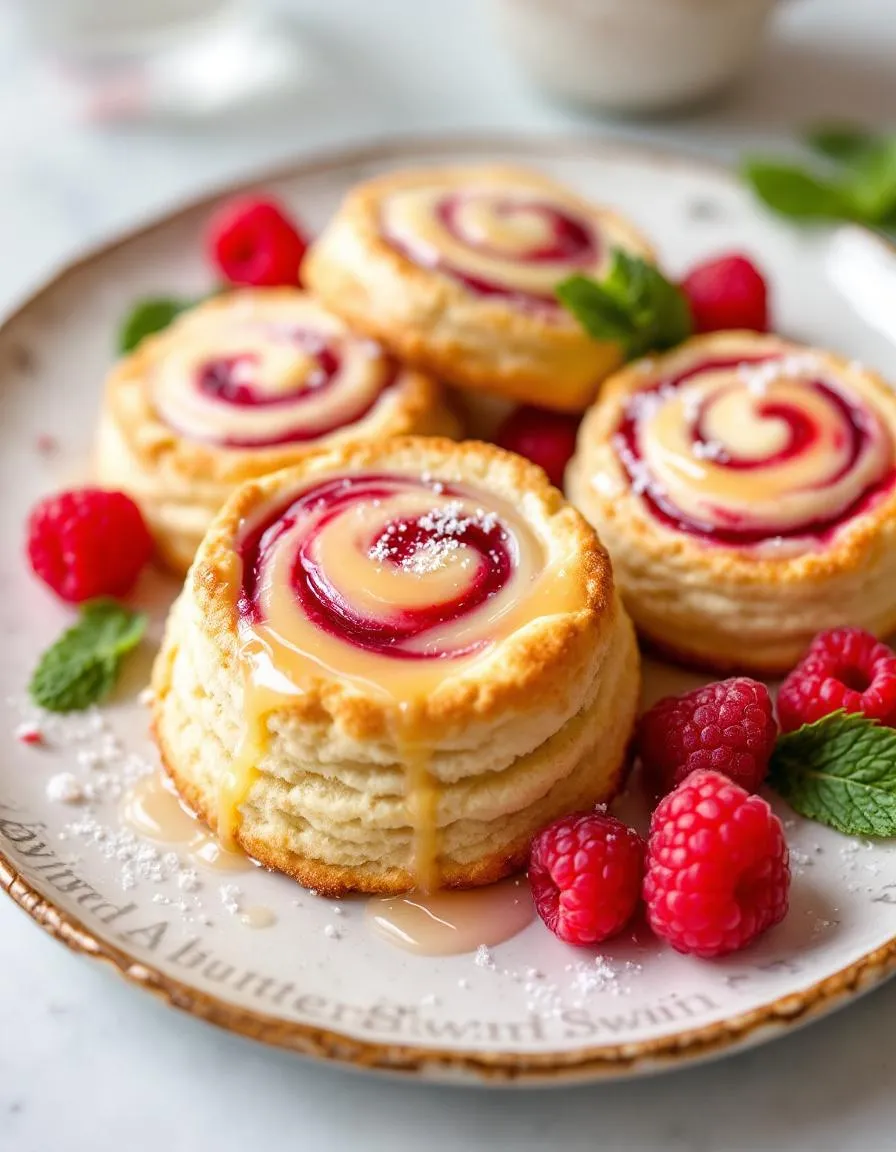
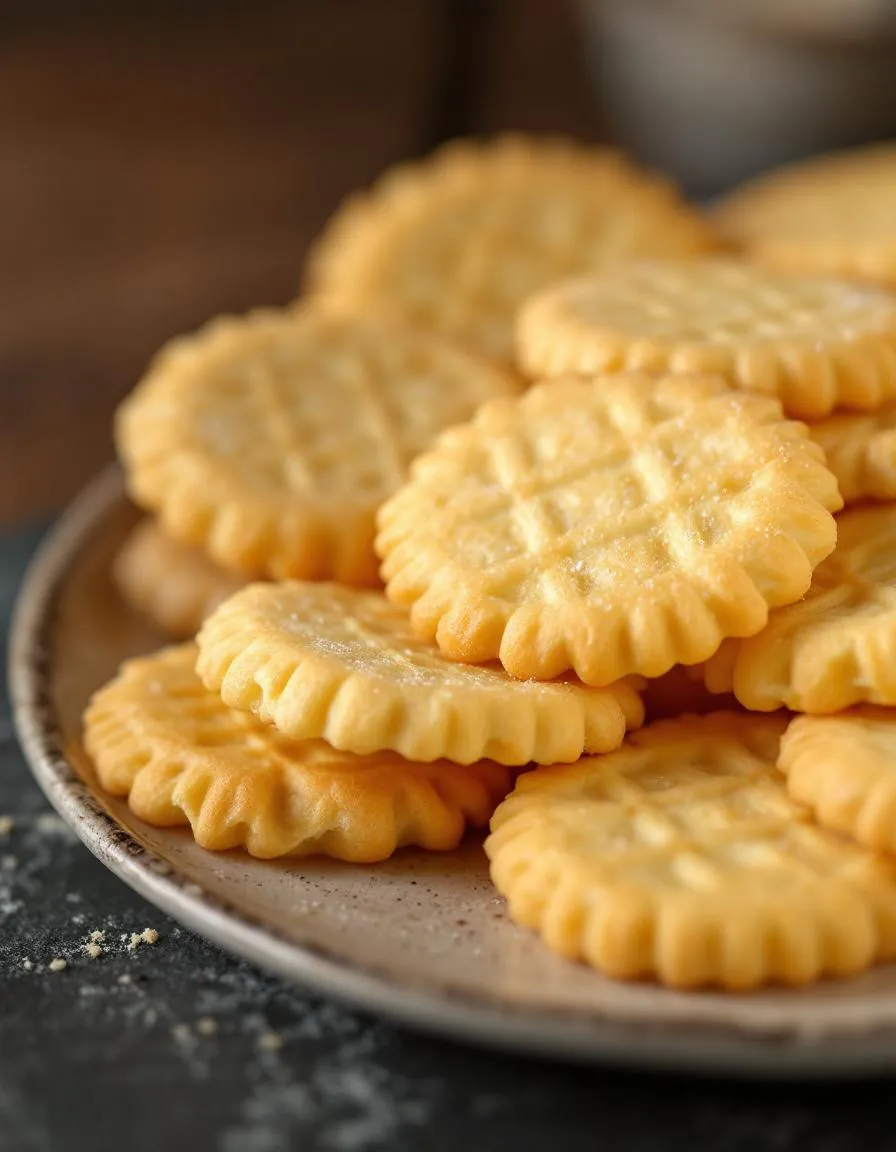
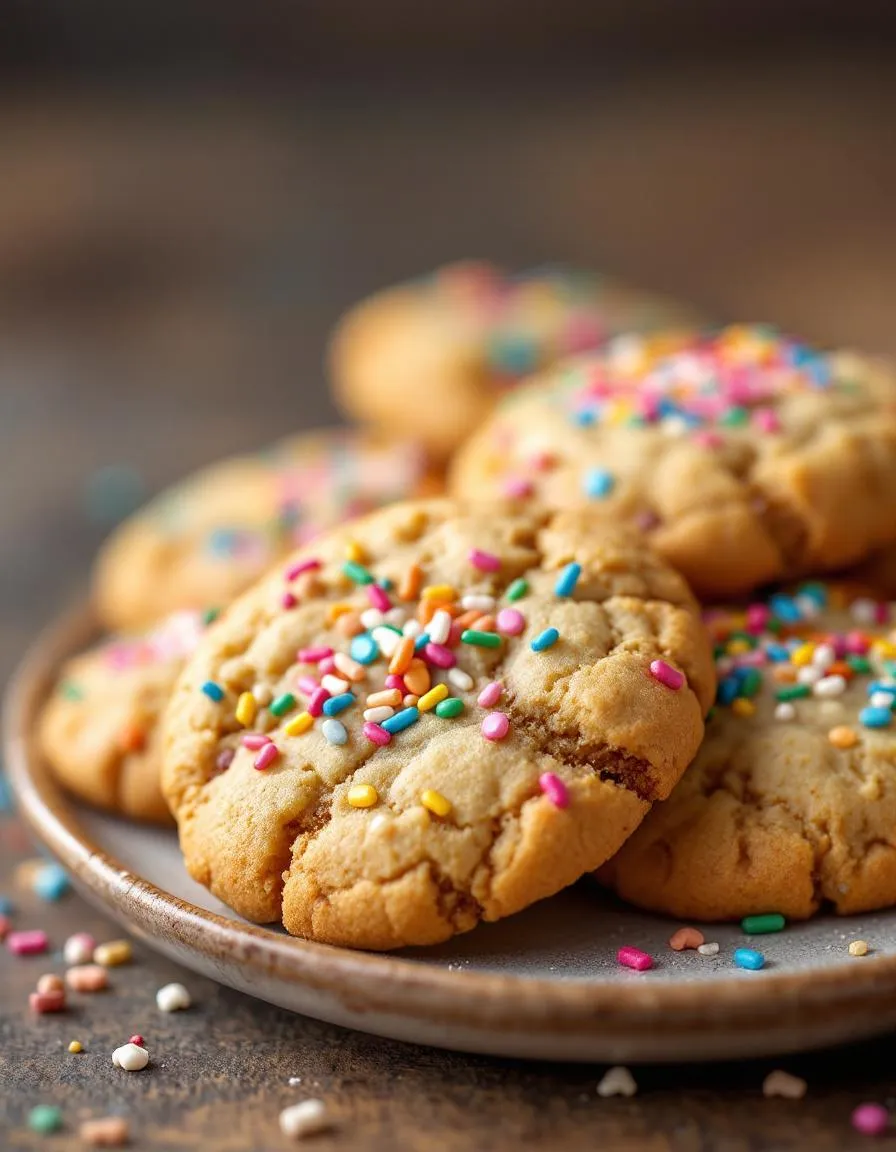
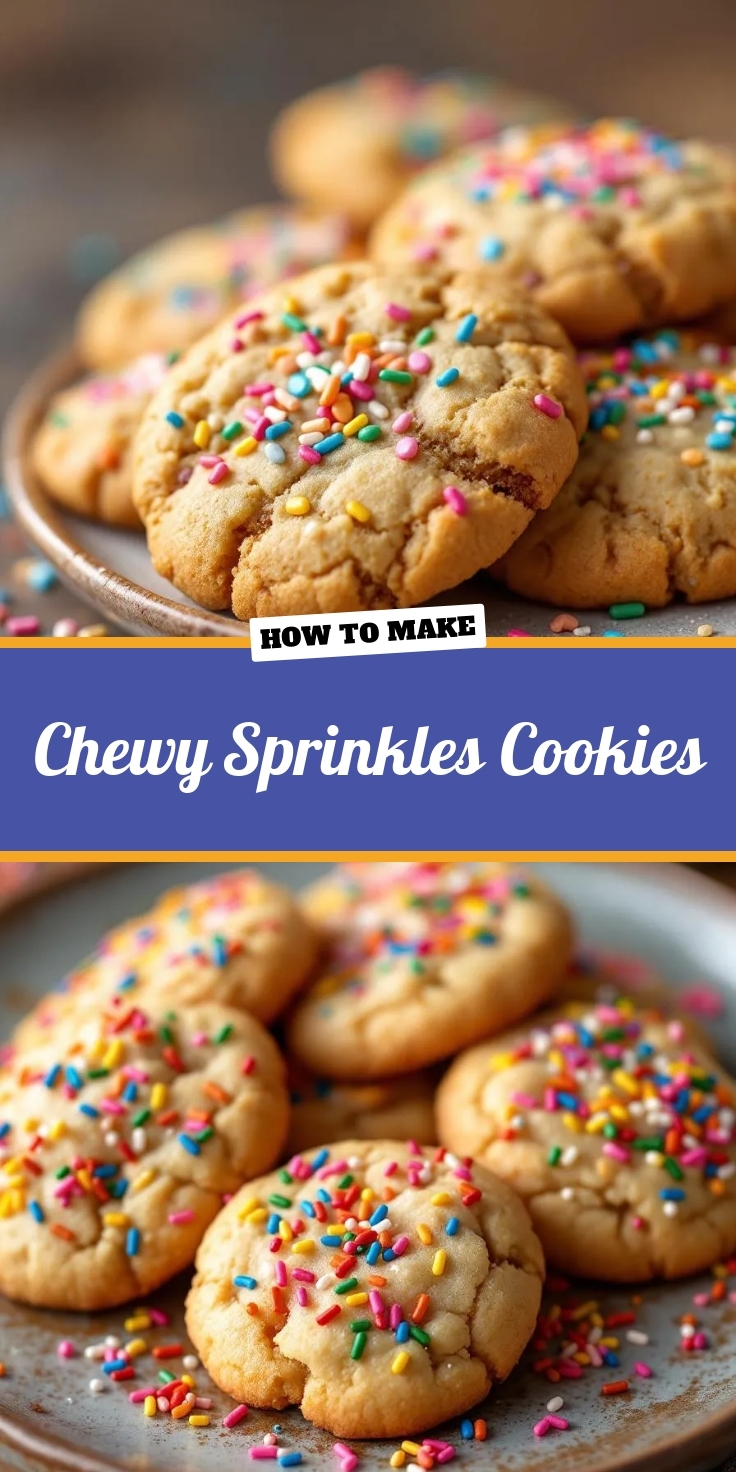
Soft and chewy cookies packed with colorful sprinkles for a fun and festive treat.
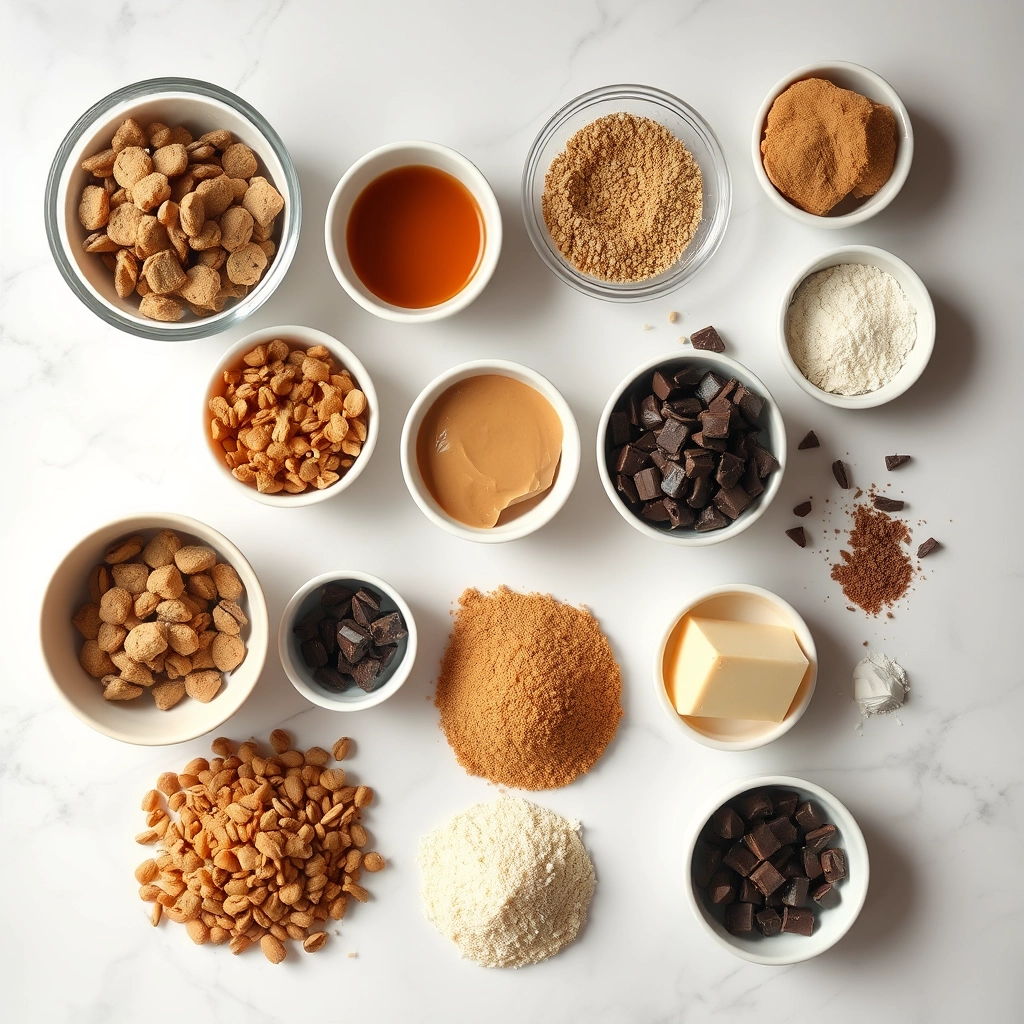
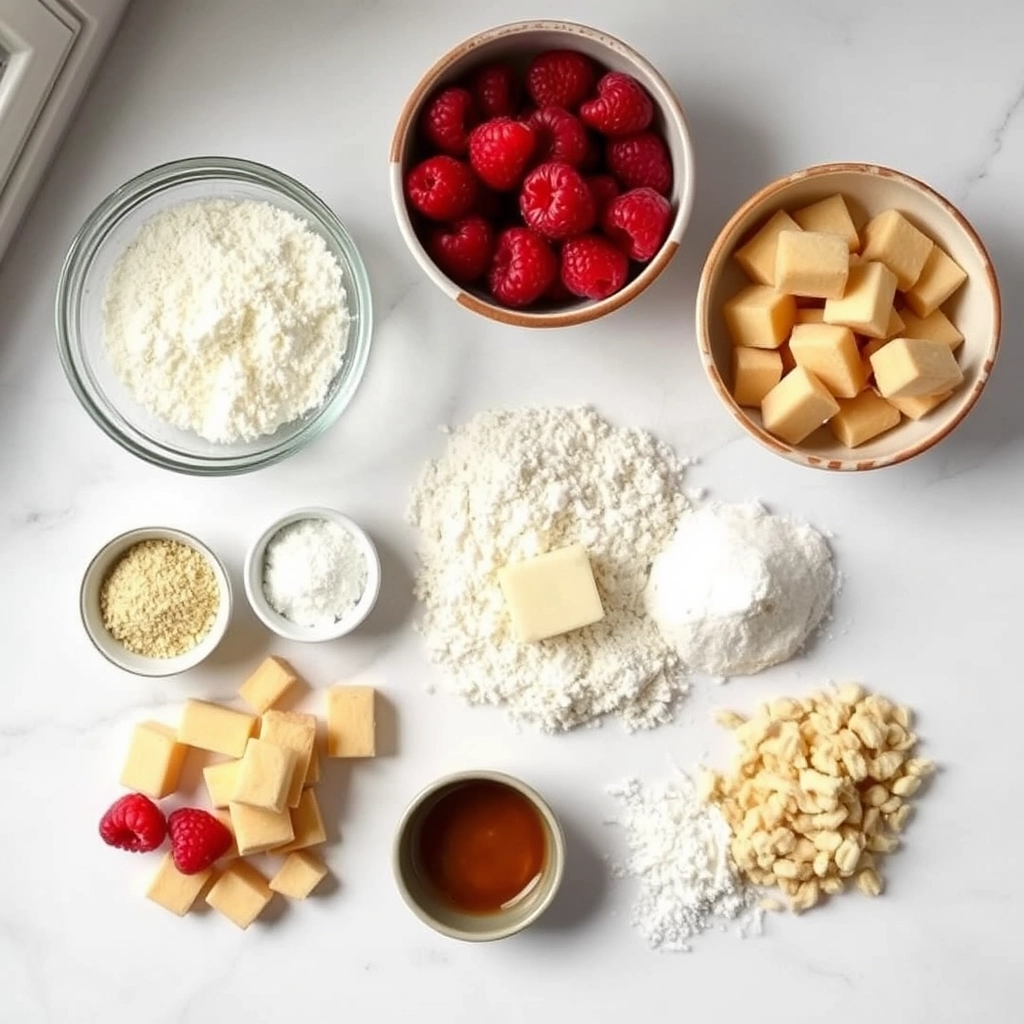
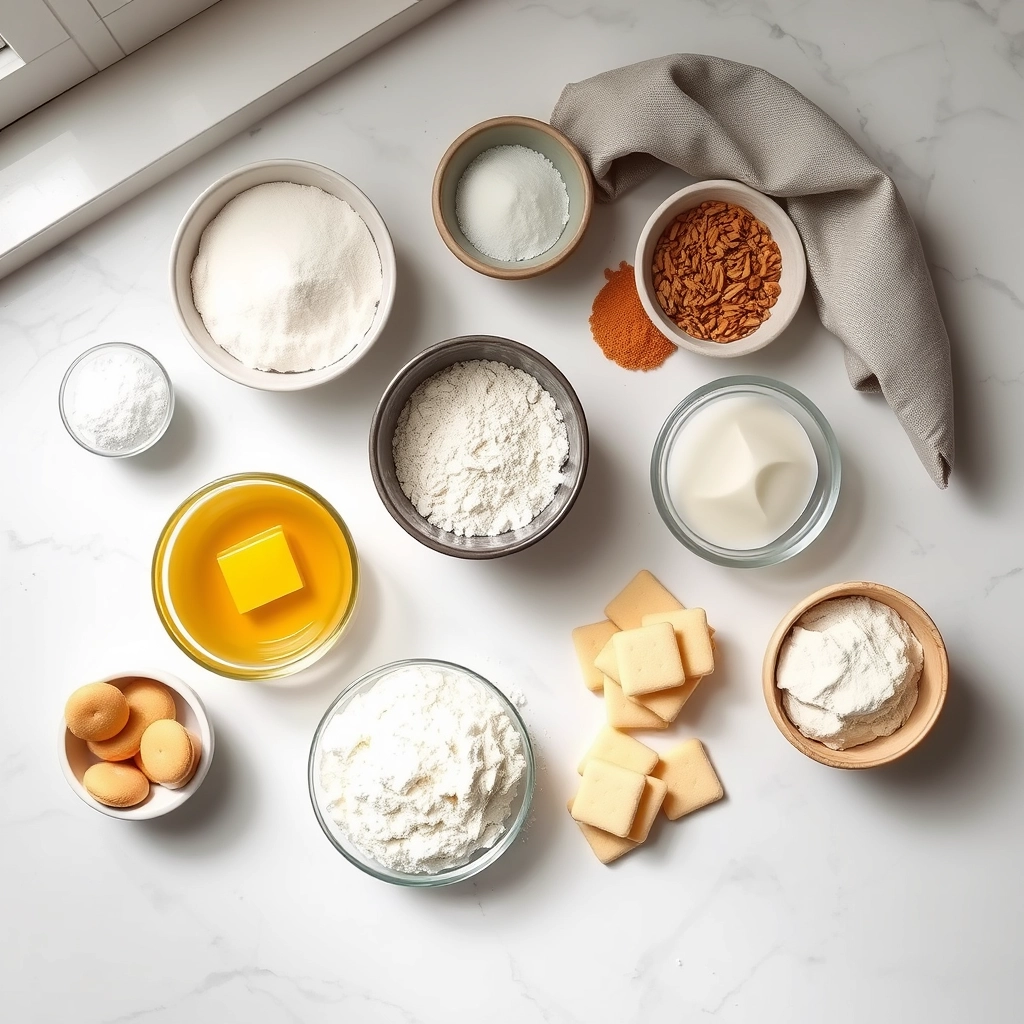
Ingredients
Scale
For the Crust:
- 1 cup unsalted butter, softened
- 1 cup granulated sugar
- 1 cup brown sugar, packed
- 2 large eggs
- 2 teaspoons vanilla extract
- 3 cups all-purpose flour
- 1 teaspoon baking soda
- 1/2 teaspoon baking powder
- 1 teaspoon salt
- 1 cup rainbow sprinkles
Instructions
1. Prepare the Crust:
- Preheat oven to 350°F (175°C) and line baking sheets with parchment paper.
- In a large bowl, cream together butter, granulated sugar, and brown sugar until light and fluffy.
- Beat in eggs one at a time, then stir in vanilla extract.
- In a separate bowl, whisk together flour, baking soda, baking powder, and salt.
- Gradually add the dry ingredients to the wet ingredients, mixing until just combined.
- Fold in the rainbow sprinkles until evenly distributed.
- Drop tablespoon-sized dough balls onto the prepared baking sheets, spacing them about 2 inches apart.
- Bake for 10-12 minutes, or until edges are lightly golden but centers are still soft.
- Allow cookies to cool on the baking sheet for 5 minutes before transferring to a wire rack to cool completely.
Notes
You can customize the seasonings to taste.
How to Prepare This Dish
Steps and time-saving tips
Start by preheating your oven to 350°F and lining your baking sheets with parchment paper for easy cleanup. In a large bowl, whisk together the flour, baking soda, and salt until evenly combined. Meanwhile, cream the butter and sugars in a separate bowl until light and fluffy, which takes about 2-3 minutes with an electric mixer. Beat in the egg and vanilla, then gradually fold in the dry ingredients. Avoid overmixing to keep your Chewy Sprinkles Cookies tender. Gently stir in the sprinkles—reserve a handful for topping the dough balls later.
Use a cookie scoop to portion the dough into 1.5-inch balls, rolling them lightly between your palms for even shape. Press a few extra sprinkles onto the tops for a festive look. Space the dough balls 2 inches apart on the baking sheet to prevent spreading. Bake for 10-12 minutes until the edges are just golden but the centers still look soft. Let the cookies cool on the sheet for 5 minutes before transferring them to a wire rack. For extra chewiness, slightly underbake them and allow residual heat to finish the job.
Save time by chilling the dough for just 15 minutes instead of the usual hour—this helps control spread without the wait. If you’re doubling the batch, freeze half the dough in pre-portioned balls for future baking. Warm cookies taste best, so reheat leftovers for 10 seconds in the microwave before serving.
Mistakes I’ve made and learned from
I once rushed the creaming step for my Chewy Sprinkles Cookies, leaving the butter and sugar barely combined. The result? Flat, greasy cookies that spread too thin. Now I mix until the texture resembles whipped frosting—this creates air pockets for lift. Another blunder: adding sprinkles too early, which bled color into the dough. Tossing them in flour first (a trick from my Perfect Sugar Cookies recipe) keeps them vibrant. Overbaking was my biggest hurdle; I’d wait for crisp edges, sacrificing chewiness. A game-changer was pulling the cookies out when they still looked underdone, as detailed in my Cookie Baking Tips guide. Trust the carryover heat—they’ll firm up perfectly.

Cultural Connection and Variations
Where this recipe comes from
Chewy Sprinkles Cookies bring a burst of joy to any occasion, but their roots trace back to Dutch and Belgian traditions, where bakers first mixed colorful speculaas spices into dough. Over time, bakers swapped spices for vibrant sprinkles, turning these treats into a celebration staple. In the U.S., they became a birthday party favorite, while in Australia, bakers often sandwich them with buttercream for a sweeter twist. My grandma, however, added a pinch of almond extract to hers, making her Chewy Sprinkles Cookies the talk of every family gathering.
Across cultures, bakers adapt this recipe to local tastes. In Scandinavia, they might use pearl sugar for crunch, while Mexican versions sometimes include a hint of cinnamon. During holidays, you’ll find them shaped like stars or trees, but the chewy texture remains the star. Whether served at a Dutch Sinterklaas feast or a modern baby shower, Chewy Sprinkles Cookies always steal the show with their playful charm.
How it fits in today’s cooking
Today, Chewy Sprinkles Cookies bridge nostalgia and modern baking trends. They’re a go-to for holidays, but also a fun way to brighten weekday lunches. Busy parents love them as an easy after-school snack, while food bloggers reinvent them with gluten-free flour or vegan butter. Their versatility keeps them relevant, whether you’re baking for a crowd or craving a solo treat.
Social media fuels their popularity, with bakers sharing rainbow-colored versions or matching them to party themes. For a healthier twist, some swap sprinkles for dried fruit, but the classic recipe still rules. Pair them with a homemade iced coffee, and you’ve got a perfect afternoon pick-me-up. No matter how you tweak them, Chewy Sprinkles Cookies remain a timeless bite of happiness.
Taste and Texture
What makes it delicious
Chewy Sprinkles Cookies deliver a burst of joy with every bite. The rich, buttery dough melts in your mouth, while the rainbow sprinkles add a playful crunch. Warm vanilla and brown sugar create a comforting aroma that fills the kitchen. Each cookie stays soft and chewy at the center, with slightly crisp edges for the perfect contrast. The sprinkles not only look festive but also bring a subtle sweetness that balances the dough’s depth. Whether fresh from the oven or stored for later, Chewy Sprinkles Cookies always satisfy with their irresistible texture and nostalgic flavor.
Boosting the flavor
Elevate your Chewy Sprinkles Cookies by swapping vanilla extract for almond or coconut extract for a nutty twist. For extra richness, fold in white chocolate chips or drizzle melted chocolate on top after baking. A pinch of sea salt sprinkled over the dough before baking enhances the sweetness beautifully. If you love bold flavors, try adding a teaspoon of cinnamon or citrus zest to the batter. For more inspiration, explore our guide to cookie decorating ideas or discover how to pair them with homemade ice cream for the ultimate treat.
Tips for Success
Best practices for results
Always chill the dough for at least 30 minutes before baking your Chewy Sprinkles Cookies, as this prevents spreading and ensures a perfect texture. Use parchment paper instead of greasing the pan to keep the bottoms from browning too quickly. For even sprinkles distribution, gently fold them into the dough by hand instead of using a mixer. Additionally, measure your flour correctly by spooning it into the cup and leveling it off—this avoids dense cookies. Finally, let the cookies cool on the baking sheet for 5 minutes before transferring them to a rack, as they firm up while resting.
Mistakes to avoid
Avoid overmixing the dough once you add the flour, since this can make your Chewy Sprinkles Cookies tough instead of tender. If your cookies spread too much, check your butter temperature—it should be softened but still cool to the touch. For more on butter consistency, see our guide on baking with butter. Also, don’t skip the salt in the recipe, as it balances the sweetness and enhances flavor. If you prefer a softer texture, slightly underbake the cookies by 1-2 minutes. For extra baking time tips, explore our cookie baking times article.
Serving and Pairing Suggestions
How to serve this dish
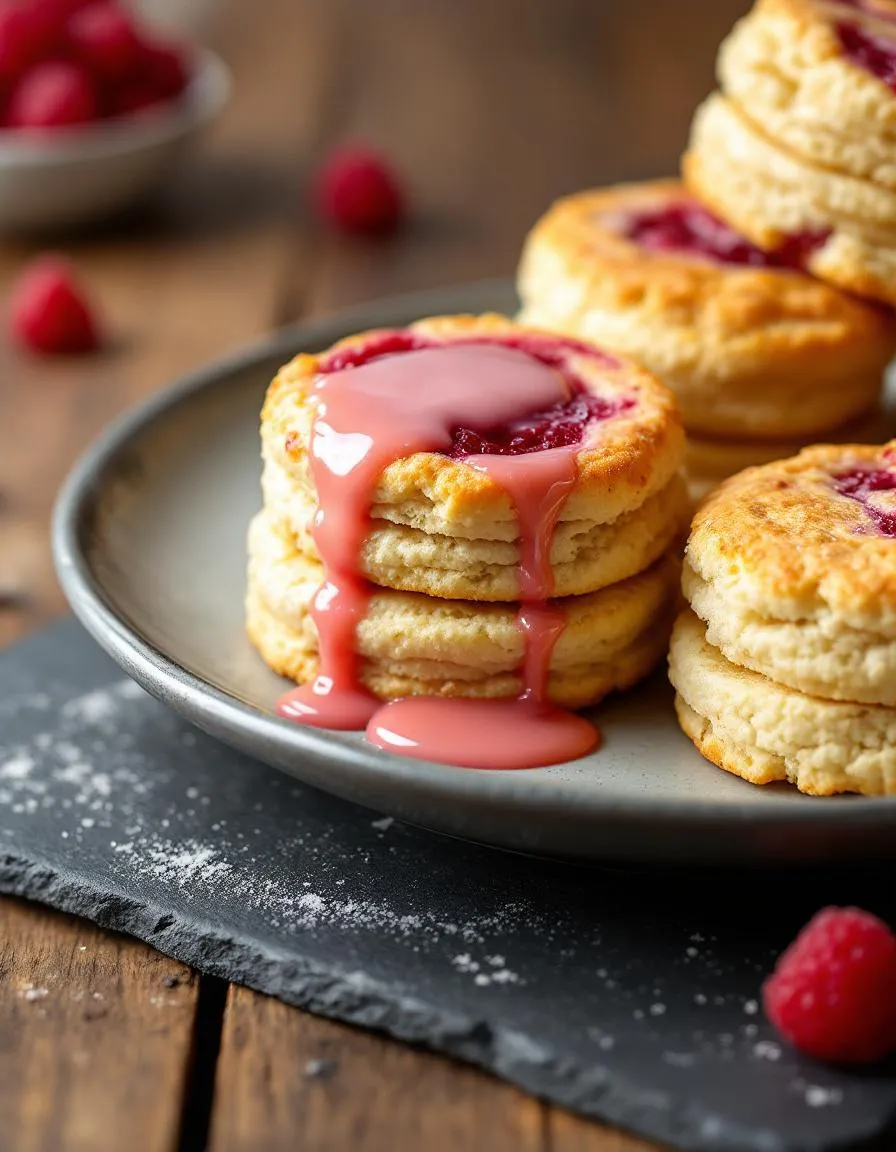
For a fun and festive presentation, stack Chewy Sprinkles Cookies on a colorful dessert plate or a vintage cake stand. Meanwhile, tie them with ribbon in clear cellophane bags for party favors or holiday gifts. If you serve them at brunch, arrange them alongside mini muffins or fresh fruit for a cheerful spread. Additionally, warm them slightly before serving to enhance their chewy texture and make the sprinkles pop. Whether for birthdays, bake sales, or casual gatherings, these cookies always steal the spotlight.
What goes well with it
Pair Chewy Sprinkles Cookies with a cold glass of milk for a classic combo that highlights their rich, buttery flavor. Alternatively, serve them with a scoop of vanilla ice cream to create an easy cookie sandwich—perfect for summer picnics. For a grown-up twist, try dunking them in a creamy homemade latte or pairing them with a fruity berry smoothie. The latte’s warmth balances the cookies’ sweetness, while the smoothie adds a refreshing contrast. No matter your choice, these pairings turn a simple treat into a memorable moment.
To keep Chewy Sprinkles Cookies soft, store them in an airtight container with a slice of bread. The bread releases moisture, preventing the cookies from drying out. Also, slightly underbaking the cookies ensures they stay chewy longer.
Yes, melted butter works for Chewy Sprinkles Cookies, but it may spread more during baking. For thicker cookies, chill the dough for 30 minutes before baking. Melted butter enhances chewiness, making these cookies extra soft.
Jimmies or quins work best for Chewy Sprinkles Cookies because they hold their shape during baking. Avoid nonpareils, as they bleed color. Rainbow jimmies add a festive look without compromising texture.
Absolutely! Freeze Chewy Sprinkles Cookies dough in balls for up to 3 months. Bake straight from frozen, adding 1-2 extra minutes. This method ensures fresh, chewy cookies anytime.