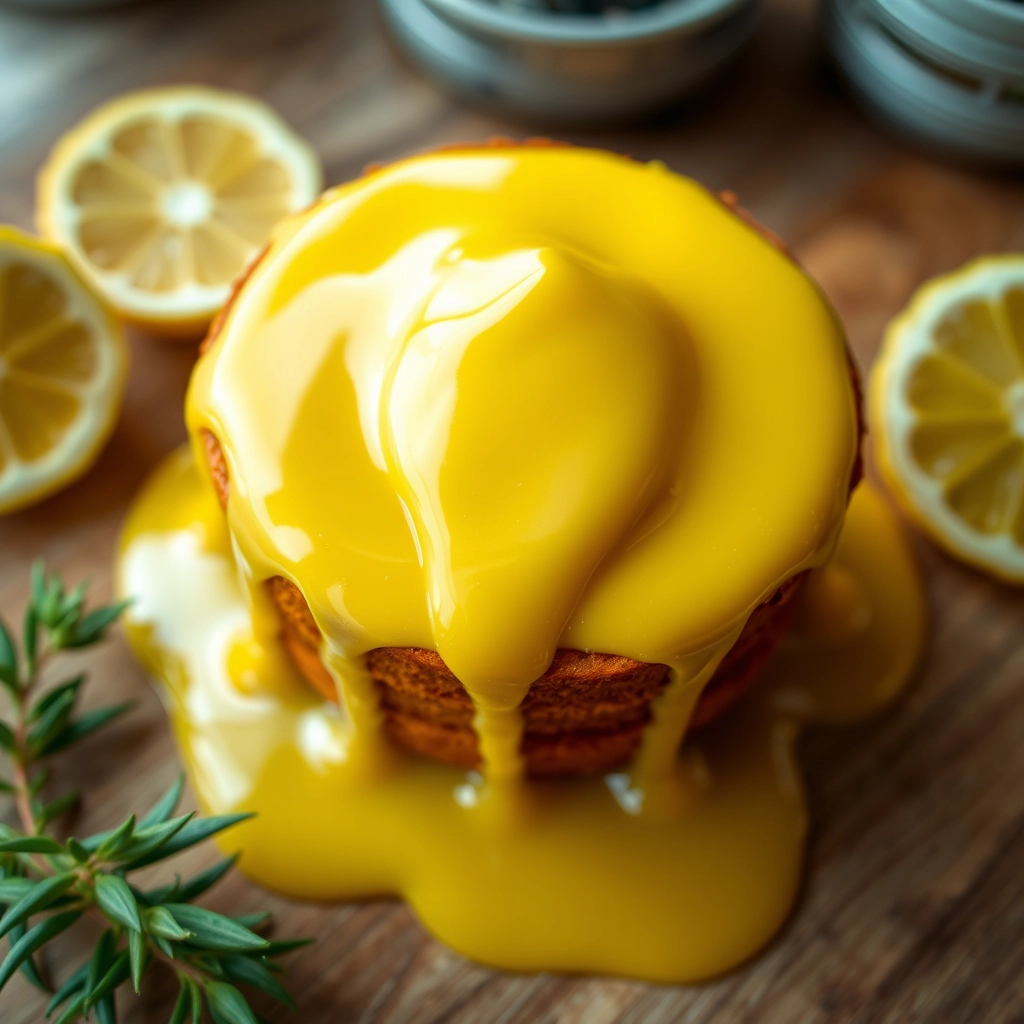
The Joy of Homemade Lemon Curd: Sunshine in a Jar
There’s something magical about the first bite of lemon curd—that perfect balance of tart and sweet, smooth yet vibrant. I remember the first time I tasted it as a child, perched on my grandmother’s kitchen counter as she slathered it onto warm scones. The way her eyes crinkled when she saw my face light up with that first tangy spoonful…well, let’s just say it sparked a lifelong love affair. Now, whenever I make this easy lemon curd recipe, it’s like bottling sunshine—and today, I’m so excited to share that joy with you.
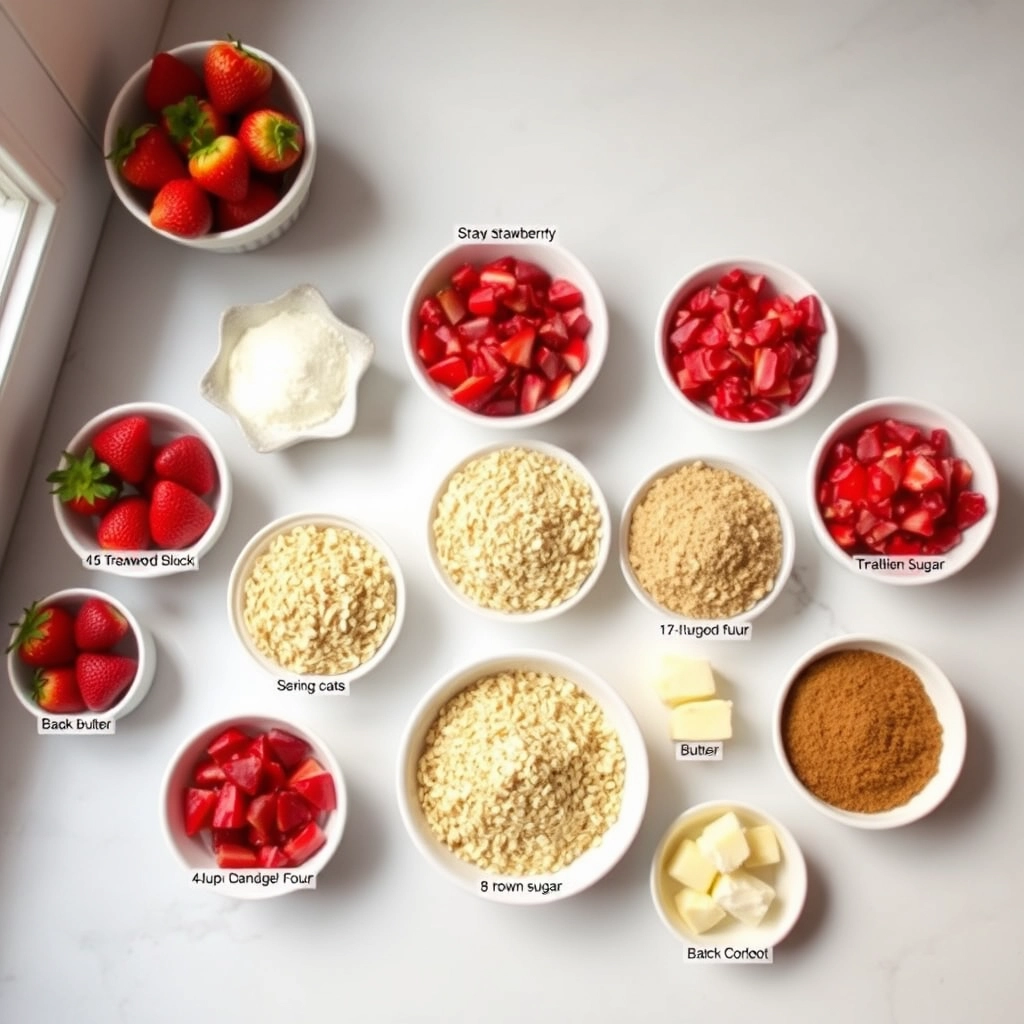
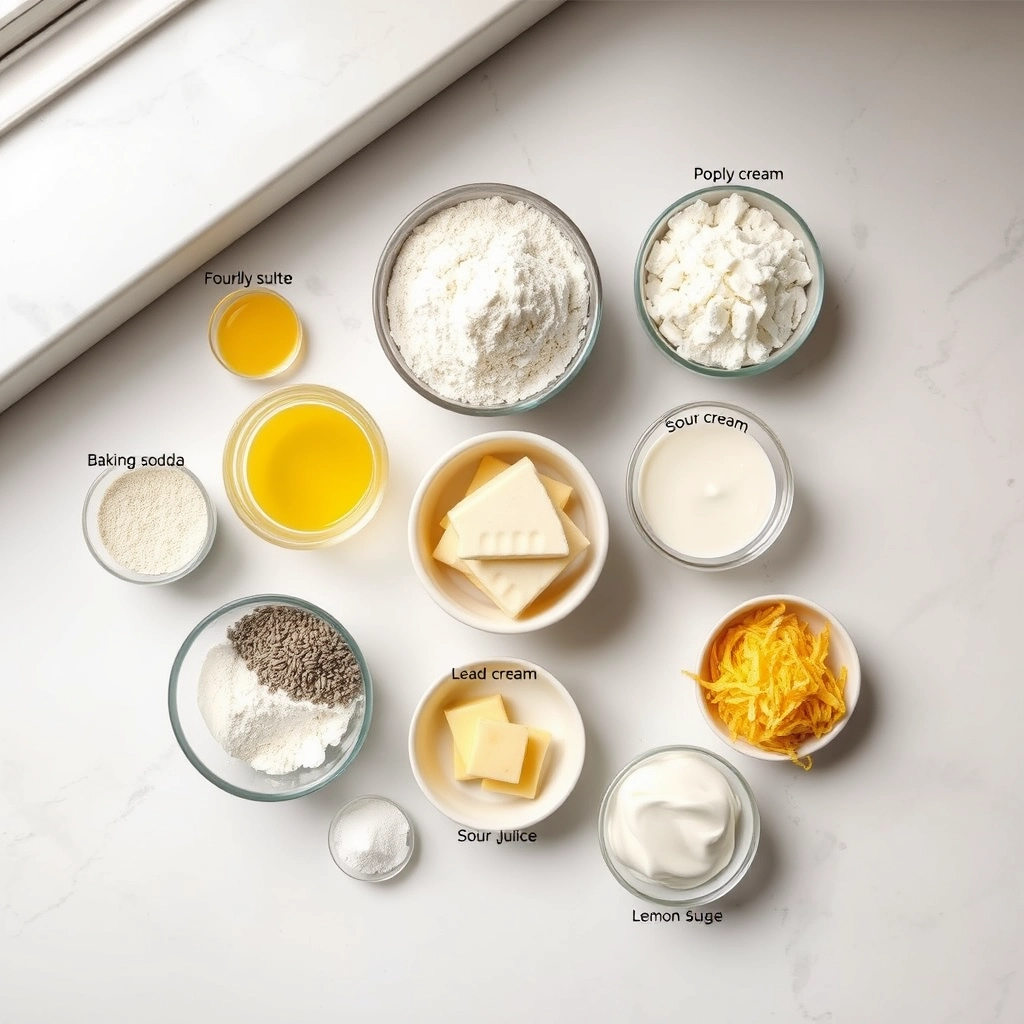
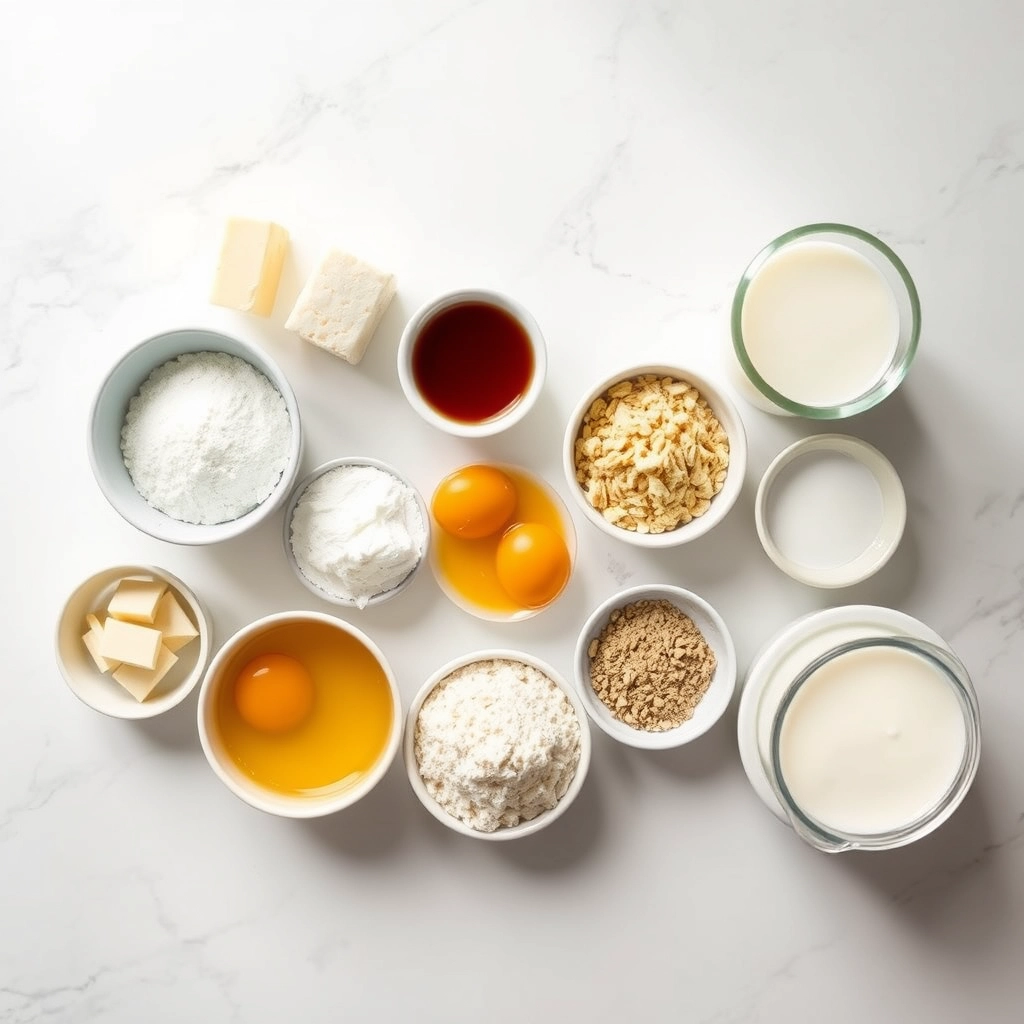
Ingredients You’ll Need
- 4 large lemons – Always choose unwaxed ones if possible (or give them a good scrub!). We’ll use both the zest and juice for maximum citrusy brightness.
- 1 cup granulated sugar – The perfect amount to balance the tartness without overwhelming the lemon’s natural zing.
- 4 large eggs – Room temperature eggs blend more smoothly into the mixture—trust me, it makes a difference!
- 1/2 cup unsalted butter – Cut into small cubes. The butter adds that luxurious, velvety texture we all adore.
- Pinch of salt – Just a whisper to elevate all the flavors.
Let’s Make Some Sunshine: Step-by-Step
Step 1: Zest with Love
Using a fine grater, zest all four lemons into a heatproof bowl. As you do, breathe in that incredible citrus perfume—it’s instant mood therapy! Pro tip: Avoid the white pith beneath the yellow zest—it can add bitterness.
Step 2: Juice Those Beauties
Roll your lemons firmly on the counter before cutting and juicing—this helps release every precious drop. You’ll need about 1/2 cup of fresh lemon juice. Strain it to catch any seeds or pulp for the silkiest texture.
Step 3: Create Your Base
In that same bowl with your zest, whisk together the lemon juice, sugar, eggs, and salt until completely combined. Don’t worry if it looks a bit frothy—that’s exactly what we want at this stage!
Step 4: The Gentle Cook
Set up a double boiler (or place your bowl over a saucepan with 2 inches of simmering water). This indirect heat is the secret to preventing scrambled eggs! Stir constantly with a silicone spatula for about 10 minutes until the mixture thickens enough to coat the back of a spoon…

Pro Tips, Variations, and Substitutions
Making lemon curd is simple, but a few tricks can take it from good to extraordinary:
- Use fresh lemons—bottled juice just doesn’t give the same bright, zesty flavor.
- Strain for silkiness: If you want an ultra-smooth texture, pass the curd through a fine-mesh sieve before jarring.
- Swap the citrus: Try limes, oranges, or even grapefruit for a fun twist.
- Dairy-free? Substitute butter with coconut oil for a rich, tropical note.
- Less sweet: Reduce the sugar by a tablespoon or two if you prefer a tangier curd.
What to Serve With Lemon Curd
This sunny spread is endlessly versatile! Here are some of my favorite ways to enjoy it:
- Slathered on warm scones or buttery toast
- Layered in a parfait with yogurt and fresh berries
- As a filling for tarts, cakes, or thumbprint cookies
- Dolloped over pancakes or waffles for a citrusy breakfast
- Swirled into whipped cream for a dreamy dessert topping
Storage and Reheating Tips
Fresh lemon curd keeps beautifully if stored right:
- Refrigerate in an airtight jar for up to 2 weeks.
- Freeze for up to 3 months—thaw overnight in the fridge before using.
- Reheat gently in a saucepan over low heat if it thickens too much, stirring in a splash of water if needed.
Frequently Asked Questions
Can I use bottled lemon juice?
While fresh is best, bottled juice works in a pinch—just expect a slightly less vibrant flavor.
Why did my curd turn grainy?
This usually happens if the eggs overcook. Keep the heat low and stir constantly for a silky texture.
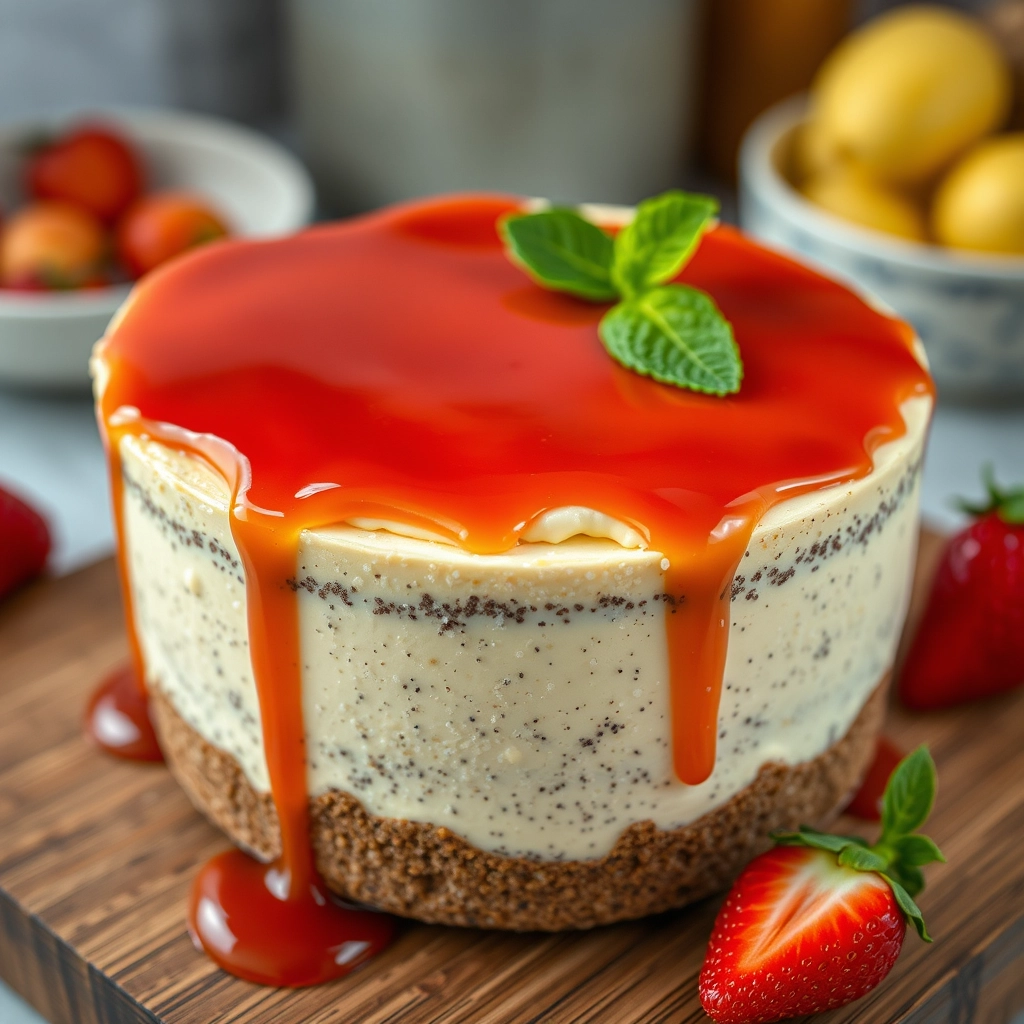
How do I know when it’s done?
The curd should coat the back of a spoon, and a finger drawn through it leaves a clean line.
Can I make it ahead for gifting?
Absolutely! Pour into small sterilized jars, seal tightly, and refrigerate—it makes a lovely homemade present.
A Sweet Final Thought
There’s something truly magical about homemade lemon curd—the way its bright, tangy sweetness can turn an ordinary morning into something special. Whether you’re spreading it on toast, folding it into a dessert, or sneaking a spoonful straight from the jar (no judgment here!), I hope this recipe brings a little sunshine to your kitchen. Happy cooking!
PrintEasy Lemon Curd
Description
A smooth, tangy, and sweet lemon curd that’s perfect for spreading on toast, filling cakes, or topping desserts.
Ingredients
For the Crust:
- 3 large eggs
- 1 cup granulated sugar
- 1/2 cup fresh lemon juice (about 3–4 lemons)
- 1 tbsp lemon zest
- 1/2 cup unsalted butter, cubed
Instructions
1. Prepare the Crust:
- In a medium saucepan, whisk together eggs, sugar, lemon juice, and lemon zest until well combined.
- Place the saucepan over low heat and add the butter. Stir constantly until the mixture thickens and coats the back of a spoon (about 10-15 minutes).
- Remove from heat and strain through a fine-mesh sieve into a bowl. Cover with plastic wrap, pressing it directly onto the surface to prevent a skin from forming. Chill in the refrigerator for at least 2 hours before using.
Notes
You can customize the seasonings to taste.