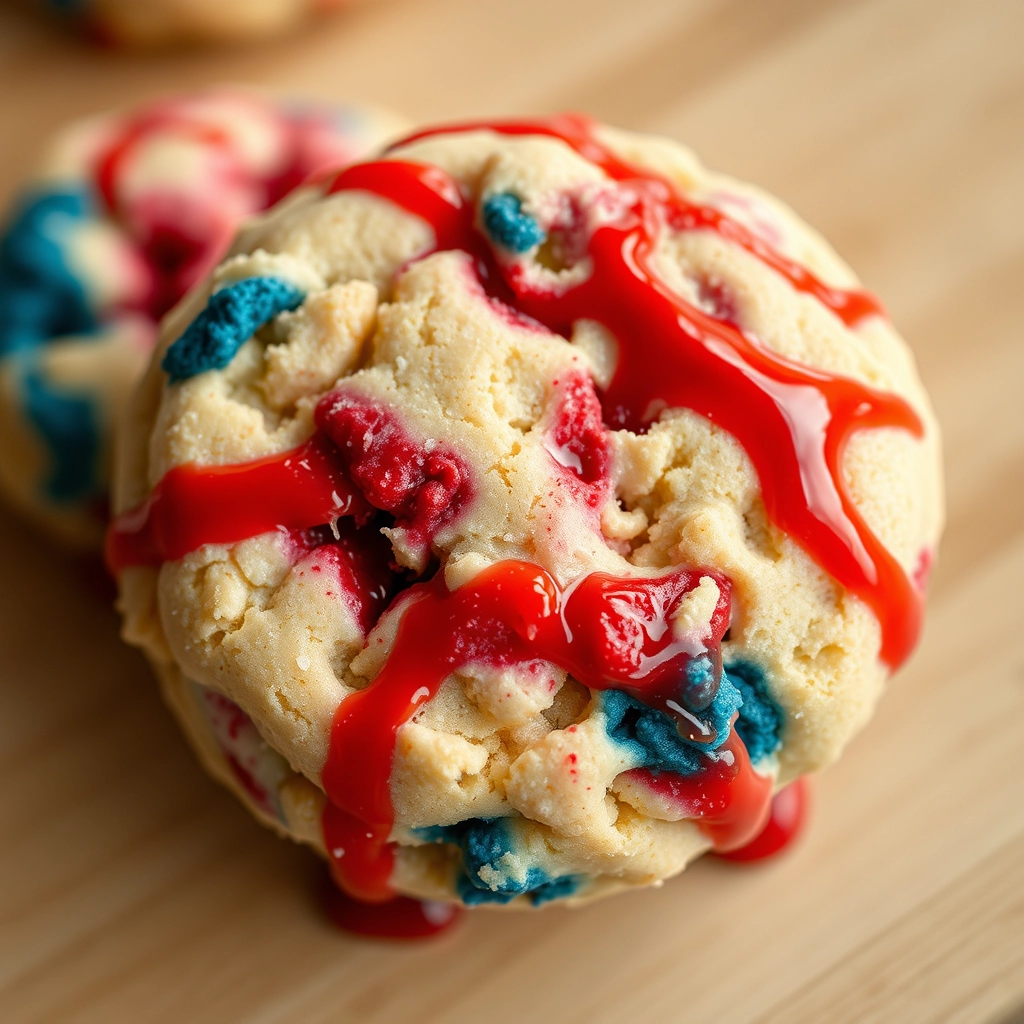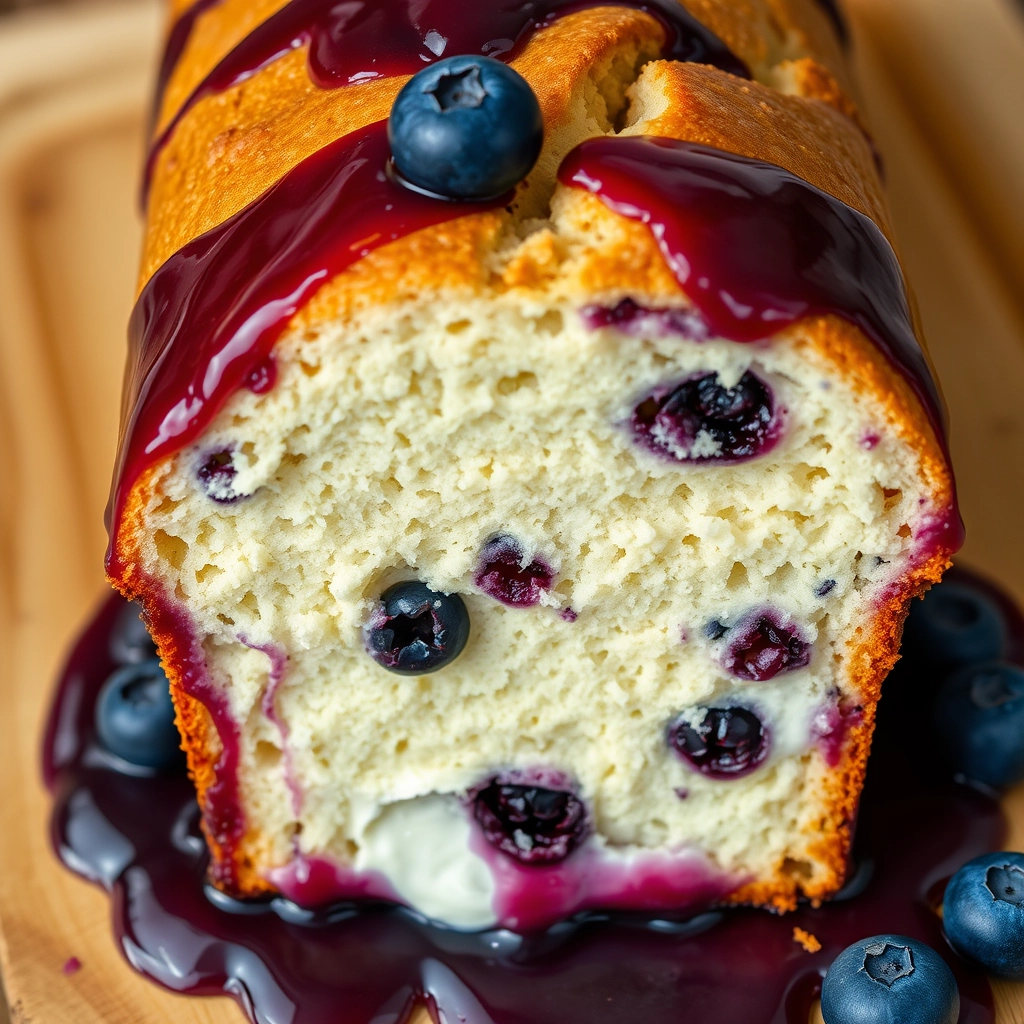
The Coziest Blueberry Cream Cheese Bread You’ll Ever Bake
There’s something magical about the way blueberries burst in the oven, their juices swirling into tender crumbs of cake. I discovered this recipe on a rainy Sunday when my kitchen smelled like childhood summers—warm sugar, vanilla, and that unmistakable tang of cream cheese. My grandmother used to say that baking with berries is like capturing sunshine in a loaf pan, and this blueberry cream cheese bread proves just that. Whether you’re serving it with tea for an afternoon pick-me-up or gifting it to a neighbor (who will instantly adore you), this recipe is a little hug in edible form.
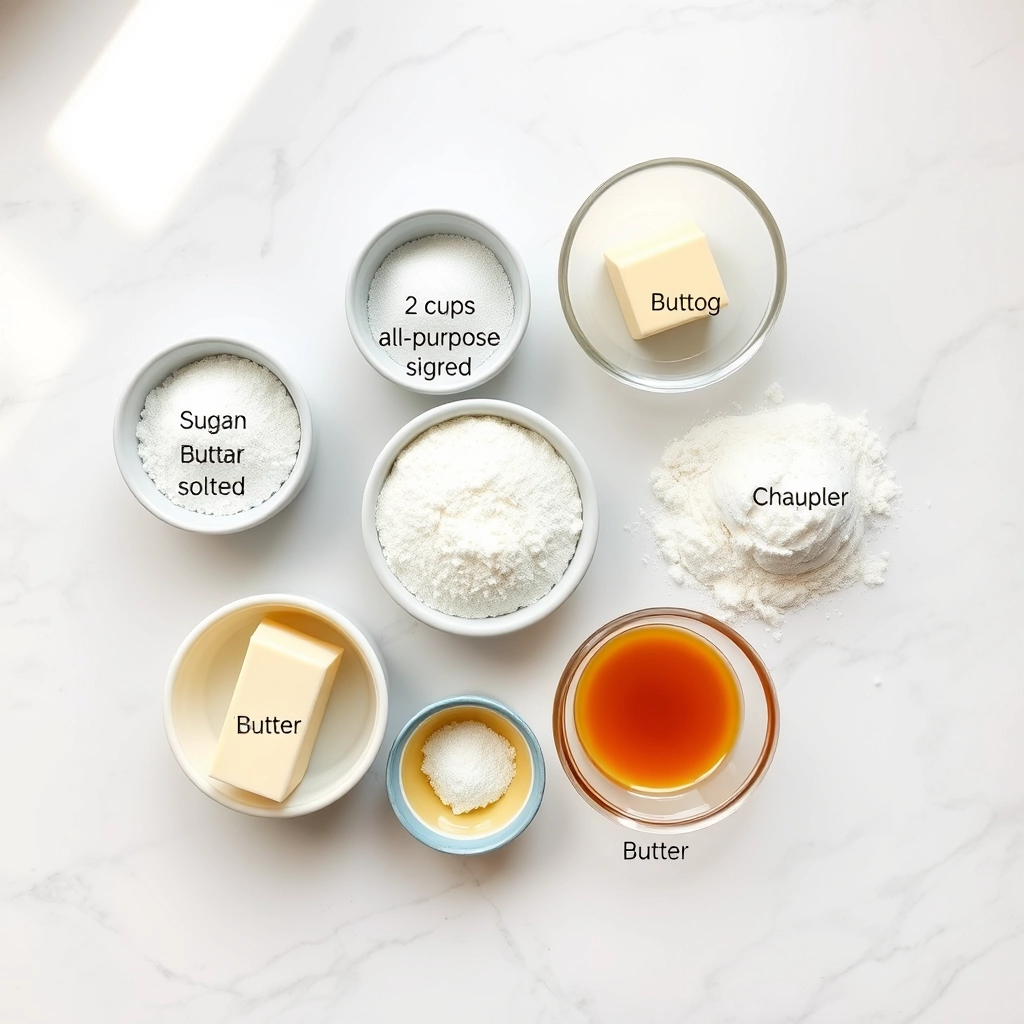
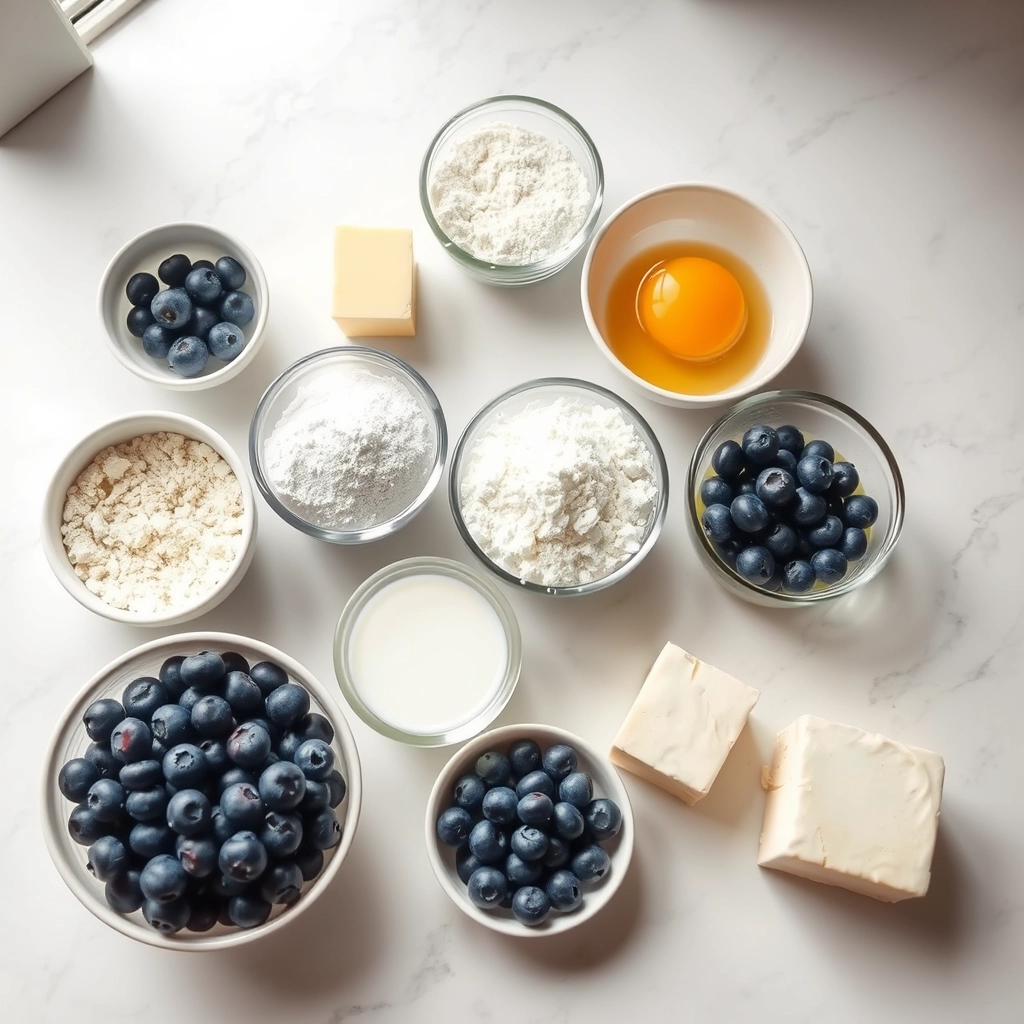
Ingredients You’ll Need
- 2 cups all-purpose flour – Spoon and level it for the perfect texture! Too much flour makes dense bread, and we want cloud-soft crumbs.
- 1 tsp baking powder – Our gentle lift for that ideal rise.
- ½ tsp salt – Just enough to make the sweetness sing.
- ½ cup unsalted butter, softened – Room temperature is key here. Press your finger into it—it should leave a slight indent without sinking.
- 1 cup granulated sugar – Some recipes use less, but this amount gives that nostalgic bakery-style sweetness.
- 2 large eggs – Crack them into a separate bowl first (trust me, fishing out shell bits is no one’s idea of fun).
- 1 tsp vanilla extract – Pure vanilla, if you have it. That warm, floral note makes all the difference.
- ½ cup whole milk – The fat content keeps the crumb luxuriously moist.
- 1 ½ cups fresh blueberries – Toss them in a spoonful of flour to prevent sinking! Frozen work too, but don’t thaw them—just add a few extra minutes to the bake time.
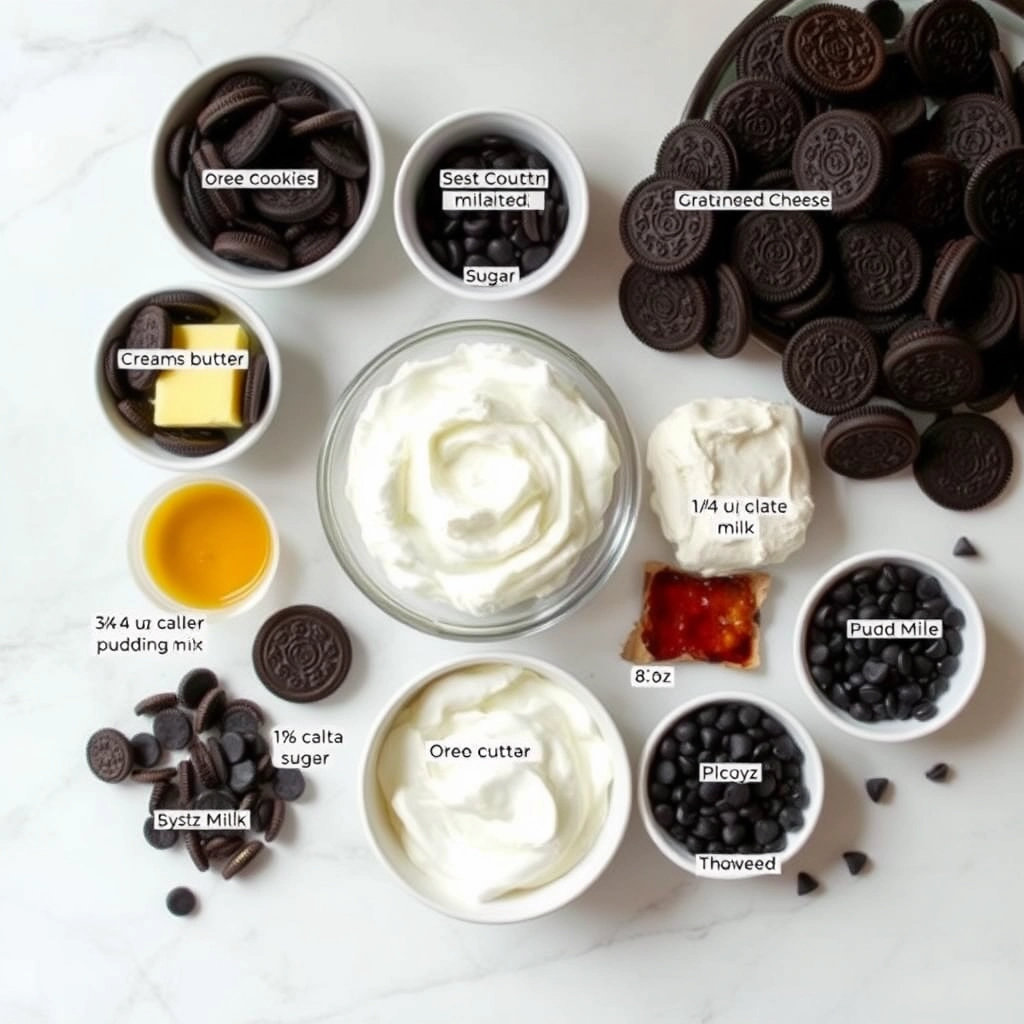
For the Cream Cheese Swirl:
- 8 oz cream cheese, softened – Full-fat, please. This is the silky heart of our bread.
- ¼ cup sugar – Just enough to balance the tang.
- 1 egg yolk – It enriches the swirl without making it too dense.
Let’s Bake Together
Step 1: Preheat your oven to 350°F (175°C) and grease a 9×5-inch loaf pan. I like to line mine with parchment paper too—it makes lifting out the bread so satisfyingly easy.
Step 2: In a medium bowl, whisk together the flour, baking powder, and salt. Take a deep breath—that powdery, promise-filled scent is the start of something wonderful.
Step 3: In a large bowl, beat the butter and sugar until light and fluffy. This takes about 3 minutes with a hand mixer. Don’t rush it! Creaming properly gives the bread its tender structure.
Step 4: Add the eggs one at a time, mixing well after each, then stir in the vanilla. The batter should look like pale gold silk at this point.
Step 5: Alternate adding the flour mixture and milk to the butter mixture, beginning and ending with flour. Fold gently—overmixing leads to tough bread, and we’re aiming for melt-in-your-mouth softness.
Step 6: Toss the blueberries with a teaspoon of flour (this little trick keeps them from sinking to the bottom), then fold them into the batter with a spatula. The batter will turn faintly purple in spots, like a watercolor painting.
Pro Tips, Variations, and Substitutions
This blueberry cream cheese bread is wonderfully forgiving, but here are a few ways to make it your own:
- Berry Swap: Fresh raspberries or blackberries work beautifully if blueberries aren’t in season.
- Lemon Zest: Add a teaspoon of lemon zest to the batter for a bright, citrusy twist.
- Nutty Crunch: Fold in ½ cup of chopped walnuts or pecans for extra texture.
- Dairy-Free Option: Substitute the cream cheese with a plant-based alternative and use almond milk instead of regular milk.
What to Serve It With
This bread is delightful on its own, but here are a few pairing ideas to make it even more special:
- A warm cup of vanilla chai tea or dark roast coffee for a cozy morning treat.
- A dollop of whipped cream or a scoop of vanilla ice cream for dessert.
- Fresh berries and a drizzle of honey for an elegant brunch presentation.
Storage and Reheating Tips
To keep your blueberry cream cheese bread tasting fresh:
- Room Temperature: Store in an airtight container for up to 2 days.
- Refrigerator: For longer freshness, refrigerate for up to 5 days.
- Freezing: Wrap slices tightly in plastic wrap and freeze for up to 3 months. Thaw at room temperature before enjoying.
- Reheating: Warm slices in the microwave for 10–15 seconds or toast lightly for a crisp edge.
Frequently Asked Questions
Can I use frozen blueberries?
Yes! Just toss them in a bit of flour before folding into the batter to prevent excess moisture.
Why did my cream cheese swirl sink?
If the batter is too thin, the swirl may sink. Make sure your cream cheese mixture is thick and your bread batter isn’t overmixed.
Can I make this into muffins?
Absolutely! Divide the batter into a muffin tin and bake at 375°F for 18–22 minutes.
How do I prevent the bread from sticking to the pan?
Grease the loaf pan well and line it with parchment paper for easy removal.
A Cozy Final Thought
There’s something truly magical about pulling a loaf of freshly baked blueberry cream cheese bread from the oven—the sweet aroma filling the kitchen, the tender crumb studded with juicy berries, and that irresistible cream cheese swirl. Whether you’re sharing it with loved ones or savoring a quiet moment with a slice and a cup of tea, this recipe is sure to become a cherished favorite. Happy baking!
PrintBlueberry Cream Cheese Bread
Description
A moist and flavorful bread swirled with creamy cheese and bursting with fresh blueberries.
Ingredients
For the Crust:
- 1 1/2 cups all-purpose flour
- 1 tsp baking powder
- 1/4 tsp salt
- 1/2 cup unsalted butter, softened
- 3/4 cup granulated sugar
- 2 large eggs
- 1 tsp vanilla extract
- 1/2 cup milk
- 1 cup fresh blueberries
- 4 oz cream cheese, softened
- 1/4 cup powdered sugar
Instructions
1. Prepare the Crust:
- Preheat oven to 350°F (175°C). Grease a 9×5-inch loaf pan.
- In a bowl, whisk together flour, baking powder, and salt.
- In a separate bowl, beat butter and granulated sugar until light and fluffy. Add eggs one at a time, then mix in vanilla.
- Alternately add the flour mixture and milk to the butter mixture, beginning and ending with flour.
- Gently fold in blueberries.
- In another bowl, beat cream cheese and powdered sugar until smooth.
- Pour half the batter into the loaf pan. Spoon cream cheese mixture over the batter, then top with remaining batter. Swirl gently with a knife.
- Bake for 50-60 minutes or until a toothpick inserted comes out clean. Cool in pan for 10 minutes, then transfer to a wire rack.
Notes
You can customize the seasonings to taste.