“`html
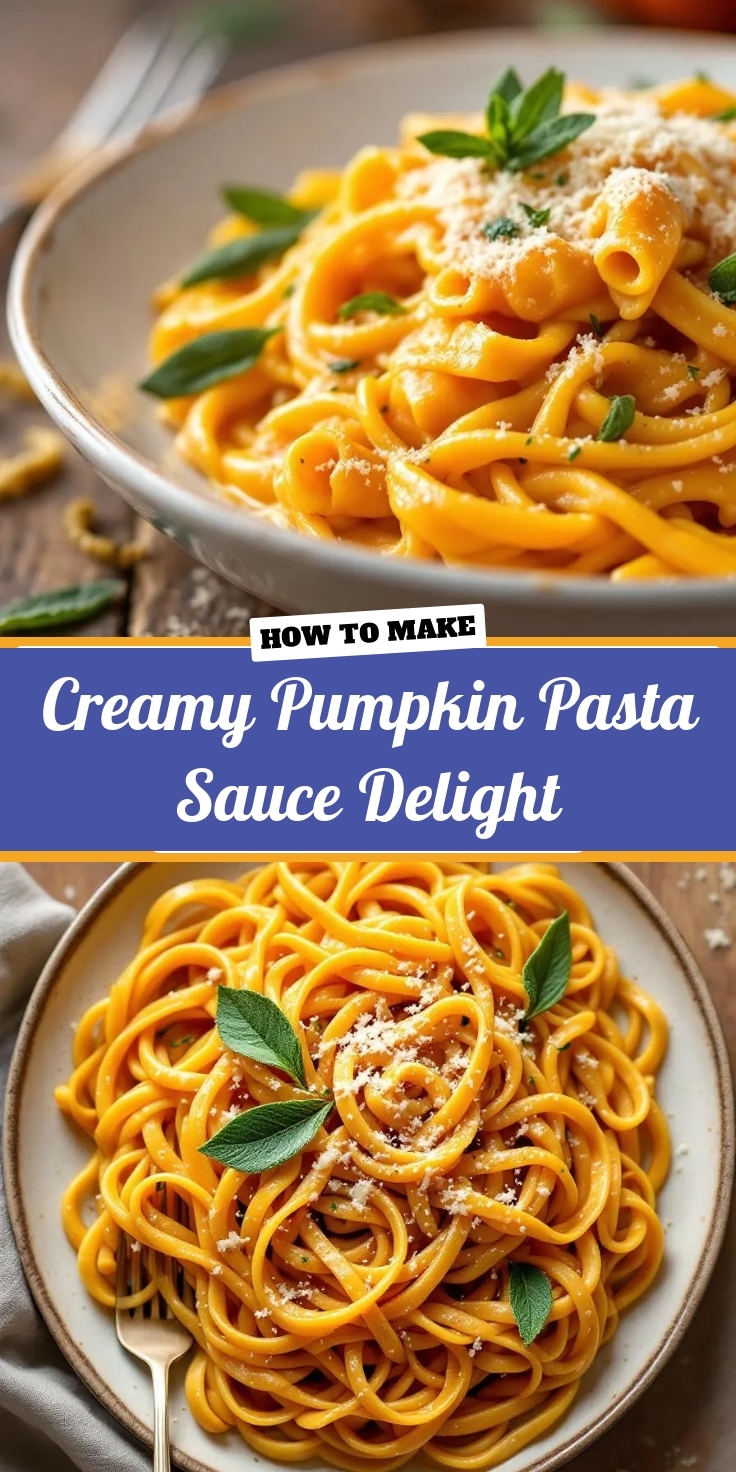
Introduction
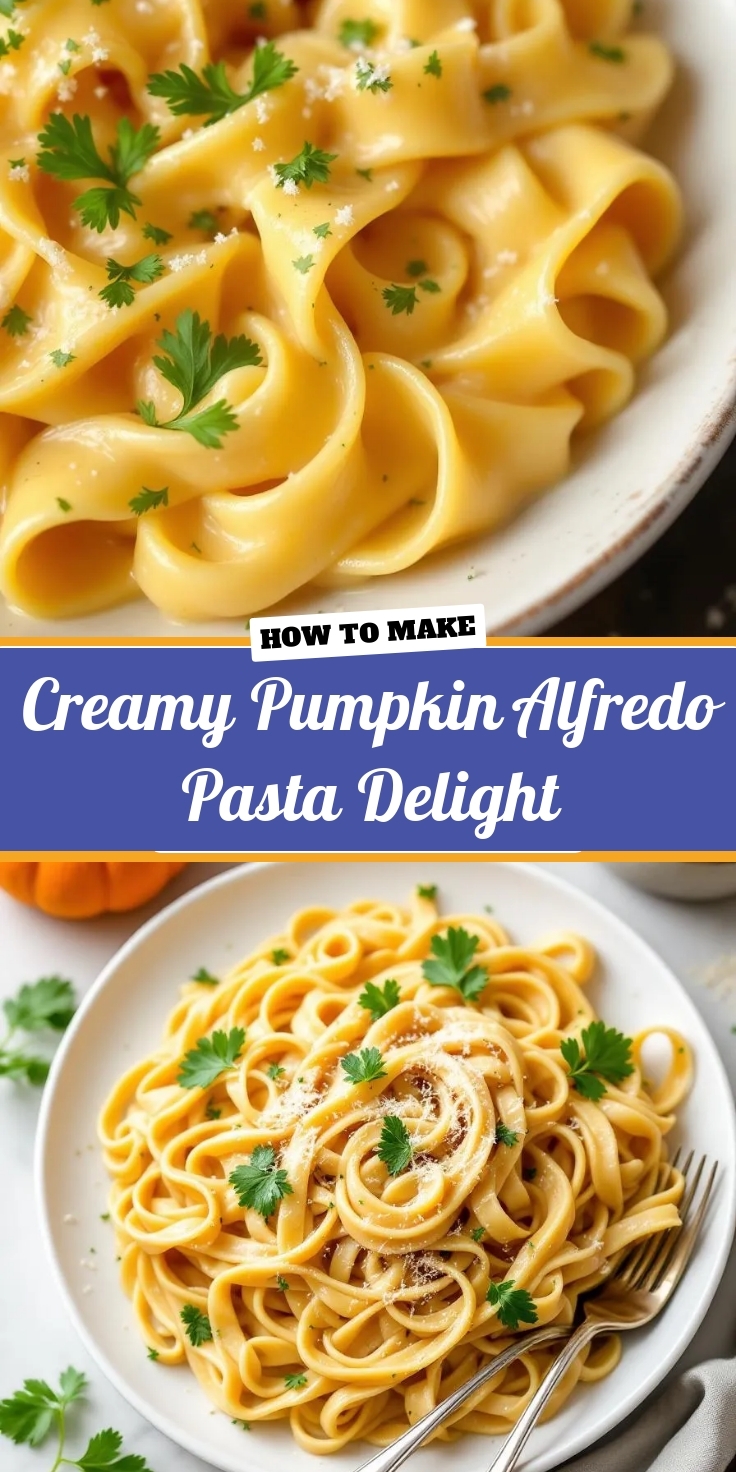
There’s something magical about the first bite of a dish that wraps you in warmth and nostalgia. Creamy Pumpkin Alfredo Pasta Delight does exactly that—combining the rich, velvety comfort of Alfredo with the earthy sweetness of pumpkin for a meal that feels like a cozy hug. Whether you’re craving a quick weeknight dinner or a showstopping dish for guests, this recipe delivers. Plus, it’s a fantastic way to celebrate fall flavors without spending hours in the kitchen. Trust me, one forkful and you’ll understand why this dish deserves a permanent spot in your recipe rotation.
About This Recipe
Creamy Pumpkin Alfredo Pasta Delight is a modern twist on classic Italian comfort food. Instead of relying solely on heavy cream, we blend pumpkin puree into the sauce for a lighter yet deeply flavorful result. The pumpkin not only adds a subtle sweetness but also packs a nutritional punch with vitamins and fiber. Meanwhile, garlic, Parmesan, and a touch of nutmeg elevate the dish, making it irresistible. This recipe matters because it bridges the gap between indulgence and balance, proving that comfort food can be both decadent and wholesome.
If you love seasonal recipes that highlight fresh ingredients, you’ll appreciate how this dish captures the essence of fall. It’s also incredibly versatile. For instance, you can easily swap regular pasta for gluten-free or whole-grain options. Similarly, if you’re looking for more pumpkin-inspired treats, check out our Pumpkin Spice Latte Cupcakes for dessert. On the other hand, if you’re new to cooking with pumpkin, don’t worry—this recipe walks you through every step. The creamy sauce comes together in minutes, and the final dish pairs beautifully with a crisp salad or crusty bread. For more pairing ideas, explore our Garlic Herb Focaccia recipe.
What truly sets Creamy Pumpkin Alfredo Pasta Delight apart is its ability to impress without complexity. The ingredients are simple, but the flavors are sophisticated enough for special occasions. Whether you’re cooking for family or hosting friends, this dish adapts effortlessly. Plus, it’s a great way to introduce picky eaters to pumpkin in a familiar format. By the end of the meal, you’ll have everyone asking for seconds—and the recipe.
Why I Love This Recipe
I’ll never forget the first time I made Creamy Pumpkin Alfredo Pasta Delight. It was a chilly evening, and I wanted something hearty yet different from my usual go-tos. The moment I tasted the sauce, I knew I’d stumbled onto something special. The pumpkin added a depth that traditional Alfredo lacks, and the aroma alone made my kitchen smell like autumn. Now, it’s a staple in my home, especially during the holidays. It reminds me of gathering around the table with loved ones, sharing stories, and savoring every bite. That’s the power of food—it’s not just nourishment; it’s memory, comfort, and joy all in one bowl.
“`
Health and Nutrition
Why it’s good for your body
Creamy Pumpkin Alfredo Pasta Delight packs a nutritious punch while satisfying your cravings. First, pumpkin delivers a hefty dose of vitamin A, which supports vision and immune health. Additionally, the fiber in pumpkin keeps digestion smooth and helps maintain steady energy levels. Meanwhile, the creamy sauce, when made with quality ingredients like Greek yogurt or light cream, offers protein and healthy fats without excessive calories.
Moreover, this dish balances indulgence with nourishment. The whole-grain pasta option boosts fiber and complex carbs, keeping you full longer. Furthermore, pumpkin’s antioxidants fight inflammation, while garlic and herbs in the sauce add immune-boosting properties. Even better, Creamy Pumpkin Alfredo Pasta Delight sneaks in veggies effortlessly, making it a smart choice for picky eaters.
Finally, the dish adapts to dietary needs. For instance, you can swap regular pasta for gluten-free or protein-enriched versions. Whether you enjoy it as a cozy dinner or a meal-prep staple, Creamy Pumpkin Alfredo Pasta Delight fuels your body with flavor and nutrients.
How it fits in a healthy lifestyle
Creamy Pumpkin Alfredo Pasta Delight fits seamlessly into balanced eating habits. If you’re watching portions, pair it with a crisp side salad for a well-rounded meal. For protein seekers, adding grilled chicken or shrimp turns it into a muscle-friendly option. The dish also works well for meal prepping, as it reheats beautifully for quick lunches.
Those following heart-healthy diets can tweak the recipe by using olive oil and low-fat dairy. If you love exploring wholesome pasta dishes, check out our healthy pasta recipes for more inspiration. And if you’re curious about balancing comfort food with nutrition, our guide to comfort food nutrition dives deeper into smart swaps. With simple adjustments, Creamy Pumpkin Alfredo Pasta Delight becomes a versatile star in your weekly menu.
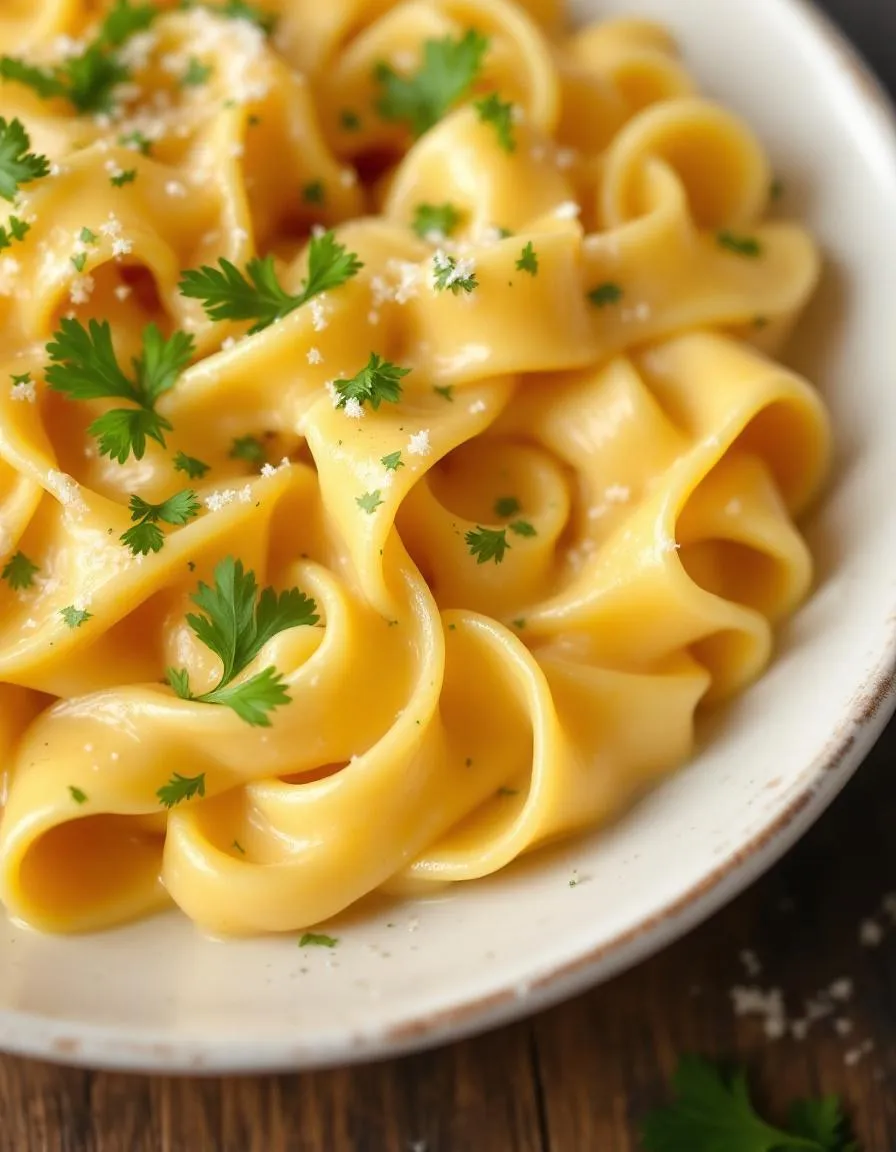
PrintCreamy Pumpkin Alfredo Pasta Delight
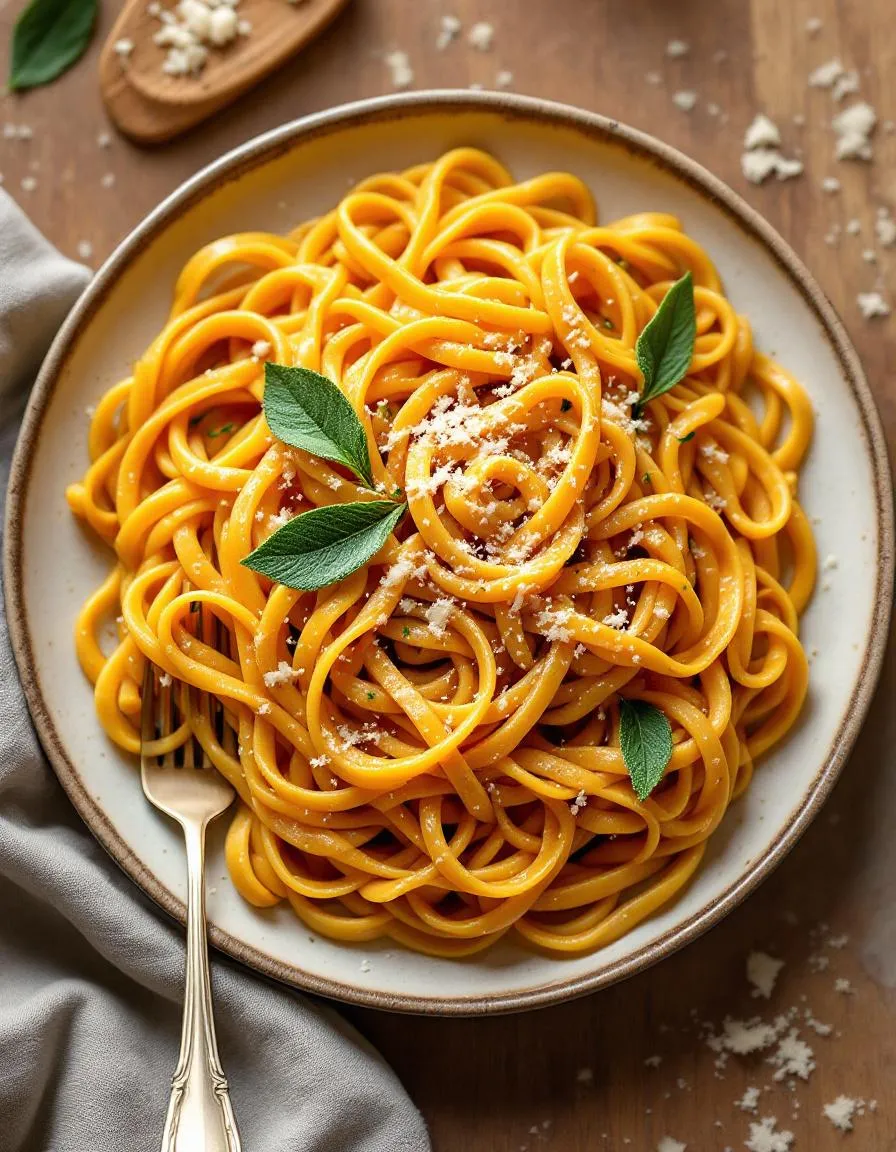
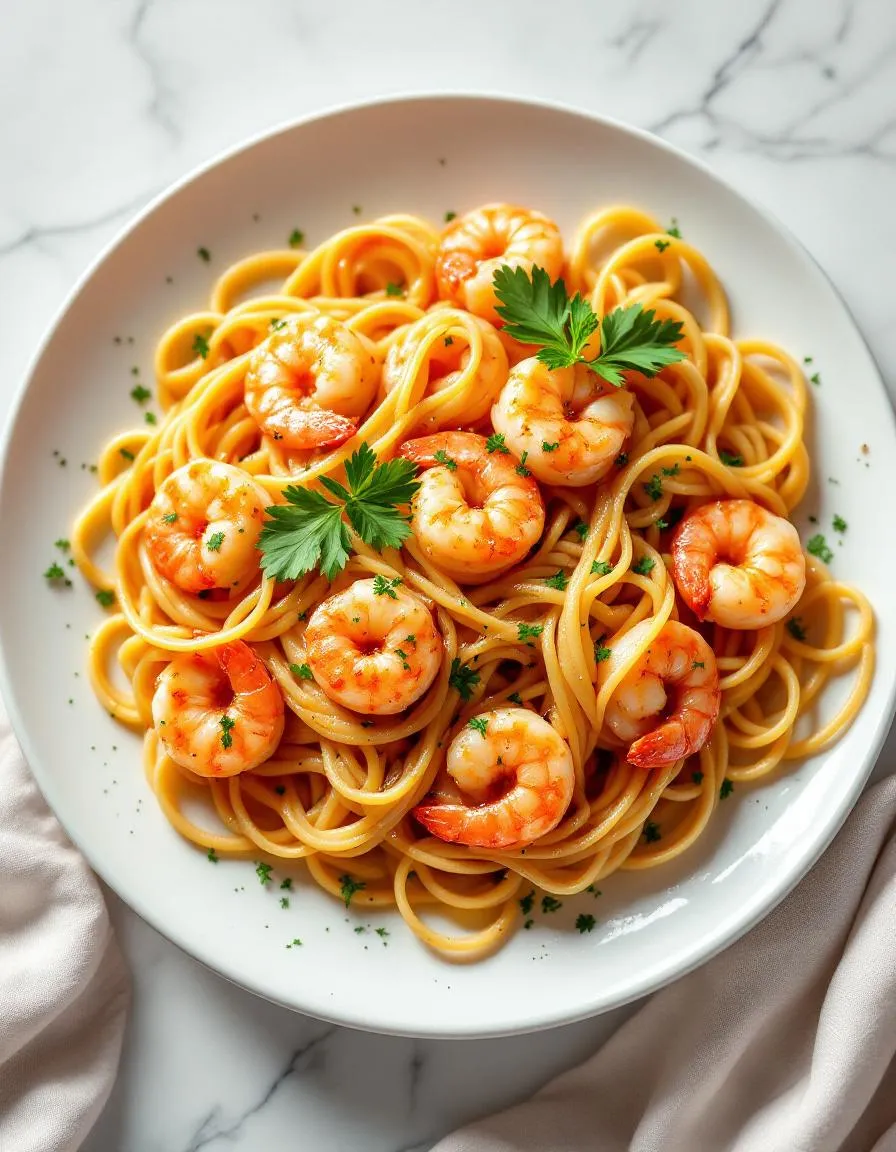
Description
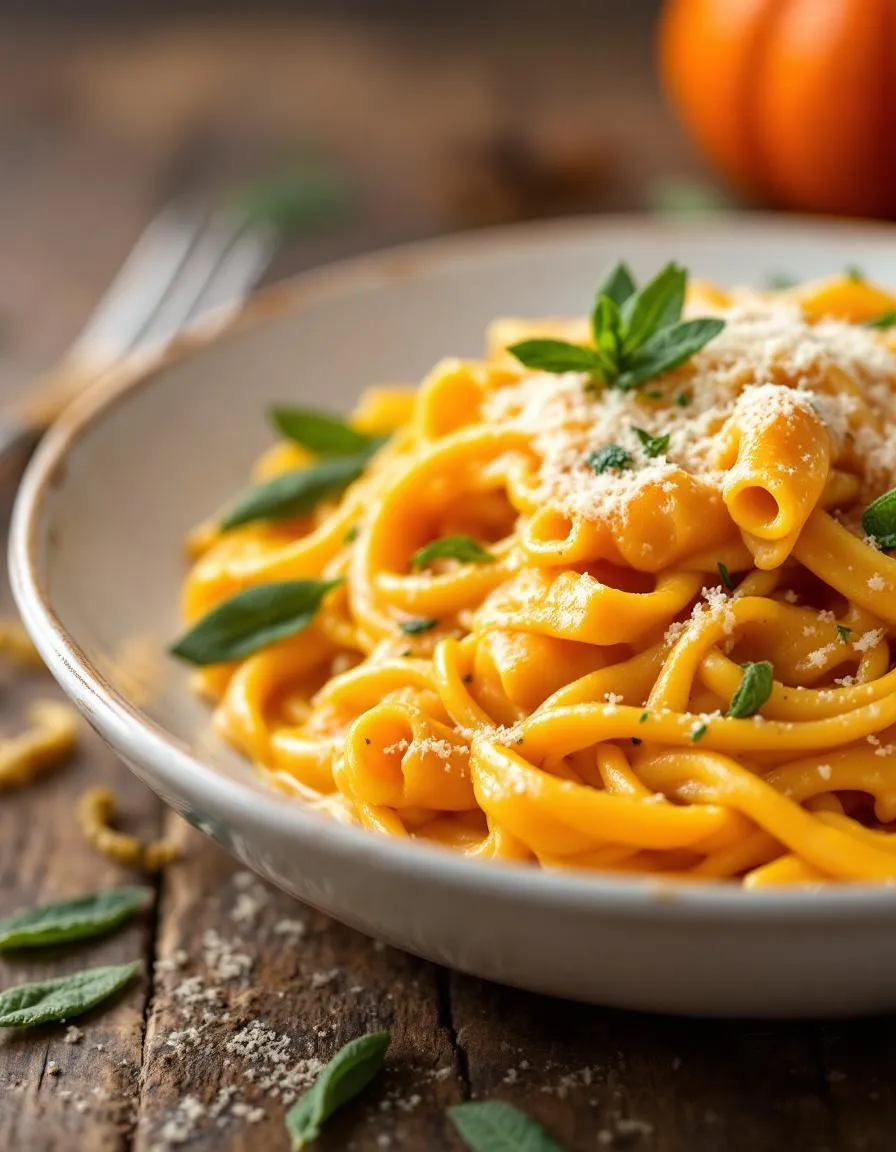
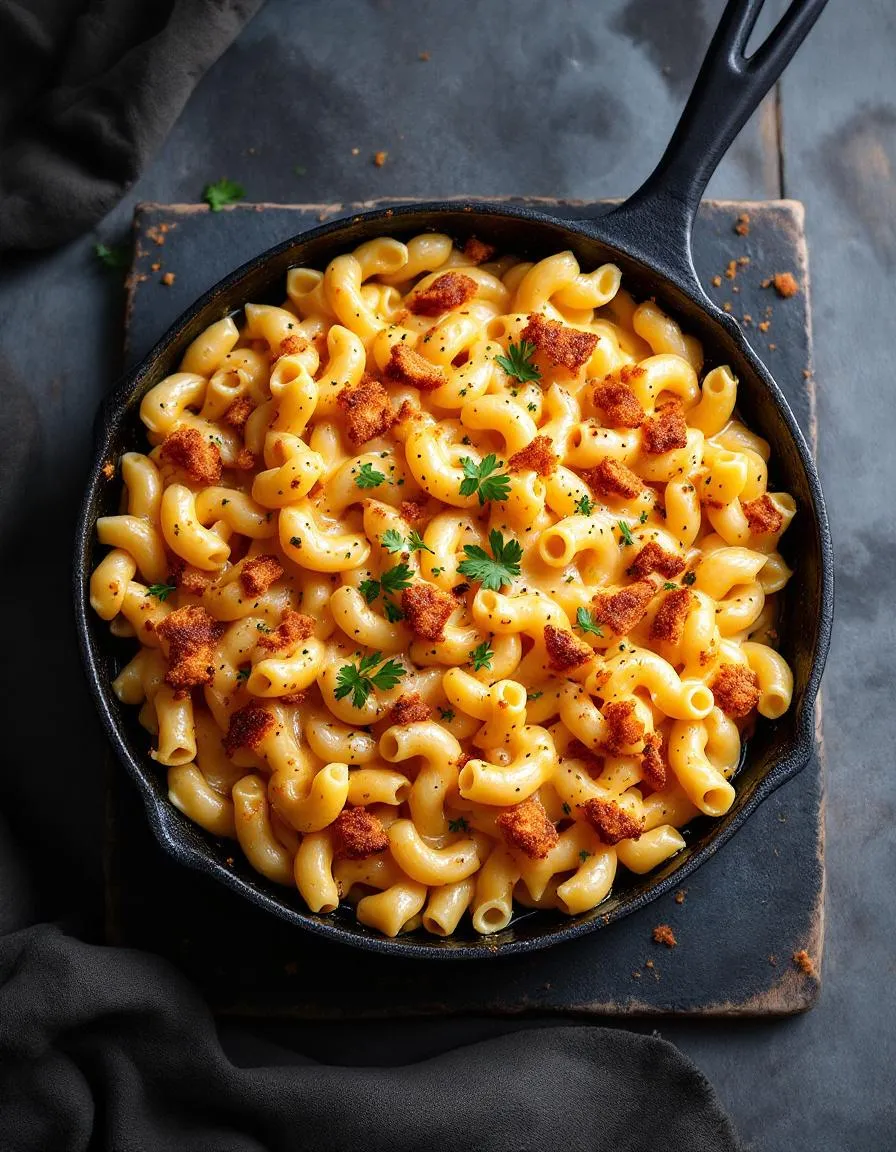
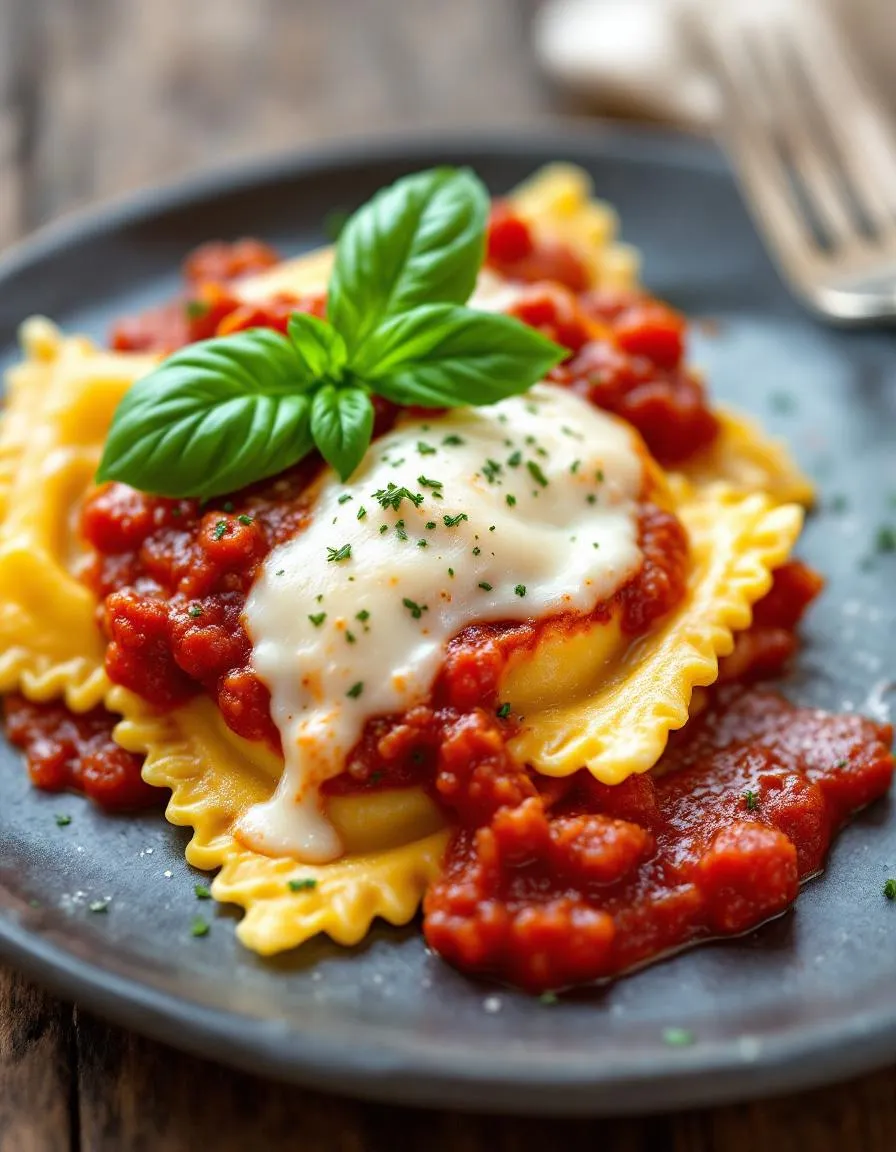
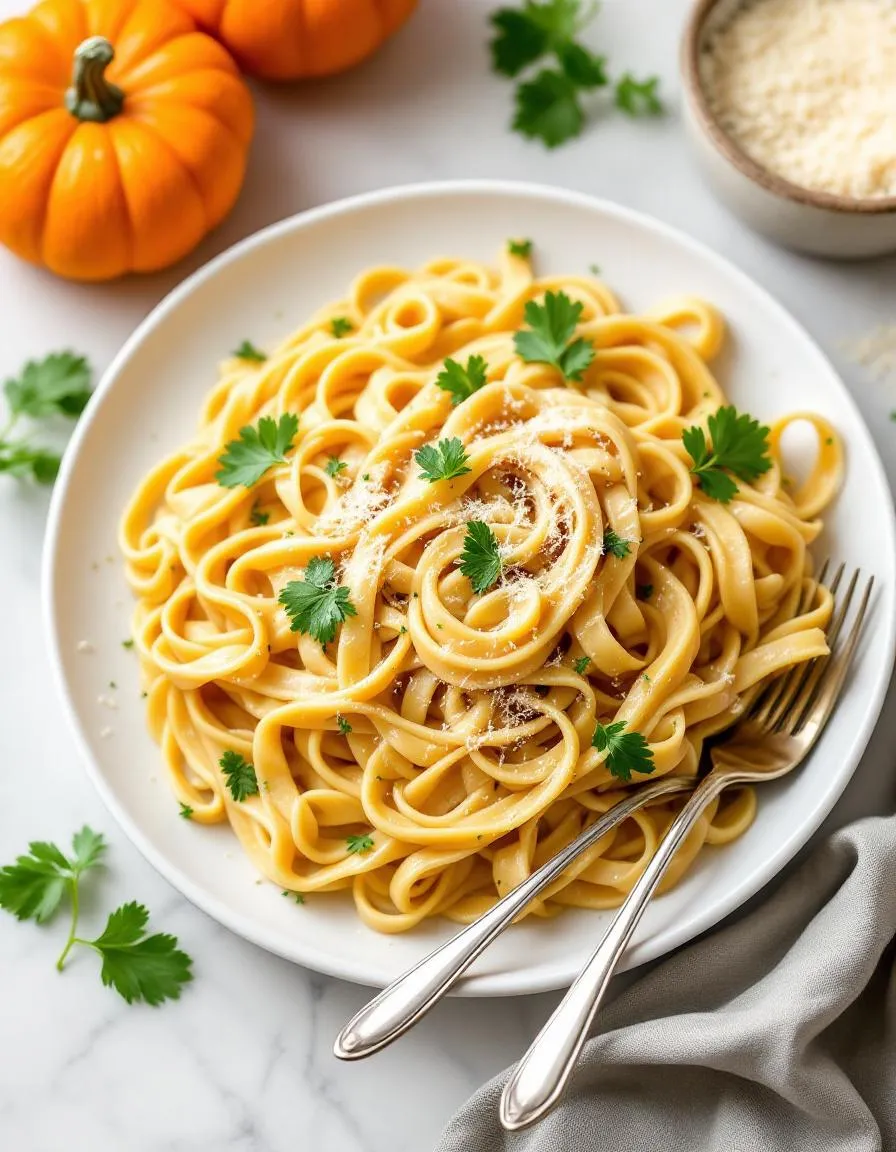
A rich and creamy pasta dish with the perfect blend of pumpkin and Alfredo sauce for a delightful fall-inspired meal.
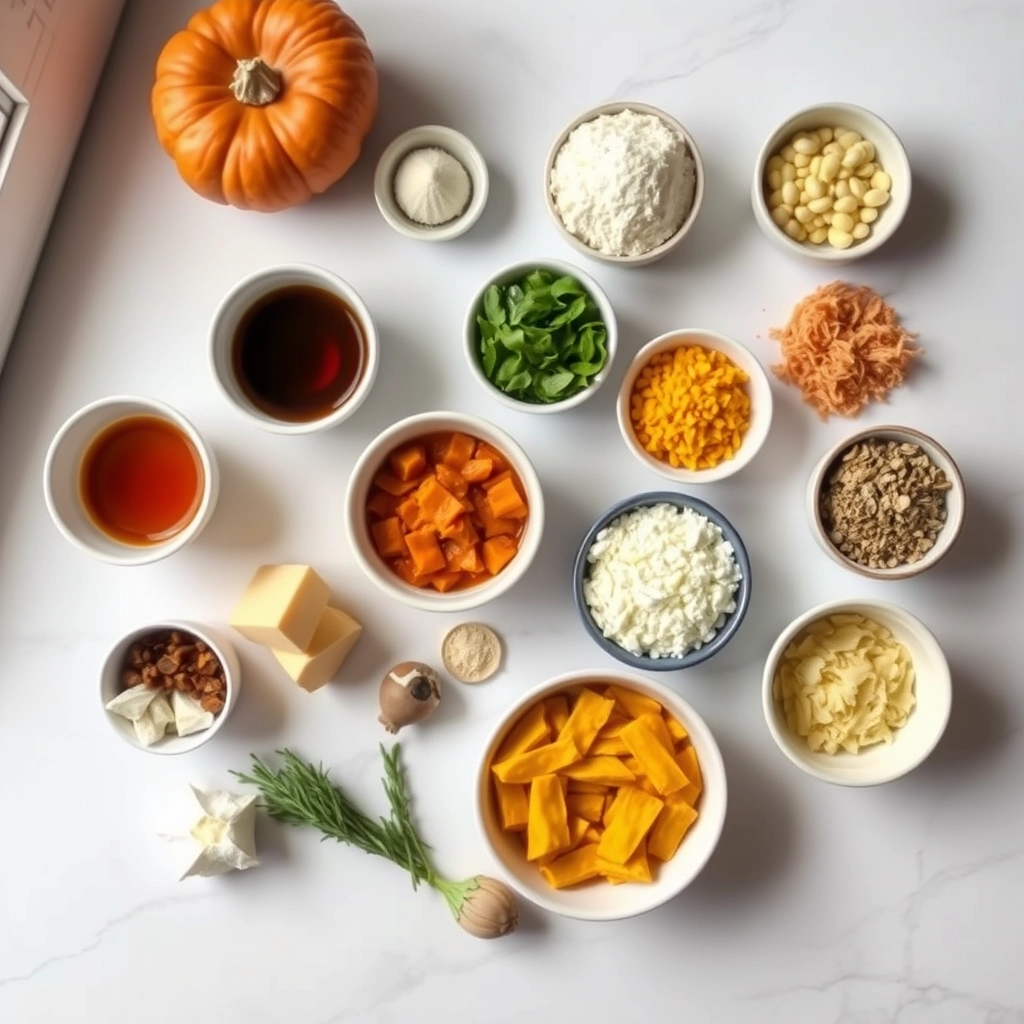
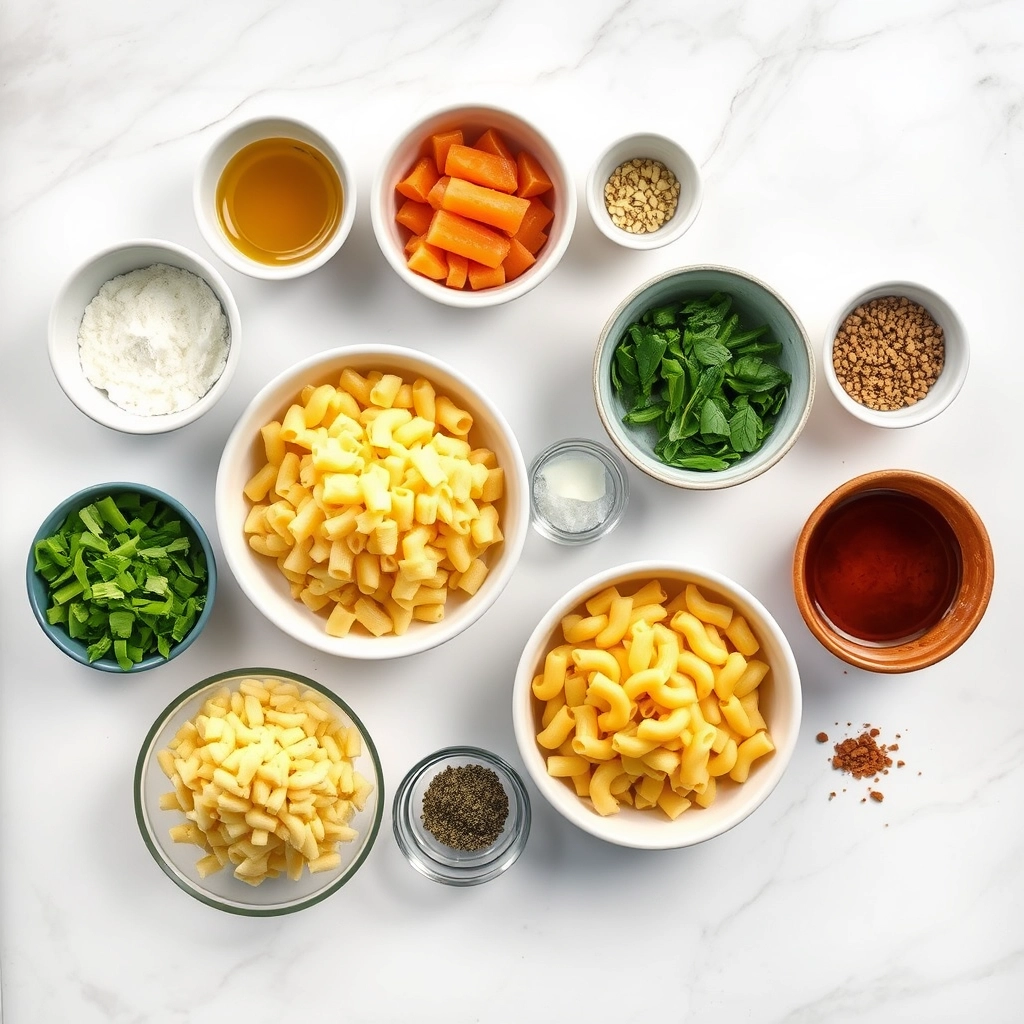
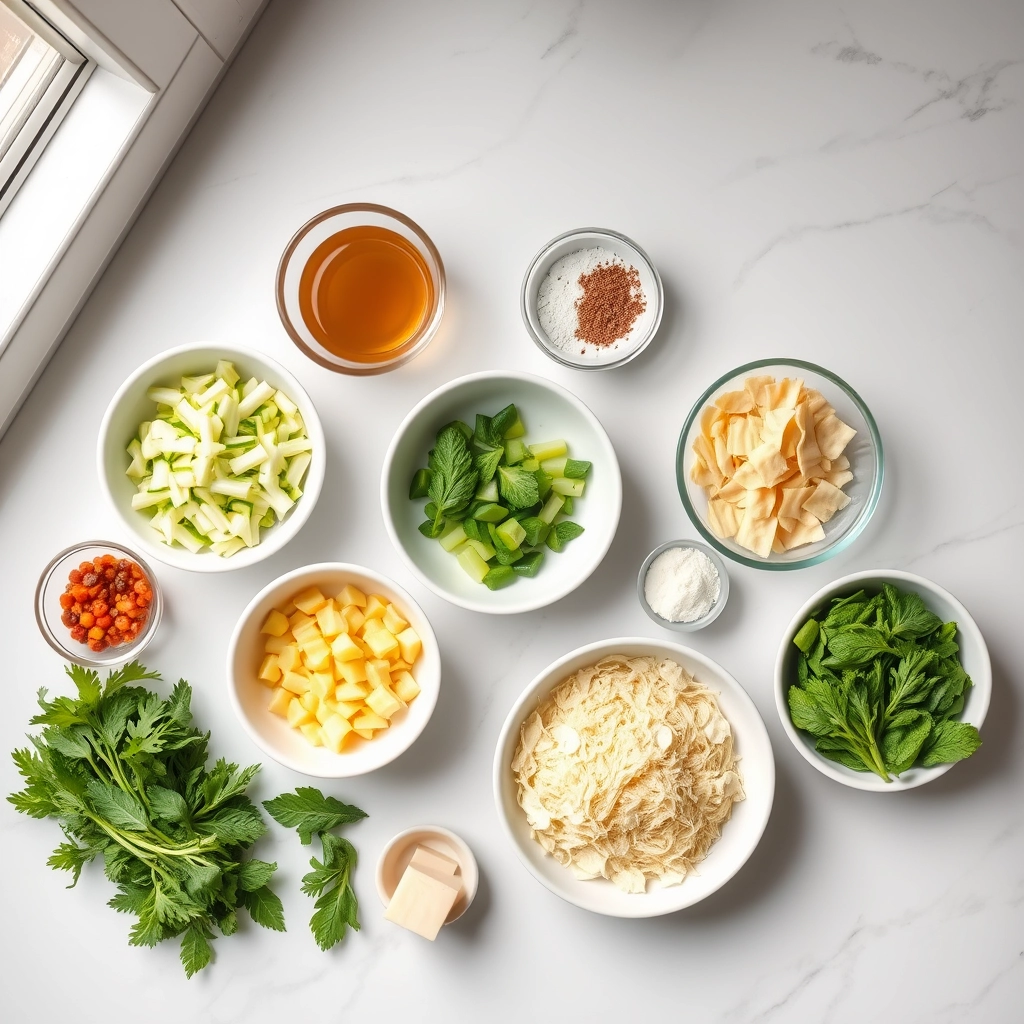
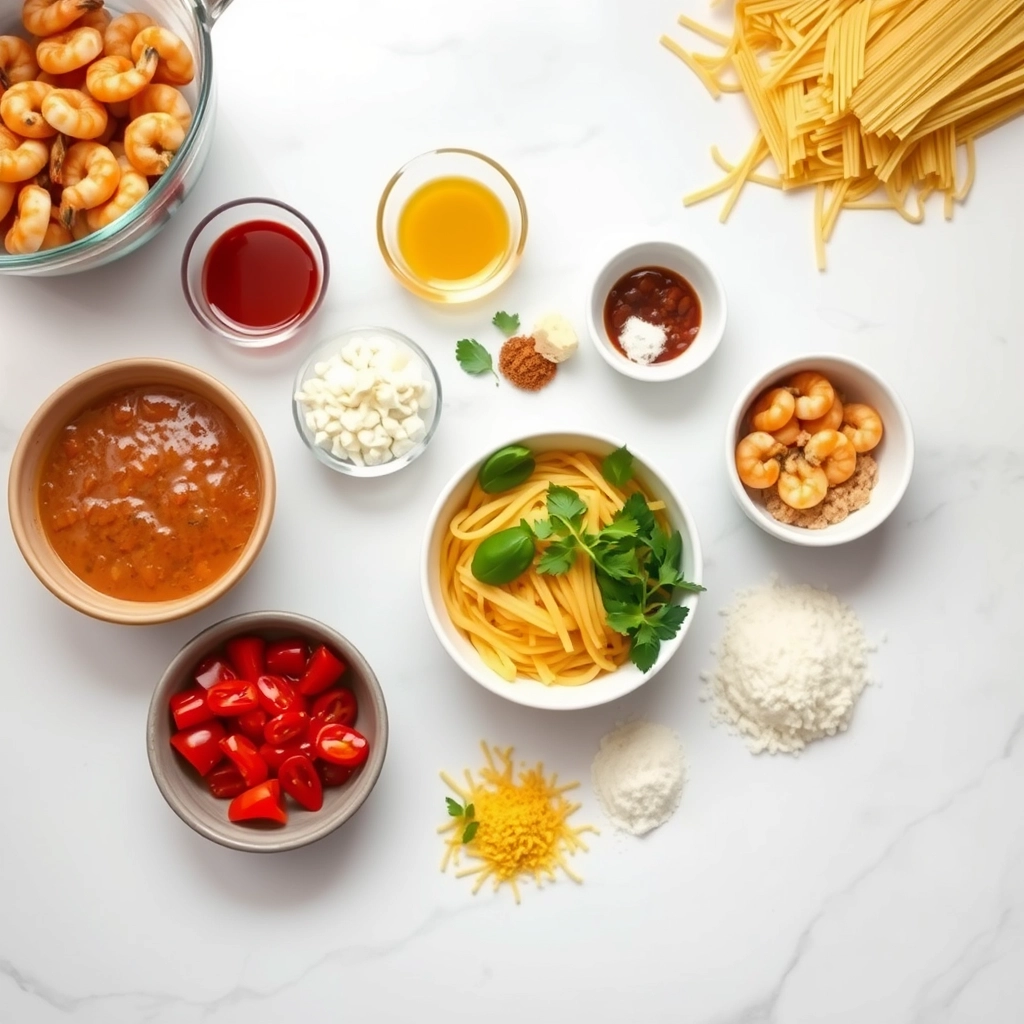
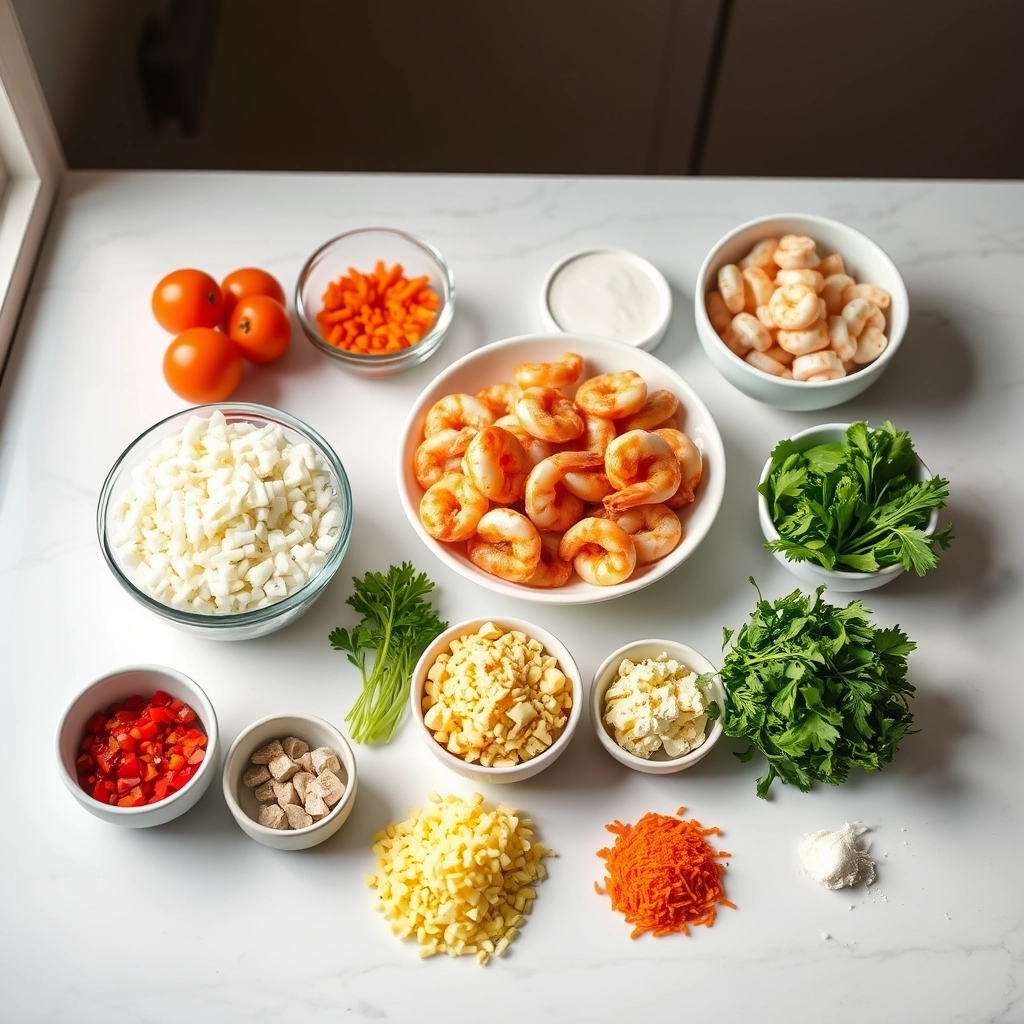
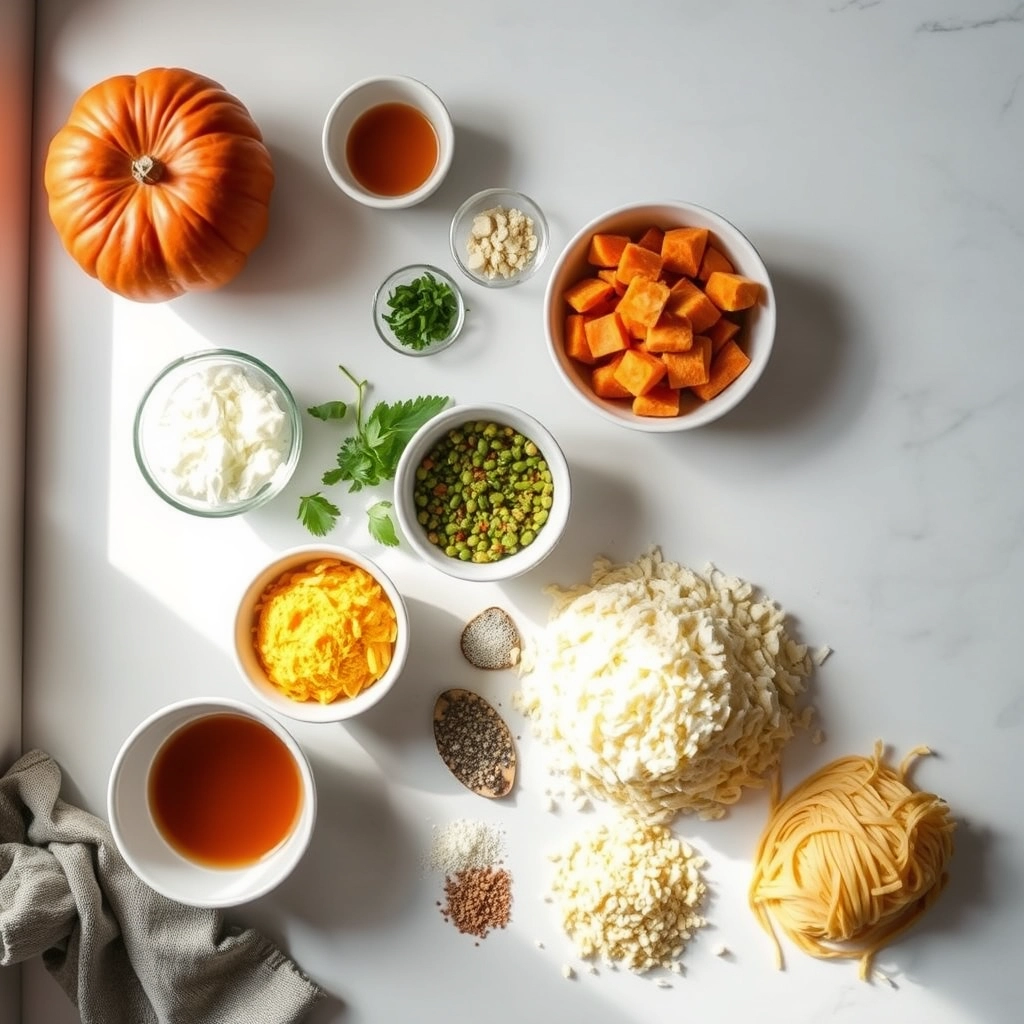
Ingredients
For the Crust:
- 12 oz fettuccine pasta
- 1 cup pumpkin puree
- 1 cup heavy cream
- 1/2 cup grated Parmesan cheese
- 2 cloves garlic, minced
- 2 tbsp unsalted butter
- 1/2 tsp nutmeg
- 1/2 tsp salt
- 1/4 tsp black pepper
- Fresh parsley for garnish
Instructions
1. Prepare the Crust:
- Cook the fettuccine pasta according to package instructions until al dente. Drain and set aside.
- In a large skillet, melt butter over medium heat. Add minced garlic and sauté until fragrant, about 1 minute.
- Stir in pumpkin puree, heavy cream, nutmeg, salt, and black pepper. Simmer for 5 minutes, stirring occasionally.
- Add Parmesan cheese and stir until the sauce is smooth and creamy.
- Toss the cooked pasta in the sauce until well coated. Garnish with fresh parsley before serving.
Notes
You can customize the seasonings to taste.
How to Prepare This Dish
Steps and time-saving tips
Start by boiling your pasta in salted water until al dente, then drain and set it aside. Meanwhile, heat a large skillet over medium heat and melt butter before adding minced garlic to sauté until fragrant. Whisk in heavy cream and pumpkin puree, stirring constantly to create a smooth, velvety base. Gradually sprinkle grated Parmesan cheese into the sauce, letting it melt completely while you keep stirring to avoid clumps. For extra richness, fold in a pinch of nutmeg and black pepper. Toss the cooked pasta into the skillet, coating every strand evenly with the creamy pumpkin Alfredo sauce. If the sauce thickens too much, drizzle in a splash of reserved pasta water to loosen it. Serve immediately with a garnish of fresh sage or parsley. To save time, use canned pumpkin puree instead of making it from scratch, or prep your garlic and cheese ahead of storage.
Mistakes I’ve made and learned from
I once rushed the sauce and added cold cream straight from the fridge, which caused it to curdle when it hit the hot pan. Now, I let dairy ingredients sit at room temperature for 10 minutes first. Another blunder? Overcooking the pasta, leaving it mushy after mixing with the sauce. I’ve since set a timer for 1 minute less than the package suggests, as the pasta continues cooking in the skillet. For more foolproof tips, check out my guide on avoiding common pasta mistakes. Also, if your sauce ever separates, don’t panic—my troubleshooting broken sauces post walks you through easy fixes. Trust me, even small tweaks make a big difference in nailing this Creamy Pumpkin Alfredo Pasta Delight every time.
Cultural Connection and Variations
Where this recipe comes from
Creamy Pumpkin Alfredo Pasta Delight blends Italian tradition with autumn’s cozy flavors, creating a dish that feels both familiar and fresh. While classic Alfredo sauce hails from Rome, the addition of pumpkin puree gives it a seasonal twist that many cultures embrace. In the U.S., we often associate pumpkin with fall holidays, but in Italy, cooks might use butternut squash for a similar creamy texture. Meanwhile, in Japan, chefs sometimes add miso or soy sauce for umami depth, proving how versatile this dish can be.
My family’s version of Creamy Pumpkin Alfredo Pasta Delight includes a pinch of nutmeg, a nod to my grandmother’s love for warming spices. In the South, you might find it topped with crispy fried sage, while Midwest home cooks could swap fettuccine for egg noodles. No matter where it’s made, the dish bridges comfort food and gourmet flair. Whether served at a harvest gathering or a weeknight dinner, it carries the essence of shared meals and creativity.
How it fits in today’s cooking
Creamy Pumpkin Alfredo Pasta Delight remains a star in modern kitchens because it adapts effortlessly to today’s trends. Busy cooks appreciate its one-pot potential, while health-conscious eaters lighten it up with almond milk or whole wheat pasta. During fall, it becomes a staple for Thanksgiving feasts, pairing perfectly with roasted turkey or spiced desserts. Even meal preppers love it—the flavors deepen overnight, making leftovers a treat.
Social media has also given this dish new life, with food bloggers adding twists like roasted garlic or chili flakes. For those exploring global flavors, our international baking guide offers inspiration to fuse techniques. Whether you’re craving nostalgia or something new, Creamy Pumpkin Alfredo Pasta Delight fits right in, proving that some recipes only get better with time.
Taste and Texture
What makes it delicious
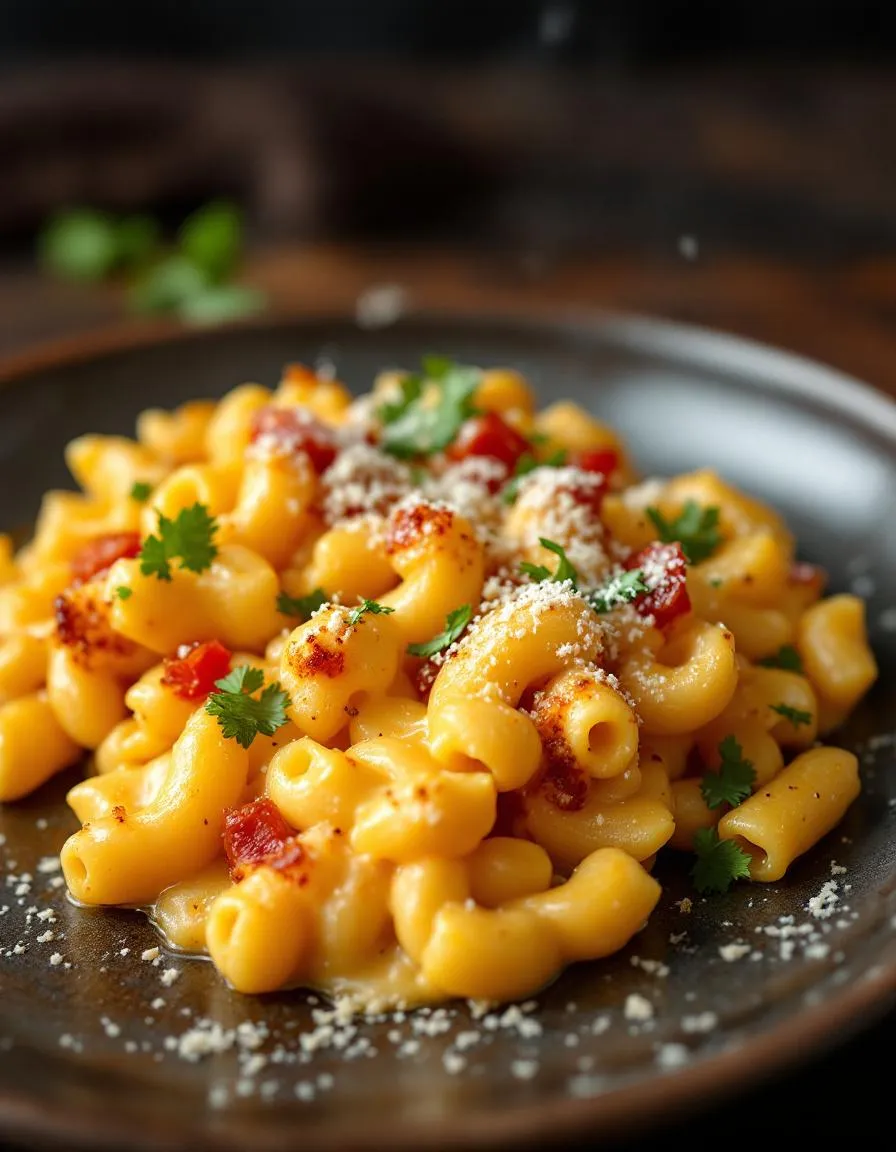
Creamy Pumpkin Alfredo Pasta Delight wraps your taste buds in a velvety embrace, blending rich, savory notes with a hint of natural sweetness. The smooth pumpkin Alfredo sauce coats every strand of pasta, creating a luscious, melt-in-your-mouth experience. Fragrant garlic and nutty Parmesan cheese deepen the flavor, while a touch of sage adds earthy warmth. Meanwhile, the al dente pasta provides the perfect chewy contrast to the silky sauce. Every bite of Creamy Pumpkin Alfredo Pasta Delight feels like a cozy autumn hug, with layers of comfort that keep you coming back for more.
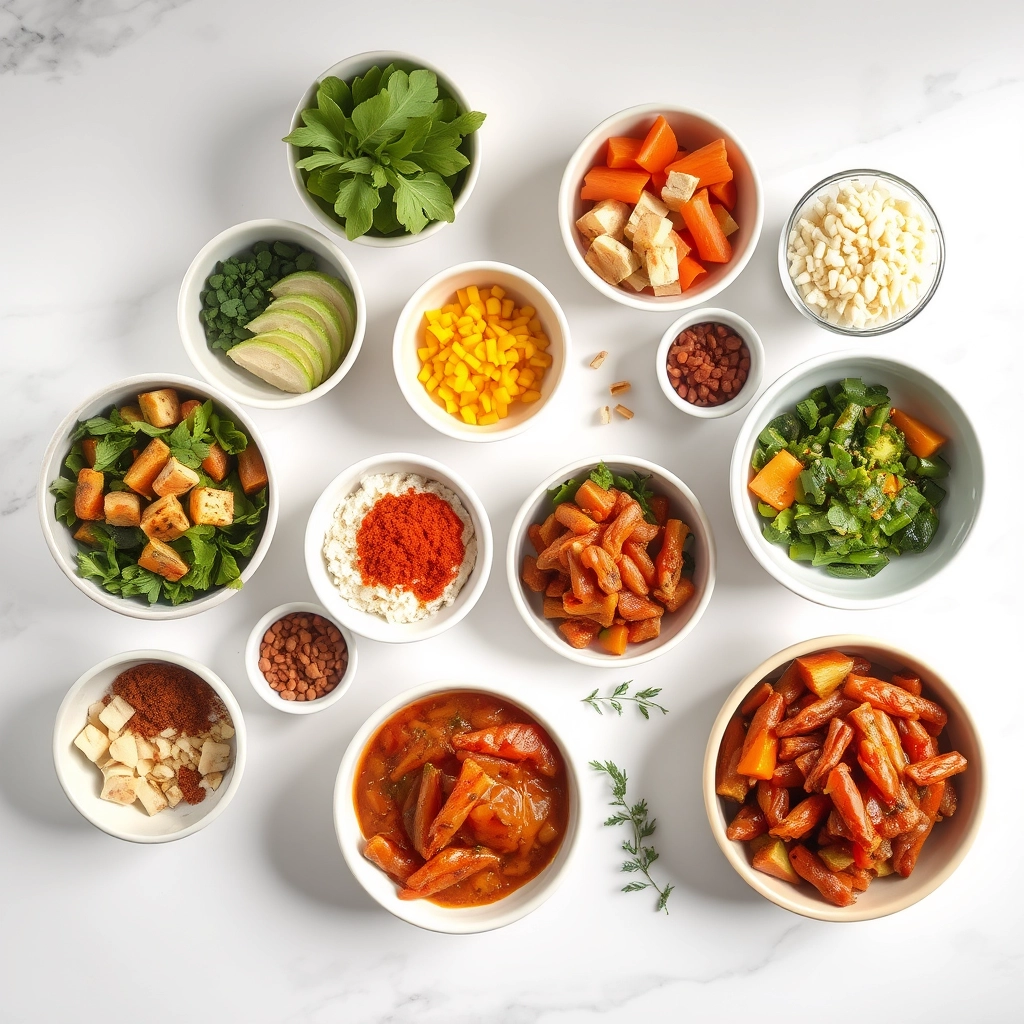
Boosting the flavor
Elevate your Creamy Pumpkin Alfredo Pasta Delight by stirring in crispy pancetta or toasted pine nuts for a satisfying crunch. A sprinkle of red pepper flakes adds a gentle heat that balances the sauce’s richness. For a fresh twist, toss in wilted spinach or roasted Brussels sprouts, which pair beautifully with the pumpkin’s earthy notes. If you love bold flavors, try a drizzle of homemade truffle oil or a squeeze of lemon zest to brighten the dish. Craving more cheesy goodness? A handful of aged Pecorino takes the Alfredo sauce to the next level. With these easy tweaks, you can customize the dish to match any craving.

Tips for Success
Best practices for results
For the creamiest texture in your Creamy Pumpkin Alfredo Pasta Delight, always warm the pumpkin puree before mixing it into the sauce. Meanwhile, reserve a cup of pasta water to adjust the sauce consistency if needed. Additionally, use freshly grated Parmesan for the best flavor, as pre-shredded cheese often contains anti-caking agents that affect smoothness. Finally, stir the sauce frequently over low heat to prevent separation and ensure even cooking.
Mistakes to avoid
Avoid overcooking the pasta, as it will continue to soften when tossed with the hot sauce. Instead, aim for al dente texture to maintain the perfect bite in your Creamy Pumpkin Alfredo Pasta Delight. Another common mistake is skipping the nutmeg, which enhances the pumpkin’s warmth—just a pinch makes a difference. For more sauce consistency tips, check out our guide on perfect pasta sauces. Also, if your sauce thickens too much, don’t panic—gradually whisk in reserved pasta water or warm milk. Learn how to fix broken sauces with our sauce rescue techniques.
Serving and Pairing Suggestions
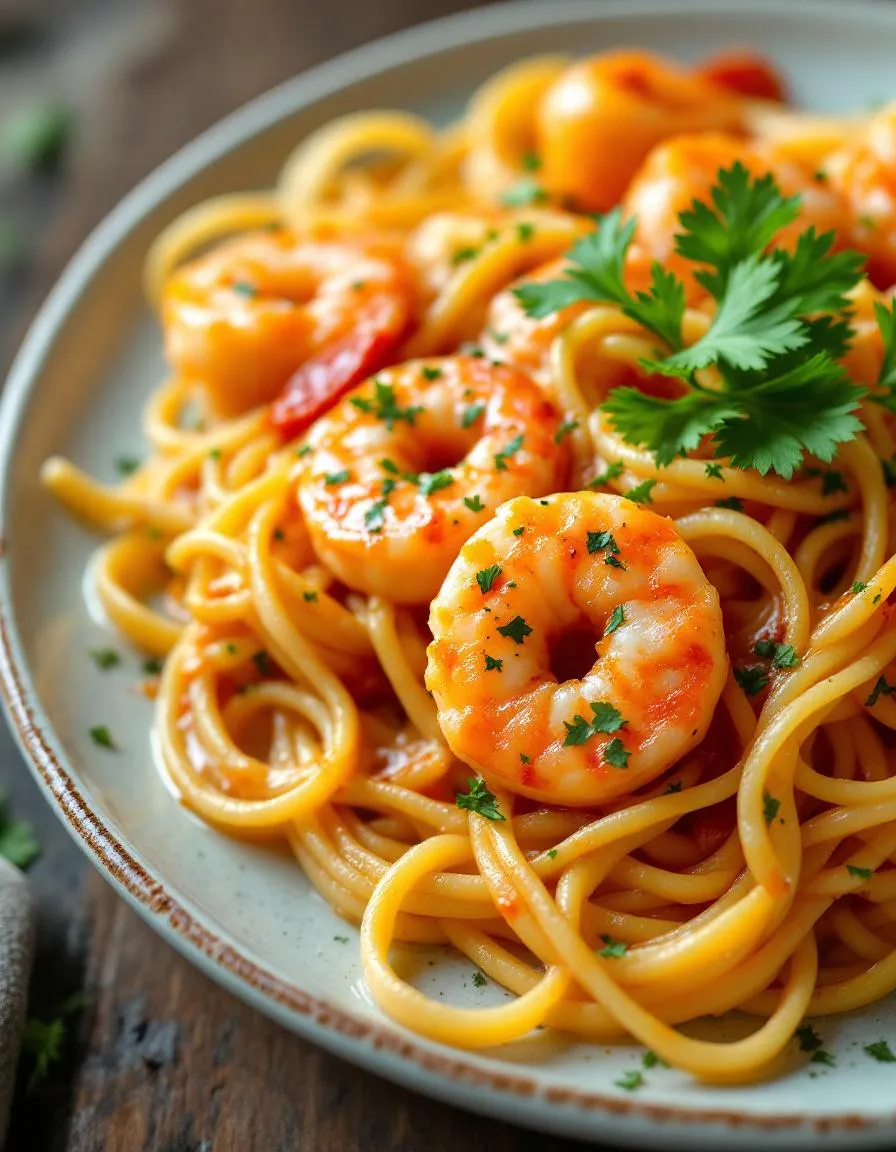
How to serve this dish
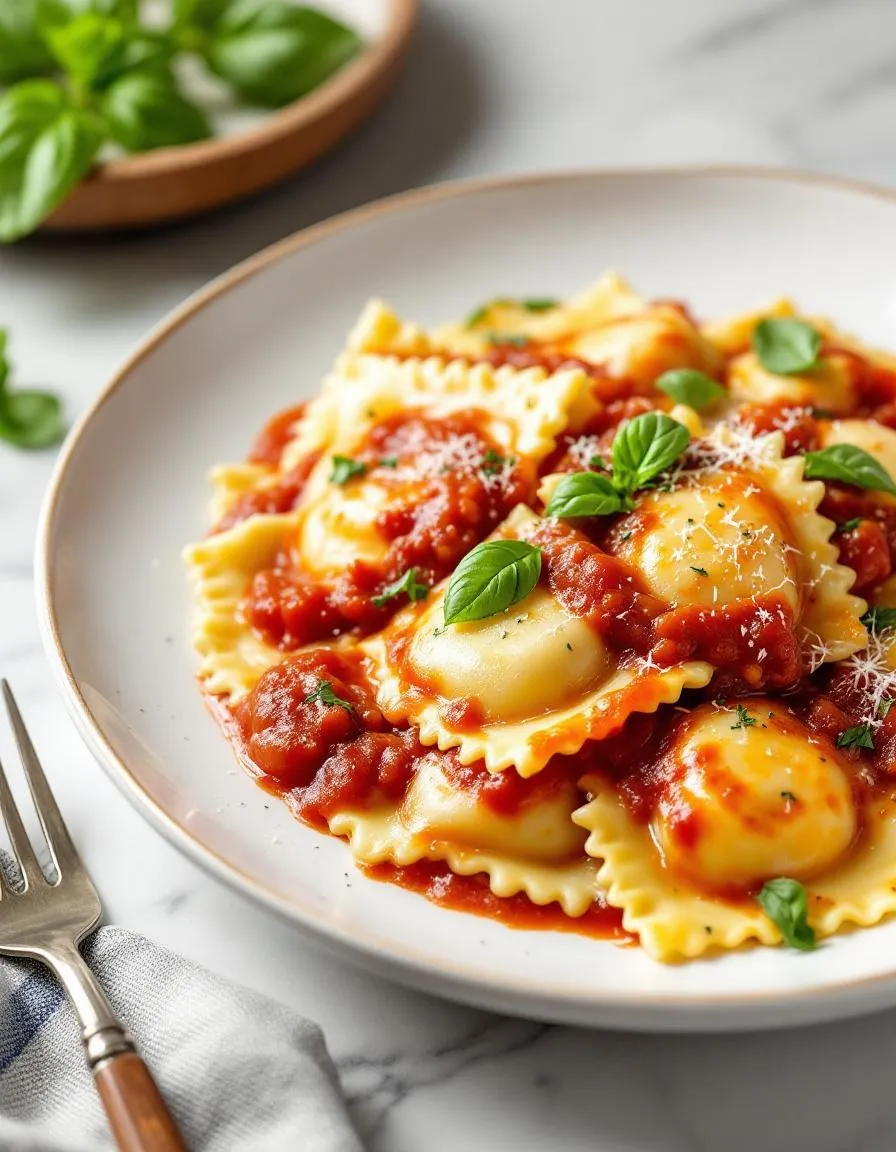
Elevate your Creamy Pumpkin Alfredo Pasta Delight by serving it in shallow bowls for an elegant touch. Meanwhile, sprinkle toasted pumpkin seeds or fresh sage leaves on top for a pop of color and crunch. For special occasions, pair it with warm breadsticks or a crisp side salad to round out the meal. Additionally, this dish shines at fall gatherings or cozy weeknight dinners, making it as versatile as it is delicious.
What goes well with it
Complement the rich flavors of Creamy Pumpkin Alfredo Pasta Delight with a crisp white wine like Chardonnay, which balances the creaminess perfectly. Alternatively, try a warm apple cider for a festive autumnal twist. For sides, roasted Brussels sprouts or a simple arugula salad add freshness and contrast. If you love pairing pasta with bread, our garlic herb focaccia or crusty artisan bread will soak up every last bite of sauce.
Creamy Pumpkin Alfredo Pasta Delight adds a seasonal twist to classic Alfredo by blending pumpkin puree into the sauce, giving it a rich, velvety texture and subtle sweetness. The pumpkin also pairs perfectly with warm spices like nutmeg and sage, creating a unique fall-inspired flavor profile.
Yes! Substitute heavy cream with coconut milk or cashew cream, use nutritional yeast instead of Parmesan, and opt for vegan butter. The pumpkin puree still ensures your Creamy Pumpkin Alfredo Pasta Delight has that signature luscious texture without dairy.
Grilled chicken, crispy pancetta, or sautéed shrimp complement the dish beautifully. For a vegetarian option, try adding roasted chickpeas or white beans to keep the Creamy Pumpkin Alfredo Pasta Delight hearty and satisfying.
Store it in an airtight container in the fridge for up to 3 days. Reheat gently on the stove with a splash of milk or broth to restore the sauce’s creaminess. Avoid freezing, as the dairy in Creamy Pumpkin Alfredo Pasta Delight may separate when thawed.