“`html
Introduction
There’s something undeniably comforting about biting into a warm, flaky pastry filled with gooey cheese and fresh veggies. Whether you’re hosting a party, packing a lunchbox, or simply craving a savory snack, these Cheesy Veggie Puff Pastry Rolls deliver every time. They’re buttery, crispy, and packed with flavor—yet surprisingly easy to make. Even better, they’re versatile enough to suit any occasion, from casual weeknight dinners to festive gatherings. If you love recipes that feel indulgent but don’t require hours in the kitchen, you’re in the right place. Let’s dive into why these rolls deserve a spot in your recipe rotation.
About This Recipe
Cheesy Veggie Puff Pastry Rolls combine the rich, buttery layers of puff pastry with a hearty filling of melted cheese and vibrant vegetables. The result is a golden, crispy exterior that gives way to a soft, flavorful center. What makes this dish special is its balance of simplicity and sophistication. You only need a handful of ingredients, most of which you likely already have, yet the final product feels gourmet. Plus, you can customize the veggies based on what’s in season or your personal preferences. For example, spinach and bell peppers add a pop of color, while mushrooms bring an earthy depth.
This recipe fits perfectly with our blog’s mission to share approachable yet impressive dishes. Whether you’re a beginner or a seasoned cook, you’ll appreciate how effortlessly these rolls come together. They’re also a great way to sneak extra veggies into meals, making them a hit with kids and adults alike. If you enjoy this recipe, you might also love our Easy Spinach Puffs or Homemade Cheesy Garlic Bread. Both share the same crowd-pleasing appeal and simple preparation.
Why I Love This Recipe
Cheesy Veggie Puff Pastry Rolls hold a special place in my heart because they remind me of family gatherings. My aunt used to make a similar version for holiday appetizers, and the smell of puff pastry baking still takes me back to those cozy moments. What I love most, though, is how adaptable they are. I’ve made them with leftover roasted veggies, swapped cheeses, and even added a sprinkle of herbs for extra freshness. No matter how I tweak them, they always turn out delicious. These rolls aren’t just a recipe—they’re a blank canvas for creativity and a guaranteed way to bring people together.
“`
Health and Nutrition
Why it’s good for your body
Cheesy Veggie Puff Pastry Rolls pack a nutritious punch while satisfying your cravings. First, the colorful veggies like spinach, bell peppers, or carrots deliver essential vitamins and antioxidants. These nutrients boost immunity, support vision, and even reduce inflammation. Meanwhile, the cheese adds a dose of calcium and protein, which strengthens bones and keeps you full longer.
Additionally, the puff pastry offers a light, flaky texture without overwhelming heaviness. When you bake Cheesy Veggie Puff Pastry Rolls, you retain more nutrients compared to frying. Plus, you can easily customize the filling with fiber-rich veggies like zucchini or mushrooms for extra digestive benefits. The combination of whole ingredients ensures a balanced snack or appetizer that fuels your body.
Finally, Cheesy Veggie Puff Pastry Rolls make indulging feel guilt-free. Unlike processed snacks, they contain real, recognizable ingredients. Whether you serve them at parties or enjoy them as a midday treat, you’re choosing a smarter option. With each bite, you get flavor and nourishment in one delicious package.
How it fits in a healthy lifestyle
Cheesy Veggie Puff Pastry Rolls fit seamlessly into a balanced diet. For a lighter version, swap regular puff pastry for a whole-grain or gluten-free alternative. Pair them with a fresh salad or protein-rich dip to create a well-rounded meal. They also work great as a make-ahead snack for busy weekdays.
If you’re watching your sodium intake, opt for low-fat cheese and load up on extra veggies. For heart-healthy choices, try incorporating ingredients like olive oil or spinach, which you can learn more about in our guide to heart-healthy ingredients. Craving more veggie-packed recipes? Explore our vegetarian appetizers for inspiration. With simple tweaks, Cheesy Veggie Puff Pastry Rolls adapt to almost any dietary goal without sacrificing taste.
PrintCheesy Veggie Puff Pastry Rolls
Description
Flaky puff pastry rolls stuffed with a cheesy vegetable filling, perfect for appetizers or snacks.
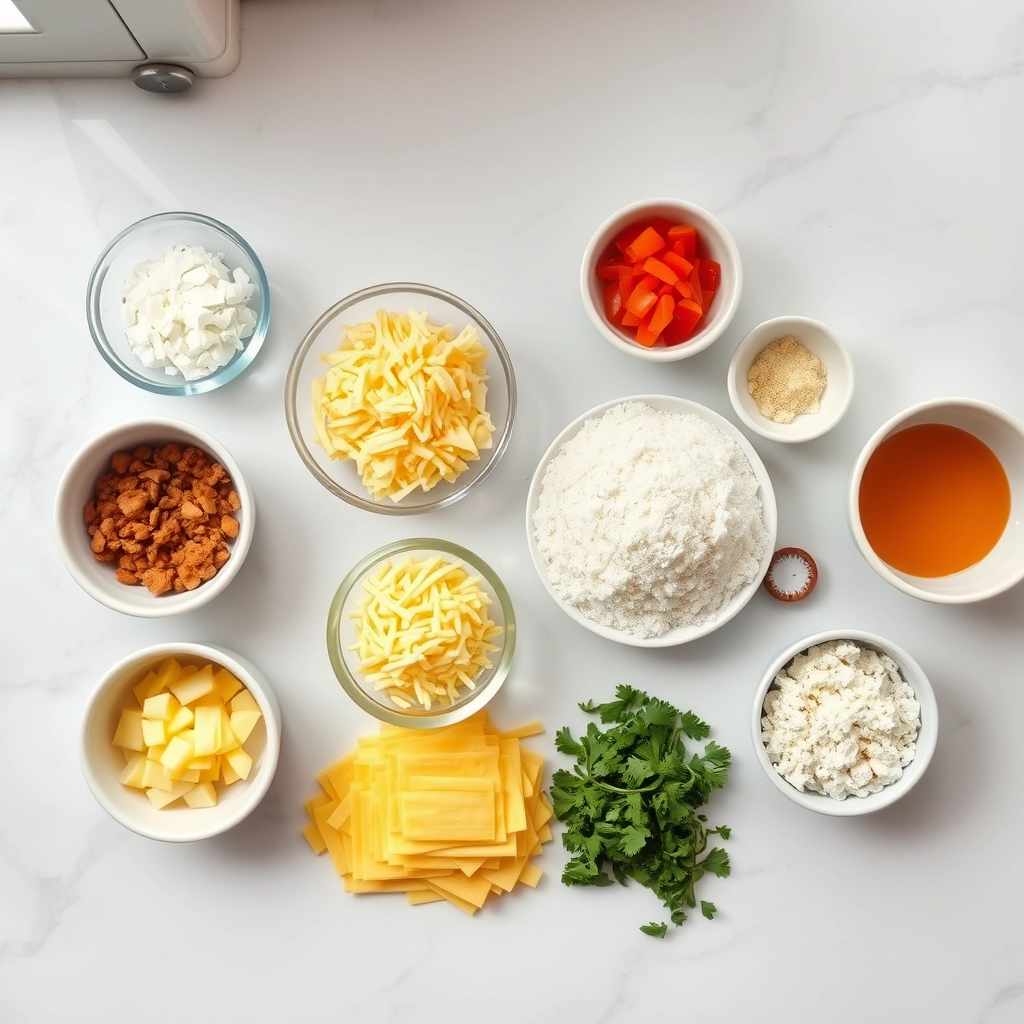
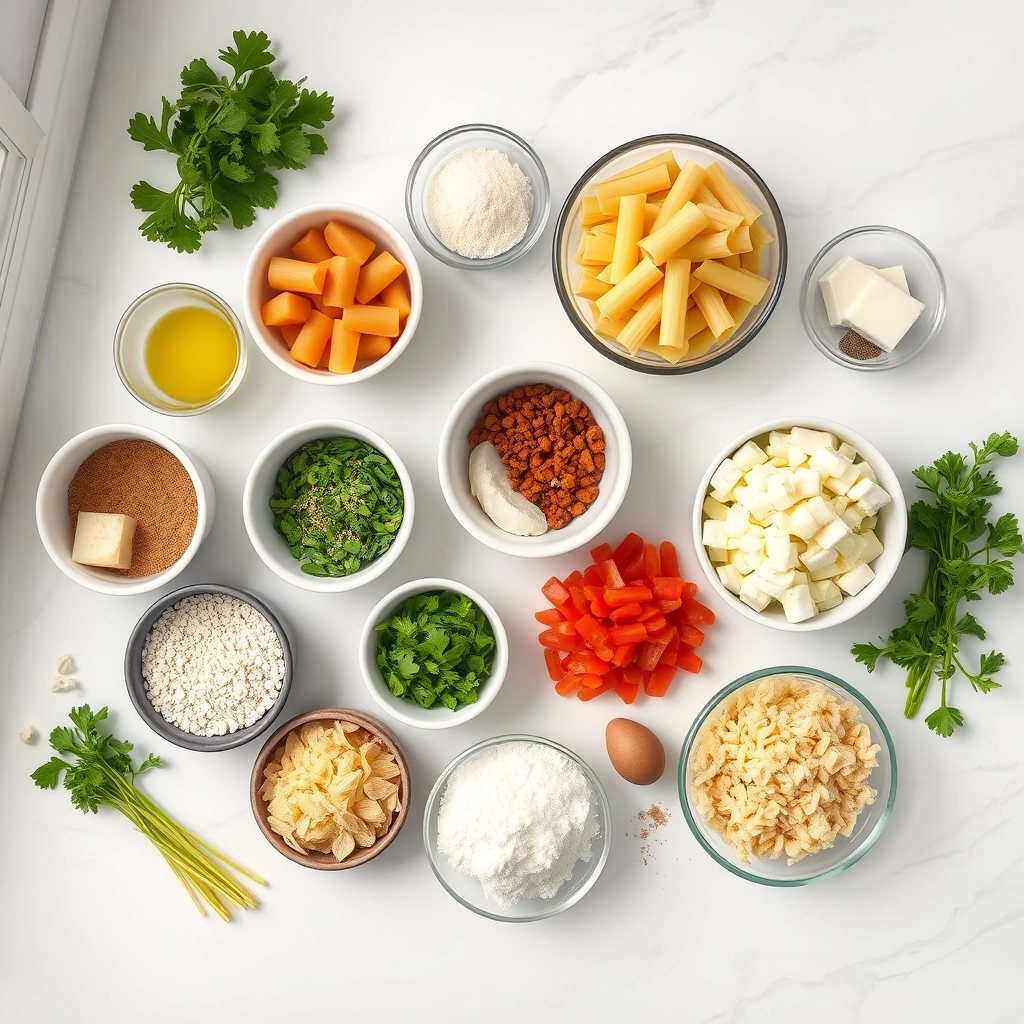
Ingredients
For the Crust:
- 1 sheet puff pastry, thawed
- 1 cup shredded mozzarella cheese
- 1/2 cup diced bell peppers
- 1/2 cup diced zucchini
- 1/4 cup diced onions
- 1 tsp garlic powder
- 1 tsp dried oregano
- 1 egg, beaten (for egg wash)
- Salt and pepper to taste
Instructions
1. Prepare the Crust:
- Preheat oven to 375°F (190°C) and line a baking sheet with parchment paper.
- In a bowl, mix together mozzarella cheese, bell peppers, zucchini, onions, garlic powder, oregano, salt, and pepper.
- Roll out the puff pastry sheet and cut into 4 equal rectangles.
- Divide the veggie-cheese mixture evenly among the rectangles, placing it along one long edge.
- Roll up the pastry tightly, sealing the edges with a bit of egg wash.
- Brush the tops with egg wash and bake for 20-25 minutes until golden brown.
Notes
You can customize the seasonings to taste.
How to Prepare This Dish
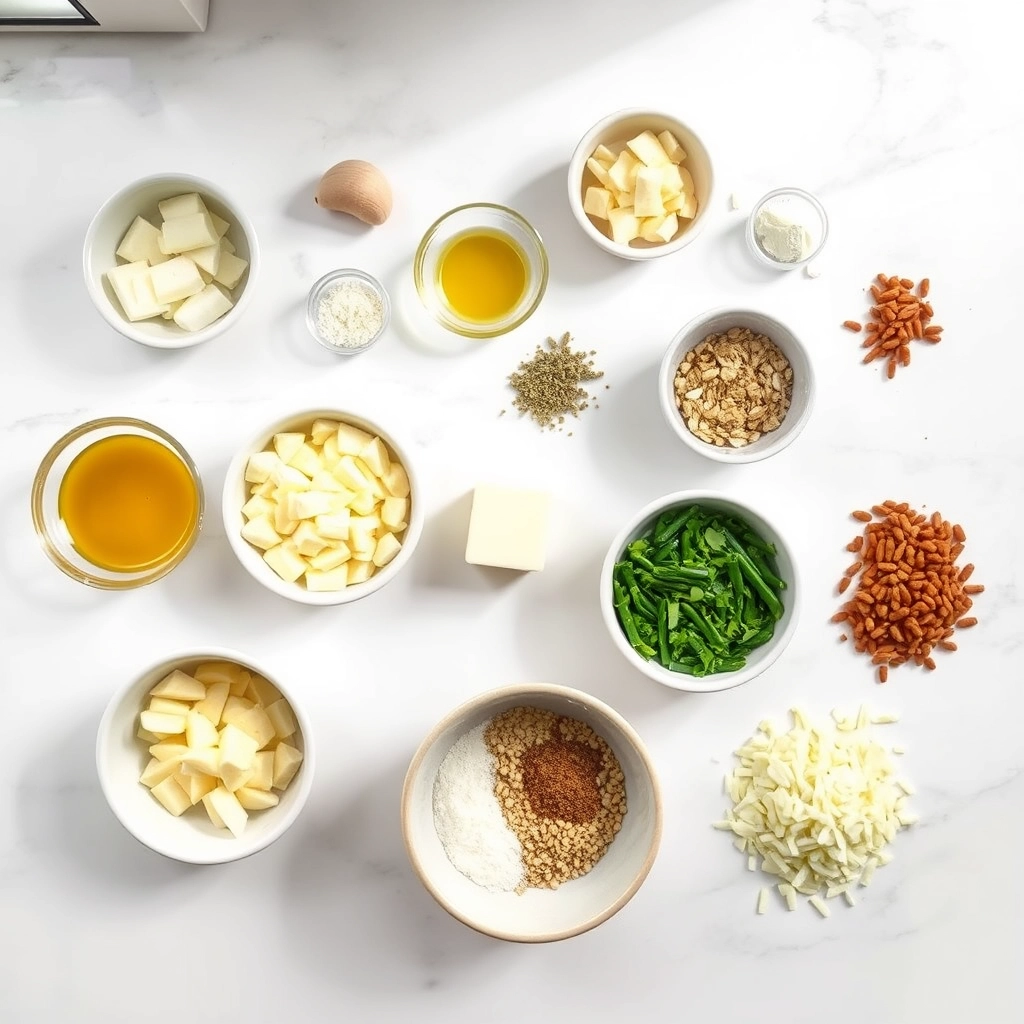
Steps and time-saving tips
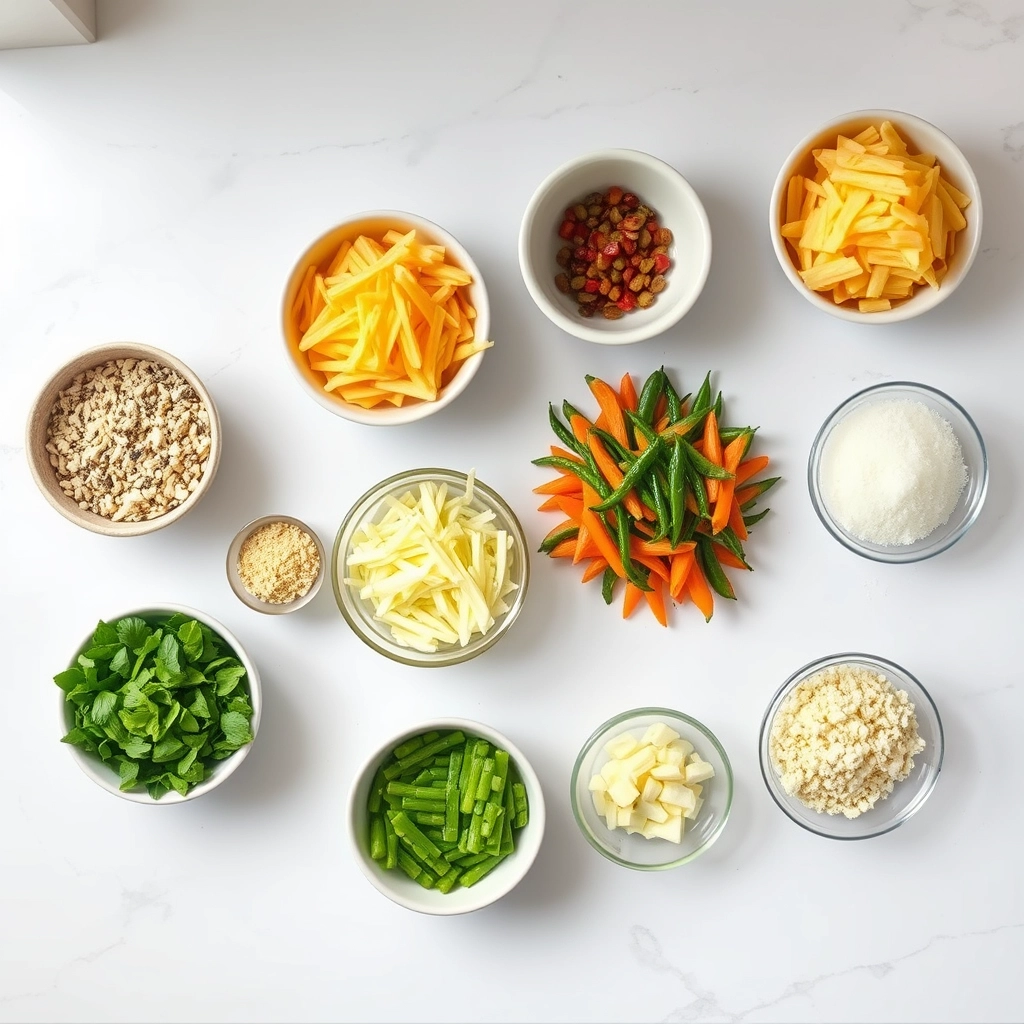
Start by thawing your puff pastry sheets according to the package instructions. Meanwhile, finely chop your favorite veggies like bell peppers, spinach, and mushrooms. Heat a skillet over medium heat, drizzle in a bit of olive oil, and sauté the veggies until they soften. Stir in minced garlic for extra flavor, then season with salt and pepper. Remove the skillet from the heat and let the mixture cool slightly. In a bowl, whisk together cream cheese, shredded cheddar, and a pinch of paprika for a creamy, tangy filling. Unroll the puff pastry on a lightly floured surface, then spread the cheese mixture evenly over it. Next, layer the sautéed veggies on top, leaving a small border around the edges. Carefully roll the pastry into a tight log, sealing the edges with a bit of water. Chill the log in the freezer for 10 minutes to make slicing easier. Use a sharp knife to cut the log into even rolls, then place them on a parchment-lined baking sheet. Brush the tops with an egg wash for a golden finish, then bake at 400°F for 18-20 minutes until puffed and crispy. Let them cool for a few minutes before serving. For a time-saving hack, prep the veggie filling a day ahead or use pre-chopped frozen veggies.
Mistakes I’ve made and learned from
I’ve definitely learned the hard way that overfilling these Cheesy Veggie Puff Pastry Rolls leads to messy spills in the oven. Once, I piled on too many veggies, and the pastry couldn’t hold them, resulting in a cheesy disaster. Now, I stick to a thin, even layer. Another mistake? Not chilling the log before slicing. The first time I skipped this step, the rolls lost their shape and spread unevenly. A quick freeze fixes this, as I discovered while perfecting my savory pastry techniques. Also, if your pastry cracks while rolling, don’t panic—just patch it with a bit of water and press gently. For more troubleshooting, check out my guide on common puff pastry problems. Trust me, these small adjustments make all the difference between a flop and a flawless batch.

Cultural Connection and Variations
Where this recipe comes from
Cheesy Veggie Puff Pastry Rolls feel like a love letter to cozy kitchens everywhere. While puff pastry has French roots, this dish borrows from global traditions. In the Mediterranean, cooks stuff flaky dough with feta and spinach, while in India, spiced potatoes and paneer take center stage. My grandmother, however, always made hers with cheddar and whatever veggies she had on hand, proving how versatile Cheesy Veggie Puff Pastry Rolls can be.
Seasonal twists keep the recipe fresh. In spring, asparagus and goat cheese shine, while autumn calls for roasted squash and sage. Some families add a dash of heat with jalapeños or swap cheese for vegan alternatives. No matter the variation, the magic lies in that golden, buttery crunch. Whether served at brunch or as a party appetizer, these rolls bridge cultures and cravings effortlessly.
How it fits in today’s cooking
Today, Cheesy Veggie Puff Pastry Rolls thrive as a crowd-pleaser for busy cooks and entertainers alike. They fit perfectly into modern meal prep, since you can freeze them unbaked and pop them in the oven last-minute. For holiday gatherings, they pair wonderfully with easy holiday appetizers, adding a festive touch without the fuss.
Health-conscious tweaks keep the dish relevant, too. Many bakers now use whole-grain puff pastry or load up on seasonal veggies for extra nutrition. Weeknight dinners get a lift when served alongside quick weeknight sides, turning simple ingredients into something special. Ultimately, this recipe’s adaptability ensures it stays a staple, whether you’re craving comfort or celebrating with flair.
Taste and Texture
What makes it delicious
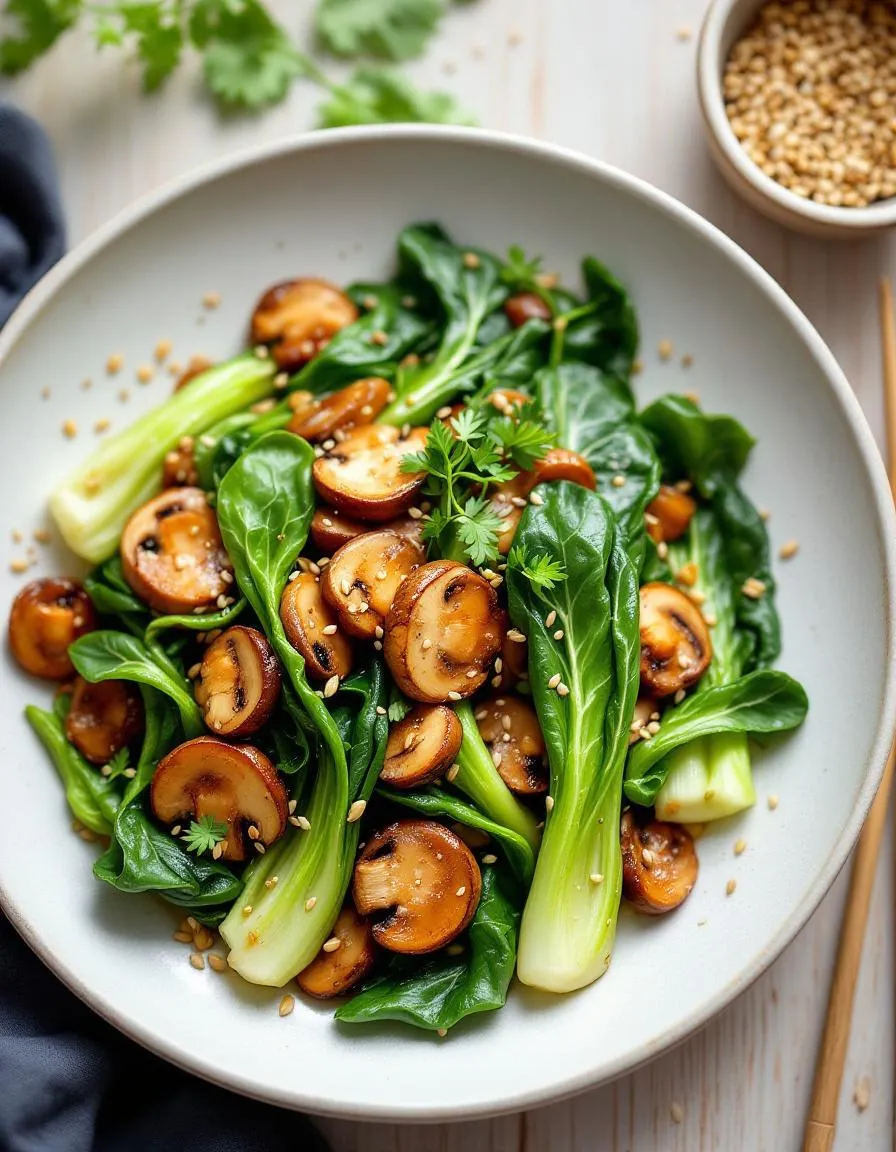
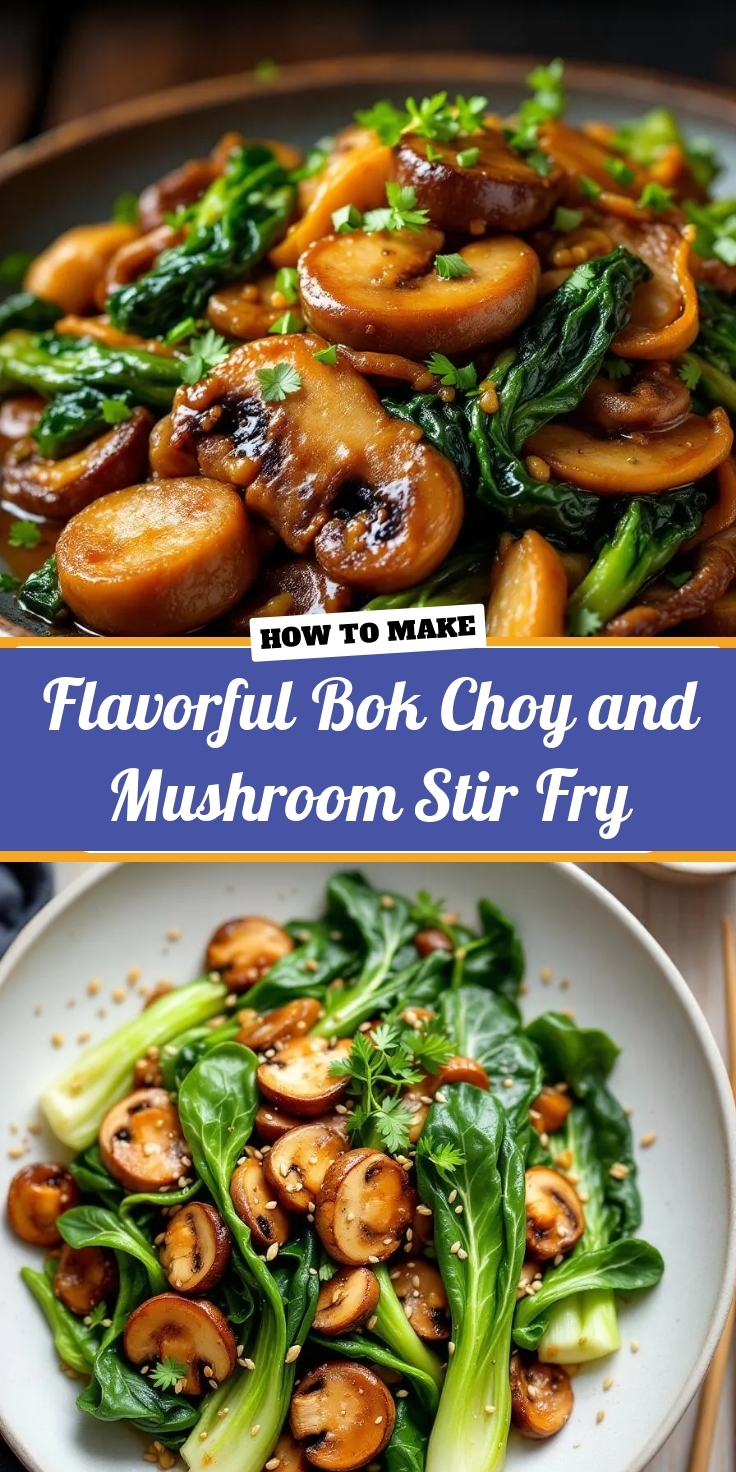
Cheesy Veggie Puff Pastry Rolls deliver a mouthwatering blend of rich, savory flavors and irresistible textures. The buttery, flaky pastry shatters with each bite, giving way to a creamy, melted cheese filling that oozes comfort. Fresh veggies like bell peppers and spinach add a crisp, juicy contrast, while garlic and herbs infuse every layer with fragrant warmth. Whether served warm or at room temperature, Cheesy Veggie Puff Pastry Rolls strike the perfect balance between indulgent and fresh—making them impossible to resist.
Boosting the flavor
Elevate your Cheesy Veggie Puff Pastry Rolls with a few easy tweaks. For extra depth, swap the cheese blend for smoked gouda or sharp cheddar, or drizzle them with a tangy homemade ranch dressing for a cool, herby kick. If you love heat, sprinkle red pepper flakes into the filling or serve with a side of spicy sriracha mayo. Experiment with fresh herbs like thyme or rosemary to amplify the aroma. Small changes can transform these rolls into your new favorite snack or appetizer.

Tips for Success
Best practices for results
Always thaw your puff pastry in the fridge overnight for even texture, and roll it out gently to avoid cracks. Meanwhile, pre-cook your veggies slightly to remove excess moisture, which keeps your Cheesy Veggie Puff Pastry Rolls crisp. For the best golden finish, brush the rolls with an egg wash before baking. Additionally, space them evenly on the tray so they puff up without sticking together.
Mistakes to avoid
Avoid overfilling the pastry, as too much cheese or veggies can cause leaks during baking. Instead, follow our guide on perfect pastry fillings for balanced portions. Also, never skip preheating the oven—cold starts lead to uneven baking. For more troubleshooting, check our tips on flaky pastry secrets to master the technique. Finally, let the Cheesy Veggie Puff Pastry Rolls cool slightly before serving so the cheese sets properly.
Serving and Pairing Suggestions
How to serve this dish
Cheesy Veggie Puff Pastry Rolls shine as a crowd-pleasing appetizer or light meal. For a festive touch, arrange them on a wooden board with fresh herbs like parsley or thyme sprinkled around. Alternatively, stack them vertically in a napkin-lined basket for a casual brunch or picnic. Since they bake to a golden perfection, pair them with a simple side salad for a balanced lunch. During holidays, serve them alongside other finger foods for an easy yet impressive spread. No matter the occasion, their flaky layers and cheesy filling always steal the show.
What goes well with it
Elevate your Cheesy Veggie Puff Pastry Rolls with a tangy dipping sauce like our Creamy Garlic Aioli, which adds a rich contrast to the savory filling. For a refreshing balance, try a crisp white wine or sparkling water with lemon. If you’re serving these as part of a larger meal, our Roasted Vegetable Medley makes a hearty companion. Finally, a light tomato soup turns these rolls into a cozy, satisfying dinner.

Bell peppers, spinach, mushrooms, and grated zucchini are excellent choices for Cheesy Veggie Puff Pastry Rolls. These vegetables hold their texture well and pair perfectly with melted cheese. Avoid watery veggies like tomatoes unless you drain them thoroughly first.
Yes! Assemble the rolls and refrigerate them for up to 24 hours before baking. For longer storage, freeze unbaked Cheesy Veggie Puff Pastry Rolls for 2-3 months—just add 5 extra minutes to the baking time when cooking from frozen.
Mozzarella, cheddar, and Gruyère create the perfect stretchy melt for Cheesy Veggie Puff Pastry Rolls. For extra flavor, mix in a small amount of Parmesan or feta. Avoid pre-shredded cheeses as they contain anti-caking agents that can affect texture.
Sauté vegetables first to remove excess moisture before adding them to your Cheesy Veggie Puff Pastry Rolls. Always work with chilled pastry, and consider brushing it with egg wash to create a moisture barrier. Bake at 400°F for optimal crispiness.