“`html
Introduction
There’s something magical about the tangy, earthy flavor of fermented beets—a taste that instantly transports me to cozy kitchens and shared meals. Whether you’re a fermentation newbie or a seasoned pro, this Tangy Fermented Beets Recipe will quickly become a staple in your home. Not only do these vibrant roots pack a probiotic punch, but they also add a burst of color and flavor to salads, bowls, and even sandwiches. Trust me, once you try them, you’ll wonder how you ever lived without their zesty crunch.
About This Recipe
Tangy Fermented Beets Recipe is more than just a side dish—it’s a gateway to gut-friendly eating with minimal effort. Unlike store-bought versions loaded with preservatives, this homemade recipe relies on simple, wholesome ingredients like fresh beets, garlic, and a touch of sea salt. The fermentation process not only enhances their natural sweetness but also creates a tangy depth of flavor that elevates any meal. Plus, fermented foods like these beets support digestion and immunity, making them as nutritious as they are delicious.
If you’ve ever tried our Easy Sourdough Starter Guide, you’ll know we love recipes that blend tradition with modern convenience. This Tangy Fermented Beets Recipe fits perfectly into that philosophy. It’s a timeless technique with a quick, approachable twist—no fancy equipment required. Just like our Homemade Kombucha for Beginners, it’s a small step toward a healthier, more sustainable kitchen.
What sets this recipe apart is its versatility. You can enjoy these beets straight from the jar, toss them into grain bowls, or even blend them into dressings for an extra probiotic boost. The process is forgiving, too. Whether you prefer them mildly tangy or boldly sour, you control the fermentation time to suit your taste. And because beets naturally contain sugars that feed the fermentation, you don’t need any starter cultures—just patience and a little counter space.
Why I Love This Recipe
I’ll never forget the first time I made Tangy Fermented Beets Recipe. My grandmother, who always had a jar of something bubbling on her counter, would’ve approved. There’s a quiet joy in watching the brine turn jewel-toned and tasting the flavors deepen each day. These beets remind me of her kitchen—warm, welcoming, and full of life. Now, I make them yearly when beet season peaks, sharing jars with friends who inevitably ask for the recipe. It’s a small tradition, but one that connects me to the past while nourishing the present.
“`
Health and Nutrition
Why it’s good for your body
Tangy Fermented Beets Recipe packs a powerful punch of nutrients while delivering a deliciously tangy flavor. First, beets are rich in dietary nitrates, which support healthy blood pressure and improve circulation. Additionally, the fermentation process boosts gut health by introducing probiotics that aid digestion and strengthen immunity. Whether you enjoy it as a side or a snack, this recipe helps your body thrive.
Moreover, Tangy Fermented Beets Recipe offers a hefty dose of antioxidants like betalains, which fight inflammation and protect cells from damage. Since fermentation enhances nutrient absorption, your body gets more benefits from every bite. Beyond that, the natural sugars in beets break down during fermentation, making this dish lower in sugar than traditional pickled beets. It’s a win for both taste and wellness.
Finally, this recipe provides essential vitamins like folate and vitamin C, which support energy levels and immune function. Because fermentation preserves these nutrients, Tangy Fermented Beets Recipe stays nutritious for weeks. Whether you’re looking for a gut-friendly food or a vibrant addition to meals, this dish delivers on flavor and health.
How it fits in a healthy lifestyle
Tangy Fermented Beets Recipe fits seamlessly into a balanced diet, whether you’re gluten-free, plant-based, or focused on heart health. The probiotics in fermented foods like this one support gut health, which ties into overall wellness. Pair it with a protein-rich dish like our Quinoa Salad for a nutrient-packed meal that keeps you satisfied.
For those managing blood sugar, the low-glycemic nature of fermented beets makes them a smart choice. They also add a burst of flavor without excess sodium or preservatives. If you’re meal prepping, try incorporating Tangy Fermented Beets Recipe into your routine alongside our Meal Prep Guide for effortless healthy eating. From salads to grain bowls, this versatile recipe elevates any dish while keeping nutrition front and center.
PrintTangy Fermented Beets
Description
A simple and healthy fermented beet recipe with a tangy, probiotic-rich flavor.
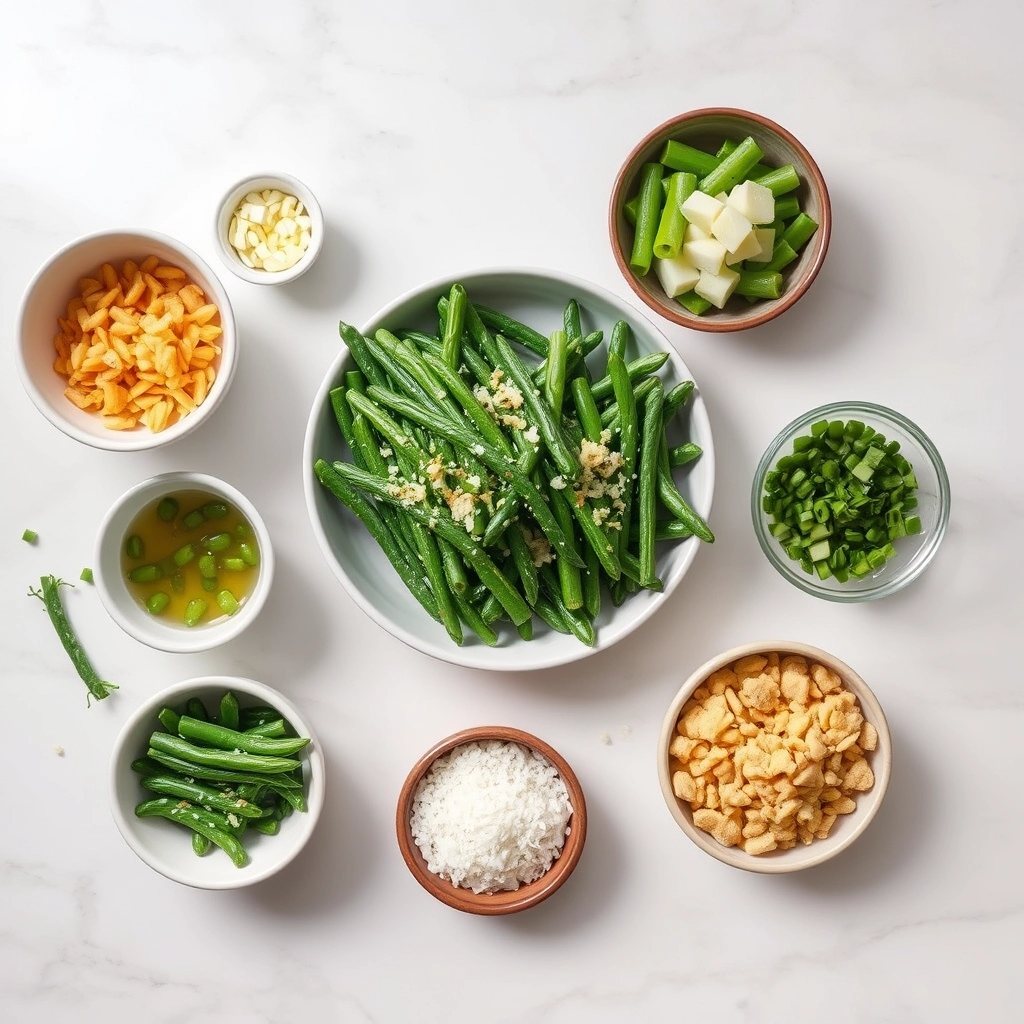
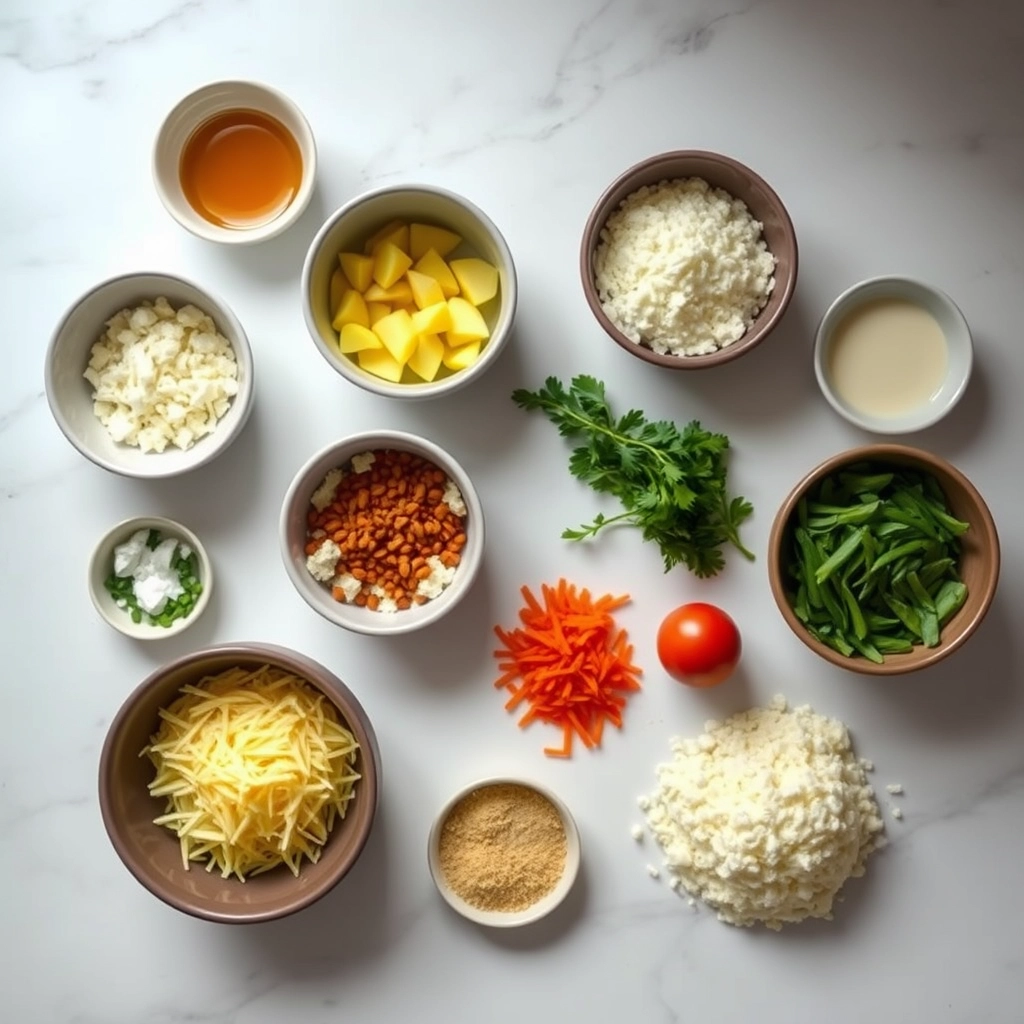
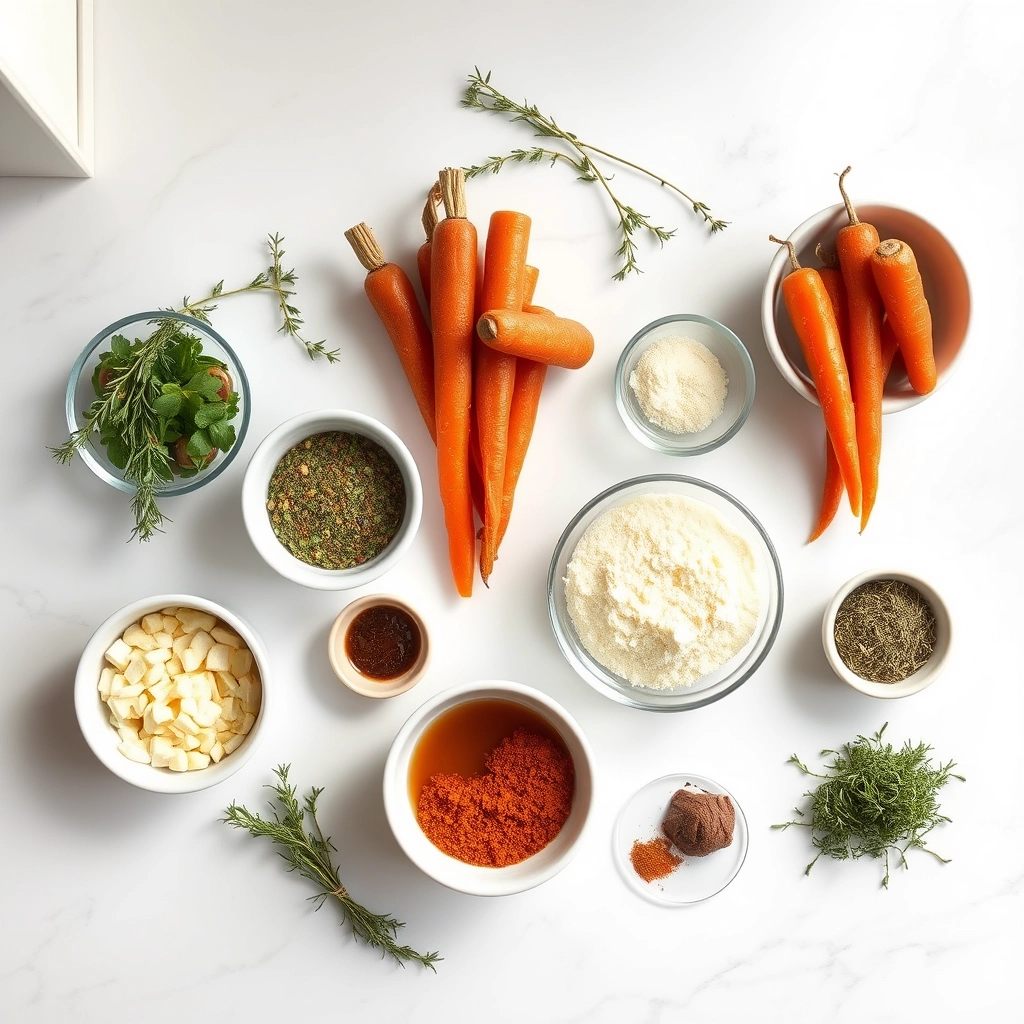
Ingredients
For the Crust:
- 4 medium beets, peeled and thinly sliced
- 2 cups filtered water
- 1 tbsp sea salt
- 2 cloves garlic, crushed
- 1 tsp whole black peppercorns
- 1 bay leaf
Instructions
1. Prepare the Crust:
- Sterilize a quart-sized mason jar and lid by boiling or using hot water.
- Pack the sliced beets, garlic, peppercorns, and bay leaf tightly into the jar.
- Dissolve the sea salt in the filtered water to create a brine.
- Pour the brine over the beets, ensuring they are fully submerged. Leave about 1 inch of headspace.
- Seal the jar loosely to allow gases to escape during fermentation.
- Place the jar in a cool, dark place for 5-7 days, checking daily for bubbles and taste.
- Once fermented to your liking, refrigerate to slow fermentation.
Notes
You can customize the seasonings to taste.
How to Prepare This Dish
Steps and time-saving tips
Start by thoroughly washing and peeling your beets, then slice them into thin, even rounds for consistent fermentation. Next, pack the slices tightly into a clean glass jar, leaving about an inch of space at the top. In a separate bowl, whisk together filtered water, sea salt, and a splash of apple cider vinegar until the salt dissolves completely. Pour this brine over the beets, ensuring they stay submerged—a fermentation weight or a small, clean cabbage leaf works perfectly here. Cover the jar loosely with a lid or cloth to allow airflow while keeping dust out. Let the jar sit at room temperature for 3-5 days, checking daily for bubbles and tanginess. Once the flavor suits your taste, transfer the jar to the fridge to slow fermentation. For a quicker process, grate the beets instead of slicing them—they’ll ferment faster due to increased surface area. If you’re short on time, prep extra jars in advance; fermented beets keep well for weeks.
Mistakes I’ve made and learned from
Early on, I rushed the fermentation and skipped checking the brine’s salt ratio—resulting in mushy beets. Now, I always measure salt precisely and taste-test after day three. Another hiccup? Forgetting to burp the jar, which led to a fizzy explosion (lesson learned!). These days, I use an airlock lid or simply loosen the lid twice daily. If you’re new to fermenting, my guide on fermentation basics breaks down the science simply. And if your batch ever tastes off, don’t panic—my troubleshooting tips in saving failed ferments can often salvage it. Trust the process, and your patience will pay off with crisp, tangy beets every time.
Cultural Connection and Variations
Where this recipe comes from
Tangy Fermented Beets Recipe traces its roots to Eastern Europe, where fermentation preserved vegetables through harsh winters. Families in Poland, Ukraine, and Russia often prepared this dish, adding garlic, dill, or caraway seeds for extra flavor. Meanwhile, in the American South, cooks might swap spices for apple cider vinegar, creating a tangier twist. Every region puts its own spin on this vibrant dish.
In my grandmother’s kitchen, Tangy Fermented Beets Recipe was a staple during fall harvests. She layered beets with horseradish for a spicy kick, a trick she learned from her Lithuanian neighbors. Today, some versions include ginger or turmeric for added health benefits. Whether served as a side or atop salads, this recipe bridges generations and cultures with every crunchy bite.
How it fits in today’s cooking
Tangy Fermented Beets Recipe still shines in modern kitchens, especially among fans of gut-friendly foods. Many home cooks pair it with dishes like fluffy sourdough pancakes for a probiotic-rich breakfast. Others toss it into grain bowls or serve it alongside kimchi grilled cheese for a fermented flavor boost.
Seasonal cooks love this recipe for its versatility. In summer, it brightens picnic spreads, while in winter, it adds color to holiday tables. Some even blend it into dressings or smoothies for an unexpected tang. No matter how you enjoy it, Tangy Fermented Beets Recipe proves that tradition and innovation can coexist deliciously.
Taste and Texture
What makes it delicious
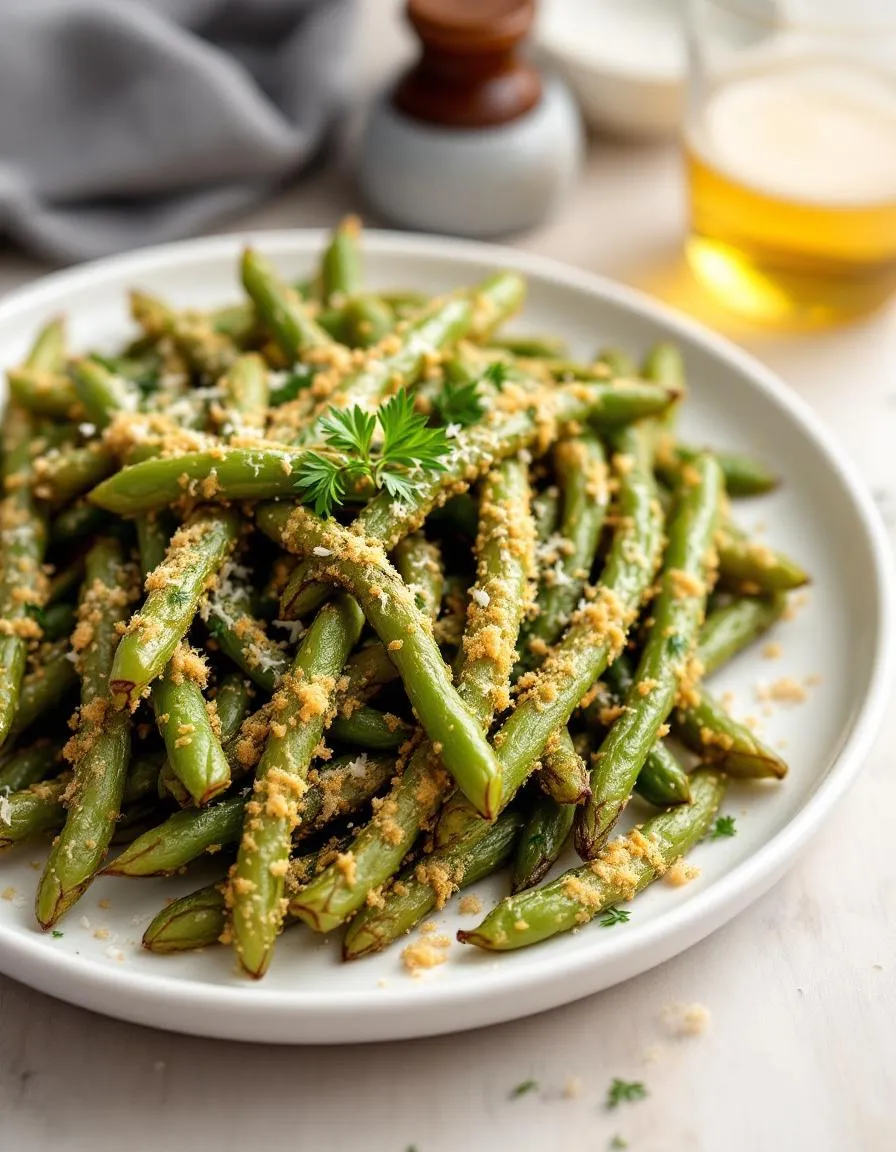
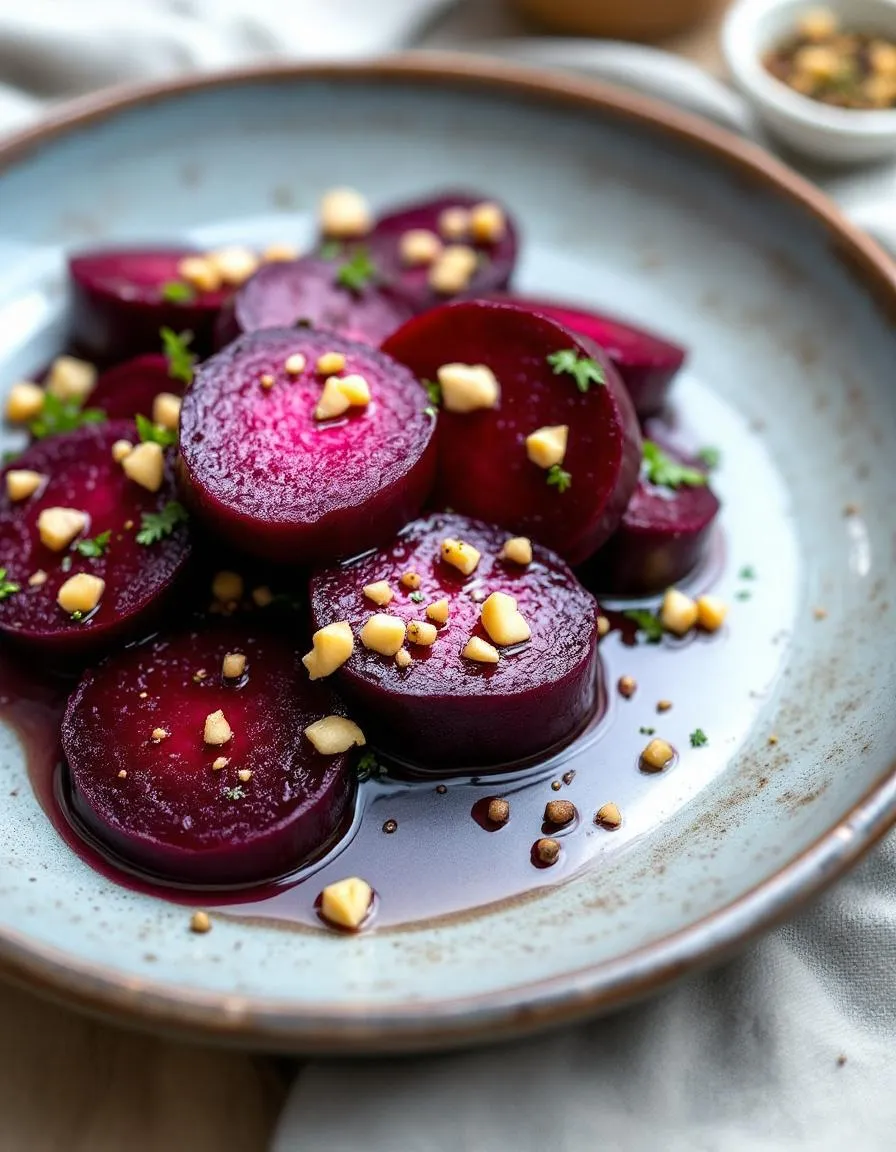
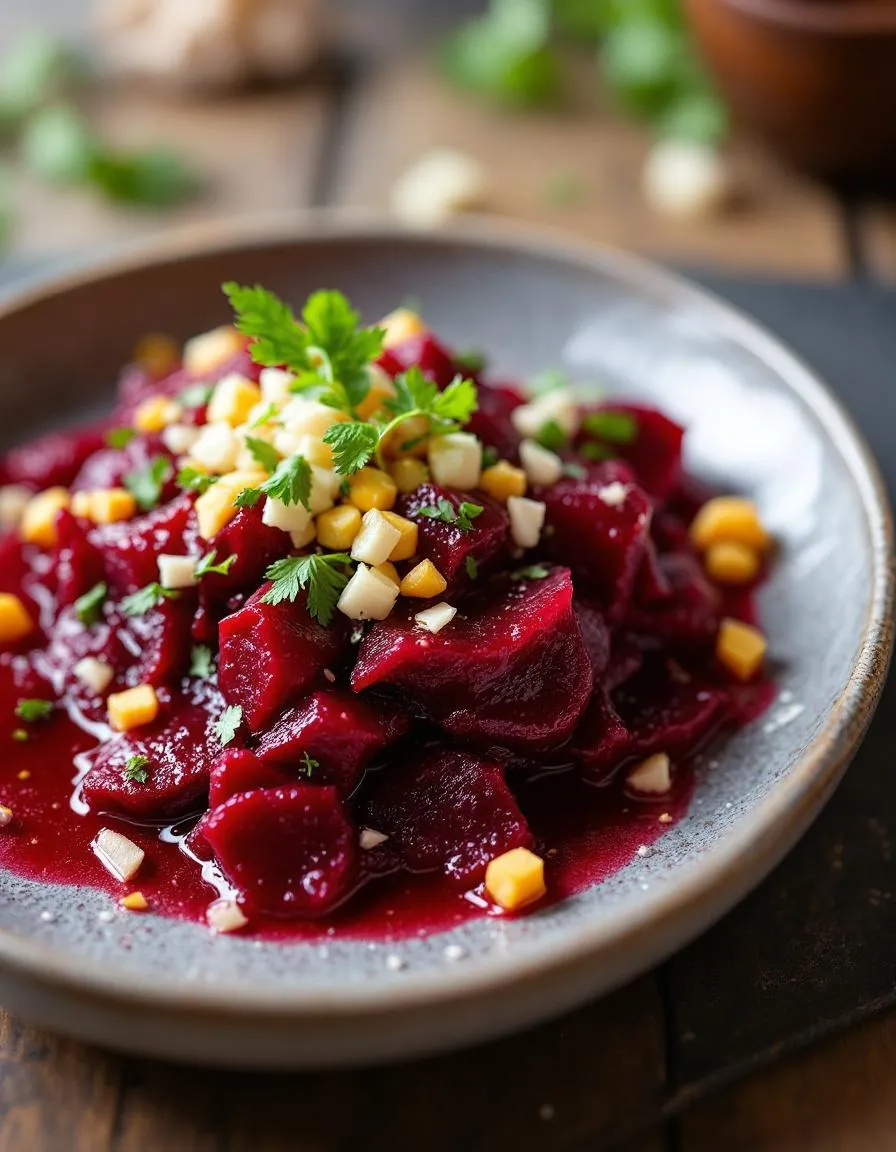
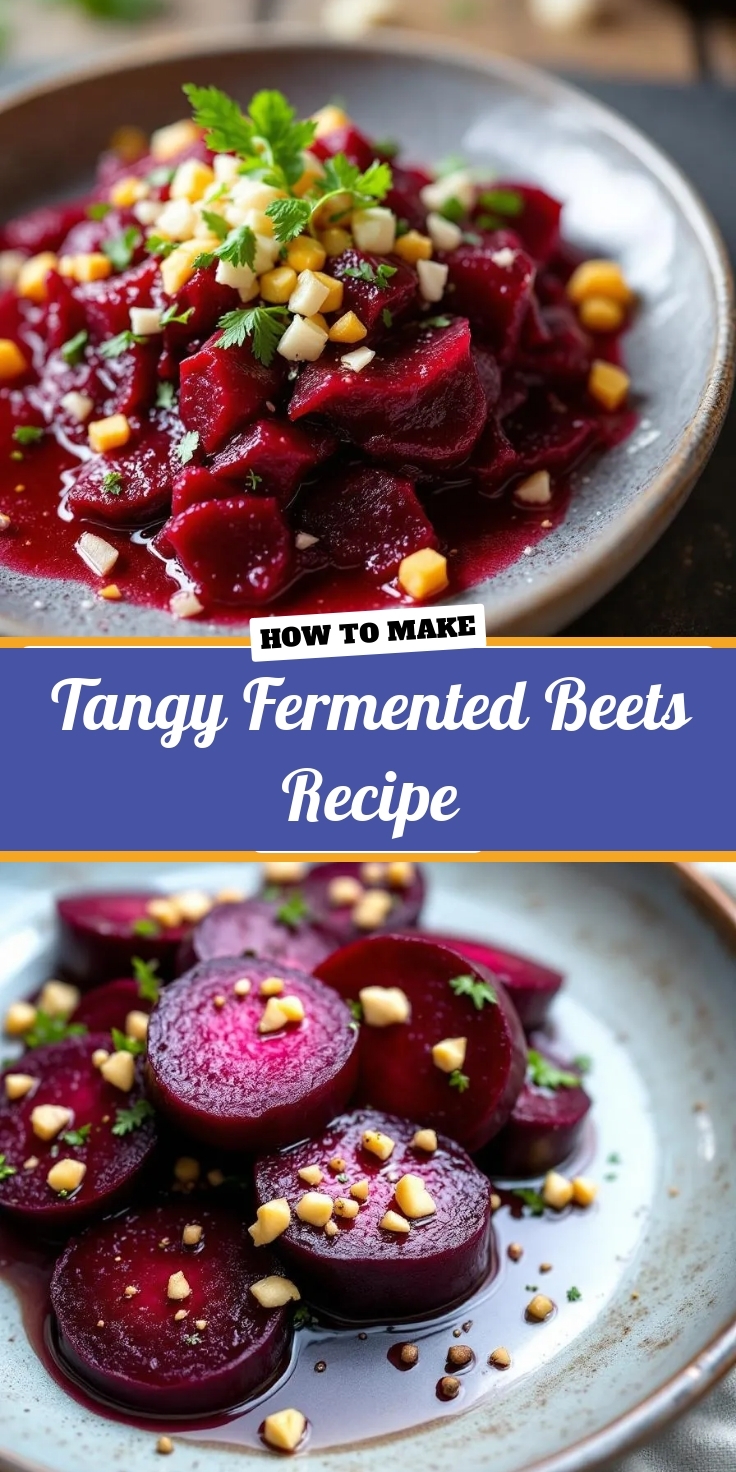
The Tangy Fermented Beets Recipe delivers a bold, vibrant flavor that dances on your palate. First, you’ll notice the earthy sweetness of the beets, balanced by a bright, tangy kick from the fermentation process. Each bite offers a satisfying crunch, while the natural juices release a subtly effervescent zing. Garlic and peppercorns add depth, infusing the beets with a warm, aromatic undertone. Meanwhile, the texture stays firm yet tender, making the Tangy Fermented Beets Recipe a refreshing contrast to creamy or rich dishes. Whether enjoyed alone or as a garnish, its lively acidity and crisp mouthfeel keep you coming back for more.
Boosting the flavor
Elevate your Tangy Fermented Beets Recipe with a few easy tweaks. For extra brightness, toss in a handful of fresh dill or orange zest before serving. If you love heat, a pinch of crushed red pepper flakes or a dash of homemade fermented hot sauce will add a spicy punch. Pair them with creamy goat cheese or avocado to mellow the tanginess, or drizzle with garlic herb-infused oil for an aromatic finish. Experiment with different vinegars or spices during fermentation to tailor the flavor to your cravings. The possibilities are endless!
Tips for Success
Best practices for results
Always use fresh, firm beets for your Tangy Fermented Beets Recipe to ensure the best texture and flavor. Meanwhile, sterilize your jars thoroughly to prevent unwanted bacteria from interfering with fermentation. Additionally, pack the beets tightly in the jar to minimize air pockets, which can lead to uneven fermentation. For consistent results, keep the jars at room temperature away from direct sunlight. Finally, taste your Tangy Fermented Beets Recipe every few days to monitor the tanginess and stop fermentation when it reaches your preferred flavor.
Mistakes to avoid
One common mistake is using iodized salt, which can hinder fermentation. Instead, opt for non-iodized salt like kosher or sea salt for the best Tangy Fermented Beets Recipe. Another error is not weighing down the beets properly, which can cause them to float and spoil. To fix this, use a fermentation weight or a small, clean plate to keep everything submerged. If you’re new to fermenting, check out our guide on fermentation basics for more tips. Also, avoid opening the jar too often, as this introduces oxygen and slows the process. For troubleshooting help, our common fermentation issues post covers solutions to typical problems.
Serving and Pairing Suggestions
How to serve this dish
Elevate your Tangy Fermented Beets Recipe by serving them in a vibrant ceramic bowl or mason jar for a rustic yet elegant touch. For a pop of color, garnish with fresh dill or microgreens. Meanwhile, these beets shine at brunch alongside avocado toast or as a tangy addition to holiday charcuterie boards. Alternatively, layer them over creamy goat cheese crostini for an effortless appetizer that wows guests. Their bold flavor and bright hue make them a standout side dish any time of year.
What goes well with it
Pair your Tangy Fermented Beets Recipe with a crisp, chilled white wine like Sauvignon Blanc to balance their zesty kick. If you prefer non-alcoholic options, try sparkling water with a squeeze of lemon for a refreshing contrast. For heartier pairings, serve them alongside our Garlic Herb Roasted Chicken—the beets cut through the richness beautifully. Finally, toss them into a salad with our Creamy Tahini Dressing for a creamy, tangy flavor combo that delights the palate.
Fermenting beets for a Tangy Fermented Beets Recipe typically takes 5–7 days at room temperature. The longer they ferment, the tangier they become, but taste-test after 5 days to avoid over-fermentation. Store them in the fridge afterward to slow the process.
Tangy Fermented Beets Recipe offers probiotics for gut health, antioxidants from beets, and natural enzymes that aid digestion. The fermentation process also increases nutrient bioavailability, making it a nutritious addition to meals.
While apple cider vinegar adds tanginess, it won’t properly ferment beets like salt does. For a true Tangy Fermented Beets Recipe, use sea salt or kosher salt to create the brine needed for safe fermentation.
Discard your Tangy Fermented Beets Recipe if you see mold, smell a foul odor, or notice sliminess. Properly fermented beets should smell pleasantly sour and have a crisp texture with vibrant color.