Introduction
There’s something special about recipes that bring people together, especially during the holidays. If you’re looking for a dish that balances sweet, tart, and crunchy in every bite, my Tangy Cranberry Pecan Relish Recipe is just what you need. Whether you’re hosting a festive gathering or simply craving a burst of flavor, this relish transforms ordinary meals into memorable moments. Plus, it’s incredibly easy to make, so you can spend less time in the kitchen and more time savoring the joy of good food.
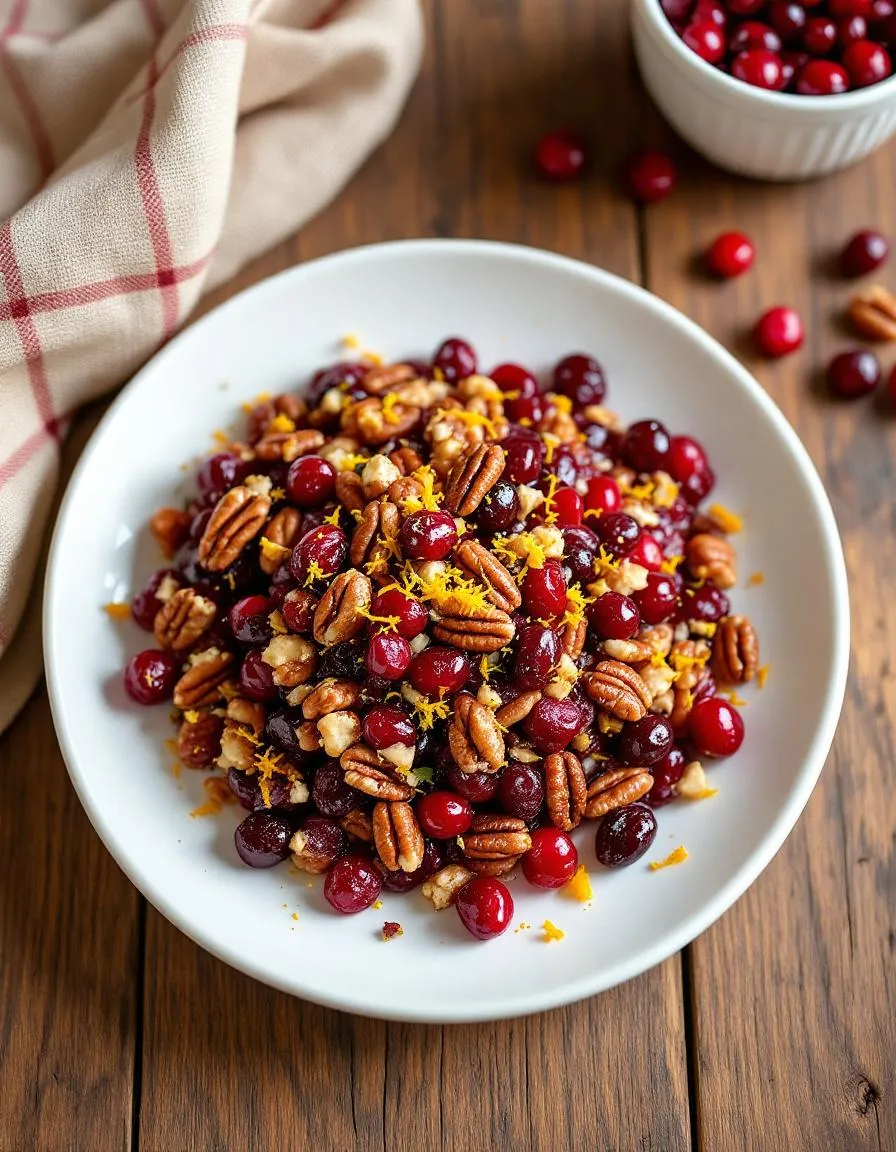
Tangy Cranberry Pecan Relish Recipe is more than just a condiment—it’s a celebration of bold flavors and textures. Fresh cranberries provide a vibrant tartness, while toasted pecans add a rich, buttery crunch. A touch of citrus brightens the mix, creating a versatile relish that pairs perfectly with roasted turkey, creamy cheeses, or even a simple bowl of yogurt. What makes this recipe stand out is its simplicity. Unlike traditional cranberry sauces that require hours of simmering, this version comes together in minutes, letting the natural flavors shine. At brekcakes.com, we believe food should be both delicious and approachable, and this relish embodies that philosophy. If you love easy, crowd-pleasing recipes, you’ll also enjoy our Spiced Apple Butter or Roasted Garlic Hummus for more quick, flavorful ideas.
Why I Love This Recipe
This Tangy Cranberry Pecan Relish Recipe holds a special place in my heart because it reminds me of my grandmother’s holiday table. She always believed the best meals came from fresh, simple ingredients, and this relish captures that spirit perfectly. Every time I make it, I’m transported back to those cozy evenings filled with laughter and the smell of roasting turkey. It’s a dish that feels both nostalgic and new—a little tradition I’m proud to share with you.
Health and Nutrition
Why it’s good for your body
Tangy Cranberry Pecan Relish Recipe packs a powerful nutritional punch while delighting your taste buds. First, cranberries deliver a hefty dose of antioxidants, which help combat inflammation and support immune health. Additionally, pecans contribute heart-healthy fats and protein, keeping you satisfied longer. Together, these ingredients make Tangy Cranberry Pecan Relish Recipe a smart choice for boosting overall wellness.
Moreover, this relish offers natural sweetness without relying on refined sugars. Cranberries bring a tart brightness, while a touch of honey or maple syrup balances the flavor. Consequently, you enjoy a guilt-free condiment that enhances meals without spiking blood sugar. Furthermore, the fiber in cranberries and pecans aids digestion, promoting gut health with every bite.
Finally, Tangy Cranberry Pecan Relish Recipe shines as a versatile addition to your diet. Whether you pair it with roasted turkey or spread it on whole-grain toast, you reap the benefits of its nutrient-dense ingredients. Regularly incorporating this relish into meals ensures you get a steady supply of vitamins, minerals, and healthy fats. Ultimately, it’s a flavorful way to nourish your body.
How it fits in a healthy lifestyle
Tangy Cranberry Pecan Relish Recipe effortlessly fits into a balanced diet, whether you’re focusing on heart health, gluten-free eating, or simply adding more whole foods to your day. The pecans provide monounsaturated fats, which support cardiovascular wellness, while the cranberries add a low-calorie burst of flavor. For those avoiding gluten, this relish is a naturally safe option that pairs perfectly with gluten-free dishes like our Gluten-Free Cornbread.
You can also enjoy Tangy Cranberry Pecan Relish Recipe as part of meal prep or quick, healthy snacks. Spread it on yogurt for a protein-rich breakfast or use it to elevate a simple salad. If you’re looking for more ways to incorporate nutritious condiments, explore our Healthy Salad Dressings for fresh ideas. With its combination of flavor and nourishment, this relish makes eating well both easy and enjoyable.
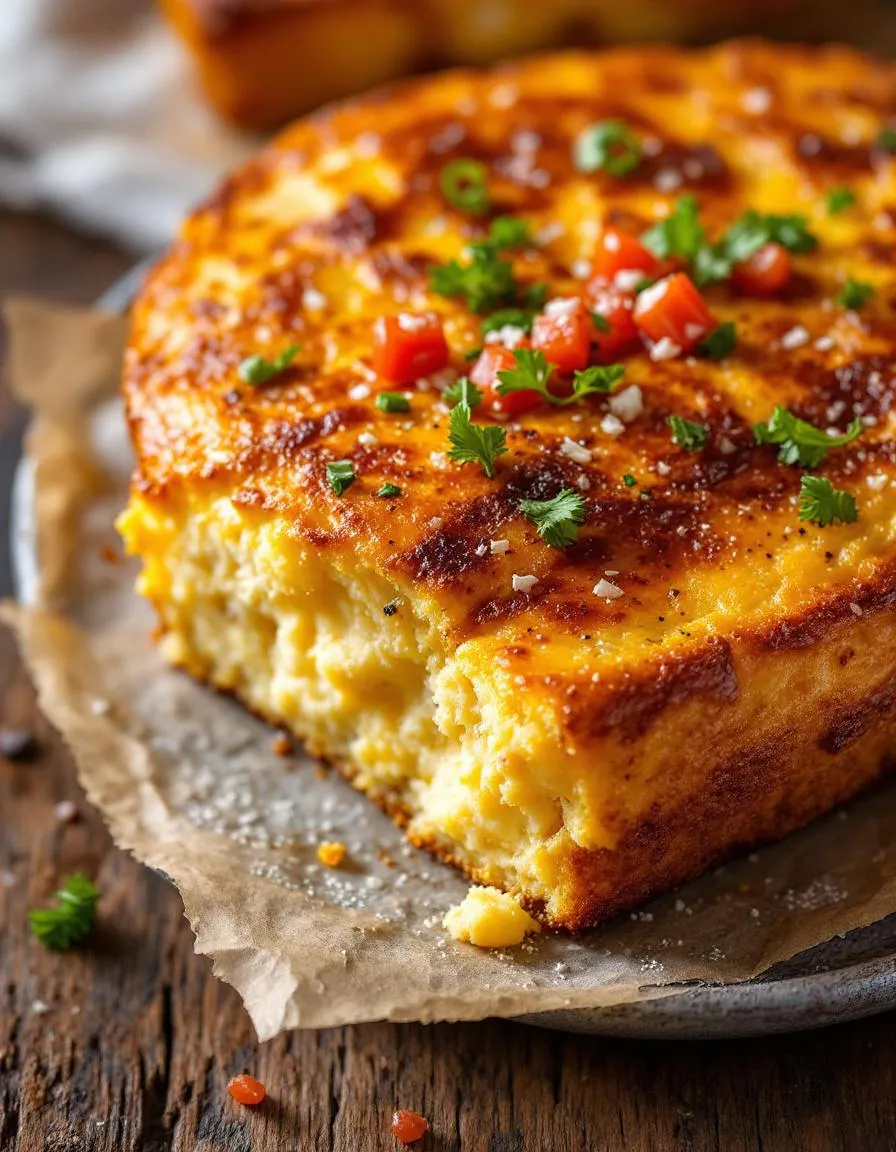
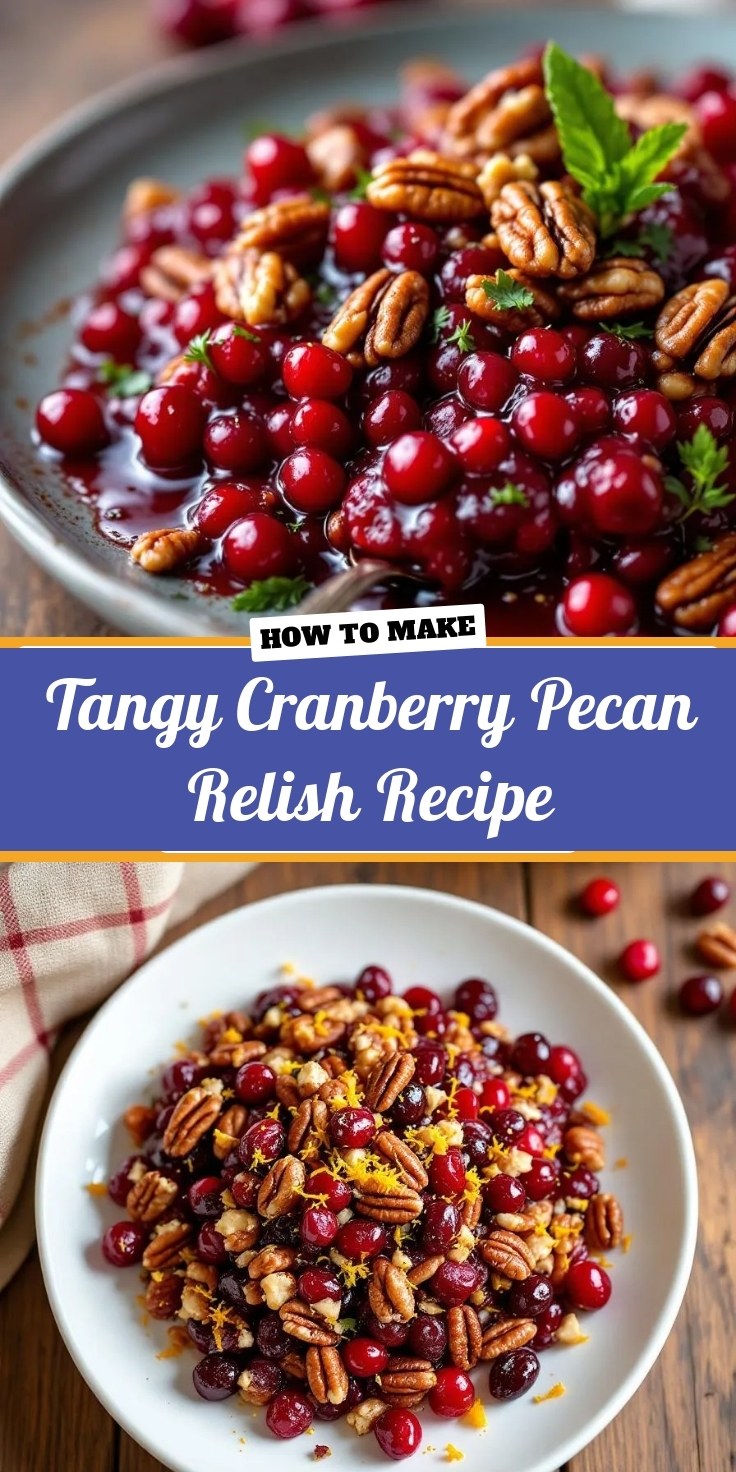
Tangy Cranberry Pecan Relish
Description
A sweet and tangy relish with cranberries, pecans, and a hint of citrus, perfect for holiday meals.
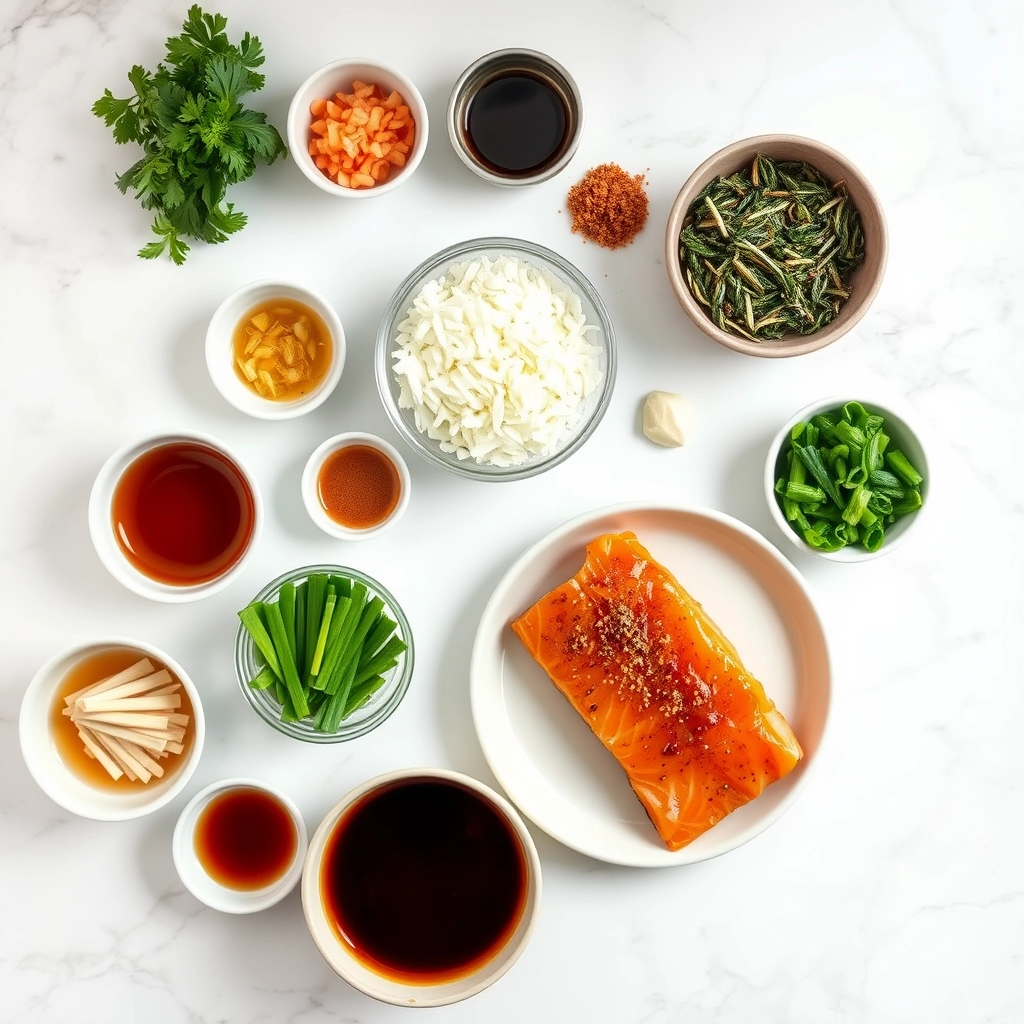
Ingredients
Scale
For the Crust:
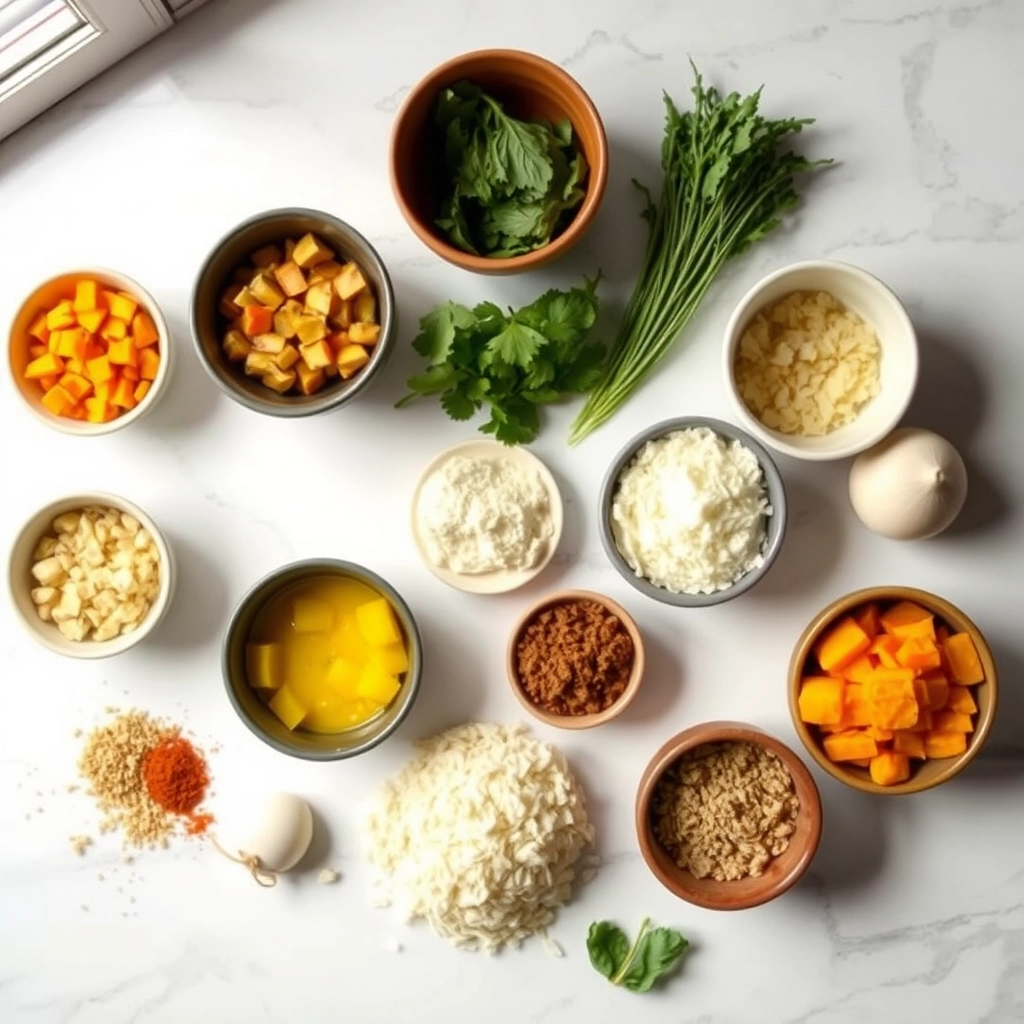
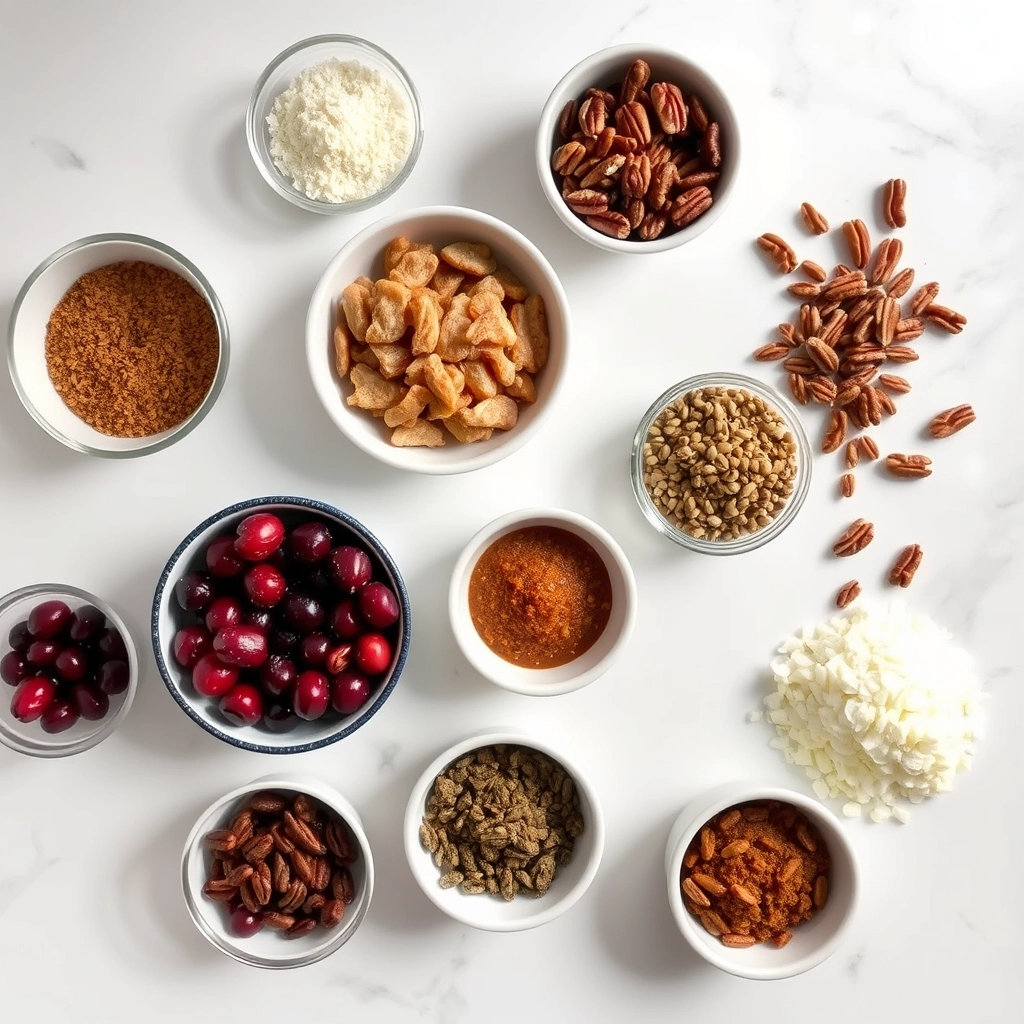
- 12 oz fresh cranberries
- 1 cup granulated sugar
- 1/2 cup orange juice
- 1 tbsp orange zest
- 1/2 cup chopped pecans
- 1/4 tsp ground cinnamon
- 1/4 tsp salt
Instructions
1. Prepare the Crust:
- In a medium saucepan, combine cranberries, sugar, and orange juice. Bring to a boil over medium heat.
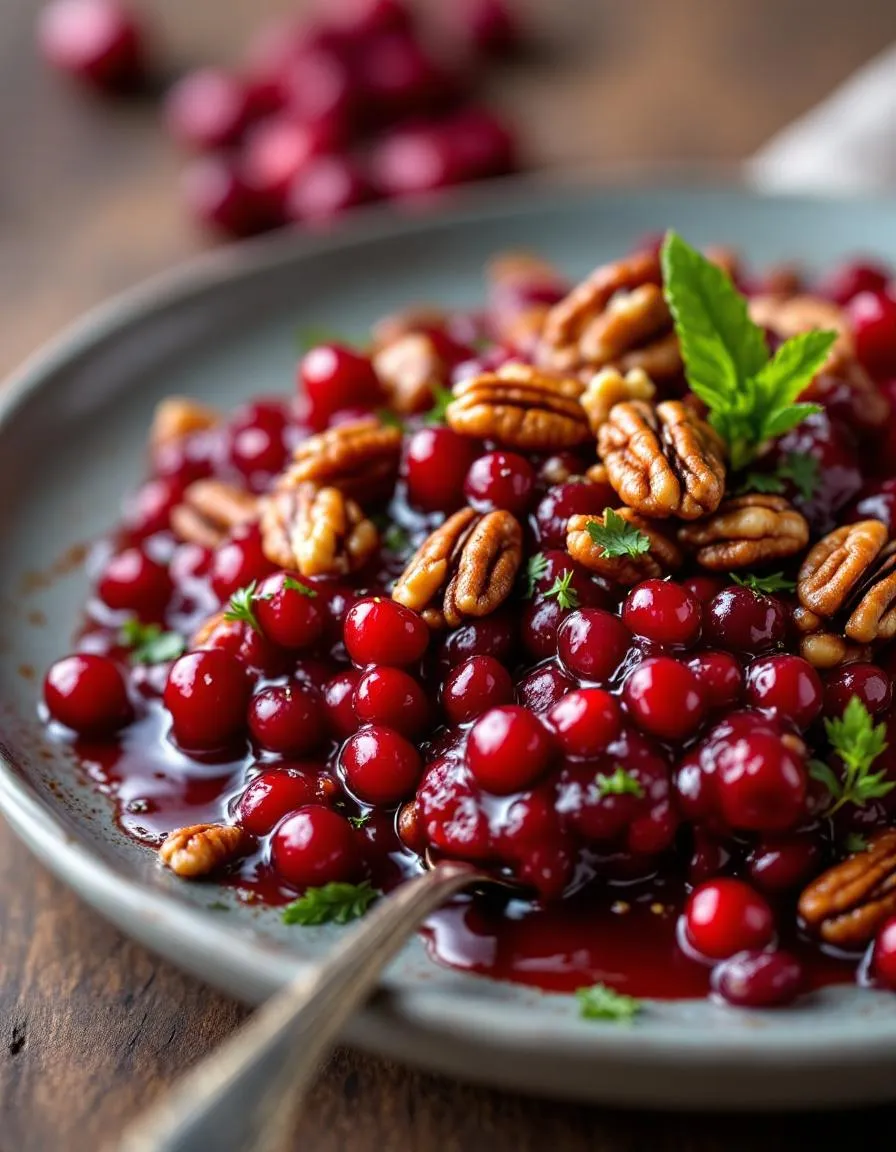
- Reduce heat to low and simmer for 10-12 minutes, stirring occasionally, until cranberries burst and mixture thickens.
- Remove from heat and stir in orange zest, pecans, cinnamon, and salt. Let cool to room temperature before serving.
Notes
You can customize the seasonings to taste.
How to Prepare This Dish
Steps and time-saving tips
Start by rinsing fresh cranberries under cold water and patting them dry. Next, roughly chop the pecans for a satisfying crunch in every bite of your Tangy Cranberry Pecan Relish Recipe. Combine the cranberries, pecans, and orange zest in a large mixing bowl, then drizzle honey and fresh orange juice over the mixture. Gently fold everything together until evenly coated. For extra depth, add a pinch of cinnamon or a splash of apple cider vinegar—this brightens the flavors beautifully. Meanwhile, let the relish chill in the fridge for at least 30 minutes to let the flavors meld. If you’re short on time, pop it in the freezer for 10 minutes instead. Stir once more before serving to redistribute the juices. Pro tip: Toast the pecans in a dry skillet for 2-3 minutes beforehand to intensify their nutty flavor. Keep leftovers in an airtight container for up to five days, though this relish rarely lasts that long!
Mistakes I’ve made and learned from
Early on, I underestimated how much the cranberries would break down during mixing, leaving my Tangy Cranberry Pecan Relish Recipe too mushy. Now, I pulse them just a few times in the food processor for a chunkier texture. Another blunder? Skipping the toasting step for the pecans—it makes a world of difference in flavor! If you’re new to working with nuts, my guide on toasting nuts perfectly every time will save you from burnt batches. Also, taste as you go with citrus—I once added too much orange zest and overpowered the dish. Balance is key, much like in my balancing flavors in savory dishes post. Trust me, a little patience goes a long way with this relish!
Cultural Connection and Variations
Where this recipe comes from
Tangy Cranberry Pecan Relish Recipe has deep roots in American holiday traditions, especially Thanksgiving. Families often pass down their own versions, tweaking ingredients to match regional tastes or pantry staples. For instance, in the South, some cooks add a splash of bourbon for warmth, while others in New England might use maple syrup instead of sugar for a woodsy sweetness. Meanwhile, my grandmother always insisted on hand-chopping the pecans for extra crunch—a small detail that made her version unforgettable.
Beyond the U.S., cranberry relishes take on exciting twists. In Scandinavia, lingonberries sometimes replace cranberries, offering a similar tartness with a milder flavor. Some Caribbean variations even mix in citrus zest or spicy peppers for a bold kick. No matter the adaptation, Tangy Cranberry Pecan Relish Recipe remains a celebration of balance—sweet, tart, and nutty all at once. Whether served alongside roast turkey or spread on a leftover sandwich, it’s a dish that bridges generations and cultures with every bite.
How it fits in today’s cooking
Today, Tangy Cranberry Pecan Relish Recipe still shines as a holiday staple, but modern cooks also weave it into everyday meals. Meal preppers love folding it into yogurt bowls or pairing it with roasted meats for a quick gourmet touch. Plus, its make-ahead convenience fits perfectly with busy schedules—just like our easy meal prep ideas for stress-free cooking.
Health-conscious tweaks keep it relevant too. Many swap refined sugar for honey or agave, while others toss in chia seeds for extra fiber. And let’s not forget its role in plant-based spreads—slathered on vegan holiday recipes, it adds vibrant flavor without dairy or meat. Whether you stick to tradition or experiment, this relish proves that some flavors never go out of style.
Taste and Texture
What makes it delicious
The Tangy Cranberry Pecan Relish Recipe delivers a vibrant burst of flavors and textures that dance on your palate. Tart cranberries mingle with sweet orange zest, creating a bright, fruity contrast, while toasted pecans add a satisfying crunch. A hint of cinnamon and maple syrup rounds out the relish with warm, earthy undertones. Each spoonful feels lively and fresh, with a jammy yet slightly chunky texture that clings perfectly to crackers or roasted meats. The aroma alone—a mix of citrusy brightness and toasted nuts—will have everyone leaning in for a taste. Whether served chilled or at room temperature, the Tangy Cranberry Pecan Relish Recipe brings a festive, irresistible touch to any table.
Boosting the flavor
Elevate your Tangy Cranberry Pecan Relish Recipe with a few easy tweaks. For extra depth, swap maple syrup with bourbon-spiked honey or stir in a pinch of cardamom for a floral twist. Toasted coconut flakes or a sprinkle of chili powder can add unexpected layers of flavor and texture. Pair it with creamy goat cheese or a drizzle of balsamic reduction for a gourmet touch. If you love bold contrasts, try serving it alongside our Savory Herb-Roasted Turkey or folding it into our Creamy Brie Crostini for a showstopping appetizer. A little creativity goes a long way in making this relish even more memorable.
Tips for Success
Best practices for results
Always use fresh cranberries for the Tangy Cranberry Pecan Relish Recipe, as they provide the best texture and flavor. Meanwhile, toast the pecans lightly before adding them to enhance their nutty richness. Additionally, let the relish chill for at least an hour before serving so the flavors meld perfectly. For a balanced taste, adjust the sweetness gradually by tasting as you stir in the sugar. Finally, store any leftovers in an airtight container to keep the relish fresh for days.
Mistakes to avoid
Avoid overcooking the cranberries, or they’ll turn mushy instead of retaining a pleasant bite. Instead, simmer them just until they pop, then remove the pan from heat immediately. Also, don’t skip toasting the pecans—raw nuts can taste bland and lack crunch. If you’re unsure about seasoning, check out our guide on balancing flavors for foolproof tips. Lastly, resist serving the relish warm, as chilling it properly makes all the difference—learn more about food storage best practices to keep your dishes at their peak.
Serving and Pairing Suggestions
How to serve this dish
Brighten up your holiday table by serving Tangy Cranberry Pecan Relish Recipe in a festive glass bowl or a rustic ceramic dish. For a pop of color, garnish with fresh orange zest or a sprig of mint. Meanwhile, this relish shines at brunch when paired with creamy cheeses or spread over warm croissants. If you want to impress guests, layer it over a wheel of brie and bake until gooey. No matter the occasion, the vibrant flavors and textures make it a standout dish.
What goes well with it
Pair Tangy Cranberry Pecan Relish Recipe with roasted turkey or glazed ham for a classic holiday combo. The sweet-tart notes balance rich meats perfectly. Alternatively, try it alongside our Herb Roasted Potatoes for a savory-sweet contrast. For drinks, a crisp white wine like Riesling or sparkling cider enhances the relish’s zesty flavor. If you prefer a cozy pairing, serve it with our Buttermilk Biscuits for a comforting bite.
You’ll need fresh cranberries, pecans, orange zest, orange juice, sugar, and a pinch of cinnamon to make this Tangy Cranberry Pecan Relish Recipe. The combination of sweet, tart, and nutty flavors creates a perfect balance for holiday meals.
This Tangy Cranberry Pecan Relish Recipe stays fresh for up to 2 weeks when stored in an airtight container in the refrigerator. The natural acidity of cranberries acts as a preservative, keeping the relish flavorful and safe to eat.
Yes! This Tangy Cranberry Pecan Relish Recipe actually tastes better when made 1-2 days in advance, as the flavors have time to meld. Prepare it up to 3 days before serving for optimal texture and taste.
This versatile relish complements roasted turkey, baked ham, grilled chicken, or even cream cheese as an appetizer spread. The Tangy Cranberry Pecan Relish Recipe adds a festive touch to both savory and sweet dishes.