Introduction
There’s something undeniably comforting about a dish that feels both timeless and fresh. That’s exactly what the Classic Wedge Salad with Blue Cheese brings to the table. Whether you’re craving a crisp, refreshing bite or a bold, creamy flavor, this salad delivers. Plus, it’s a fantastic way to elevate any meal, from weeknight dinners to special occasions. Trust me, once you try it, you’ll understand why it’s stood the test of time.
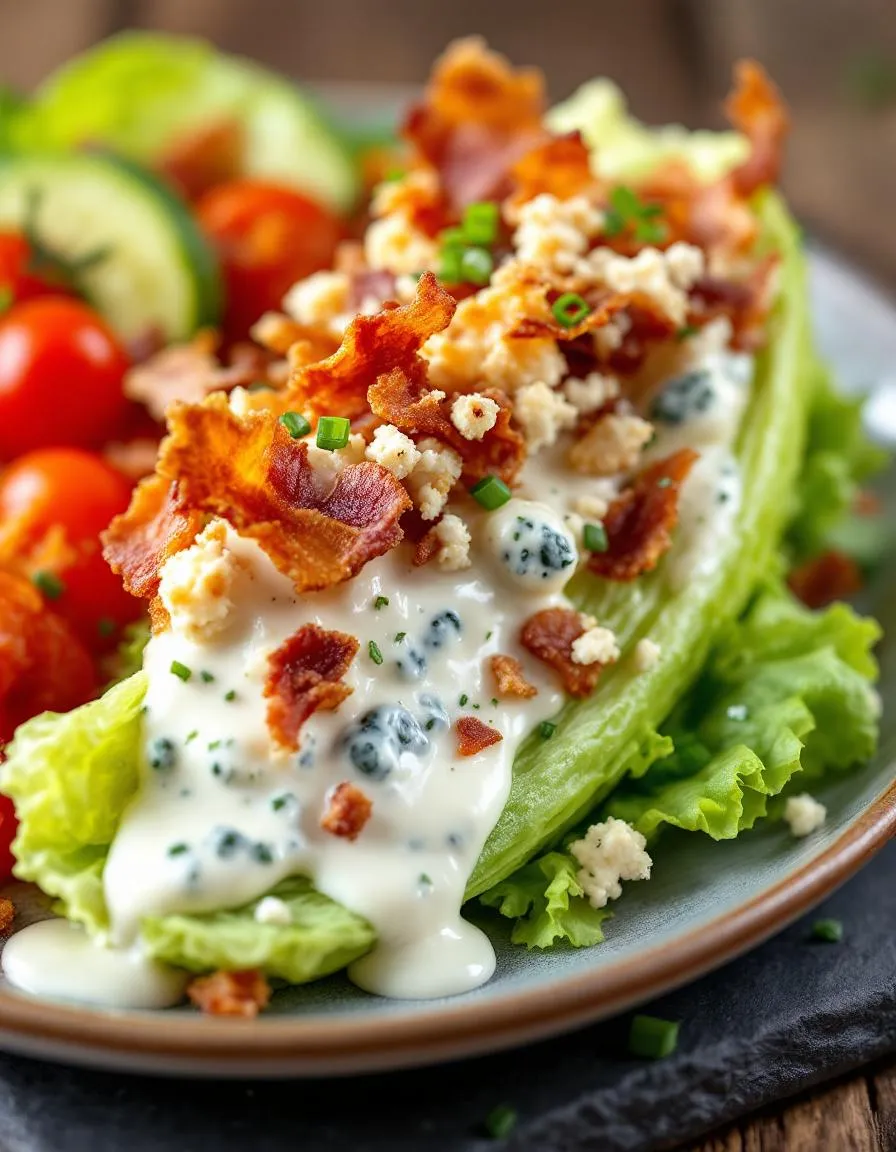
The Classic Wedge Salad with Blue Cheese is more than just a side dish—it’s a celebration of simplicity and flavor. Picture a crisp iceberg wedge topped with tangy blue cheese dressing, smoky bacon, ripe tomatoes, and a sprinkle of chives. Every bite offers a perfect balance of textures and tastes, making it a favorite for both casual and elegant gatherings. What makes it special is its versatility. You can serve it as a light lunch or pair it with a hearty main like my Garlic Herb Roasted Chicken. It also fits perfectly with the breezy, approachable vibe of brekcakes.com, where we believe good food should be both delicious and effortless. If you’re looking for more salad inspiration, check out my Avocado Cobb Salad for another crowd-pleasing option.
Why I Love This Recipe
This Classic Wedge Salad with Blue Cheese holds a special place in my heart because it reminds me of family dinners at my grandparents’ house. My grandma always made it look so effortless, yet it felt like the fanciest thing on the table. Now, whenever I prepare it, I’m transported back to those cozy evenings filled with laughter and good food. It’s a recipe that feels nostalgic but never outdated, and that’s the kind of dish I love sharing with you.
Health and Nutrition
Why it’s good for your body
Classic Wedge Salad with Blue Cheese packs a nutritious punch while delighting your taste buds. First, the crisp iceberg lettuce provides hydration and fiber, which supports digestion and keeps you feeling full. Additionally, the blue cheese adds a rich source of calcium and protein, strengthening bones and muscles. Meanwhile, the tomatoes and bacon bits contribute antioxidants and savory flavor without overwhelming your daily sodium intake.
Moreover, Classic Wedge Salad with Blue Cheese offers healthy fats from the dressing, which help your body absorb fat-soluble vitamins. The dish also includes red onions, known for their anti-inflammatory properties. As a result, you get a balanced mix of textures and nutrients in every bite. Furthermore, the simplicity of the ingredients means fewer processed additives, making it a cleaner choice for mindful eaters.
Finally, Classic Wedge Salad with Blue Cheese fits perfectly into a low-carb or keto diet. The high-fat, low-carb profile keeps energy levels steady. Whether you enjoy it as a side or a light main course, this salad delivers both satisfaction and nourishment.
How it fits in a healthy lifestyle
Classic Wedge Salad with Blue Cheese easily adapts to various dietary preferences. For gluten-free eaters, it’s a safe and flavorful option since it contains no grains or gluten-heavy ingredients. If you’re watching your heart health, simply opt for turkey bacon or a lighter cheese to reduce saturated fat. The salad’s versatility makes it a smart choice for meal prepping, too.
Pair Classic Wedge Salad with Blue Cheese with a lean protein like grilled chicken for a more filling meal. This combo aligns perfectly with high-protein diets. For more inspiration on balancing flavors and nutrients, check out our guide to healthy salad dressings. You’ll also love our tips for low-carb meal ideas to keep your eating plan on track. With simple tweaks, this classic dish becomes a staple in any health-conscious kitchen.
Classic Wedge Salad with Blue Cheese
Description
A crisp wedge of iceberg lettuce topped with creamy blue cheese dressing, bacon, tomatoes, and chives.
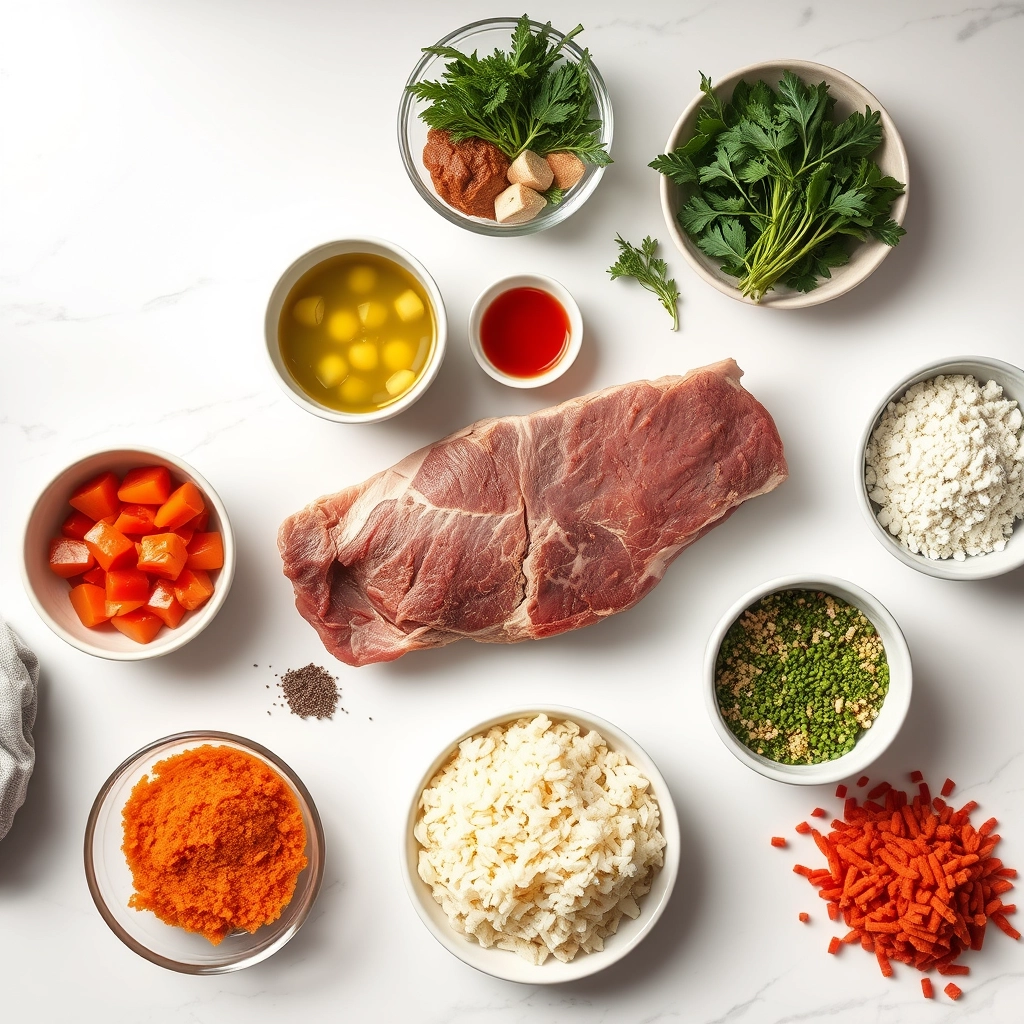
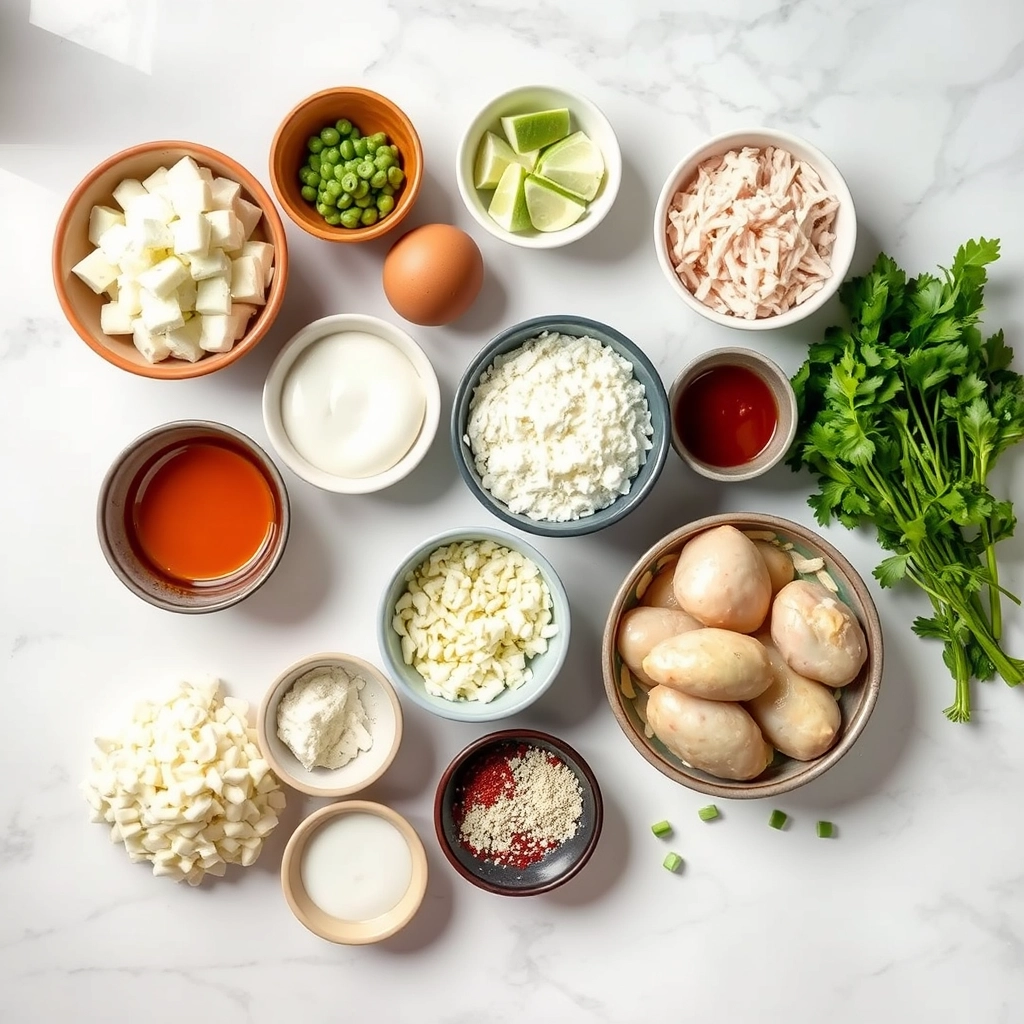
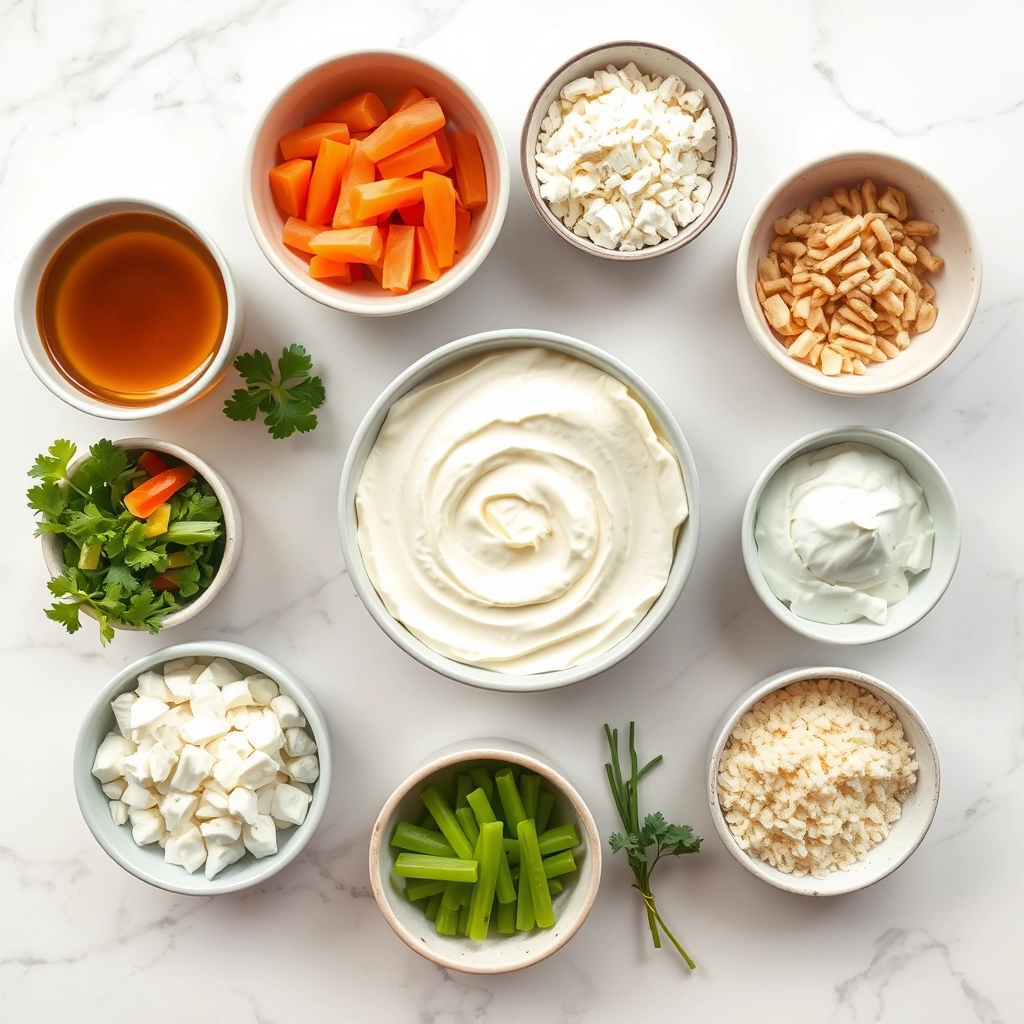
Ingredients
Scale
For the Crust:
- 1 head iceberg lettuce, cut into 4 wedges
- 1/2 cup blue cheese dressing
- 4 slices bacon, cooked and crumbled
- 1/2 cup cherry tomatoes, halved
- 2 tablespoons fresh chives, chopped
- 1/4 cup blue cheese crumbles
- Salt and pepper to taste
Instructions
1. Prepare the Crust:
- Place each iceberg lettuce wedge on a plate.
- Drizzle each wedge generously with blue cheese dressing.
- Sprinkle crumbled bacon, halved cherry tomatoes, and blue cheese crumbles over each wedge.
- Garnish with chopped chives and season with salt and pepper to taste.
- Serve immediately.
Notes
You can customize the seasonings to taste.
How to Prepare This Dish
Steps and time-saving tips
Start by crisping the bacon in a skillet over medium heat until golden, then drain it on paper towels. While the bacon cooks, rinse and pat dry a chilled head of iceberg lettuce, then slice it into four even wedges. Next, whisk together the blue cheese dressing ingredients—sour cream, mayonnaise, crumbled blue cheese, lemon juice, and a pinch of black pepper—until smooth. For a shortcut, use store-bought dressing but jazz it up with extra blue cheese crumbles. Arrange the lettuce wedges on plates, then generously drizzle them with the dressing. Sprinkle crispy bacon bits, diced tomatoes, and thinly sliced red onions over each wedge. Finally, add a final flourish of extra blue cheese crumbles and freshly cracked black pepper. If you’re prepping ahead, keep the dressing and toppings separate until serving to maintain crunch. The Classic Wedge Salad with Blue Cheese comes together in under 20 minutes, making it perfect for busy weeknights or elegant dinners alike.
Mistakes I’ve made and learned from
Early on, I made the mistake of overdressing the Classic Wedge Salad with Blue Cheese, which turned the crisp lettuce soggy. Now, I serve the dressing on the side or lightly drizzle it, letting guests add more as needed. Another blunder? Using warm bacon straight from the pan—it wilted the lettuce. Letting it cool first keeps everything crisp. If you’re new to homemade dressings, check out my guide to balancing flavors for foolproof results. And if you’re short on time, my time-saving salad hacks will help you streamline prep without sacrificing taste. Trust me, a little patience with toppings and dressing goes a long way in perfecting this dish.

Cultural Connection and Variations
Where this recipe comes from
The Classic Wedge Salad with Blue Cheese has roots in early 20th-century American steakhouses, where its crisp simplicity balanced rich, hearty mains. Originally a staple of upscale dining, it quickly became a nostalgic favorite for its bold flavors and effortless elegance. Interestingly, some chefs in the Midwest add crumbled bacon or pickled onions, while Southern versions might swap blue cheese for a tangy buttermilk dressing.
Globally, variations pop up in unexpected places. In Australia, for instance, they sometimes top the Classic Wedge Salad with Blue Cheese with roasted nuts or avocado for extra crunch. Meanwhile, my family’s version leans into garlicky croutons and extra chives because, let’s be honest, everything tastes better with garlic. Whether served at a summer barbecue or a holiday table, this dish adapts beautifully to local tastes while keeping its iconic charm.
How it fits in today’s cooking
Today, the Classic Wedge Salad with Blue Cheese thrives as both a retro revival and a modern staple. Home cooks love it for quick weeknight dinners, while meal preppers often layer it in jars for grab-and-go lunches. Its versatility shines in seasonal menus too—think paired with grilled summer dishes or as a refreshing contrast to winter roasts.
Health-conscious tweaks keep it relevant, like using Greek yogurt in the dressing or adding superfoods like hemp seeds. Some even reinvent it as a deconstructed salad wrap for picnics. And let’s not forget its role in entertaining. Whether you’re hosting a brunch spread or a dinner party, the Classic Wedge Salad with Blue Cheese always earns its spot on the table.
Taste and Texture
What makes it delicious
The Classic Wedge Salad with Blue Cheese delivers a bold contrast of textures and flavors that make every bite exciting. Crisp, chilled iceberg lettuce forms the perfect base, its refreshing crunch balancing the rich, tangy blue cheese dressing. Meanwhile, smoky bacon bits add a salty, chewy contrast, while ripe cherry tomatoes burst with juicy sweetness. The dressing clings to every crevice of the lettuce, creating a creamy, velvety mouthfeel. Together, these elements make the Classic Wedge Salad with Blue Cheese a symphony of savory, tangy, and fresh notes that keep you reaching for another forkful.
Boosting the flavor
Elevate your Classic Wedge Salad with Blue Cheese by experimenting with bold twists. Try swapping traditional bacon for candied pecans to add a sweet, nutty crunch, or drizzle a balsamic reduction for a tangy depth. For extra freshness, toss in thinly sliced red onions or avocado chunks. If you love bold flavors, a sprinkle of smoked paprika or crumbled gorgonzola amps up the richness. For more inspiration, explore our guide to homemade salad dressings or discover how to pair this dish with grilled steak tips for a hearty meal. Small tweaks can transform this classic into your new favorite.
Tips for Success
Best practices for results
Start with a crisp, cold head of iceberg lettuce for the best Classic Wedge Salad with Blue Cheese. Meanwhile, crumble the blue cheese fresh rather than using pre-packaged chunks for superior flavor. Always chill your salad plates beforehand to keep every bite refreshing. For the dressing, whisk it vigorously to emulsify the ingredients and achieve a creamy consistency. Finally, drizzle the dressing generously over the wedge just before serving to maintain its crisp texture.
Mistakes to avoid
Avoid using warm lettuce, as it wilts quickly and ruins the crunch of your Classic Wedge Salad with Blue Cheese. Instead, store it in the fridge until the last moment. Another common error is overdressing the salad, which makes it soggy. For a balanced approach, check out our guide on perfect salad dressing ratios. Also, skip the bottled blue cheese dressing—homemade tastes far fresher. If you need inspiration, our homemade dressing tips will help you nail the flavor every time.
Serving and Pairing Suggestions
How to serve this dish
For a stunning presentation, serve Classic Wedge Salad with Blue Cheese on chilled plates to keep it crisp. Place the wedge upright and drizzle the dressing generously over the top, letting it cascade down the sides. Meanwhile, sprinkle extra crumbled blue cheese and crispy bacon bits for texture. Additionally, add a pop of color with cherry tomato halves or fresh chives. This salad shines as a refreshing starter for dinner parties or a light lunch alongside grilled proteins. If you’re hosting a summer gathering, consider serving it on a platter with other vibrant salads for a crowd-pleasing spread.
What goes well with it
Pair Classic Wedge Salad with Blue Cheese with a crisp white wine like Sauvignon Blanc to balance the rich dressing. Alternatively, a tangy lemonade or iced tea works beautifully for non-alcoholic options. For heartier meals, try it with a juicy garlic butter steak or a savory herb-roasted chicken. The bold flavors of these dishes complement the salad’s creamy, salty notes. Finally, a warm bread basket or roasted potatoes round out the meal perfectly.

For a Classic Wedge Salad with Blue Cheese, opt for a creamy, tangy variety like Roquefort, Gorgonzola, or Danish blue. These cheeses crumble well and pair perfectly with the crisp iceberg lettuce. Avoid overly sharp or dry blue cheeses, as they won’t coat the salad as nicely.
You can prep components like the dressing and toppings in advance, but assemble the Classic Wedge Salad with Blue Cheese just before serving to keep the lettuce crisp. Store the dressing separately and drizzle it over the chilled wedge right before eating for the best texture.
A Classic Wedge Salad with Blue Cheese pairs beautifully with grilled steak, crispy bacon, or roasted chicken. The rich, creamy dressing complements smoky or savory proteins, making it a versatile starter or main dish.
To cut a Classic Wedge Salad, slice a chilled head of iceberg lettuce into four even quarters, keeping the core intact to hold the layers together. Serve each wedge upright so the blue cheese dressing cascades down the sides for a stunning presentation.