Introduction
There’s something undeniably comforting about a bowl of pasta, especially when it’s rich, creamy, and packed with flavor. That’s why I’m so excited to share my Creamy Pasta alla Carbonara Recipe with you today. Whether you’re cooking for a cozy night in or impressing guests at a dinner party, this dish delivers every time. Plus, it’s surprisingly simple to make, even if you’re not a seasoned chef. Trust me, once you try this recipe, you’ll understand why it’s a staple in my kitchen—and hopefully yours too.
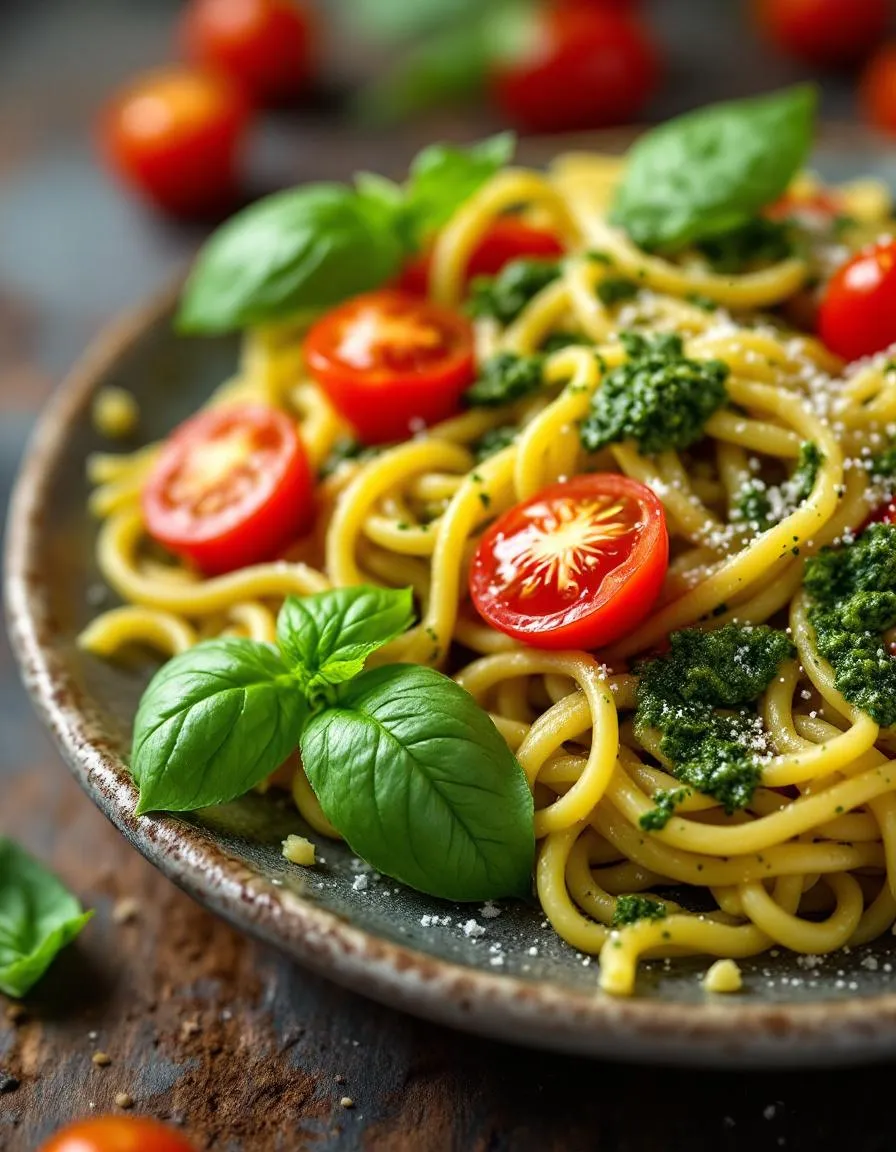
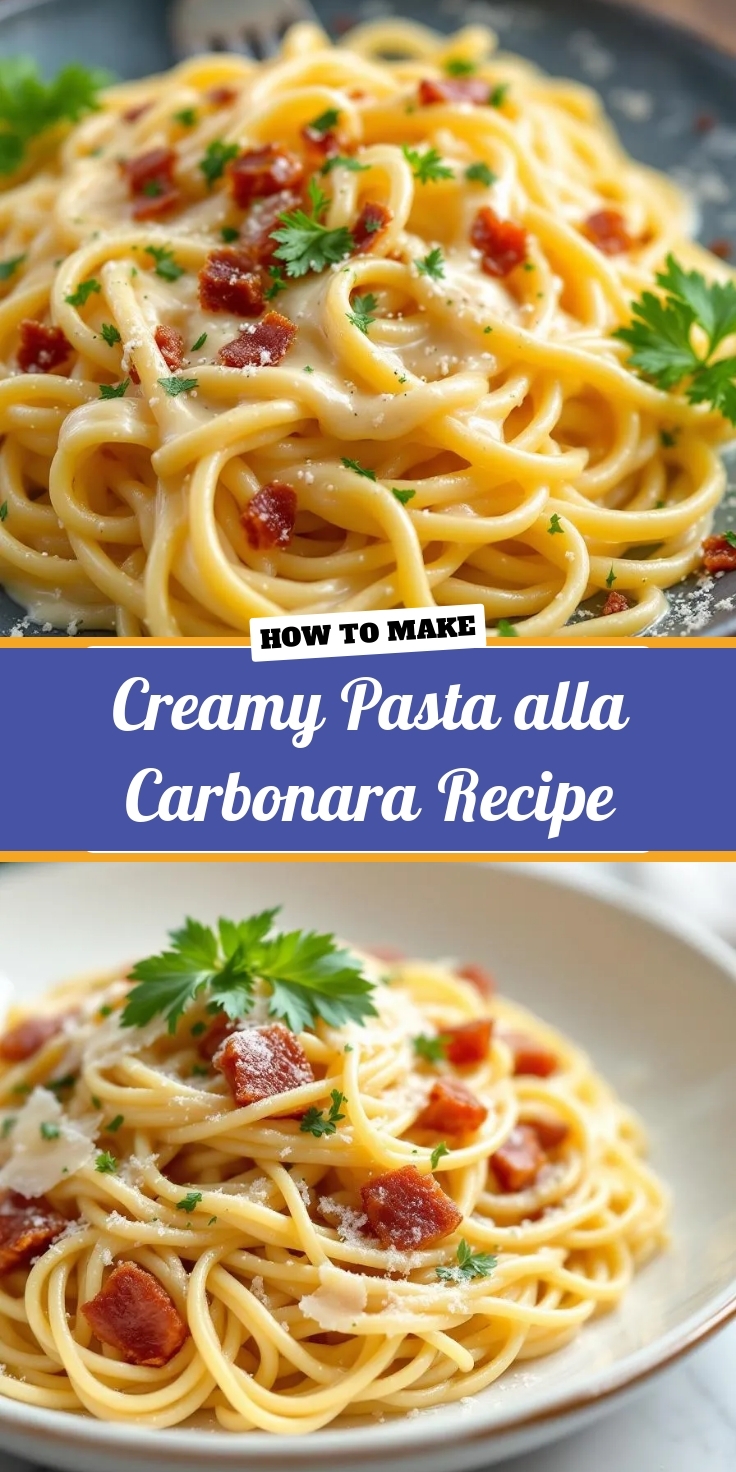
Creamy Pasta alla Carbonara Recipe is a classic Italian dish that transforms humble ingredients like eggs, cheese, pancetta, and pasta into something truly extraordinary. Unlike heavy cream-based versions, this recipe stays true to tradition while still delivering that velvety texture we all crave. What makes it special? It’s all about technique. By tempering the eggs with hot pasta water, you create a luxuriously smooth sauce that clings to every strand of spaghetti. This dish matters because it proves that gourmet flavors don’t require complicated steps or hard-to-find ingredients. In fact, you likely have everything you need in your pantry right now. At brekcakes.com, we celebrate approachable yet elevated cooking, and this recipe perfectly embodies that philosophy. If you love simple yet stunning meals, you’ll also adore our Homemade Focaccia Bread or our Garlic Butter Shrimp—both pair beautifully with carbonara.
Why I Love This Recipe
This Creamy Pasta alla Carbonara Recipe holds a special place in my heart because it reminds me of my first trip to Rome. I wandered into a tiny trattoria where a nonna taught me her secret to the perfect carbonara: patience and quality ingredients. Now, every time I make it, I feel that same joy of discovery. It’s more than just a meal—it’s a connection to memories, people, and places that inspire me. Plus, seeing my family’s faces light up when I serve it? That’s the real magic.
Health and Nutrition
Why it’s good for your body
Creamy Pasta alla Carbonara Recipe delivers a satisfying mix of protein, carbs, and healthy fats. First, the eggs and pancetta provide high-quality protein to support muscle repair and energy. Meanwhile, the pasta offers complex carbohydrates for steady fuel, especially if you opt for whole wheat or high-fiber varieties.
Additionally, the dish includes healthy fats from the cheese and eggs, which help absorb fat-soluble vitamins. These nutrients promote brain health and keep you full longer. Plus, the creamy texture of Creamy Pasta alla Carbonara Recipe comes from emulsified egg yolks, not heavy cream, making it lighter than many rich pasta dishes.
Finally, the recipe balances indulgence with nutrition. While it’s a treat, you can tweak ingredients for added benefits. For example, using turkey bacon instead of pancetta reduces sodium without sacrificing flavor. Whether you enjoy it as-is or with swaps, Creamy Pasta alla Carbonara Recipe fits into a mindful eating plan.
How it fits in a healthy lifestyle
Creamy Pasta alla Carbonara Recipe works well in moderation as part of a balanced diet. Pair it with a side salad or roasted veggies to add fiber and vitamins. This way, you enjoy comfort food while meeting daily nutrient goals.
For those focusing on protein intake, the eggs and cheese in this dish make it a solid choice. If you’re exploring gluten-free options, swap regular pasta for a chickpea or lentil-based alternative. You’ll still get the creamy texture with extra plant-based protein. Check out our guide to gluten-free pasta options for more ideas.
Planning meals ahead? Creamy Pasta alla Carbonara Recipe reheats well for leftovers, saving time on busy days. Just store it properly and add a splash of water when reheating. For more tips on meal prepping, visit our meal prep strategies page. With smart choices, this classic dish becomes a practical part of your routine.
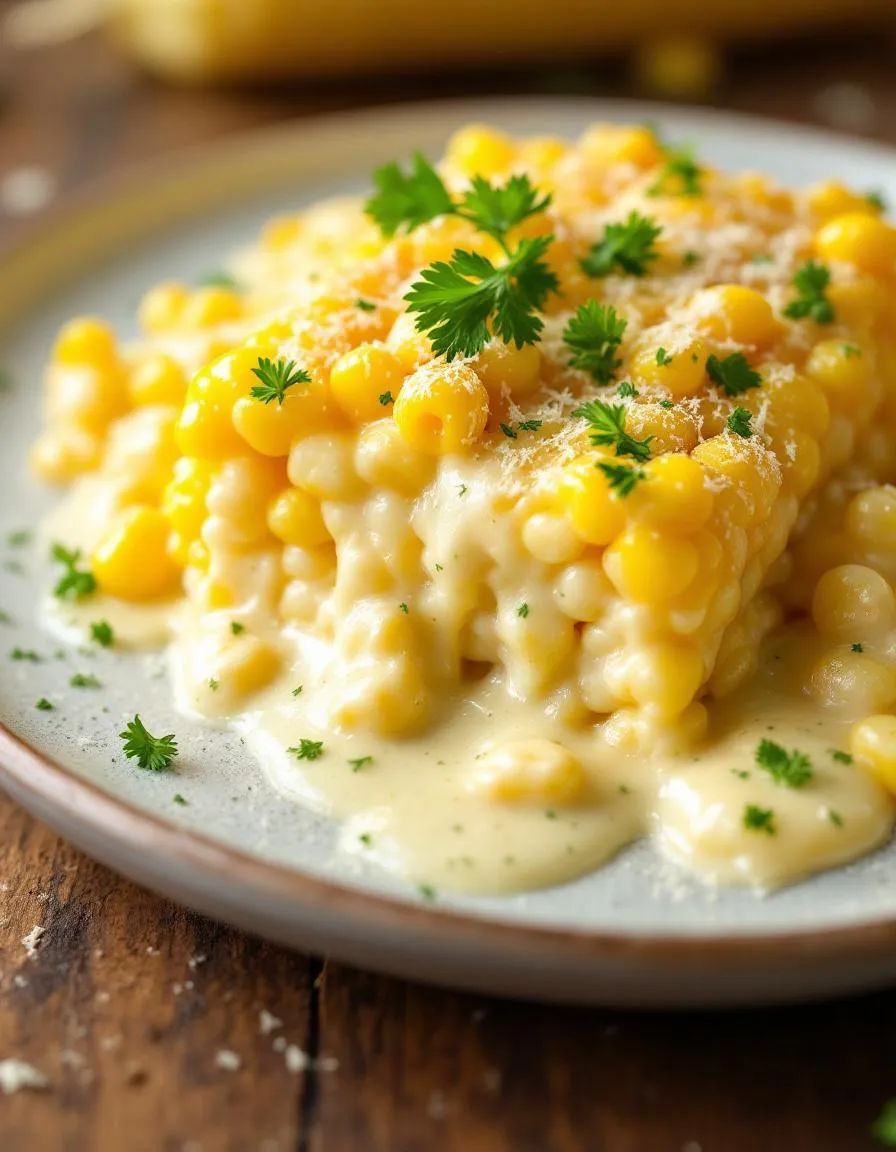
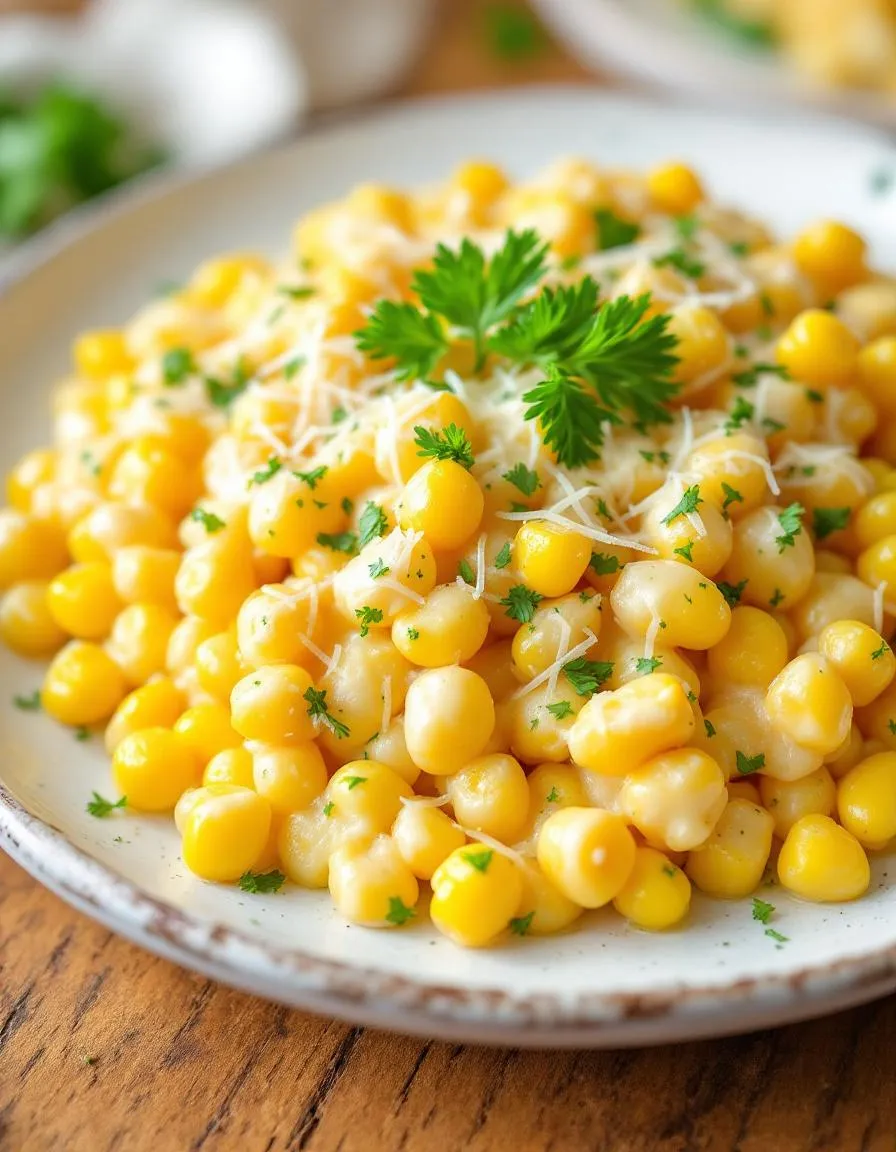
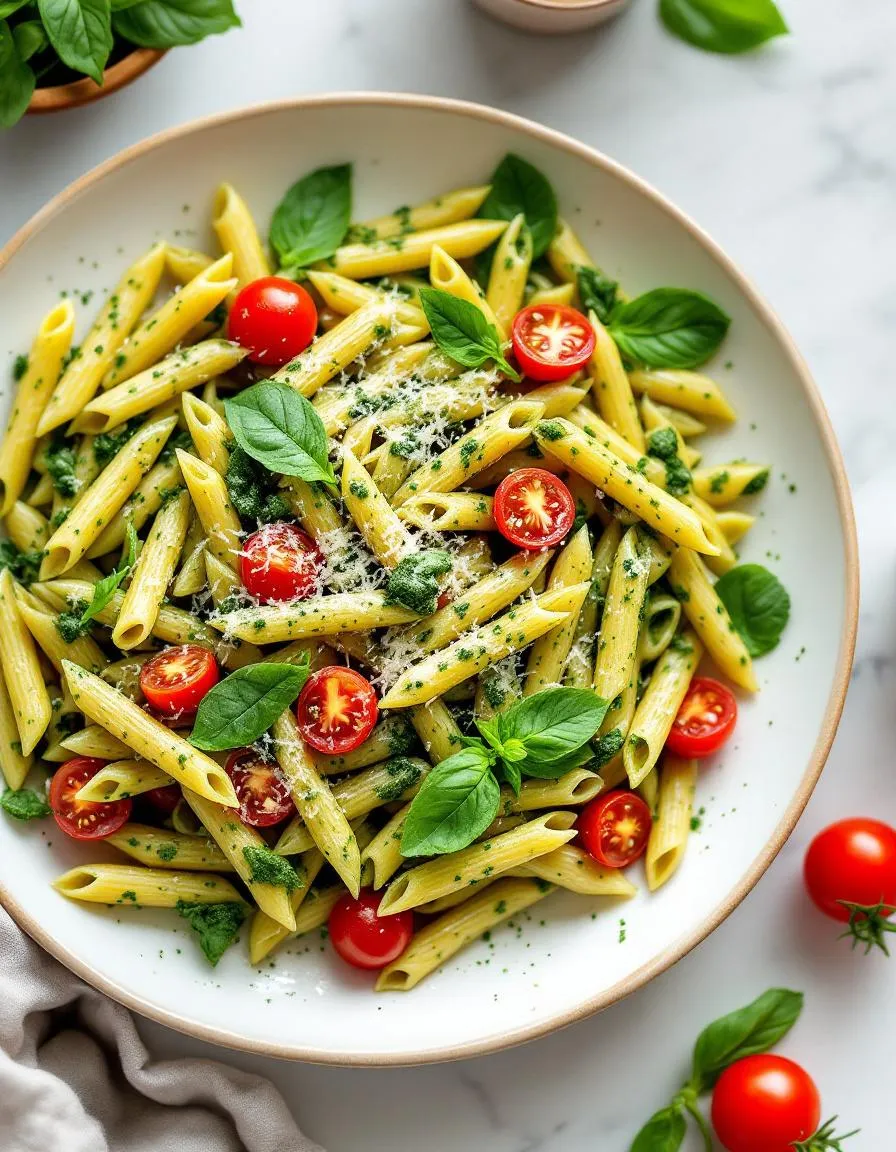
Creamy Pasta alla Carbonara
Description
A classic Italian pasta dish with creamy egg sauce, crispy pancetta, and Parmesan cheese.
Ingredients
Scale
For the Crust:
- 400g spaghetti
- 200g pancetta or guanciale, diced
- 4 large eggs
- 1 cup grated Parmesan cheese
- 2 cloves garlic, minced
- Salt and black pepper to taste
- Fresh parsley for garnish
Instructions
1. Prepare the Crust:
- Bring a large pot of salted water to boil and cook spaghetti according to package instructions.
- In a skillet, cook diced pancetta over medium heat until crispy. Add minced garlic and cook for 1 minute.
- In a bowl, whisk eggs and Parmesan cheese together.
- Drain pasta, reserving 1/2 cup of pasta water. Quickly toss hot pasta with egg mixture, adding reserved pasta water as needed to create a creamy sauce.
- Stir in pancetta and garlic. Season with salt and black pepper.
- Garnish with fresh parsley and serve immediately.
Notes
You can customize the seasonings to taste.
How to Prepare This Dish
Steps and time-saving tips
Start by bringing a large pot of salted water to a boil for your pasta. While waiting, whisk together eggs and grated Pecorino Romano in a bowl until smooth. Next, crisp diced pancetta or guanciale in a skillet over medium heat until golden, then remove it but leave the rendered fat. Once the water boils, cook your spaghetti until al dente, reserving a cup of pasta water before draining. Quickly toss the hot pasta into the skillet with the fat, then remove the pan from heat to avoid scrambling the eggs. Gradually stir in the egg-cheese mixture, adding reserved pasta water a splash at a time until creamy. Fold in the crispy pancetta, then season with black pepper. For a time-saving trick, prep your ingredients before starting—this dish comes together fast. If the sauce thickens too much, loosen it with more pasta water. Serve immediately with extra cheese and pepper on top.
Mistakes I’ve made and learned from
My first attempt at Creamy Pasta alla Carbonara Recipe ended with scrambled eggs because I didn’t take the skillet off the heat. Now, I always remove the pan and let it cool slightly before adding the egg mixture. Another mistake? Using pre-shredded cheese—it clumps instead of melting smoothly. Freshly grated Pecorino makes all the difference, just like in my Perfect Alfredo Sauce. I also learned the hard way that skimping on pasta water leaves the sauce too thick. Keep that reserved liquid handy, similar to the technique in my Creamy Garlic Shrimp Pasta. These small adjustments transformed my carbonara from a clumpy mess to restaurant-worthy every time.
Cultural Connection and Variations
Where this recipe comes from
Few dishes capture the soul of Italian comfort food like Creamy Pasta alla Carbonara Recipe. Born in Rome, this iconic dish likely owes its origins to coal miners (carbonai) who needed a hearty, protein-packed meal. They tossed eggs, cured pork, and cheese with pasta—a simple yet genius combo. Today, every Italian nonna has her own twist, whether it’s swapping guanciale for pancetta or adding a splash of starchy pasta water for extra silkiness.
Meanwhile, across the globe, chefs and home cooks put their spin on Creamy Pasta alla Carbonara Recipe. In the U.S., you might find cream added for richness (though purists gasp at the idea). Some versions in Japan include mushrooms or nori for umami depth. Even within Italy, debates rage over pepper quantities or whether to use Pecorino Romano or Parmigiano-Reggiano. My family’s secret? A pinch of red pepper flakes for a subtle kick—because traditions evolve, right?
How it fits in today’s cooking
Decades later, Creamy Pasta alla Carbonara Recipe still wins hearts as a weeknight hero or a special-occasion star. Its magic lies in versatility. Busy parents love it for its 20-minute cook time, while foodies elevate it with truffle oil or artisan cured meats. During holidays, it pairs perfectly with a crisp winter salad for balance. Plus, gluten-free and keto adaptations keep it relevant for modern diets.
Social media fuels its revival, with chefs showcasing silky, slow-cooked egg sauces or vegan versions using coconut bacon. Whether you’re meal-prepping or hosting a dinner party, this dish adapts. For a cozy twist, try serving it alongside comfort food desserts—because sometimes, indulgence deserves a encore. After all, great recipes don’t just survive; they thrive by meeting us where we are.
Taste and Texture
What makes it delicious
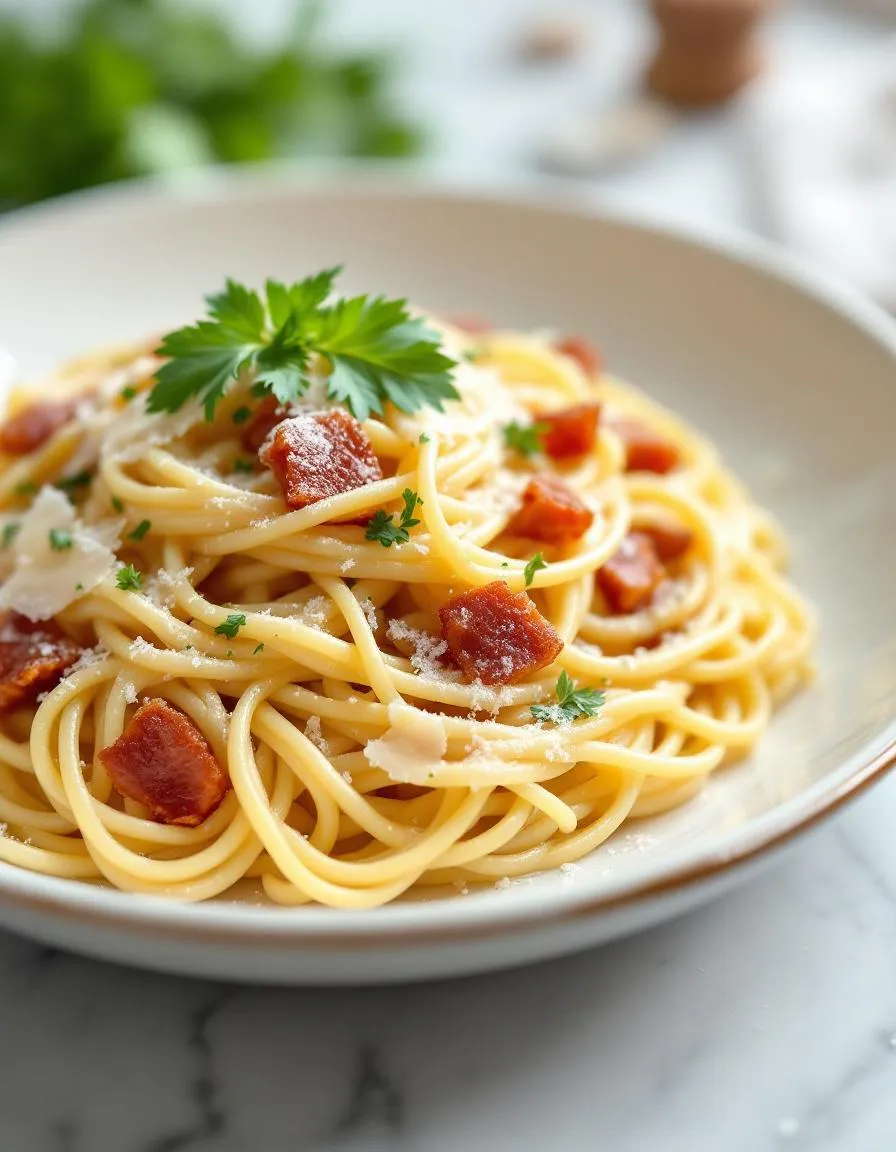
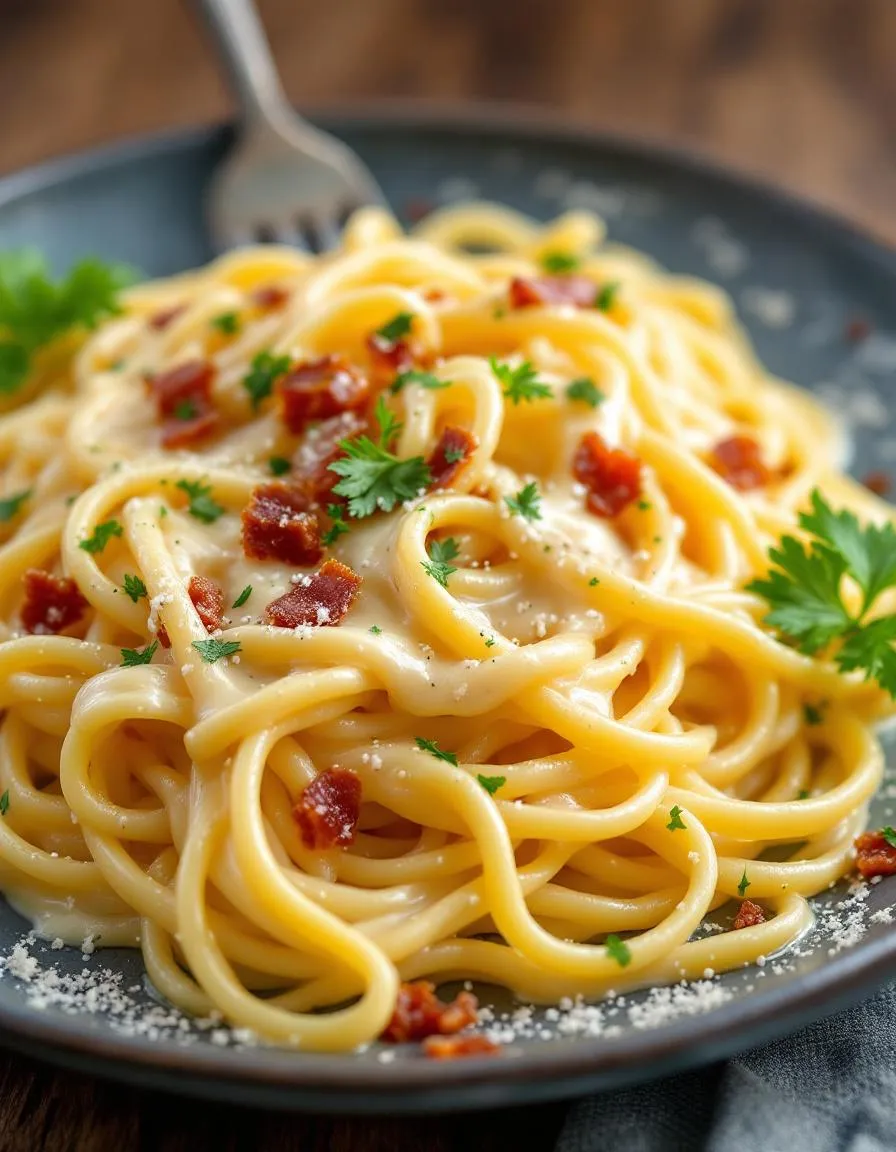
This Creamy Pasta alla Carbonara Recipe delivers a rich, velvety bite with every forkful. Silky egg yolks and sharp Pecorino Romano cheese melt into hot pasta, creating a luscious sauce that clings to each strand. Meanwhile, crispy pancetta or guanciale adds a salty crunch, balancing the dish’s decadence. The aroma of freshly cracked black pepper and garlic lingers, making each bite fragrant and deeply satisfying. Whether you twirl it or scoop it, the Creamy Pasta alla Carbonara Recipe feels indulgent yet comforting—like a hug in a bowl.
Boosting the flavor
For an extra layer of depth, try folding in sautéed mushrooms or caramelized onions—their earthy sweetness pairs perfectly with the salty pancetta. Alternatively, a sprinkle of red pepper flakes or a dash of truffle oil elevates the dish with minimal effort. If you love experimenting with bold flavors, swap Pecorino for aged Parmesan or add a splash of white wine to the sauce. For more inspiration, check out our guide to perfect pasta pairings or explore how to master umami in your cooking. Small tweaks can transform this classic into your new favorite weeknight meal.
Tips for Success
Best practices for results
Always use freshly grated Parmesan and Pecorino Romano for the creamiest texture in your Creamy Pasta alla Carbonara Recipe. Meanwhile, reserve a cup of pasta water before draining—this helps adjust the sauce consistency later. Cook the guanciale or pancetta until crisp but not burnt, as it adds depth to the dish. Additionally, toss the hot pasta with the egg mixture off the heat to prevent scrambling. Finally, serve immediately for the best flavor and texture.
Mistakes to avoid
Avoid using pre-shredded cheese, as it often contains anti-caking agents that ruin the sauce’s smoothness. Instead, grate your cheese fresh for the Creamy Pasta alla Carbonara Recipe. Another common mistake is adding raw eggs to hot pasta without tempering them first—this creates scrambled eggs rather than a silky sauce. For more tips on perfecting pasta dishes, check out our guide on cooking perfect al dente pasta. Also, skip the cream—authentic carbonara relies on eggs and cheese for richness. If you’re unsure about ingredient substitutions, our essential pantry items for Italian cooking can help you stay on track.
Serving and Pairing Suggestions
How to serve this dish
For a stunning presentation, twirl your Creamy Pasta alla Carbonara Recipe into neat nests using tongs or a fork. Top it with extra grated Pecorino Romano and a sprinkle of freshly cracked black pepper for contrast. Meanwhile, a light dusting of parsley adds a pop of color. Serve it immediately while the sauce stays luxuriously silky. This dish shines as a cozy weeknight dinner yet also works for elegant gatherings when paired with crisp white linens and candlelight. For brunch, consider adding a poached egg on top for extra richness.
What goes well with it
A crisp Caesar salad balances the richness of Creamy Pasta alla Carbonara Recipe with its crunchy romaine and tangy dressing. Alternatively, roasted asparagus adds a fresh, earthy note that cuts through the creaminess. For drinks, try a chilled Pinot Grigio or our refreshing Lemon Mint Spritzer to brighten each bite. If you prefer something heartier, our Garlic Bread Sticks make the perfect side for soaking up every last bit of sauce.
The key to a creamy pasta alla carbonara is emulsifying the egg and cheese mixture with hot pasta water. Avoid scrambling the eggs by tempering them with reserved starchy water before mixing. This technique ensures a silky, rich sauce that clings perfectly to the noodles in your creamy pasta alla carbonara recipe.
Yes, bacon is a common substitute for guanciale in creamy pasta alla carbonara recipes. While it has a smokier flavor than traditional guanciale, it still delivers delicious results. For authenticity, use pancetta if available, but bacon works well for a quick, accessible version.
Lumpy carbonara usually happens when the eggs cook too quickly from high heat. To fix this, remove the pan from heat before adding the egg-cheese mixture and stir constantly. A proper creamy pasta alla carbonara recipe relies on residual heat to create a smooth, velvety texture.
Reserve at least 1 cup of starchy pasta water to adjust consistency as needed. The sauce in creamy pasta alla carbonara thickens as it cools, so extra water helps maintain the perfect texture. Serve immediately after mixing for the best results.