Introduction
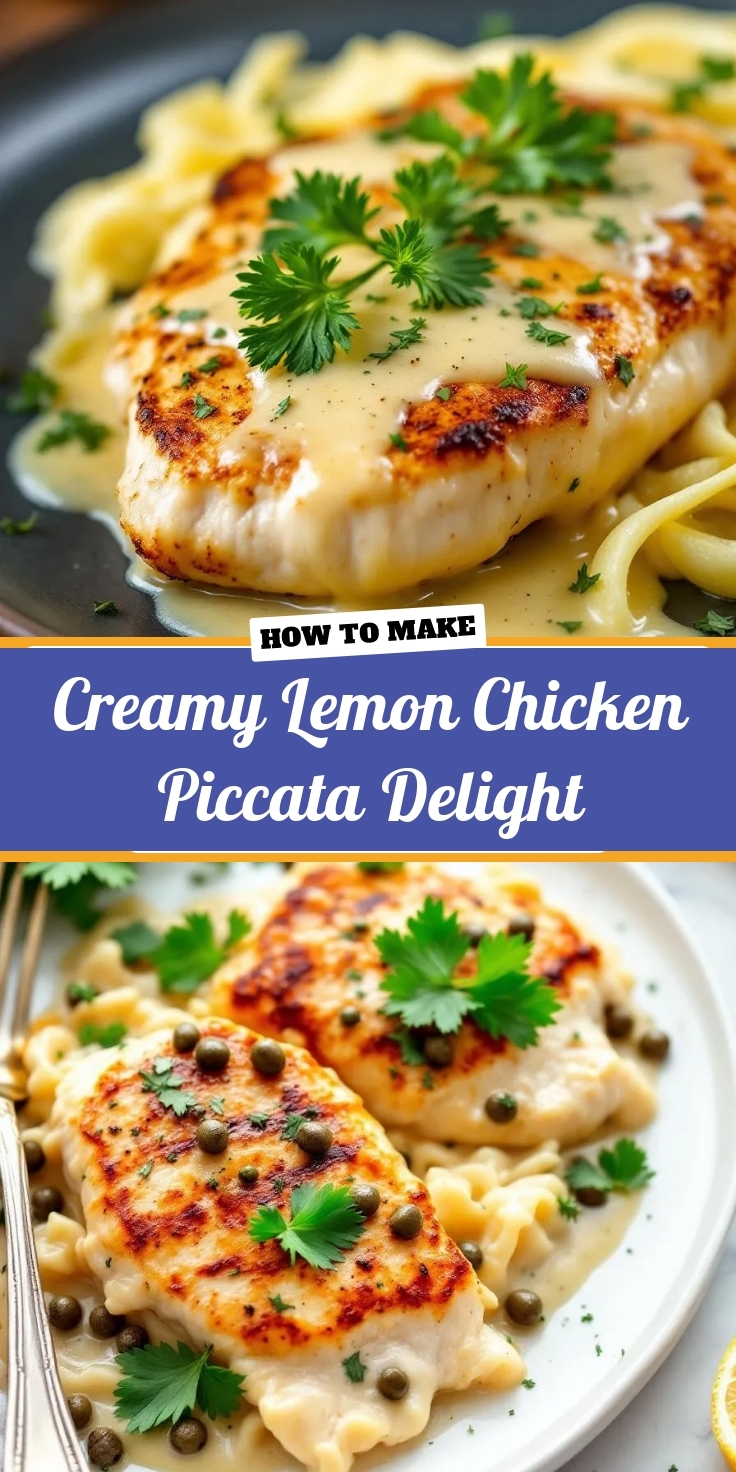
There’s something undeniably comforting about a dish that balances bright flavors with rich, creamy textures. That’s exactly why I’m thrilled to share my Creamy Lemon Chicken Piccata Delight with you today. Whether you’re craving a restaurant-quality meal at home or need a showstopping dish for a special occasion, this recipe delivers. Plus, it’s surprisingly simple to make, even on busy weeknights. Trust me, one bite of this tangy, savory masterpiece, and you’ll understand why it’s become a staple in my kitchen.
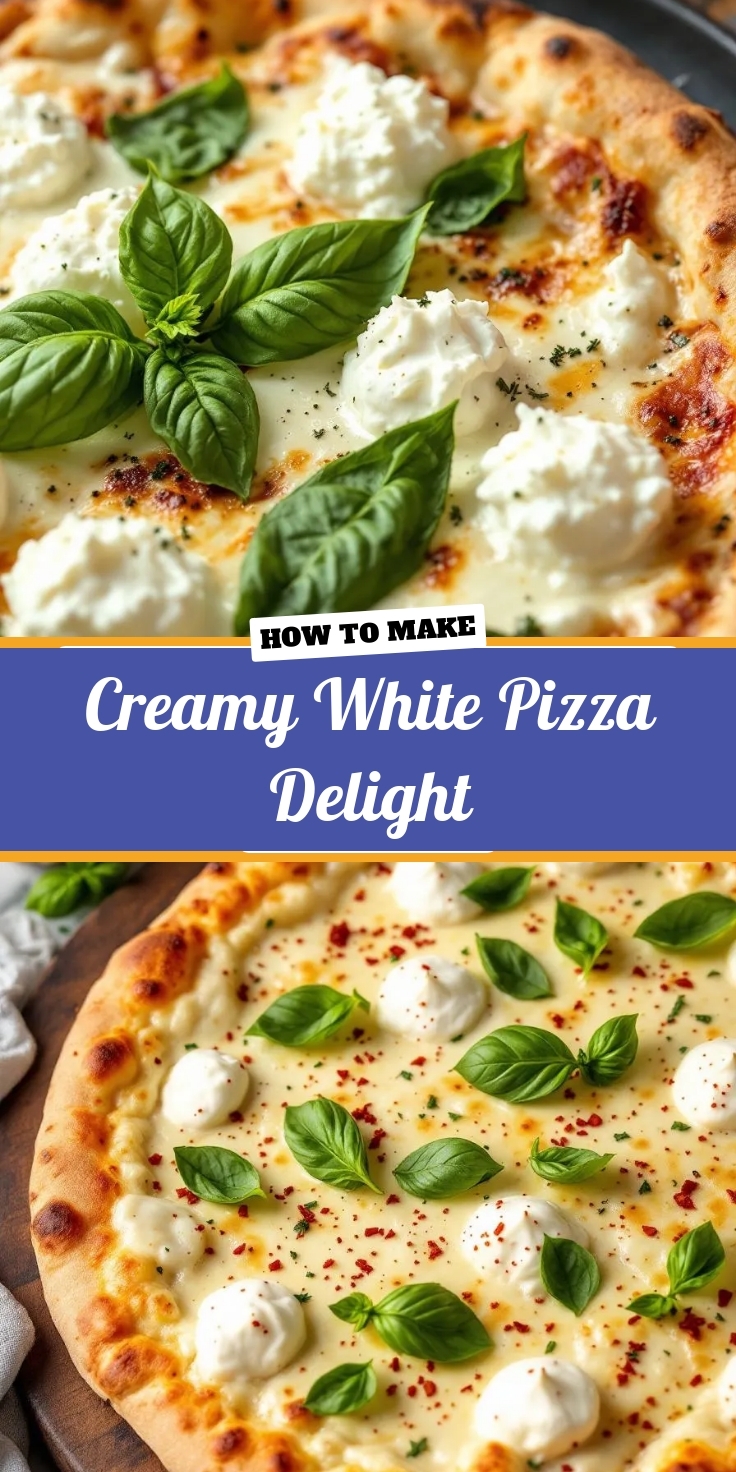
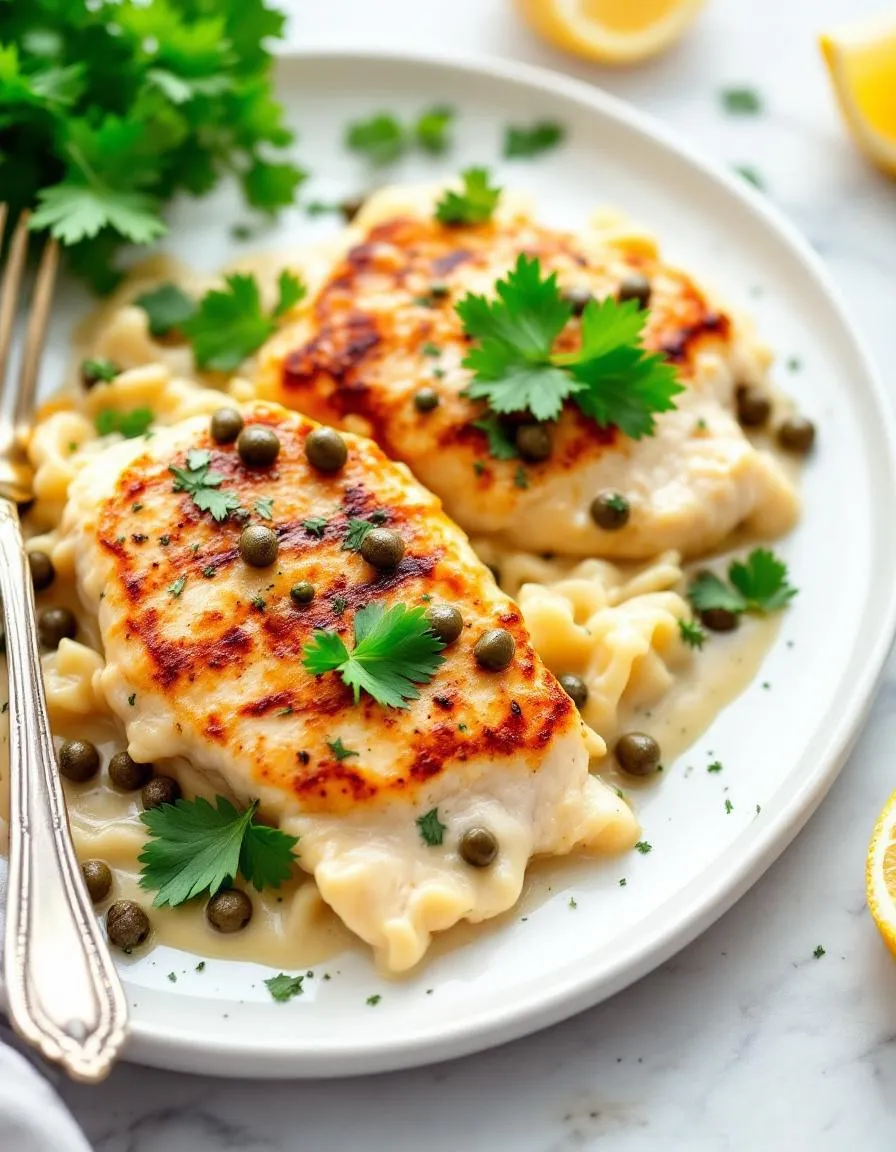
Creamy Lemon Chicken Piccata Delight is a modern twist on the classic Italian favorite, featuring tender chicken breasts smothered in a luscious lemon-butter sauce with capers and a touch of cream. Unlike traditional piccata, this version adds a velvety richness that elevates the dish without overpowering its signature zesty kick. Perfect for those who adore bold flavors but crave a little indulgence, it’s a meal that feels both sophisticated and approachable. If you’ve ever tried my Garlic Herb Roasted Chicken, you’ll appreciate how this recipe offers a similarly satisfying depth with a brighter, citrusy profile. Best of all, it pairs beautifully with everything from pasta to roasted veggies, making it a versatile centerpiece for any table. For more Italian-inspired dishes, check out my Creamy Tuscan Shrimp, which shares the same commitment to bold, comforting flavors.
Why I Love This Recipe
This Creamy Lemon Chicken Piccata Delight holds a special place in my heart because it reminds me of family dinners where laughter and good food went hand in hand. I first perfected this recipe during a cozy winter evening when I wanted something comforting yet vibrant, and it instantly became a hit. The way the lemon cuts through the creaminess, the briny pop of capers, and the tender chicken—it’s a harmony of flavors that never fails to bring joy. Every time I make it, I’m transported back to those moments of shared meals and happy conversations, and I hope it does the same for you.
Health and Nutrition
Why it’s good for your body
Creamy Lemon Chicken Piccata Delight packs a nutritious punch while delighting your taste buds. First, the lean chicken breast delivers high-quality protein to support muscle repair and keep you full longer. Meanwhile, the tangy lemon juice adds a burst of vitamin C, which boosts immunity and aids iron absorption. Additionally, the dish includes heart-healthy olive oil, rich in monounsaturated fats that promote good cholesterol levels.
Moreover, the capers in Creamy Lemon Chicken Piccata Delight provide antioxidants that combat inflammation. The creamy sauce, when made with Greek yogurt or a light butter alternative, adds probiotics or healthy fats without overwhelming calories. Furthermore, the bright flavors of lemon and herbs like parsley enhance digestion and offer a dose of vitamin K for bone health.
Finally, this dish balances indulgence with nourishment. The combination of protein, healthy fats, and fresh ingredients makes Creamy Lemon Chicken Piccata Delight a smart choice for anyone seeking both flavor and wellness. Whether you’re fueling a busy day or enjoying a cozy dinner, it delivers nutrients without sacrificing satisfaction.
How it fits in a healthy lifestyle
Creamy Lemon Chicken Piccata Delight fits seamlessly into balanced eating habits. For those focusing on high-protein meals, the chicken provides a lean foundation, perfect for post-workout recovery or weight management. If you prefer gluten-free options, simply swap traditional flour for almond or chickpea flour when dredging the chicken.
This dish also aligns with heart-healthy goals thanks to its olive oil base and minimal processed ingredients. Pair it with a side of roasted vegetables or a light salad for a well-rounded plate. For more gluten-free meal ideas, explore our gluten-free dinner recipes. If you’re meal prepping, Creamy Lemon Chicken Piccata Delight stores well and reheats beautifully, making it a practical choice for busy weeks. Discover more healthy meal prep strategies to keep your routine effortless and nutritious.
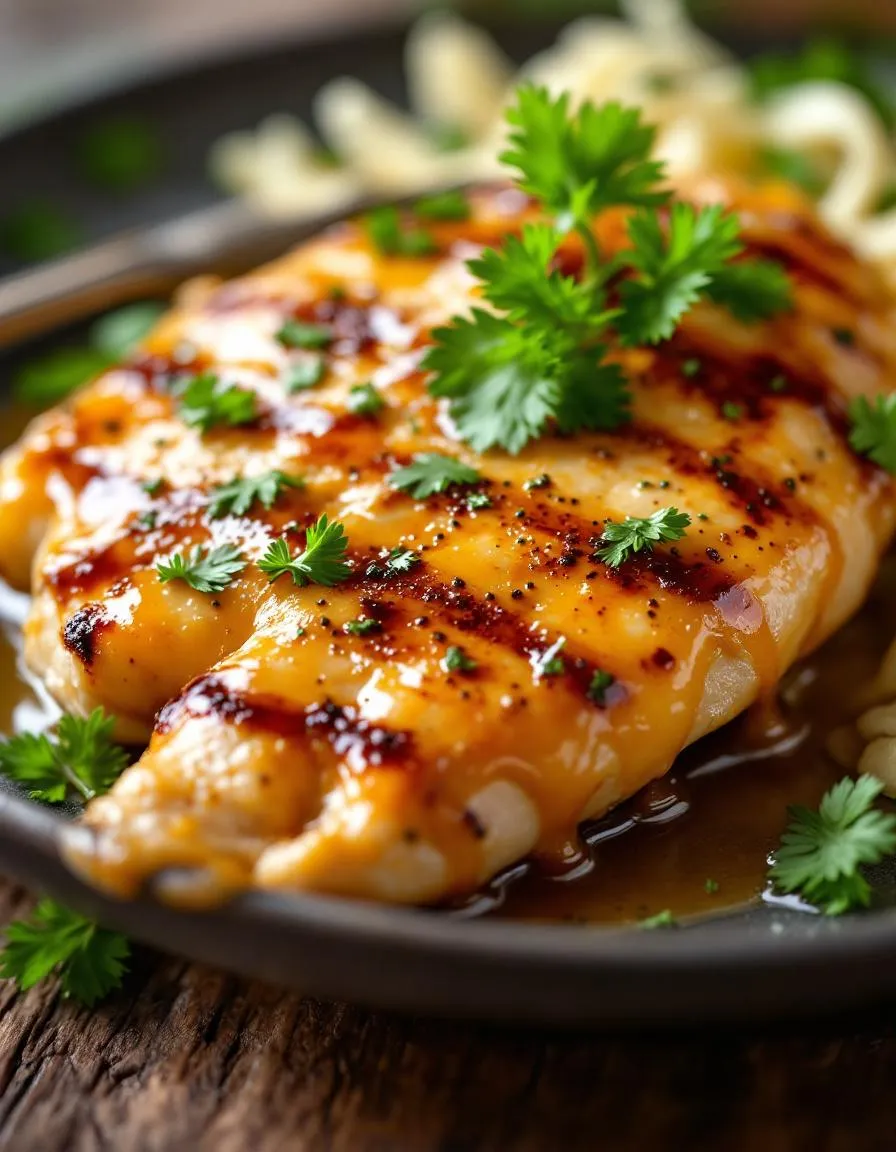
Creamy Lemon Chicken Piccata Delight
Description
A delicious and creamy twist on classic chicken piccata with a bright lemon flavor and tender chicken.
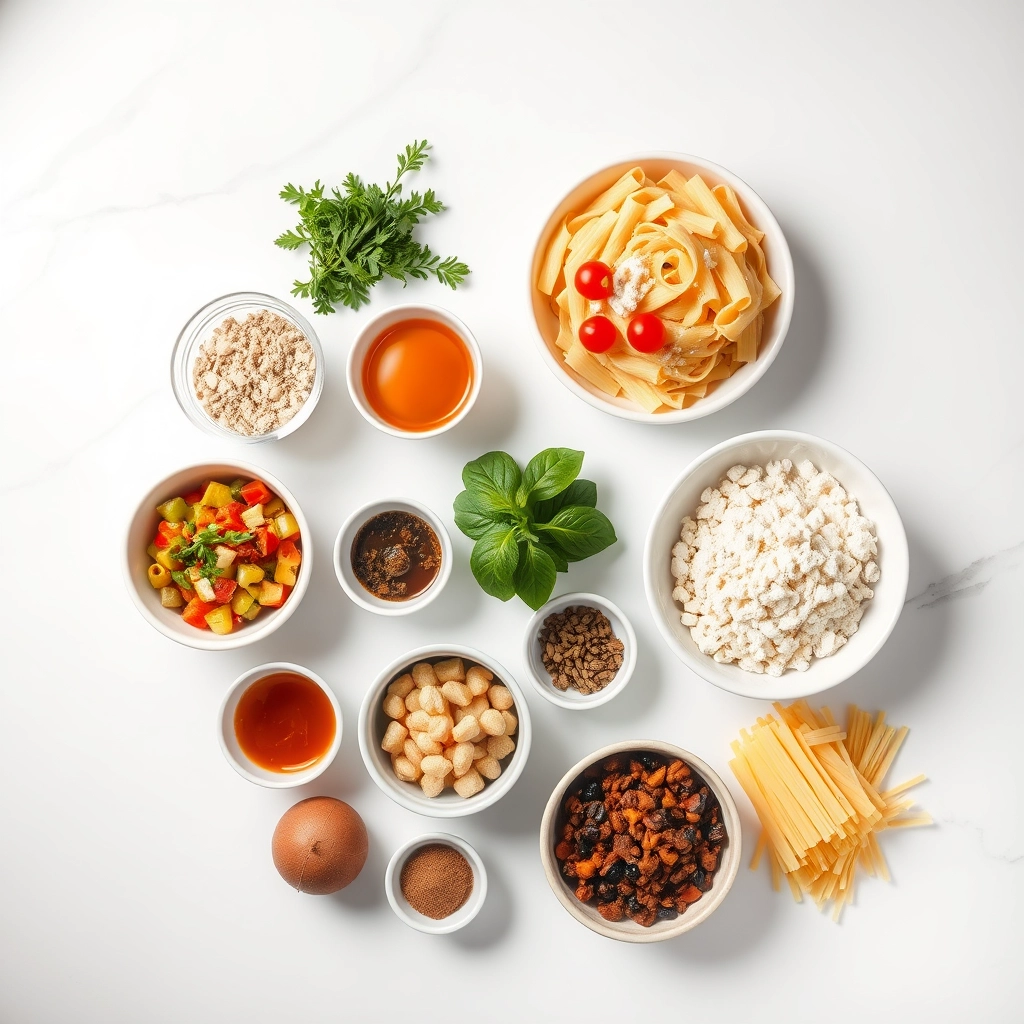
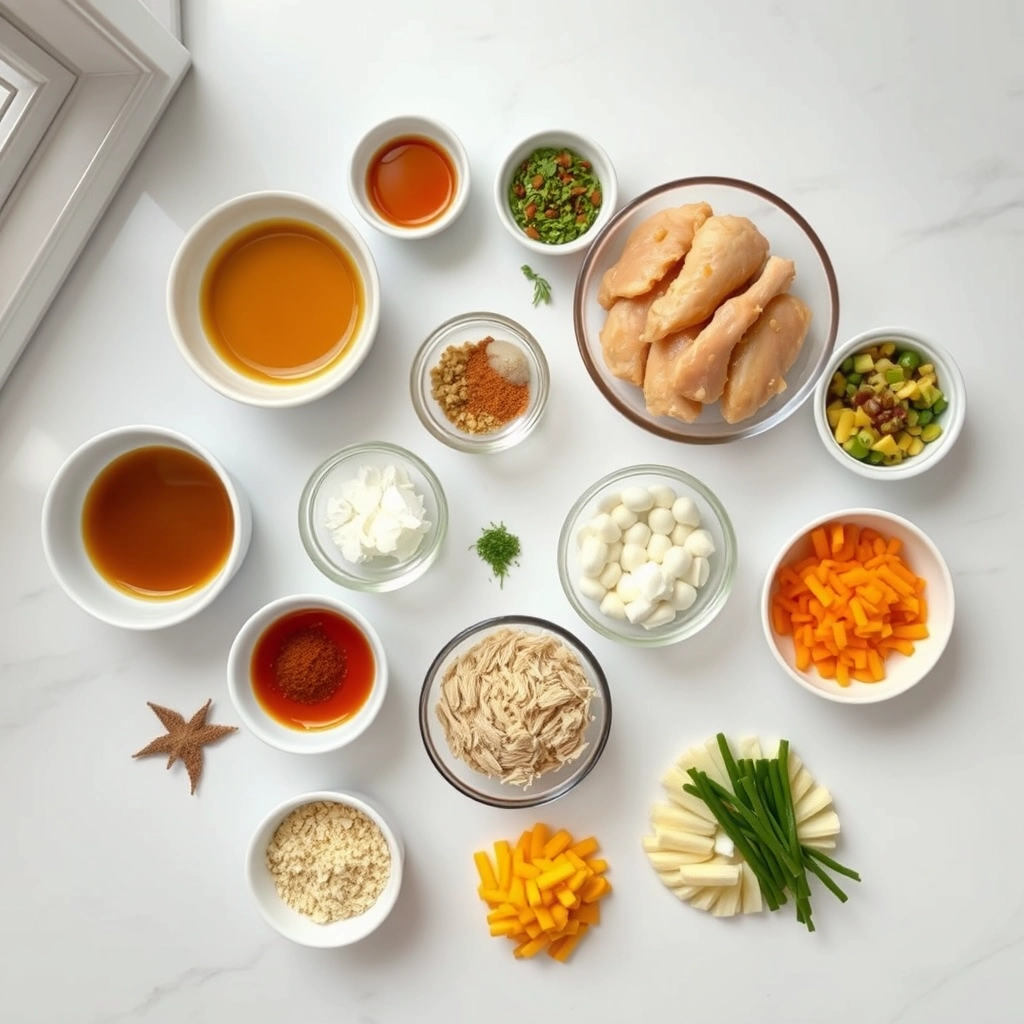
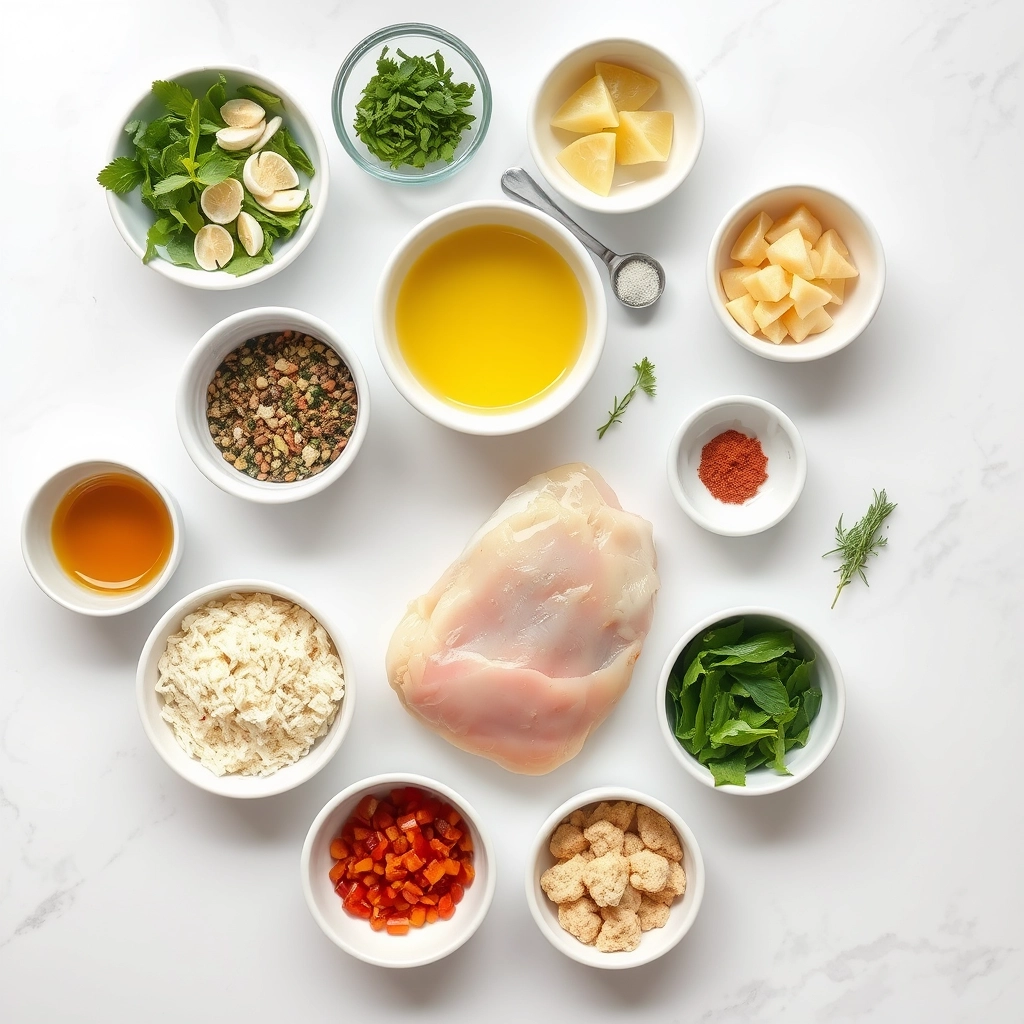
Ingredients
Scale
For the Crust:
- 4 boneless, skinless chicken breasts
- 1/2 cup all-purpose flour
- 1/2 teaspoon salt
- 1/4 teaspoon black pepper
- 2 tablespoons olive oil
- 3 tablespoons butter
- 2 cloves garlic, minced
- 1 cup chicken broth
- 1/2 cup heavy cream
- 1/4 cup fresh lemon juice
- 2 tablespoons capers, drained
- 1/4 cup fresh parsley, chopped
Instructions
1. Prepare the Crust:
- Pound chicken breasts to an even thickness and season with salt and pepper. Dredge in flour, shaking off excess.
- Heat olive oil in a large skillet over medium-high heat. Cook chicken until golden brown, about 4-5 minutes per side. Remove and set aside.
- In the same skillet, melt butter and sauté garlic for 30 seconds. Add chicken broth, heavy cream, lemon juice, and capers. Bring to a simmer.
- Return chicken to the skillet and simmer for 5-7 minutes until sauce thickens and chicken is cooked through.
- Garnish with fresh parsley and serve immediately.
Notes
You can customize the seasonings to taste.
How to Prepare This Dish
Steps and time-saving tips
Start by seasoning four chicken breasts with salt and pepper, then lightly dredge them in flour for a golden crust. Heat olive oil in a large skillet over medium-high heat and sear the chicken for about 4 minutes per side until crisp. Meanwhile, whisk together chicken broth, lemon juice, and minced garlic in a bowl. Once the chicken is done, set it aside and melt butter in the same skillet, scraping up those flavorful browned bits. Pour in the broth mixture and let it simmer for 2 minutes to thicken slightly. Stir in heavy cream and capers, then return the chicken to the skillet, spooning the sauce over each piece. Let everything cook together for another 3 minutes until the sauce is luxuriously creamy. For a time-saving hack, prep the sauce ingredients while the chicken cooks, and use a meat thermometer to avoid overcooking. Garnish with fresh parsley and lemon slices for a bright finish. Serve immediately over pasta or mashed potatoes to soak up every drop of that luscious sauce.
Mistakes I’ve made and learned from
I once rushed the searing process and ended up with soggy chicken—lesson learned! Patting the chicken dry and letting the skillet get properly hot makes all the difference. Another time, I added the cream too early, and the sauce broke. Now I wait until the broth reduces slightly before stirring it in. If you’re new to pan sauces, my guide to perfect pan sauces breaks down the science. Also, don’t skip the capers! I left them out once, and the dish lacked that tangy punch. For more tips on balancing flavors, check out my post on balancing acidity. Trust me, a little patience and attention to detail turn this dish from good to unforgettable.
Cultural Connection and Variations
Where this recipe comes from
Creamy Lemon Chicken Piccata Delight traces its roots to the sun-drenched kitchens of Italy, where piccata dishes have long celebrated the bright flavors of lemon and capers. Originally, chefs prepared piccata with veal, but over time, chicken became a popular alternative, especially in American households. The creamy twist in this version adds a luscious richness that balances the dish’s tangy punch.
In Italy, you’ll find regional variations—some cooks skip the cream entirely, while others in the north might swirl in a touch of butter for extra silkiness. Meanwhile, Greek cooks often add artichokes, turning it into a heartier meal. My family’s take on Creamy Lemon Chicken Piccata Delight includes a splash of white wine, a trick my grandmother picked up from her travels. Whether served over pasta or with crusty bread, this dish always feels like a celebration.
How it fits in today’s cooking
Today, Creamy Lemon Chicken Piccata Delight shines as a versatile star in modern kitchens. Busy cooks love it for weeknight dinners, while foodies dress it up for dinner parties. Its bright, comforting flavors make it a hit year-round, though it’s especially perfect in spring when lemons are at their peak. Many home chefs now lighten it up with Greek yogurt instead of cream or swap chicken for tofu in plant-based versions.
You can easily pair this dish with a fresh spring salad for a balanced meal or serve it alongside garlic herb potatoes for something heartier. Whether you stick to tradition or put your own spin on it, Creamy Lemon Chicken Piccata Delight remains a timeless favorite that adapts to any table.
Taste and Texture
What makes it delicious
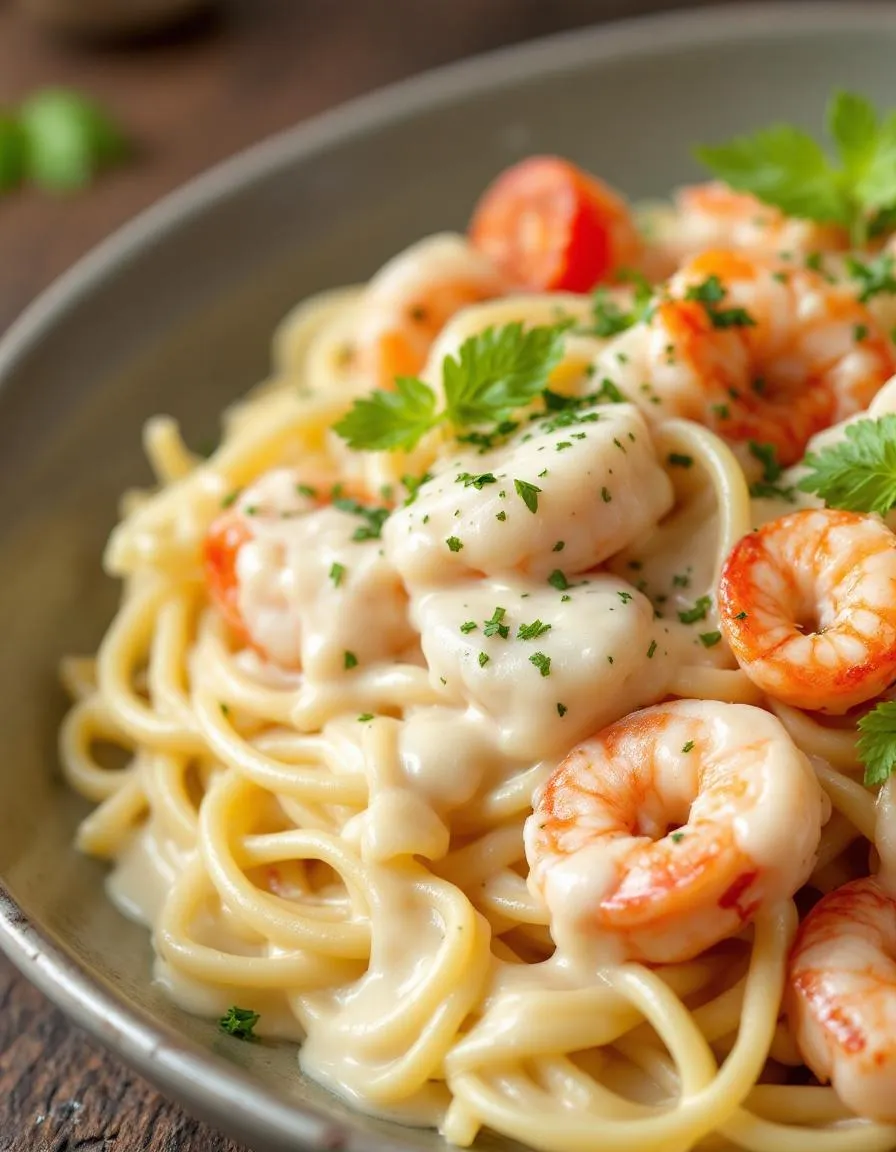
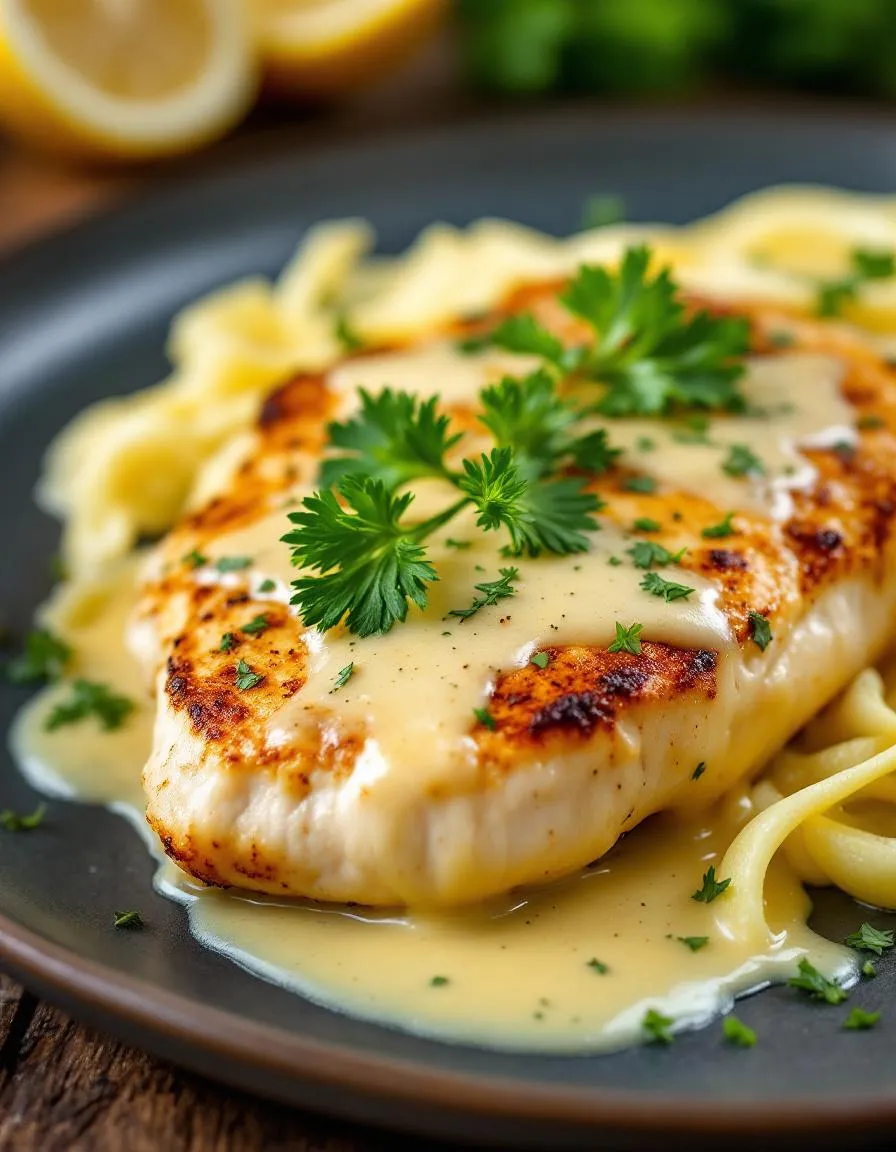
Creamy Lemon Chicken Piccata Delight bursts with bright, tangy flavors and luxurious textures. The tender chicken, seared to golden perfection, melts in your mouth while the velvety lemon sauce coats each bite with a rich, citrusy creaminess. Fragrant garlic and briny capers add pops of savory depth, balancing the zesty lemon. Meanwhile, the buttery sauce clings to every forkful, creating a silky, indulgent experience. Every bite of Creamy Lemon Chicken Piccata Delight delivers a harmonious blend of tangy, savory, and buttery notes that linger deliciously.
Boosting the flavor
Elevate your Creamy Lemon Chicken Piccata Delight by stirring in a splash of white wine for extra brightness or swapping heavy cream with crème fraîche for a tangier twist. For a fresh crunch, top with toasted pine nuts or crispy prosciutto. Pair it with a side of garlic herb roasted potatoes to soak up the sauce, or drizzle with a touch of homemade chili oil for a subtle kick. Experiment with fresh herbs like thyme or parsley to layer even more vibrant flavors.
Tips for Success
Best practices for results
Always pat the chicken dry before cooking to ensure a golden sear. Meanwhile, use fresh lemon juice for the brightest flavor in your Creamy Lemon Chicken Piccata Delight. Additionally, keep the heat medium-high when sautéing the chicken to avoid overcooking. For the creamiest sauce, gradually whisk in the butter at the end. Finally, garnish with fresh parsley right before serving for a vibrant finish.
Mistakes to avoid
Avoid overcrowding the pan when browning the chicken, as this steams instead of sears the meat. Instead, cook in batches for perfect texture. Also, don’t skip deglazing the pan with white wine or broth—it adds depth to your Creamy Lemon Chicken Piccata Delight. For more on balancing flavors, check out our guide to sauces and seasonings. Lastly, resist the urge to over-reduce the sauce; follow our simmering basics to keep it silky and smooth.
Serving and Pairing Suggestions
How to serve this dish
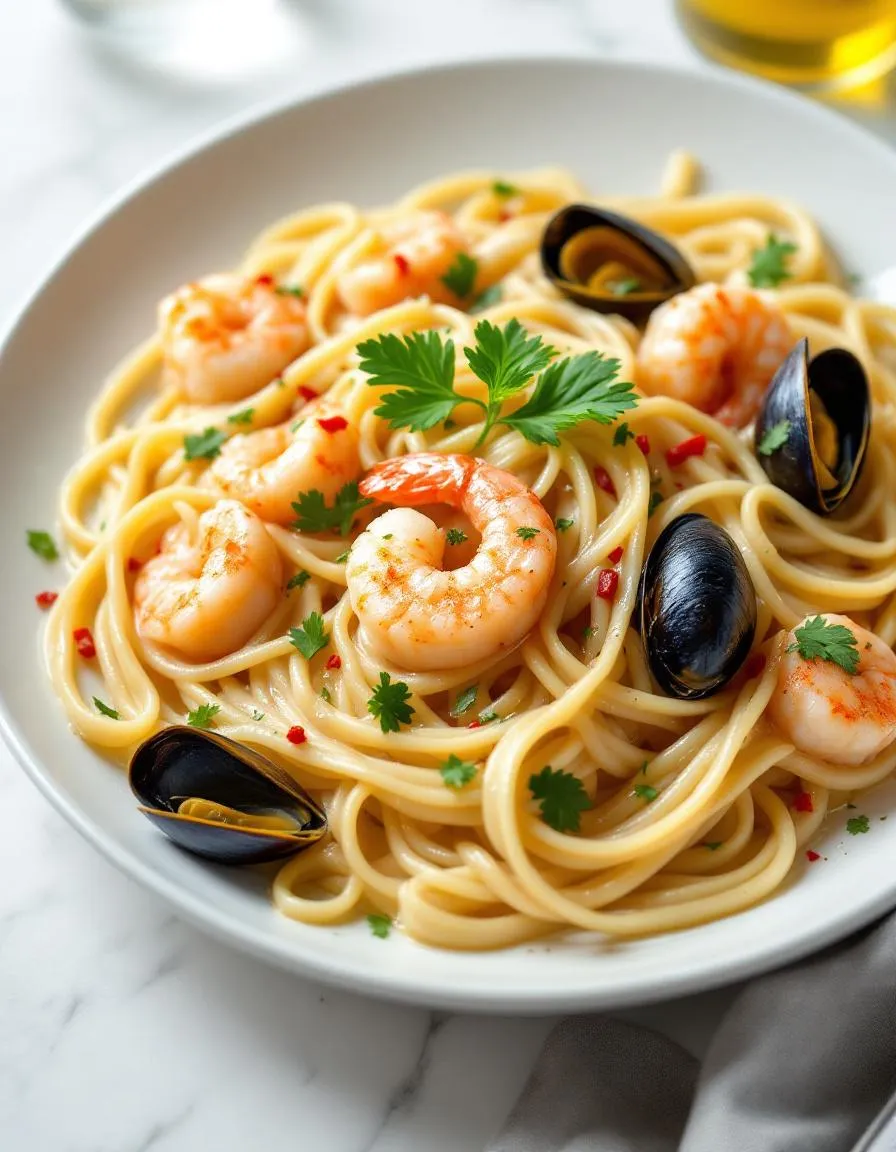
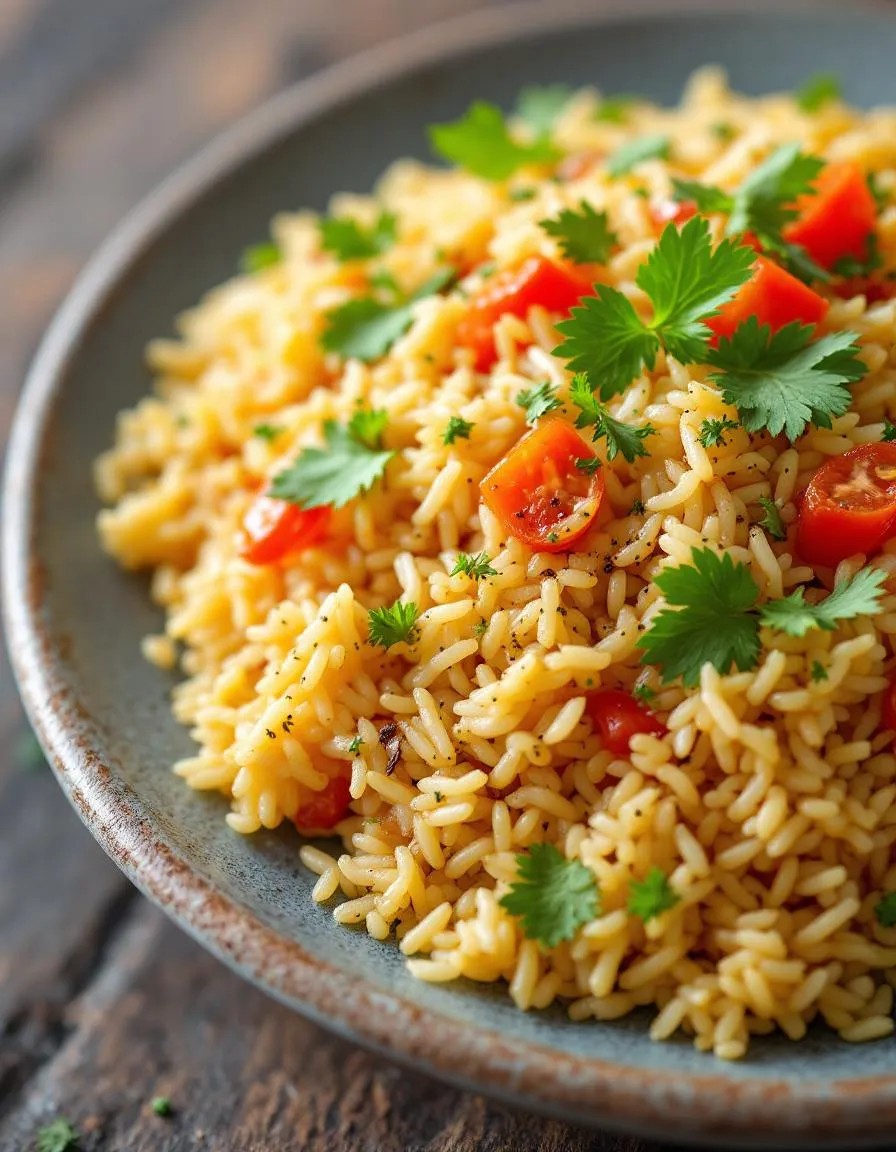
For a restaurant-worthy presentation, plate Creamy Lemon Chicken Piccata Delight over a bed of fluffy mashed potatoes or buttery pasta. Drizzle the remaining sauce generously and garnish with fresh parsley or lemon slices for a pop of color. Meanwhile, serve it family-style in a rustic skillet for cozy gatherings or elevate it for special occasions with a side of crusty bread to soak up every drop of the luscious sauce. Whether you’re hosting a dinner party or craving a comforting weeknight meal, this dish adapts beautifully to any setting.
What goes well with it
Pair Creamy Lemon Chicken Piccata Delight with a crisp white wine like Sauvignon Blanc to highlight its bright citrus notes. Alternatively, try our Garlic Herb Roasted Potatoes for a hearty, flavorful side that balances the dish’s creaminess. For a lighter option, a simple arugula salad with shaved Parmesan adds a refreshing contrast. Finally, don’t miss our Rosemary Focaccia Bread to complete the meal with its aromatic herbs and soft texture.
Creamy Lemon Chicken Piccata Delight adds a rich, velvety texture to the classic dish by incorporating heavy cream or half-and-half into the sauce. Unlike traditional piccata, which relies solely on butter and lemon, this version balances tangy citrus with a luscious cream base for a more indulgent flavor profile.
Yes! Substitute chicken broth with a splash of lemon juice or white grape juice for a non-alcoholic version of Creamy Lemon Chicken Piccata Delight. The dish will still maintain its bright, tangy character while keeping the creamy sauce perfectly balanced.
Creamy Lemon Chicken Piccata Delight pairs beautifully with light, starchy sides like angel hair pasta, mashed potatoes, or risotto to soak up the sauce. For a healthier option, try roasted asparagus, garlic sautéed spinach, or a crisp arugula salad to complement the rich flavors.
To avoid a separated sauce in your Creamy Lemon Chicken Piccata Delight, temper the cream by slowly whisking it into the pan off direct heat. Maintain low to medium heat throughout cooking, and add lemon juice gradually rather than all at once to prevent curdling.