Introduction
Hi there! I’m Emily, the heart and soul behind brekcakes.com. From my earliest memories, the kitchen has always been a place of warmth and creativity. It’s where I discovered the magic of turning simple ingredients into extraordinary meals and learned that the best dishes are often made with love as the main ingredient.
There’s something truly special about gathering around the table during the holidays, especially when a showstopping centerpiece like this Christmas Prime Rib Recipe takes center stage. Whether you’re hosting a festive feast or simply craving a taste of tradition, this dish brings warmth, richness, and unforgettable flavor to every bite. After all, nothing says celebration quite like a perfectly cooked prime rib, glistening with herbs and served alongside those you cherish most.
A Christmas Prime Rib Recipe isn’t just another holiday dish—it’s a timeless tradition that elevates your festive spread. This succulent cut, seasoned with aromatic herbs and roasted to juicy perfection, embodies the essence of indulgence. Unlike everyday meals, prime rib demands attention, making it ideal for special occasions. Here at brekcakes.com, we celebrate recipes that blend simplicity with sophistication, and this dish does exactly that. Plus, with our step-by-step guidance, even first-time cooks can achieve restaurant-quality results. If you’re looking for more holiday inspiration, check out our holiday dessert collection or explore tips for hosting a stress-free gathering. After all, the holidays should be as joyful for the host as they are for the guests.
Why I Love This Recipe
This Christmas Prime Rib Recipe holds a special place in my heart because it reminds me of my grandmother’s kitchen. Every December, she’d prepare this majestic roast, filling the house with irresistible aromas that signaled the start of our family celebrations. Now, I carry on her legacy by sharing this recipe with you, hoping it becomes a cherished part of your own traditions. There’s pure magic in watching loved ones savor each tender slice, and that’s why this dish will always be my holiday favorite.
Health and Nutrition
Why it’s good for your body
Christmas Prime Rib Recipe delivers a hearty dose of high-quality protein, which helps build and repair muscles while keeping you full longer. Additionally, it provides essential nutrients like iron, zinc, and B vitamins, all of which support energy levels and immune function. Because prime rib comes from a well-marbled cut, it also offers healthy fats that promote brain health and hormone balance.
Moreover, Christmas Prime Rib Recipe pairs beautifully with nutrient-rich sides like roasted vegetables or a fresh salad, boosting its overall nutritional value. The dish naturally contains conjugated linoleic acid (CLA), a type of fat linked to potential heart health benefits. When you savor this recipe in moderation, you enjoy a satisfying meal without compromising your wellness goals.
Finally, Christmas Prime Rib Recipe fits perfectly into festive gatherings while still offering wholesome nourishment. By choosing quality ingredients and mindful portions, you turn a celebratory dish into a health-conscious choice. Whether you prioritize protein intake or simply crave a flavorful centerpiece, this recipe delivers both taste and nutrition.
How it fits in a healthy lifestyle
Christmas Prime Rib Recipe easily aligns with balanced eating habits, especially if you focus on portion control and leaner cuts. For those following a high-protein or keto diet, this dish serves as a stellar option thanks to its rich protein content and healthy fats. If you prefer gluten-free meals, the recipe naturally fits the bill since it relies on fresh herbs and spices rather than processed additives.
To keep the meal heart-healthy, trim excess fat before cooking and pair it with fiber-packed sides like our roasted winter vegetables. For more tips on balancing indulgence with nutrition, explore our guide to healthy holiday eating. With smart choices, Christmas Prime Rib Recipe becomes a delicious part of your wellness journey without sacrificing flavor or tradition.
PrintChristmas Prime Rib Recipe
Description
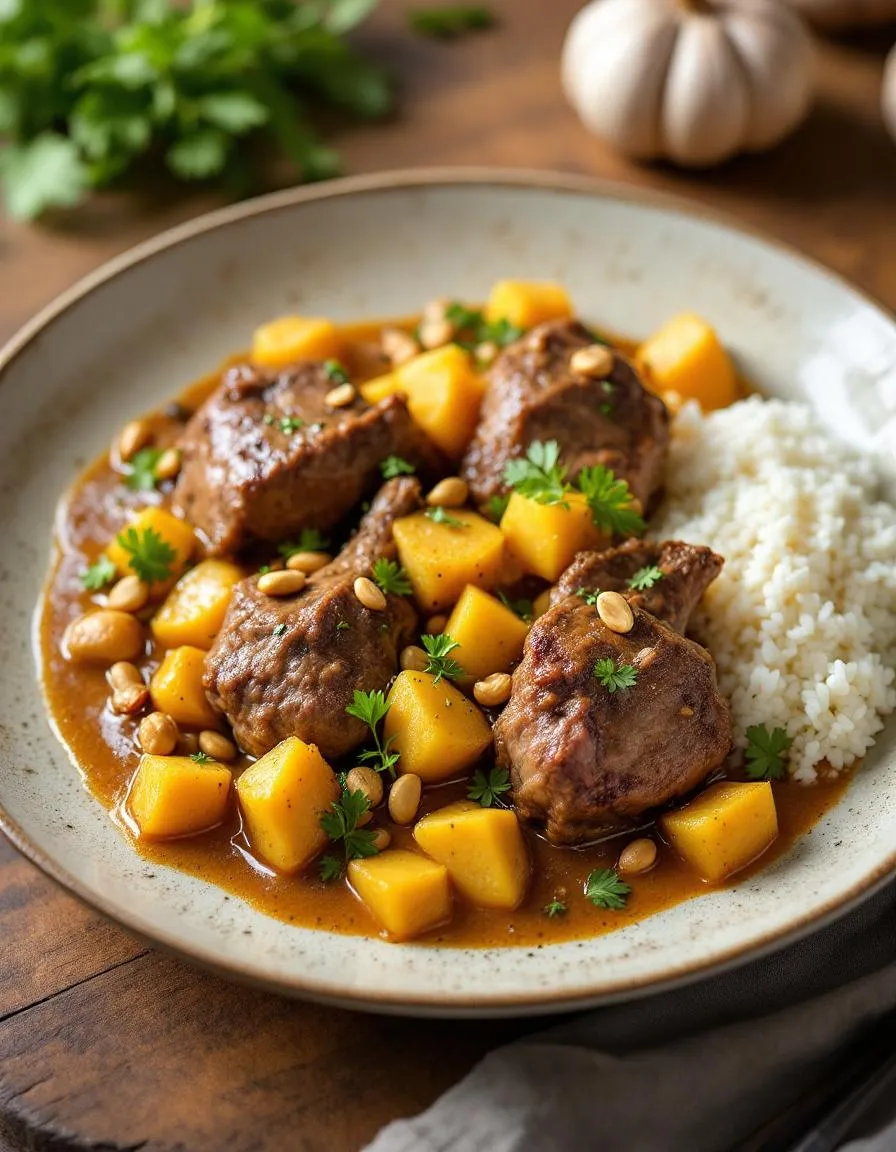
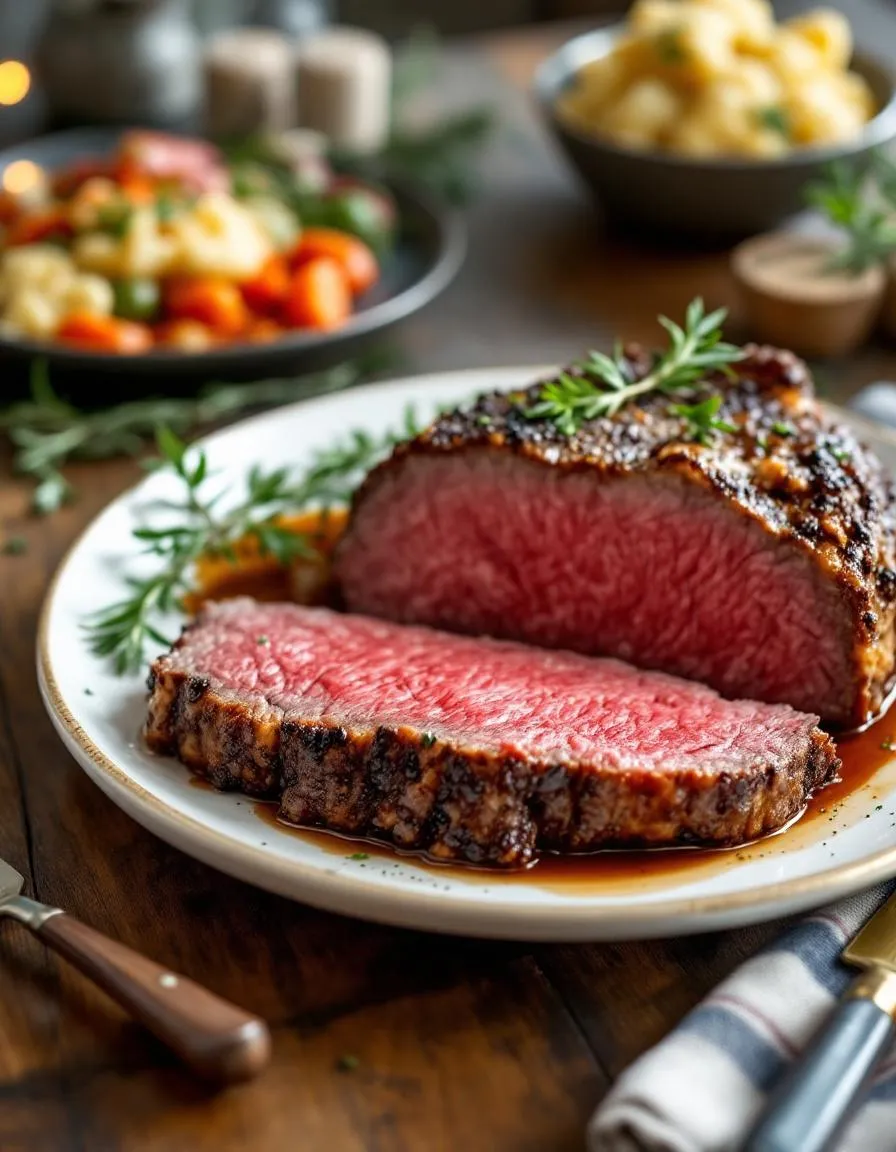
A succulent and flavorful prime rib roast, perfect for Christmas dinner.
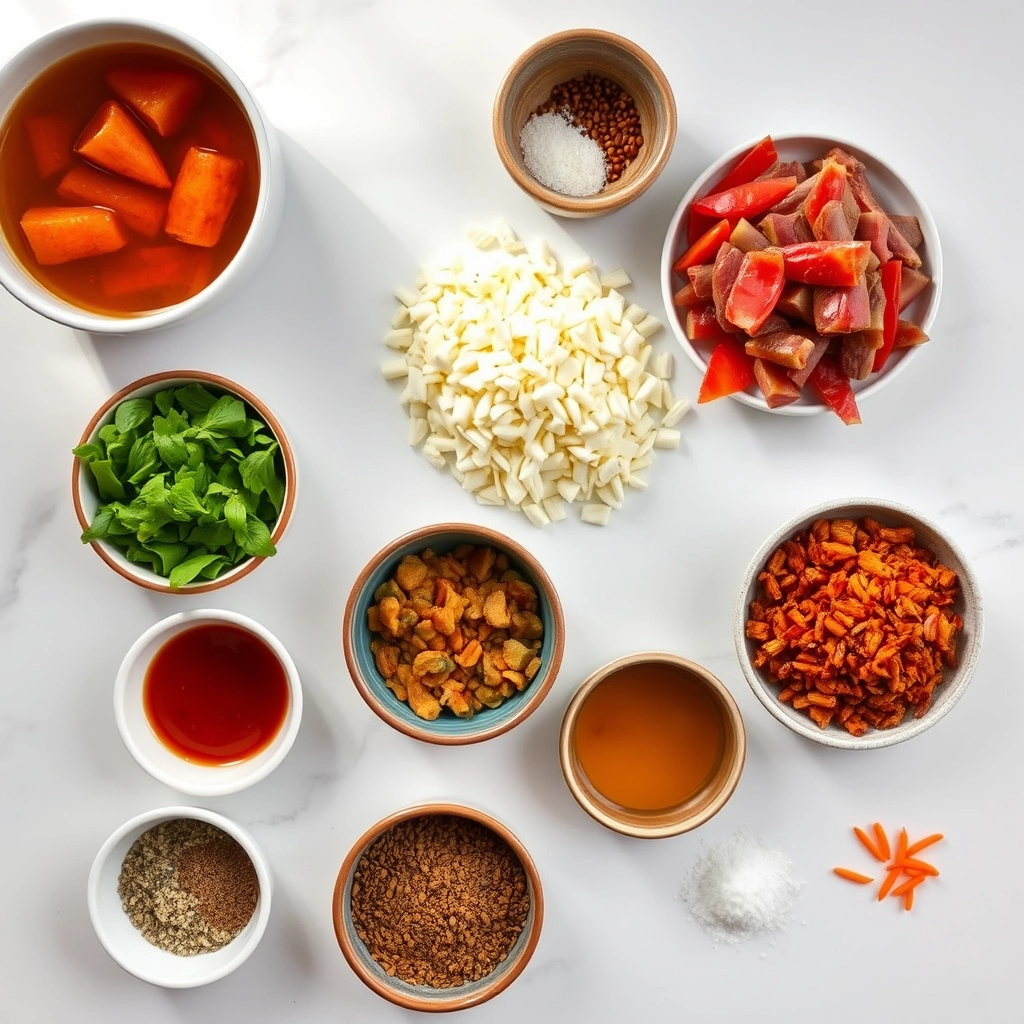
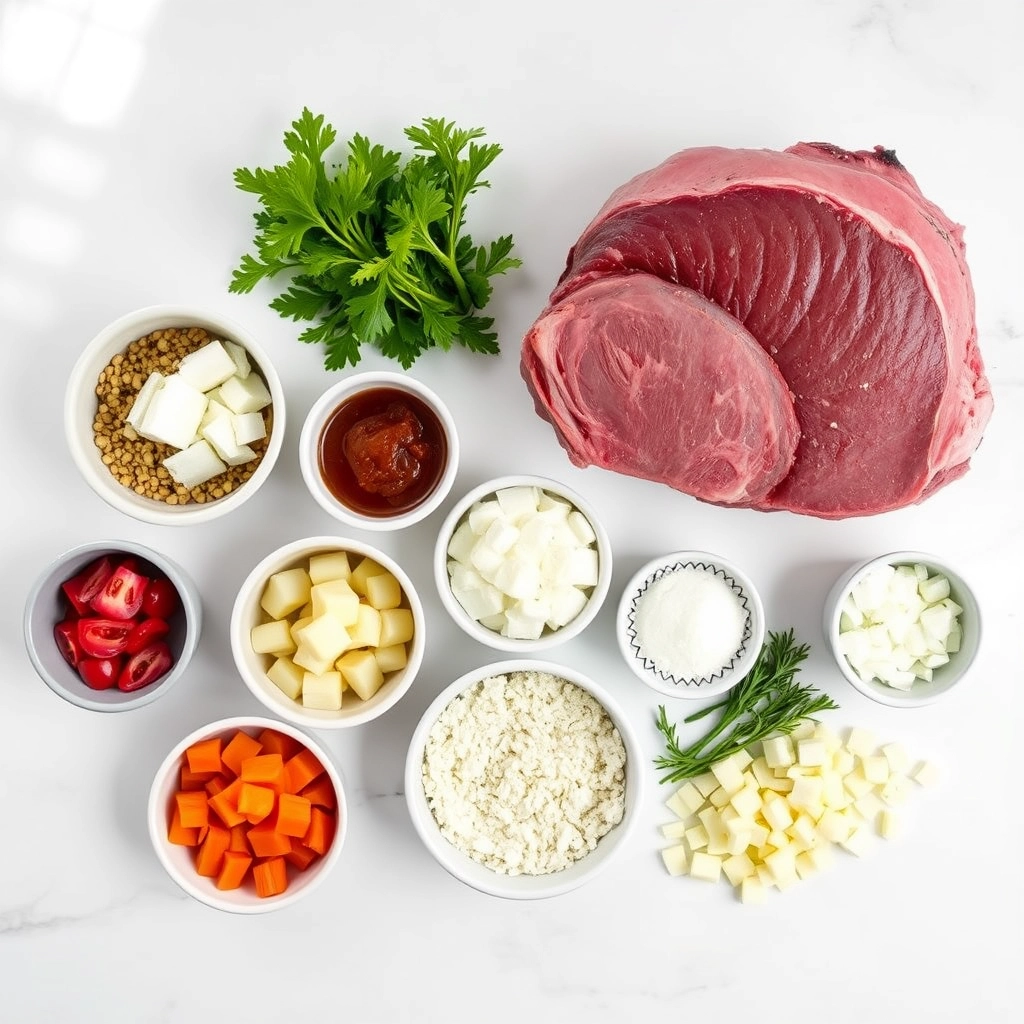
Ingredients
For the Crust:
- 1 (5-7 lb) prime rib roast
- 3 tbsp olive oil
- 4 cloves garlic, minced
- 2 tbsp fresh rosemary, chopped
- 2 tbsp fresh thyme, chopped
- 1 tbsp kosher salt
- 1 tbsp black pepper
Instructions
1. Prepare the Crust:
- Preheat oven to 450°F (230°C).
- In a small bowl, mix olive oil, garlic, rosemary, thyme, salt, and pepper to form a paste.
- Rub the paste evenly over the entire surface of the prime rib.
- Place the roast on a rack in a roasting pan, fat side up.
- Roast for 15 minutes, then reduce oven temperature to 325°F (165°C) and continue roasting for about 15 minutes per pound for medium-rare.
- Let the roast rest for 15-20 minutes before slicing and serving.
Notes
You can customize the seasonings to taste.
How to Prepare This Dish
Steps and time-saving tips
Start by preheating your oven to 450°F to ensure it’s hot enough for the perfect sear on your Christmas Prime Rib Recipe. While the oven heats, pat the prime rib dry with paper towels—this helps the seasoning stick and promotes a crispy crust. Generously rub the meat with a mix of salt, pepper, garlic powder, and rosemary, pressing the spices into the surface for maximum flavor. Next, place the prime rib bone-side down in a roasting pan, and insert a meat thermometer into the thickest part, avoiding the bone. Roast it at 450°F for 15 minutes to sear, then reduce the heat to 325°F and continue cooking until the thermometer reads 120°F for medium-rare. Let the meat rest for 20 minutes before carving; this keeps the juices locked in. For a time-saving tip, prep the seasoning blend the night before and store it in an airtight container. If you’re short on oven space, check out my guide on holiday meal planning to streamline your cooking schedule.
Mistakes I’ve made and learned from
One year, I rushed the resting step for my Christmas Prime Rib Recipe and ended up with dry, uneven slices—lesson learned! Now, I always set a timer to ensure the meat rests fully. Another mistake? Skipping the sear. Without that initial high heat, the crust lacked depth, so now I never compromise on the 450°F blast. I also once overcooked the prime rib because my thermometer wasn’t calibrated. Now, I test it in boiling water first, as explained in my kitchen tools essentials post. Trust me, these small tweaks make all the difference between good and unforgettable.
Cultural Connection and Variations
Where this recipe comes from
The Christmas Prime Rib Recipe carries a rich history, often tied to festive celebrations and family gatherings. Many cultures cherish this dish as a centerpiece during the holidays, especially in Western traditions where roasted meats symbolize abundance and joy. In the U.S., families often serve it with Yorkshire pudding or horseradish sauce, while in France, chefs might pair it with a red wine reduction. Meanwhile, in Argentina, they might grill the prime rib over open flames for a smoky twist.
My own family has a special connection to the Christmas Prime Rib Recipe. Every year, my grandfather slow-roasts it with garlic and rosemary, a method passed down through generations. Some relatives prefer a spicy rub, while others keep it simple with just salt and pepper. No matter the variation, the dish always brings everyone together. Even in different regions, like the Midwest or the South, cooks might add local flavors, such as bourbon glaze or Cajun seasoning, making each version uniquely delicious.
Around the world, the Christmas Prime Rib Recipe adapts to local tastes. In Italy, they might serve it with a balsamic drizzle, while in Japan, chefs could use miso marinades. These variations show how one dish can unite people across cultures, yet still reflect personal traditions. Whether you stick to classic methods or experiment with global flavors, the prime rib remains a timeless holiday favorite.
How it fits in today’s cooking
The Christmas Prime Rib Recipe still holds a special place in modern kitchens, especially during the holidays. Many home cooks appreciate its versatility, whether they’re hosting a grand feast or preparing a cozy family dinner. Today, people often use sous vide or instant pots to achieve perfect doneness, blending tradition with innovation. Others might pair it with lighter sides, like roasted Brussels sprouts, to balance the richness.
Even outside December, this dish finds its way into Sunday dinners or celebratory meals. Some families even repurpose leftovers into hearty sandwiches or stir-fries, proving its adaptability. If you’re looking for inspiration, check out our guide on holiday entertaining tips or explore creative twists in our modern comfort food collection. The Christmas Prime Rib Recipe isn’t just a relic of the past—it’s a delicious way to connect with loved ones, no matter the occasion.
Taste and Texture
What makes it delicious
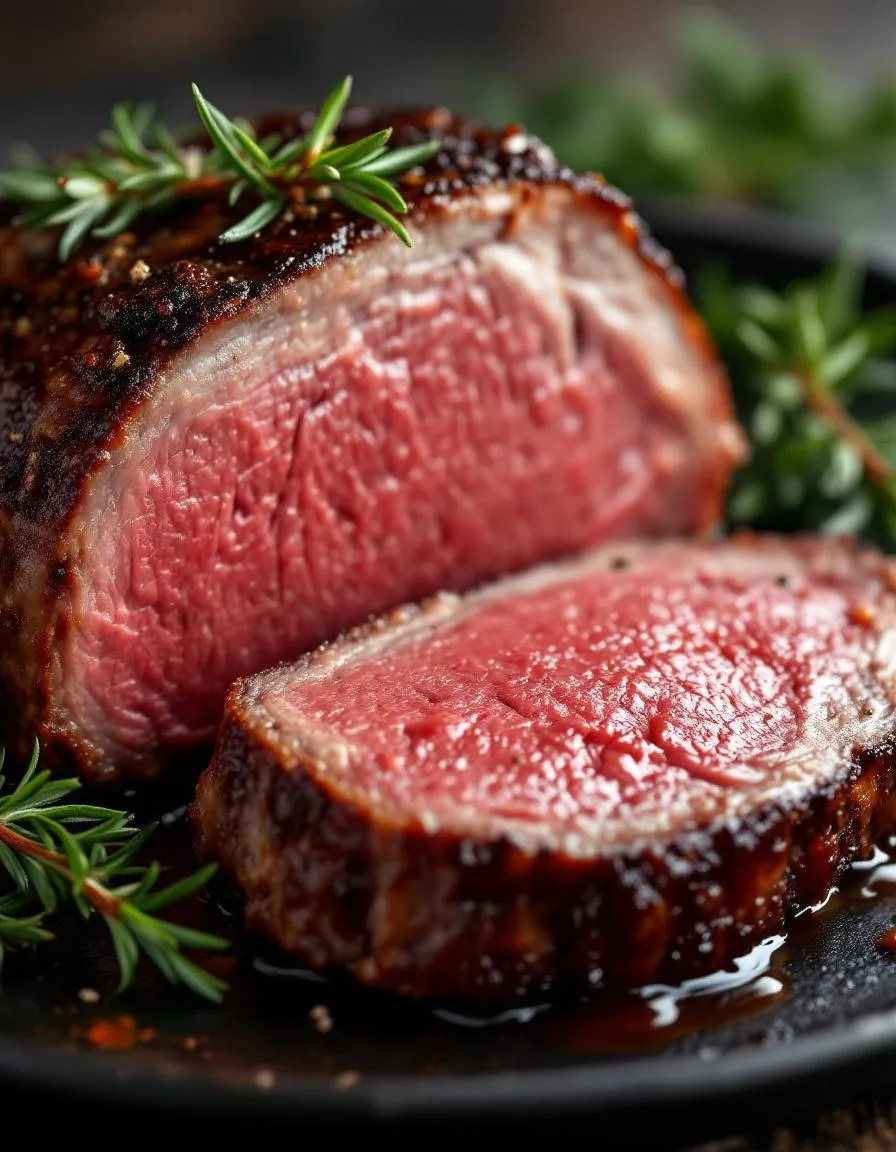
The Christmas Prime Rib Recipe delivers a rich, melt-in-your-mouth experience with every bite. The exterior boasts a savory, herb-crusted crust that crackles slightly, while the interior stays juicy and tender, practically dissolving on your tongue. Aromatic garlic, rosemary, and thyme infuse the meat with earthy, fragrant notes, while the natural beefy sweetness shines through. When you slice into it, the rosy-pink center glistens, promising buttery softness. Meanwhile, the rendered fat caramelizes into a golden, slightly crispy edge that adds depth. Whether served with horseradish cream or au jus, the Christmas Prime Rib Recipe elevates holiday dining with its luxurious texture and bold, comforting flavors.
Boosting the flavor
For an even more unforgettable Christmas Prime Rib Recipe, try rubbing the meat with a coffee-chili blend before roasting—it adds a smoky, slightly bitter contrast to the sweetness. Alternatively, serve it with a tangy cranberry-port reduction for a festive twist. If you love bold flavors, slather on a mustard-herb paste or pair it with crispy garlic parmesan roasted potatoes for contrasting textures. For a lighter touch, drizzle with herb brown butter sauce, which enhances the rib’s richness without overpowering it. A final sprinkle of flaky sea salt right before serving amplifies every savory note.
Tips for Success
Best practices for results
Always let your Christmas Prime Rib Recipe come to room temperature before roasting for even cooking. Use a meat thermometer to check for doneness, aiming for 120°F for rare or 130°F for medium-rare. Additionally, rest the meat for at least 20 minutes before slicing to lock in juices. For extra flavor, generously season the prime rib with salt, pepper, and fresh herbs at least an hour before cooking. Finally, place the roast fat-side up in the pan to baste itself naturally during cooking.
Mistakes to avoid
One common mistake is skipping the resting period, which causes the juices to run out and leaves the Christmas Prime Rib Recipe dry. Instead, tent the meat loosely with foil while it rests. Another error is overcooking the prime rib—rely on a thermometer rather than guessing. For more on perfecting meat temperatures, check out our guide on meat temperatures. Also, avoid cutting into the roast too soon; patience ensures tender slices. If you’re unsure about seasoning, our herb pairings article can help you balance flavors like a pro.
Serving and Pairing Suggestions
How to serve this dish
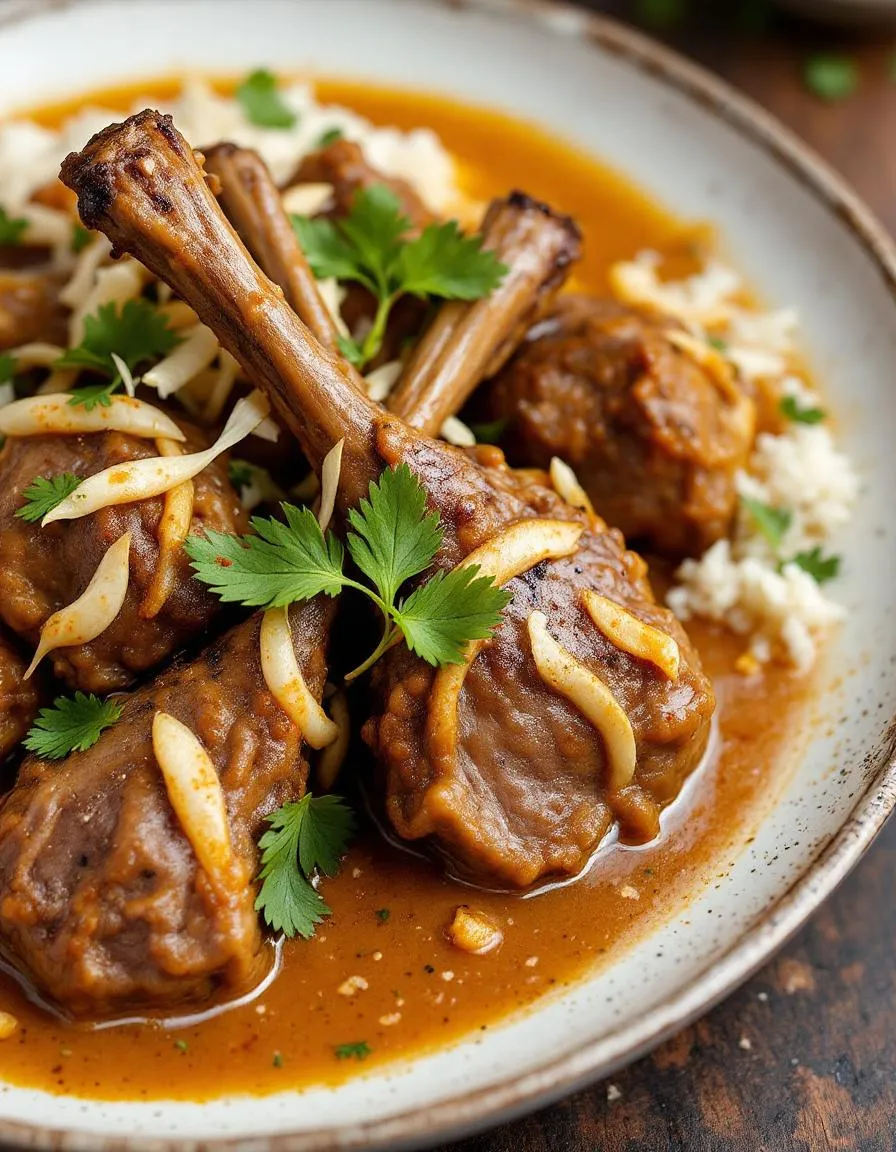
For a show-stopping presentation, slice the Christmas Prime Rib Recipe against the grain and arrange it on a large platter with fresh rosemary sprigs and roasted garlic cloves. Meanwhile, drizzle the natural juices over the meat to keep it moist and glossy. Since this dish shines as a centerpiece, serve it during holiday gatherings or festive dinners where guests can admire its rich aroma and golden crust. Alternatively, carve it tableside for an interactive experience that elevates the meal. To make it even more visually appealing, surround the prime rib with vibrant seasonal vegetables or a sprinkle of flaky sea salt.
What goes well with it
Pair the Christmas Prime Rib Recipe with creamy horseradish sauce for a tangy contrast that cuts through the richness of the meat. Additionally, serve it alongside crispy roasted potatoes or buttery garlic mashed potatoes for a comforting balance. If you prefer lighter sides, try a bright arugula salad with shaved Parmesan and lemon vinaigrette. For drinks, a bold red wine like Cabernet Sauvignon enhances the savory flavors, while a sparkling cider keeps the meal festive. Don’t forget to check out our holiday side dishes for more inspiration or our perfect wine pairings guide to complete your menu.

For a perfect Christmas Prime Rib Recipe, cook at 325°F for about 15-20 minutes per pound for medium-rare. Use a meat thermometer to ensure the internal temperature reaches 120-125°F before resting. This guarantees a juicy, flavorful centerpiece for your holiday meal.
A classic Christmas Prime Rib Recipe uses a simple rub of kosher salt, cracked black pepper, garlic, and fresh rosemary. For extra flavor, let the seasoning sit on the meat for 24 hours before roasting. This creates a delicious crust that complements the tender beef.
While optional, searing your Christmas Prime Rib Recipe at 500°F for 15 minutes before lowering the oven temperature creates a beautiful crust. This technique locks in juices and adds depth of flavor to your holiday centerpiece. Always let the meat rest after cooking for optimal tenderness.
A 10-pound Christmas Prime Rib Recipe typically serves 8-10 people with generous portions. Plan for about 1 pound per person if serving bone-in, as the bone adds weight. Leftovers make excellent sandwiches or beef hash for holiday brunch.