Introduction
Hi there! I’m Emily, the heart and soul behind brekcakes.com. From my earliest memories, the kitchen has always been a place of warmth and creativity. It’s where I discovered the magic of turning simple ingredients into extraordinary meals and learned that the best dishes are often made with love as the main ingredient.
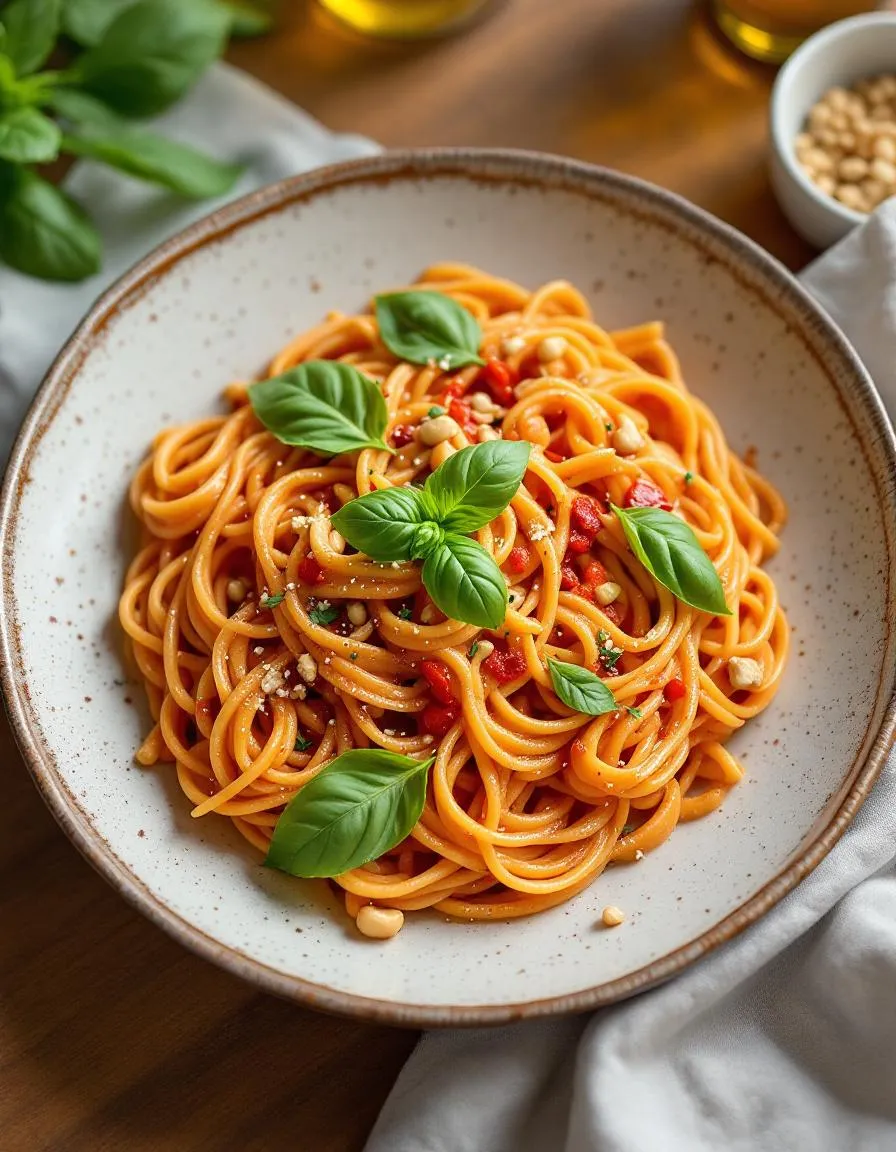
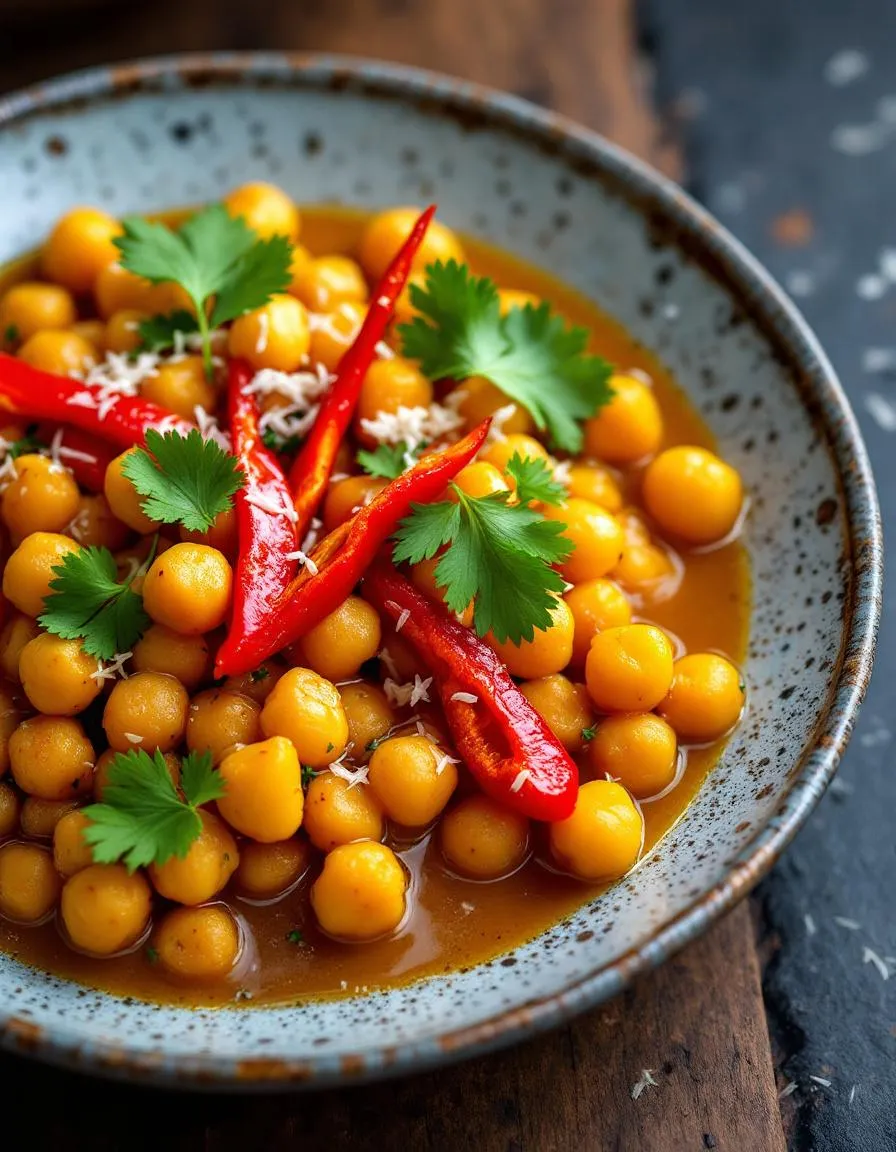
There’s something deeply comforting about a meal that wraps you in warmth while whisking your taste buds away to somewhere new. That’s exactly what this Brazilian Coconut Chickpea Curry does. Whether you’re craving a cozy weeknight dinner or a vibrant dish to share with friends, this recipe brings together creamy coconut, tender chickpeas, and bold spices in a way that feels like a hug for your soul. Plus, it’s naturally vegan and packed with flavor—proof that plant-based eating never has to be boring.
Brazilian Coconut Chickpea Curry is a celebration of simplicity and bold flavors. Unlike traditional curries, it draws inspiration from Brazilian cuisine, blending coconut milk, tomatoes, and aromatic spices into a rich, velvety sauce. Chickpeas add hearty protein, while fresh cilantro and lime brighten every bite. This dish matters because it’s more than just food—it’s an invitation to explore global flavors without leaving your kitchen. For anyone who loves my vegan comfort food recipes, this curry fits right in. It’s quick to make, endlessly adaptable, and perfect for busy nights when you want something nourishing and exciting. If you’re new to Brazilian flavors, don’t worry—this recipe guides you every step of the way, just like my easy international dishes always do.
Why I Love This Recipe
This Brazilian Coconut Chickpea Curry holds a special place in my heart because it reminds me of the first time I tasted the vibrant flavors of Bahia, Brazil. The creaminess of the coconut milk, the kick of the spices, and the freshness of the herbs transported me instantly. Now, whenever I make it, I’m not just cooking—I’m reliving that joy and sharing it with everyone at my table. It’s the kind of dish that turns an ordinary evening into something unforgettable, and that’s exactly what I want for you too.
Health and Nutrition
Why it’s good for your body
Brazilian Coconut Chickpea Curry packs a powerhouse of nutrients in every bite. First, chickpeas deliver plant-based protein and fiber, which keep you full and support digestion. Meanwhile, coconut milk adds healthy fats that boost brain function and energy levels. Together, these ingredients create a dish that fuels your body without weighing you down.
Additionally, Brazilian Coconut Chickpea Curry brims with vitamins and minerals. Turmeric, a key spice, offers anti-inflammatory benefits thanks to curcumin. Furthermore, garlic and ginger strengthen immunity while adding bold flavor. Even better, tomatoes provide lycopene, an antioxidant linked to heart health. With each spoonful, you nourish your body from the inside out.
Finally, this curry balances indulgence and nutrition effortlessly. Unlike heavy cream-based dishes, coconut milk keeps it light yet creamy. Plus, chickpeas make it satisfying enough for a main course. Whether you crave comfort food or a nutrient-dense meal, Brazilian Coconut Chickpea Curry checks all the boxes. It’s a delicious way to eat well without sacrificing flavor.
How it fits in a healthy lifestyle
Brazilian Coconut Chickpea Curry fits seamlessly into balanced eating habits. For gluten-free diets, it’s a naturally safe and flavorful option. The dish also supports heart health with its fiber-rich chickpeas and good fats from coconut. If you’re meal prepping, it stores well and tastes even better the next day.
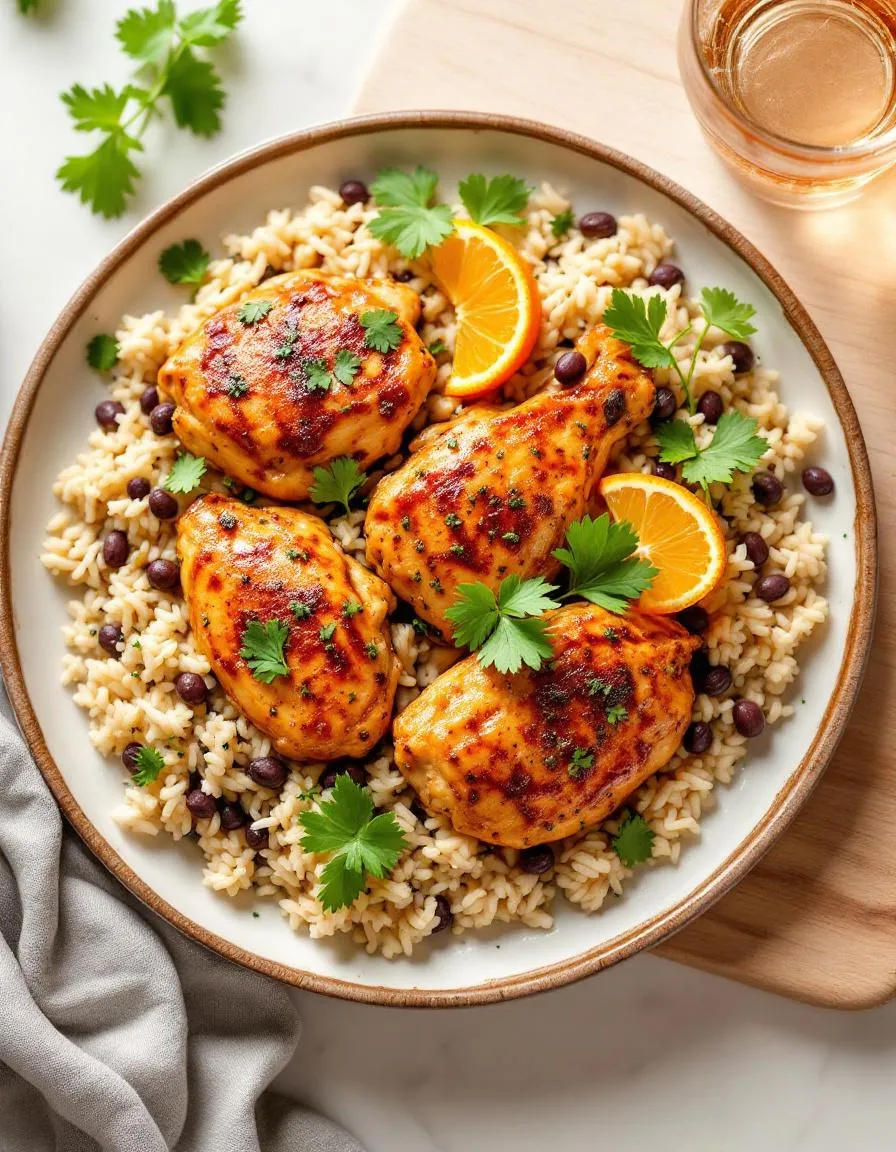
This curry pairs perfectly with whole grains like quinoa or brown rice for extra fiber. For a low-carb twist, try it over cauliflower rice. If you love exploring global flavors, check out our healthy international recipes for more inspiration. And if you’re tracking macros, Brazilian Coconut Chickpea Curry offers a great plant-based protein boost. Discover more high-protein meals in our plant-based protein guide to keep your diet varied and exciting.
PrintBrazilian Coconut Chickpea Curry
Description
A creamy and flavorful coconut chickpea curry with Brazilian-inspired spices.
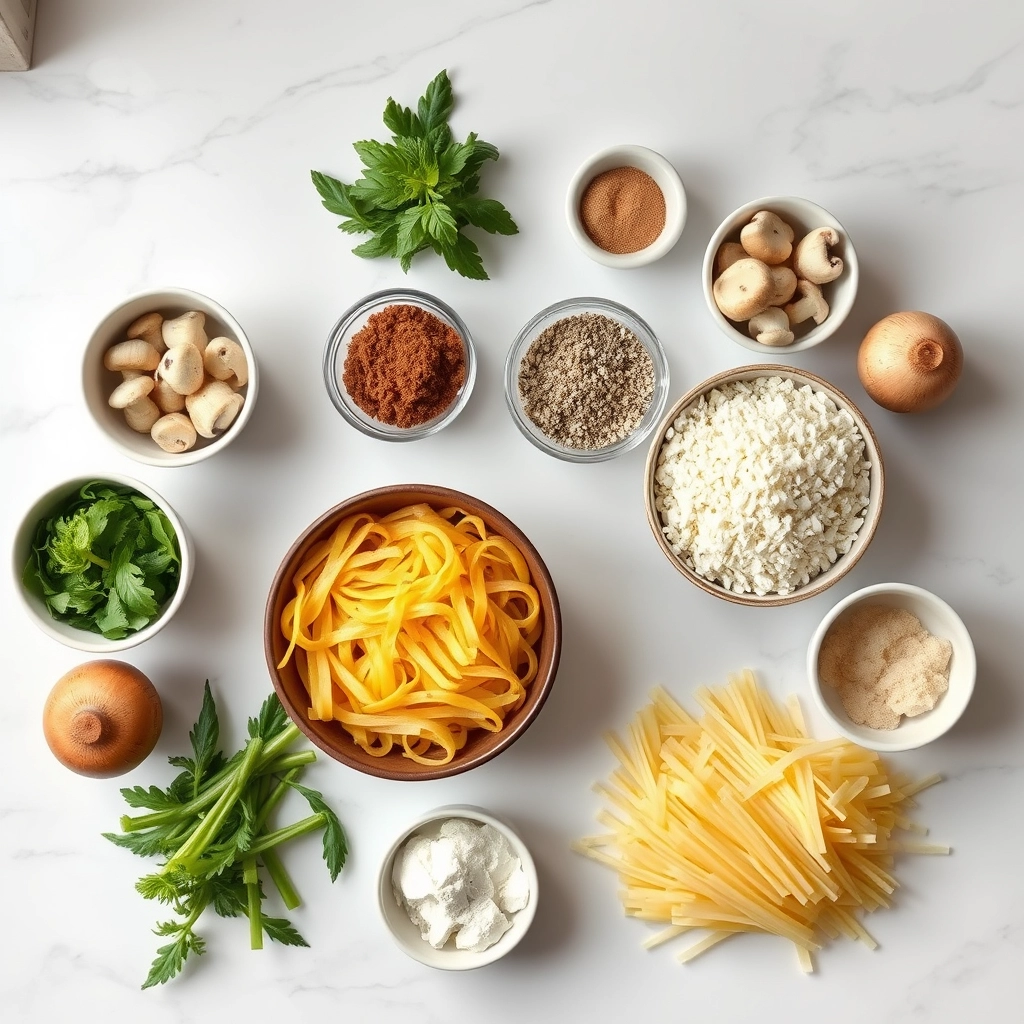
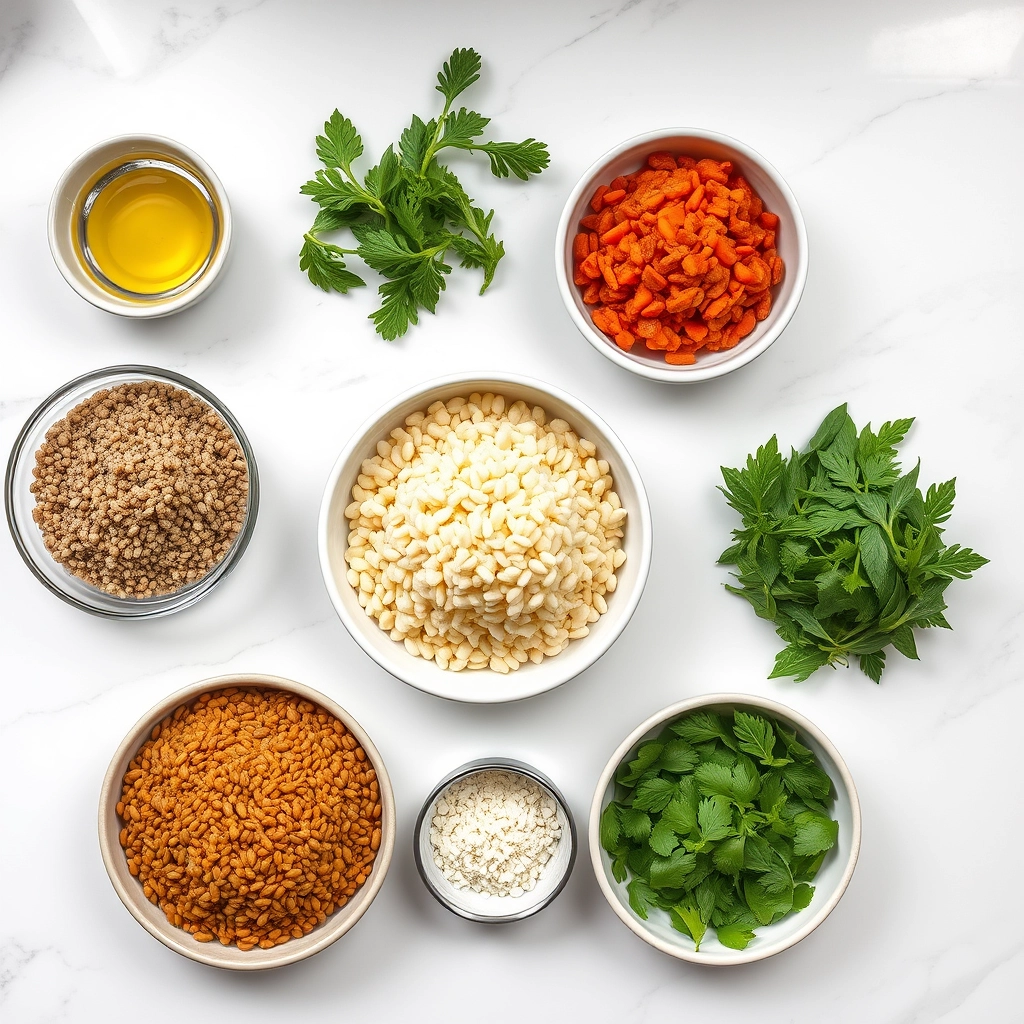
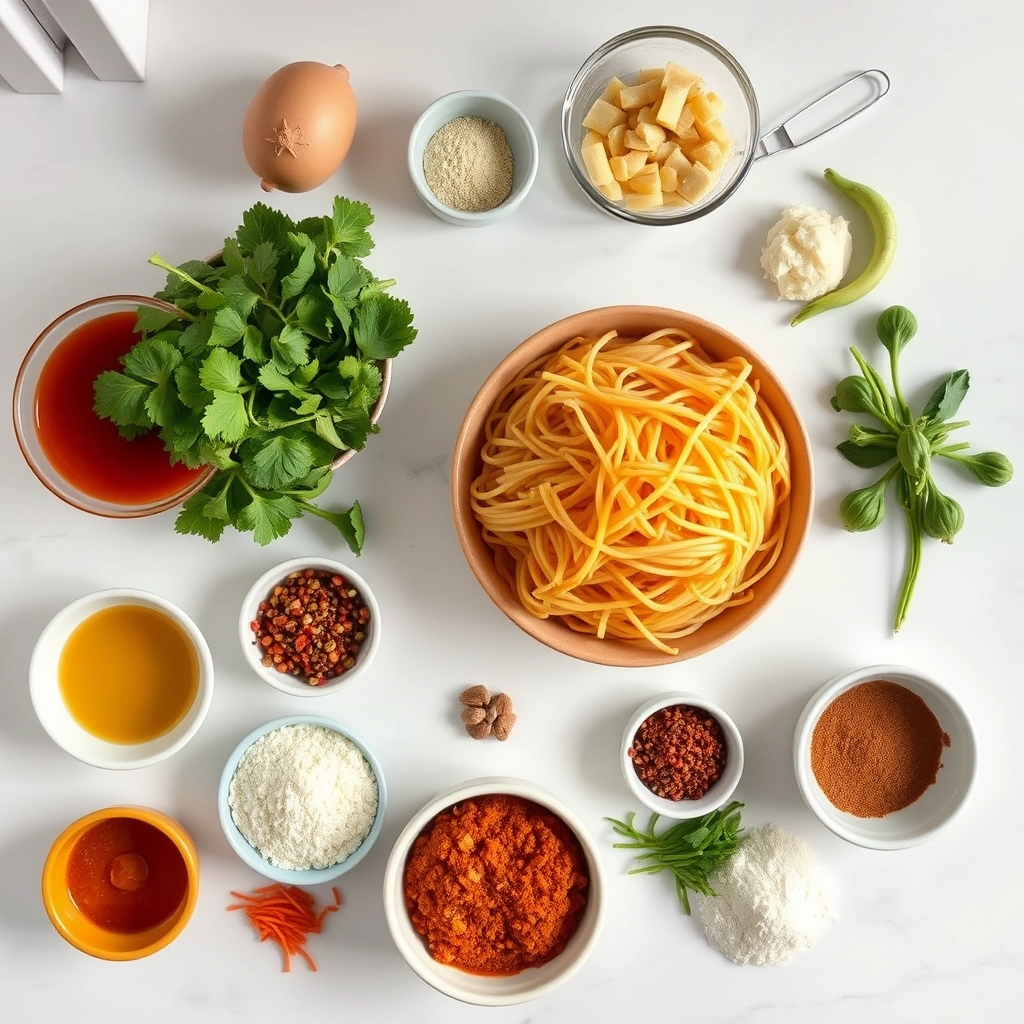
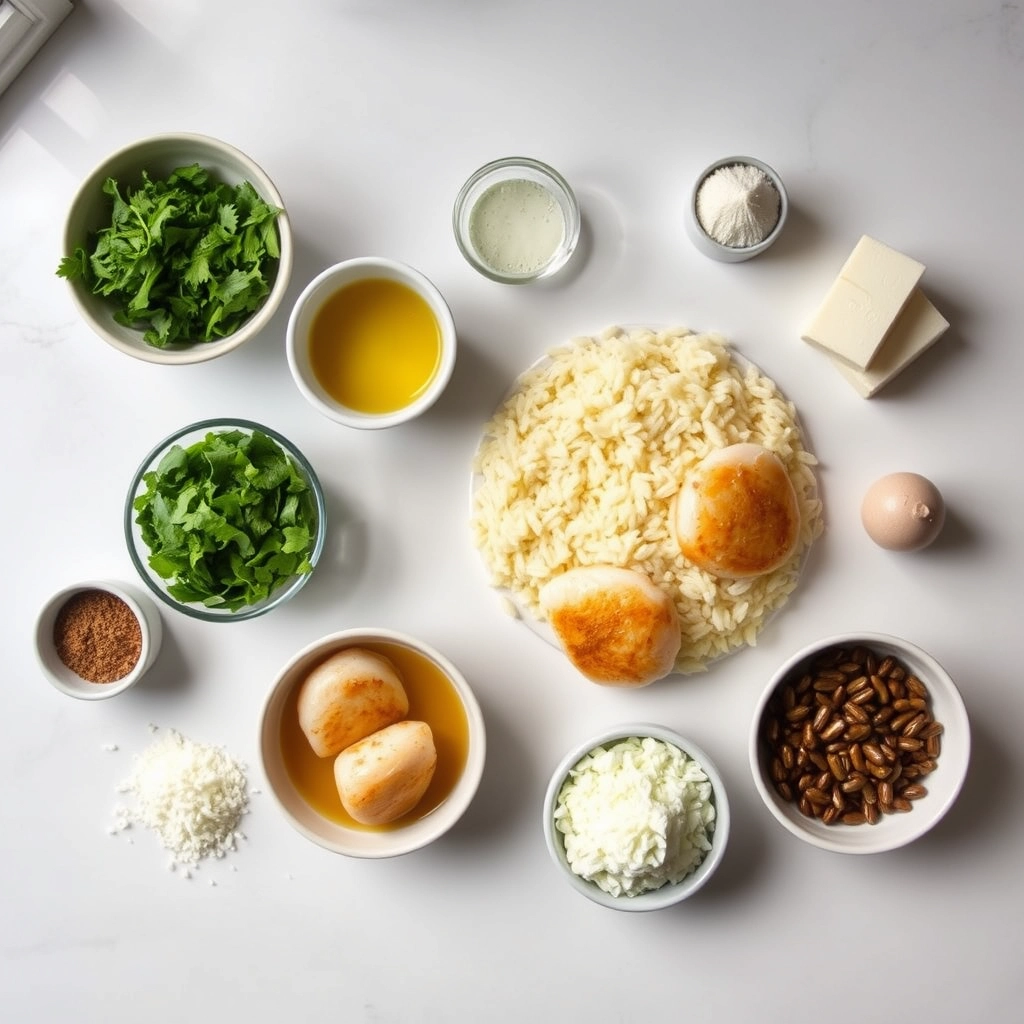
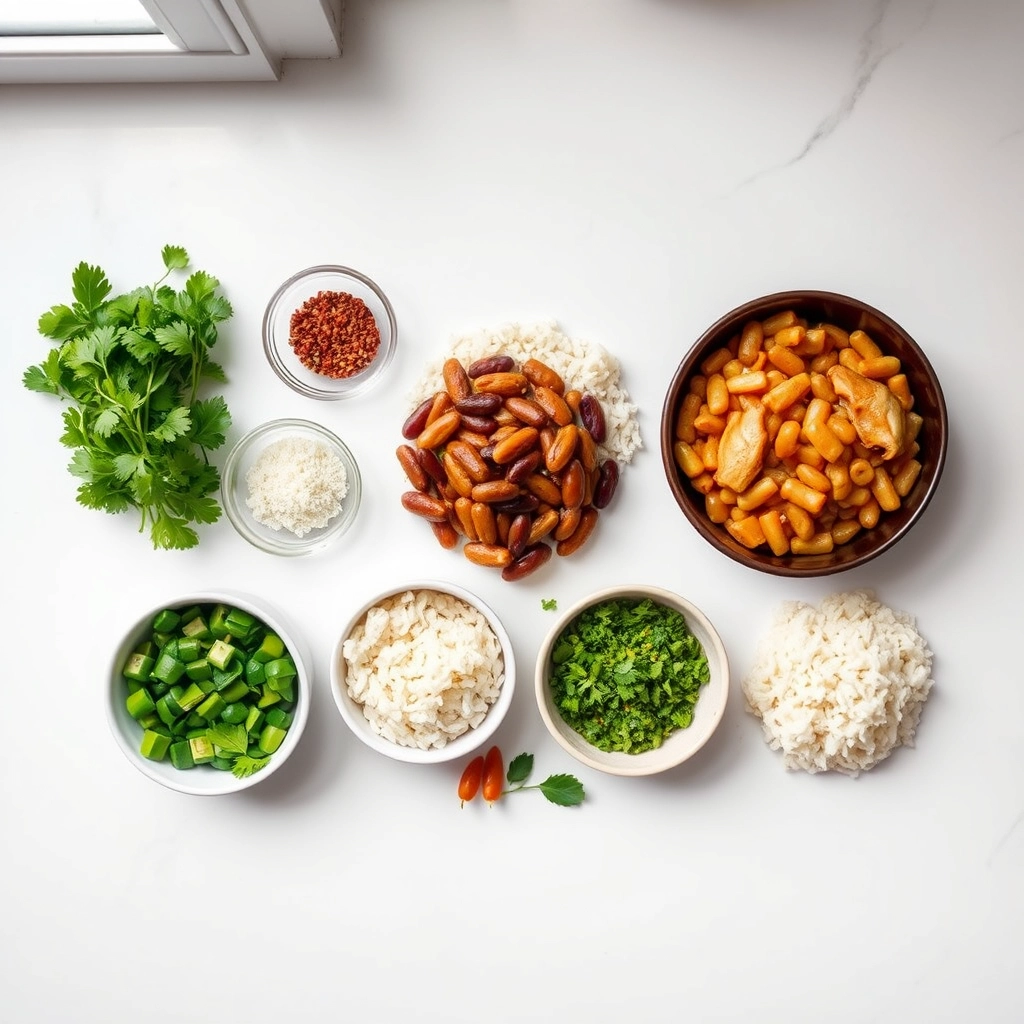
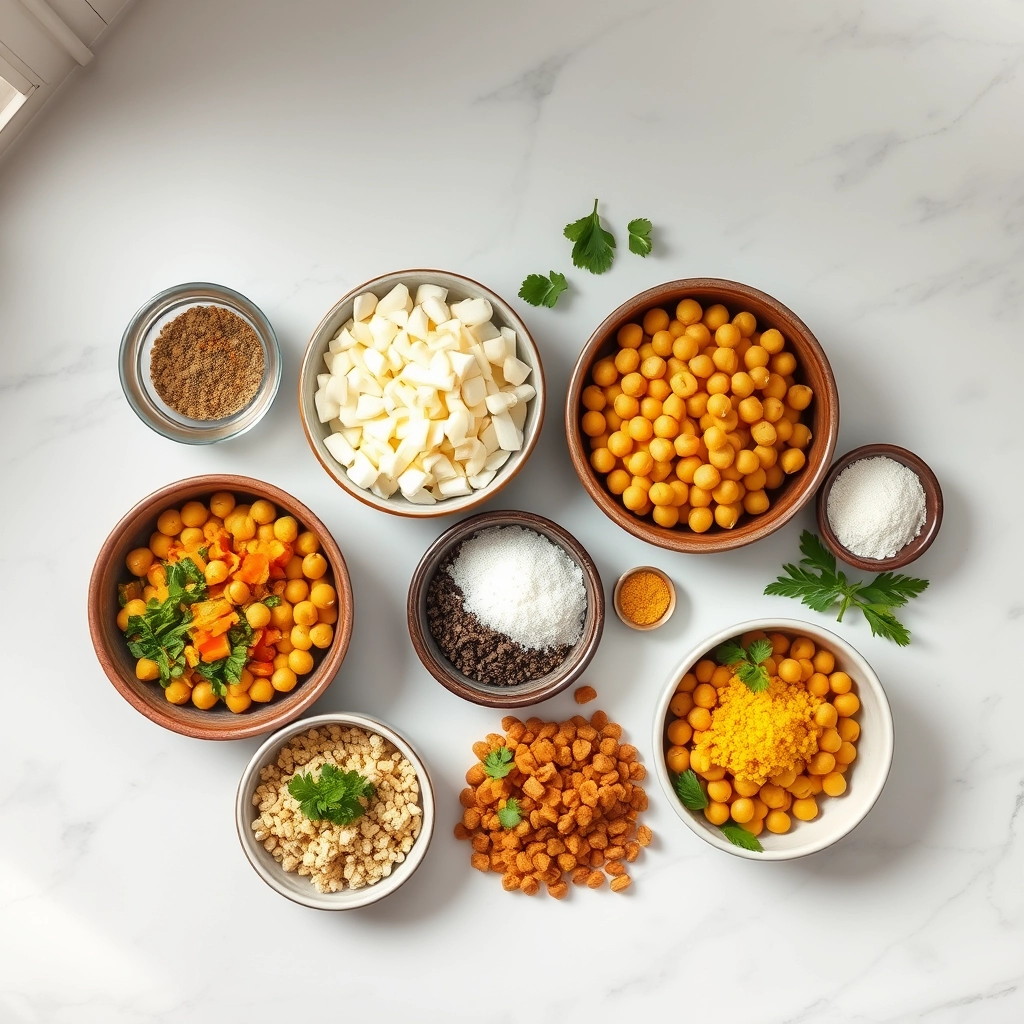
Ingredients
For the Crust:
- 2 cups cooked chickpeas
- 1 can (14 oz) coconut milk
- 1 onion, diced
- 3 garlic cloves, minced
- 1 red bell pepper, sliced
- 1 tbsp olive oil
- 1 tbsp curry powder
- 1 tsp ground cumin
- 1 tsp paprika
- 1/2 tsp turmeric
- 1/2 tsp chili flakes (optional)
- 1 cup vegetable broth
- Salt and pepper to taste
- Fresh cilantro for garnish
Instructions
1. Prepare the Crust:
- Heat olive oil in a large pot over medium heat. Add diced onion and sauté until translucent.
- Add minced garlic, red bell pepper, and spices (curry powder, cumin, paprika, turmeric, and chili flakes). Stir and cook for 2 minutes until fragrant.
- Pour in coconut milk and vegetable broth. Bring to a gentle simmer.
- Add cooked chickpeas and stir well. Let the curry simmer for 15-20 minutes, stirring occasionally.
- Season with salt and pepper to taste. Garnish with fresh cilantro before serving.
Notes
You can customize the seasonings to taste.
How to Prepare This Dish
Steps and time-saving tips
Start by heating a large pot over medium heat and adding a drizzle of coconut oil. Once the oil shimmers, toss in diced onions and sauté until they turn golden. Next, stir in minced garlic and grated ginger, letting their aromas bloom for about 30 seconds. Sprinkle in your spices—turmeric, cumin, and coriander—and toast them briefly to deepen their flavor. Now, add drained chickpeas and diced tomatoes, stirring everything together so the chickpeas soak up those warm spices. Pour in creamy coconut milk and vegetable broth, then bring the mixture to a gentle simmer. Let it bubble away for 15-20 minutes, stirring occasionally, until the sauce thickens slightly. Meanwhile, toast shredded coconut in a dry pan for a crunchy garnish. Finally, fold in fresh cilantro and a squeeze of lime juice just before serving. For a time-saving hack, use canned chickpeas and pre-minced garlic. If you’re short on time, prep the onions and spices the night before so you can jump straight into cooking.
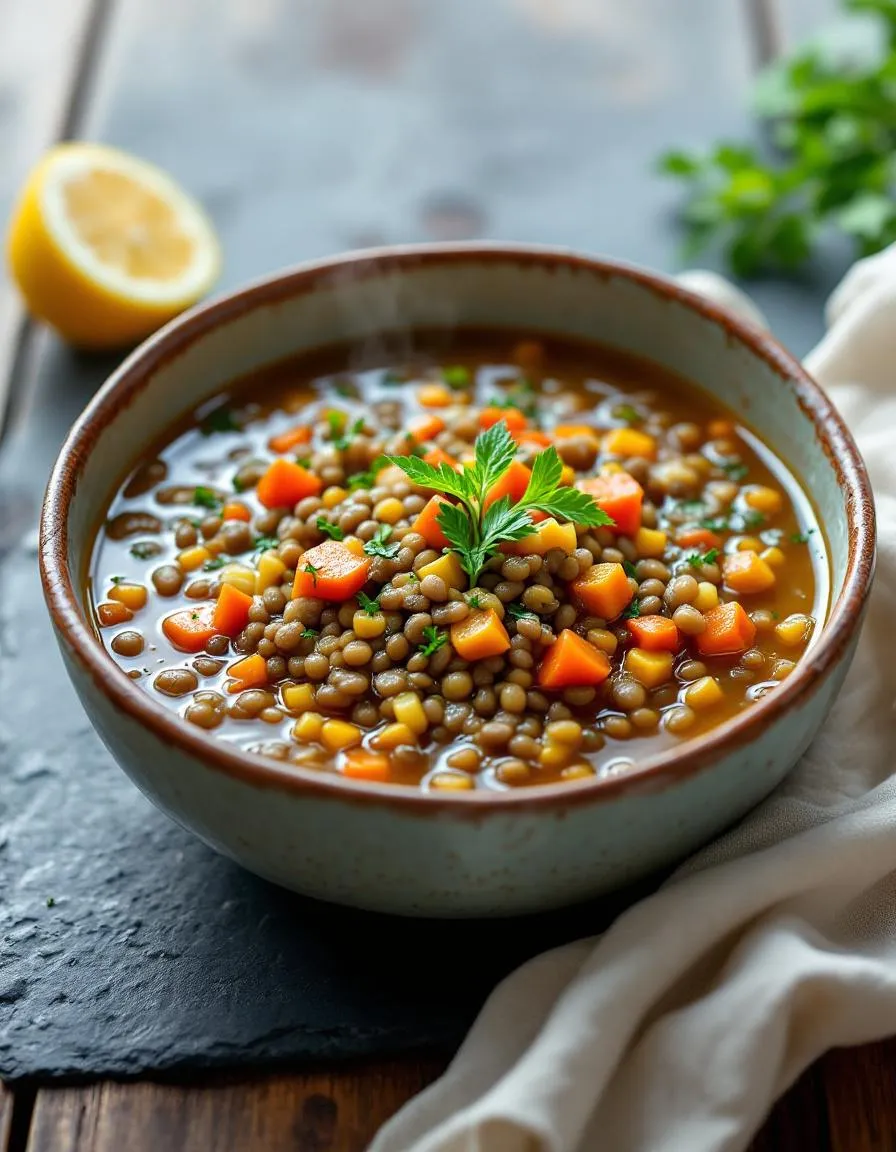
Mistakes I’ve made and learned from
I’ve definitely rushed the sautéing step before, skipping the golden onion stage, and ended up with a less flavorful Brazilian Coconut Chickpea Curry. Now I take my time—those caramelized onions make all the difference. Another blunder? Overcrowding the pot with too many chickpeas, which diluted the sauce. I learned to stick to the right ratios, just like when I perfected my vegan lentil soup. And once, I forgot to toast the coconut garnish, missing out on that extra crunch. Now I keep shredded coconut handy for last-minute toasting, just as I do for my coconut chia pudding. Lesson learned: patience and prep pay off!
Cultural Connection and Variations
Where this recipe comes from
Brazilian Coconut Chickpea Curry carries the vibrant spirit of Bahia, a coastal region where African, Indigenous, and Portuguese flavors collide. Locals often prepare it for festive gatherings, blending creamy coconut milk with earthy chickpeas and warming spices. Unlike Indian curries, which rely on ghee and heavy cream, this version stays light yet rich, thanks to Brazil’s love for tropical ingredients.
Families across Brazil tweak the dish based on what’s fresh. In the northeast, cooks might add palm oil for depth, while southern versions could include bell peppers for sweetness. Globally, you’ll find similar stews—like Thailand’s chickpea-coconut soups or Caribbean curries with Scotch bonnet heat. My aunt’s take? She simmers Brazilian Coconut Chickpea Curry with extra cilantro and lime, making it her own.
What ties them all together? Comfort. Whether served over rice or scooped with crusty bread, this dish feeds both body and soul. And honestly, isn’t that the best kind of recipe?
How it fits in today’s cooking
Brazilian Coconut Chickpea Curry isn’t just a relic of the past. Busy home cooks love it for weeknight dinners because it’s hearty, plant-based, and ready in under an hour. Meal preppers often double the batch, freezing portions for later—just like these smart meal-prep hacks suggest.
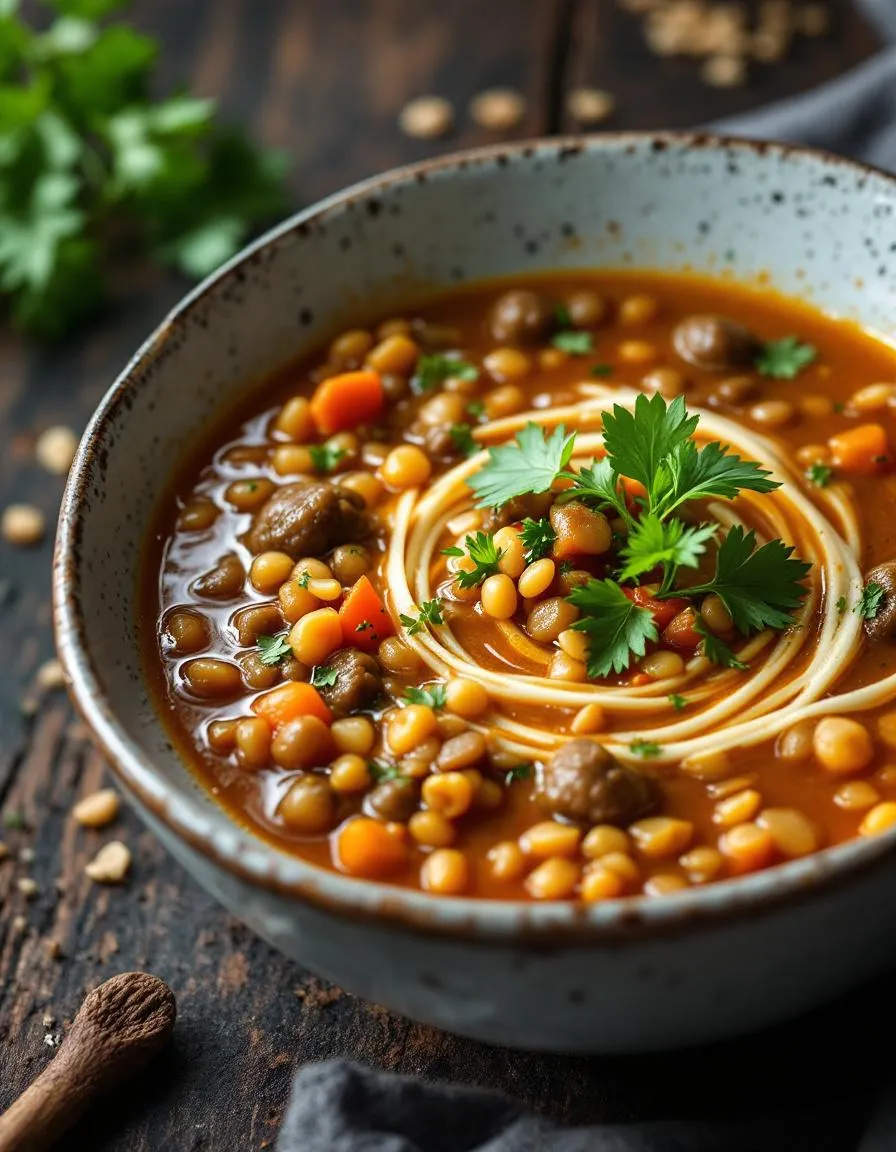
It’s also a star at modern potlucks, especially for crowds avoiding meat or dairy. Some chefs even riff on it, swapping chickpeas for lentils or adding kale for extra greens. (Psst: Pair it with gluten-free flatbread for a full feast.)
Most importantly, this curry bridges traditions and today’s tastes. Whether you’re craving nostalgia or a quick, nourishing fix, it delivers—no passport required.
Taste and Texture
What makes it delicious
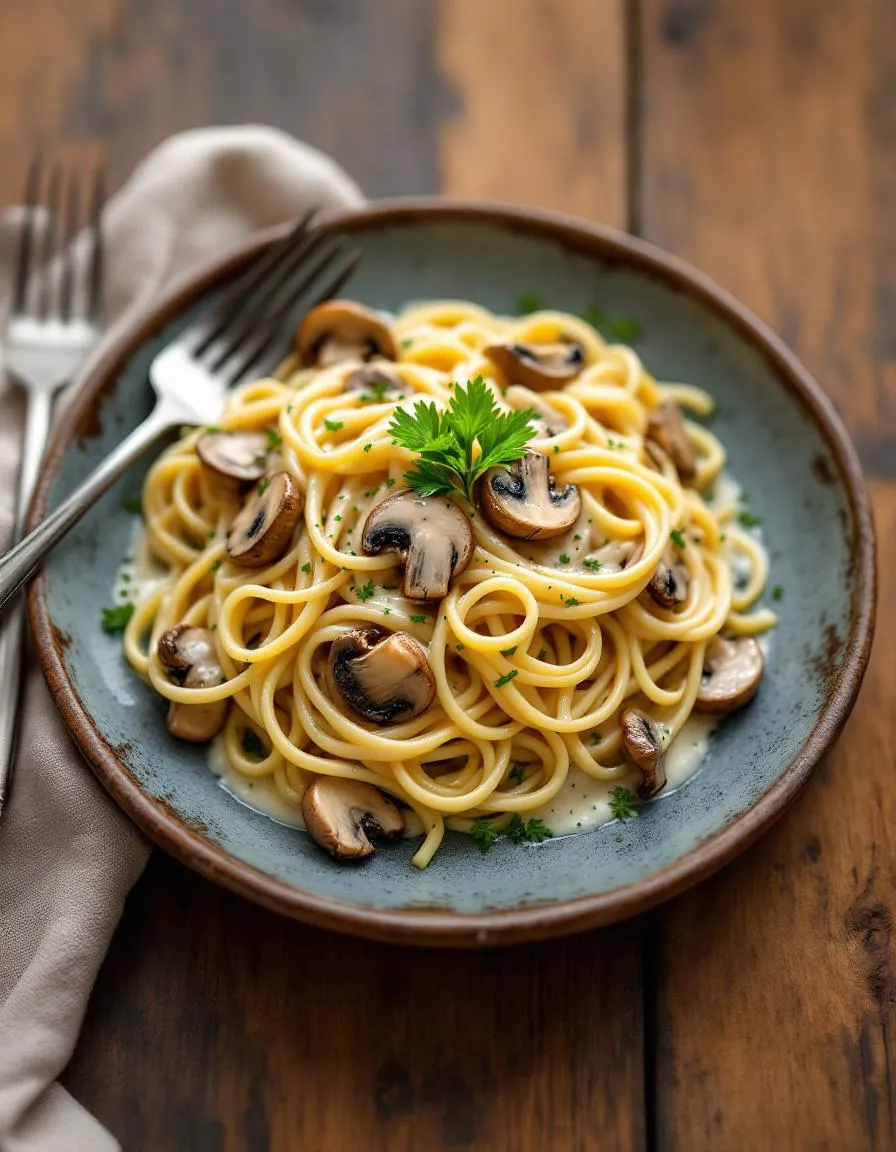
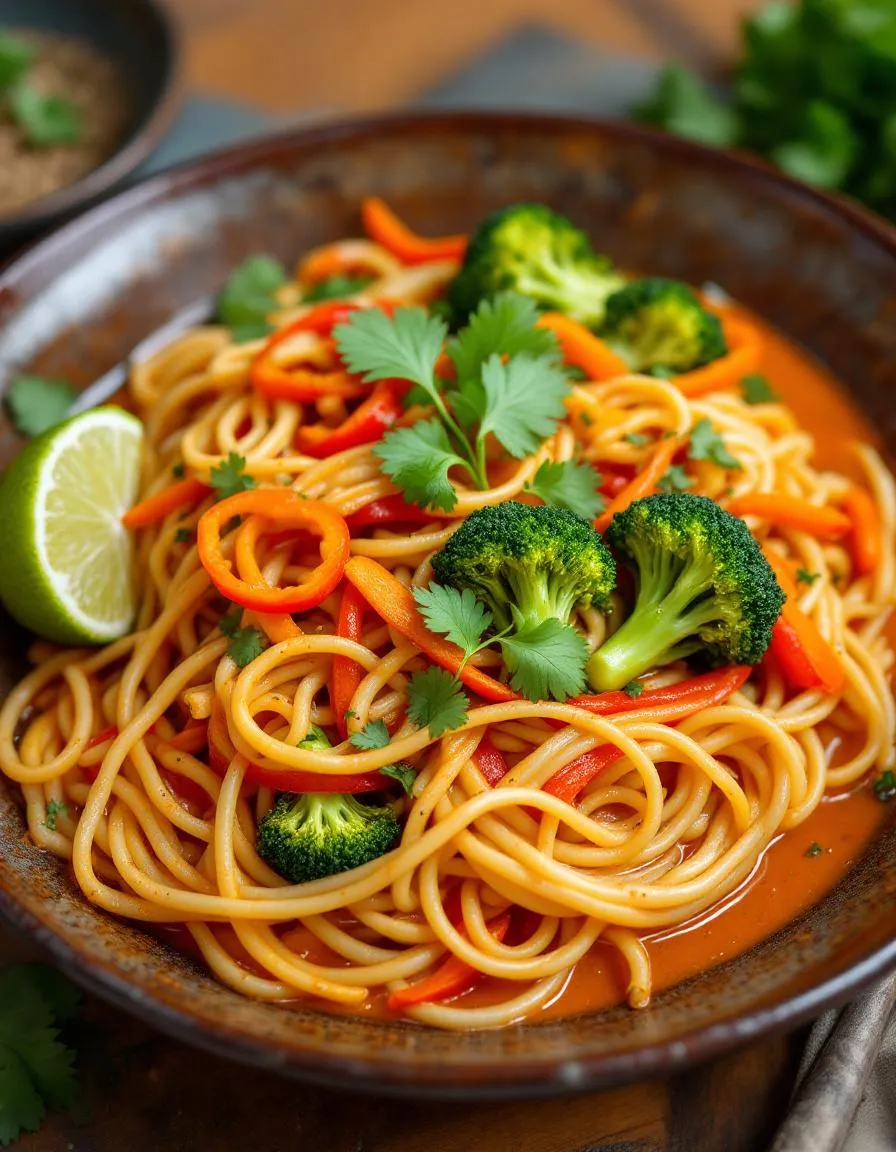
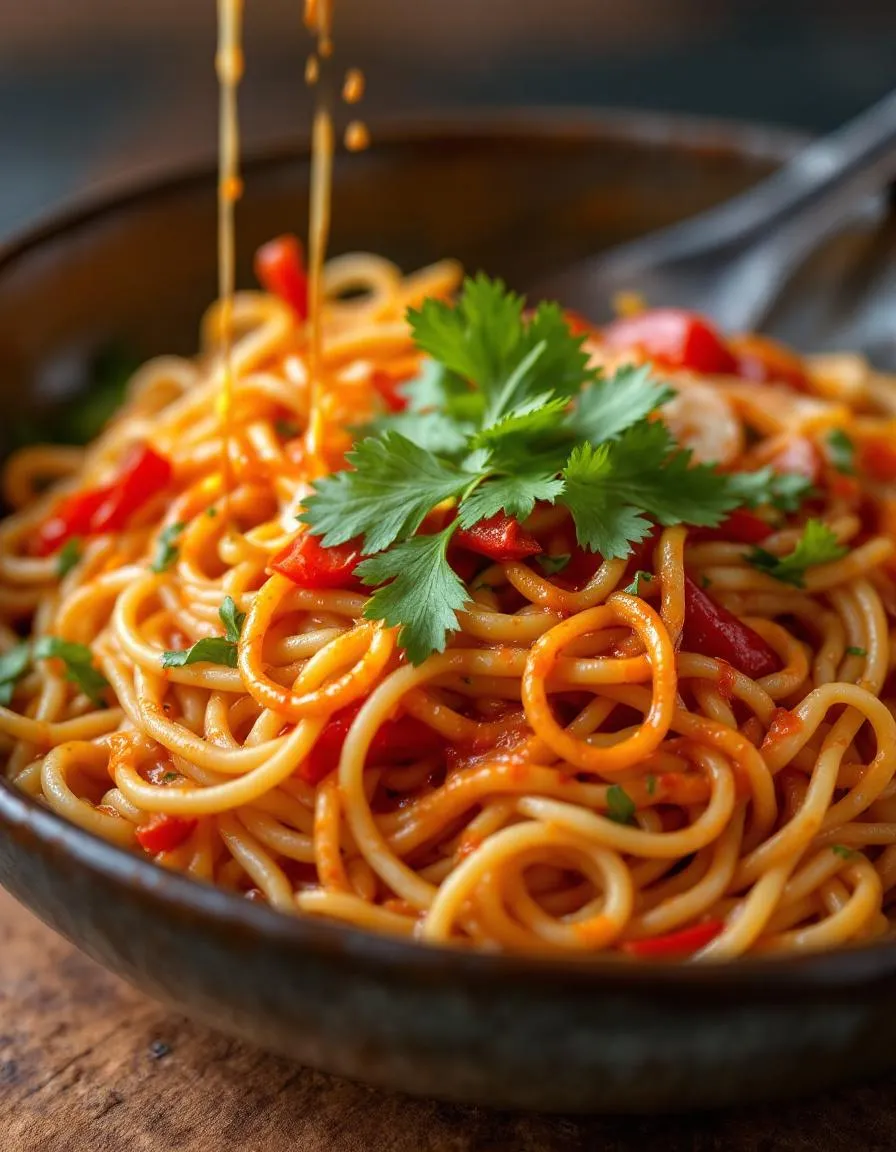
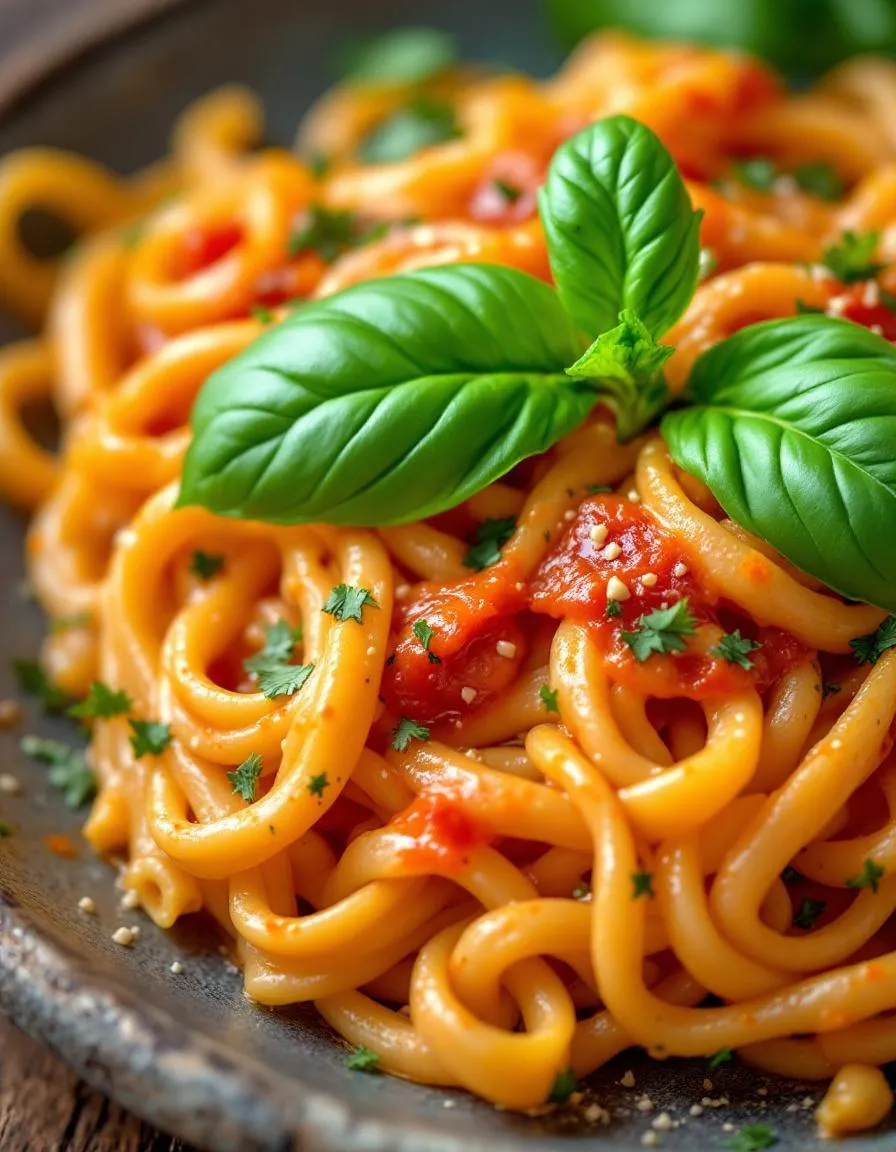
Brazilian Coconut Chickpea Curry wraps your taste buds in layers of rich, velvety coconut milk and warm spices. The creamy sauce clings to tender chickpeas, while hints of garlic, ginger, and cumin add a fragrant depth. Every bite balances earthy sweetness with a subtle kick, thanks to Brazilian-inspired seasonings. Fresh cilantro brightens the dish, and a squeeze of lime cuts through the richness for a refreshing finish. The texture? Silky smooth with just the right bite from the chickpeas—comforting yet vibrant. Brazilian Coconut Chickpea Curry is a bowl of pure warmth, perfect for cozy nights or lively gatherings.
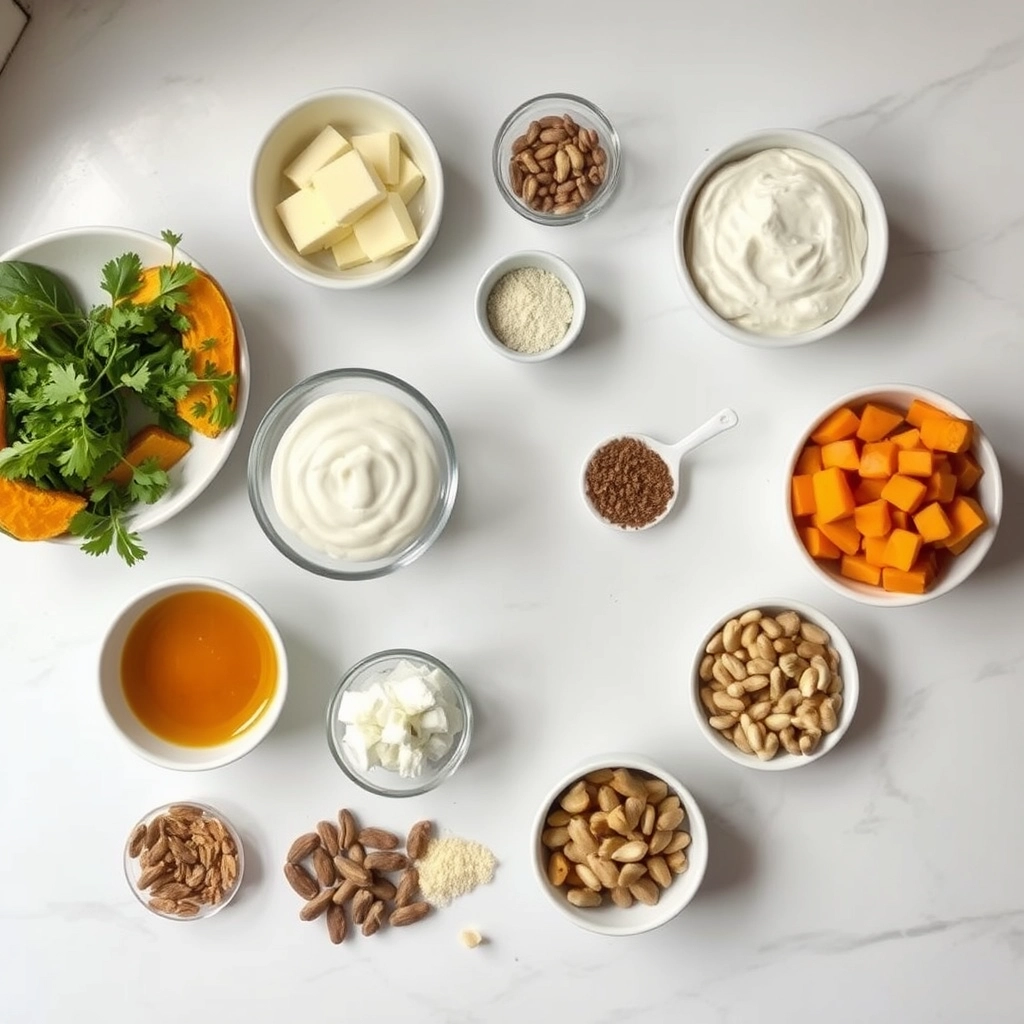
Boosting the flavor
Elevate your Brazilian Coconut Chickpea Curry with a handful of toasted cashews for crunch or a swirl of coconut yogurt for extra creaminess. For a bolder kick, stir in a spoonful of homemade harissa paste or finish with a drizzle of lemony tahini dressing. Fresh mango or pineapple chunks add a tropical twist, while smoked paprika deepens the savory notes. Experiment with fresh herbs like Thai basil or mint for a bright contrast. With these tweaks, you’ll make each spoonful even more unforgettable.

Tips for Success
Best practices for results
Always toast your spices before adding them to the Brazilian Coconut Chickpea Curry—this unlocks their full flavor. Meanwhile, use full-fat coconut milk for the creamiest texture, and simmer the curry uncovered for the last 10 minutes to thicken it perfectly. For extra depth, stir in a splash of lime juice just before serving. Finally, taste and adjust the salt level at the end, as flavors intensify while cooking.
Mistakes to avoid
One common mistake is overcooking the chickpeas, which turns them mushy. Instead, add them later in the process if using canned, or check our guide on how to cook chickpeas perfectly for dried versions. Another error is skipping the fresh cilantro garnish—it brightens the rich flavors of Brazilian Coconut Chickpea Curry. If you’re short on time, prep your ingredients ahead using these meal prep hacks to avoid rushing during cooking.
Serving and Pairing Suggestions
How to serve this dish
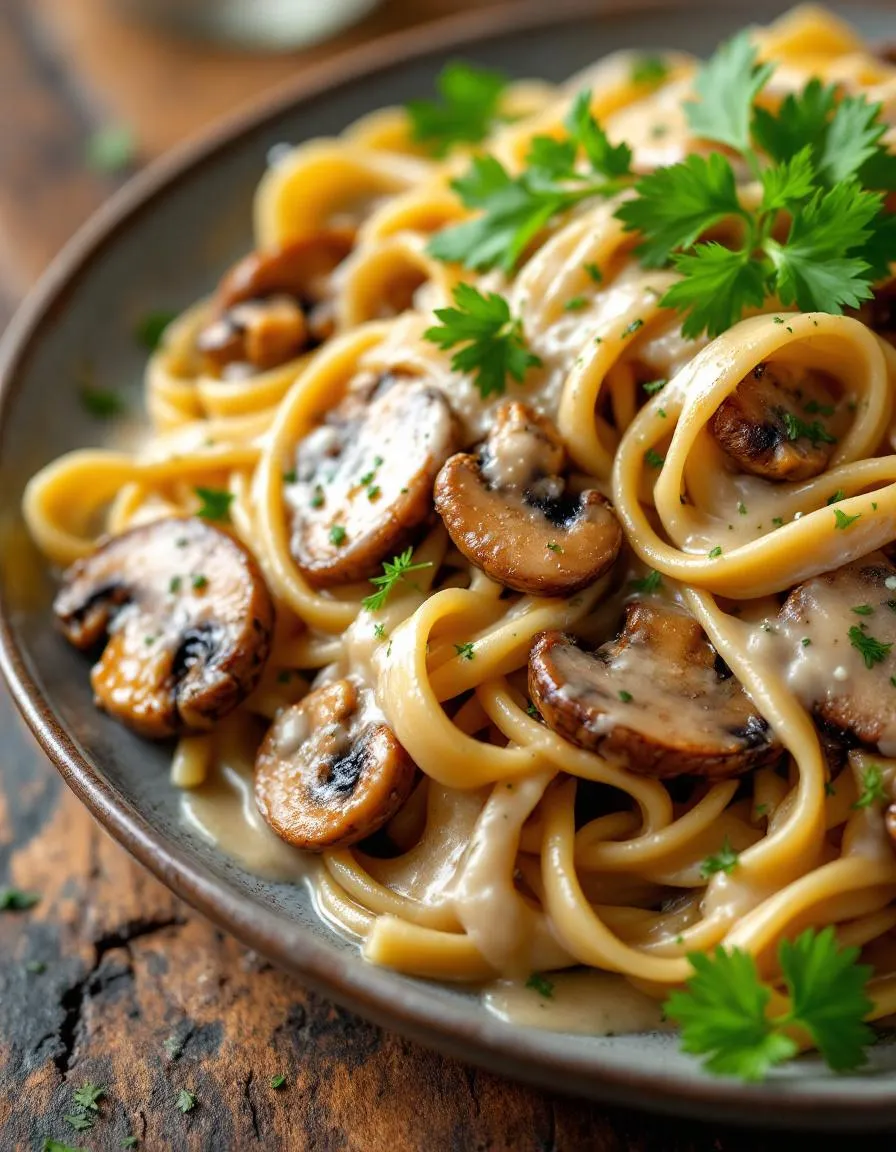
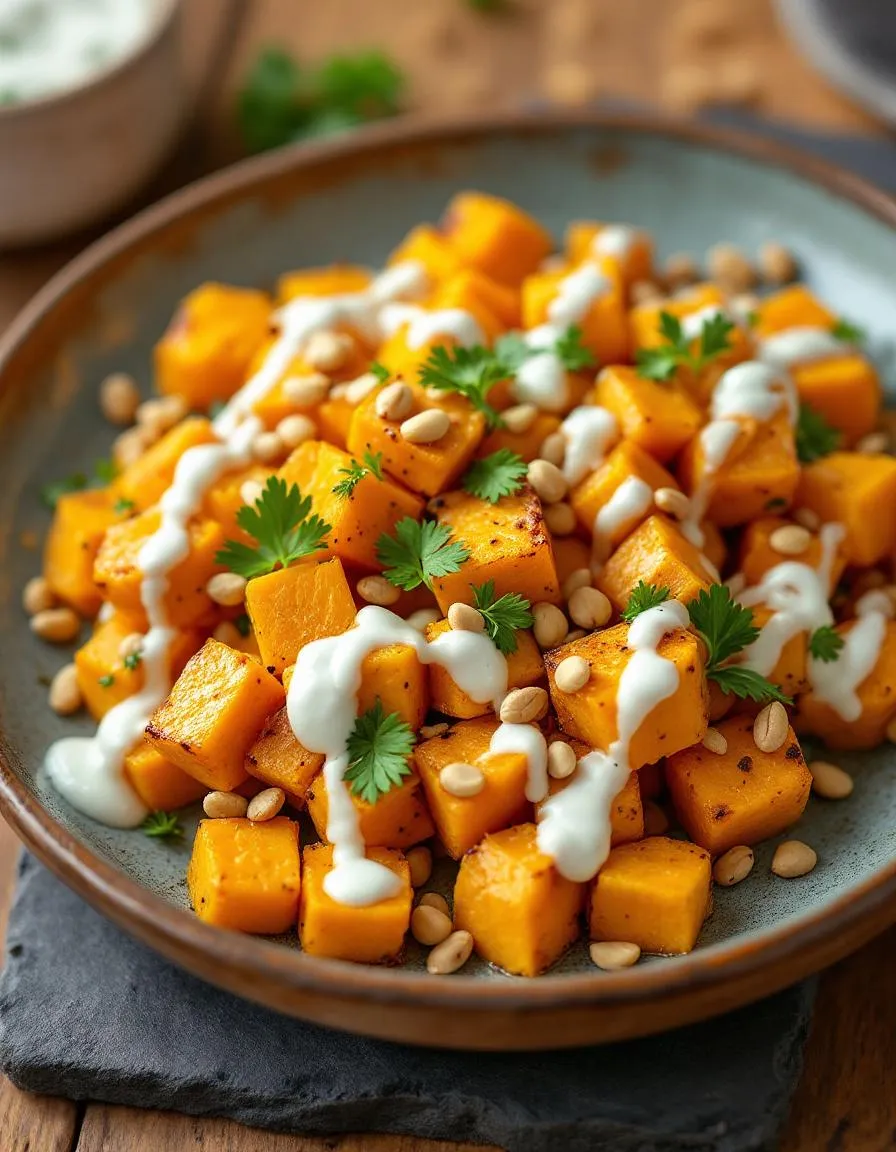
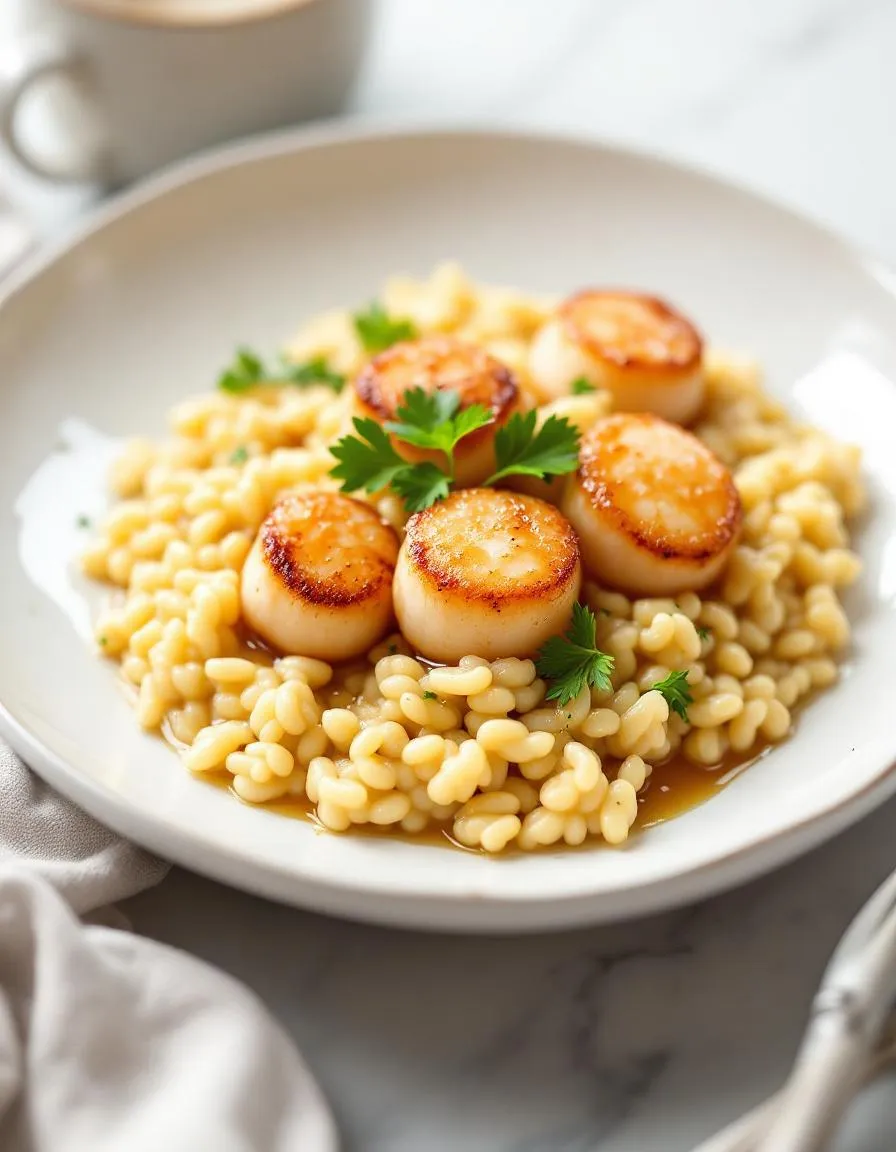
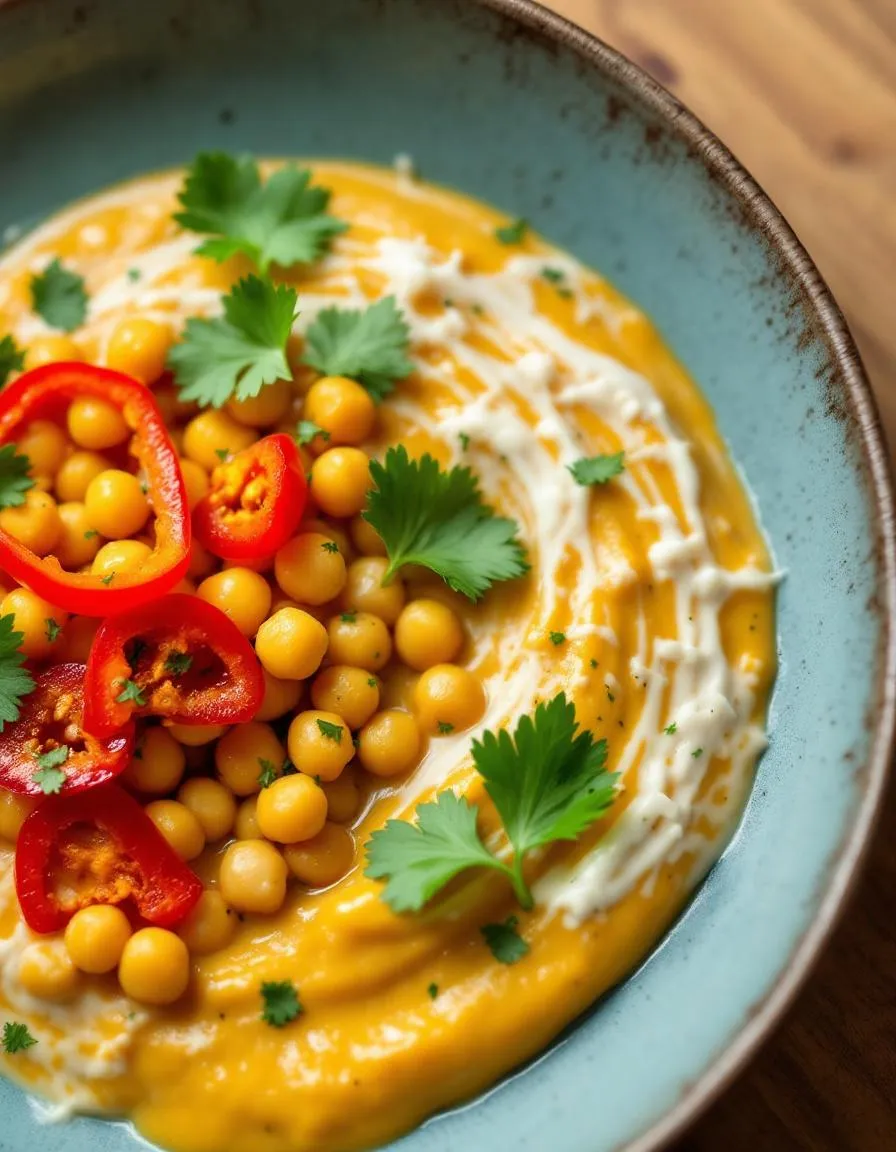
For a vibrant presentation, serve Brazilian Coconut Chickpea Curry in shallow bowls to showcase its rich, creamy texture. Top it with fresh cilantro, lime wedges, and a sprinkle of toasted coconut flakes for added color and crunch. Meanwhile, if you’re hosting a casual gathering, consider setting up a build-your-own bowl station with toppings like diced avocado, pickled red onions, or crispy plantain chips. This dish shines at family dinners, potlucks, or even as a comforting weeknight meal. To make it extra special for holidays, pair it with festive sides like mango salsa or warm pão de queijo.
What goes well with it
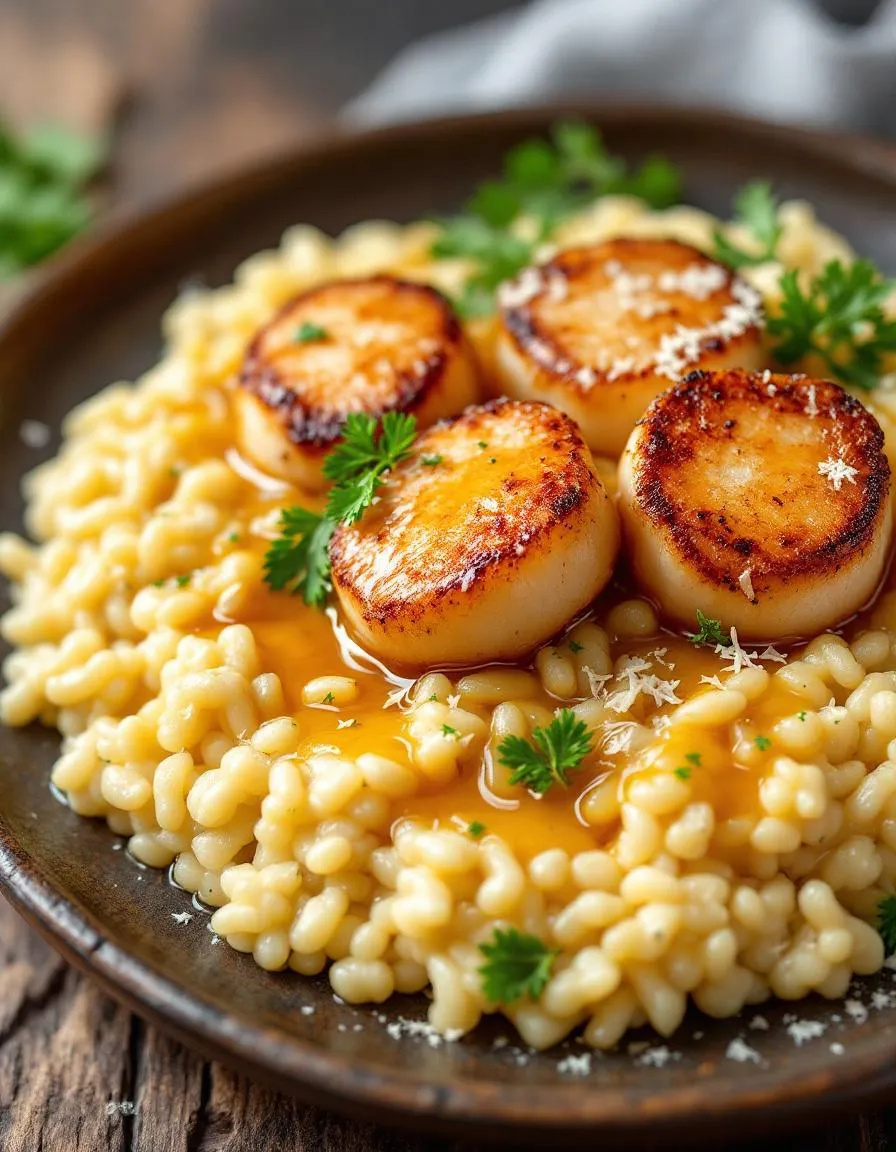
Brazilian Coconut Chickpea Curry pairs beautifully with fluffy jasmine rice or quinoa, which soak up the creamy coconut sauce. For a refreshing contrast, try a crisp cucumber salad or our Brazilian-Style Coleslaw, which adds a tangy crunch. Additionally, a chilled glass of passion fruit iced tea or a light lager balances the curry’s warmth. If you’re craving something heartier, serve it alongside our Garlic Herb Focaccia for dipping into the flavorful sauce.

Yes, Brazilian Coconut Chickpea Curry is naturally vegan as it uses coconut milk, chickpeas, and vegetables as its base. The dish gets its creamy texture from coconut milk instead of dairy, making it perfect for plant-based diets.
Brazilian Coconut Chickpea Curry typically includes cumin, coriander, turmeric, and paprika for warmth and depth. Some variations also add a touch of chili powder or cayenne for extra heat.
Absolutely! Canned chickpeas work perfectly for Brazilian Coconut Chickpea Curry—just rinse and drain them before adding. They save time while still delivering the dish’s signature hearty texture.
Brazilian Coconut Chickpea Curry pairs wonderfully with steamed rice, quinoa, or warm flatbreads. For a fresh contrast, try a side of tropical fruit salad or avocado slices.