Introduction
Hi there! I’m Emily, the heart and soul behind brekcakes.com. From my earliest memories, the kitchen has always been a place of warmth and creativity. It’s where I discovered the magic of turning simple ingredients into extraordinary meals and learned that the best dishes are often made with love as the main ingredient.
If you’ve ever craved a meal that’s both comforting and guilt-free, you’re in the right place. Today, I’m sharing my take on Cauliflower Fried Rice with Crispy Tofu—a dish that proves healthy eating doesn’t mean sacrificing flavor. Whether you’re a busy parent, a fitness enthusiast, or just someone who loves a good stir-fry, this recipe will quickly become a weeknight favorite. Plus, it’s packed with nutrients and easy to customize, so you can make it your own.
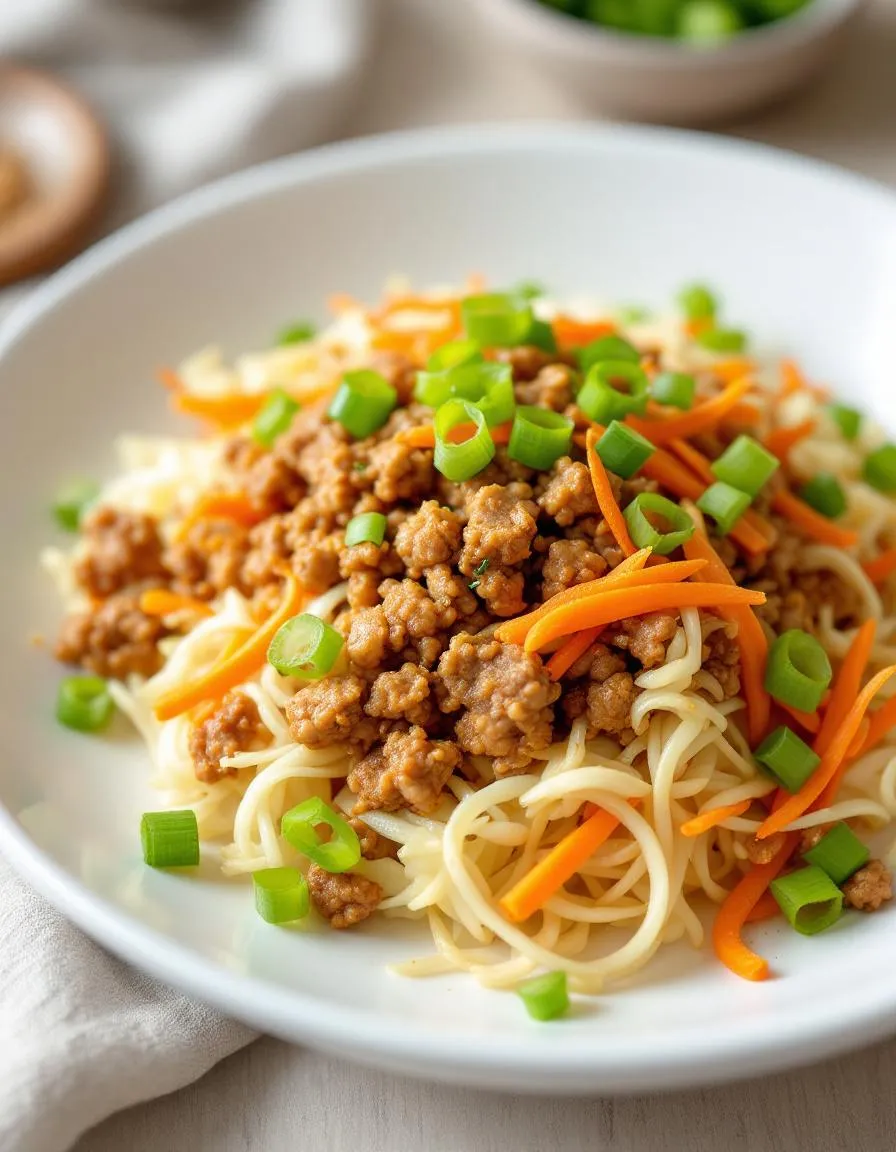
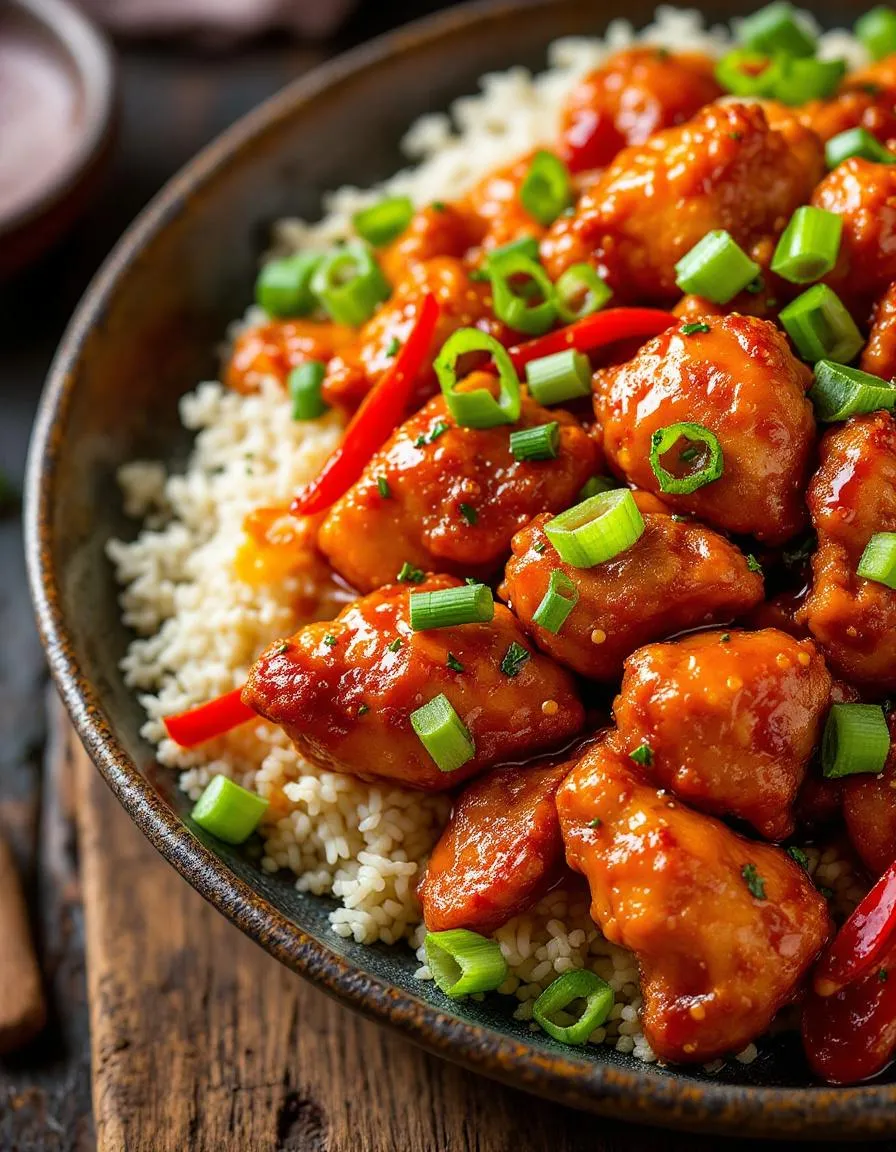
Cauliflower Fried Rice with Crispy Tofu is a modern twist on a classic takeout dish. Instead of rice, we use finely chopped cauliflower for a low-carb, veggie-packed base. The crispy tofu adds a satisfying crunch and plant-based protein, while a mix of fresh vegetables and savory sauces ties everything together. What makes this recipe special is how effortlessly it fits into a balanced lifestyle. It’s quick to prepare, endlessly adaptable, and so delicious that even picky eaters will ask for seconds. If you’re looking for more ways to enjoy cauliflower, check out my roasted cauliflower recipes for extra inspiration. And if you love tofu as much as I do, don’t miss my guide to perfect crispy tofu every time.
Why I Love This Recipe
This dish holds a special place in my heart because it’s the recipe that convinced my family to embrace meatless Mondays. The first time I served Cauliflower Fried Rice with Crispy Tofu, my kids devoured it without realizing it was packed with veggies. Now, it’s our go-to meal when we want something light yet filling. I love how versatile it is—sometimes I’ll add a kick of sriracha, other times I’ll toss in extra mushrooms or snap peas. No matter how I tweak it, the result is always a colorful, flavorful bowl that feels like a hug from the inside.
Health and Nutrition
Why it’s good for your body
Cauliflower Fried Rice with Crispy Tofu packs a powerful nutritional punch while keeping calories in check. First, cauliflower serves as a low-carb, fiber-rich alternative to traditional rice, which helps stabilize blood sugar levels. Additionally, it delivers a hefty dose of vitamins C and K, boosting immunity and bone health. Meanwhile, crispy tofu adds plant-based protein, keeping you full and supporting muscle repair.
Beyond its macro benefits, this dish shines with micronutrients. For instance, the veggies in Cauliflower Fried Rice with Crispy Tofu provide antioxidants that combat inflammation. Turmeric or ginger, often used in the recipe, further enhances its anti-inflammatory properties. Plus, the healthy fats from cooking oils like avocado or sesame oil promote heart health by improving cholesterol levels.
Another advantage? Cauliflower Fried Rice with Crispy Tofu is incredibly versatile. You can load it with colorful veggies like bell peppers or carrots for extra vitamins. The tofu’s iron and calcium content also makes it a smart choice for vegetarians or anyone seeking nutrient-dense meals. Ultimately, this dish proves that eating well doesn’t mean sacrificing flavor or satisfaction.
How it fits in a healthy lifestyle
Cauliflower Fried Rice with Crispy Tofu fits seamlessly into balanced eating habits. Whether you’re gluten-free, vegan, or simply aiming for more whole foods, this dish checks all the boxes. Its high protein and fiber content make it ideal for post-workout recovery or a satisfying lunch that wards off afternoon cravings. For meal preppers, it stores well and reheats beautifully, saving time without compromising nutrition.
If you’re watching your heart health, the minimal saturated fats and cholesterol-free tofu align perfectly with dietary guidelines. Pair it with other heart-smart recipes like our Avocado Toast Variations for a well-rounded approach. And if you’re exploring plant-based eating, this dish complements staples like our Vegan Protein Sources guide. No matter your goal, Cauliflower Fried Rice with Crispy Tofu makes healthy eating deliciously effortless.
PrintCauliflower Fried Rice with Crispy Tofu
Description
A healthy and flavorful twist on classic fried rice, using cauliflower rice and crispy tofu for a satisfying meal.
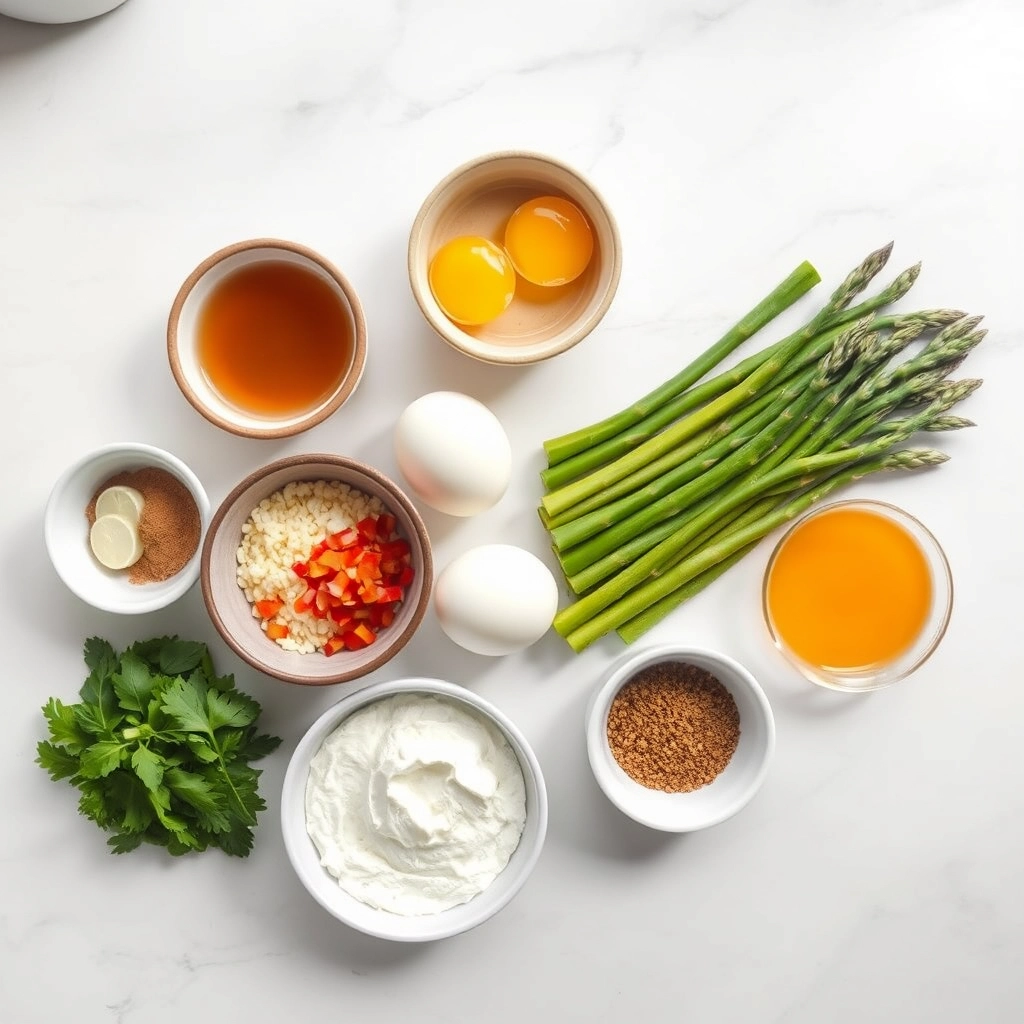
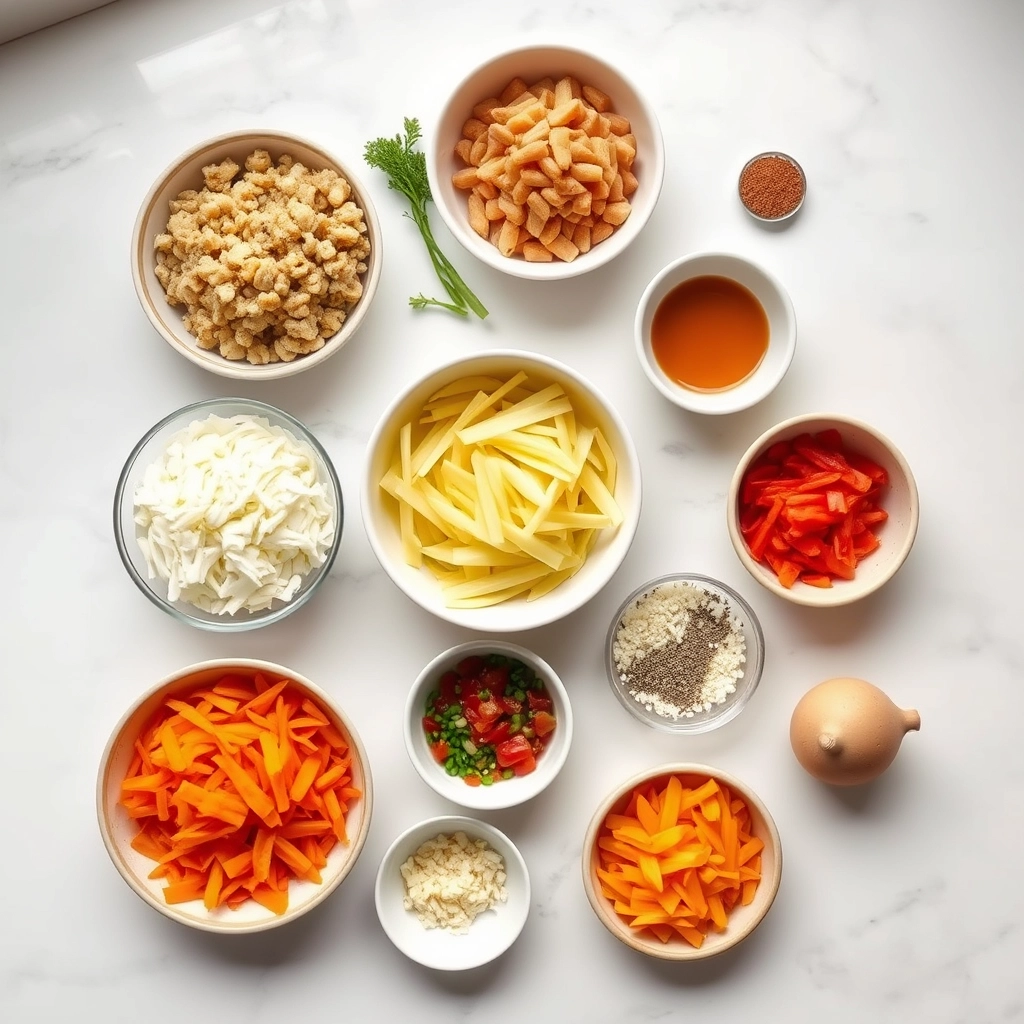
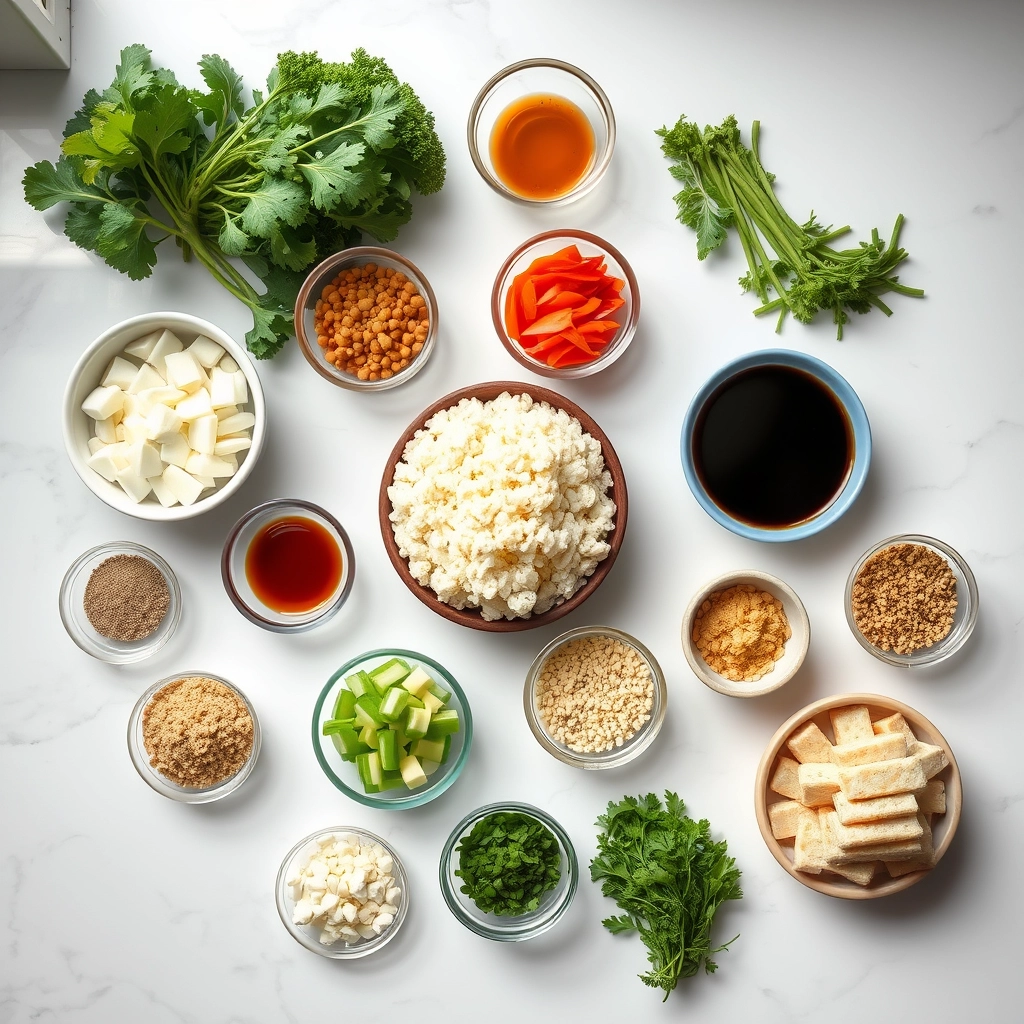
Ingredients
For the Crust:
- 1 medium head cauliflower, grated into rice
- 14 oz firm tofu, pressed and cubed
- 2 tbsp soy sauce
- 1 tbsp sesame oil
- 2 cloves garlic, minced
- 1 small onion, diced
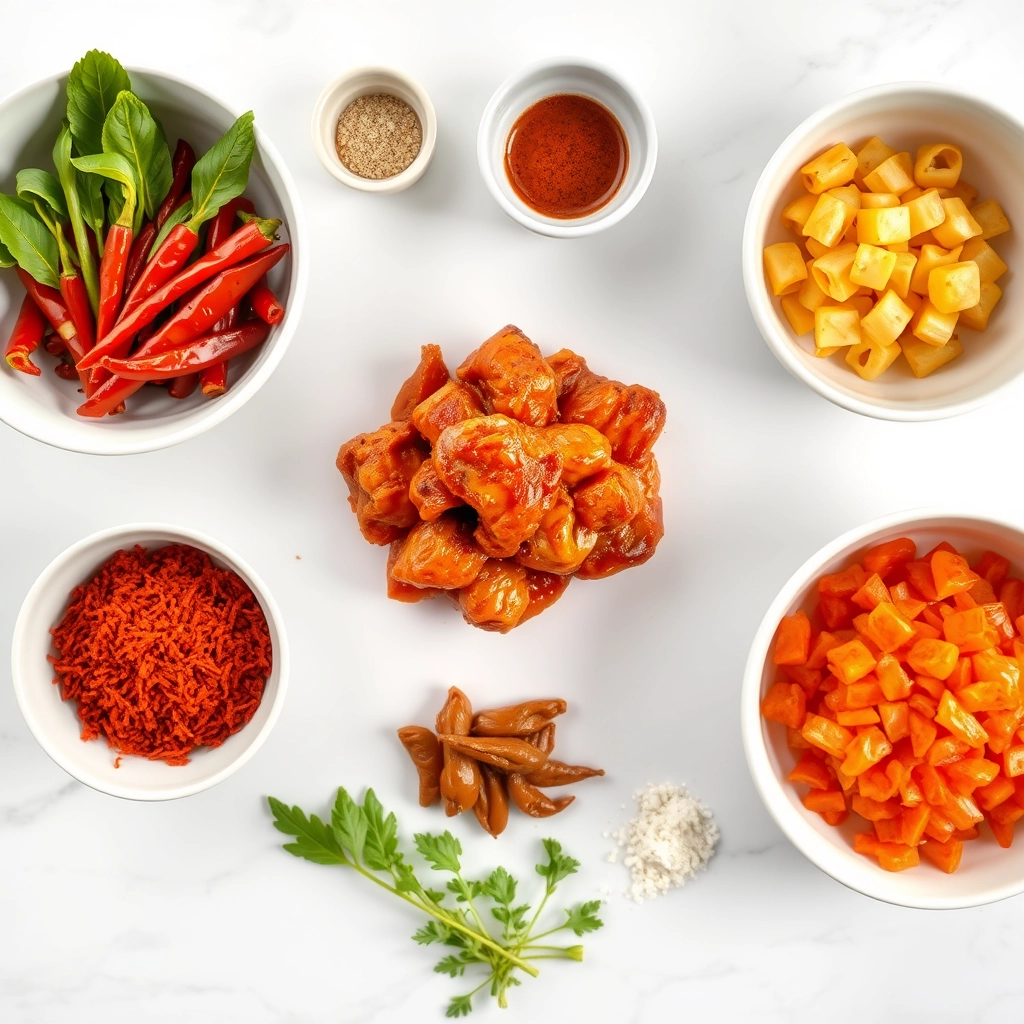
- 1 cup mixed vegetables (carrots, peas, bell peppers)
- 2 eggs, beaten
- 1 tbsp olive oil
- 1 tsp ginger, grated
- 1/4 tsp red pepper flakes (optional)
Instructions
1. Prepare the Crust:
- Heat olive oil in a large pan over medium heat. Add tofu cubes and cook until golden and crispy, about 8-10 minutes. Remove and set aside.
- In the same pan, add sesame oil, garlic, ginger, and onion. Sauté for 2 minutes until fragrant.
- Add mixed vegetables and cook for another 3-4 minutes until tender.
- Push vegetables to one side of the pan and pour beaten eggs into the empty space. Scramble until cooked, then mix with vegetables.
- Add cauliflower rice and soy sauce. Stir-fry for 5-6 minutes until cauliflower is tender.
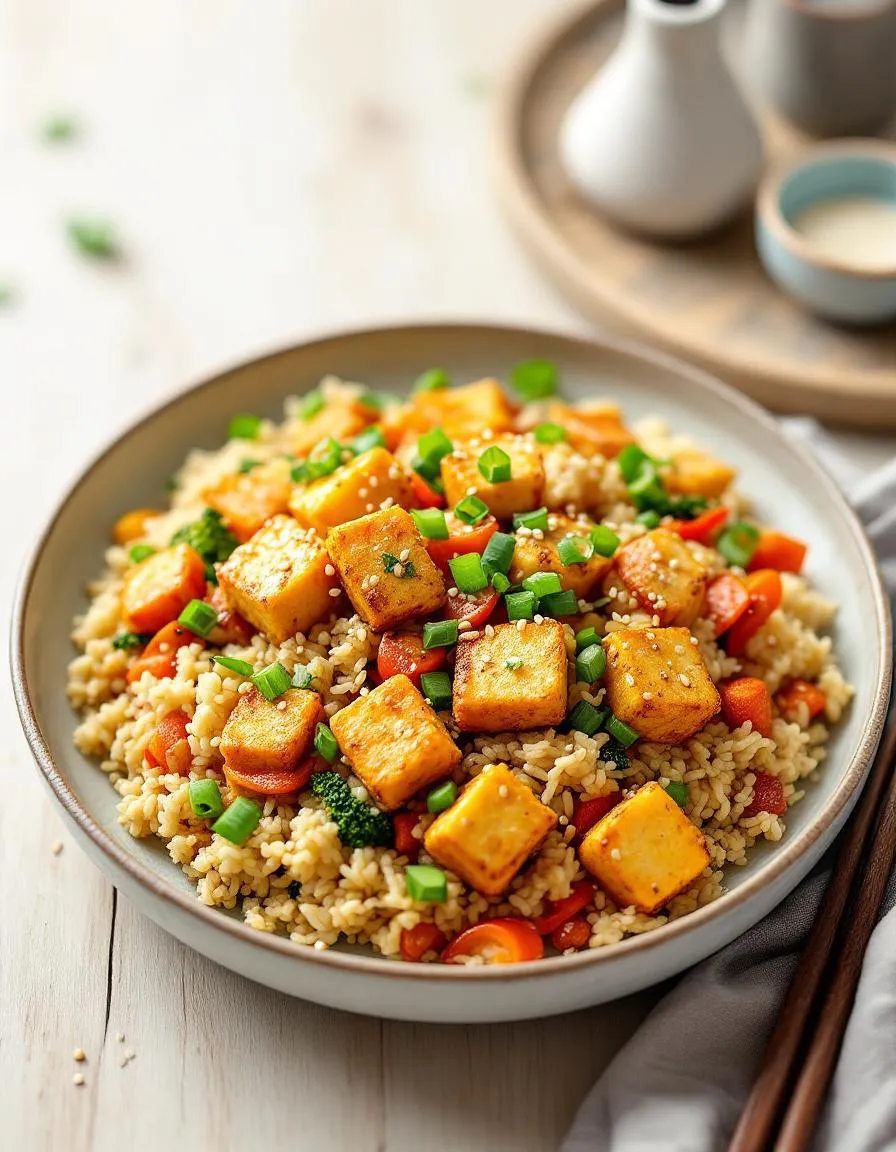
- Return crispy tofu to the pan, add red pepper flakes if using, and toss everything together. Serve hot.
Notes
You can customize the seasonings to taste.
How to Prepare This Dish
Steps and time-saving tips
Start by pressing the tofu to remove excess moisture, which helps it crisp up beautifully. While the tofu drains, pulse the cauliflower in a food processor until it resembles rice grains—this takes just a few seconds. Heat a large skillet over medium-high and drizzle in oil, then add the tofu cubes in a single layer. Let them sizzle undisturbed for 3-4 minutes per side until golden. Meanwhile, whisk together the sauce ingredients—soy sauce, sesame oil, and a touch of maple syrup—for a balanced flavor. Remove the tofu and set it aside, then toss the cauliflower rice into the same skillet. Stir-fry it for 5-6 minutes until tender but not mushy. Push the cauliflower to one side, crack in the eggs, and scramble them quickly before mixing everything together. Finally, fold in the crispy tofu and drizzle the sauce over the top. Garnish with green onions and sesame seeds for a fresh finish. To save time, prep the sauce and chop veggies ahead, or use pre-riced cauliflower from the freezer aisle.
Mistakes I’ve made and learned from
I used to overcrowd the skillet with tofu, which steamed instead of crisping—now I cook it in batches for perfect texture. Another blunder? Skipping the tofu press. Soggy tofu made the dish limp, but my trusty tofu pressing guide saved the day. I also learned the hard way that overcooking cauliflower rice turns it watery. After testing, I found the sweet spot at 5-6 minutes, as detailed in my cauliflower rice tutorial. These tweaks transformed my Cauliflower Fried Rice with Crispy Tofu from mediocre to restaurant-worthy.
Cultural Connection and Variations
Where this recipe comes from
Cauliflower Fried Rice with Crispy Tofu might feel like a modern twist, but its roots stretch across continents. Traditionally, fried rice began as a clever way to use leftovers in Chinese cuisine, often featuring day-old rice and whatever veggies were on hand. Meanwhile, tofu has been a staple in East Asian diets for centuries, prized for its versatility. Combine these ideas, swap rice for cauliflower, and you get a dish that honors tradition while embracing today’s love for low-carb options.
In Southeast Asia, you’ll find similar stir-fries with tofu, but they might include fish sauce or shrimp paste for depth. In my family, we add a splash of coconut aminos for a gluten-free kick. Some versions toss in pineapple for sweetness, while others keep it savory with mushrooms and bok choy. No matter the variation, Cauliflower Fried Rice with Crispy Tofu always feels like a celebration of resourcefulness—turning simple ingredients into something crave-worthy.
How it fits in today’s cooking
Today, Cauliflower Fried Rice with Crispy Tofu fits perfectly into busy weeknights and mindful eating alike. It’s a go-to for meal preppers, offering a veggie-packed alternative to takeout. Plus, it’s a hit with plant-based eaters, proving you don’t need meat for bold flavor. Many cooks tweak it seasonally—adding spring peas or winter squash—just like they might with our gluten-free pancakes for a morning twist.
It’s also a star at potlucks, where dietary restrictions often collide. Whether you’re serving it alongside healthy banana bread or as a standalone dish, it bridges the gap between comfort food and clean eating. Best of all, it’s adaptable. Swap tofu for tempeh, or throw in a handful of cashews for crunch. However you make it, this dish proves that tradition and innovation can share a skillet.
Taste and Texture
What makes it delicious
Cauliflower Fried Rice with Crispy Tofu delivers a satisfying crunch and savory depth in every bite. The cauliflower rice soaks up the umami-rich soy sauce and garlic, while the crispy tofu adds a golden, chewy contrast. Fresh scallions and ginger lend a bright, fragrant kick, balancing the dish’s hearty flavors. Meanwhile, toasted sesame oil ties everything together with its nutty aroma. Whether you savor the tender veggies or the protein-packed tofu, Cauliflower Fried Rice with Crispy Tofu feels light yet deeply comforting.
Boosting the flavor
For extra flair, toss in a handful of roasted cashews or peanuts for buttery crunch. Alternatively, drizzle with spicy mayo to add a creamy, tangy heat. If you love bold flavors, double the garlic or sprinkle with furikake seasoning. Pair it with a side of quick-pickled vegetables for a refreshing contrast. With these tweaks, Cauliflower Fried Rice with Crispy Tofu becomes even more irresistible.
Tips for Success
Best practices for results
Always squeeze excess moisture from the cauliflower rice before cooking to prevent a soggy texture. Meanwhile, press the tofu for at least 15 minutes to ensure it crisps perfectly. For the best flavor, toast the sesame oil lightly before adding other ingredients. Additionally, cook the Cauliflower Fried Rice with Crispy Tofu on high heat to achieve that signature wok-charred taste. Finally, taste and adjust seasoning just before serving for balanced results every time.
Mistakes to avoid
Avoid overcrowding the pan when frying the tofu, as this steams it instead of crisping it. Instead, cook in batches if needed. Many cooks also skip preheating the pan, which leads to uneven cooking. For perfectly crispy tofu, check out our guide on crispy tofu secrets. Another common error is overcooking the cauliflower rice, which turns it mushy. Stir frequently and remove it from heat while still slightly firm. For more on texture control, explore our tips for perfect veggie stir-fry.
Serving and Pairing Suggestions
How to serve this dish
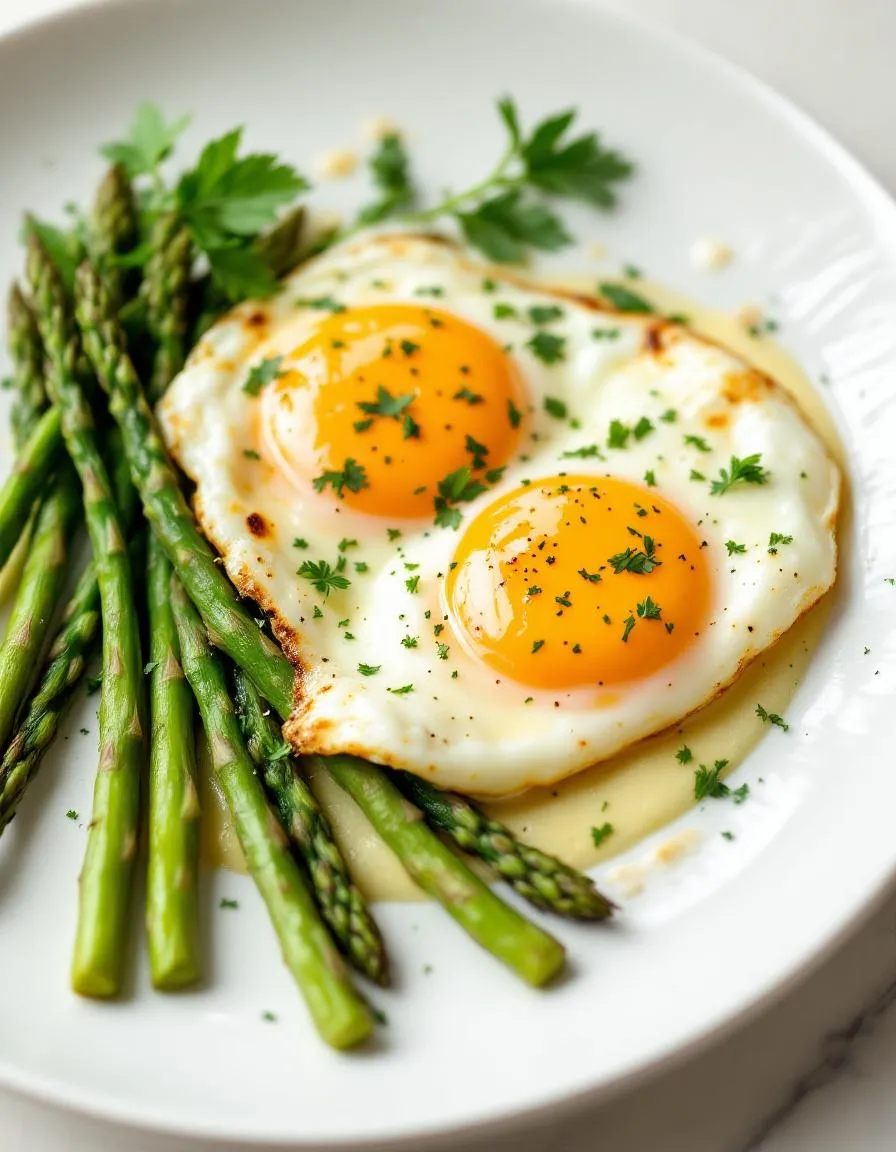
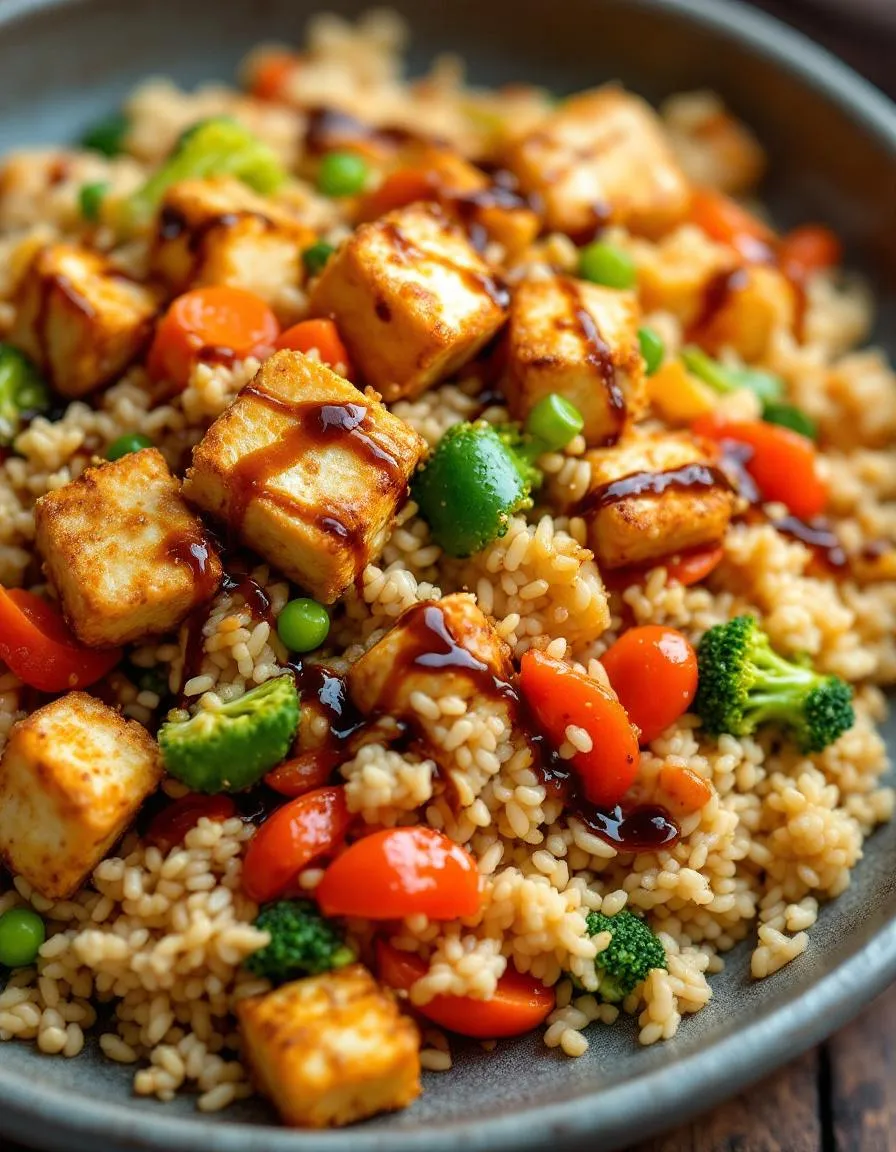
For a vibrant presentation, scoop Cauliflower Fried Rice with Crispy Tofu into a shallow bowl and top with extra tofu crumbles, sliced green onions, or a sprinkle of sesame seeds. Alternatively, serve it family-style on a large platter for gatherings, letting everyone help themselves. This dish shines at weeknight dinners, but you can also elevate it for brunch by adding a fried egg on top. To make it extra inviting, drizzle with sriracha or a squeeze of lime right before serving.
What goes well with it
Pair Cauliflower Fried Rice with Crispy Tofu with a crisp, citrusy white wine like Sauvignon Blanc to balance its savory notes. For a non-alcoholic option, try a refreshing ginger iced tea, which enhances the dish’s subtle spice. If you’re serving it as part of a larger spread, consider adding our Spicy Cucumber Salad for a cool contrast or our Garlic Miso Soup for a cozy, umami-rich starter. Each pairing brings out the best in this flavorful, veggie-packed meal.

Yes, cauliflower fried rice with crispy tofu is a nutritious alternative to traditional fried rice. The cauliflower provides fiber and vitamins, while tofu adds plant-based protein. This dish is lower in carbs and calories, making it a great option for a balanced meal.
To make crispy tofu, press the tofu to remove excess moisture, then cube and toss it in cornstarch or arrowroot powder. Pan-fry in oil over medium-high heat until golden and crisp. Adding it to cauliflower fried rice gives the dish a satisfying crunch.
You can freeze cauliflower fried rice, but it’s best to store the crispy tofu separately. The tofu may lose its crispiness when reheated. For best results, prepare the tofu fresh and add it to the reheated cauliflower fried rice before serving.
Tamari, coconut aminos, or a spicy sriracha mayo pair perfectly with cauliflower fried rice and crispy tofu. For an umami boost, try a drizzle of hoisin or a squeeze of lime. These sauces enhance the flavors without overpowering the dish.