Introduction
Hi there! I’m Emily, the heart and soul behind brekcakes.com. From my earliest memories, the kitchen has always been a place of warmth and creativity. It’s where I discovered the magic of turning simple ingredients into extraordinary meals and learned that the best dishes are often made with love as the main ingredient.
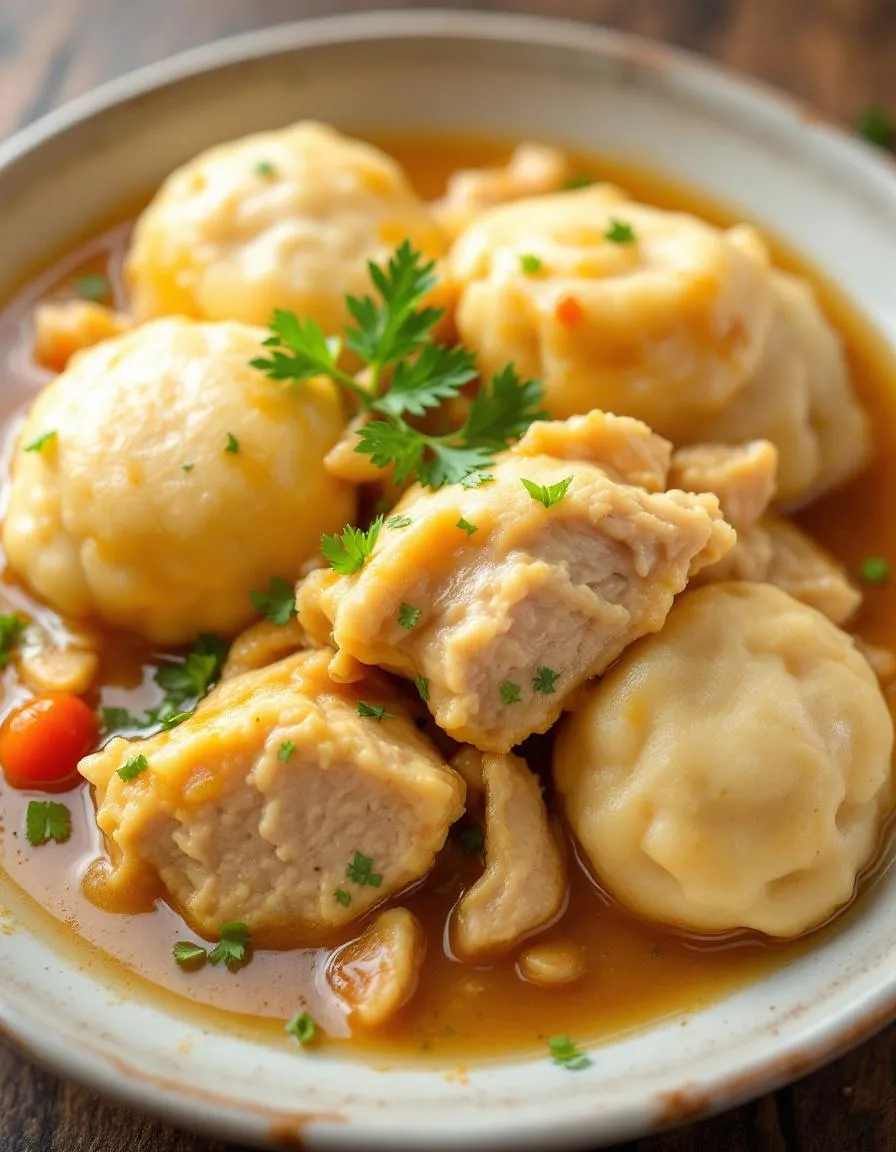
There’s something undeniably comforting about a bowl of Chicken and Dumplings. Whether you’re craving a taste of nostalgia or need a hearty meal to warm you up on a chilly evening, this classic dish delivers every time. Moreover, it’s a recipe that brings people together, just like the comfort food classics I grew up with. If you’ve ever longed for a dish that feels like a hug from the inside, Chicken and Dumplings is your answer.
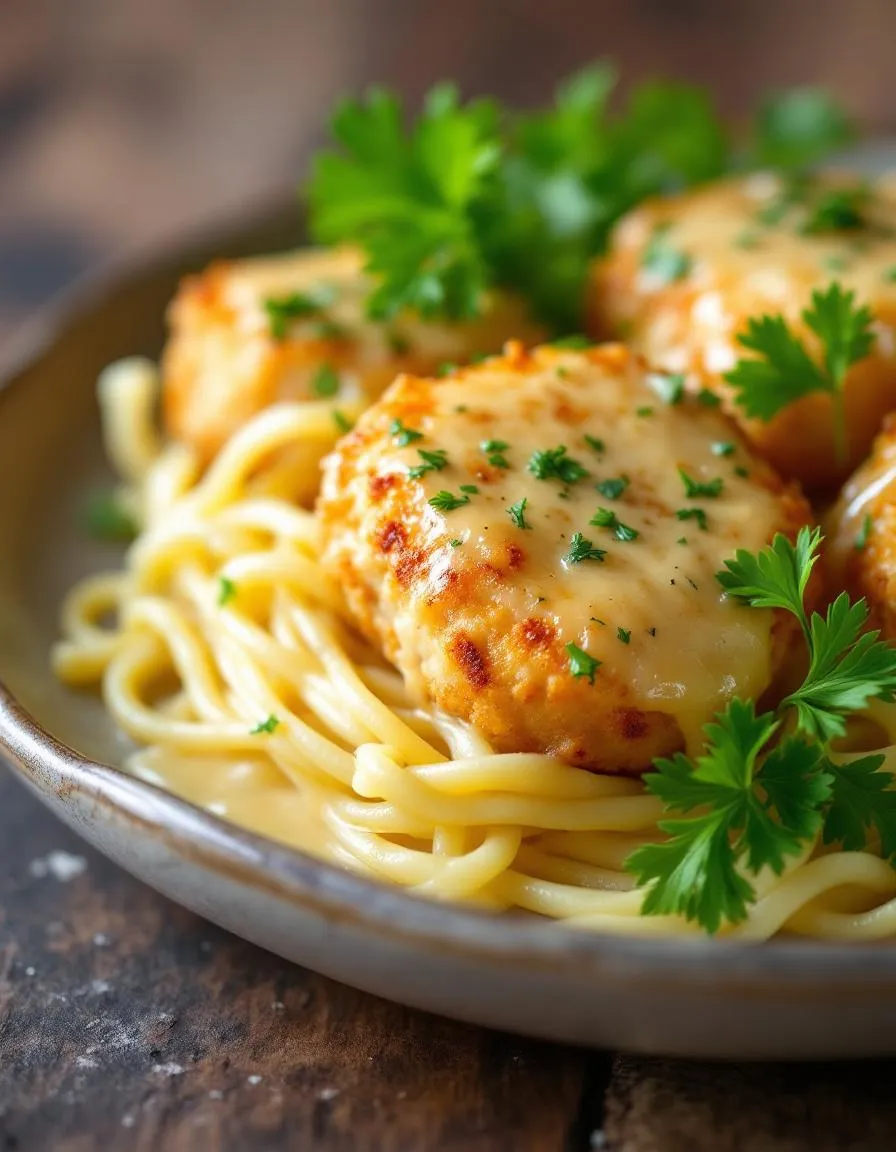
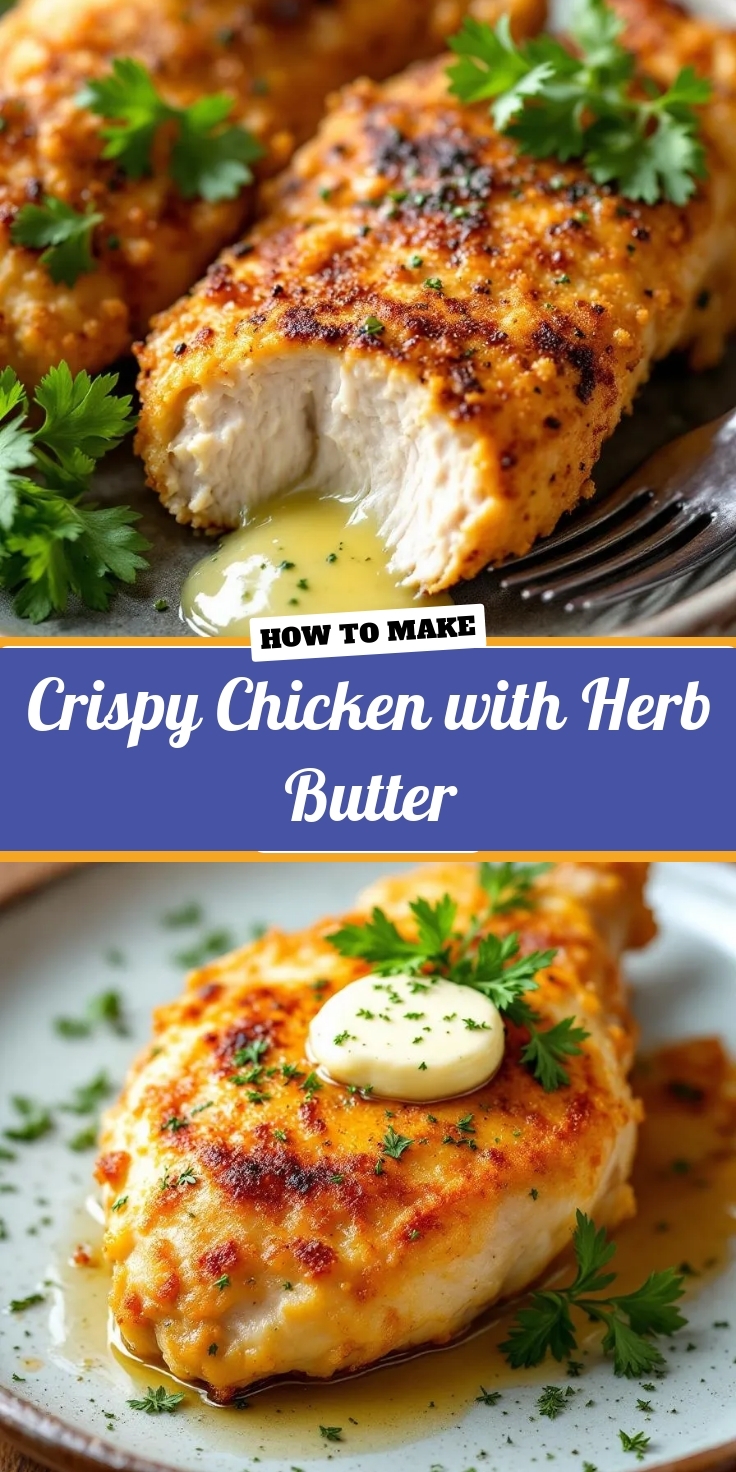
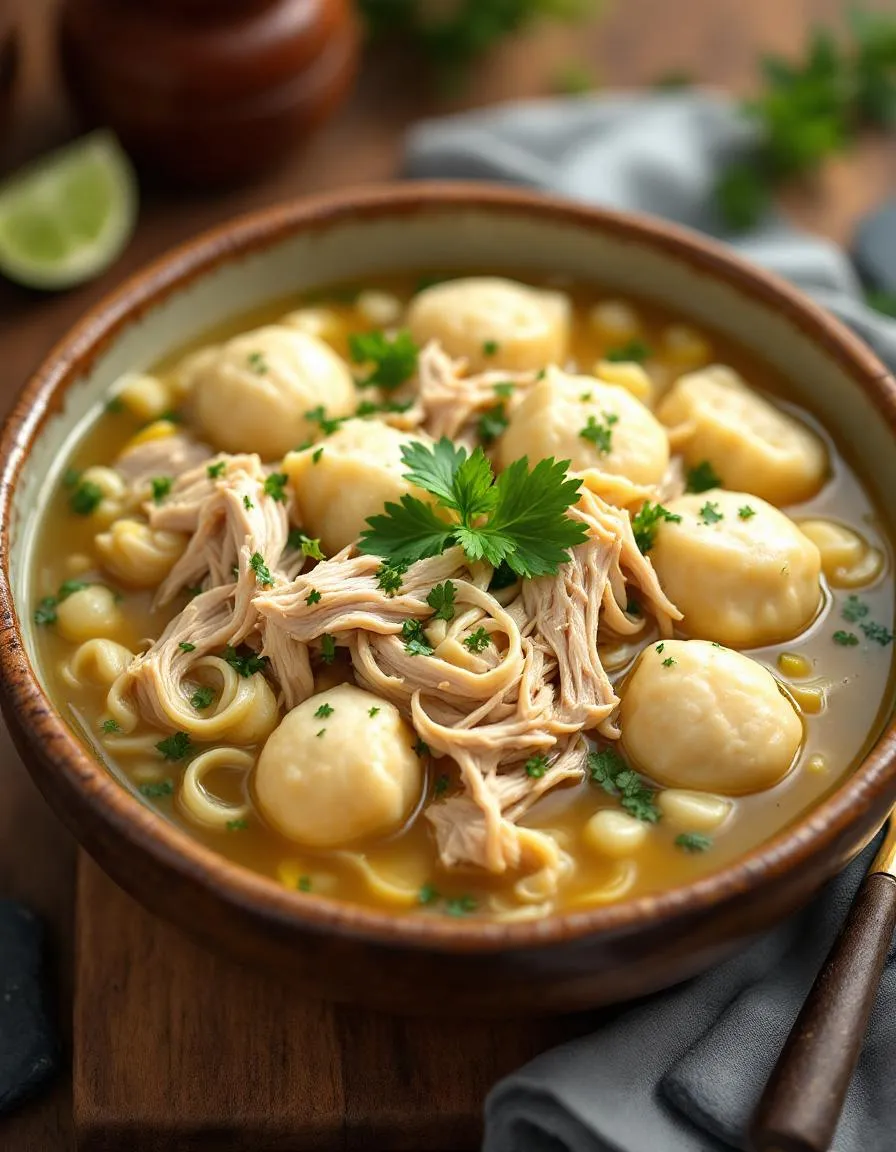
Chicken and Dumplings is a timeless comfort dish featuring tender chicken, savory broth, and fluffy dumplings that melt in your mouth. Originating from Southern cuisine, it has become a beloved staple across the U.S. because of its simplicity and heartwarming flavors. What makes it special is its versatility. You can tweak the recipe to suit your taste, whether you prefer creamy broth or a lighter version. Additionally, it’s a fantastic way to use leftover chicken, making it both economical and delicious. At brekcakes.com, we celebrate recipes like this—ones that blend tradition with practicality. For more inspiration, check out our guide to easy weeknight dinners that save time without sacrificing flavor.
Why I Love This Recipe
Chicken and Dumplings holds a special place in my heart because it reminds me of Sunday dinners with my grandmother. She taught me that the secret to perfect dumplings lies in patience—letting them steam just long enough to become pillowy-soft. Every time I make this dish, I feel her presence in the kitchen, guiding my hands. It’s more than just food. It’s a connection to the past and a way to create new memories with the people I love.
Health and Nutrition
Why it’s good for your body
Chicken and Dumplings delivers a comforting yet nutritious meal packed with essential nutrients. First, the chicken provides lean protein, which helps build and repair muscles while keeping you full longer. Additionally, the vegetables often included in the broth, like carrots and celery, add fiber and vitamins to support digestion and immunity.
Moreover, Chicken and Dumplings offers a balanced mix of macronutrients. The dumplings contribute carbohydrates for energy, while the broth hydrates and provides electrolytes. Furthermore, the dish contains healthy fats from the chicken skin or added butter, which aid in nutrient absorption and brain function.
Finally, Chicken and Dumplings can boost your mood and overall well-being. The warmth and richness of the broth soothe the senses, while the protein and carbs work together to stabilize blood sugar. Whether you need a post-workout meal or a cozy dinner, this dish nourishes both body and soul.
How it fits in a healthy lifestyle
Chicken and Dumplings fits perfectly into a balanced diet when prepared mindfully. For a high-protein version, use extra chicken and whole-wheat dumplings. If you prefer gluten-free, swap traditional flour for almond or oat flour in the dumplings. The dish also works well for meal prep, as you can store leftovers for quick, wholesome lunches.
To keep it heart-healthy, opt for low-sodium broth and lean chicken breast. Pair it with a side of steamed greens for extra fiber, like in our healthy side dishes guide. For those tracking macros, Chicken and Dumplings can be adjusted to fit your goals—just tweak the dumpling size or broth thickness. Check out our meal prep tips to make this classic dish even more convenient for busy weeks.
PrintChicken and Dumplings
Description
A comforting and hearty dish featuring tender chicken and fluffy dumplings in a savory broth.
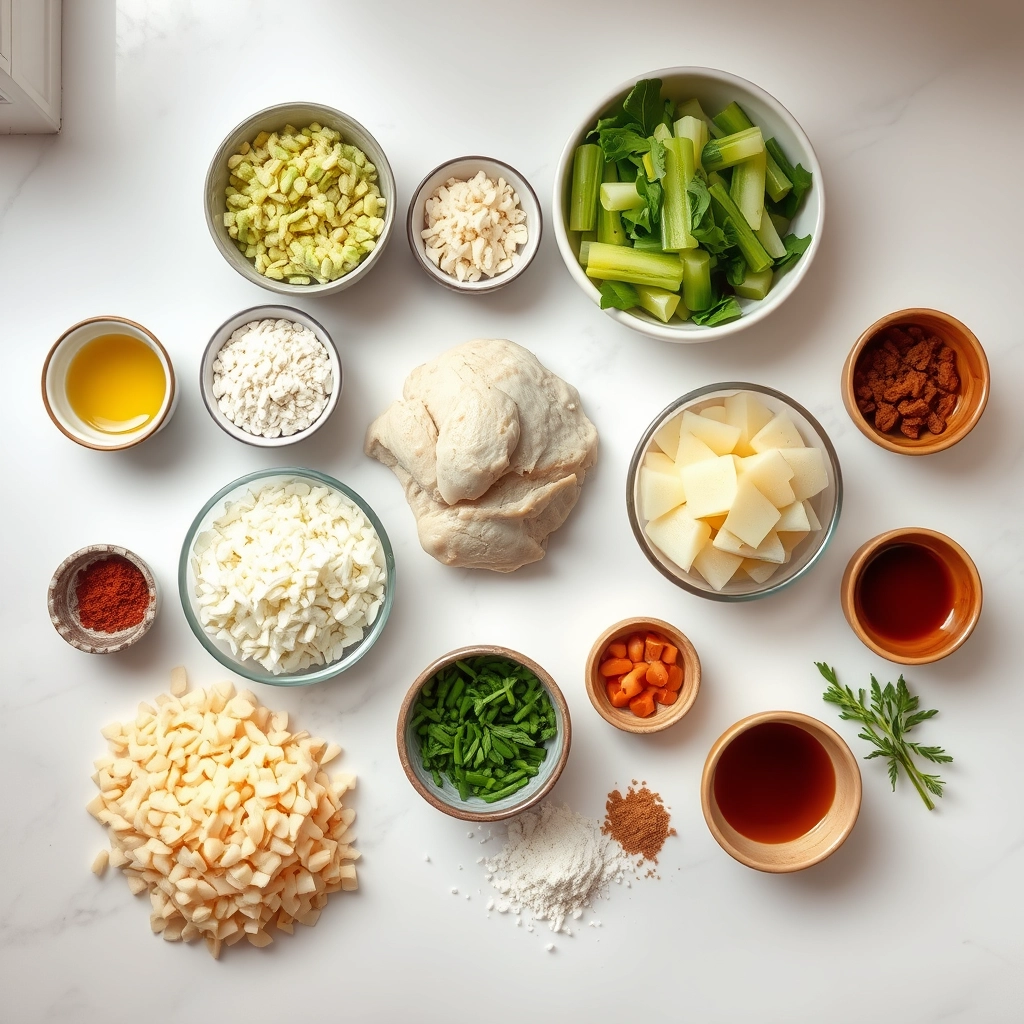
Ingredients
For the Crust:
- 2 lbs boneless, skinless chicken thighs
- 4 cups chicken broth
- 1 cup all-purpose flour
- 1/2 cup milk
- 1 tsp baking powder
- 1/2 tsp salt
- 1/4 tsp black pepper
- 1 medium onion, diced
- 2 carrots, sliced
- 2 celery stalks, sliced
- 2 tbsp butter
- 1 tsp dried thyme
Instructions
1. Prepare the Crust:
- In a large pot, melt butter over medium heat. Add onion, carrots, and celery. Cook until softened, about 5 minutes.
- Add chicken thighs and chicken broth. Bring to a boil, then reduce heat and simmer for 20 minutes until chicken is cooked through.
- While chicken cooks, prepare dumplings: mix flour, baking powder, salt, and pepper in a bowl. Stir in milk until a dough forms.
- Remove chicken from pot and shred. Return shredded chicken to the pot.
- Drop spoonfuls of dumpling dough into the simmering broth. Cover and cook for 10 minutes until dumplings are fluffy.
Notes
You can customize the seasonings to taste.
How to Prepare This Dish
Steps and time-saving tips
Start by heating a large pot over medium heat and adding a drizzle of olive oil. Once hot, toss in diced onions, carrots, and celery, stirring until they soften. Next, add bite-sized pieces of chicken and cook until lightly browned. Sprinkle flour over the mixture and whisk quickly to avoid lumps. Gradually pour in chicken broth while stirring to create a smooth base for your Chicken and Dumplings. Bring the broth to a gentle simmer, then reduce the heat and let it thicken slightly while you prepare the dumplings.
For the dumplings, mix flour, baking powder, and a pinch of salt in a bowl. Cut in cold butter until the mixture resembles coarse crumbs, then stir in milk just until combined. Drop spoonfuls of the dough onto the simmering broth, spacing them evenly. Cover the pot and let the dumplings steam for about 15 minutes without peeking—this ensures they cook through evenly. If you’re short on time, use pre-made biscuit dough instead, tearing it into small pieces before adding it to the pot. Once the dumplings are fluffy and cooked, garnish with fresh parsley and serve hot.
Mistakes I’ve made and learned from
Early on, I rushed the broth and ended up with a thin, watery base for my Chicken and Dumplings. Now, I always let it simmer longer to develop depth and richness. Another mistake? Overmixing the dumpling dough, which made them dense instead of light. A gentle hand makes all the difference. If you’re new to dumplings, check out my guide on perfect dumplings every time for foolproof tips. Also, I once skipped resting the dough, but letting it sit for 5 minutes before dropping it into the broth helps the texture. For more on balancing flavors, see my soup seasoning secrets to avoid bland results.
Cultural Connection and Variations
Where this recipe comes from
Chicken and Dumplings carries a rich history, blending practicality with comfort. Southern U.S. kitchens often claim it as a staple, where cooks simmer tender chicken in a savory broth before dropping fluffy dumplings on top. However, this dish isn’t confined to one region. In parts of Europe, like Hungary, you might find a heartier version with spiced dumplings, while some Asian variations swap the dough for steamed buns. Even within families, recipes shift—some prefer flat, noodle-like dumplings, while others swear by pillowy clouds.
Seasonally, Chicken and Dumplings shines in cooler months, wrapping you in warmth like a culinary hug. My grandmother made it during holidays, always adding a pinch of thyme for extra depth. Today, home cooks might tweak it with gluten-free flour or slow-cooker shortcuts, but the soul of the dish remains. Whether served at a Sunday supper or a weeknight pick-me-up, Chicken and Dumplings bridges generations and geographies with every bite.
How it fits in today’s cooking
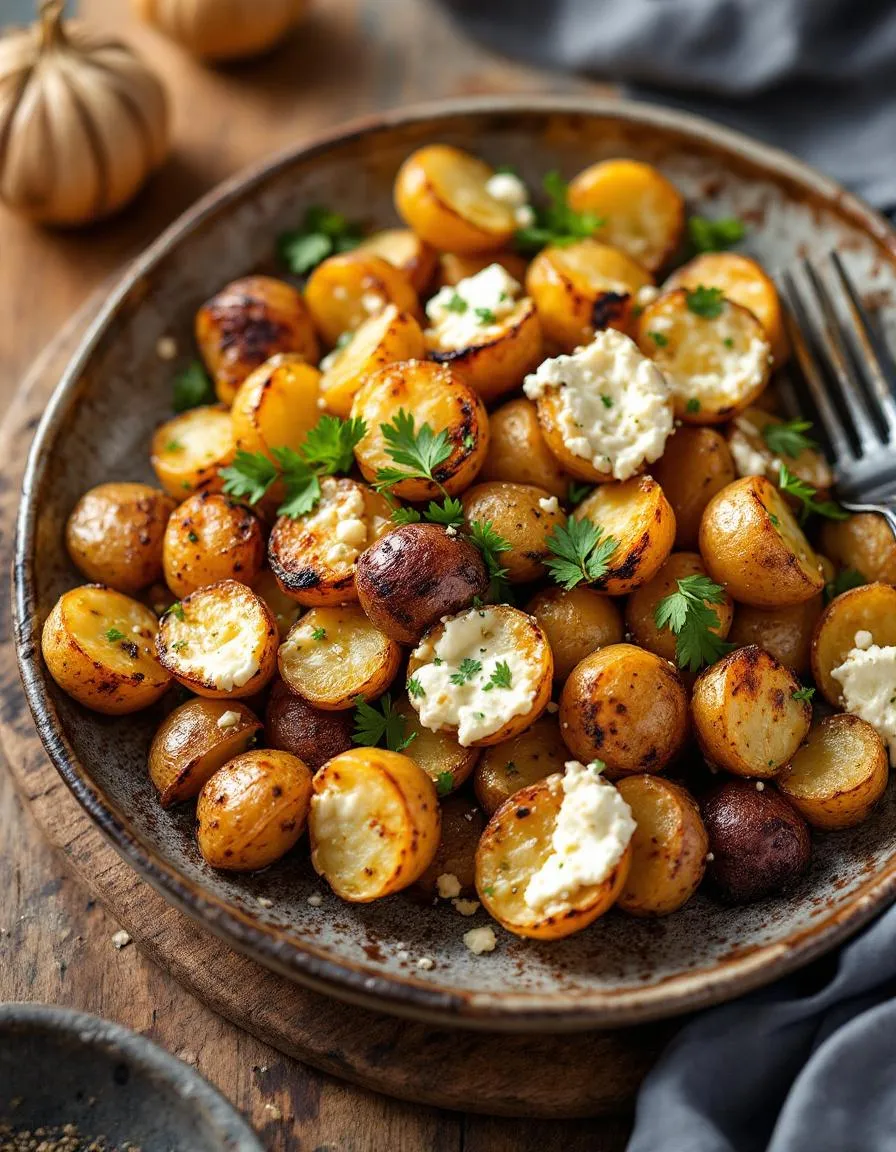
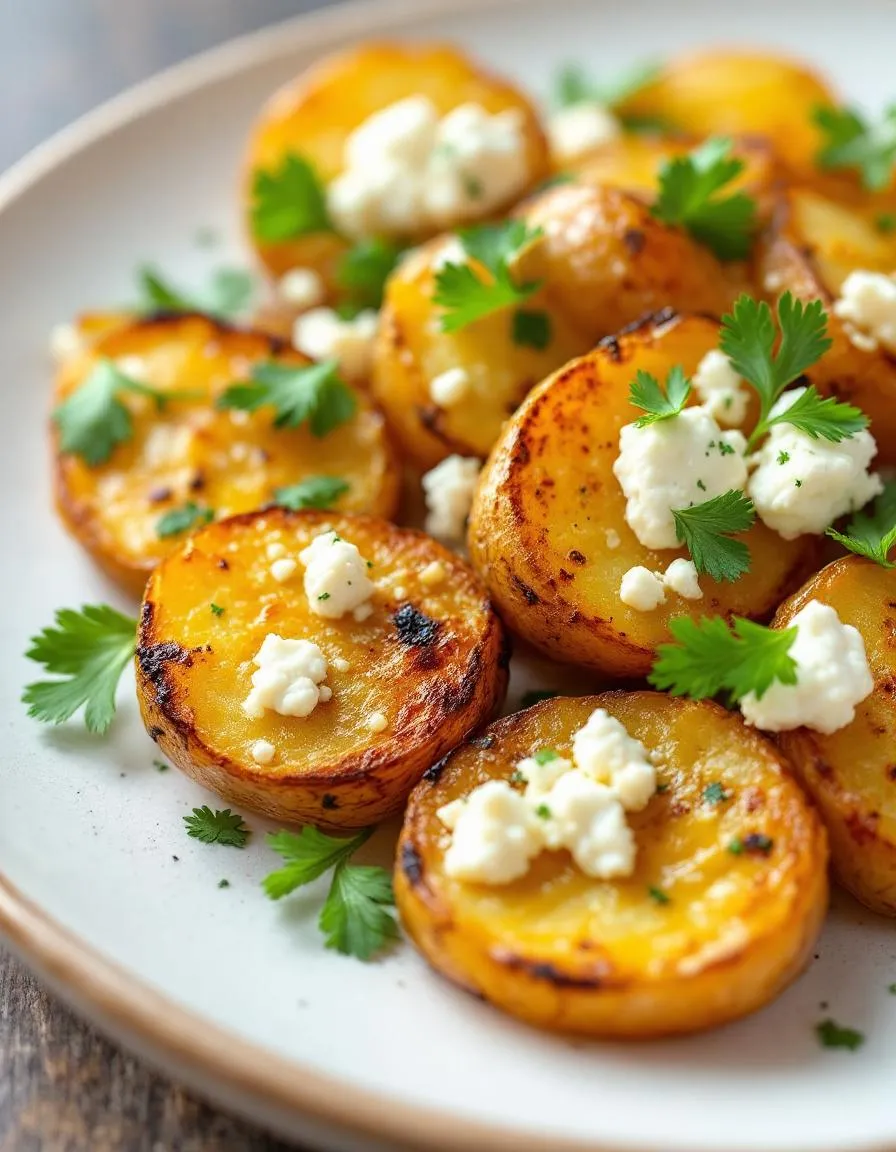
Modern kitchens still embrace Chicken and Dumplings for its versatility and nostalgia. Busy cooks lean on Instant Pots to cut time, while others spotlight local ingredients, like farm-fresh herbs. It’s a star at potlucks and holiday tables, especially when paired with sides like garlic herb roasted potatoes. Even meal-preppers adore it—the flavors deepen overnight, making leftovers a treat.
Trends like keto or dairy-free diets haven’t left this classic behind. Almond flour dumplings or coconut milk broths keep it inclusive. For dessert lovers, ending the meal with easy apple crisp balances the savory richness. Whether you stick to tradition or reinvent it, Chicken and Dumplings proves comfort food never goes out of style.
Taste and Texture
What makes it delicious
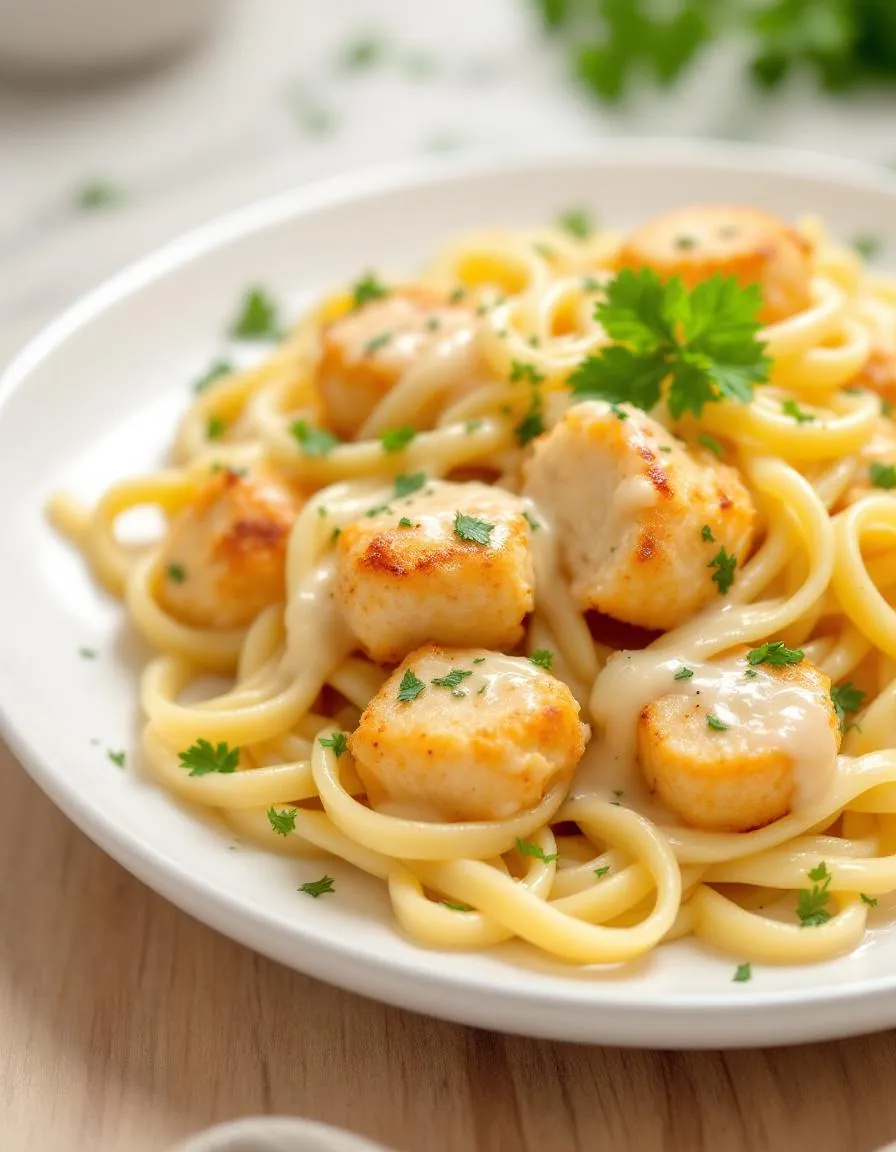
Chicken and Dumplings wraps you in comfort with its rich, savory broth and tender chunks of chicken. The dumplings soak up the flavorful liquid, turning soft and pillowy while still holding a slight chew. Fragrant herbs like thyme and parsley add earthy brightness, while a touch of butter or cream gives the broth a velvety richness. Every bite of Chicken and Dumplings balances hearty warmth with delicate textures, making it a dish that’s both satisfying and nostalgic. The aroma alone—a mix of simmered poultry, herbs, and buttery dough—will have everyone gathering around the table.
Boosting the flavor
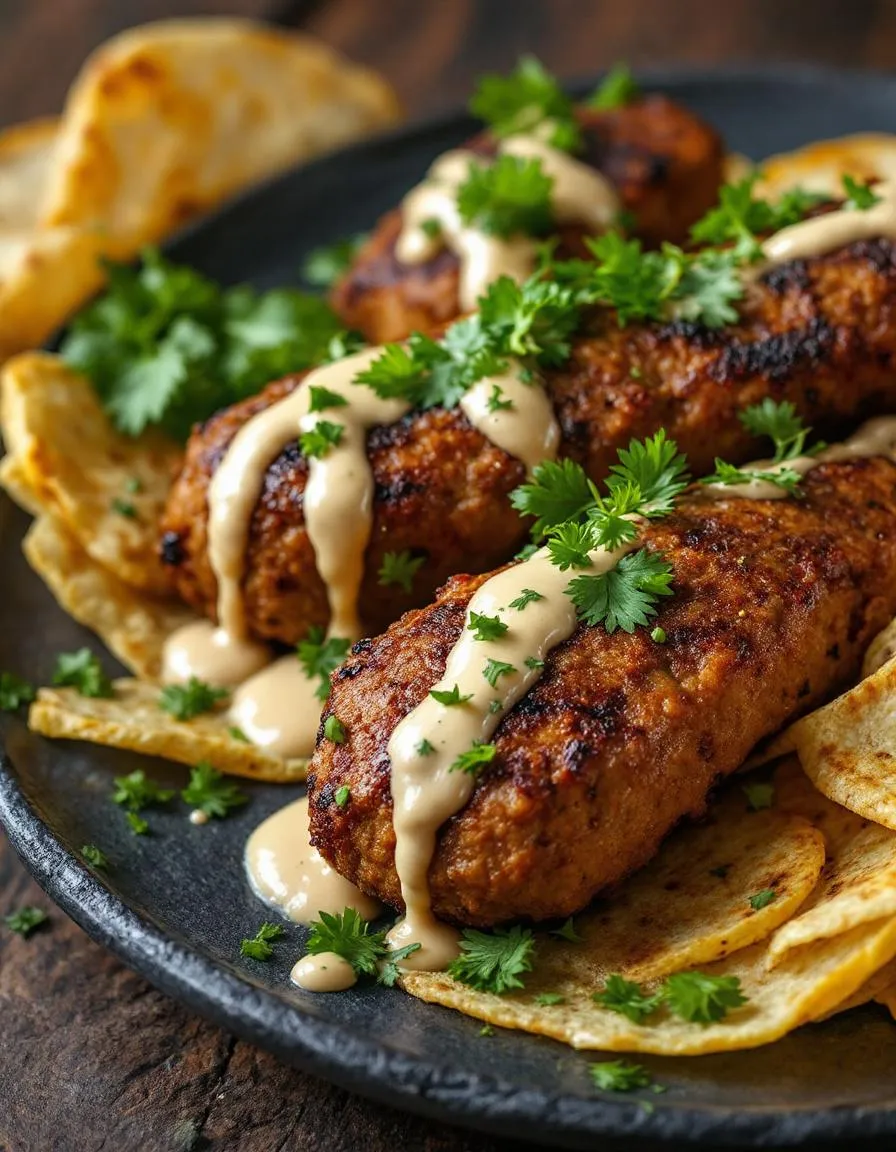
For deeper flavor, try browning the chicken first to develop a caramelized crust, or swap regular broth for a homemade chicken stock with roasted bones. Fresh herbs like rosemary or tarragon add a bright, aromatic twist, while a splash of lemon juice cuts through the richness. If you love extra texture, top your bowl with crispy fried shallots or a sprinkle of herb-infused oil. A pinch of smoked paprika or a dash of hot sauce can also give this classic dish a subtle kick without overpowering its cozy essence.

Tips for Success
Best practices for results
Always use cold butter when making the dumpling dough, as it creates a fluffier texture. For the best Chicken and Dumplings, simmer the broth gently to avoid overcooking the chicken. Additionally, resist the urge to stir the dumplings too much—just drop them in and let them steam. Finally, cover the pot tightly to lock in moisture and ensure tender dumplings every time.
Mistakes to avoid
One common mistake is rolling the dumpling dough too thick, which results in dense dumplings. Instead, aim for a quarter-inch thickness for light, pillowy bites. Another error is boiling the broth too vigorously, which can break apart the dumplings. For more guidance on perfecting your broth, check out our soup basics guide. Also, avoid substituting baking powder with baking soda, as it alters the flavor. Learn more about leavening agents in our baking essentials post.
Serving and Pairing Suggestions
How to serve this dish
For a cozy family dinner, serve Chicken and Dumplings in deep bowls to keep the broth warm. Top each portion with fresh parsley or thyme for a pop of color. Meanwhile, if you’re hosting a holiday gathering, consider pairing it with rustic bread for dipping. Alternatively, serve it in individual cast-iron skillets for a charming, homestyle presentation. Whether it’s a weeknight meal or a special occasion, Chicken and Dumplings always brings comfort to the table.
What goes well with it
A crisp green salad balances the richness of Chicken and Dumplings perfectly. Try our Simple Herb Salad for a refreshing contrast. Additionally, a glass of chilled white wine or sparkling cider cuts through the creamy broth beautifully. For heartier appetites, pair it with roasted vegetables like carrots or Brussels sprouts. If you love bread, our Honey Butter Biscuits add a sweet, buttery touch that complements the savory flavors.

The key to fluffy dumplings is handling the dough gently and avoiding overmixing. Use cold butter or shortening and mix just until the dough comes together. Let the dumplings steam covered for 10-15 minutes—this helps them rise and stay light in your Chicken and Dumplings.
Yes, canned biscuits work as a quick substitute for homemade dumplings. Tear them into small pieces and drop them into the simmering broth. They’ll thicken the stew and give your Chicken and Dumplings a comforting texture.
For thicker Chicken and Dumplings, make a slurry with equal parts flour and cold water, then stir it into the simmering broth. The dumplings themselves also release starch as they cook, which helps thicken the dish naturally.
Southern Chicken and Dumplings typically feature flat, rolled dumplings that resemble noodles, while Northern versions use dropped biscuit-style dumplings. Both are delicious, but Southern-style dumplings absorb more broth, creating a heartier texture.