Introduction
Hi there! I’m Emily, the heart and soul behind brekcakes.com. From my earliest memories, the kitchen has always been a place of warmth and creativity. It’s where I discovered the magic of turning simple ingredients into extraordinary meals and learned that the best dishes are often made with love as the main ingredient.
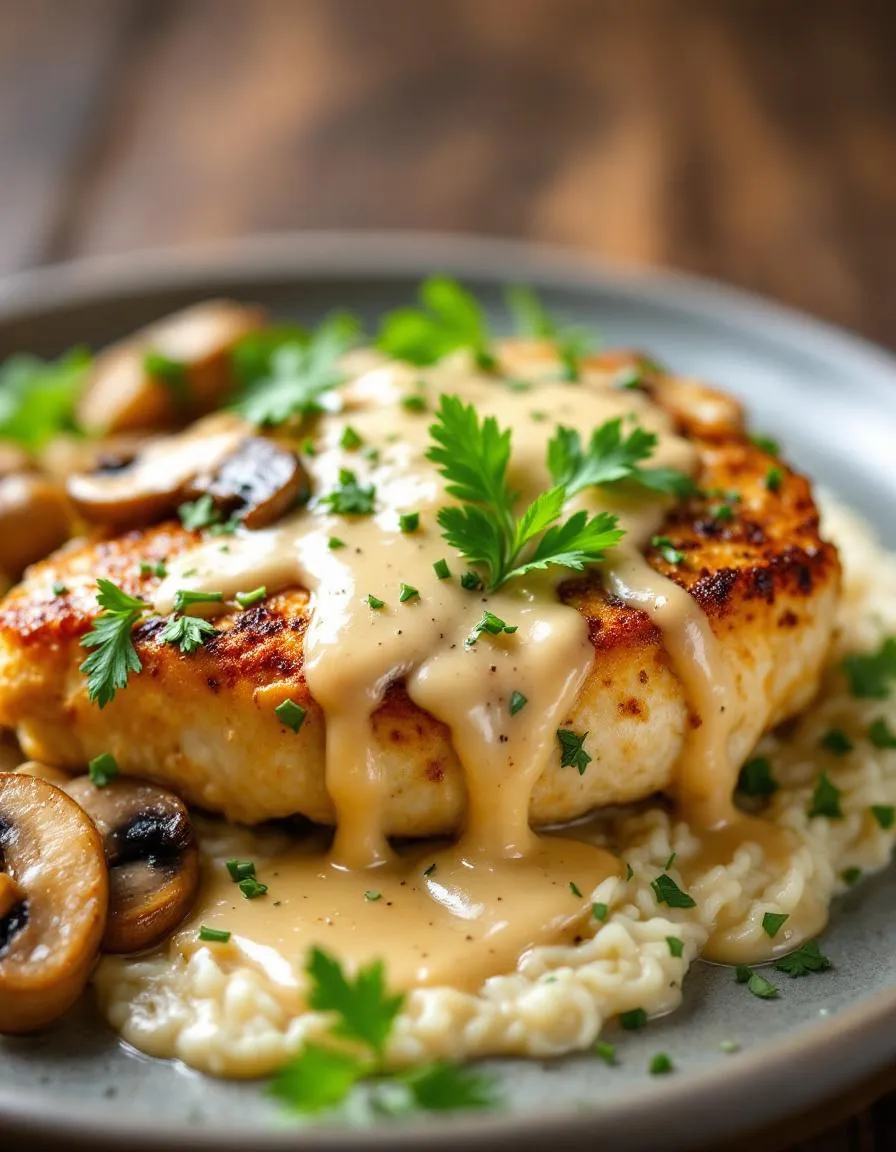
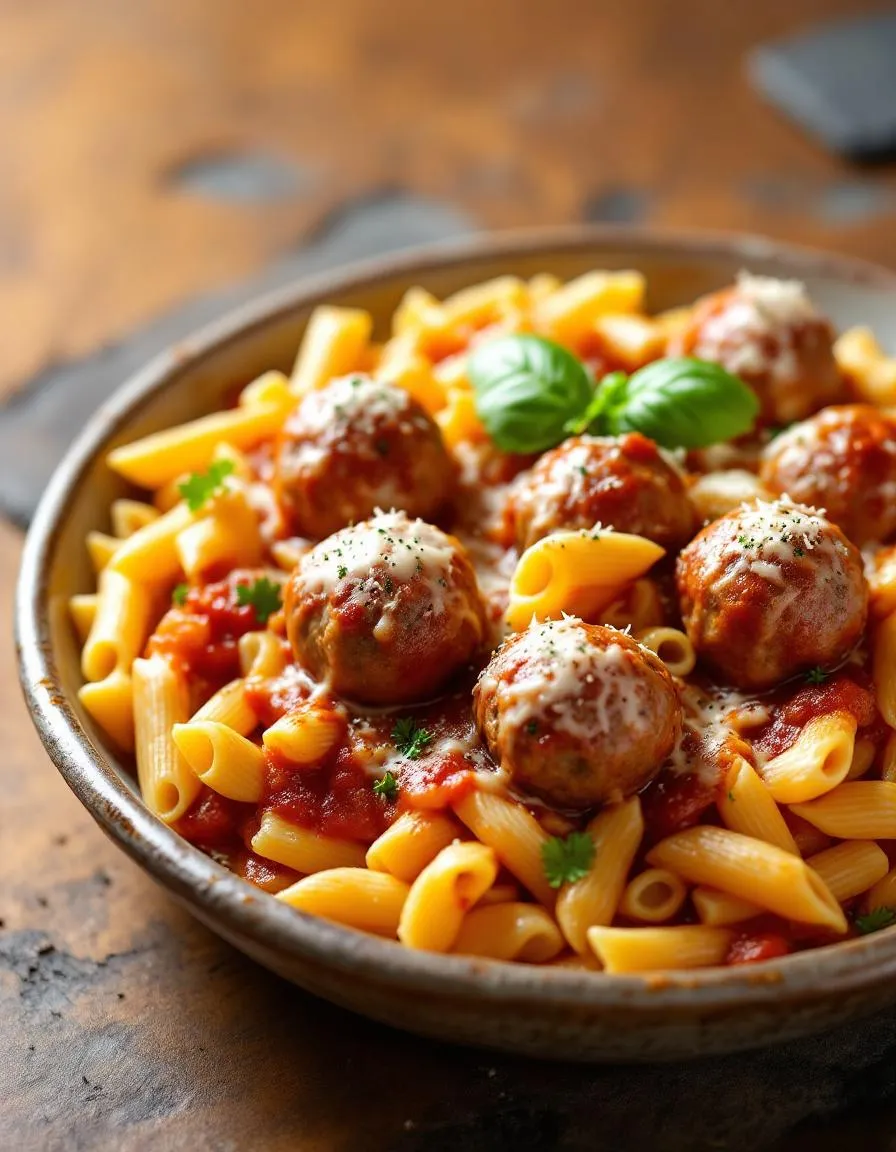
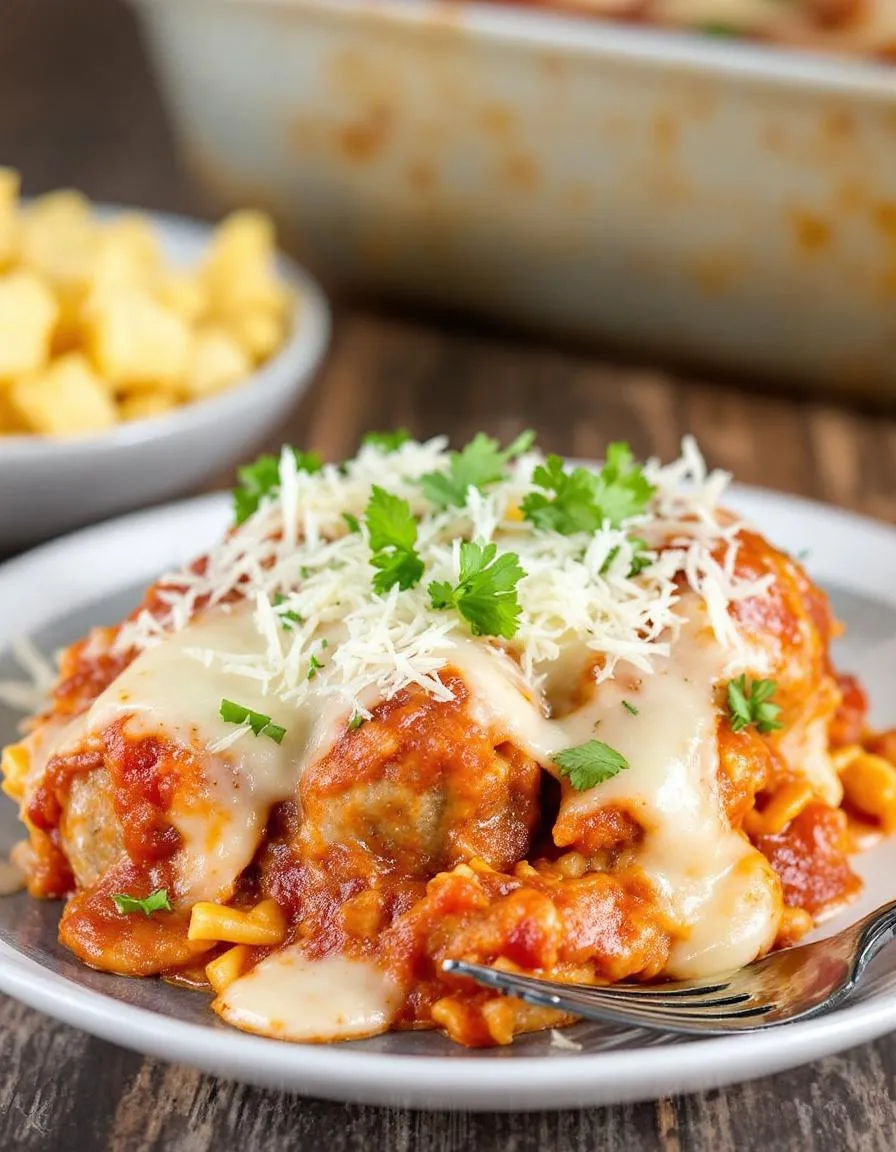
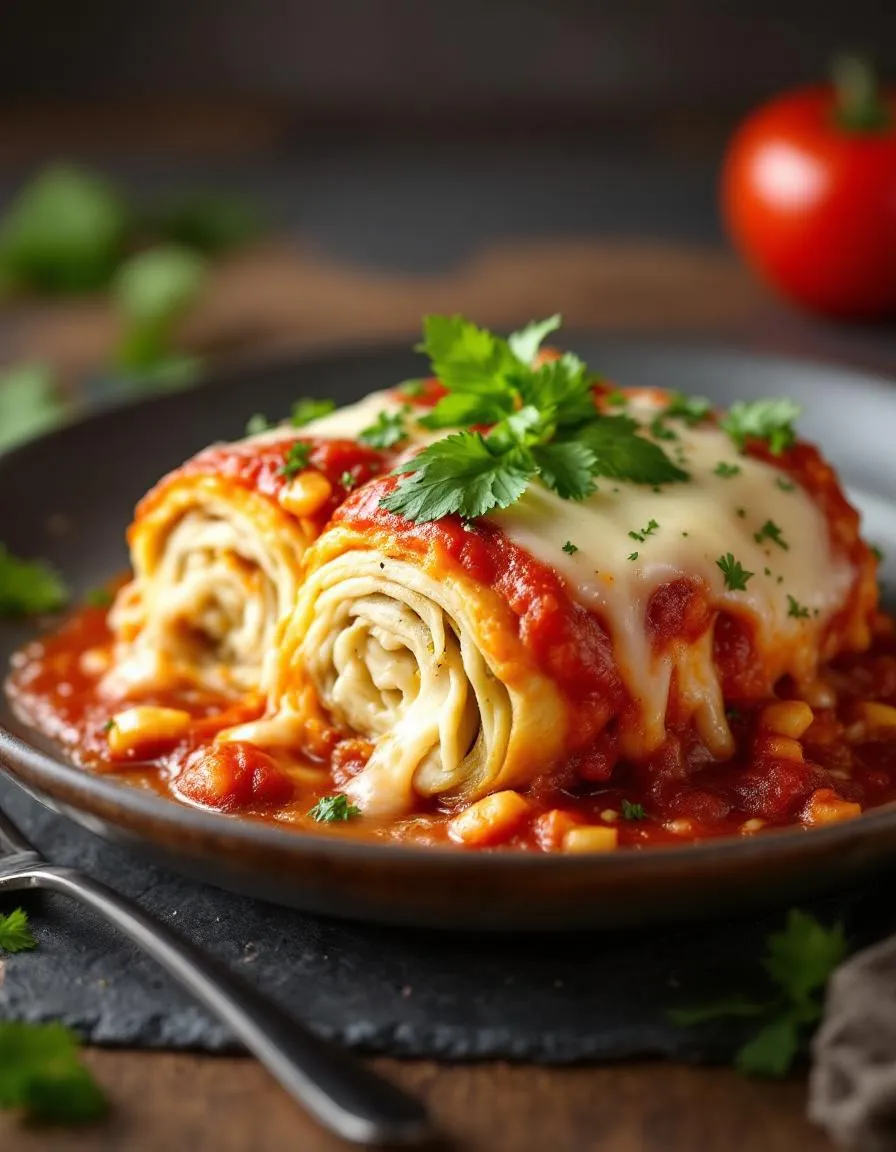
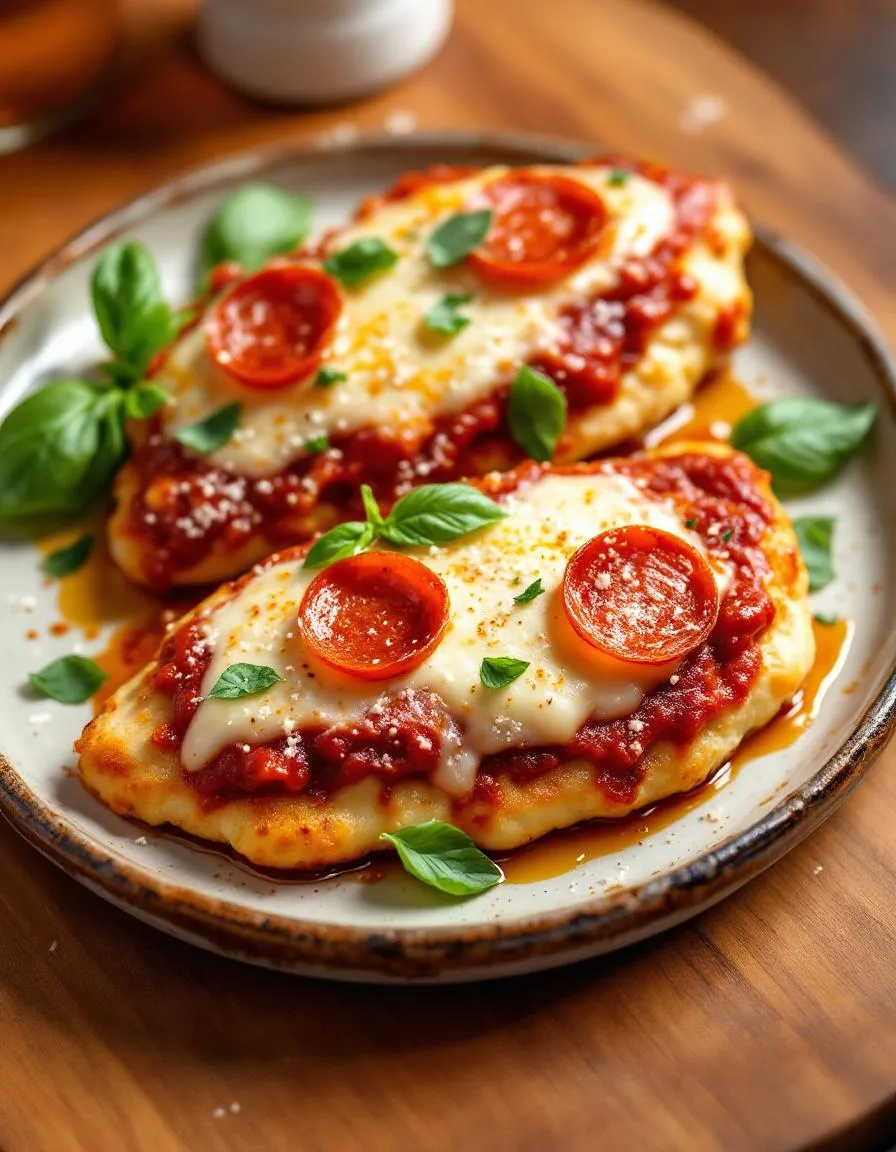
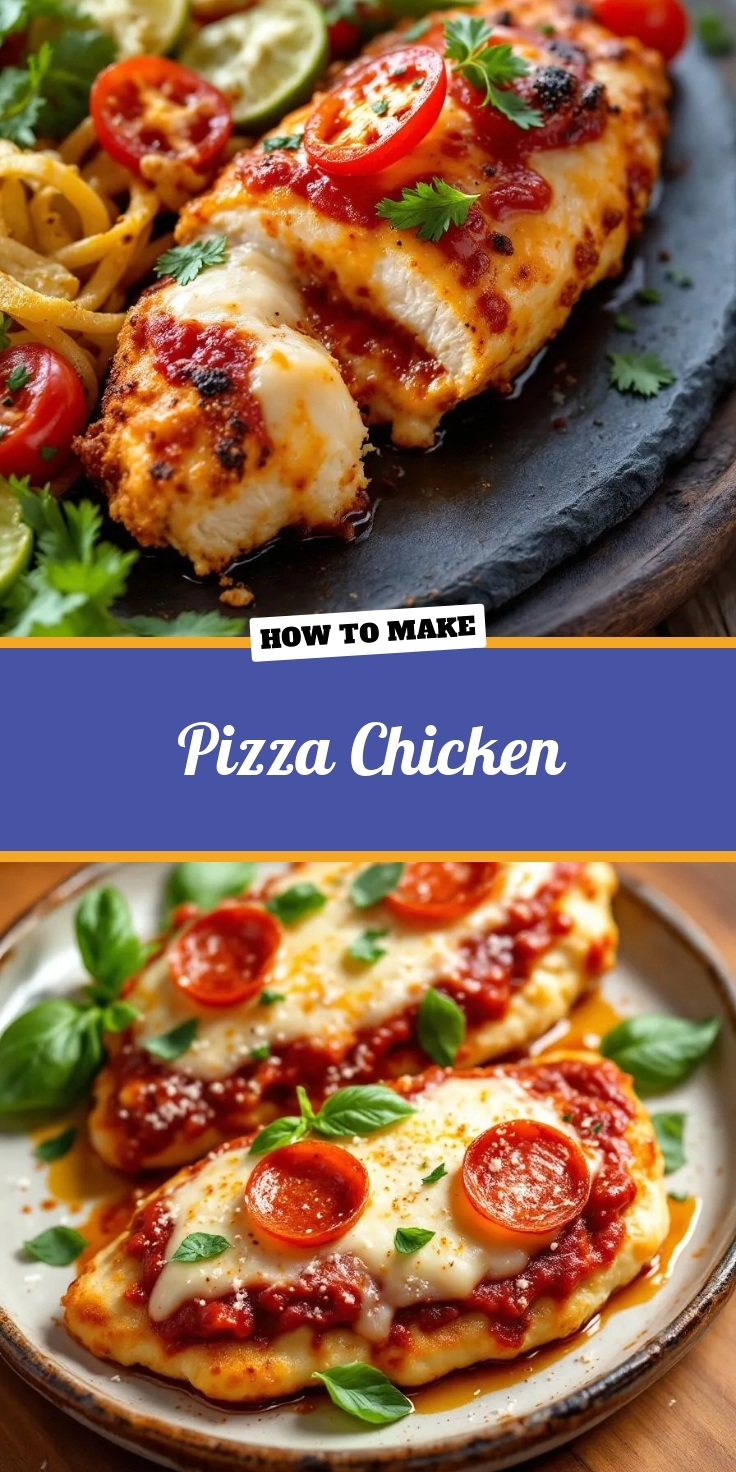
If you’re craving something hearty, cheesy, and packed with flavor, Pizza Chicken is about to become your new favorite weeknight hero. Picture this: juicy chicken breasts smothered in tangy marinara, melted mozzarella, and your favorite pizza toppings—all without the carbs of a traditional crust. Whether you’re feeding picky eaters or just want a fun twist on two classics, this dish delivers comfort and nostalgia in every bite. Plus, it’s so easy to customize that even the busiest home cooks can make it their own.
Pizza Chicken combines the best of both worlds—the protein-packed goodness of chicken and the irresistible flavors of pizza. Unlike heavy takeout, this recipe keeps things light yet satisfying, making it perfect for families, meal preppers, or anyone looking for a quick, crowd-pleasing dinner. The beauty lies in its simplicity: you only need a handful of ingredients, most of which you likely already have in your pantry. For more easy dinner ideas, check out my quick weeknight meals collection. And if you love creative twists on classics, my comfort food remix recipes will inspire you even further. At brekcakes.com, we celebrate food that’s approachable, flavorful, and always made with joy—just like this Pizza Chicken.
Why I Love This Recipe
Pizza Chicken holds a special place in my heart because it’s the dish that won over my toughest critic—my nephew, who swore he’d never eat anything but actual pizza. The first time I made it, he devoured two servings and asked for the recipe. Now, it’s our go-to for family dinners, game nights, and even lazy Sundays when we want something cozy but exciting. It reminds me that food isn’t just about nourishment—it’s about connection, creativity, and those little moments of shared happiness around the table.
Health and Nutrition
Why it’s good for your body
Pizza Chicken packs a flavorful punch while delivering serious nutritional benefits. First, it combines lean protein from chicken with wholesome ingredients like tomato sauce and cheese, giving your body essential amino acids for muscle repair. Additionally, the dish includes lycopene-rich tomatoes, which support heart health and reduce inflammation. Because Pizza Chicken uses real, unprocessed ingredients, it avoids the excess sodium and preservatives found in traditional fast-food pizza.
Moreover, the dish offers a balanced macronutrient profile. The chicken provides high-quality protein to keep you full, while the cheese adds calcium for strong bones. If you opt for whole-grain crust or a veggie-loaded version, you also get fiber to aid digestion. Unlike greasy takeout, Pizza Chicken lets you enjoy bold flavors without compromising nutrition.
Finally, this meal adapts easily to dietary preferences. Whether you use low-fat cheese or load up on veggies, Pizza Chicken stays delicious and nutrient-dense. With every bite, you fuel your body with vitamins, minerals, and satisfaction.
How it fits in a healthy lifestyle
Pizza Chicken fits seamlessly into a balanced diet, whether you focus on high-protein meals, gluten-free eating, or simply crave a healthier twist on comfort food. For protein seekers, the chicken base delivers a lean, satisfying option that supports muscle growth and recovery. If you avoid gluten, try a crustless version or a gluten-free crust alternative to keep the dish celiac-friendly.
For heart-conscious eaters, swapping processed meats for fresh chicken and loading up on veggies boosts fiber and reduces saturated fat. Pair Pizza Chicken with a well-portioned side salad to round out your plate. Even on busy nights, this meal comes together quickly, proving that healthy eating doesn’t mean sacrificing flavor or convenience.
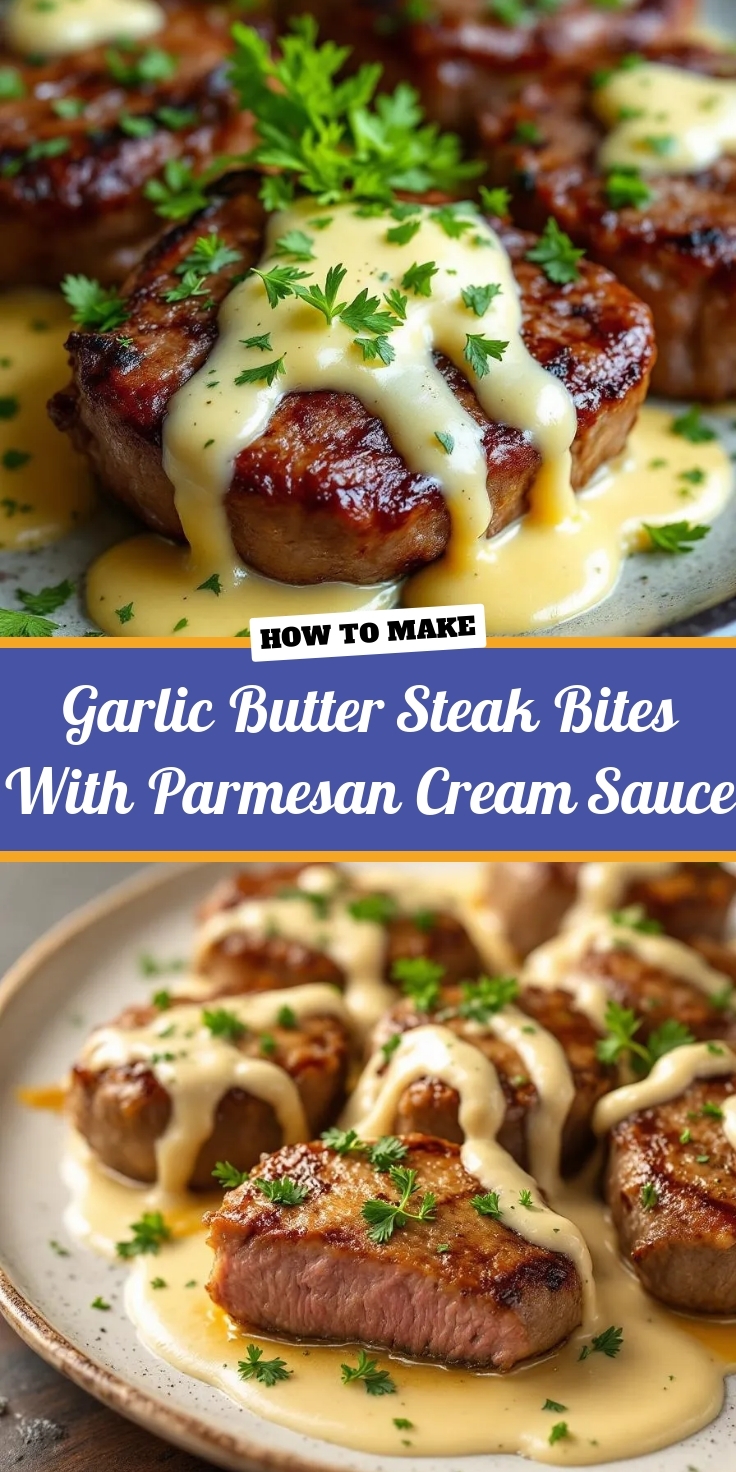
PrintPizza Chicken
Description
A delicious twist on pizza flavors with juicy chicken breasts topped with marinara, cheese, and your favorite pizza toppings.
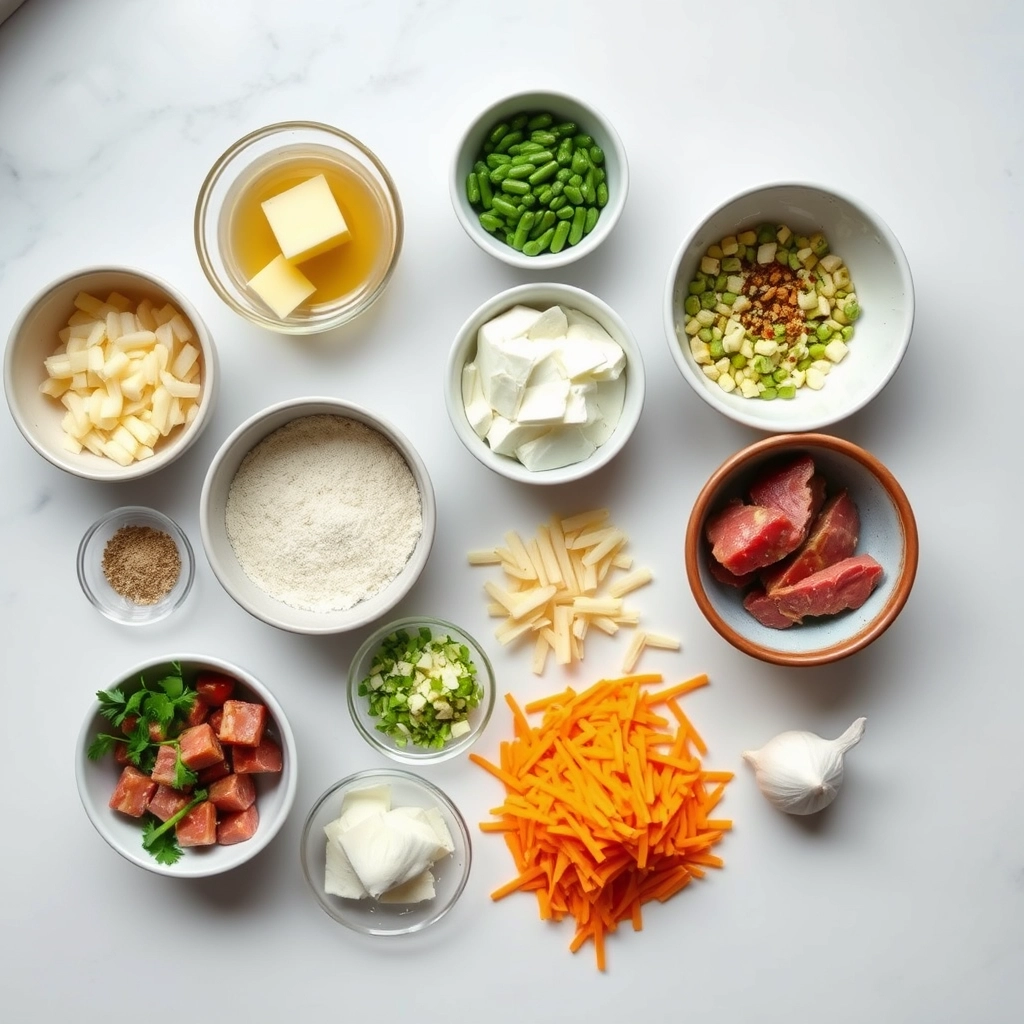
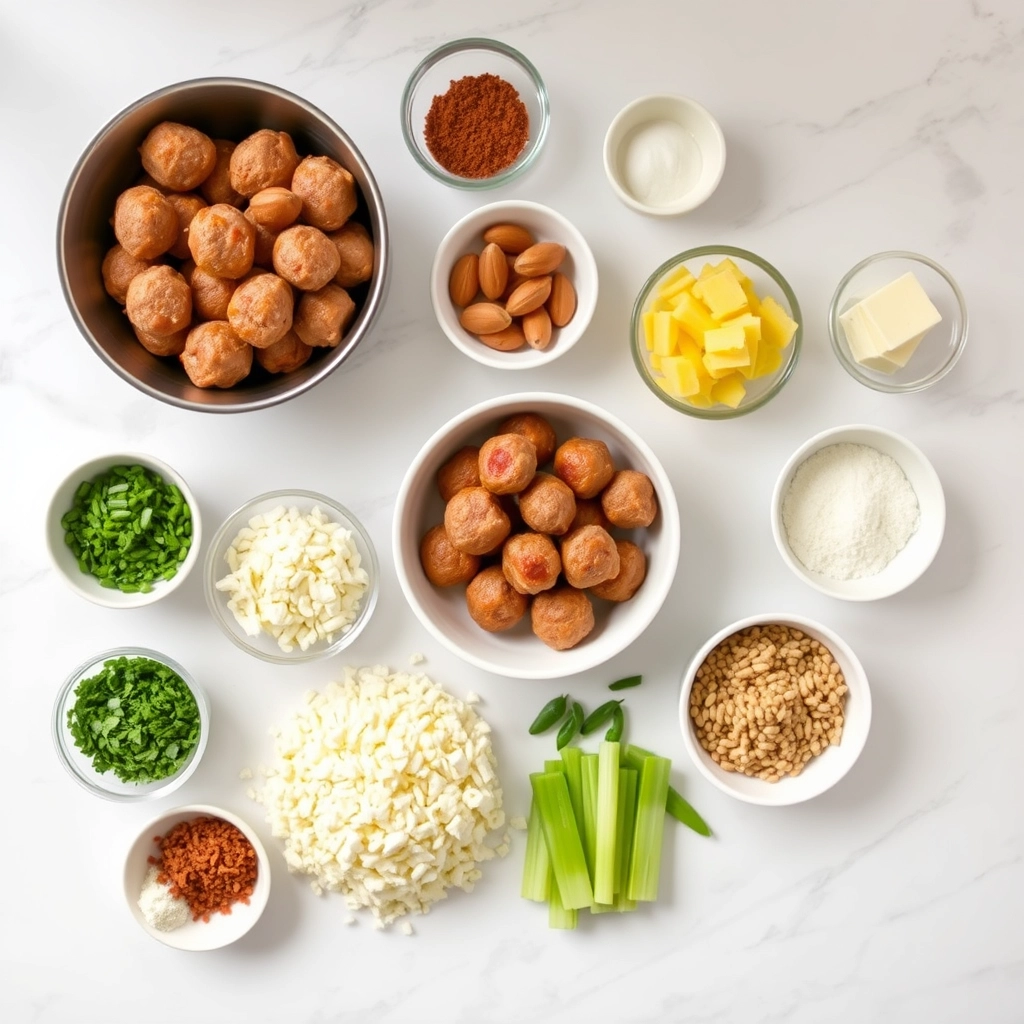
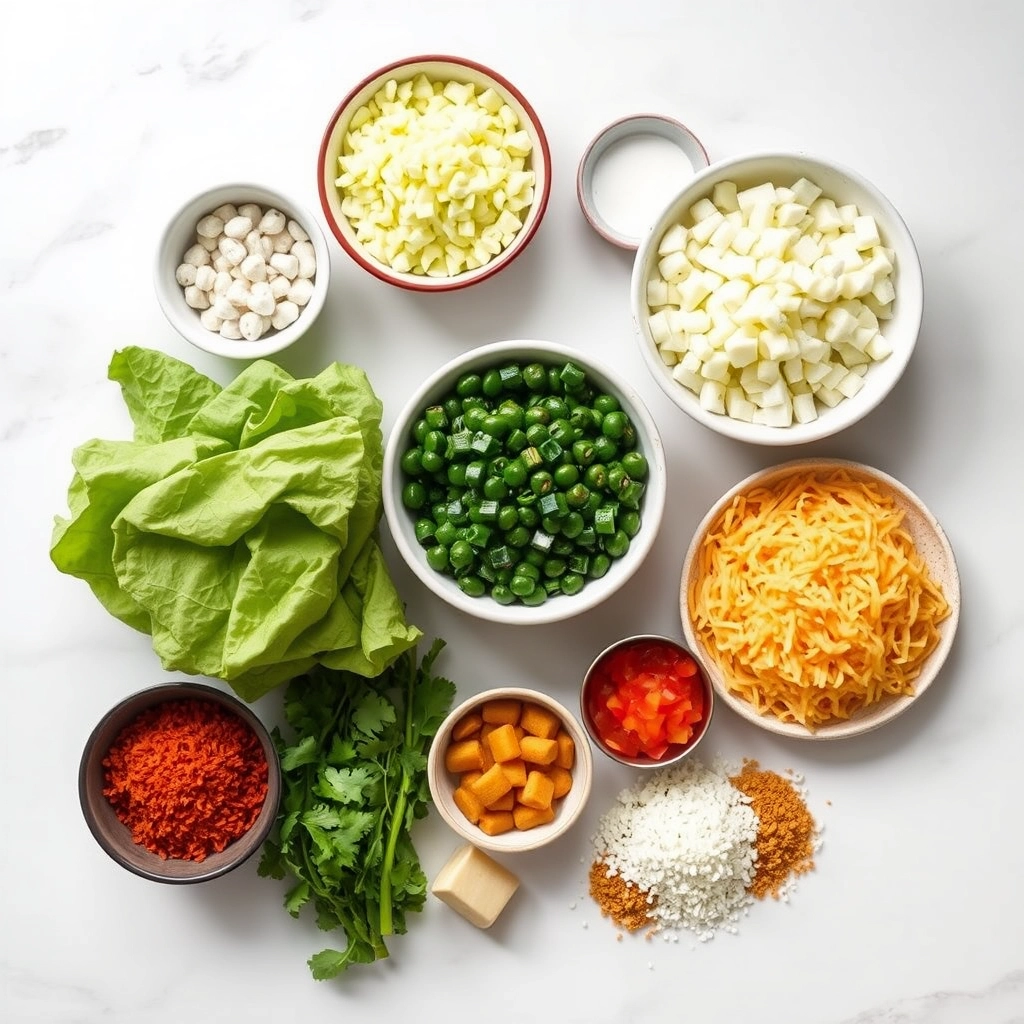
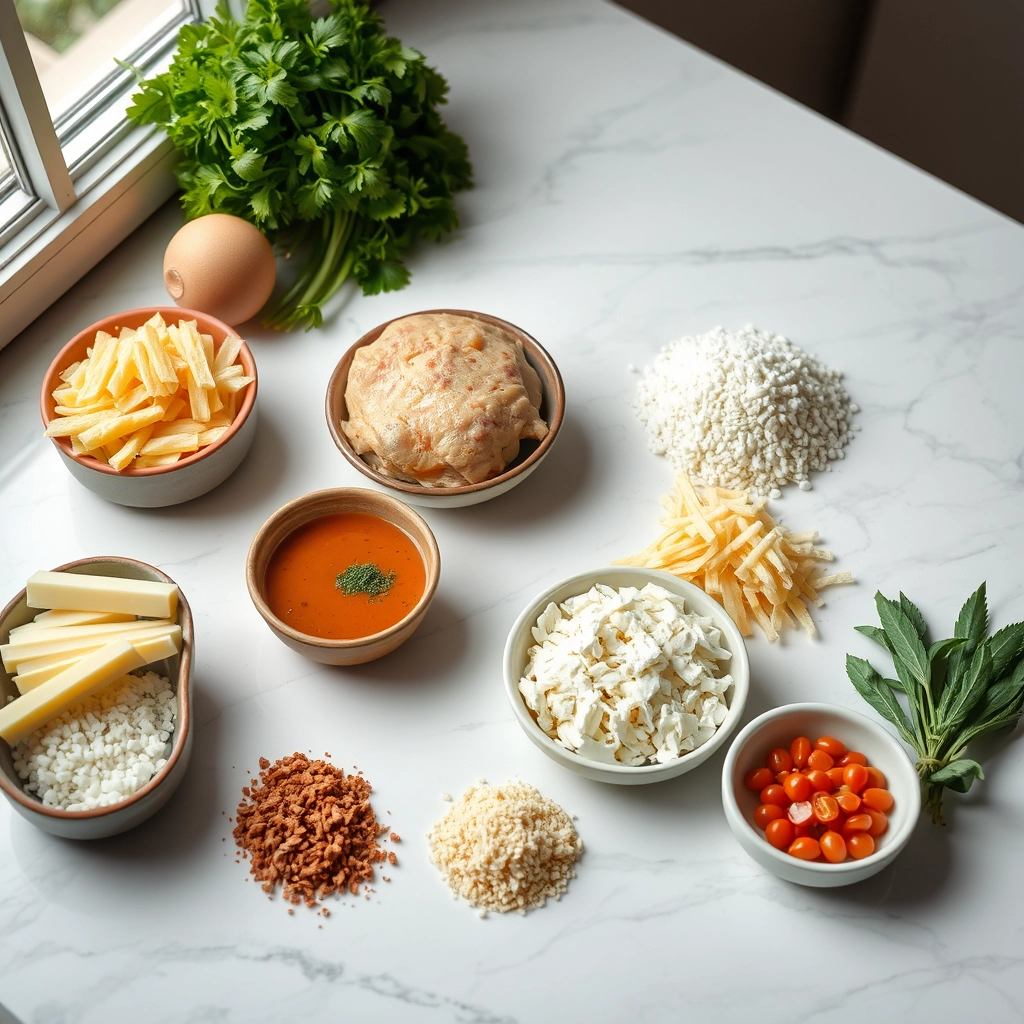
Ingredients
For the Crust:
- 4 boneless, skinless chicken breasts
- 1 cup marinara sauce
- 1 cup shredded mozzarella cheese
- 1/4 cup grated Parmesan cheese
- 1/2 cup sliced pepperoni
- 1 teaspoon Italian seasoning
- 1/2 teaspoon garlic powder
- 1/2 teaspoon salt
- 1/4 teaspoon black pepper
- 1 tablespoon olive oil
Instructions
1. Prepare the Crust:
- Preheat oven to 375°F (190°C).
- Season chicken breasts with Italian seasoning, garlic powder, salt, and black pepper.
- Heat olive oil in a large oven-safe skillet over medium-high heat. Add chicken and cook for 3-4 minutes per side until golden brown.
- Top each chicken breast with marinara sauce, mozzarella cheese, Parmesan cheese, and pepperoni slices.
- Transfer skillet to the oven and bake for 15-20 minutes until chicken is cooked through and cheese is melted and bubbly.
- Let rest for 5 minutes before serving.
Notes
You can customize the seasonings to taste.
How to Prepare This Dish
Steps and time-saving tips
Start by preheating your oven to 375°F to ensure it’s ready when you finish prepping the Pizza Chicken. While the oven heats, grab a mixing bowl and whisk together olive oil, minced garlic, and Italian seasoning for a quick marinade. Coat each chicken breast evenly with this mixture, then place them in a baking dish. Next, spread a generous layer of marinara sauce over each piece, followed by a sprinkle of shredded mozzarella. For extra flavor, add pepperoni slices or your favorite pizza toppings like diced bell peppers or black olives. Slide the dish into the oven and bake for 25-30 minutes until the cheese bubbles and the chicken reaches 165°F internally. If you’re short on time, pound the chicken thinner for faster cooking or use pre-shredded cheese. Let the dish rest for 5 minutes before serving to lock in the juices. Pair it with a simple side salad or garlic bread for a complete meal that feels indulgent yet effortless.
Mistakes I’ve made and learned from
Early on, I rushed the baking time and ended up with undercooked Pizza Chicken, which taught me to always use a meat thermometer. Another blunder? Skipping the marinade step—the chicken tasted bland until I realized the oil and seasoning blend is what gives it that signature pizza flavor. If your cheese browns too quickly, tent the dish with foil, a trick I picked up from my baking tips for beginners guide. And don’t overload the toppings like I once did; too many can make the dish soggy. For more on balancing flavors, check out my perfecting savory dishes post. Now, I stick to a light but flavorful topping layer for the best texture and taste every time.
Cultural Connection and Variations
Where this recipe comes from
Pizza Chicken might sound like a modern mashup, but its roots stretch back to the creative kitchens of home cooks who wanted the best of both worlds. Imagine a busy parent trying to please picky eaters—why not combine the gooey, savory goodness of pizza with the lean protein of chicken? Over time, this dish evolved into a comfort food staple, especially in the Midwest, where casseroles reign supreme.
In Italy, you’ll find a distant cousin of Pizza Chicken in dishes like pollo alla pizzaiola, where chicken simmers in a tomato sauce flavored with oregano and garlic. Meanwhile, in the U.S., families often top baked chicken breasts with marinara, mozzarella, and pepperoni for a quick weeknight win. Some versions even skip the tomato sauce entirely, opting for pesto or Alfredo instead. Whether you’re making it for a potluck or a cozy family dinner, Pizza Chicken adapts to whatever ingredients you have on hand.
How it fits in today’s cooking
Today, Pizza Chicken thrives as a versatile crowd-pleaser. Busy cooks love it because it’s faster than ordering takeout, and kids devour it like, well, pizza. For a healthier twist, some swap in turkey pepperoni or load up with veggies like bell peppers and mushrooms. Others turn it into a sheet-pan meal alongside roasted potatoes or zucchini.
It’s also a star at game-day gatherings, where it pairs perfectly with other easy appetizers like air-fryer snacks. And let’s not forget meal prep—Pizza Chicken reheats like a dream, making it a smart choice for weekly lunchboxes. Whether you’re craving nostalgia or need a no-fuss dinner, this dish delivers every time.
Taste and Texture
What makes it delicious
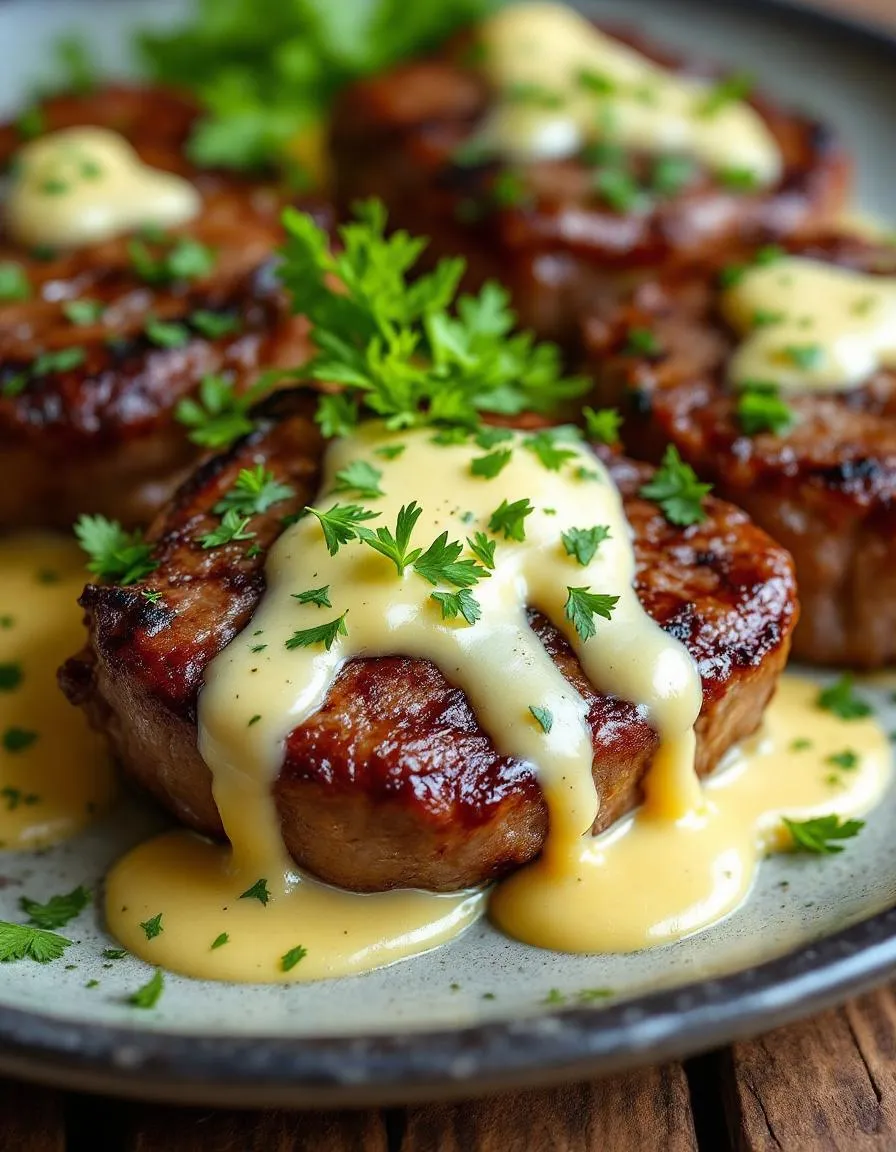
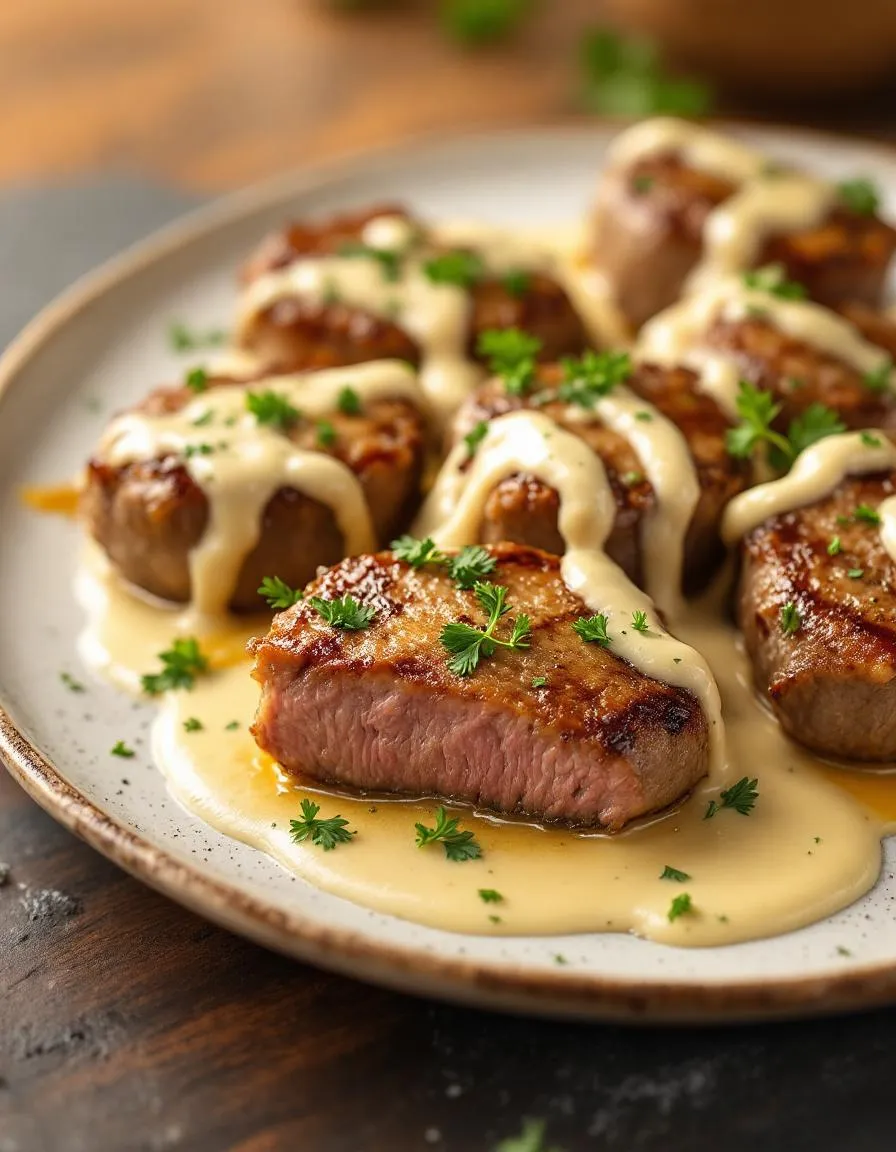
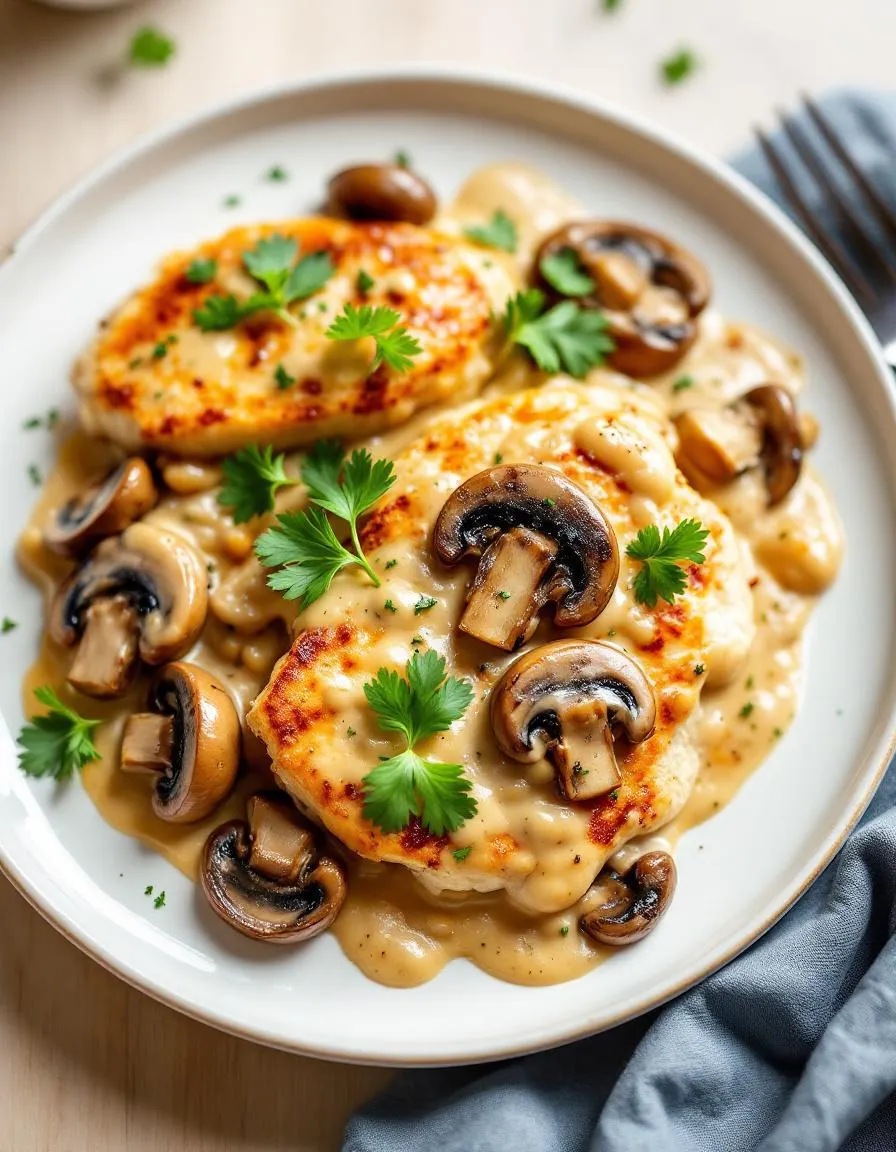
Pizza Chicken delivers a mouthwatering fusion of savory, cheesy, and slightly tangy flavors that instantly remind you of your favorite slice. The juicy, tender chicken absorbs the rich tomato sauce, while melted mozzarella creates a gooey, stretchy layer on top. Every bite offers a satisfying contrast—crisp-edged cheese, fragrant basil, and the subtle heat of pepperoni or red pepper flakes. The aroma alone, with its garlicky, herb-infused notes, will make your kitchen smell like an Italian trattoria. Whether you bake or air-fry it, Pizza Chicken stays succulent inside while the toppings caramelize into perfection.
Boosting the flavor
For an extra flavor punch, try marinating the chicken in our garlic herb marinade before layering on the pizza toppings. Alternatively, swap classic mozzarella for smoked provolone or add a drizzle of spicy honey glaze to balance the tangy tomato sauce. Fresh toppings like roasted bell peppers or Kalamata olives introduce bright, briny notes, while a sprinkle of Parmesan right before serving amps up the umami. Don’t shy away from experimenting with herbs—oregano, thyme, or even a pinch of fennel seeds can deepen the pizza-like essence of this dish.

Tips for Success
Best practices for results
Preheat your oven fully before baking Pizza Chicken to ensure even cooking. Meanwhile, lightly oil the baking sheet to prevent sticking and enhance crispiness. For the best flavor, spread a thin layer of marinara sauce over the chicken before adding toppings. Additionally, use fresh mozzarella instead of pre-shredded cheese for a smoother melt. Finally, let Pizza Chicken rest for 2-3 minutes after baking so the juices redistribute.
Mistakes to avoid
Avoid overcrowding the baking sheet, as this steams the chicken instead of crisping it. Instead, leave space between pieces for proper airflow. Another common error is under-seasoning the chicken—generously sprinkle salt and Italian herbs before adding sauce. For more seasoning tips, check out our guide on balancing flavors. Also, don’t skip pounding thicker chicken breasts to an even thickness; otherwise, they’ll cook unevenly. Learn how to prep chicken perfectly for consistent results every time.
Serving and Pairing Suggestions
How to serve this dish
Pizza Chicken shines as a crowd-pleaser, so serve it fresh from the oven for maximum cheesy goodness. For a fun twist, slice it into strips and arrange them on a wooden board with mini skewers for easy sharing. Alternatively, plate it whole atop a bed of fresh arugula to balance the richness with a peppery bite. Garnish with fresh basil or red pepper flakes for a pop of color and extra flavor. Whether you’re hosting game night or need a quick weeknight dinner, Pizza Chicken adapts effortlessly to any occasion.
What goes well with it
Pair Pizza Chicken with a crisp Caesar salad for a classic combo—the crunchy romaine and tangy dressing cut through the dish’s savory depth. For a heartier meal, try it alongside garlic knots or our favorite Easy Homemade Focaccia, which soaks up any extra sauce beautifully. Thirsty? A chilled glass of sparkling lemonade or a light Italian red wine, like Chianti, complements the bold flavors. If you love dipping sauces, whip up our Creamy Avocado Dip for a cool, creamy contrast to the warm, cheesy chicken.
Pizza Chicken is a delicious dish that combines the flavors of pizza with juicy chicken. It typically involves topping chicken breasts with pizza sauce, cheese, and classic toppings like pepperoni or veggies. This easy recipe gives you the taste of pizza in a protein-packed meal.
For crispy Pizza Chicken, start by pounding the chicken thin and baking it at 400°F until golden. Broil for the last 2-3 minutes to melt the cheese and crisp the toppings. Using a wire rack in your baking sheet helps air circulate around the chicken for maximum crispiness.
Yes! Pizza Chicken works great in an air fryer – just cook the chicken at 375°F for 8 minutes, then add toppings and cook 3-4 more minutes. The air fryer gives Pizza Chicken a wonderfully crispy crust while keeping the chicken tender inside.
Classic pizza toppings like mozzarella, pepperoni, mushrooms, and bell peppers work perfectly on Pizza Chicken. For variety, try BBQ sauce with cheddar, or pesto with sun-dried tomatoes. The key is balancing flavors so they complement the chicken without overwhelming it.