Introduction
Hi there! I’m Emily, the heart and soul behind brekcakes.com. From my earliest memories, the kitchen has always been a place of warmth and creativity. It’s where I discovered the magic of turning simple ingredients into extraordinary meals and learned that the best dishes are often made with love as the main ingredient.
If you’ve ever craved a meal that’s both comforting and bursting with flavor, you’re in the right place. Today, I’m sharing my take on the beloved Korean Ground Beef Bowl—a dish that never fails to bring my family together. Whether you’re juggling a busy schedule or simply want a delicious dinner without the fuss, this recipe delivers. Plus, it’s packed with the savory-sweet goodness that makes Korean cuisine so irresistible.
The Korean Ground Beef Bowl is a quick, flavorful dish that combines tender ground beef with a rich, umami-packed sauce. Unlike traditional recipes that require hours of marinating, this version comes together in under 30 minutes. What makes it special? The balance of soy sauce, brown sugar, garlic, and sesame oil creates a harmony of flavors that’s hard to resist. It’s perfect for weeknights, meal prep, or even impressing guests. If you’re a fan of easy yet bold meals, you’ll love how this dish fits into your routine. For more inspiration, check out my quick weeknight dinners or explore my Asian-inspired recipes for similar crowd-pleasers.
Why I Love This Recipe
This Korean Ground Beef Bowl holds a special place in my heart because it reminds me of cozy family dinners. My kids request it weekly, and I love how it brings everyone to the table with minimal effort. The aroma alone takes me back to my first bite of Korean barbecue, and now I get to recreate that magic in my own kitchen. It’s more than just a meal—it’s a reminder that great food doesn’t have to be complicated to be unforgettable.
Health and Nutrition
Why it’s good for your body
The Korean Ground Beef Bowl packs a powerful nutritional punch while delivering bold flavors. First, lean ground beef provides high-quality protein, which helps build muscle and keeps you full longer. Additionally, the dish includes fresh vegetables like carrots and spinach, adding fiber and essential vitamins to support digestion and immunity. Moreover, the savory-sweet sauce, often made with ingredients like garlic and ginger, offers anti-inflammatory benefits.
Beyond protein and veggies, the Korean Ground Beef Bowl balances macronutrients effectively. The rice base supplies energy-boosting carbohydrates, while the sesame oil and beef contribute healthy fats. Furthermore, the dish avoids excessive processed sugars, relying instead on natural sweetness from ingredients like honey or brown sugar. As a result, you get a meal that satisfies cravings without spiking blood sugar levels.
Finally, the Korean Ground Beef Bowl incorporates probiotics if served with kimchi, promoting gut health. The combination of protein, fiber, and healthy fats also stabilizes energy levels, making it a great choice for active lifestyles. Whether you need a post-workout refuel or a balanced weeknight dinner, this dish delivers both flavor and nourishment.
How it fits in a healthy lifestyle
The Korean Ground Beef Bowl adapts easily to various dietary needs, making it a versatile addition to your meal rotation. For gluten-free eaters, simply swap soy sauce with tamari to keep the dish celiac-friendly. If you prioritize heart health, opt for extra-lean ground beef and increase the vegetable ratio for more fiber and fewer saturated fats.
High-protein dieters will appreciate the generous serving of beef, which supports muscle maintenance and recovery. Pair it with cauliflower rice for a lower-carb alternative, as suggested in our healthy meal prep guide. For busy weeknights, the Korean Ground Beef Bowl comes together quickly, aligning with practical weeknight dinner strategies that don’t sacrifice nutrition.
Overall, this dish fits seamlessly into balanced eating habits, offering customization without compromising taste. Whether you’re fueling workouts or simply enjoying a wholesome family meal, the Korean Ground Beef Bowl keeps health and flavor in harmony.
PrintKorean Ground Beef Bowl
Description
A quick and flavorful Korean-inspired ground beef bowl with a sweet and savory sauce, perfect for a weeknight meal.
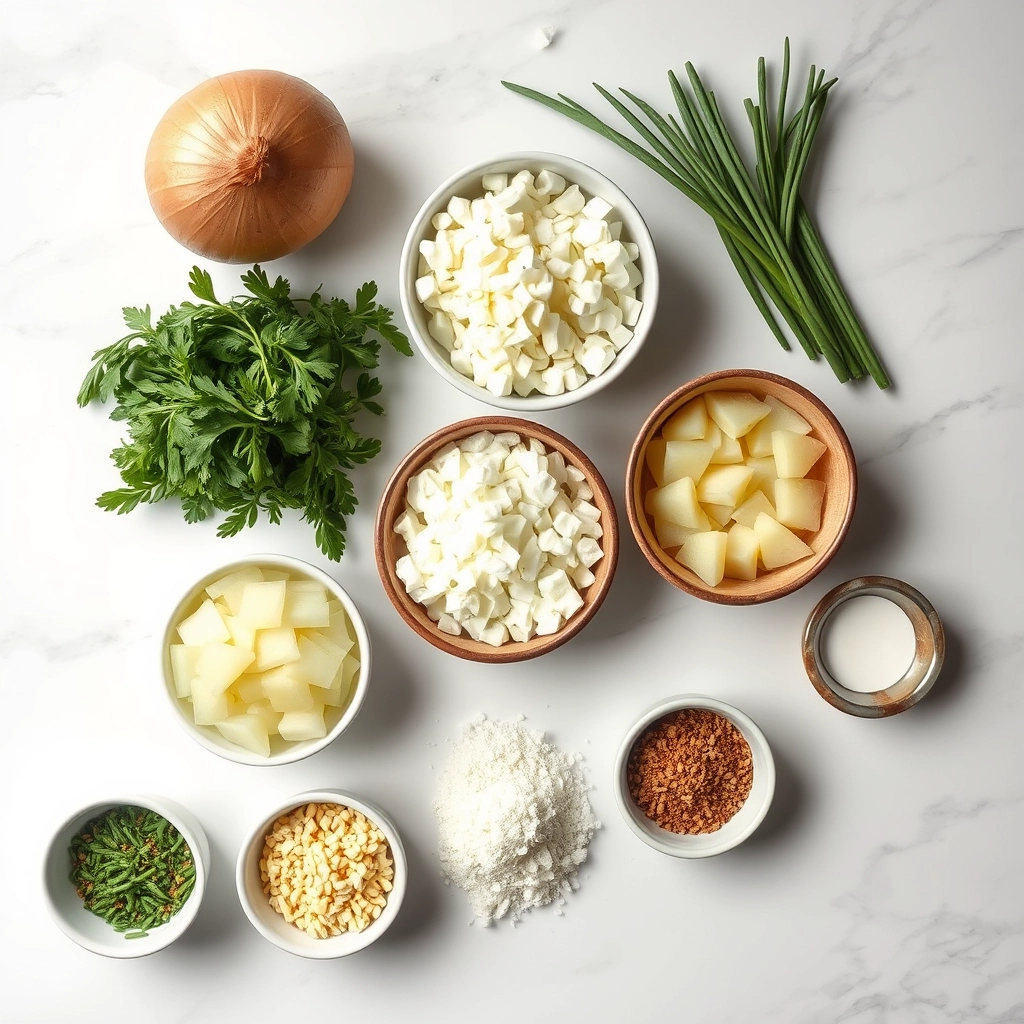
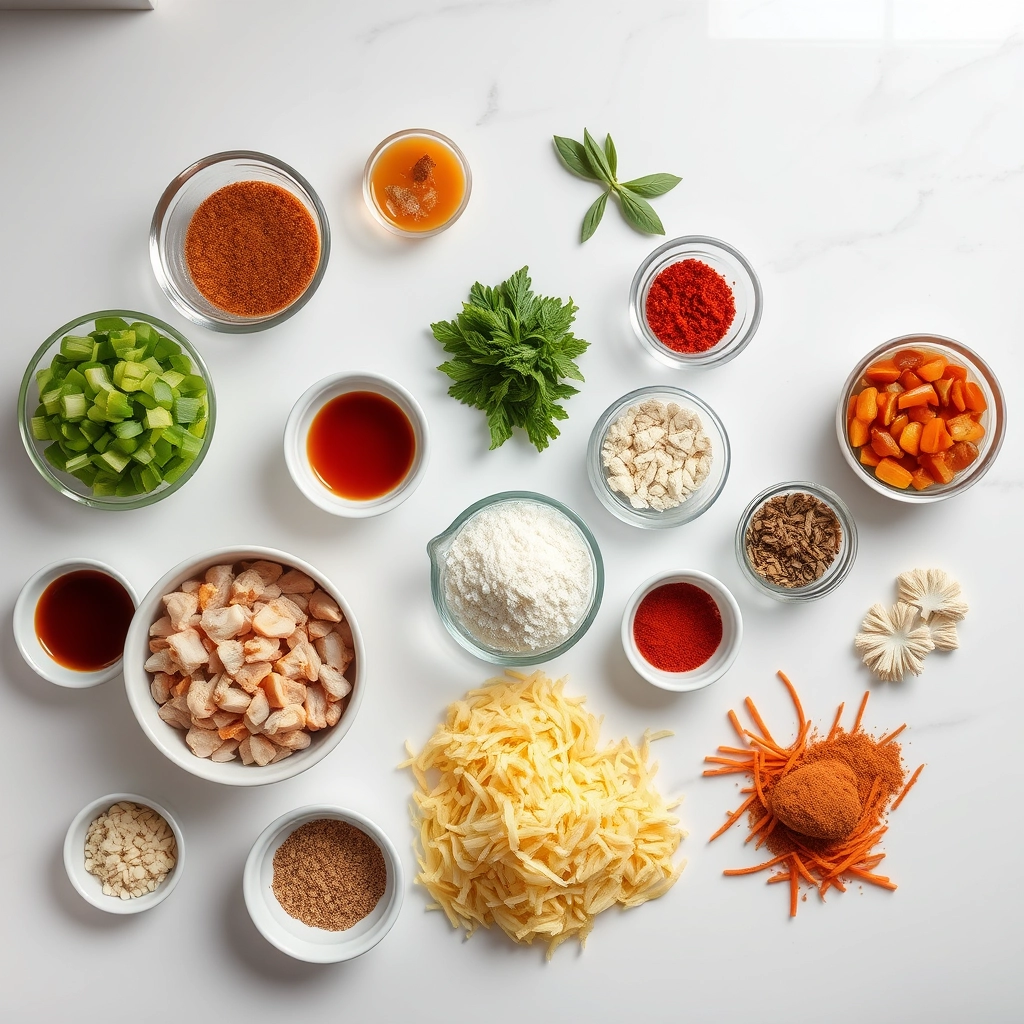
Ingredients
For the Crust:
- 1 pound ground beef
- 3 cloves garlic, minced
- 1/4 cup brown sugar
- 1/4 cup soy sauce
- 1 tablespoon sesame oil
- 1/2 teaspoon ground ginger
- 1/4 teaspoon crushed red pepper flakes
- 2 green onions, sliced
- 1 tablespoon sesame seeds
- 4 cups cooked rice
Instructions
1. Prepare the Crust:
- In a large skillet, cook the ground beef over medium heat until browned, breaking it into small pieces.
- Add the minced garlic and cook for an additional 1-2 minutes until fragrant.
- In a small bowl, whisk together the brown sugar, soy sauce, sesame oil, ground ginger, and red pepper flakes.
- Pour the sauce over the cooked beef and stir to combine. Simmer for 2-3 minutes until the sauce thickens slightly.
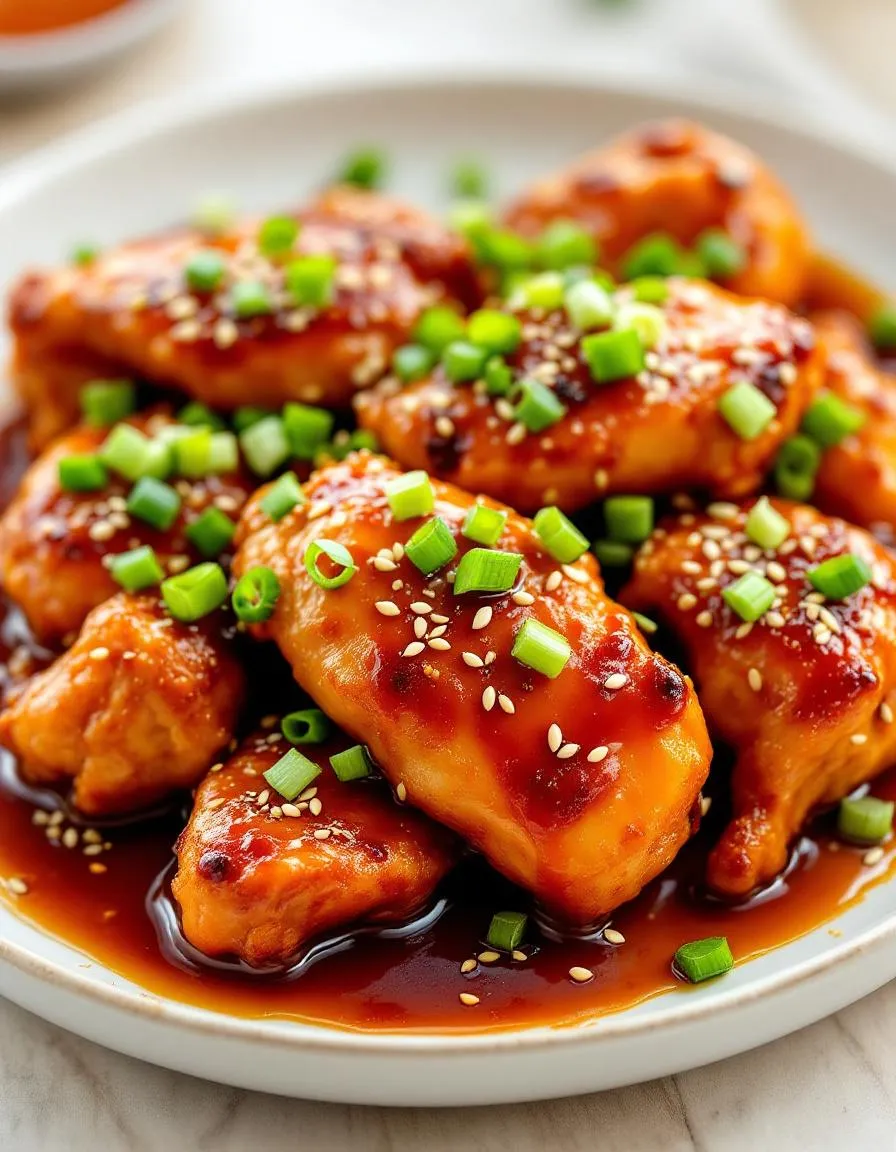
- Serve the beef over cooked rice and garnish with sliced green onions and sesame seeds.
Notes
You can customize the seasonings to taste.
How to Prepare This Dish
Steps and time-saving tips
Start by heating a large skillet over medium-high heat and browning the ground beef until it crumbles nicely. Meanwhile, whisk together the sauce ingredients—soy sauce, brown sugar, sesame oil, garlic, and ginger—in a small bowl to save time later. Once the beef cooks through, drain any excess fat but leave a bit for flavor. Pour the sauce over the beef and stir well, letting it simmer for a few minutes until glossy and fragrant. For extra efficiency, prep your rice or veggies while the beef simmers. Toss in sliced green onions and a sprinkle of sesame seeds just before serving for freshness and crunch. If you’re short on time, use pre-minced garlic and ginger from the store. Serve the Korean Ground Beef Bowl hot over rice, and drizzle with a little extra sauce if you love bold flavors.
Mistakes I’ve made and learned from
I once rushed the sauce mixing and ended up with clumps of brown sugar that never fully dissolved—lesson learned! Now I whisk everything thoroughly before adding it to the pan. Another time, I overcooked the beef until it turned dry, but I fixed it by lowering the heat and adding a splash of beef broth to revive the moisture. If you’re new to balancing flavors, check out my guide on perfecting umami to avoid overseasoning. Also, don’t skip toasting the sesame seeds—it’s a small step that makes a huge difference, as I explain in my toasting secrets post. Trust me, these tweaks will take your Korean Ground Beef Bowl from good to unforgettable.

Cultural Connection and Variations
Where this recipe comes from
The Korean Ground Beef Bowl, or bulgogi beef bowl, roots itself in Korea’s rich tradition of balancing bold flavors with simplicity. Originally, bulgogi—meaning “fire meat”—featured thinly sliced marinated beef grilled over open flames. Over time, home cooks adapted the dish into a quicker, ground beef version, making it a weeknight staple. Families often tweak the recipe, swapping ingredients like brown sugar for honey or adding extra veggies for crunch.
Across the globe, the Korean Ground Beef Bowl takes on local twists. In Hawaii, chefs might serve it with a side of mac salad, while in the U.S. Midwest, cooks sometimes pile it atop baked potatoes. My grandma added grated apple to the marinade for sweetness, a trick she learned from a Seoul street vendor. Whether enjoyed in a bustling Korean market or a cozy American kitchen, this dish bridges cultures with every savory bite.
How it fits in today’s cooking
Today, the Korean Ground Beef Bowl thrives as a go-to meal for busy households. Its 20-minute prep time and freezer-friendly nature make it a hero for meal preppers. Modern cooks lighten it up with cauliflower rice or spice it up with gochujang, proving its versatility. Plus, it’s a star at potlucks—just pair it with kimchi fried rice for a full Korean-inspired spread.
Seasonally, the dish shines year-round. In summer, we serve it chilled over greens, while winter calls for steaming bowls with miso soup. Whether you’re craving comfort food or a quick dinner hack, the Korean Ground Beef Bowl fits effortlessly into today’s kitchens. It’s proof that tradition and convenience can deliciously coexist.
Taste and Texture
What makes it delicious
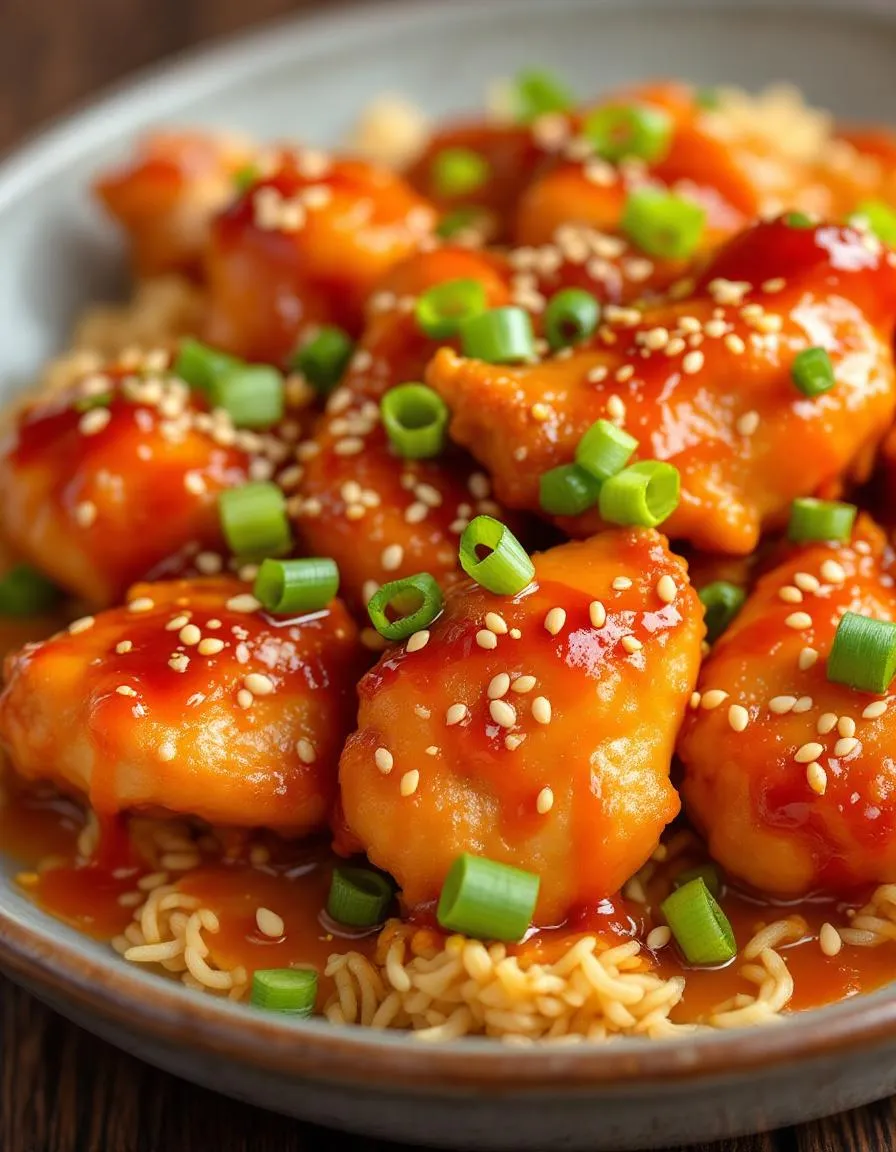
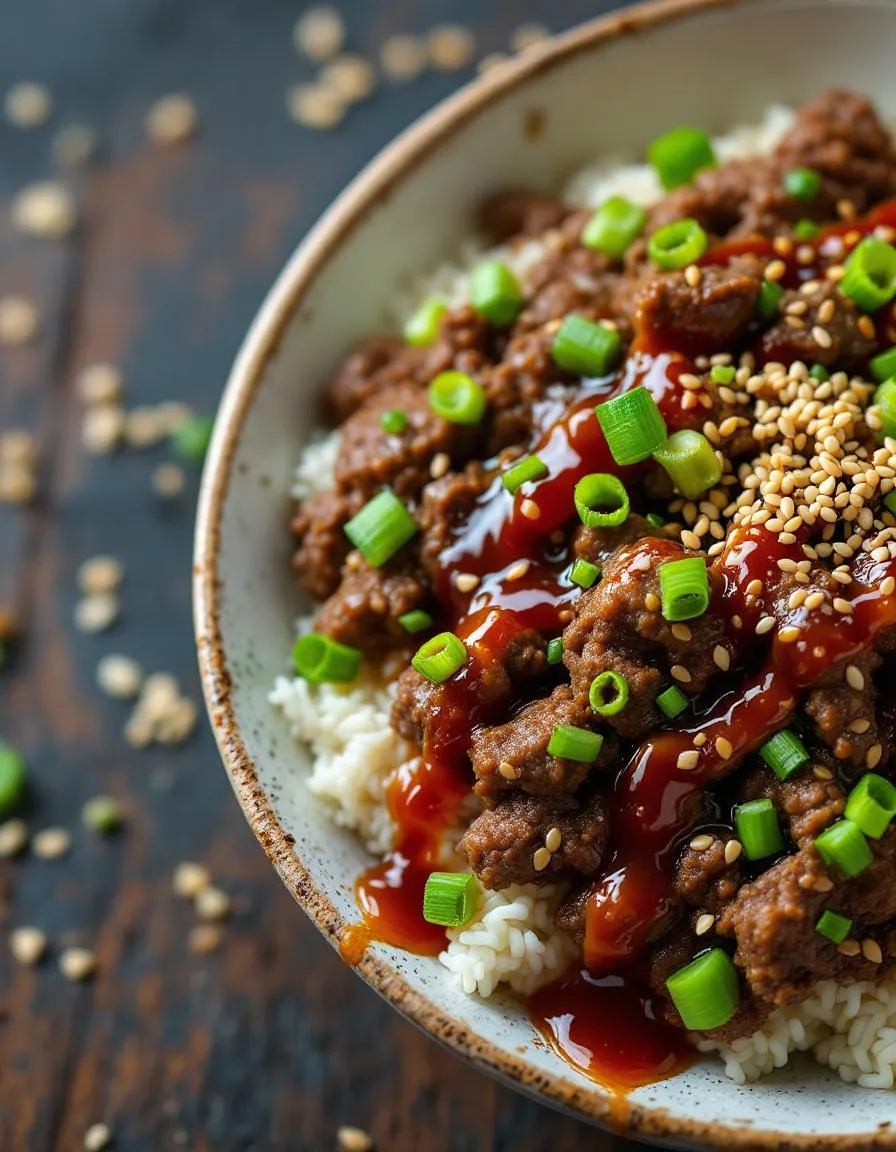
The Korean Ground Beef Bowl delivers a bold, savory-sweet punch with every bite. Tender ground beef soaks up a rich glaze of soy sauce, brown sugar, and sesame oil, creating a sticky, caramelized coating that clings to the meat. Meanwhile, minced garlic and ginger add a warm, fragrant depth, while a sprinkle of red pepper flakes brings just enough heat to tingle your tongue. The contrast of crisp, cool cucumber slices or crunchy carrots against the juicy, umami-packed beef makes each forkful exciting. Topped with toasted sesame seeds and fresh green onions, the Korean Ground Beef Bowl finishes with a nutty aroma and a satisfying crunch.
Boosting the flavor
For an extra flavor boost, try marinating the beef in the sauce for 15 minutes before cooking—it deepens the savory-sweet notes. If you love heat, stir in a spoonful of gochujang sauce for a spicy, fermented kick. Alternatively, top your Korean Ground Beef Bowl with quick-pickled veggies or a drizzle of yum yum sauce for creamy tang. A squeeze of lime or a handful of fresh cilantro can also brighten the dish, balancing the richness with a zesty finish.
Tips for Success
Best practices for results
Use fresh, high-quality ground beef for the best flavor and texture in your Korean Ground Beef Bowl. Meanwhile, finely mince the garlic and ginger to ensure they blend seamlessly into the sauce. For optimal results, cook the beef in batches if your pan is small—this prevents steaming and promotes even browning. Additionally, let the sauce simmer for a full minute to thicken slightly before serving. Finally, always garnish with sesame seeds and green onions for a vibrant finish.
Mistakes to avoid
Avoid overcrowding the pan when browning the beef, as this leads to uneven cooking. Instead, give the meat space to caramelize properly. Also, don’t skip toasting the sesame seeds—their nutty flavor elevates the Korean Ground Beef Bowl. If your sauce tastes too salty, balance it with a touch of honey or brown sugar, as explained in our guide to balancing flavors. Lastly, resist the urge to overcook the beef; follow our tips for perfect ground beef to keep it tender.
Serving and Pairing Suggestions
How to serve this dish
For a vibrant presentation, serve your Korean Ground Beef Bowl in a shallow bowl with a generous scoop of steamed rice as the base. Top it with a perfectly fried egg for extra richness, letting the yolk drizzle over the savory beef. Alternatively, pack it into lettuce cups for a fresh, low-carb twist. Garnish with sesame seeds, sliced green onions, and a sprinkle of crushed red pepper for color and crunch. This dish shines at weeknight dinners but also makes a fantastic option for casual gatherings or meal prep lunches. Whether you’re hosting friends or enjoying a cozy night in, the Korean Ground Beef Bowl adapts effortlessly to any occasion.
What goes well with it
Pair your Korean Ground Beef Bowl with a crisp, tangy side like our quick pickled cucumbers to balance the dish’s bold flavors. For a heartier meal, add a scoop of garlic butter noodles, which complement the savory-sweet notes of the beef. If you’re serving drinks, a chilled glass of citrusy sparkling water or a light Korean barley tea enhances the meal without overpowering it. Together, these pairings create a well-rounded dining experience that highlights the best of your Korean Ground Beef Bowl.
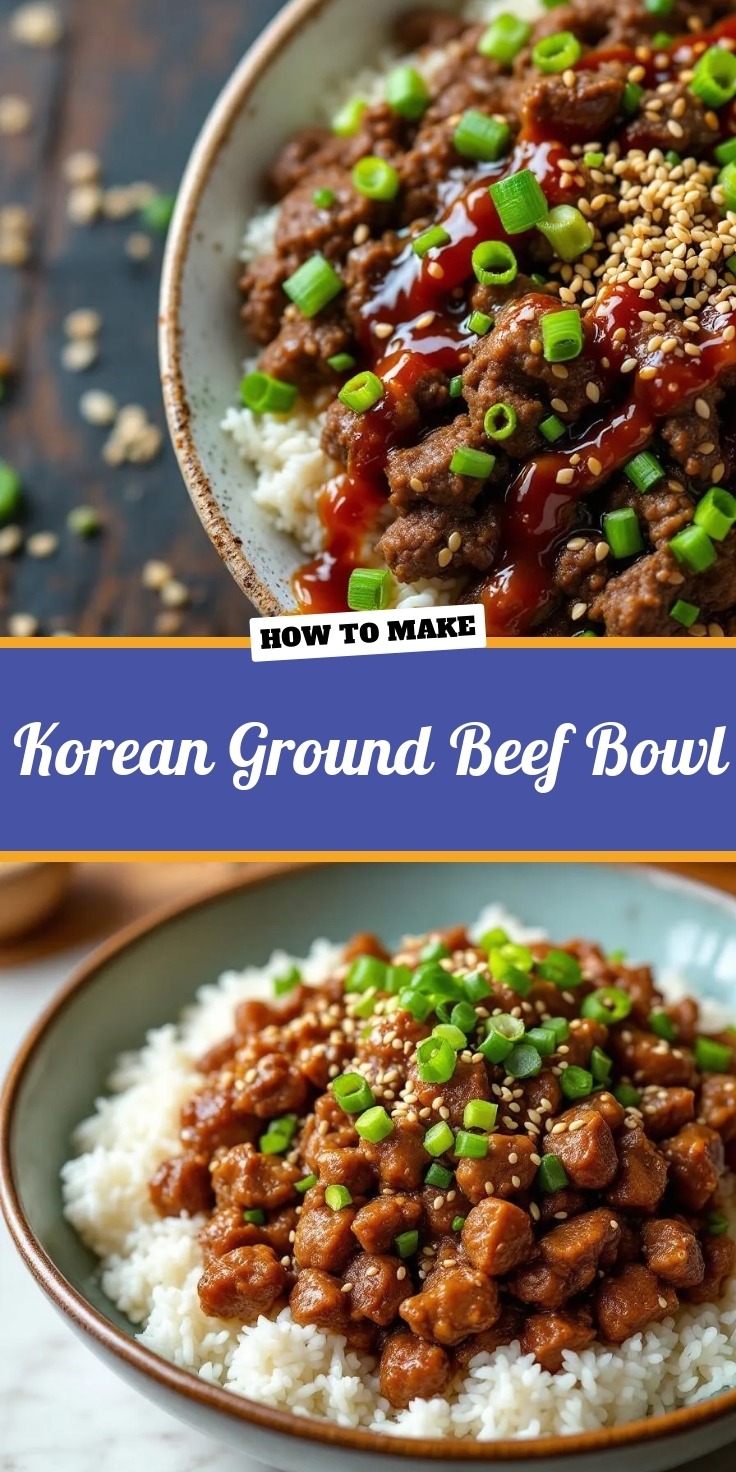
A Korean Ground Beef Bowl typically includes ground beef cooked with a savory-sweet sauce made from soy sauce, brown sugar, garlic, ginger, and sesame oil. It’s often served over rice and topped with green onions, sesame seeds, and sometimes a fried egg for extra flavor.
The traditional Korean Ground Beef Bowl isn’t inherently spicy, but you can easily adjust the heat level. Adding gochujang (Korean chili paste) or red pepper flakes will give it a kick, while keeping it mild makes it family-friendly.
Yes! Ground turkey works well as a leaner alternative in Korean Ground Beef Bowl recipes. The flavorful sauce ensures the dish stays tasty, though the texture will be slightly different from the original beef version.
Korean Ground Beef Bowl is perfect for meal prep—cook a large batch of the beef mixture and store it separately from rice. Reheat with a splash of water to refresh the sauce, and add fresh toppings like green onions when serving.