Introduction
Hi there! I’m Emily, the heart and soul behind brekcakes.com. From my earliest memories, the kitchen has always been a place of warmth and creativity. It’s where I discovered the magic of turning simple ingredients into extraordinary meals and learned that the best dishes are often made with love as the main ingredient.
There’s something deeply comforting about a dish that balances simplicity with bold flavors, and that’s exactly what Beef and Broccoli delivers. Whether you’re craving a quick weeknight dinner or a meal that feels like a cozy hug, this classic stir-fry never disappoints. Plus, with tender beef, crisp broccoli, and a savory sauce, it’s a dish that brings everyone to the table—no fancy skills required. If you’ve ever wondered how to recreate that takeout magic at home, you’re in the right place.
Beef and Broccoli is a beloved staple in Chinese-American cuisine, combining juicy slices of beef with vibrant broccoli in a rich, glossy sauce. What makes it special isn’t just its irresistible taste but also its versatility. You can tweak the ingredients to suit your pantry or dietary preferences, making it a go-to for busy cooks. At brekcakes.com, we celebrate recipes that are both approachable and memorable, and this one fits perfectly. It’s a dish that bridges the gap between weeknight simplicity and weekend indulgence. For more easy dinner ideas, check out our quick weeknight meals collection. And if you’re new to stir-frying, our stir-fry tips guide will help you master the technique in no time.
Why I Love This Recipe
Beef and Broccoli holds a special place in my heart because it was one of the first dishes I ever cooked for my family. I remember the pride I felt when my dad took a second helping and my mom asked for the recipe. Over the years, I’ve perfected my version, but the joy it brings hasn’t changed. Every time I make it, I’m reminded that great food isn’t just about taste—it’s about the connections we create around the table.
Health and Nutrition
Why it’s good for your body
Beef and Broccoli packs a powerful nutritional punch while delivering rich flavor. First, the lean beef provides high-quality protein, which helps build and repair muscles. Additionally, it contains iron and zinc, two minerals that support energy levels and immune function. Meanwhile, broccoli brings fiber, vitamins C and K, and antioxidants to the mix. Together, these ingredients make Beef and Broccoli a well-rounded meal.
Another benefit of Beef and Broccoli is its balance of macronutrients. The protein from beef keeps you full longer, while the fiber in broccoli aids digestion. Furthermore, the dish includes healthy fats if you cook with olive oil or sesame oil. These fats help your body absorb fat-soluble vitamins from the broccoli. As a result, you get a meal that fuels your body efficiently.
Finally, Beef and Broccoli offers versatility for health-conscious eaters. You can easily adjust the recipe to reduce sodium or use grass-fed beef for extra omega-3s. Whether you prioritize protein, vitamins, or mindful eating, this dish adapts to your needs. With so many benefits, it’s no wonder Beef and Broccoli remains a favorite for both taste and nutrition.
How it fits in a healthy lifestyle
Beef and Broccoli fits seamlessly into a balanced diet, whether you’re focusing on high-protein meals or heart-healthy choices. The lean beef supports muscle growth, making it ideal for fitness enthusiasts, while the broccoli adds fiber to promote gut health. If you’re watching your carb intake, you can serve it over cauliflower rice for a low-carb twist.
For those following gluten-free diets, Beef and Broccoli is naturally gluten-free when you use tamari instead of soy sauce. It also pairs well with other nutrient-dense sides, like our Garlic Sautéed Green Beans, for a complete meal. If you’re meal prepping, this dish stores well and reheats easily, saving you time during busy weeks.
Looking for more ways to enjoy balanced meals? Check out our guide to Quick Healthy Dinner Ideas for inspiration. With its adaptable ingredients and wholesome profile, Beef and Broccoli proves that eating well doesn’t mean sacrificing flavor.
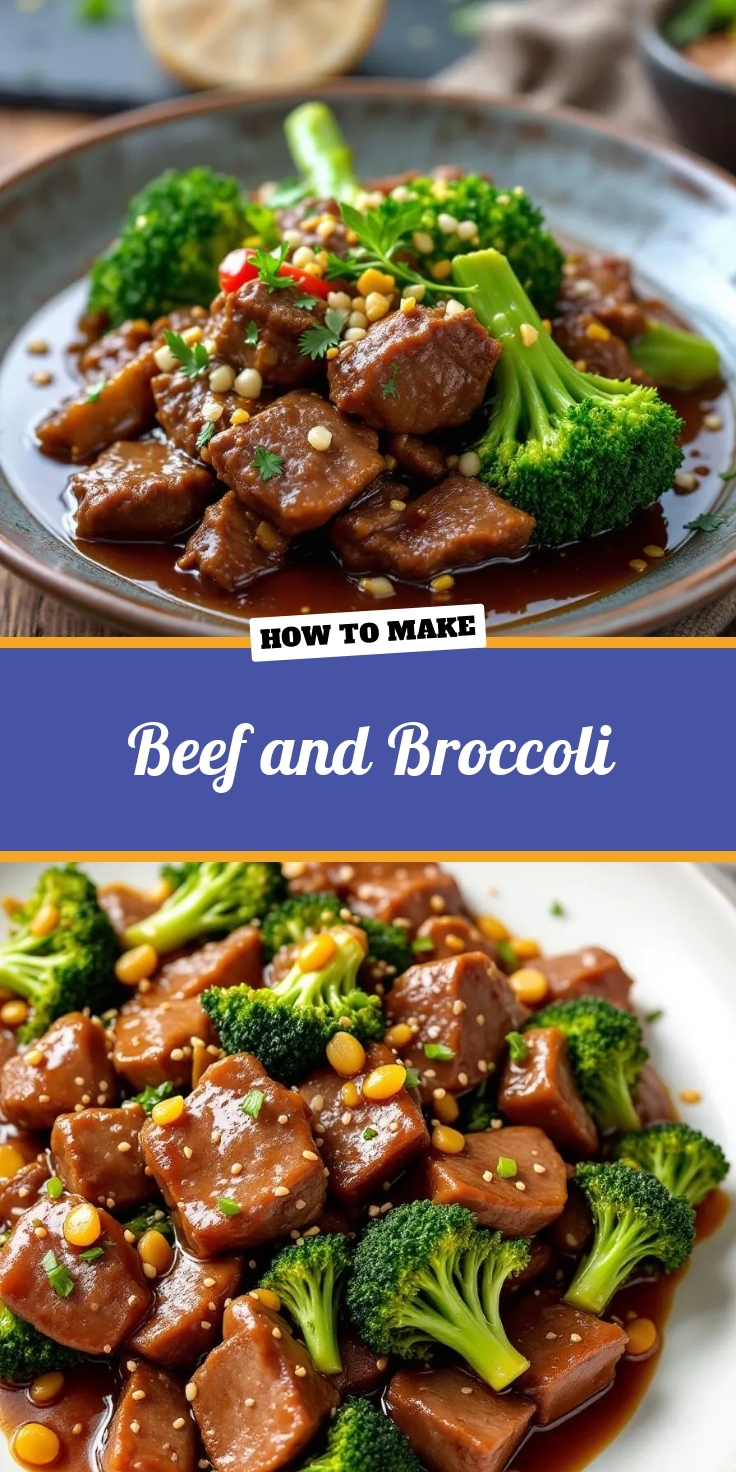
PrintBeef and Broccoli
Description
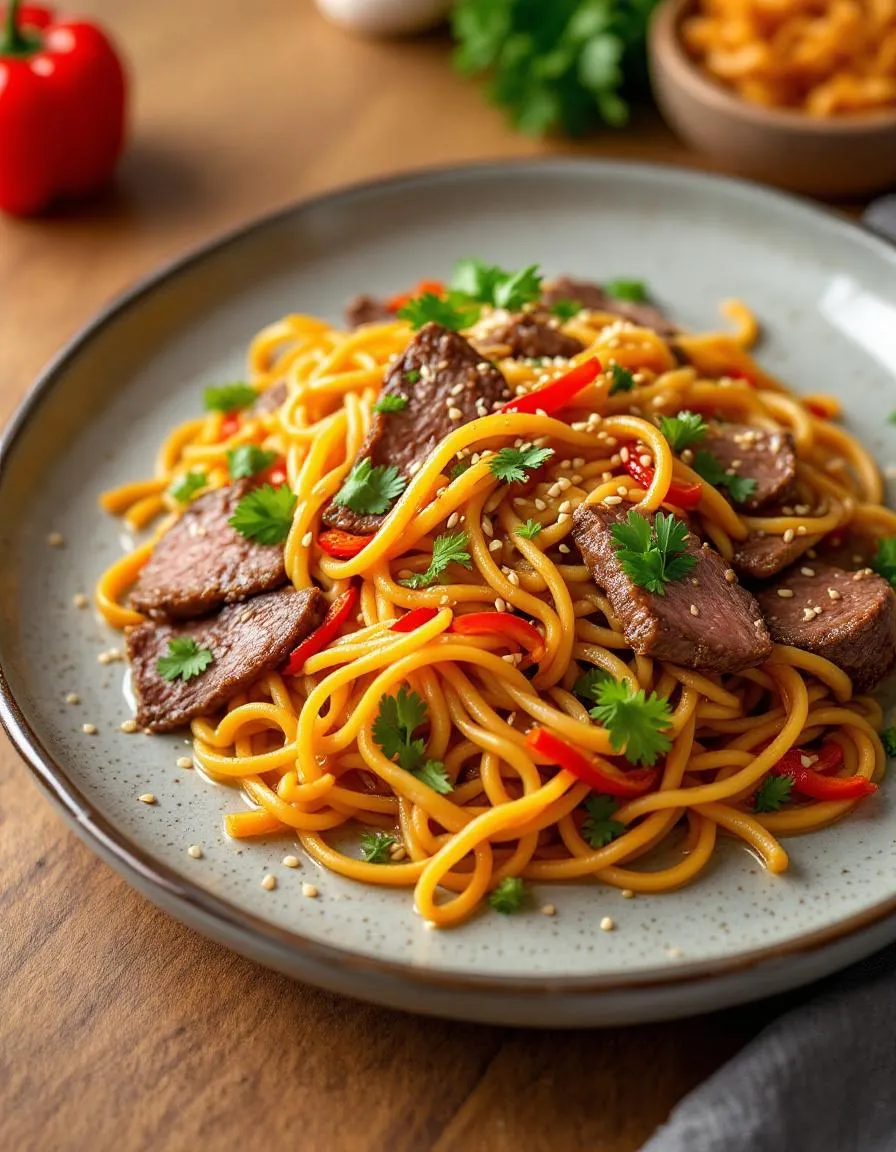
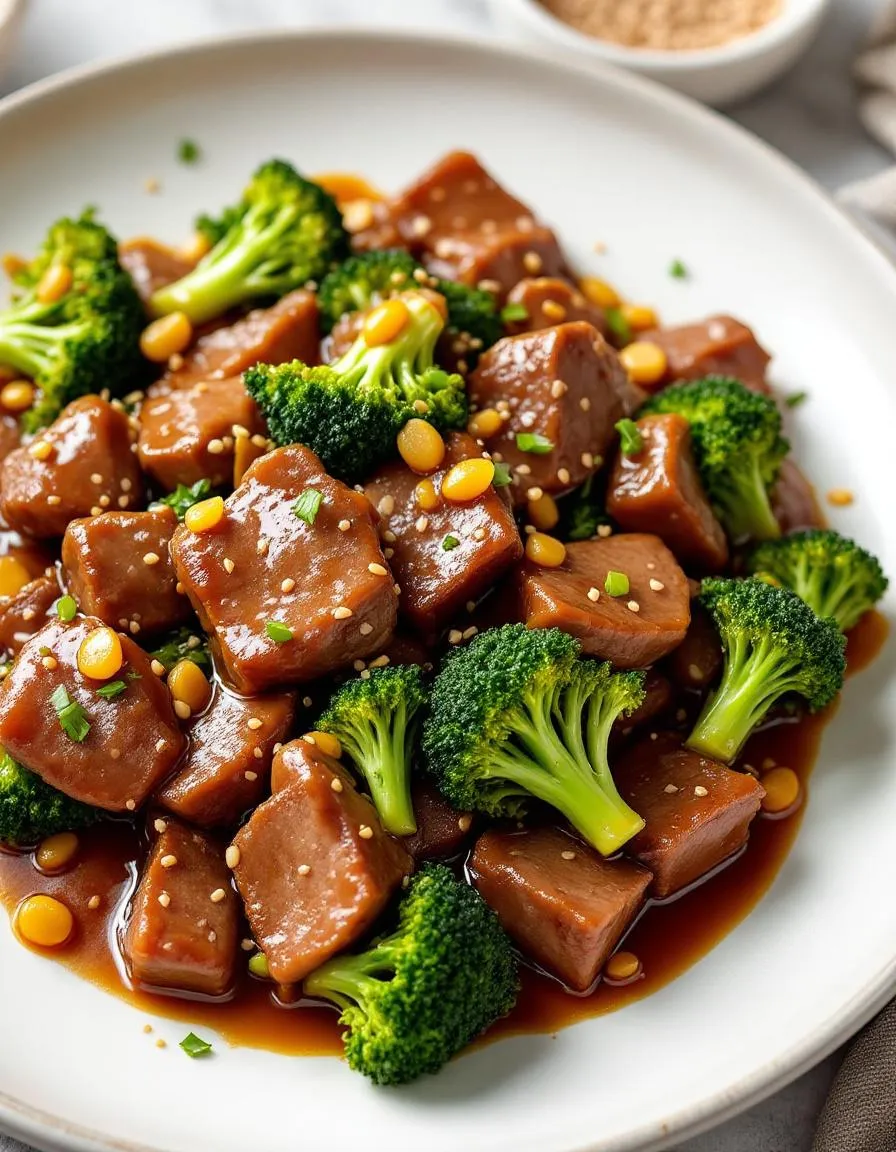
A classic stir-fry dish featuring tender beef and crisp broccoli in a savory sauce.
Ingredients
For the Crust:
- 1 lb flank steak, thinly sliced
- 4 cups broccoli florets
- 3 cloves garlic, minced
- 1/4 cup soy sauce
- 2 tbsp oyster sauce
- 1 tbsp brown sugar
- 1 tbsp cornstarch
- 1/2 cup beef broth
- 2 tbsp vegetable oil
- 1 tsp sesame oil
Instructions
1. Prepare the Crust:
- In a bowl, mix soy sauce, oyster sauce, brown sugar, cornstarch, and beef broth to make the sauce. Set aside.
- Heat vegetable oil in a large pan over high heat. Add beef slices and cook until browned, about 2-3 minutes. Remove from pan.
- In the same pan, add broccoli and garlic. Stir-fry for 3-4 minutes until broccoli is tender-crisp.
- Return beef to the pan and pour the sauce over. Stir well and cook for another 2 minutes until sauce thickens.
- Drizzle with sesame oil before serving.
Notes
You can customize the seasonings to taste.

How to Prepare This Dish
Steps and time-saving tips
Start by slicing the beef into thin strips against the grain for maximum tenderness. Meanwhile, whisk together soy sauce, brown sugar, garlic, and a splash of sesame oil in a bowl to create the marinade. Toss the beef in the marinade and let it sit for at least 15 minutes—or up to an hour if you have time. While the meat soaks up flavor, steam the broccoli florets for just 2-3 minutes until bright green but still crisp. Drain and set aside. Heat a large skillet or wok over high heat, then drizzle in a bit of oil. Stir-fry the beef in batches to avoid overcrowding, searing each piece until browned. Remove the beef and toss in minced ginger and garlic, stirring quickly until fragrant. Add the broccoli back to the pan along with the beef, then pour in the remaining marinade. Let everything simmer for a minute or two until the sauce thickens slightly. For a time-saving hack, use pre-cut beef from the butcher or frozen broccoli florets—just pat them dry before cooking. Serve your Beef and Broccoli hot over steamed rice, and garnish with sesame seeds for extra crunch.
Mistakes I’ve made and learned from
Early on, I made the mistake of overcooking the broccoli until it turned mushy, which ruined the texture of my Beef and Broccoli. Now I pull it off the heat while it’s still slightly firm, since residual heat softens it further. Another blunder? Skipping the marinade step entirely—I learned the hard way that unmarinated beef lacks depth. If you’re short on time, even a quick 10-minute soak helps. I also used to overcrowd the pan, which steamed the beef instead of searing it. Cooking in batches takes a few extra minutes but makes all the difference. For more stir-fry tips, check out my guide on perfect stir-fry techniques. And if you’ve ever struggled with tough meat, my tenderizing beef methods will save your dish every time.
Cultural Connection and Variations
Where this recipe comes from
Beef and Broccoli carries a rich history, blending Chinese-American flavors with traditional Cantonese cooking. While you might associate it with takeout menus today, its roots trace back to Chinese immigrants who adapted their recipes using locally available ingredients. In southern China, stir-frying beef with leafy greens was common, but broccoli became the star in the U.S. because it was easier to find. Families often tweak the dish—some add oyster sauce for depth, while others keep it simple with soy and garlic.
Interestingly, regional twists pop up everywhere. In Taiwan, chefs might use gai lan (Chinese broccoli) for a sharper bite. Meanwhile, home cooks in California sometimes toss in bell peppers or snap peas for extra crunch. My grandma’s version of Beef and Broccoli always included a splash of sherry, which gave it a slightly sweet finish. No matter the variation, the dish remains a comforting bridge between cultures, offering a taste of tradition with every bite.
How it fits in today’s cooking
Beef and Broccoli still shines as a weeknight hero, thanks to its quick prep and crowd-pleasing flavors. Busy cooks love it because they can whip it up faster than ordering delivery—especially when using shortcuts like pre-sliced beef or frozen broccoli. Plus, it’s a fantastic way to sneak veggies into picky eaters’ meals. For meal preppers, this dish holds up well in the fridge, making it a smart choice for easy meal prep ideas.
Modern twists keep it fresh, too. Some swap beef for tofu or mushrooms, while others experiment with low-sodium sauces or gluten-free alternatives. During holidays, families might serve it alongside classics like holiday side dishes, blending old and new traditions. Whether you’re craving comfort or a quick fix, Beef and Broccoli adapts effortlessly to today’s kitchens—and our ever-changing tastes.
Taste and Texture
What makes it delicious
Beef and Broccoli delivers a mouthwatering balance of savory and slightly sweet flavors, with tender strips of beef soaking up a rich, glossy sauce. The broccoli stays crisp-tender, adding a fresh, earthy contrast to the dish. Each bite bursts with umami depth from soy sauce and garlic, while a hint of ginger adds a warm, fragrant kick. The beef melts in your mouth, while the broccoli provides just enough crunch to keep things exciting. Whether you serve it over rice or noodles, Beef and Broccoli satisfies with its hearty, comforting textures and bold, aromatic flavors.
Boosting the flavor
For an extra flavor boost, try marinating the beef in a mix of soy sauce, brown sugar, and sesame oil before cooking—it deepens the savoriness. If you love heat, sprinkle red pepper flakes or drizzle spicy sesame sauce over the finished dish. Toasted sesame seeds or chopped green onions add a nutty, fresh finish. For a tangy twist, stir in a splash of rice vinegar or serve with a side of garlic ginger dipping sauce. Small tweaks like these elevate Beef and Broccoli without overpowering its classic appeal.
Tips for Success
Best practices for results
Slice the beef against the grain for tender bites every time, as this breaks down tough fibers. Meanwhile, blanch the broccoli briefly before stir-frying to keep it crisp yet tender. Always marinate the beef for at least 20 minutes to lock in flavor and moisture. For the best Beef and Broccoli, cook the beef in small batches to avoid steaming instead of searing. Finally, thicken the sauce slightly with cornstarch for a glossy, restaurant-quality finish.
Mistakes to avoid
Overcrowding the pan is a common mistake, which leads to soggy beef instead of a caramelized crust. Instead, use a large skillet and cook in batches. Another error is overcooking the broccoli, turning it mushy. For perfectly crisp-tender veggies, follow our blanching guide. Also, skip low-sodium soy sauce unless you adjust seasoning, as it can make Beef and Broccoli taste bland. For balanced flavors, check our soy sauce alternatives if you need adjustments.
Serving and Pairing Suggestions
How to serve this dish
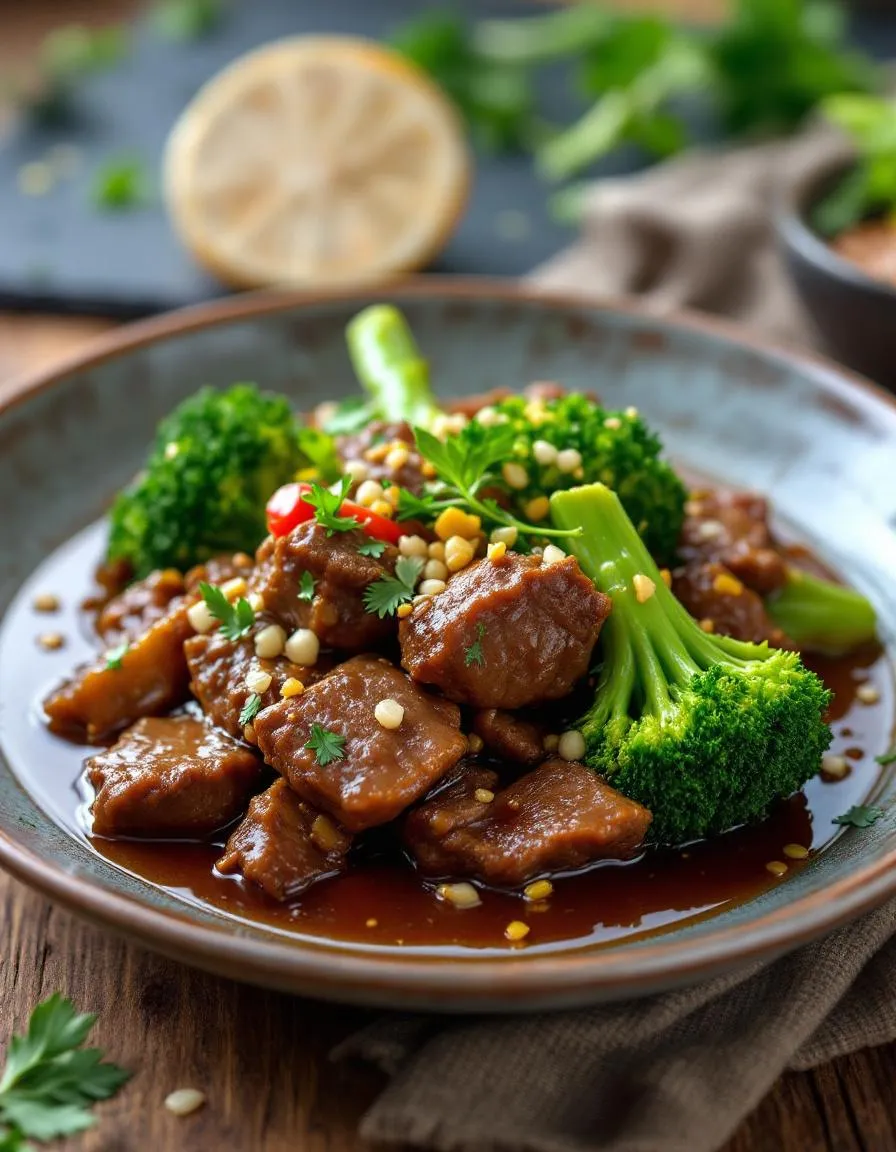
For a restaurant-worthy presentation, plate your Beef and Broccoli over a bed of fluffy white rice or noodles. Alternatively, serve it family-style in a large bowl with chopsticks for sharing. To elevate the visual appeal, sprinkle toasted sesame seeds or thinly sliced green onions on top. Meanwhile, if you’re hosting a casual dinner, pair it with small bowls of soy sauce or chili oil for dipping. Whether you’re preparing a weeknight meal or a festive gathering, Beef and Broccoli adapts beautifully to any occasion.
What goes well with it
A crisp Asian slaw makes the perfect side for Beef and Broccoli, adding a refreshing crunch that balances the rich flavors. If you prefer something warm, try our garlic noodles, which soak up the savory sauce beautifully. For drinks, a light jasmine tea or a citrusy wheat beer cuts through the dish’s umami depth. Finally, if you’re craving extra heat, drizzle our spicy mayo over the top for a creamy kick.
Flank steak or sirloin are the best cuts for Beef and Broccoli because they stay tender when stir-fried. Slice the beef thinly against the grain for maximum tenderness. Avoid tougher cuts like chuck, as they won’t cook quickly enough for this dish.
The classic Beef and Broccoli sauce combines soy sauce, oyster sauce, brown sugar, garlic, and a bit of cornstarch for thickness. Mix these ingredients with beef broth or water for a balanced, savory-sweet flavor. Adjust the sauce to your taste by adding a splash of sesame oil or red pepper flakes for heat.
Yes, you can substitute soy sauce with coconut aminos or tamari for a gluten-free version of Beef and Broccoli. Liquid aminos also work well and provide a similar umami flavor. Just adjust the quantity slightly, as these alternatives may be less salty than traditional soy sauce.
Beef and Broccoli stays fresh in the fridge for 3–4 days when stored in an airtight container. Reheat it gently in a skillet or microwave, adding a splash of water to revive the sauce. For best texture, avoid freezing, as the broccoli may become mushy.