Introduction
Hi there! I’m Emily, the heart and soul behind brekcakes.com. From my earliest memories, the kitchen has always been a place of warmth and creativity. It’s where I discovered the magic of turning simple ingredients into extraordinary meals and learned that the best dishes are often made with love as the main ingredient.
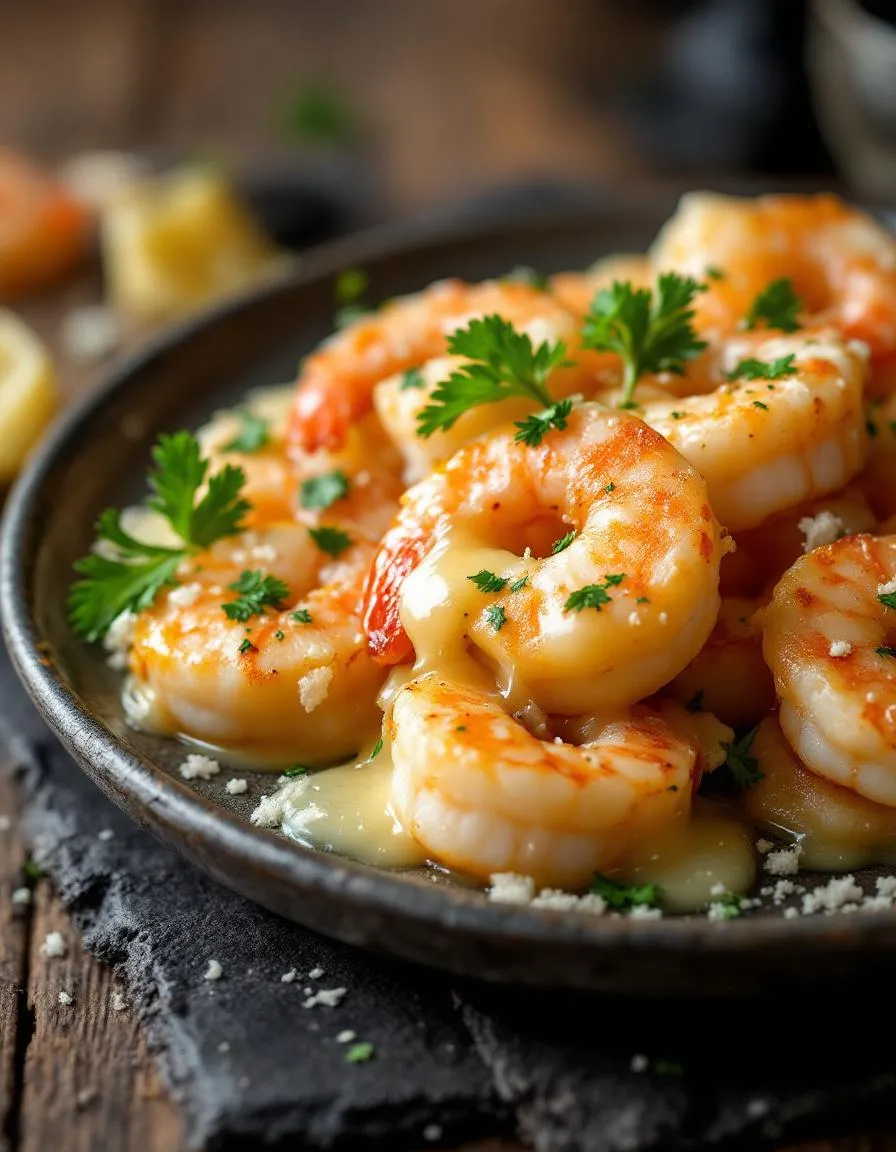
If you’re craving a dish that feels indulgent yet comes together effortlessly, you’re in the right place. Baked Garlic Parmesan Shrimp delivers bold flavors with minimal fuss, making it perfect for busy weeknights or elegant gatherings. Whether you’re a seafood lover or just looking for a quick, crowd-pleasing recipe, this dish promises to impress. Plus, the aroma of garlic and parmesan wafting through your kitchen will have everyone asking for seconds before you even pull it out of the oven.
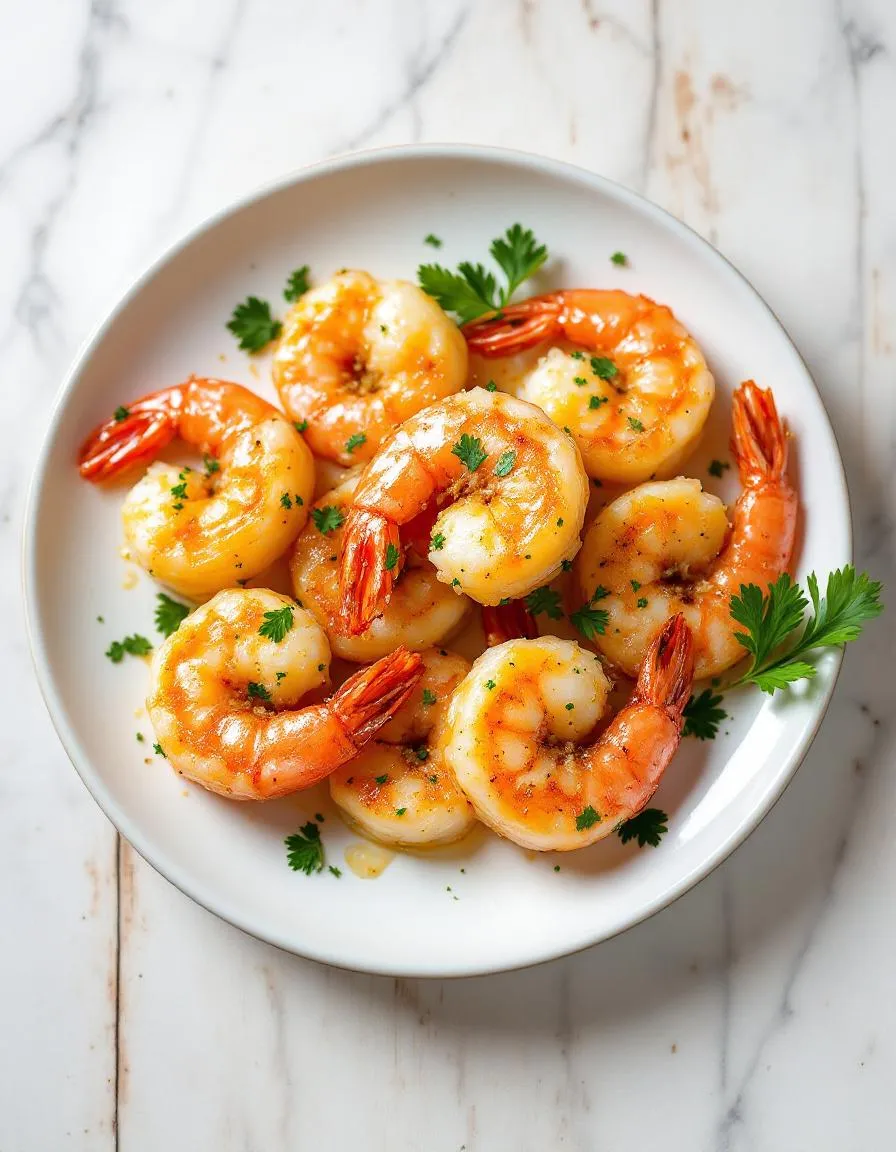
Baked Garlic Parmesan Shrimp is a vibrant, flavor-packed dish that combines succulent shrimp with a crispy, golden topping of garlic, parmesan, and herbs. Unlike fussy seafood recipes, this one requires just a handful of ingredients and bakes in minutes, letting the oven do most of the work. What makes it special? It strikes the perfect balance between simplicity and sophistication, much like the easy dinner recipes I love sharing here. The shrimp stay juicy, while the parmesan forms a savory crust that’s downright irresistible. Whether you serve it over pasta, alongside crusty bread, or as a standalone appetizer, it’s a versatile star that fits any occasion. And if you’re a fan of effortless yet impressive dishes, you’ll adore this as much as my quick meal ideas collection.
Why I Love This Recipe
This recipe holds a special place in my heart because it reminds me of lazy summer evenings spent with family. My grandmother used to make a similar version, and the smell of garlic and butter always brings me back to her cozy kitchen. Now, I love how Baked Garlic Parmesan Shrimp lets me recreate that warmth for my own family—without spending hours at the stove. It’s the kind of dish that feels like a hug on a plate, and I hope it becomes a favorite in your home too.
Health and Nutrition
Why it’s good for your body
Baked Garlic Parmesan Shrimp packs a powerful nutritional punch while delighting your taste buds. First, shrimp delivers lean protein, which helps build muscle and keeps you full longer. Additionally, garlic offers immune-boosting properties, making this dish a smart choice during cold season. Moreover, the parmesan cheese adds calcium for strong bones without overwhelming the dish with excess fat.
Since you bake Baked Garlic Parmesan Shrimp instead of frying it, you avoid unnecessary oils and calories. Furthermore, shrimp contains omega-3 fatty acids, which support heart health and reduce inflammation. The dish also includes antioxidants from garlic, promoting overall wellness. Even better, the simple preparation preserves the natural nutrients, so you get maximum benefits.
If you want a meal that fuels your body without guilt, Baked Garlic Parmesan Shrimp checks all the boxes. It combines high-quality protein, essential vitamins, and heart-healthy fats in one flavorful dish. Best of all, the ingredients work together to create a balanced, nutrient-dense meal that satisfies cravings and nourishes your body.
How it fits in a healthy lifestyle
Baked Garlic Parmesan Shrimp fits seamlessly into a balanced diet, whether you focus on high-protein meals, gluten-free eating, or heart-healthy choices. Since shrimp is naturally low in carbs, it pairs well with nutritious sides like roasted vegetables or quinoa for a complete meal. The dish also aligns with Mediterranean-style eating, which emphasizes lean proteins and healthy fats.
If you track macros, Baked Garlic Parmesan Shrimp provides a protein boost without excessive calories. For those managing sodium intake, simply adjust the parmesan or use a low-sodium alternative. Plus, the recipe works well for meal prep, so you can enjoy a quick weeknight dinner without sacrificing nutrition. Whether you prioritize fitness, weight management, or simply eating well, this dish delivers flavor and nourishment in every bite.
PrintBaked Garlic Parmesan Shrimp
Description
Juicy shrimp baked with garlic, butter, and Parmesan cheese for a quick and flavorful dish.
Ingredients
For the Crust:
- 1 lb large shrimp, peeled and deveined
- 3 cloves garlic, minced
- 1/4 cup butter, melted
- 1/4 cup grated Parmesan cheese
- 1/2 tsp paprika
- 1/4 tsp salt
- 1/4 tsp black pepper
- 1 tbsp fresh parsley, chopped
- 1 tbsp lemon juice
Instructions
1. Prepare the Crust:
- Preheat oven to 400°F (200°C). Lightly grease a baking dish.
- In a bowl, mix melted butter, minced garlic, lemon juice, paprika, salt, and black pepper.
- Add shrimp to the bowl and toss to coat evenly.
- Arrange shrimp in a single layer in the prepared baking dish. Sprinkle Parmesan cheese on top.
- Bake for 10-12 minutes or until shrimp are pink and cooked through.
- Garnish with fresh parsley and serve warm.
Notes
You can customize the seasonings to taste.

How to Prepare This Dish
Steps and time-saving tips
Start by preheating your oven to 400°F so it’s ready when you are. While it heats, grab a large bowl and whisk together melted butter, minced garlic, lemon juice, and a pinch of salt. Toss the shrimp in this mixture until they’re evenly coated, then let them sit for five minutes to soak up the flavors. Meanwhile, mix grated Parmesan, breadcrumbs, and a dash of paprika in a separate bowl for the crispy topping. Arrange the shrimp in a single layer on a baking sheet, drizzle any remaining butter mixture over them, and sprinkle the Parmesan breadcrumb blend generously on top. Bake for 10-12 minutes until the shrimp turn pink and the topping turns golden. For a time-saving hack, use pre-peeled shrimp or prep the garlic butter mix ahead. Serve immediately with a squeeze of fresh lemon and a sprinkle of parsley for a bright finish.
Mistakes I’ve made and learned from
I once rushed the marinating step and ended up with bland Baked Garlic Parmesan Shrimp—lesson learned! Now, I always let the shrimp sit in the garlic butter for at least five minutes, or even longer if I have time. Another blunder? Overcrowding the baking sheet, which steamed the shrimp instead of crisping them. Spreading them in a single layer made all the difference. If you’re new to seafood, check out my guide on how to cook shrimp perfectly to avoid rubbery results. And if you love Parmesan, don’t miss my tips for balancing bold cheeses in recipes without overpowering the dish.
Cultural Connection and Variations
Where this recipe comes from
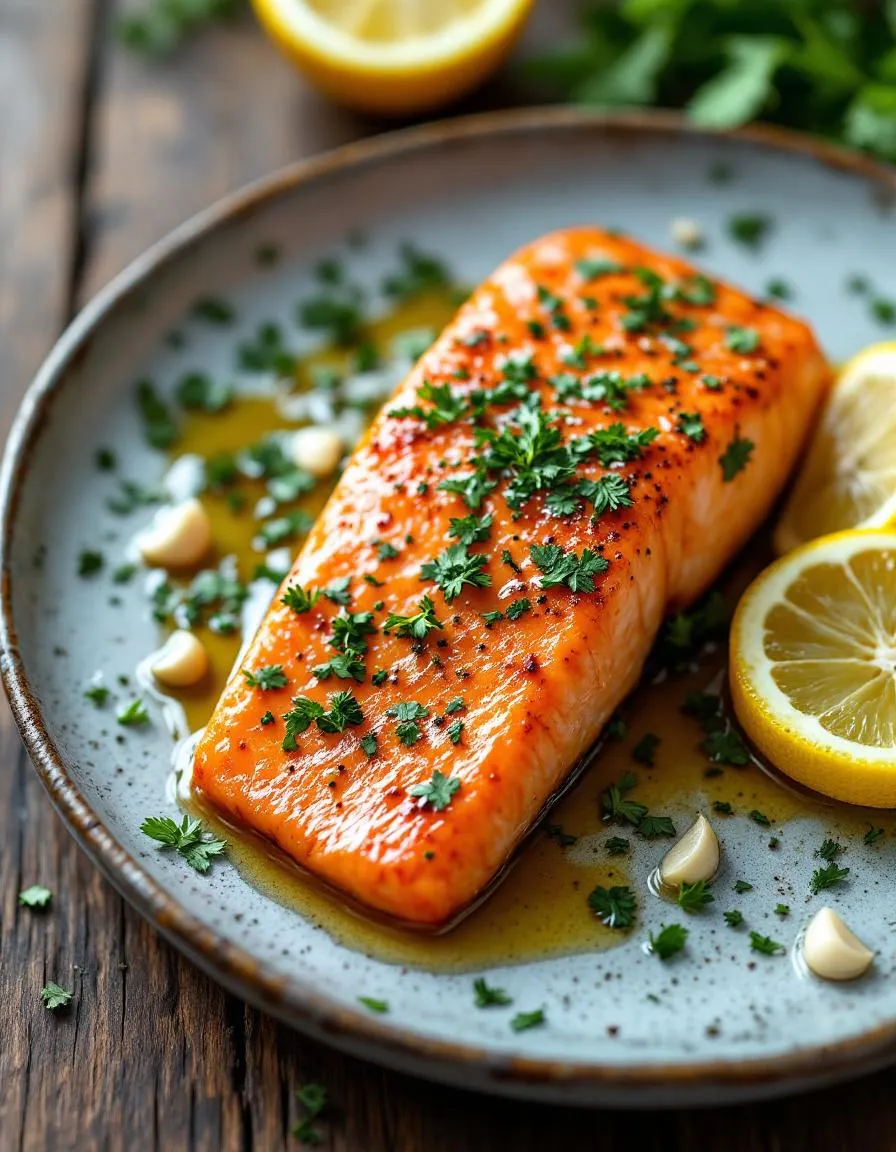
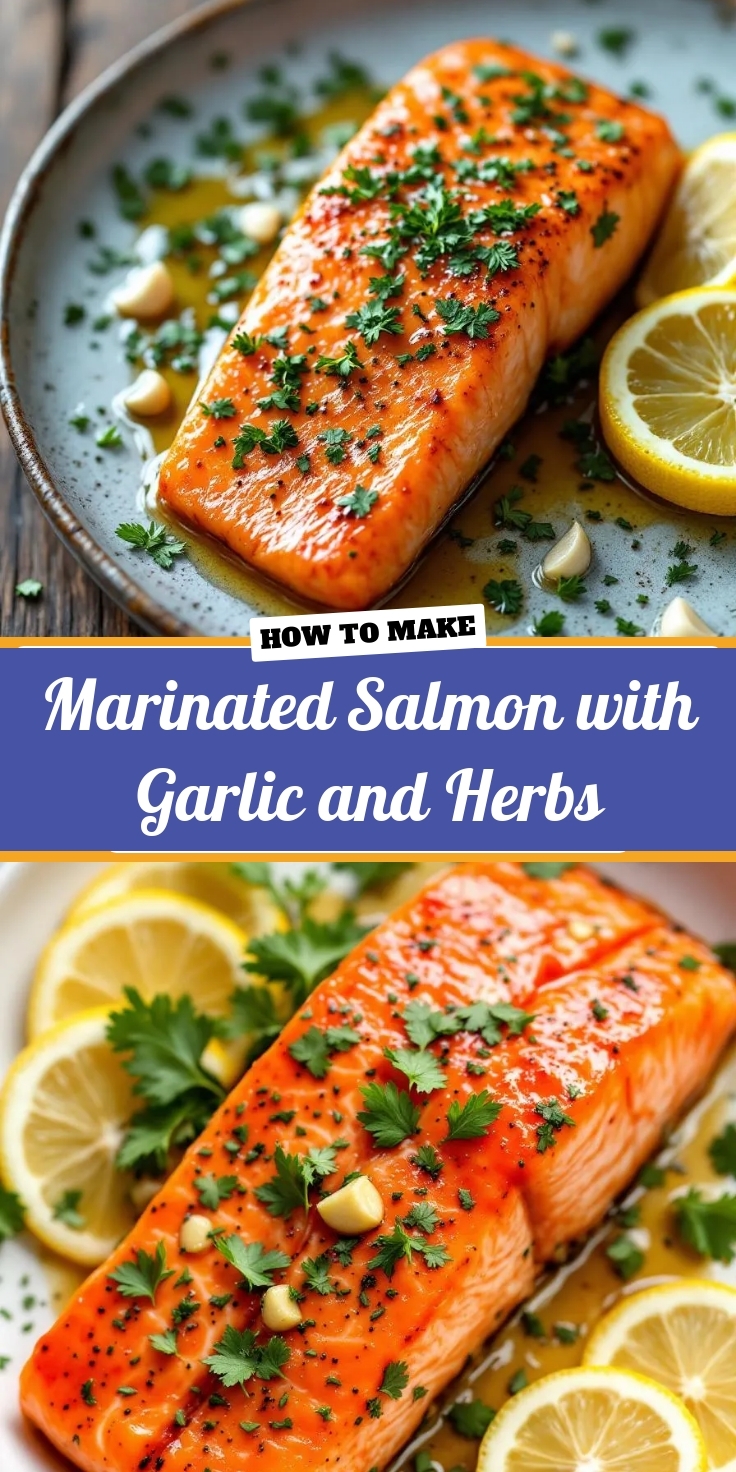
Baked Garlic Parmesan Shrimp carries a rich Mediterranean flair, drawing inspiration from coastal Italian and Greek kitchens where seafood shines. In Italy, cooks often prepare shrimp with garlic, olive oil, and breadcrumbs, while Greek versions might add lemon and oregano for a zesty twist. Families in these regions serve it as a celebratory dish, especially during summer feasts or festive gatherings. Meanwhile, in the American South, you might find a spicier take with Cajun seasoning or a buttery finish.
My grandmother put her own spin on Baked Garlic Parmesan Shrimp by adding a pinch of smoked paprika for warmth. Over time, I’ve seen friends adapt it too—some swap panko for almond flour, while others toss in cherry tomatoes for a burst of freshness. No matter the variation, the dish always feels like a cozy yet elegant crowd-pleaser. Whether you’re hosting a dinner party or craving a weeknight treat, Baked Garlic Parmesan Shrimp bridges tradition and personal taste effortlessly.
How it fits in today’s cooking
Today, Baked Garlic Parmesan Shrimp fits perfectly into modern cooking because it’s quick, versatile, and packed with flavor. Busy home cooks love how it comes together in under 30 minutes, making it ideal for easy weeknight dinners. Health-conscious eaters appreciate its high-protein, low-carb profile, especially when paired with zucchini noodles or a crisp salad.
During holidays, this dish often graces tables as a lighter alternative to heavy mains. Some families even include it in their seasonal entertaining menus, pairing it with crusty bread for dipping. Social media has also sparked creative twists, like air-frying the shrimp or adding a drizzle of chili oil. No matter how you serve it, Baked Garlic Parmesan Shrimp remains a timeless favorite that adapts to any occasion.
Taste and Texture
What makes it delicious
Baked Garlic Parmesan Shrimp delivers a burst of savory, buttery flavor with every bite. The shrimp turns tender and juicy, while the golden parmesan crust adds a satisfying crunch. Fragrant garlic infuses the dish with a warm, aromatic depth, and a hint of lemon brightens the richness. Meanwhile, the melted butter creates a luscious coating that ties everything together. Whether you serve it as an appetizer or main course, Baked Garlic Parmesan Shrimp offers a irresistible balance of textures—creamy, crisp, and perfectly succulent.
Boosting the flavor
For an extra flavor kick, try swapping regular butter with garlic herb butter or adding a pinch of red pepper flakes for subtle heat. A sprinkle of fresh parsley or basil right before serving enhances freshness, while a drizzle of garlic aioli adds creamy tang. If you love bold flavors, pair the shrimp with a side of garlic mashed potatoes to soak up every delicious bite. Experiment with smoked paprika or a dash of Worcestershire sauce for even deeper umami notes.

Tips for Success
Best practices for results
Always pat the shrimp dry before seasoning to help the garlic parmesan coating stick better. Meanwhile, use freshly grated parmesan instead of pre-shredded cheese for a smoother melt and richer flavor in your Baked Garlic Parmesan Shrimp. For even cooking, arrange the shrimp in a single layer on the baking sheet, and lightly toss them halfway through. Additionally, broil for the last 1-2 minutes to achieve a golden, crispy finish without overcooking.
Mistakes to avoid
Avoid overcrowding the baking sheet, as this steams the shrimp instead of crisping them. Instead, use two pans or bake in batches if needed. Also, skip bottled lemon juice and opt for fresh citrus to brighten the dish naturally. If you struggle with timing, check our guide on how to tell when shrimp is cooked for foolproof results. Finally, don’t skip the resting step after baking—letting the Baked Garlic Parmesan Shrimp sit for 2-3 minutes helps the flavors settle. For more seasoning tips, explore our balancing flavors in seafood post.
Serving and Pairing Suggestions
How to serve this dish
Baked Garlic Parmesan Shrimp shines as a versatile dish that suits both casual dinners and special occasions. For a stunning presentation, arrange the shrimp on a rustic wooden board or a sleek white platter, garnished with fresh parsley or lemon wedges. Meanwhile, if you’re hosting a gathering, serve them in individual mini cast-iron skillets for a charming, restaurant-worthy touch. Whether you’re planning a cozy date night or a festive holiday appetizer spread, this dish adds elegance with minimal effort. To elevate the experience, pair it with warm crusty bread for dipping into the flavorful garlic parmesan sauce.
What goes well with it
Baked Garlic Parmesan Shrimp pairs beautifully with light, refreshing sides that balance its rich flavors. For a crisp contrast, try a simple lemon herb quinoa salad, which adds a zesty, wholesome touch. Alternatively, roasted asparagus or garlic butter green beans bring a satisfying crunch. If you’re craving something heartier, serve it over a bed of creamy parmesan risotto to soak up every last bit of the savory sauce. For drinks, a chilled Sauvignon Blanc or sparkling water with lemon complements the dish perfectly.
Baked Garlic Parmesan Shrimp typically takes 10–12 minutes at 400°F (200°C). The shrimp are done when they turn pink and opaque. Overcooking can make them rubbery, so watch closely for the perfect texture.
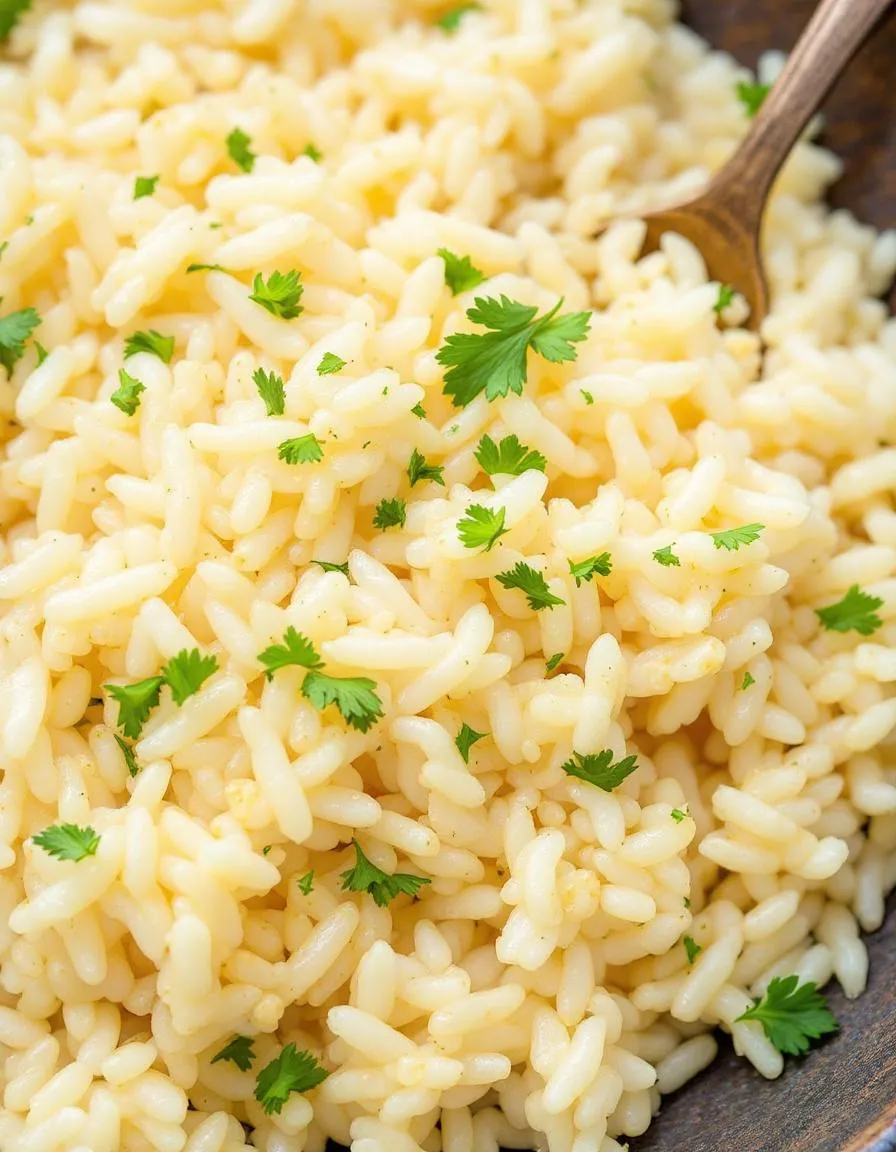
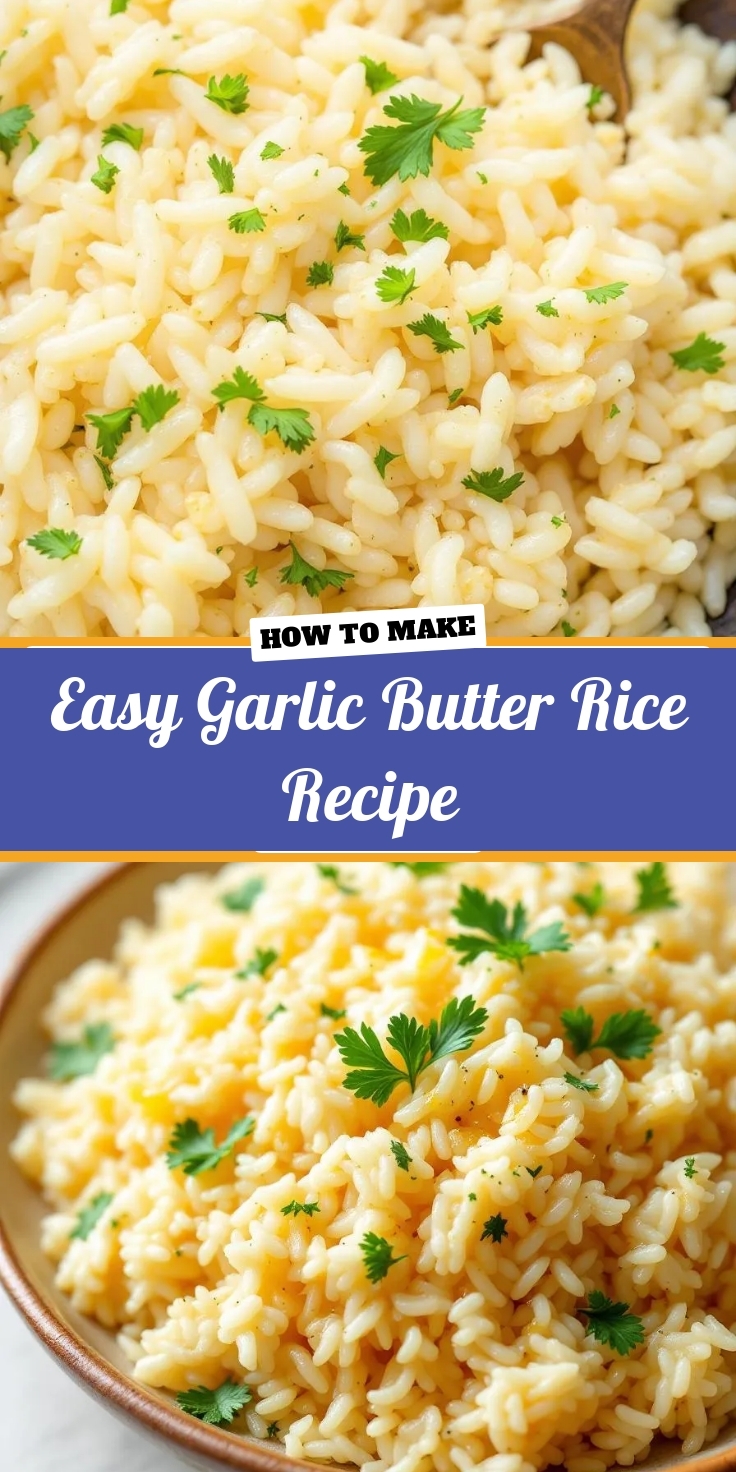
Baked Garlic Parmesan Shrimp pairs beautifully with light sides like lemon rice, roasted asparagus, or a crisp Caesar salad. For heartier options, try garlic bread or buttered pasta to soak up the flavorful sauce.
Yes! Thaw frozen shrimp overnight in the fridge or under cold running water before making Baked Garlic Parmesan Shrimp. Pat them dry thoroughly to ensure the coating sticks and they bake evenly.
Baked Garlic Parmesan Shrimp is a protein-rich, low-carb dish, especially if you use olive oil and moderate cheese. Shrimp provide selenium and omega-3s, while baking (instead of frying) keeps it lighter.