The Coziest One-Pan Wonder: Parmesan Crusted Chicken Sheet Pan Dinner
There’s something magical about those evenings when dinner comes together effortlessly—no fuss, no mountain of dishes, just golden, crispy chicken and caramelized veggies all on one pan. This Parmesan Crusted Chicken Sheet Pan Dinner is my go-to on busy weeknights when I crave something comforting but don’t want to spend hours in the kitchen. It reminds me of the kind of meal my grandmother would whip up—simple, satisfying, and full of flavor.
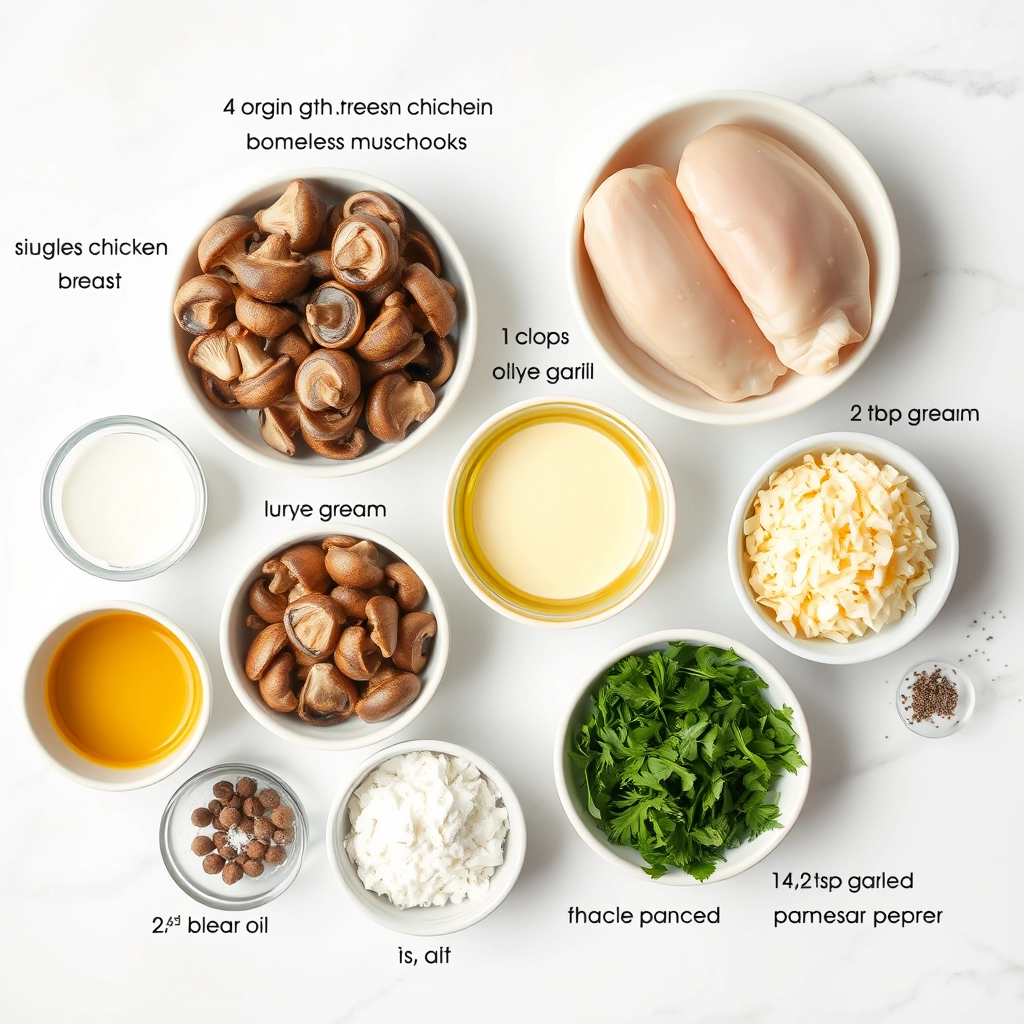
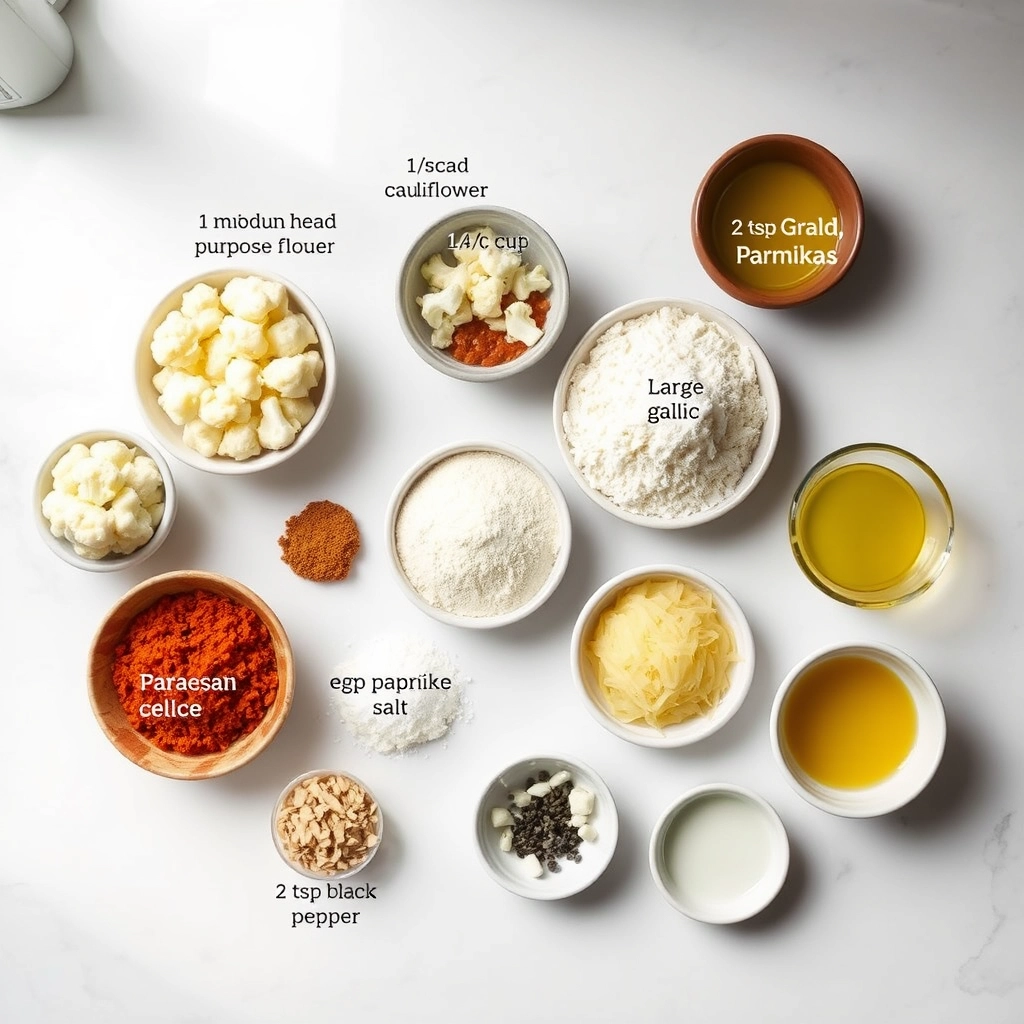
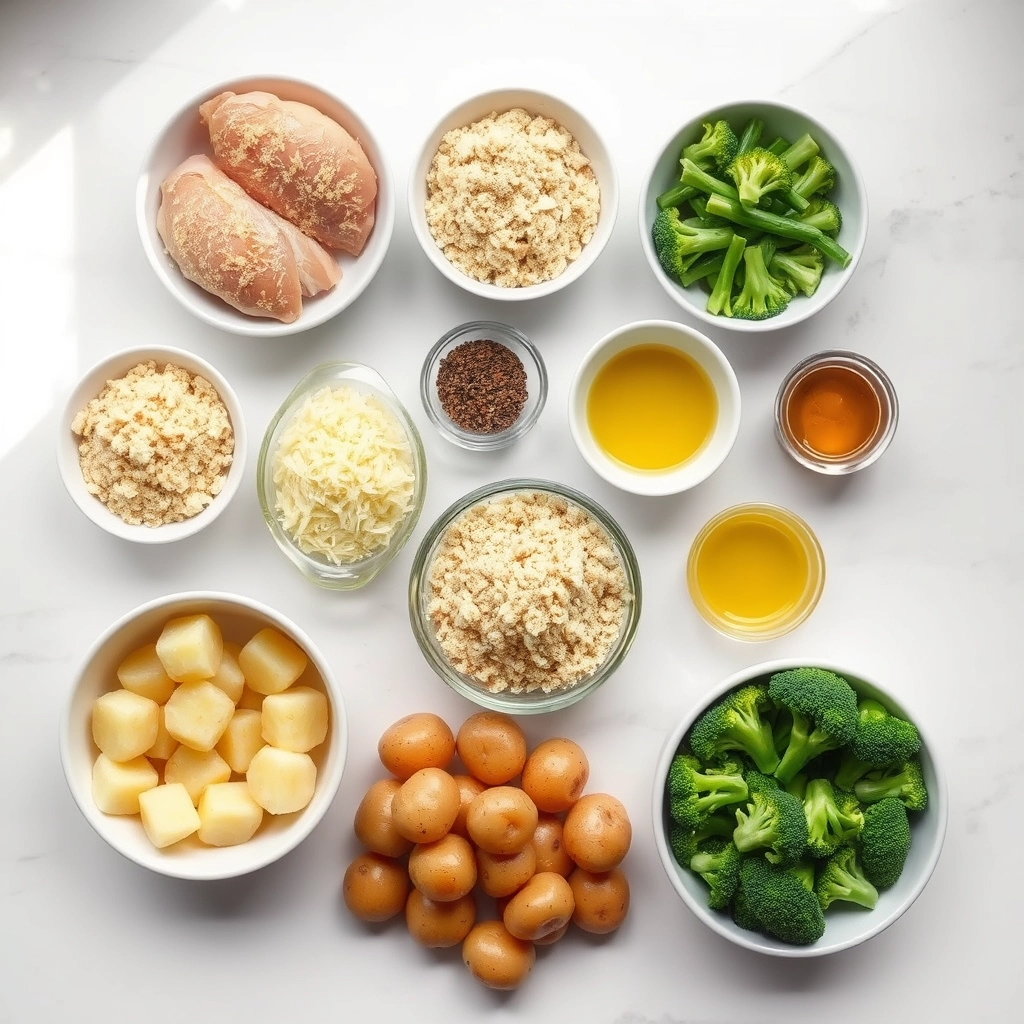
Ingredients You’ll Need
Here’s what you’ll need to make this cozy, crowd-pleasing dinner:
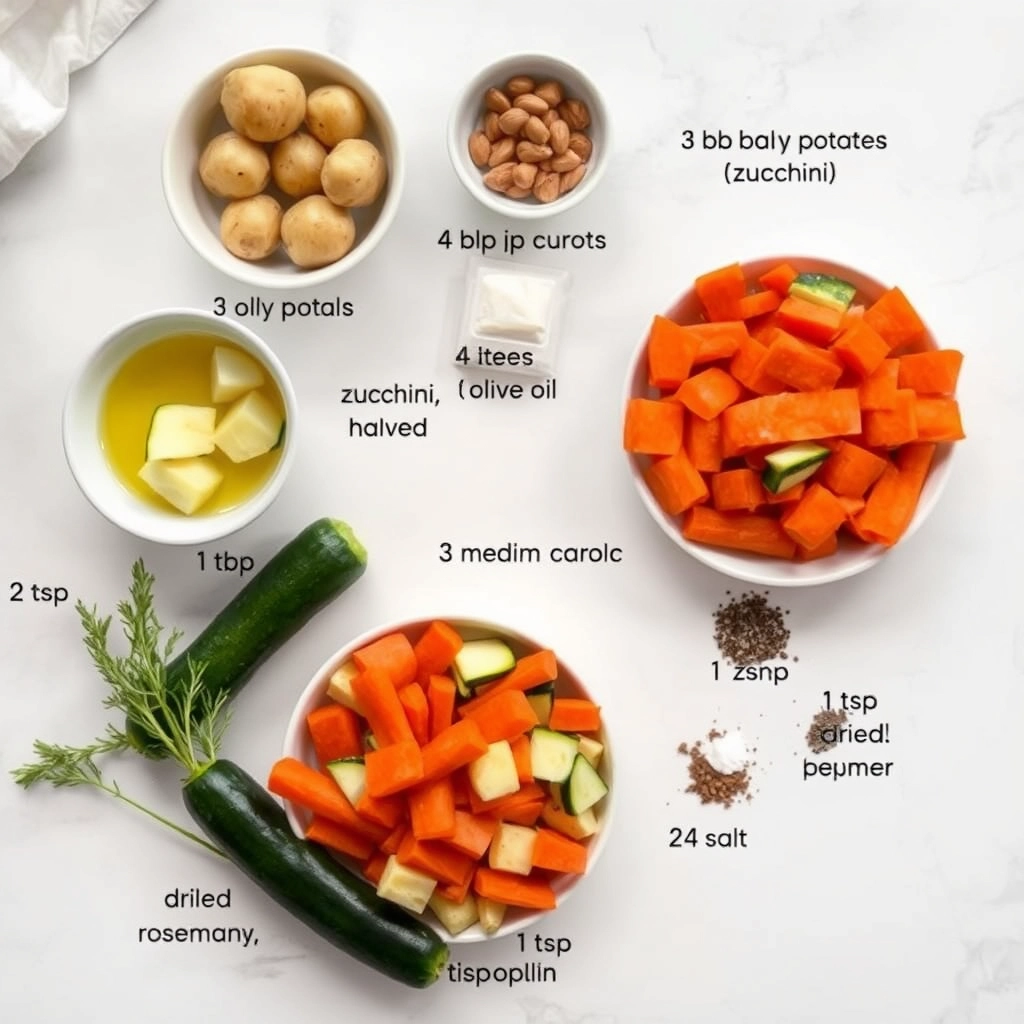
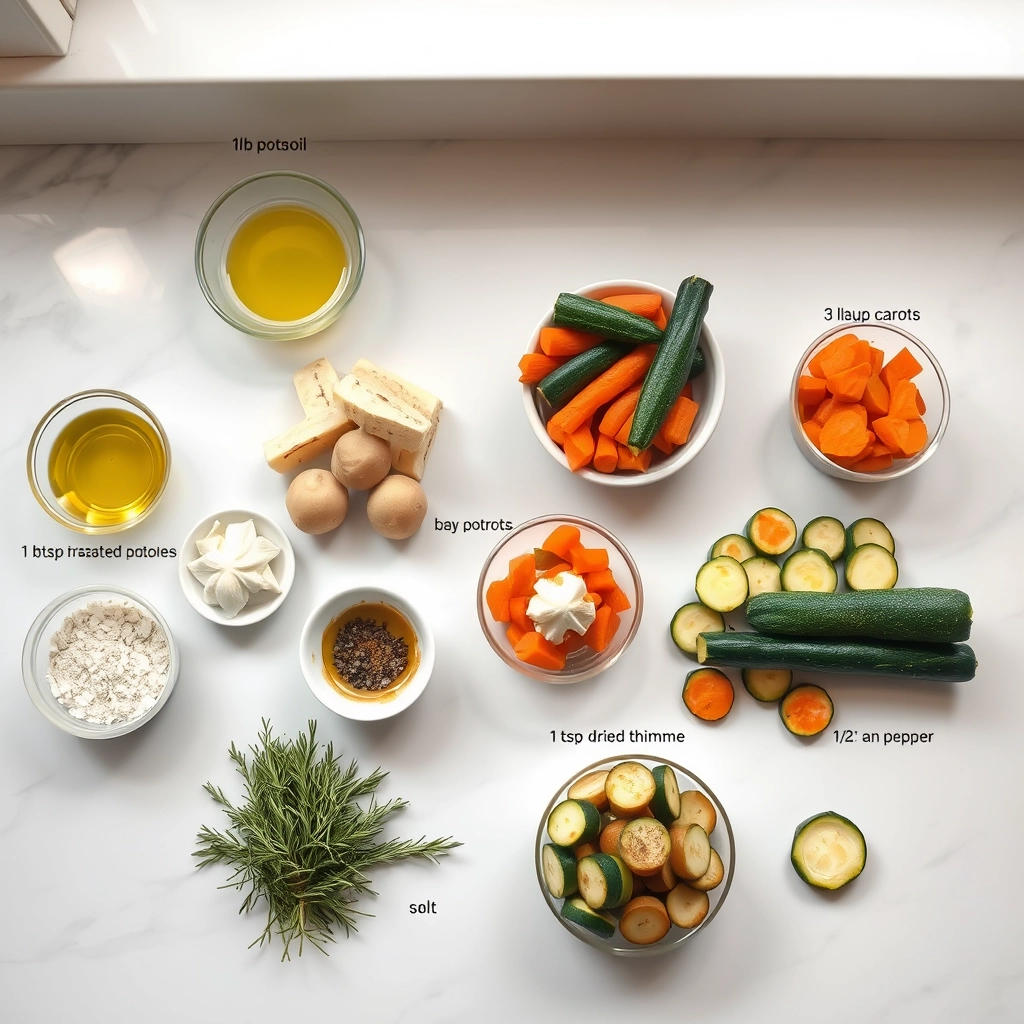
- 4 boneless, skinless chicken breasts – Look for ones that are evenly sized so they cook at the same rate.
- 1 cup grated Parmesan cheese – The star of the crust! Freshly grated works best for maximum flavor.
- 1/2 cup panko breadcrumbs – These add the perfect crunch without being too heavy.
- 1 teaspoon garlic powder – Because everything tastes better with garlic.
- 1 teaspoon dried Italian seasoning – A little herbaceous magic to tie it all together.
- 1/2 teaspoon smoked paprika – Just a hint for warmth and depth.
- 2 large eggs – Our trusty binder for that crispy Parmesan crust.
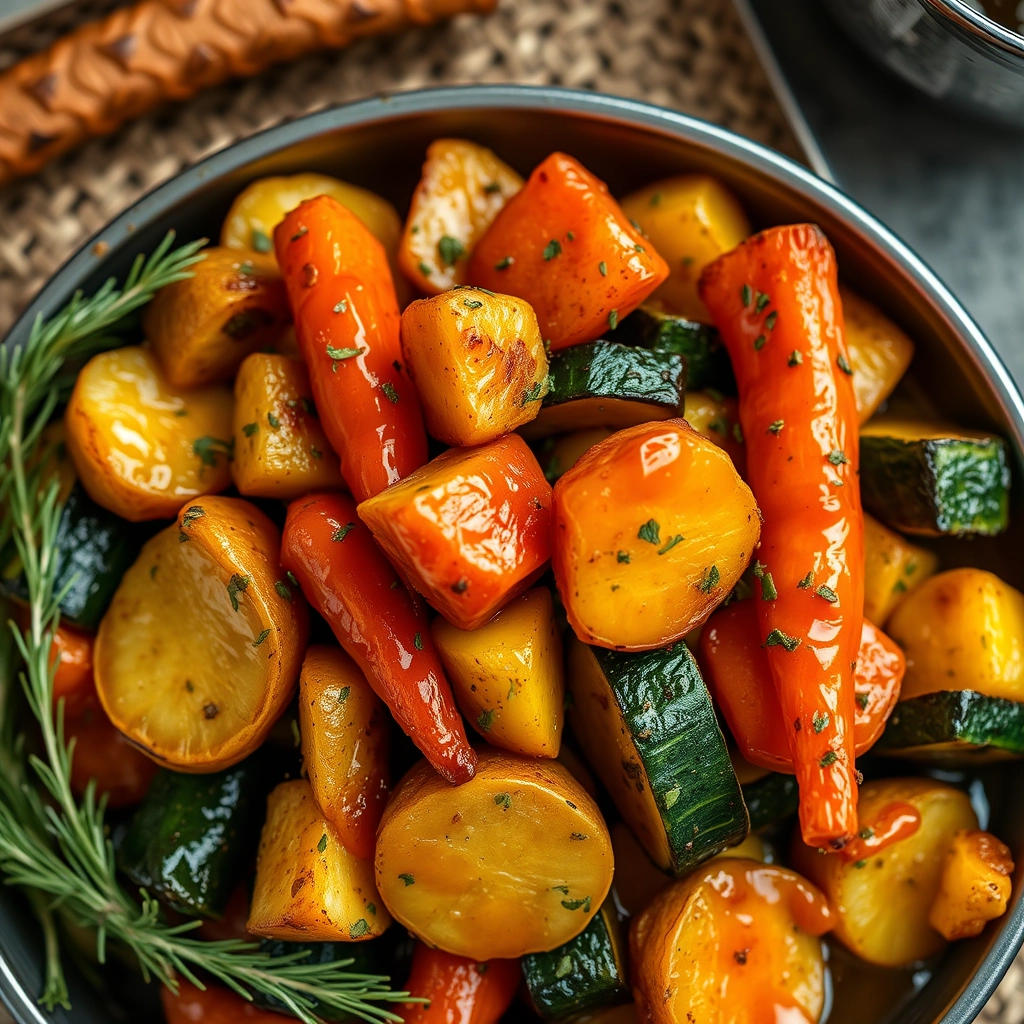
- 1 pound baby potatoes, halved – They get wonderfully tender and crispy at the edges.
- 2 cups broccoli florets – Fresh or frozen (no need to thaw) both work beautifully.
- 2 tablespoons olive oil – For roasting those veggies to perfection.
- Salt and freshly ground black pepper – To taste, because seasoning is everything.
Let’s Get Cooking
Now, let’s bring this comforting dish to life. Here’s how to make it step by step:
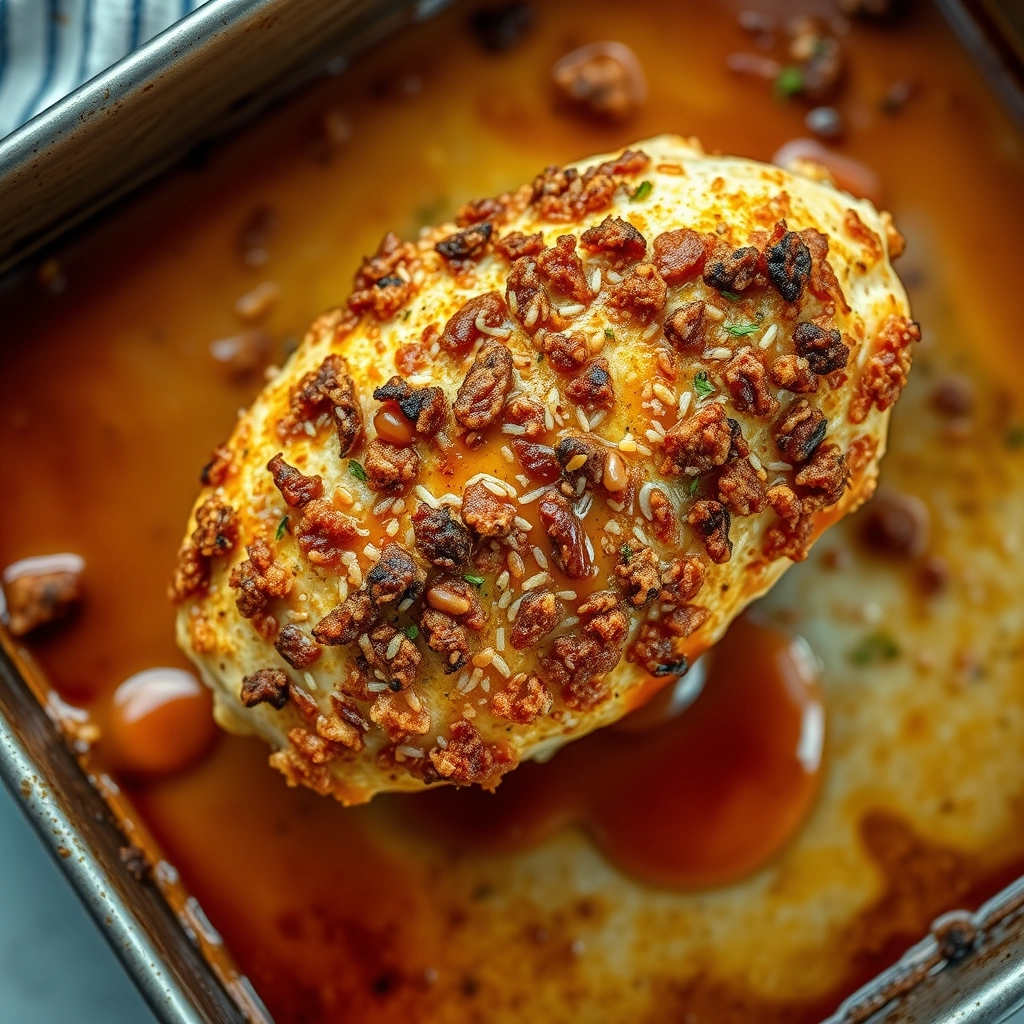
- Preheat your oven to 400°F (200°C) and line a large sheet pan with parchment paper or foil for easy cleanup. (Trust me, you’ll thank yourself later.)
- Prep the chicken coating: In a shallow bowl, mix the Parmesan, panko, garlic powder, Italian seasoning, and smoked paprika. In another bowl, whisk the eggs with a pinch of salt and pepper.
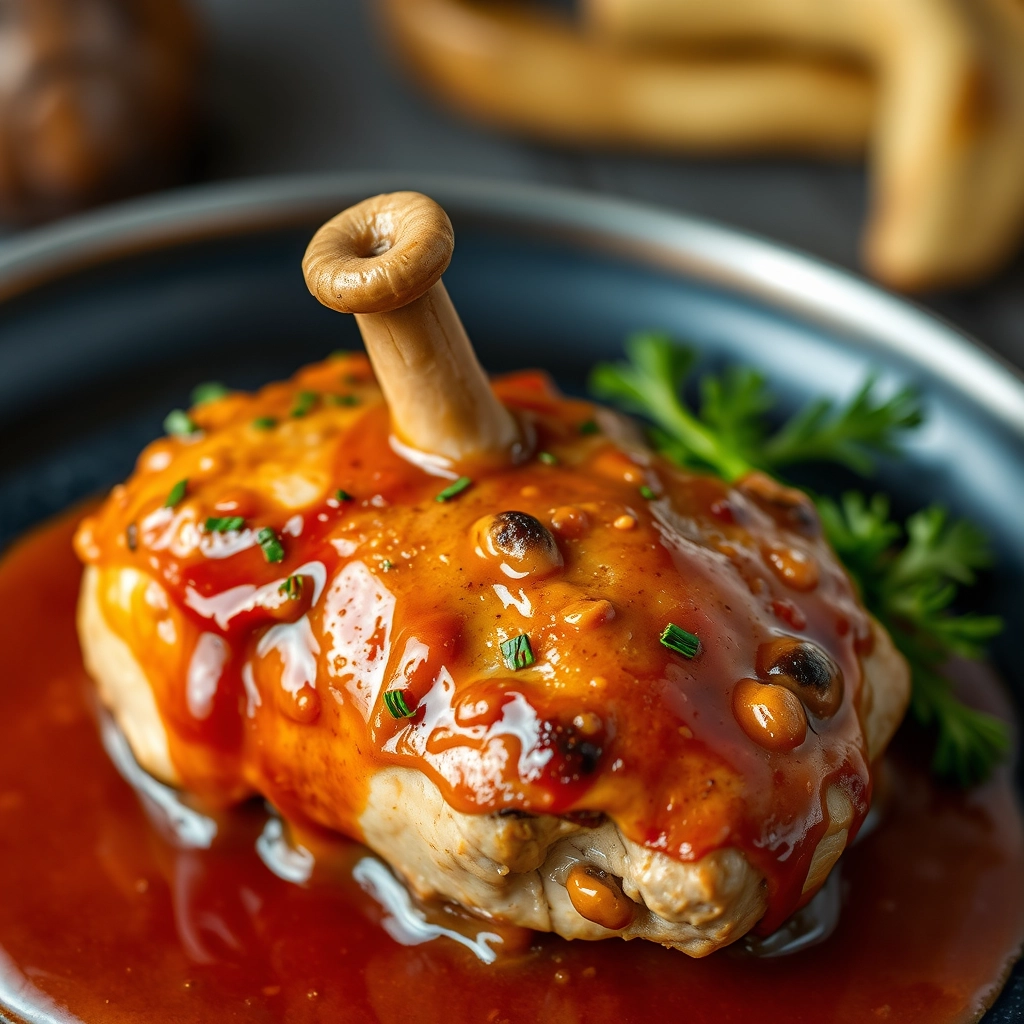
- Coat the chicken: Dip each chicken breast first in the egg mixture, letting any excess drip off, then press firmly into the Parmesan mixture to coat both sides. Place them on one side of the sheet pan.
- Toss the veggies: On the other side of the pan, spread out the potatoes and broccoli. Drizzle with olive oil, sprinkle with salt and pepper, and toss to coat. (A little extra garlic powder never hurt anyone, either.)
- Bake for 25-30 minutes, or until the chicken is golden and cooked through (165°F internal temperature) and the veggies are tender with crispy edges. If the chicken is browning too quickly, you can loosely tent it with foil.
And just like that, dinner is nearly ready! The smell of Parmesan and roasted veggies filling your kitchen is pure comfort. Stay tuned for the finishing touches and serving suggestions in the next part of this post—because no meal is complete without a little extra love.
Parmesan Crusted Chicken Sheet Pan Dinner: Pro Tips & Variations
This Parmesan Crusted Chicken Sheet Pan Dinner is already a weeknight hero, but here are a few ways to make it your own:
Pro Tips & Variations
- Extra Crispy: For an even crunchier crust, broil for the last 2-3 minutes (watch closely!).
- Cheese Swap: Try Pecorino Romano or Asiago instead of Parmesan for a different flavor profile.
- Veggie Variations: Swap broccoli for Brussels sprouts, green beans, or even thinly sliced zucchini.
- Gluten-Free: Use almond flour or gluten-free breadcrumbs for the crust.
- Herb Boost: Add 1 tsp dried Italian seasoning or fresh thyme to the breadcrumb mixture.
What to Serve With It
This dish is wonderfully complete on its own, but if you’d like to round out the meal:
- A simple arugula salad with lemon vinaigrette
- Garlic bread or crusty baguette
- Creamy polenta or mashed potatoes
- A crisp white wine like Pinot Grigio
Storage & Reheating Tips
- Refrigerate: Store leftovers in an airtight container for up to 3 days.
- Reheat: For best results, reheat in a 350°F oven for 10-15 minutes to maintain crispiness. Microwave will work but may soften the crust.
- Freezing: Freeze cooked chicken (without veggies) for up to 2 months. Thaw overnight before reheating.
Frequently Asked Questions
Can I use chicken thighs instead of breasts?
Absolutely! Just increase cooking time by 5-7 minutes since thighs are thicker.
Why is my crust not sticking to the chicken?
Make sure to pat your chicken dry before coating, and press the breadcrumb mixture firmly onto each piece.
Can I prep this ahead?
Yes! Bread the chicken up to 24 hours in advance and store covered in the fridge until ready to bake.
How do I know when the chicken is done?
Chicken is safe to eat at 165°F. Use a meat thermometer inserted into the thickest part to check.
A Cozy Final Thought
There’s something so comforting about a meal that comes together on one pan, fills your kitchen with irresistible aromas, and leaves everyone at the table satisfied. This Parmesan Crusted Chicken Sheet Pan Dinner has become one of those go-to recipes in our home – simple enough for busy weeknights but special enough for casual weekend dinners. I hope it brings as much warmth and ease to your table as it has to ours. Don’t forget to save some Parmesan for sprinkling at the end – that’s the chef’s treat!
Parmesan Crusted Chicken Sheet Pan Dinner
Description
A delicious and easy one-pan meal featuring crispy parmesan crusted chicken with roasted vegetables.
Ingredients
For the Crust:
- 4 boneless, skinless chicken breasts
- 1 cup grated parmesan cheese
- 1/2 cup breadcrumbs
- 1 tsp garlic powder
- 1 tsp dried oregano
- 1/2 tsp salt
- 1/4 tsp black pepper
- 2 tbsp olive oil
- 1 lb baby potatoes, halved
- 2 cups broccoli florets
- 1 tbsp lemon juice
Instructions
1. Prepare the Crust:
- Preheat oven to 400°F (200°C) and line a sheet pan with parchment paper.
- In a shallow bowl, mix parmesan cheese, breadcrumbs, garlic powder, oregano, salt, and pepper.
- Dredge chicken breasts in the parmesan mixture, pressing to coat both sides evenly.
- Arrange chicken on one side of the sheet pan. Toss potatoes and broccoli with olive oil and lemon juice, then spread on the other side.
- Bake for 25-30 minutes until chicken reaches 165°F (74°C) and vegetables are tender.
- Serve immediately with extra parmesan if desired.
Notes
You can customize the seasonings to taste.