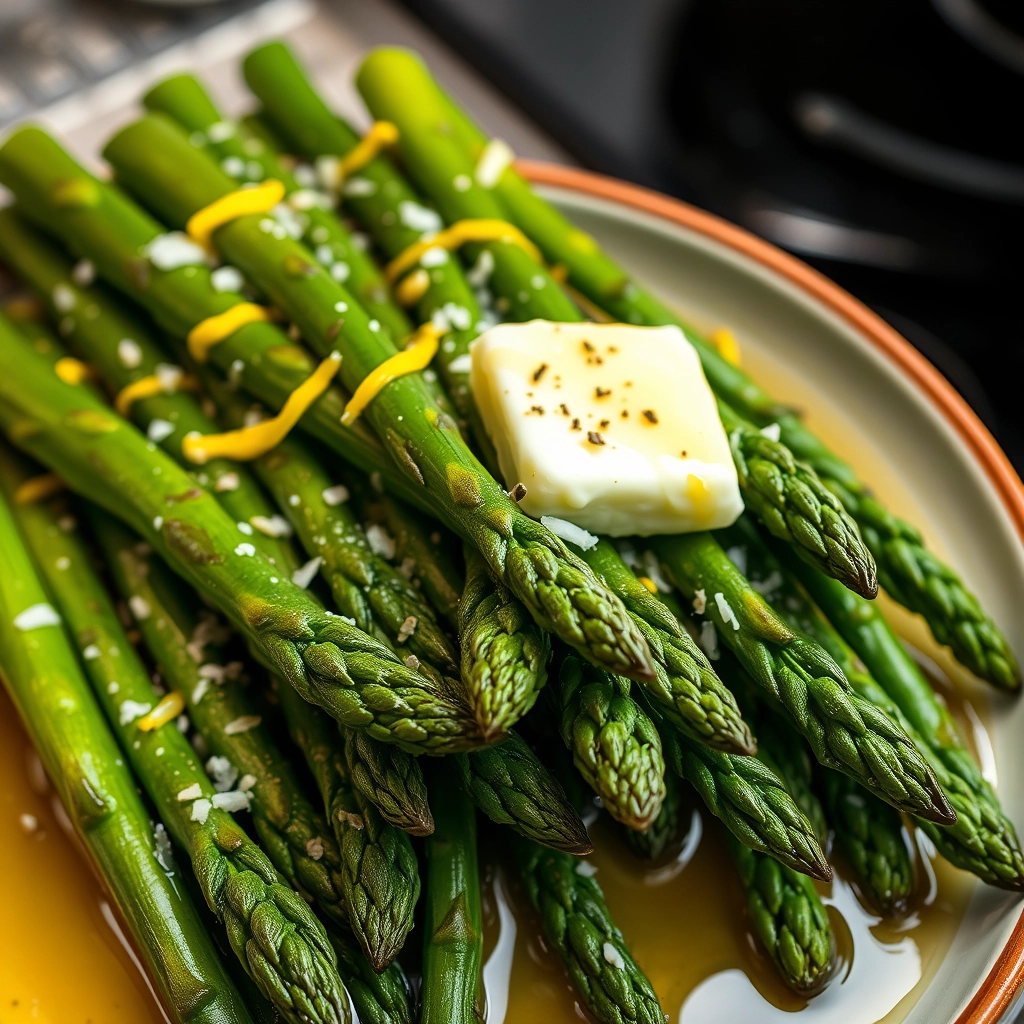
The Simple Joy of Perfectly Sauteed Asparagus
There’s something magical about the first tender stalks of asparagus that appear in spring. I remember my grandmother’s kitchen, where she’d toss them in her well-loved cast iron skillet with nothing more than butter, garlic, and a pinch of salt. The sizzle, the bright green color deepening as they cooked, the way the tips crisped ever so slightly—it was pure simplicity, yet it felt like a celebration. Now, whenever I make this easy sautéed asparagus, it’s not just a side dish; it’s a little moment of joy on the plate.
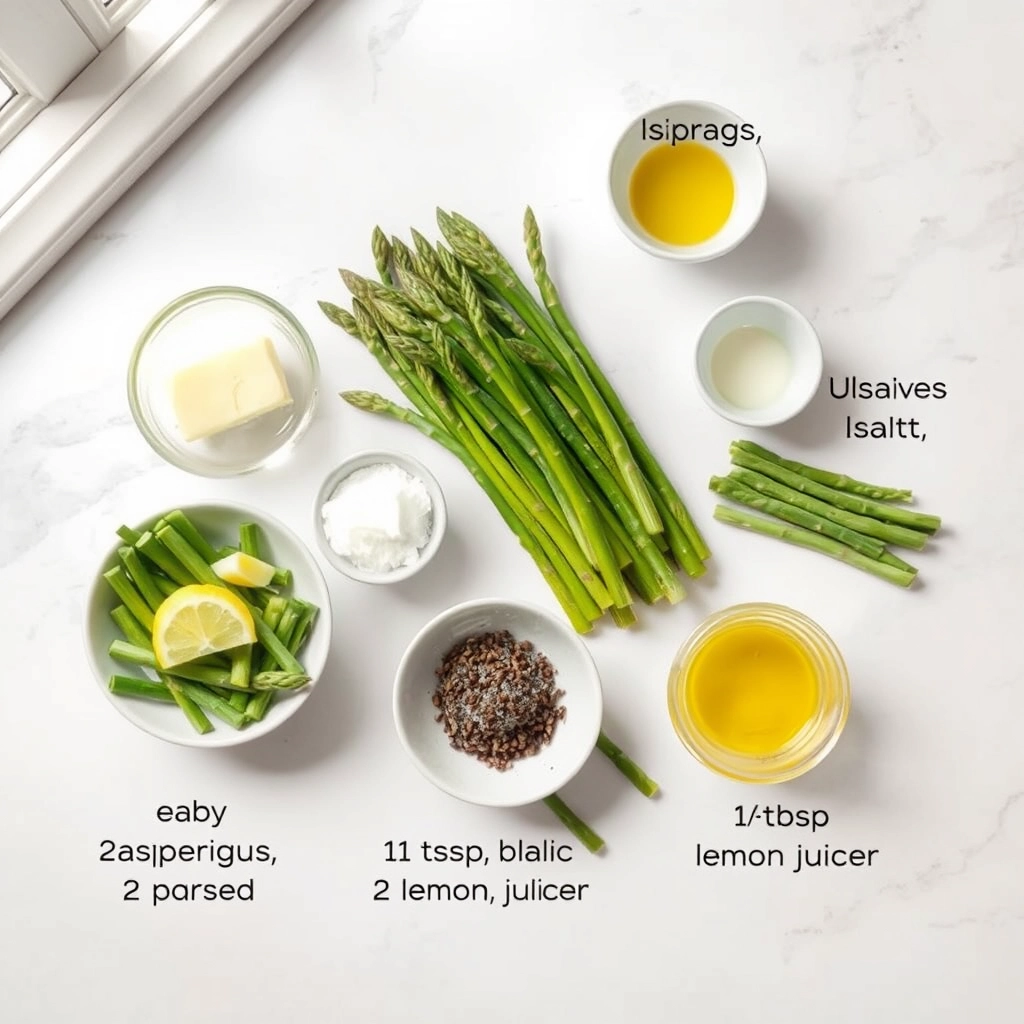
What You’ll Need
- 1 bunch fresh asparagus – Look for firm, bright green stalks with tightly closed tips. Thinner spears cook faster and stay tender!
- 2 tablespoons olive oil or butter – I adore the richness of butter, but olive oil works beautifully for a lighter touch.
- 2 cloves garlic, minced – Fresh is best here—that sweet, pungent aroma is half the magic.
- ½ teaspoon kosher salt – It enhances the natural sweetness of the asparagus.
- ¼ teaspoon black pepper – Freshly cracked adds a lovely warmth.
- Optional: A squeeze of lemon juice or a sprinkle of parmesan – For that perfect finishing touch.
Let’s Get Cooking
1. Prep your asparagus: Hold one spear at both ends and bend gently—it’ll snap naturally where the tough woody part ends. Repeat with the rest (or line them up and trim the ends all at once). This step ensures every bite is tender.
2. Heat the pan: Place a large skillet over medium-high heat and add the oil or butter. Let it get shimmering but not smoking—you want that perfect sizzle when the asparagus hits the pan.
3. Sauté with love: Add the asparagus in a single layer (crowding steams them instead of sautéing!). Let them cook undisturbed for 2 minutes to get a slight char, then toss with tongs. Add the garlic, salt, and pepper, and keep tossing for another 3-4 minutes. The spears should be vibrant green with a slight crispness when pierced with a fork.
4. The finishing touch: Remove from heat and drizzle with lemon juice or sprinkle with parmesan if using. Taste one—adjust the salt if needed, and serve immediately while they’re at their peak.
Pro Tips for Perfect Sauteed Asparagus
Want to take your asparagus game to the next level? Here are my favorite chef-approved tricks:
- Snap don’t cut: Hold each spear at both ends and bend – it naturally breaks at the perfect spot to remove the woody ends
- Dry thoroughly: Wet asparagus steams instead of sautés – pat dry with paper towels
- High heat is key: Get your pan nice and hot before adding oil for that perfect caramelization
- Don’t overcrowd: Cook in batches if needed – asparagus should sizzle when it hits the pan
Delicious Variations to Try
This basic recipe is just the beginning! Here are some tasty ways to mix it up:
- Lemon garlic: Add 2 minced garlic cloves in the last minute of cooking, then finish with lemon zest
- Parmesan crusted: Sprinkle with grated parmesan during the last 2 minutes of cooking
- Asian-inspired: Use sesame oil and finish with toasted sesame seeds
- Bacon lovers: Cook 2 strips chopped bacon first, then use the rendered fat to cook the asparagus
What to Serve With Sauteed Asparagus
This versatile side pairs beautifully with so many mains! My favorite combinations:
- Grilled salmon or seared scallops
- Roast chicken or turkey
- Pasta dishes like fettuccine alfredo
- Steak or beef tenderloin
- Quiches or frittatas for brunch
Storage and Reheating Tips
Leftover asparagus? Here’s how to keep it tasting fresh:
- Store in an airtight container in the fridge for up to 3 days
- To reheat, place in a dry skillet over medium heat for 1-2 minutes
- For crispier results, reheat in a 350°F oven for 5-7 minutes
- Not recommended for freezing – the texture becomes mushy
Frequently Asked Questions
Q: Can I use frozen asparagus?
A: Fresh is best for sautéing, but if using frozen, thaw completely and pat very dry first.
Q: How do I know when asparagus is done?
A: It should be bright green and tender-crisp when pierced with a fork – about 5-7 minutes total.
Q: Do I need to peel asparagus?
A: Only if using very thick spears – just peel the bottom third with a vegetable peeler.
Q: Can I make this ahead for a dinner party?
A: Yes! Cook 90% of the way, then quickly finish in the pan right before serving.
A Simple Side That Steals the Show
There’s something magical about how such simple ingredients can create such a vibrant, flavorful dish. Whether it’s a quick weeknight dinner or a special occasion meal, this sautéed asparagus always brings a touch of elegance to the table. The best part? In just minutes, you can transform this humble vegetable into something truly special. I hope this recipe becomes a staple in your kitchen just like it is in mine!
PrintSauteed Asparagus
Description
A simple and flavorful side dish featuring fresh asparagus cooked to perfection with garlic and butter.
Ingredients
For the Crust:
- 1 lb fresh asparagus, trimmed
- 2 tbsp unsalted butter
- 2 cloves garlic, minced
- 1/2 tsp salt
- 1/4 tsp black pepper
- 1 tbsp lemon juice
Instructions
1. Prepare the Crust:
- Heat butter in a large skillet over medium heat.
- Add minced garlic and sauté for 1 minute until fragrant.
- Add asparagus, salt, and pepper. Cook for 5-7 minutes, stirring occasionally, until tender-crisp.
- Drizzle with lemon juice and toss to combine.
- Serve immediately.
Notes
You can customize the seasonings to taste.