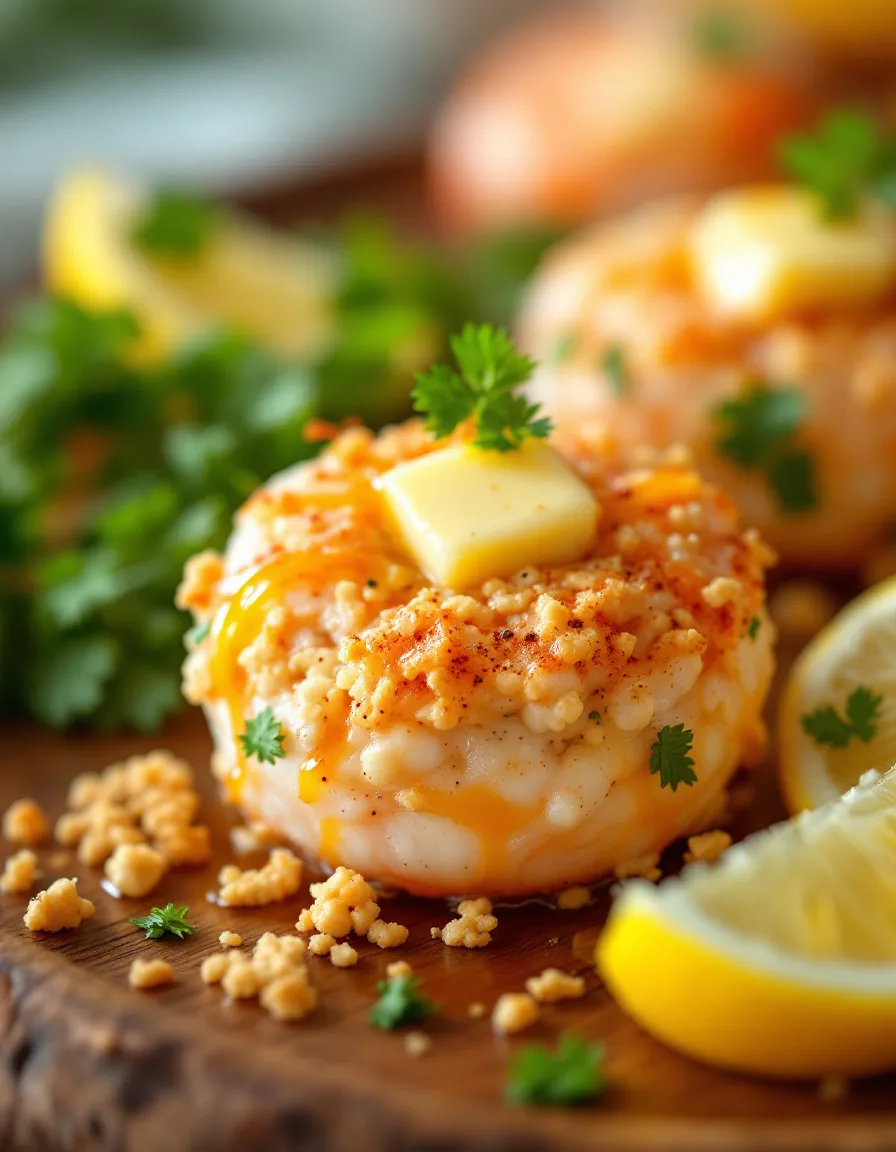
Crispy Smashed Potatoes: The Ultimate Comfort Food Delight
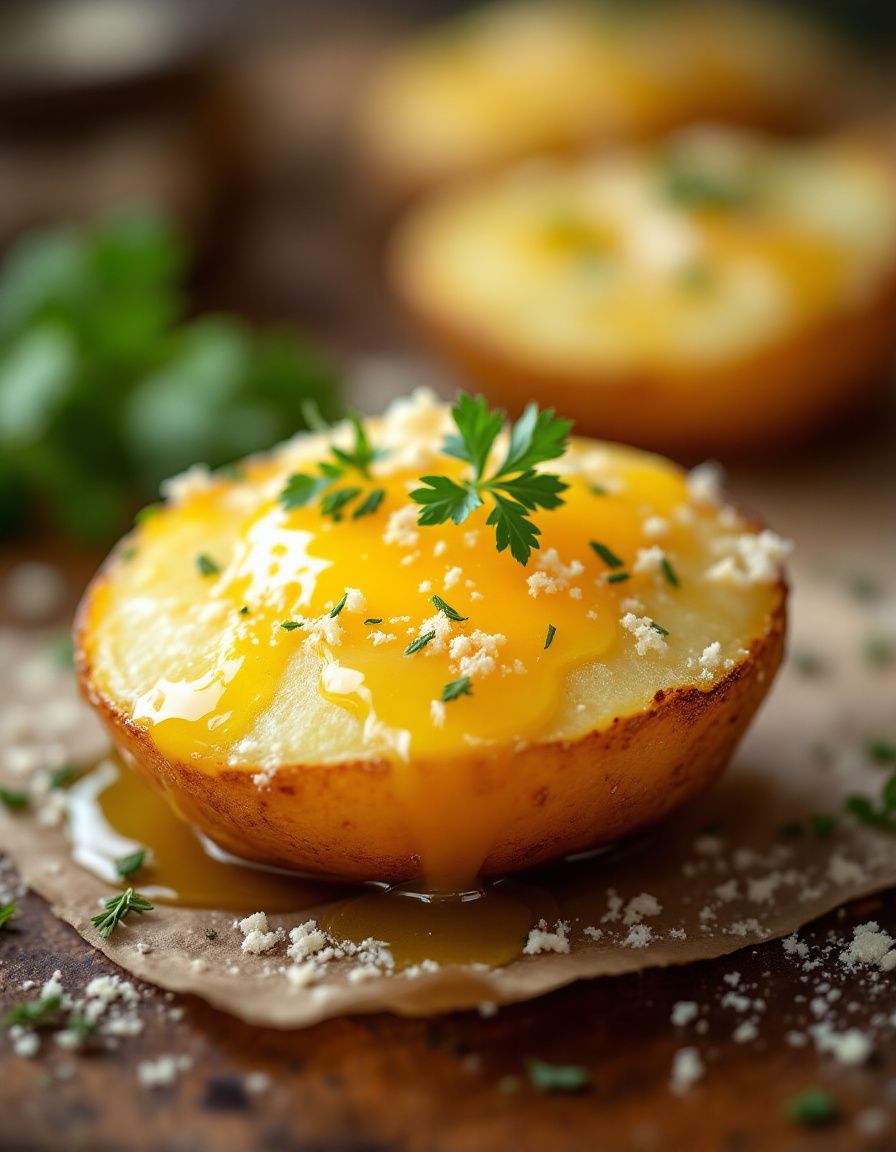
Crispy Smashed Potatoes are a dish that combines the simple charm of potatoes with a delightful crunch that is sure to please everyone at the table. The process of boiling, smashing, and roasting the potatoes transforms them into golden, crispy bites that are as satisfying to eat as they are to prepare. You’ll love how the exterior becomes beautifully golden, while the insides remain fluffy and tender. These smashed potatoes are a perfect accompaniment to any meal or even as a snack on their own, making them a versatile addition to your recipe repertoire.
Imagine the sensation as you break into the crispy crust to uncover the soft, buttery interior. Each bite bursts with flavor, enhanced by your choice of seasonings. Whether you prefer them seasoned simply with salt and pepper or adorned with garlic and herbs, Crispy Smashed Potatoes are pure comfort food at its finest. This dish is a delightful reminder of home-cooked meals that warm the heart, making it an instant favorite for gatherings or cozy family dinners.
Quick Recipe Highlights
- Flavor Profile: Earthy potatoes are enhanced with customizable seasoning options, providing a savory depth and richness.
- Texture: The perfect combination of a crispy outer layer and a soft, fluffy center creates an appealing contrast in each bite.
- Aroma: The roasting process fills your kitchen with irresistible aromas, from garlic to herbs, making it hard to resist snacking before serving.
- Visual Appeal: Golden-brown potatoes with a rustic appearance are not only appetizing but add a beautiful touch to your table.
- Skill Level Needed: This easy recipe is perfect for beginners but can also challenge more experienced cooks to experiment with flavors.
- Special Equipment: Only basic kitchen tools are needed, including a pot, baking sheet, and fork for smashing.
Recipe Overview
- Difficulty Level: This easy recipe is perfect for novice cooks who want to master potato preparation techniques without feeling overwhelmed.
- Category: Ideal as a side dish for picnics, barbecues, or dinner parties, these potatoes fit into any meal category seamlessly.
- Cuisine: Rooted in comfort food traditions across various cultures, this dish reflects a universal love for potatoes.
- Cost: Affordable ingredients make this recipe financially accessible, allowing you to make a satisfying meal without breaking the bank.
- Season: Enjoy this dish any time of the year, though it pairs perfectly with fall and winter meals.
- Occasion: Crispy Smashed Potatoes are suitable for any occasion, from family gatherings to casual weeknight dinners.
Why You’ll Love This Recipe
The taste of Crispy Smashed Potatoes is simply delightful. With their golden, crispy exteriors, the potatoes provide an irresistible crunch that contrasts beautifully with the tender, fluffy insides. Seasoned to your liking, they can take on myriad flavors—think herbs, garlic, or even cheese—transforming them into a culinary experience that can adapt to any preference. This versatility ensures that they can be served repeatedly without feeling repetitive, making them a favorite in any household.
Convenience is another reason to fall in love with this recipe. The preparation and cooking process is straightforward and can be done in under an hour, even for beginner cooks. Simply boil your potatoes, smash them down with a fork, and roast them to crispy perfection. Plus, the simplicity of the ingredient list means you likely have everything on hand, making it a last-minute meal option for unexpected guests or cozy family nights.
From a nutritional standpoint, potatoes offer dietary fiber, vitamins, and minerals that support a balanced diet. By using healthy cooking methods such as baking or roasting rather than frying, you can enjoy this comfort food without guilt. Additionally, Crispy Smashed Potatoes can be tailored to suit various dietary needs, making them both a delicious and nutritious option for all.
Socially, this recipe brings people together. Sharing a plate of Crispy Smashed Potatoes sparks conversation and complements a wide range of main dishes. Whether served alongside grilled meats or vegetable dishes, they create a welcoming atmosphere that encourages togetherness and enjoyment.
Cost-effectiveness also plays a crucial role in the appeal of this dish. Potatoes are an economical ingredient that stretches your meal budget without compromising taste. This recipe allows you to create a satisfying side dish that feels indulgent yet remains budget-friendly, making it perfect for families and entertaining alike.
Historical Background and Cultural Significance
Crispy Smashed Potatoes have roots in various cultures, showcasing the adaptability of potatoes worldwide. Originally cultivated in the Andes of South America, they have become a staple in cuisines globally, embraced by countless cultures for their versatility and heartiness. This dish exemplifies how a simple ingredient can be transformed into something special through cooking techniques like smashing and roasting.
This recipe reflects a broader culinary tradition, where comfort food takes center stage during family gatherings and celebrations. Across the globe, smashed or crushed potatoes appear in different forms, highlighting regional cooking styles that cater to local tastes and preferences. From herb-infused variations in Italian cuisine to spiced options in Middle Eastern dishes, the concept of Crispy Smashed Potatoes transcends cultural barriers.
Over time, the evolution of this comforting dish has led to a modern take that embraces contemporary cooking methods. While traditional mashed potatoes are often served, the trend of creating crispy, smashed versions has gained popularity as home cooks experiment with textures and flavors, finding new ways to enjoy this classic ingredient.
Regional variations in smashed potato recipes are plentiful. You might find creamy versions slathered in cheese in certain regions, while others favor a herbaceous approach with fresh chives and garlic. Each adaptation carries its cultural significance, embodying unique flavors and cooking styles that enrich the global culinary landscape.
Ingredient Deep Dive
Potatoes
Potatoes are not only a versatile ingredient but also hold significant cultural importance. In many cultures, they symbolize sustenance and community, being a staple food that nourishes families. Nutritionally, they are rich in carbohydrates, vitamins C and B6, and potassium, providing an excellent energy source. When selecting potatoes for this recipe, look for Yukon Gold or red potatoes for their waxy texture, which holds up beautifully during cooking. Store them in a cool, dark place to avoid sprouting and moisture issues. For substitutions, consider sweet potatoes for a different flavor profile or parsnips for a unique twist in texture.
Olive Oil
Olive oil not only enhances the flavor profile but is also associated with various health benefits, including heart health and anti-inflammatory properties. This oil has a rich history, especially within Mediterranean cuisines, where it has been used for millennia. When choosing olive oil, opt for extra virgin for its high quality and robust flavor. Store it in a dark place to maintain its freshness. Avocado oil or grapeseed oil can serve as suitable alternatives for different flavor profiles while maintaining healthy benefits.
Common Mistakes to Avoid
- Not boiling the potatoes long enough; ensure they are fork-tender before smashing, or they won’t crisp up properly.
- Overcrowding the baking sheet leads to steaming instead of roasting; give each potato enough space for proper crispiness.
- Skipping the oil results in a lack of flavor and crunch; always coat the potatoes generously for the best outcome.
- Not smashing the potatoes wide enough; they need to be flattened adequately to create more surface area for a crispy texture.
- Using the wrong type of potato; opting for starchy potatoes can lead to mushy results instead of the perfect texture.
- Over-seasoning in the boiling phase; salt should mainly be added during or after roasting for optimum flavor.
- Failing to preheat the oven properly which affects the initial browning of the potatoes.
- Cooking at too low a temperature; ensure the oven is hot enough to achieve the desired crispiness.
- Not flipping the potatoes halfway through cooking; this ensures even crispiness on both sides.
- Letting the potatoes sit too long before serving; they are best enjoyed immediately after cooking for peak freshness and texture.
Essential Techniques
Boiling Potatoes
Boiling potatoes might seem straightforward, but it’s vital for the final texture of the dish. Ensure you start with cold water to promote even cooking, and allow them to boil until fork-tender without becoming mushy. A common pitfall is rushing this process; if they aren’t adequately boiled, they won’t achieve a fluffy inside after roasting.
Smashing Potatoes
Smashing the potatoes correctly is key to achieving maximum crispiness. Use a flat bottom of a cup or a large fork, applying gentle pressure until the potato slightly flattens. Avoid pressing too hard to keep some of the potato structure intact. Look for visual cues: they should crack and spread without becoming a paste, ensuring ample crispiness while retaining some fluffiness.
Pro Tips for Perfect Crispy Smashed Potatoes
Start with the right potatoes; for the crispiest version, go with Yukon Gold or red potatoes known for their waxy texture. Boil them until fork-tender, ensuring they are soft enough to smash easily. For extra flavor, infuse your oil with garlic or herbs before coating the potatoes, enhancing the aromatic profile. Spread the potatoes on a parchment-lined baking sheet to reduce sticking and ensure easy cleanup.
Keep your oven hot; preheat to 425°F (220°C) for optimal crispiness. Allow the potatoes to brown and crisp on one side before flipping them halfway through the cooking time for an even golden crust. Give them adequate space on the baking sheet to avoid steaming, which diminishes the desired crunch.
Finally, serve immediately. Crispy Smashed Potatoes taste best fresh out of the oven. Pair them with your favorite dipping sauces or enjoy them with a sprinkle of herbs or cheese for an elevated finishing touch.
Variations and Adaptations
Exploring regional variations of Crispy Smashed Potatoes can be a delightful culinary adventure. For instance, in Italy, adding rosemary and garlic offers a fragrant twist. Seasonal adaptations can include sweet potatoes during autumn for a sweeter flavor edge, while dietary modifications could easily swap regular potatoes for gluten-free options to accommodate dietary restrictions.
Flavor variations are endless; consider sprucing up your smashed potatoes with cheese, such as parmesan or cheddar, for a richer taste. Textural modifications like adding crispy bacon bits or fresh herbs can create exciting combinations that please diverse palates. Presentation alternatives include serving them with a dollop of sour cream or a drizzle of balsamic reduction for added sophistication.
Serving and Presentation Guide
When it comes to plating Crispy Smashed Potatoes, simplicity is often key. Use a rustic serving platter to enhance their homey appeal. Garnishing with fresh herbs like parsley or chives can add a pop of color and elevate the dish visually. Traditional accompaniments might include sour cream or aioli, while modern serving suggestions could include pairing with seasonal vegetables or a vibrant salad.
Temperature considerations are crucial; serve the potatoes warm from the oven for maximum crispness. For portion control, divide them into small stacks, which encourages moderation while creating an appealing arrangement. For added elegance, consider using a ring mold while plating to give each serving a refined structure.
Wine and Beverage Pairing
When selecting wine to accompany Crispy Smashed Potatoes, consider the flavors of your dish. A crisp white wine like Sauvignon Blanc complements the potatoes’ earthiness, while a light-bodied red, such as Pinot Noir, can enhance the dish’s savory profile. Non-alcoholic alternatives, such as sparkling water with a squeeze of lemon, provide brightness that pairs well with potato-based dishes.
For coffee enthusiasts, a light roast coffee can serve as a pleasant palate cleanser between bites, while for tea lovers, choosing an herbal tea offers a soothing counterpoint. Remember to serve wines chilled and keep non-alcoholic beverages refreshing to balance the richness of the potatoes.
Storage and Shelf Life
Storage methods for Crispy Smashed Potatoes should emphasize maintaining their texture and flavor. Store leftovers in an airtight container in the refrigerator, where they can last up to 3 days. For reheating, place them in the oven at a high temperature to restore crispiness.
Signs of spoilage include off-smells or discoloration; discard any potatoes that show these signs. If you need to keep them longer, consider freezing them; although this may slightly alter their texture, they can be frozen for up to a month. Thawing in the refrigerator before reheating in the oven can help retain their original flavor and texture.
Make Ahead Strategies
To make Crispy Smashed Potatoes ahead of time, focus on the prep timeline. You can boil the potatoes a day in advance, allowing them to cool and storing them in the fridge until you’re ready to roast. This saves time on busy weeknights or during meal prep sessions.
When it comes to assembling and finishing, ensure you properly coat them with oil before roasting and don’t forget the seasoning. Quality impacts their final taste; always check for adequate seasoning before serving. Reheating is crucial; heat in the oven rather than the microwave to maintain that desirable crunch. Finally, add fresh herbs or toppings just before serving for a bright finish.
Scaling Instructions
Scaling Crispy Smashed Potatoes is straightforward for gatherings or meal prep. If halving, keep the same method but reduce the boiling and baking time slightly, monitoring closely to prevent overcooking. Doubling or tripling the recipe is simple but remember to use larger pots and sheets to accommodate the increased volume.
Equipment adjustments may include using multiple baking sheets if you’re doubling the recipe; ensure they have enough space to crisp up properly. Timing modifications are critical; consider adjusting the cooking time if the batches are stacked or overcrowded. For storage considerations, leftovers can be saved the same way, ensuring consistent flavor and texture across the batch.
Nutritional Deep Dive
Crispy Smashed Potatoes provide a delightful balance of macronutrients. With a primary focus on carbohydrates, they serve as an energy source while coming with dietary fiber that supports digestion. Understanding micronutrient content, potatoes are excellent sources of vitamin C and potassium, crucial for maintaining overall health.
Health benefits abound with this dish, as potatoes contain antioxidants that fight inflammation and aid in heart health. Dietary considerations should focus on portion size, as excessive consumption can lead to higher carbohydrate intake. Managing portions can help maintain balanced energy levels and support a healthy lifestyle without sacrificing enjoyment.
Dietary Adaptations
Crispy Smashed Potatoes can easily adapt to various dietary needs. For gluten-free alternatives, simply ensure that any additives such as sauces or seasonings are certified gluten-free. For a dairy-free version, olive oil can replace butter, maintaining flavor without dairy.
Vegan adaptations are seamless; exclude all animal-based toppings or include a plant-based sour cream. Those following low-carb or keto diets may consider cauliflower or turnips as substitutes while maintaining the smashing technique for a similar texture. Paleo options can emphasize fresh herbs and spices without processed ingredients, creating a homey feel in a healthier context.
Troubleshooting Guide
If your Crispy Smashed Potatoes develop texture issues, such as becoming too mushy, ensure that you’re using the right potato variety and boiling them just long enough to be tender but not overly soft. If they don’t crisp up, check your oven temperature and ensure proper oil coverage.
Flavor balance is essential; if potatoes taste bland, consider adjusting your seasoning during both the boiling and roasting stages for enhanced taste. If you encounter temperature problems, ensure that your oven is preheated adequately before baking to achieve desired crispness.
For equipment challenges, like a lack of space in your oven, consider roasting in batches rather than overcrowding sheets, which can lead to steaming rather than roasting. Finally, timing concerns should be managed carefully; keep an eye on cooking times to ensure a delicious, golden outcome.
Recipe Success Stories
Feedback from the community surrounding Crispy Smashed Potatoes reveals a deep appreciation for this easy-to-make dish. Many readers have shared stories of adaptations they’ve made, such as adding different herbs or spices that reflect their regional favorites. Success with classic variations, like cheesy versions, has left families asking for repeat performances.
Several individuals also reported that the recipe sparked their creativity, prompting them to experiment with garnishes, making for compelling social media posts. Photography tips and tricks have been circulated, highlighting the beauty of these potatoes plated effectively, encouraging others to give the recipe a try.
Frequently Asked Questions
Can I make Crispy Smashed Potatoes ahead of time?
Yes, you can boil and store the potatoes in advance; just roast them when you’re ready to serve for maximum crispiness.
What type of potatoes are best for smashing?
Waxy varieties like Yukon Gold or red potatoes work best, providing a creamy texture when cooked.
How can I make them spicier?
Add cayenne pepper, paprika, or your favorite hot sauce to the oil before coating the potatoes for an extra kick.
Are there vegan options for this recipe?
Yes, simply replace any butter with olive oil or plant-based margarine to keep the recipe vegan.
Can I freeze leftover smashed potatoes?
You can freeze them, but they may lose some crispiness; store them in airtight containers and reheat in the oven.
What sauces pair well with these potatoes?
Sour cream, aioli, or garlic sauce all enhance the flavor and make great dipping companions.
How do I ensure they get extra crispy?
Be sure to preheat your oven and give enough space between the potatoes on the baking sheet to allow for even browning.
Can I use other oils besides olive oil?
Absolutely, avocado or canola oil are great alternatives that can provide different flavor profiles.
What herbs work best for seasoning?
Fresh thyme, rosemary, or chives are excellent choices that pair wonderfully with potatoes.
Can I make them without butter or oil?
While oil helps achieve that crispy texture, if you prefer not to use fat, you can experiment with broth for flavor.
Additional Resources
To further explore the world of potatoes, consider diving into similar recipes like garlic mashed potatoes, potato salad, or even loaded potato skins which feature similar methods. Engaging with technique guides on boiling and roasting can enhance your cooking skills, ensuring perfect results every time. Additionally, take a look at ingredient information available for a deeper understanding of the nutritional profiles of your favorite root vegetables.
Equipment recommendations include high-quality baking sheets and sturdy pots for boiling, which can make all the difference in your kitchen success. Seasonal variations can inspire you to reinvent your crispy potatoes, incorporating local vegetables or flavors that sing of the changing seasons.
Join the Conversation
Engage with others by sharing your Crispy Smashed Potatoes experience on social media. Share your variations or your techniques, providing opportunities for others to learn and grow from your cooking journey. Photography tips can enhance the visual appeal of your finished dish, encouraging others to take the plunge and recreate this recipe at home.
Consider submitting your feedback or suggestions; the community thrives on shared experiences and ideas that can elevate everyone’s cooking. Whether you’ve made unique adaptations or simply followed the recipe, your stories can inspire new culinary adventures in the kitchen.
The Recipe
Crispy Smashed Potatoes
Serves: 4
Prep Time: 15 mins
Cook Time: 40 mins
Total Time: 55 mins
Kitchen Equipment Needed
- Large pot for boiling
- Fork or potato masher
- Baking sheet
- Parchment paper (optional)
- Measuring spoons
Ingredients
- 2 lbs Yukon Gold or red potatoes
- 4 tablespoons olive oil
- Salt and pepper to taste
- Fresh herbs (e.g., rosemary, thyme) for garnish
- Optional: garlic powder, paprika, or parmesan cheese
Directions
- Preheat the oven to 425°F (220°C).
- Wash the potatoes and place them in a large pot. Cover with water and bring to a boil.
- Boil the potatoes until fork-tender, about 15-20 minutes. Drain and let cool slightly.
- On a parchment-lined baking sheet, place the potatoes and gently smash them with a fork or potato masher.
- Drizzle the smashed potatoes with olive oil, then season with salt, pepper, and any additional spices.
- Roast in the oven for 25-30 minutes, or until the potatoes are golden brown and crispy.
- Remove from the oven and sprinkle with fresh herbs or cheese if desired. Serve warm.
Recipe Notes
- Experiment with different seasonings like garlic powder or smoked paprika for varied flavors.
- To keep the potatoes from sticking, line your baking sheet with parchment paper.
- These potatoes are best enjoyed fresh but can be stored in the fridge and reheated the next day.