Sweet Chili Pineapple Sauce Recipe 🍍🌶️ – Easy & Delicious!
If you’re looking for a delicious and versatile sauce that can elevate your dishes, you will love this Sweet Chili Pineapple Sauce! This easy recipe combines the sweetness of ripe pineapple with a spicy kick from chili, creating a vibrant and flavorful condiment. Perfect for grilled meats, seafood, or as a dipping sauce for appetizers, this pineapple sauce packs a punch and will surely impress your guests at any gathering!
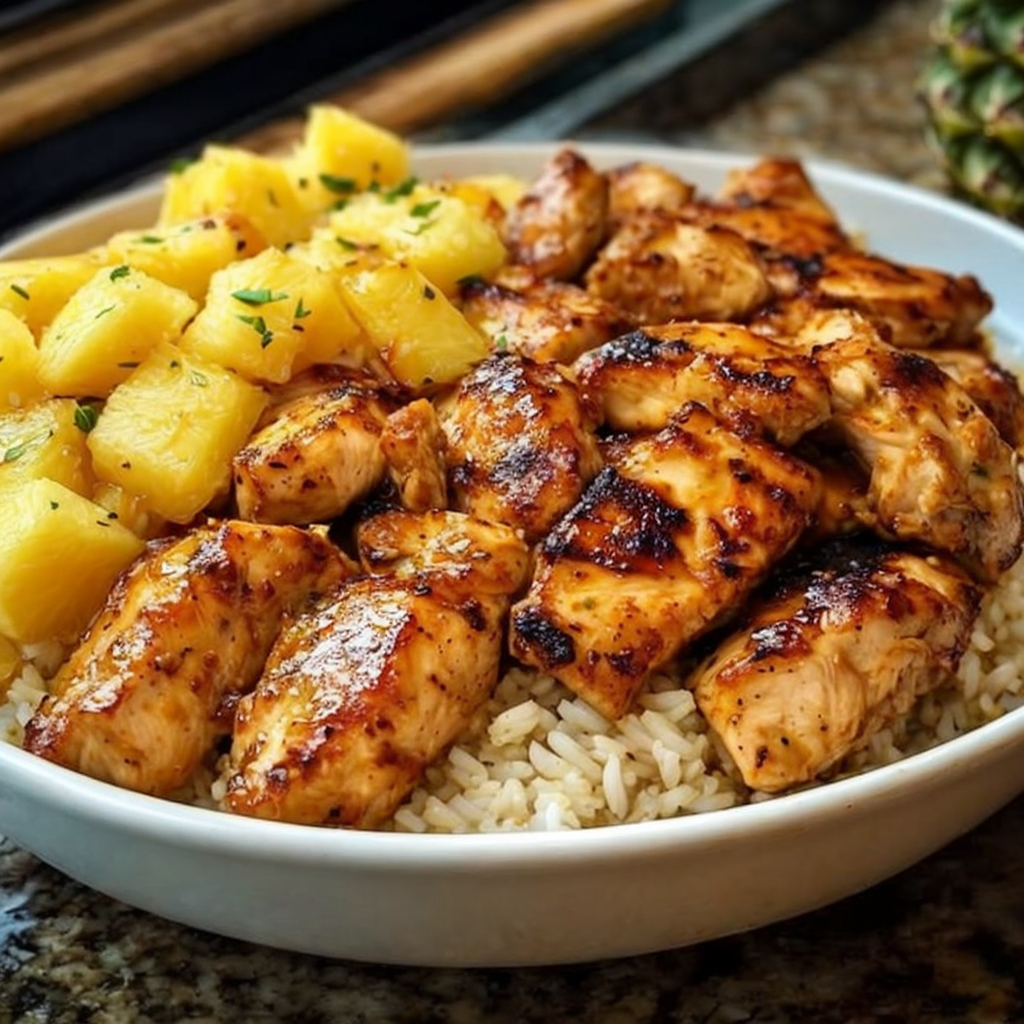
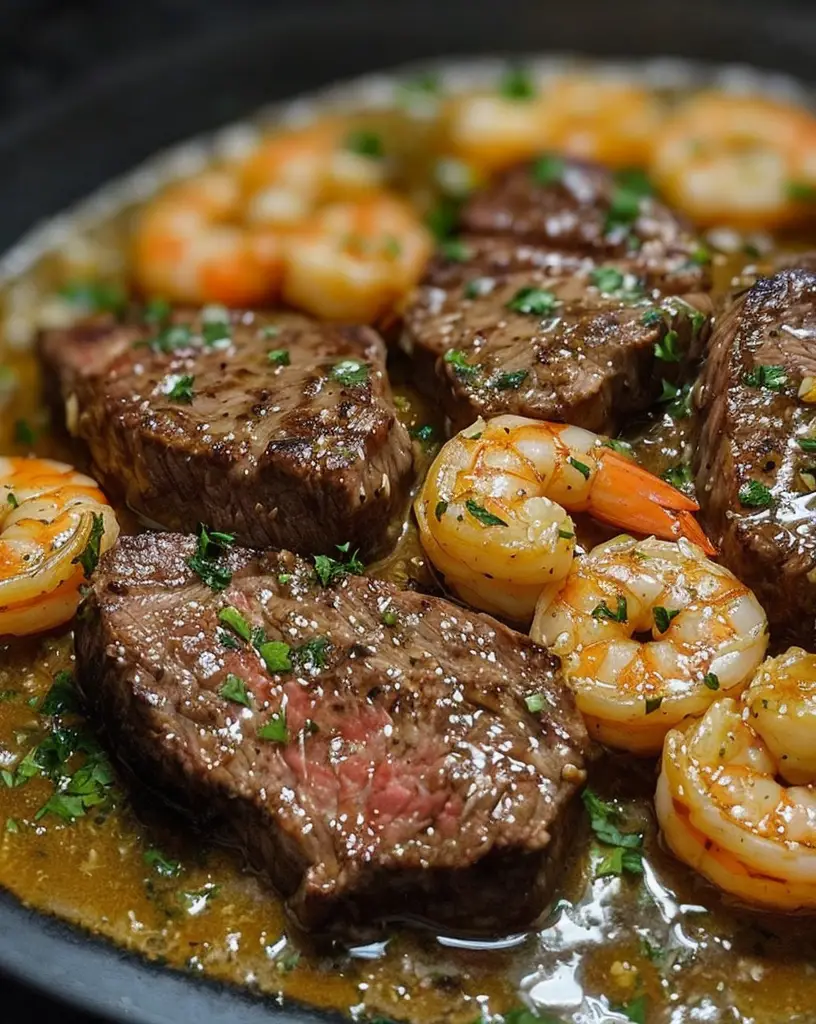
Imagine sitting around a summer barbecue, with the alluring aroma of grilled chicken wafting in the air, enhanced by the sweetness and heat of this pineapple sauce. The bold flavors blend harmoniously, offering a taste experience that is not only satisfying but unforgettable. Whether drizzled on tacos, used as a marinade, or served with spring rolls, this sauce will have you craving for more!
Quick Recipe Highlights
- Flavor Profile: The bright sweetness of pineapple balances perfectly with the spicy and savory notes from the chili, creating a complex and delightful flavor.
- Texture: Smooth with a slight chunkiness from the pineapple pieces, this sauce provides a satisfying mouthfeel.
- Aroma: A tantalizing mix of sweet and spicy scents that is sure to whet your appetite.
- Visual Appeal: A beautiful golden yellow hue speckled with red flecks from the chili, this sauce is not only tasty but also visually stunning.
- Skill Level Needed: Easy; perfect for beginner cooks and those looking to impress without much effort.
- Special Equipment: A saucepan, blender, and measuring cups are all you’ll need to whip up this sauce.
Recipe Overview
- Difficulty Level: This sauce is easy to make, ideal for cooking novices and busy individuals looking for quick yet delicious results.
- Category: This Sweet Chili Pineapple Sauce is great as a condiment, dressing, or marinade for a variety of dishes.
- Cuisine: While inspired by Southeast Asian flavors, this versatile sauce fits well in many culinary traditions.
- Cost: The ingredients are affordable, making this delicious sauce accessible for everyone.
- Season: Enjoy this sauce year-round, especially in summer when fresh pineapples are at their best.
- Occasion: Perfect for barbecues, parties, or even as a creative twist in weeknight dinners.
Why You’ll Love This Recipe
This Sweet Chili Pineapple Sauce will be a standout addition to your culinary repertoire. The thick consistency and vibrant flavor profile make it irresistible when paired with grilled meats or vegetables. The combination of sweet and spicy ensures that it appeals to all taste buds, making it a crowd-pleaser at gatherings. Easy to prepare, you can have this sauce ready in under 30 minutes, allowing for more time to enjoy your meal.
Moreover, this sauce isn’t just delicious; it’s nutritious! Pineapples are packed with vitamins, and the infusion of chilies brings an extra health boost, including metabolism-boosting properties. What’s more, this sauce can be made in batches and stored for later use, ensuring you always have a delectable condiment handy. This enhances your meal prep efficiency, especially when hosting friends and family.
The social aspect cannot be forgotten. Serving this Sweet Chili Pineapple Sauce during gatherings will undoubtedly spark conversations around the table. Friends and family will appreciate the unique flavors you’ve created, making your meals memorable. It’s also an excellent canvas for personal touches, allowing culinary creativity to flow as you experiment with additional ingredients or variations.
Cost-effectiveness is yet another benefit. By using easily accessible ingredients, you can create a gourmet-quality sauce without breaking the bank. Pineapples and chili are readily available in most grocery stores, so you won’t have difficulty sourcing your supplies. This versatility extends to usage; drizzle it on tacos, mix it into stir-fries, or serve it as a dip for spring rolls.
Finally, there is something deeply satisfying about creating your condiments. You control the ingredients, flavors, and balance, making this Sweet Chili Pineapple Sauce not just a recipe but a personal culinary triumph!
Historical Background and Cultural Significance
The origins of sweet chili sauces can be traced back to Southeast Asian countries, where culinary traditions embrace complex and vivid flavors. As these regions experienced global trade, the introduction of tropical fruits like pineapple allowed for exciting new combinations of sweet and spicy elements. Over time, sweet chili sauces evolved, with local chefs adding their unique touches, and creating the perfect accompaniments for a variety of dishes.
This Sweet Chili Pineapple Sauce is particularly inspired by the Indonesian and Thai flavors. Both cultures have championed the use of chili paired with sweet fruits to heighten the enjoyment of their culinary specialties. Over the years, the sauce became a staple in many homes, embodying the essence of hospitality and bringing friends and families together around meals.
As the recipe spread beyond its original borders, regional variations began to emerge. Some cultures prefer stronger heat with additional spices, while others may incorporate more vegetables or other fruits. This adaptability illustrates the versatility of the sauce and its capacity to bridge culinary gaps across diverse food landscapes.
Over the years, the popularity of sweet chili sauces grew, paving the way for modern twists on classic recipes. Today, chefs and home cooks alike continue to experiment with sweet chili sauces, incorporating unique ingredients and flavors to create their special versions, including the much-loved Sweet Chili Pineapple Sauce that brings a burst of tropical essence to the table.
Ingredient Deep Dive
Pineapple: Pineapple holds significant cultural value in many communities. Historically, it symbolizes hospitality and welcomes guests with its sweetness. Nutritionally, pineapples are an excellent source of vitamins C and B6, manganese, and dietary fiber. Choose a ripe pineapple, as it will yield the best flavor for your sauce. Store fresh pineapple in the fridge, and consider freezing leftovers to avoid waste. For alternatives, canned pineapple works well, although adjust the sugar in the recipe according to your sweetness preference.
Chili Peppers: Chili peppers, particularly in Asian cuisines, symbolize courage and boldness. Their heat is linked to various health benefits, such as increased metabolism and anti-inflammation. When selecting chili peppers, look for fresh and firm specimens without blemishes. Store them in a cool place or refrigerate for extended freshness. In the absence of fresh chili peppers, consider using chili powder or sauce as substitutions but tread lightly to avoid overpowering the dish.
Common Mistakes to Avoid
- Overcooking the sauce can lead to overly thick consistency. Keep an eye on it while simmering to maintain desired texture.
- Not tasting as you go can result in an unbalanced sauce. Adjust sweetness or heat based on your personal preference.
- Using canned pineapple without draining excess liquid may make the sauce too watery. Ensure proper drainage to achieve the right consistency.
- Ignoring quality of ingredients can lead to an unsatisfying flavor. Always opt for fresh, high-quality fruits and spices.
- Skipping the blending step might prevent the sauce from achieving its smooth, cohesive texture. Blend well for the best results.
- Falling into the trap of making too little can lead to disappointment; make enough for sharing, as it’s sure to be a hit!
- Underestimating the importance of letting the sauce cool can lead to inconsistent flavors. Allow it to develop while cooling down.
- Not storing the sauce properly will reduce its lifespan. Use airtight containers and maintain appropriate temperatures for best results.
Essential Techniques
Sauce Simmering: This technique involves cooking the ingredients over low heat for an intense flavor infusion. To master it, combine all ingredients in a pan and bring to a gentle boil before reducing heat. Watch for bubbling without boiling over, indicating the sauce is simmering properly. The visual cue is a reduction in sauce volume and thickening consistency.
Blending: Blending the sauce together gives it a smooth texture. Knowing when to stop blending is key; you want a cohesive mix, but some chunkiness for texture is desired. Use a blender or immersion blender for best results to achieve a balance between smooth and chunky. Be cautious with hot liquids to avoid splattering!
Pro Tips for Perfect Sweet Chili Pineapple Sauce
1. Experiment with different types of chili peppers to control the heat level of your sauce, allowing you to customize it for different palates.
2. Allow the sauce to cool completely before transferring it to storage. This will help prevent condensation inside the container, prolonging its shelf life.
3. Always adjust the seasoning based on your preferences; add more vinegar for acidity or sugar for sweetness until it meets your taste.
4. To further enhance flavors, consider adding a splash of soy sauce or a squeeze of fresh lime juice for additional depth and zing.
5. Pair the sauce with a variety of meats, vegetables, or even fruits, like grilled peaches, for unexpected and delightful flavors.
6. If you’re preparing the sauce ahead of time, remember that the flavors will meld and deepen if allowed to sit overnight in the fridge.
7. For a smoky essence, consider adding smoked paprika or chipotle powder to give an extraordinary flavor twist.
8. Don’t hesitate to double the recipe; this sauce is so versatile it can be used for various meals, snacks, and gatherings.
Variations and Adaptations
Consider exploring regional variations by substituting tropical fruits like mango or papaya for a unique twist. Seasonal adaptations are also fun; in fall, add pumpkin for a spiced variation, while in winter, a pinch of nutmeg can enhance the sauce. Dietary modifications include using agave or honey for a natural sweetener, making it vegan-friendly. Flavor variations could include smoked ingredients to add depth, while texture modifications like incorporating crushed peanuts provide a delightful crunch. Presentation alternatives could involve serving the sauce in small dipping bowls with assorted fresh vegetables, creating a vibrant and appealing display at your next event!
Serving and Presentation Guide
For an impressive presentation, consider serving the sauce in a small, elegant dish, garnished with fresh herbs such as cilantro or mint. Plating techniques can include drizzling the sauce artistically over a nature-inspired spread of grilled meats or stir-fried vegetables. Traditional accompaniments like spring rolls or grilled shrimp work harmoniously, enhancing the dining experience. Temperature-wise, the sauce can be served warm, at room temperature, or even chilled based on personal preference and the dish it’s accompanying. Finally, consider portion control by offering individual servings, allowing everyone to enjoy this delightful condiment without overwhelming their plates.
Wine and Beverage Pairing
A crisp, fruity white wine, like a Riesling or Sauvignon Blanc, complements the Sweet Chili Pineapple Sauce beautifully, enhancing its sweetness while balancing its heat. For non-alcoholic alternatives, consider coconut water or sparkling water infused with mint and lime for a refreshing pairing. If coffee or tea is more to your liking, a floral tea, such as jasmine, will provide a rich aroma that aligns nicely with the sauce’s flavors. Temperature considerations are also crucial; serve wines well chilled to refresh the palate, enhancing the dining experience.
Storage and Shelf Life
For optimal storage, keep the Sweet Chili Pineapple Sauce in an airtight container in the refrigerator. This sauce can last up to two weeks when stored properly. If you’d like to extend its shelf life, consider freezing it in ice cube trays, then transferring the cubes to a freezer bag for long-term storage. Signs of spoilage to watch for include off odors, unusual texture changes, or mold. If reheating, ensure the sauce is heated evenly without boiling, to maintain the exact flavor profile.
Make Ahead Strategies
To streamline meal prep, consider making the Sweet Chili Pineapple Sauce up to three days in advance. This allows flavors to develop and improve over time. Store the sauce in an airtight container in the refrigerator until you’re ready to use it. During storage, it may thicken slightly; if so, just stir in a bit of water or vinegar before serving. Additionally, pre-chop fresh ingredients and have them ready to go for when you’re preparing your meal. This will help reduce active cooking time and ensure a smoother cooking process.
Scaling Instructions
If you plan to serve a larger crowd, doubling or tripling the recipe is straightforward. Simply adjust the ingredient quantities proportionately but keep an eye on cooking time, as larger batches may require additional simmering. If halving the recipe, be sure to maintain the same balance of flavors; small adjustments may be necessary to ensure taste consistency. Remember that if tweaking the ingredients, corresponding adjustments in cooking times, especially for simmering and blending, might be needed.
Nutritional Deep Dive
This Sweet Chili Pineapple Sauce is relatively low in calories, making it a favorable option for sauces. It provides macronutrients primarily from the pineapple, coupled with carbohydrates and minimal fat content. The micronutrient profile is impressive, including vitamin C and manganese from pineapples, contributing to overall health benefits such as immune support and improved digestion. Whether you’re considering weight management or overall nutritional value, incorporating this sauce can enrich your diet with functional ingredients while enhancing your meals. A sensible portion goes a long way in supporting balanced choices!
Dietary Adaptations
This Sweet Chili Pineapple Sauce can easily be modified to suit various dietary preferences. For gluten-free diets, ensure no cross-contamination occurs with any sauces used, particularly soy sauce if added. For vegan options, utilize plant-based sweeteners like maple syrup instead of honey. If following a low-carb or keto diet, consider using sugar substitutes like erythritol, while still enjoying the sweet flavor. Paleo enthusiasts can appreciate the fresh ingredients used in this recipe. Always consult dietary requirements for any specific restrictions while enjoying this vibrant sauce!
Troubleshooting Guide
If you find your sauce too thin, allow it to simmer longer to evaporate excess liquid and thicken. On the other hand, if it ends up too thick, add a touch of water or vinegar gradually until you reach the desired consistency. If the flavor balance seems off, adjust sweetness and spice levels incrementally, tasting as you go. Equipment challenges, such as blending inconsistently, may be resolved by switching to an immersion blender, which provides better control. Lastly, ensure careful attention to timing; overcooking can heavily alter the sauce’s profile.
Recipe Success Stories
Community feedback has been overwhelmingly positive, with many praising how easy this Sweet Chili Pineapple Sauce is to prepare. Some have enjoyed experimenting with various fruits and spices, paving the way for their personalized adaptations. Feedback from readers has also highlighted how this sauce pairs beautifully with grilled seafood, with some even using it as a creative topping for burgers. Variations have flooded in, showcasing the collective culinary creativity in adapting this simple recipe!
Frequently Asked Questions
Q: Can I use frozen pineapple for this recipe?
A: Yes, frozen pineapple can be used; ensure it’s thawed and drained properly to maintain consistency.
Q: How spicy is this sauce?
A: The spice level depends on the type of chili peppers used. Feel free to adjust the quantity to fit your spice tolerance.
Q: Can I can this sauce for later use?
A: Yes, the sauce can be canned using a water bath method, ensuring proper hygiene and sealing practices.
Q: How do I know if my sauce has gone bad?
A: Signs include an off smell, unusual texture, or visible mold. Always check before using.
Q: What dishes does this sauce pair well with?
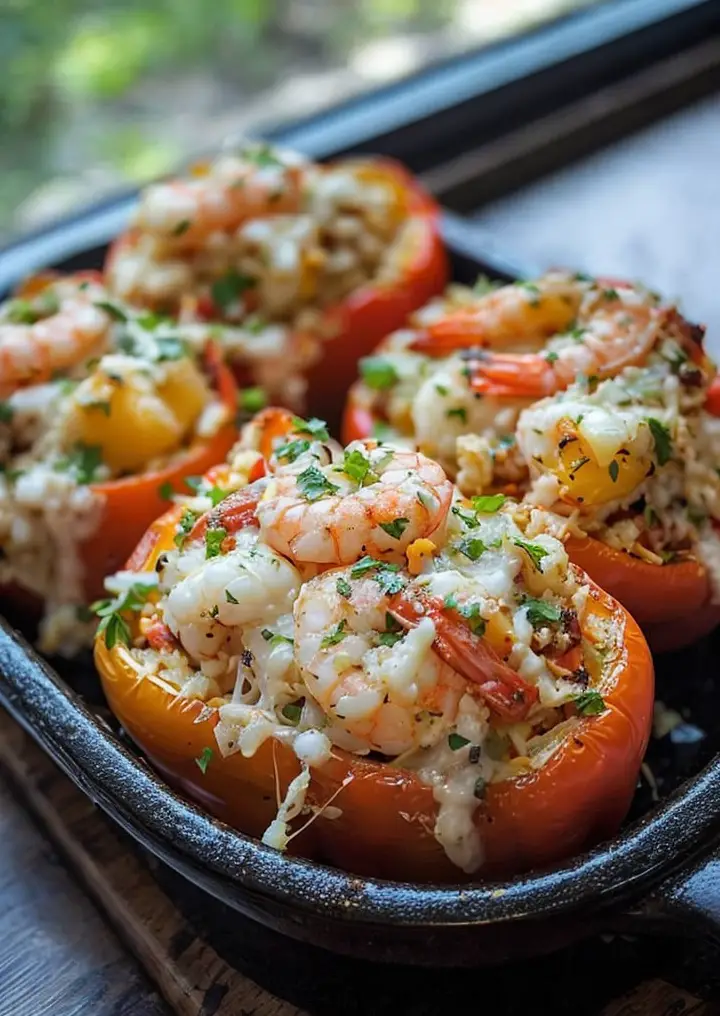
A: It enhances grilled meats, seafood, and vegetable dishes; it can also be a delectable dip for fried items.
Q: Can I reduce the sugar in the recipe?
A: Absolutely! Adjust the sugar or replace it with alternative sweeteners based on your dietary needs.
Q: How long does this sauce last in the refrigerator?
A: When stored properly, it can last up to two weeks in an airtight container in the fridge.
Q: Is it okay to add additional spices?
A: Yes! Feel free to experiment with spices like garlic or ginger for a different flavor profile.
Q: Can I use this sauce on salads?
A: Certainly! It makes a delightful dressing for salad greens or grilled vegetables.
Q: What’s the best way to store leftovers?
A: Store any leftover sauce in an airtight container and refrigerate to keep it fresh for later use.
Additional Resources
For those eager to expand their culinary skills, consider exploring related recipes featuring tropical fruits, such as mango salsa or coconut Thai curry. Technique guides on grilling, blending, and sauce-making can elevate your everyday cooking. For ingredient information, learning about different varieties of chili peppers will help you choose the right heat level for future recipes. Investing in quality kitchen equipment, like blenders and storage containers, can streamline your cooking process. Seasonal variations of sauces can also inspire you to adapt this Sweet Chili Pineapple Sauce using other fruits available in different seasons!
Join the Conversation
We invite you to share your variation of this Sweet Chili Pineapple Sauce on social media with our community. Include your favorite photos and tell us how it paired with your meals! Photography tips for showcasing your dish can also be beneficial; try close-ups and natural light for a delicious presentation. Additional recipe reviews from fellow cooks help create an engaging community, and we’re excited to witness your adaptations of this versatile sauce!
The Recipe
Sweet Chili Pineapple Sauce
Serves: 2 cups
Prep Time: 10 mins
Cook Time: 15 mins
Total Time: 25 mins
Kitchen Equipment Needed
- Small saucepan
- Blender or immersion blender
- Measuring spoons and cups
- Cutting board and knife
Ingredients
- 1 ripe pineapple, chopped
- 1-2 fresh red chili peppers, chopped (adjust to taste)
- 1/2 cup sugar (or alternative sweetener)
- 1/4 cup vinegar (rice or apple cider)
- 1/4 cup water
- 1 teaspoon garlic, minced (optional)
Directions
- In a small saucepan, combine all ingredients: pineapple, chili peppers, sugar, vinegar, water, and garlic if using.
- Bring to a gentle boil over medium heat, then reduce heat and let simmer for 15 minutes, stirring occasionally.
- Once the mixture has thickened slightly, remove from heat and allow it to cool for 10 minutes.
- Blend the mixture until smooth, leaving some chunks for texture if desired.
- Transfer the sauce to an airtight container for storage or serve immediately.
Recipe Notes
- This sauce can be stored in the refrigerator for up to 2 weeks.
- Feel free to adjust the sweetness or spice according to your taste preferences.
- This sauce pairs wonderfully with grilled meats, seafood, and appetizers.
- For extra complexity, try adding a splash of soy sauce or lime juice.