Herb-Infused Chicken with Lemon Orzo: A Flavorful Escape
Get ready to elevate your dinner game with this Herb-Infused Chicken with Lemon Orzo recipe. This dish combines the tender flavors of herb-marinated chicken with vibrant, zesty lemon orzo, creating a dish that not only satisfies your hunger but also delights your senses. Imagine succulent chicken breasts infused with fragrant herbs, perfectly complemented by fluffy orzo pasta laden with the brightness of fresh lemon. It’s a harmonious blend that promises to impress your family and friends alike, making it a go-to for any dinner table.
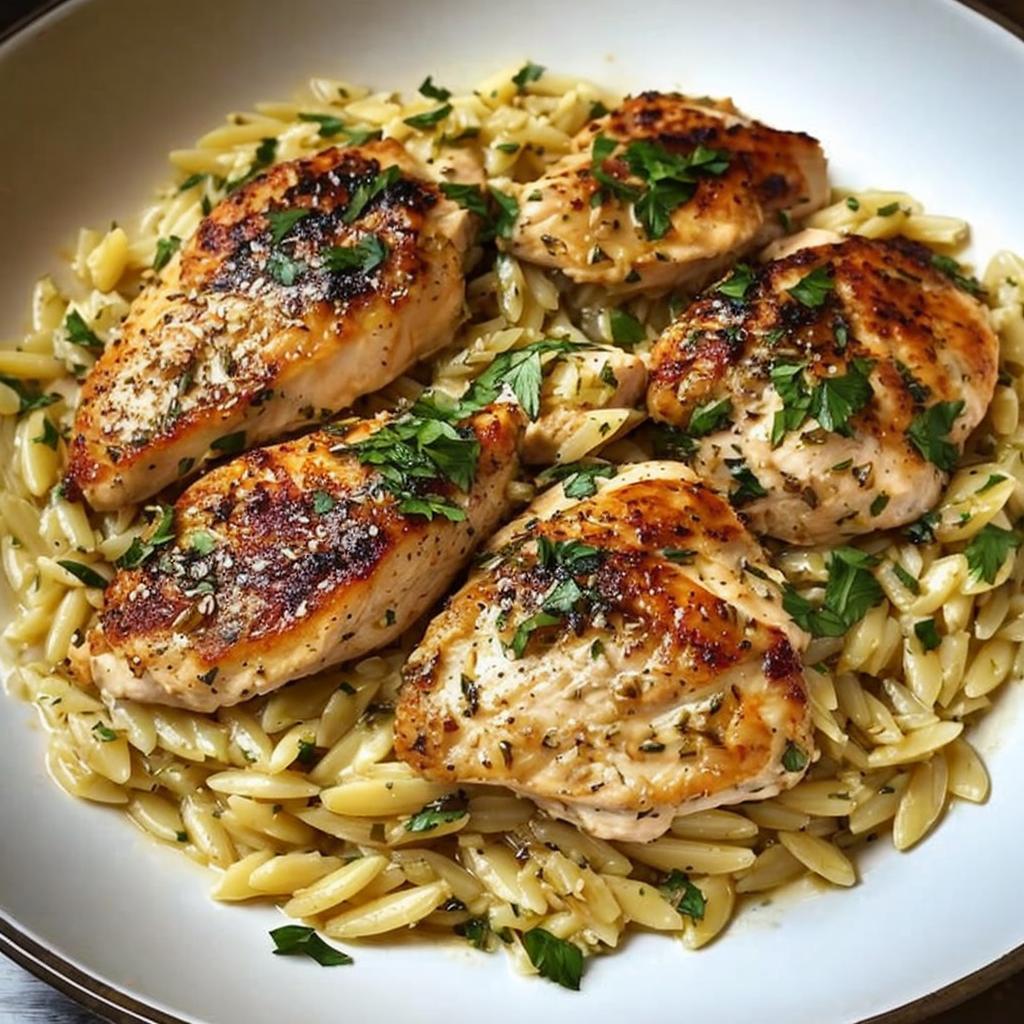
As you prepare this dish, the aroma of fresh herbs wafts through your kitchen, inviting everyone to gather around the table. The colors of the dish, with the golden-brown chicken and the gleaming yellow orzo, create a visual feast ready to be enjoyed. Every bite combines tender chicken with the delightful chewiness of orzo, all bolstered by the fresh zing of lemon. Whether it’s a weekday meal or a weekend dinner party, this recipe will surely become a favorite in your culinary repertoire.
Quick Recipe Highlights
- Flavor Profile: This recipe features a fragrant bouquet of herbs that infuses the chicken, while the lemon orzo delivers a bright, zesty finish.
- Texture: Expect juicy, tender chicken paired with a light yet hearty orzo, providing a delightful contrast in each bite.
- Aroma: The enticing scent of garlic and fresh herbs permeates the air, making the cooking experience even more enjoyable.
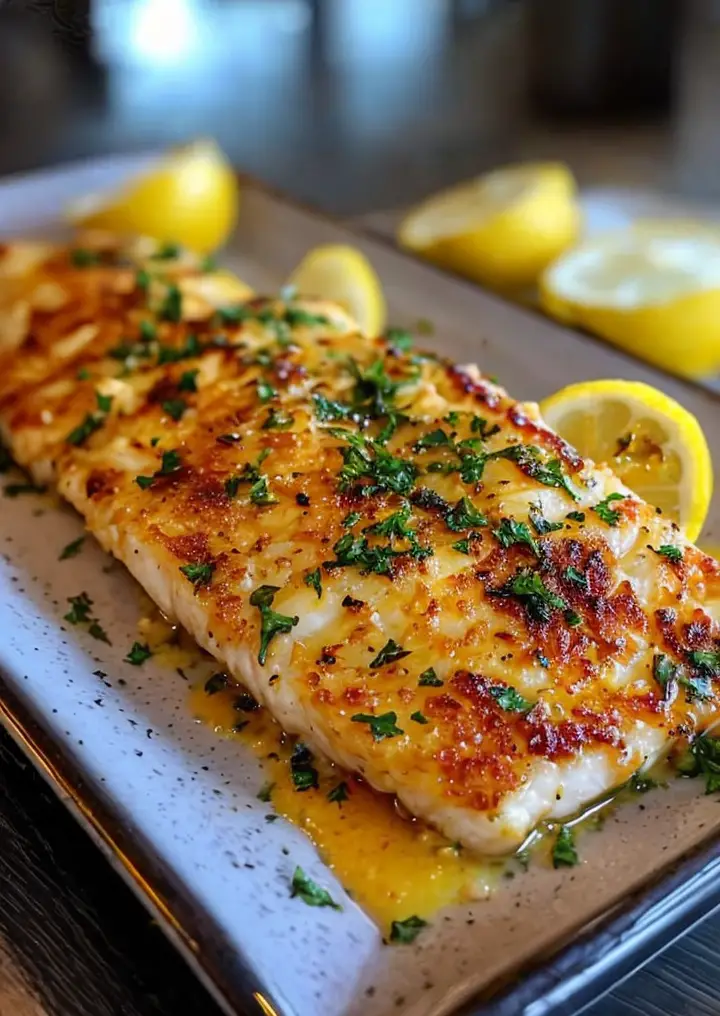
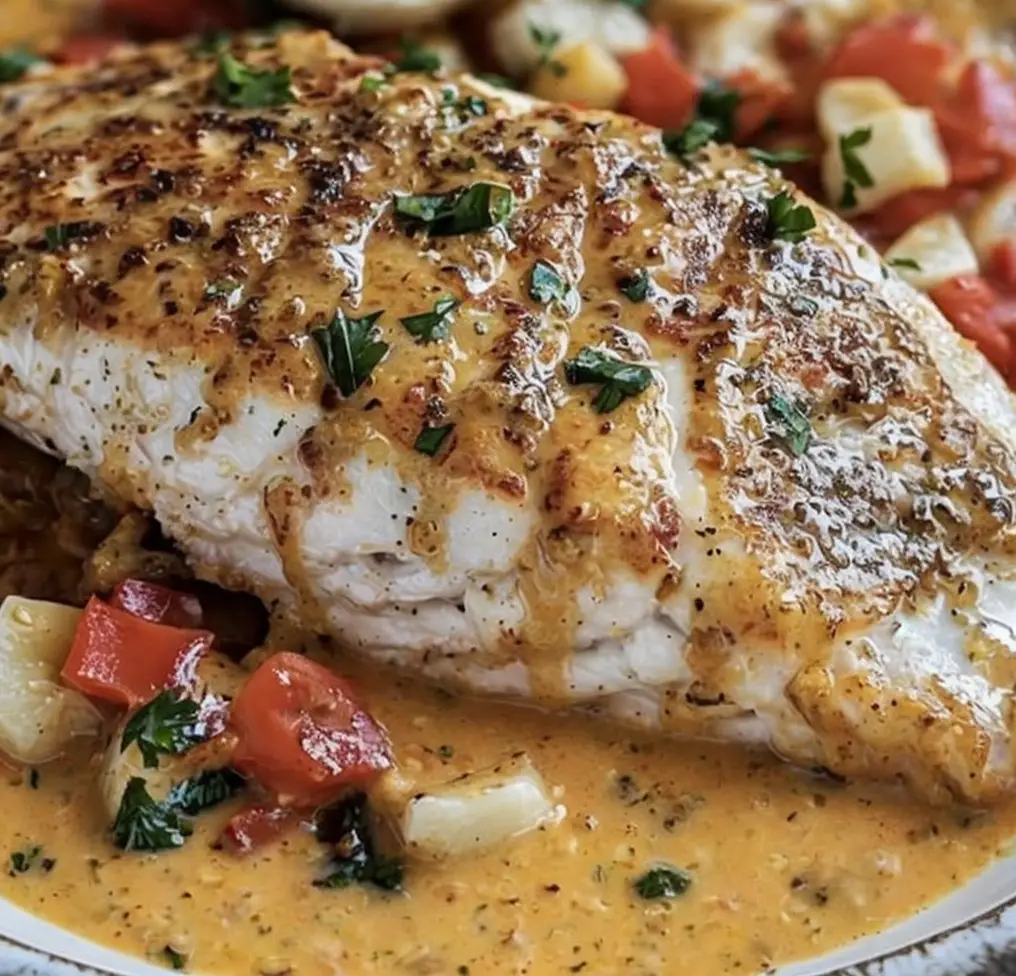
- Visual Appeal: Presented beautifully, the golden chicken contrasts radiantly with the vibrant creamy orzo, making it a showstopper.
- Skill Level Needed: A moderate skill set is required for this recipe, involving marinating, searing, and intricate cooking techniques.
- Special Equipment: All you need are standard kitchen tools, including a skillet and pot to cook the chicken and orzo respectively.
Recipe Overview
- Difficulty Level: This dish is rated as moderate because it involves several cooking techniques, but with careful attention, anyone can master it.
- Category: Perfect for a comforting family meal or an elegant dinner party, this recipe fits well into the main course category.
- Cuisine: This dish draws inspiration from Mediterranean cuisine, famous for its use of fresh herbs, olives, and citrus flavors.
- Cost: With easily accessible ingredients, the total cost of making this meal is budget-friendly, typically under $20.
- Season: Ideal for spring and summer seasons when fresh herbs are abundant, making this dish burst with flavor.
- Occasion: It’s perfect for family dinners, gatherings, or special occasions where you want to impress your guests.
Why You’ll Love This Recipe
The appeal of Herb-Infused Chicken with Lemon Orzo lies in its delightful taste and texture. Each bite is a culmination of freshly marinated chicken, seasoned to perfection, delivering robust flavor. The orzo adds a chewy texture that beautifully complements the tender chicken. You’ll love how this recipe harmoniously blends bright and earthy notes, transforming a simple dinner into a gourmet experience.
This recipe is also highly convenient, allowing for quick preparation and cooking, making it suitable for busy nights. The marination can be done in advance, and with just 30 minutes of cooking, a satisfying dish is ready in no time. It’s ideal for those evenings when you crave something impressive yet uncomplicated.
Nutritionally, this dish is a winner as it balances lean protein from the chicken with carbohydrates from the orzo, rounded out by vitamins from fresh herbs and lemon. This creates a well-rounded meal that supports a healthy lifestyle while tantalizing the taste buds.
Additionally, Herb-Infused Chicken with Lemon Orzo shines in social settings. Its vibrant colors and delightful aroma make it appealing for gatherings, inviting conversations as guests share their admiration for the dish. Serving it family-style can further enhance the communal dining experience, bringing everyone together.
Lastly, this dish is accessible in terms of cost and preparation. The ingredients are commonly found, and the steps are straightforward. You can easily adjust the recipe and create abundance by simply increasing the quantities, all while fitting your budget — making it not only delicious but practical as well.
Historical Background and Cultural Significance
The origins of herb-infused dishes can be traced back to ancient times when the use of herbs was vital for preservation and enhancing flavors. Herbs like rosemary, thyme, and parsley have long been staples in Mediterranean cooking, valued not only for their flavor but also their health benefits. This recipe embodies such rich traditions that have influenced culinary practices across the globe.
Culturally, Mediterranean cuisine is characterized by vibrant flavors, using fresh ingredients in innovative ways. Meals are centered around social dining, highlighting the importance of sharing and celebration. Preparing herb-infused chicken resonates with these values by encouraging collaboration in the kitchen and shared enjoyment at the table.
Over time, this recipe has evolved but remains a celebration of simplicity and freshness. Variations may include different herbs or cooking methods, showcasing regional preferences while preserving the dish’s essence. Such adaptations demonstrate the recipe’s flexibility while honoring its historic roots.
Different regions may add unique twists to reflect local ingredients, showcasing the diversity of flavors within Mediterranean cuisine. Each variant tells its own story, influenced by geography, culture, and seasonal availability of ingredients, making herb-infused chicken a dish that connects people through diverse culinary traditions.
Ingredient Deep Dive
Chicken is the star of this dish, providing a lean source of protein crucial for muscle repair and overall health. It’s important to choose quality chicken that is fresh and free of additives. When selecting chicken, look for a vibrant pink color, avoid any discoloration, and ensure that it feels firm to the touch. Proper storage involves refrigerating raw chicken or freezing it if you don’t plan to use it within a couple of days. For variety, feel free to substitute chicken with turkey or tofu for a different protein option.
Orzo, a type of pasta, is not only versatile but it also adds a hearty element to the dish. Made from durum wheat, it provides complex carbohydrates, promoting sustained energy. Choosing whole-grain orzo enhances the nutritional profile significantly. When shopping for orzo, look for brands that use high-quality grains, and when storing, keep it in an airtight container to maintain freshness. Orzo can also be exchanged with quinoa or rice for gluten-free options.
Common Mistakes to Avoid
- Not marinating the chicken long enough: Ensure at least 30 minutes to absorb flavors fully, ideally overnight.
- Overcooking the chicken: Use a meat thermometer to achieve the perfect doneness, ideally 165°F.
- Skipping the resting time: Let the chicken rest post-cooking to retain its juices.
- Adding lemon juice too early: This can cook the chicken; put it in the orzo just before serving.
- Using low-quality herbs: Fresh herbs elevate the dish significantly; opt for the best you can find.
- Cooking orzo in too little water: Ensure plenty of water so the pasta doesn’t stick.
- Not seasoning during cooking: Layer flavors by seasoning both the chicken and orzo adequately.
- Neglecting to taste as you go: Always sample throughout for seasoning adjustments.
- Being inconsistent with ingredient sizes: Cut vegetables and chicken uniformly for even cooking.
- Ignoring presentation: A beautiful presentation enhances the overall appeal of the meal.
Essential Techniques
Marinating chicken is vital for infusing flavor. Ensure the marinade has an acidic component, like lemon juice or vinegar, to tenderize the meat and enhance its taste. Allow sufficient time for the marinade to work its magic, and avoid overcrowding the bag or container to ensure even flavor distribution. A common pitfall is skipping this step, which can lead to bland chicken; use a sealed container to maximize flavor absorption.
Cooking the orzo requires precision; make sure to follow package instructions regarding water ratios and cooking time. Stirring occasionally prevents sticking and ensures even cooking. Be mindful of overcooking, resulting in mushy pasta. Pay attention to the clock and the texture for perfect al dente orzo that retains a pleasing bite.
Pro Tips for Perfect Herb-Infused Chicken with Lemon Orzo
1. Use fresh herbs whenever possible; they provide more flavor than dried ones, enhancing the overall taste of the dish.
2. Sear the chicken for a golden crust, which adds depth of flavor and visual appeal to your plate.
3. Incorporate a splash of white wine into the orzo for an added layer of richness and complexity.
4. Consider adding sautéed vegetables to your orzo for a colorful, nutritious boost.
5. Taste your dish at various stages, adjusting seasoning and acidity as needed to achieve that perfect balance.
6. Pair your herb-infused chicken with a simple salad drizzled with olive oil and lemon to complement the flavors.
7. When plating, sprinkle additional fresh herbs and lemon zest for an added burst of freshness.
8. Experiment with different herbs, such as cilantro or basil, for a unique twist on the traditional flavors.
Variations and Adaptations
To suit different tastes, consider regional variations such as incorporating saffron, frequently used in Mediterranean dishes for an earthy, aromatic profile. Seasonal adaptations can include adding fresh peas or asparagus in spring for a vibrant touch. For dietary needs, you could try gluten-free orzo or substitute chicken for chickpeas or lentils, making it vegetarian-friendly. Additionally, flavoring the dish differently with spices such as smoked paprika or curry can lead to delightful outcomes. Texture modifications may include incorporating toasted nuts for a crunch or using a cream-based sauce for a richer alternative, along with different presentation styles to keep it exciting.
Serving and Presentation Guide
Plating your Herb-Infused Chicken with Lemon Orzo elegantly makes all the difference. Use a large platter to group the chicken and orzo together, ensuring vibrant colors are prominent. Garnish with freshly chopped herbs and a sprinkle of lemon zest to brighten the visual. Include lemon wedges around the plate or for guests to finish their plates with a fresh squeeze. Traditional accompaniments include a light salad or a side of grilled vegetables, elevating the meal into a delightful feast.
Wine and Beverage Pairing
When pairing wine with Herb-Infused Chicken with Lemon Orzo, a crisp white wine, such as Sauvignon Blanc or Pinot Grigio, works beautifully, complementing the citrus notes of the dish. For those preferring non-alcoholic alternatives, consider serving sparkling water with a wedge of lemon for an effervescent touch. If coffee or tea is more your style, a herbal tea can be a calming finish to a flavorful meal while keeping the palate refreshed.
Storage and Shelf Life
For effective storage, allow any leftovers to cool down before transferring to an airtight container. Refrigerate promptly and consume within 3-4 days for optimal freshness. Signs of spoilage include off odors or discoloration. For longer storage, this dish can be frozen; ensure it is kept in moisture-proof containers. When reheating, do so gradually in the oven or microwave to prevent drying out, adding a splash of broth or water can help maintain moisture and texture.
Make Ahead Strategies
Preparation can be streamlined by marinating the chicken the night before, allowing the flavors to meld beautifully. Pre-cook the orzo in advance and store it in the refrigerator, mixing in some olive oil to prevent sticking. You can also prep any fresh herbs and vegetables to ensure a quick assembly on cooking day. When reheating, add fresh herbs or a squeeze of lemon to revive the flavors and brightness of the dish, making it feel freshly made.
Scaling Instructions
For smaller servings, halving the recipe is straightforward; use smaller chicken cuts for even cooking. Doubling or tripling is equally easy, just make sure to space out the chicken in a larger skillet to ensure an even sear. Pay attention to timing as larger quantities may require a bit more cooking time. When scaling, ensure that the seasoning is adjusted properly to maintain flavor balance throughout the dish.
Nutritional Deep Dive
This recipe boasts a balanced nutritional profile. The chicken delivers lean protein contributing to muscle maintenance, while the orzo offers energy-boosting complex carbohydrates. Rich in essential vitamins from the assortment of herbs, the dish supports overall health. Watching portion sizes can effectively contribute to weight management without sacrificing enjoyable flavors. For a moderate calorie count, this meal provides generous servings without surpassing daily nutritional allotments.
Dietary Adaptations
For gluten-free adaptations, replace orzo with quinoa or rice, maintaining the essence of the dish. Those on dairy-free diets can skip any cheese garnishes and still enjoy the aromatic flair of the herbs. For a vegan version, swap the chicken for grilled portobello mushrooms or chickpeas, ensuring you keep the delightful scents and flavors alive with herbs. Low-carb variations can use cauliflower rice to retain the orzo’s texture while cutting down on carbs. Each of these adaptations allows for a delicious, personalized touch while respecting dietary needs.
Troubleshooting Guide
If your chicken is dry, ensure you’re not overcooking and that resting time is respected. Undercooked chicken is a common concern, easily addressed by checking internal temperatures. For overly salty orzo, add a small amount of sugar to balance the flavors. If your dish lacks flavor, consider adjusting the seasoning throughout the cooking process, especially with fresh herbs added last. Troubles with equipment can often be resolved by using the right tools; a good pot can make all the difference in achieving that desired tenderness.
Recipe Success Stories
Readers have sung praises for this recipe, highlighting its versatility and ease. Many have shared their spin on the dish, incorporating local flavors and seasonal ingredients to make it their own. Adaptations have ranged from using wild mushrooms instead of chicken to adding unique spices that reference their heritages. Suggestions to enhance the dish through presentation tips, such as serving on colorful plates or utilizing edible flowers, have sparked creativity among community members. These individual successes showcase the recipe’s flexibility and appeal, inviting everyone into the kitchen to experiment.
Frequently Asked Questions
Can I use frozen chicken for this recipe?
It’s best to use fresh chicken, but if you must use frozen, ensure it’s thawed completely before marinating and cooking.
How can I make this dish spicier?
Add a pinch of red pepper flakes to the chicken marinade or serve with a spicy condiment on the side.
Is there a low-carb substitute for orzo?
Absolutely! You can use riced cauliflower or spiralized zucchini to create a lower-carb version that still feels hearty.
What herbs work best for marinating chicken?
Fresh thyme, rosemary, and parsley are excellent choices, but feel free to experiment with others based on personal taste.
Can I prepare this meal in advance?
Yes! You can marinate the chicken and cook the orzo a day ahead, keeping them separate until it’s time to serve.
What sides pair well with this dish?
A light salad or grilled vegetables complement the flavors perfectly, adding color and freshness to the meal.
Can I make this dish in a slow cooker?
While it can be done, adjust cooking times accordingly; add orzo towards the end to prevent it from becoming mushy.
Is there a vegetarian version of this dish?
Absolutely! Replace chicken with chickpeas or grilled eggplant for a delicious vegetarian take.
What is the best way to store leftovers?
Store in an airtight container in the fridge for up to four days, or freeze for longer storage, reheating thoroughly before consuming.
Does the cooking time change with different chicken cuts?
Yes, thighs and drumsticks may take longer than breasts; always check for internal temperature to ensure proper doneness.
Additional Resources
For those interested in expanding their culinary repertoire, check out related recipes such as Mediterranean Quinoa Salad or Grilled Vegetable Skewers. Technique guides on marinating meat and cooking pasta will also elevate your kitchen skills, as does familiarizing yourself with ingredient profiles for better meal planning. Don’t forget to explore equipment recommendations—it’s proven that the right tools make a significant difference in kitchen efficiency and results.
Join the Conversation
We invite you to share your experiences with this Herb-Infused Chicken with Lemon Orzo recipe on social media! Tag your photos and variations using #[RecipeName] to connect with other food enthusiasts. We love hearing feedback and recipe reviews, so leave your thoughts in the comments. Your creativity is essential in keeping the conversation alive, inspiring others to embark on their culinary adventures.
The Recipe
Herb-Infused Chicken with Lemon Orzo
Serves: 4
Prep Time: 15 mins
Cook Time: 30 mins
Total Time: 45 mins
Kitchen Equipment Needed
- Skillet
- Pot for orzo
- Meat thermometer
- Mixing bowl for marinating
Ingredients
- 4 chicken breast fillets
- 1 cup orzo pasta
- 2 tablespoons olive oil
- Juice of 1 lemon
- 1 teaspoon dried oregano
- 1 teaspoon dried thyme
- 3 cloves garlic, minced
- Salt and pepper to taste
- Fresh parsley for garnish
Directions
- In a mixing bowl, combine olive oil, lemon juice, oregano, thyme, garlic, salt, and pepper to create the marinade.
- Add the chicken breasts to the marinade and let it sit for at least 30 minutes.
- While the chicken marinates, bring a pot of salted water to a boil and cook the orzo according to package instructions. Drain and set aside.
- Heat a skillet over medium-high heat. Remove the chicken from the marinade and add it to the skillet.
- Cook the chicken for about 6-7 minutes on each side until it reaches an internal temperature of 165°F.
- Add the cooked orzo to the skillet, stirring in any remaining marinade to coat the pasta.
- Serve hot, garnished with fresh parsley and lemon zest.
Recipe Notes
- For best results, marinate the chicken overnight.
- Feel free to add seasonal vegetables to the orzo for a nutritional boost.
- Leftovers can be stored in the fridge for up to 4 days.