“`html
Table of Contents
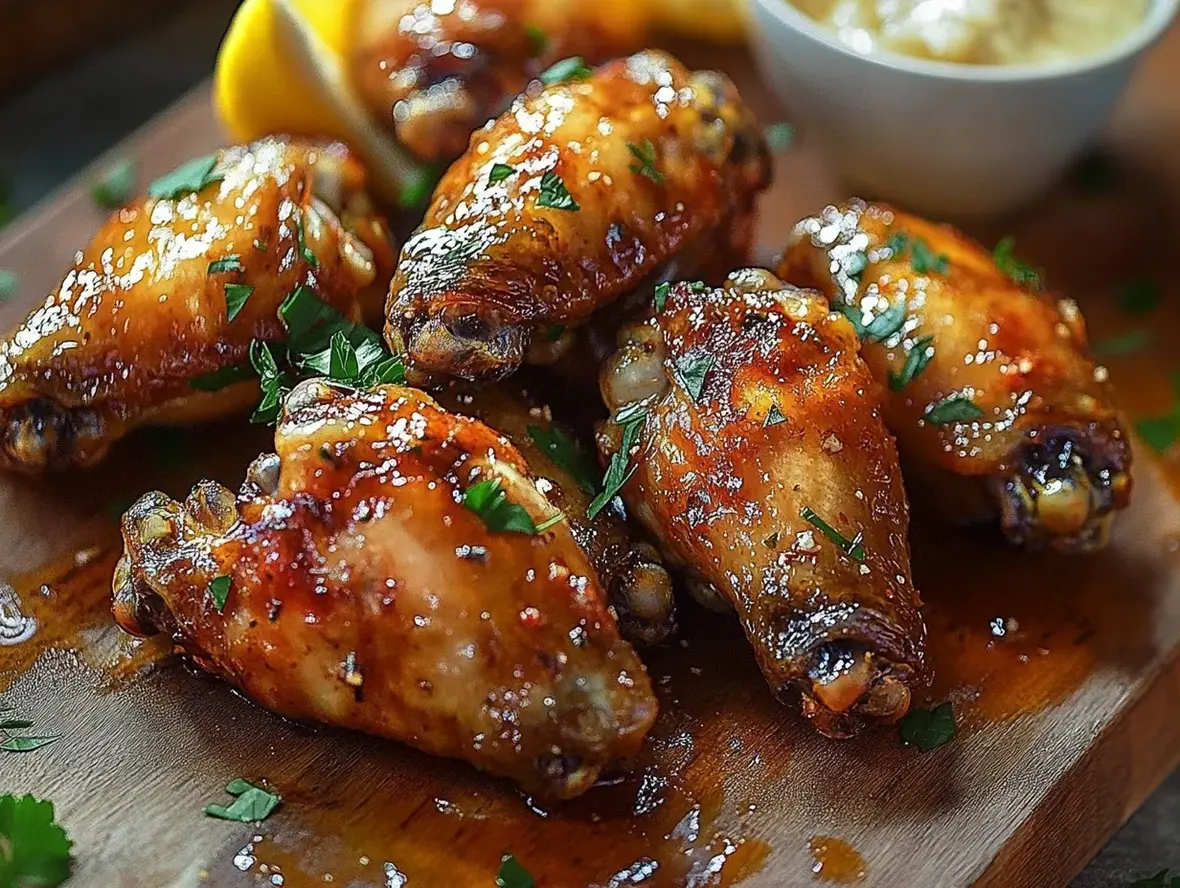
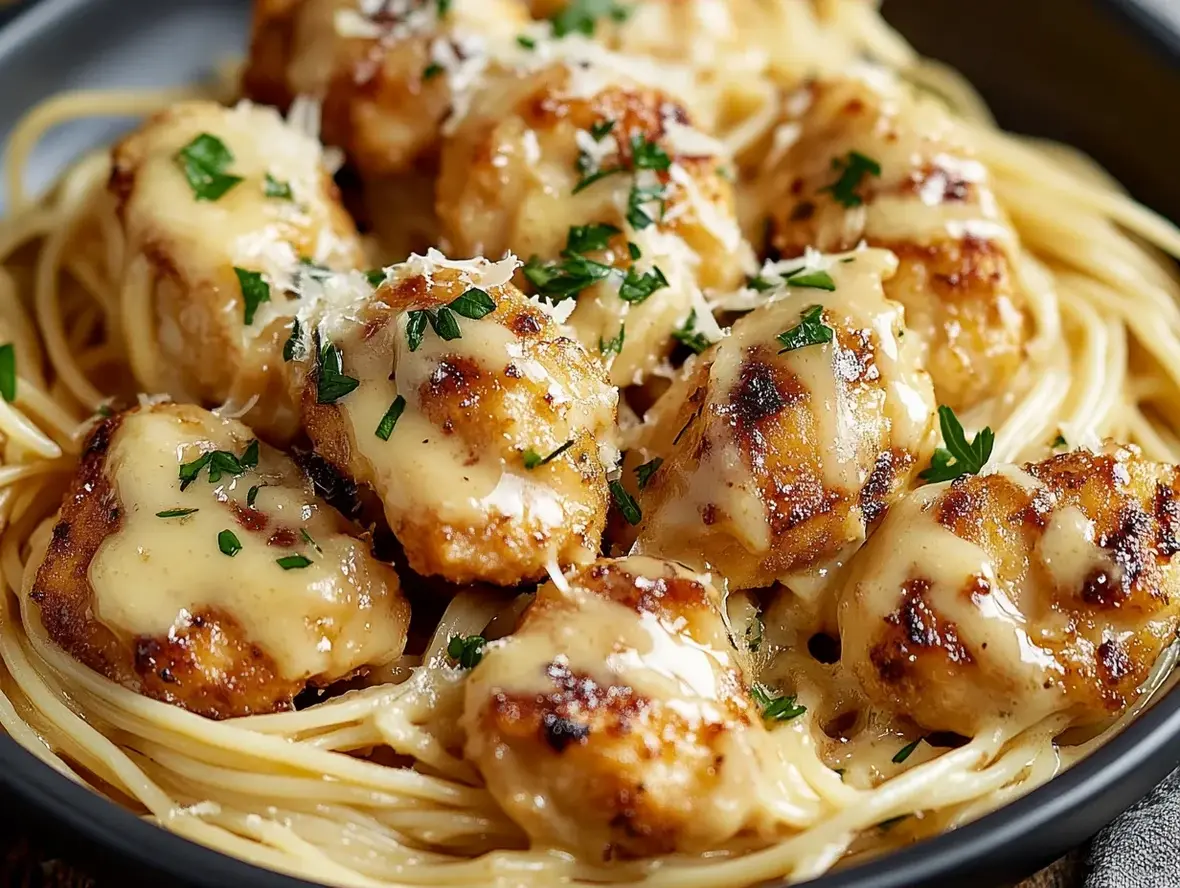
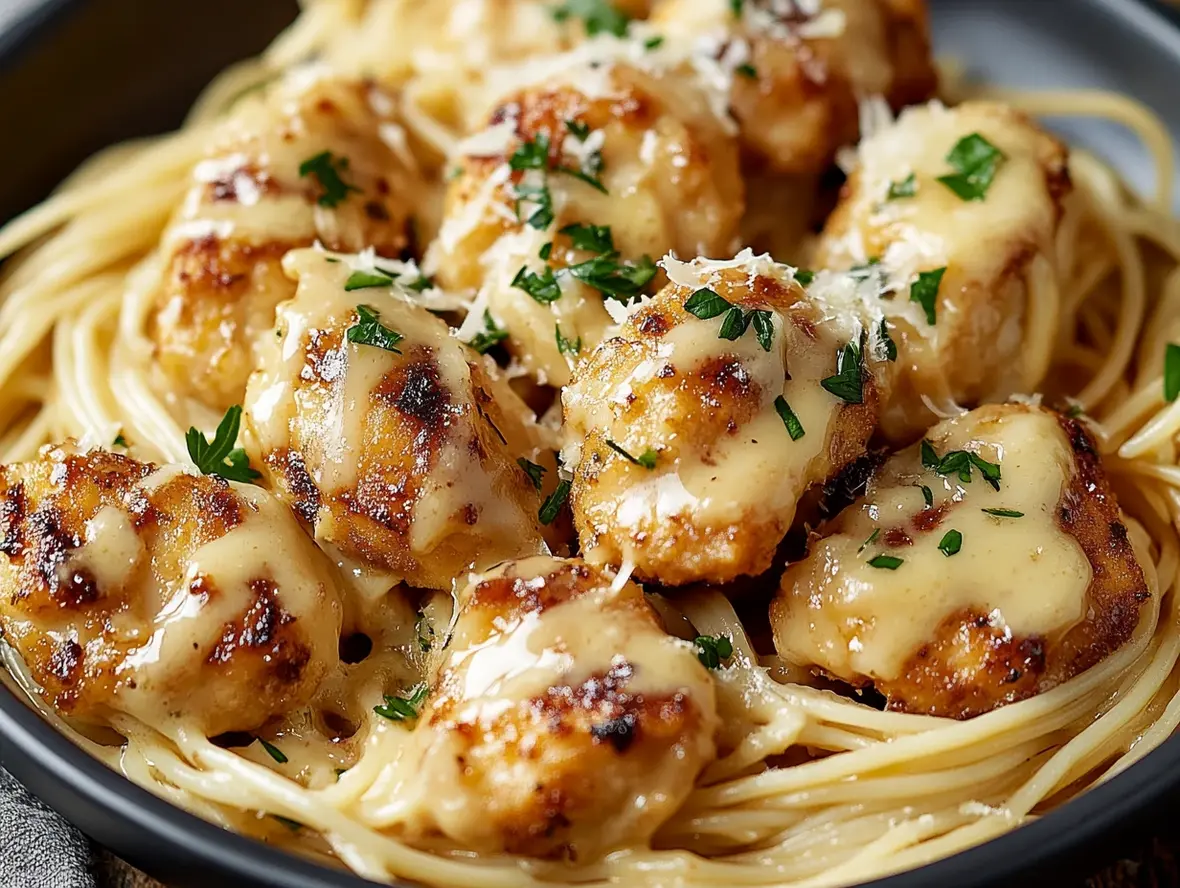
Easy and Delicious Ranch Chicken Thighs Recipe
Introduction
Are you tired of the same old weeknight dinners? Do you find yourself searching for quick, flavorful, and crowd-pleasing recipes that don’t require hours in the kitchen? If you’re nodding along, then you’re in the right place! Ranch Chicken Thighs are a culinary godsend, offering a delightful balance of savory herbs, creamy ranch goodness, and perfectly tender chicken. In today’s fast-paced world, where time is often the most precious commodity, finding meals that are both delicious and efficient is key. This recipe for Easy and Delicious Ranch Chicken Thighs is designed to do just that, ensuring you can whip up a restaurant-quality meal right in your own home with minimal fuss. We’ll explore why chicken thighs are the ideal cut for baking, how to achieve that coveted juicy texture every time, and share some expert tips to elevate this already fantastic dish. Get ready to impress your family and friends with a simple yet sophisticated main course that will become a staple in your recipe rotation.
Ingredients
The beauty of these Ranch Chicken Thighs lies in its simplicity, using readily available ingredients to create a symphony of flavors. The key to their irresistible taste is the ranch seasoning, a beloved blend that provides a tangy, herbaceous kick.
- 1.5 – 2 lbs Boneless, Skinless Chicken Thighs: Choose thighs that are roughly the same size for even cooking. Their higher fat content ensures they stay incredibly moist and tender, unlike leaner cuts that can dry out easily. Look for vibrant pinkish-red flesh; avoid anything that looks grey or has an off odor.
- 1 packet (about 1 ounce) Ranch Seasoning Mix: This is the star of the show! The blend typically includes buttermilk powder, salt, garlic powder, onion powder, dill, and chives, creating that signature tangy and herbaceous flavor. Substitution: If you can’t find a packet, you can make your own ranch seasoning using 2 tablespoons dried parsley, 1 tablespoon dried dill, 1 teaspoon garlic powder, 1 teaspoon onion powder, 1 teaspoon salt, and 1/2 teaspoon black pepper.
- 2 tablespoons Olive Oil or Melted Butter: This helps the seasoning adhere to the chicken and promotes a lovely golden-brown crust. Olive oil adds a fruity note, while butter contributes a richer, more decadent flavor. Substitution: Avocado oil or melted ghee would also work well.
- Optional: 1/4 cup Grated Parmesan Cheese: For an extra savory and cheesy boost. This adds a lovely umami depth and helps create a slightly crispier exterior.
- Optional: Fresh Parsley or Chives, chopped, for garnish: To add a burst of fresh color and aroma just before serving.
Timing
10 minutes
25-30 minutes
35-40 minutes
Compared to many baked chicken recipes that can take upwards of 45-60 minutes, these Ranch Chicken Thighs are remarkably quick, fitting perfectly into a busy weeknight schedule. The 10-minute prep time is an added bonus, making this an accessible recipe for cooks of all skill levels.
Step-by-Step Instructions
Get ready for a simple yet incredibly rewarding cooking experience. Follow these easy steps to achieve perfectly seasoned and deliciously juicy ranch chicken thighs.
Step 1: Preheat and Prep
First things first, let’s get your oven and baking dish ready. Preheat your oven to 400°F (200°C). This medium-high heat is crucial for ensuring the chicken thighs cook through efficiently while developing a beautiful sear on the outside. While the oven heats up, prepare your baking dish. You can lightly grease it with cooking spray or a little olive oil to prevent sticking, or line it with parchment paper for even easier cleanup. If you’re feeling fancy and want to add some extra flavor, you can even arrange a bed of thinly sliced onions or bell peppers at the bottom of the dish – they’ll become wonderfully tender and flavorful as the chicken bakes on top.
Step 2: Season the Chicken
Now for the magic! Pat your chicken thighs thoroughly dry with paper towels. This step is more important than you might think, as it helps create a surface where the seasoning can truly adhere, leading to a better crust. In a medium bowl, combine the dried chicken thighs with the olive oil (or melted butter) and toss to coat each piece evenly. Sprinkle the entire packet of ranch seasoning mix over the oiled chicken. If you’re using Parmesan cheese, add it now too. Gently toss everything together until every thigh is generously coated with the seasoning mixture. Ensure no piece is left behind, as this is where all the flavor comes from!
Step 3: Arrange and Bake
Once your chicken is beautifully seasoned, arrange the thighs in a single layer in your prepared baking dish. Try to avoid overlapping them too much; giving them a little space ensures they bake evenly and develop a nice crust all around. If you decided on adding vegetables like onions or peppers, they should already be in the dish beneath the chicken. Place the baking dish in the preheated oven. Bake for approximately 25-30 minutes, or until the chicken is cooked through and the internal temperature reaches 165°F (74°C) when measured with a meat thermometer. The exact timing will depend on the size of your chicken thighs and your oven.
Step 4: Rest and Serve
This is a crucial step for maximum juiciness! Once the chicken reaches the desired internal temperature and looks golden brown and delicious, remove the baking dish from the oven. Tent the chicken loosely with foil and let it rest for about 5-10 minutes. This resting period allows the juices to redistribute throughout the meat, ensuring every bite is incredibly tender and moist. After resting, if you have chopped fresh parsley or chives, sprinkle them over the chicken for a vibrant pop of color and freshness. Serve hot and enjoy the incredible flavor!
Nutritional Information
While exact nutritional values can vary based on specific ingredients and portion sizes, a typical serving of these Ranch Chicken Thighs (without added Parmesan) offers a good balance of protein and healthy fats. A detailed breakdown per thigh (assuming about 4-6 thighs per serving) would be approximately:
- Calories: 200-250 kcal
- Protein: 20-25g
- Fat: 12-18g (primarily healthy monounsaturated fats from the chicken and olive oil)
- Carbohydrates: 1-3g (mostly from the seasonings)
- Sodium: Varies significantly based on the ranch seasoning packet; aim for lower-sodium options if possible.
Healthier Alternatives
Looking to make this recipe even lighter without sacrificing flavor? Here are a few simple swaps:
- Chicken Breast: While chicken thighs are preferred for their moisture, chicken breast can be used. To prevent dryness, ensure you don’t overcook them and consider using a meat thermometer to remove them as soon as they reach 165°F (74°C). Thicker pieces may benefit from pounding to an even thickness.
- Lower Sodium Seasoning: Opt for a reduced-sodium ranch seasoning packet or make your own blend with less salt.
- Air Fryer Method: Cook in an air fryer at 380°F (190°C) for about 18-20 minutes, flipping halfway through, for a crispier exterior with less oil.
- Greek Yogurt Marinade (Before Seasoning): For an extra tenderizing boost and a creamy tang, marinate the chicken thighs in plain Greek yogurt (about 1/2 cup) for at least 30 minutes before patting dry, coating with oil, and adding the ranch seasoning.
Serving Suggestions
These versatile Ranch Chicken Thighs pair wonderfully with a variety of sides. Here are some ideas to complete your meal:
- Roasted Vegetables: Broccoli, Brussels sprouts, asparagus, or sweet potatoes roasted alongside the chicken or separately.
- Salads: A crisp green salad with a light vinaigrette or a creamy coleslaw.
- Grains: Fluffy quinoa, brown rice, or creamy mashed potatoes.
- Pasta: A simple side of pasta with a light sauce or butter.
- Sandwiches/Wraps: Shredded chicken makes for a fantastic sandwich or wrap filling.
Common Mistakes to Avoid
Even with a simple recipe, a few common pitfalls can prevent you from achieving the perfect result. Be mindful of these:
- Not Patting Chicken Dry: This leads to steamed chicken instead of beautifully seared chicken, affecting texture and crust development.
- Overcrowding the Pan: This causes the chicken to steam rather than bake, preventing browning and a crispy exterior.
- Not Resting the Chicken: Skipping the resting period means losing precious juices, resulting in drier chicken.
- Overcooking: Chicken thighs are forgiving, but overcooking them still leads to a less tender texture. Always use a meat thermometer for accuracy.
Storing Tips
Leftover Ranch Chicken Thighs can be stored and reheated for delicious meals throughout the week.
- Refrigeration: Allow the cooked chicken to cool completely, then store it in an airtight container in the refrigerator for up to 3-4 days.
- Reheating: For the best results, reheat in a 350°F (175°C) oven until warmed through. You can also gently reheat them in a skillet over medium-low heat or in the microwave, though they may lose some of their crispiness.
- Freezing: While freshly cooked is always best, cooked chicken thighs can be frozen. Wrap them tightly and store for up to 2-3 months. Thaw overnight in the refrigerator before reheating.
Frequently Asked Questions
***Can I use bone-in, skin-on chicken thighs?***
Yes, you can! Bone-in, skin-on thighs will likely take a bit longer to cook (closer to 40-45 minutes) and will yield a crispier skin. Ensure the internal temperature reaches 165°F (74°C) in the thickest part of the thigh, avoiding the bone. You might want to broil them for the last few minutes to crisp the skin further.
***What if I don’t have ranch seasoning mix?***
You can easily make your own ranch seasoning! A common DIY blend includes dried parsley, dried dill, garlic powder, onion powder, salt, and pepper. You can find many recipes online for homemade ranch seasoning that you can tailor to your liking.
***Can I make this in an air fryer?***
Absolutely! For a crispier finish, preheat your air fryer to 380°F (190°C). Arrange the seasoned chicken thighs in a single layer in the air fryer basket (don’t overcrowd). Air fry for about 18-20 minutes, flipping halfway through, until cooked through and golden brown. Cooking time may vary depending on your air fryer model and the size of the thighs.
***How do I know when the chicken is done?***
The most reliable way is to use a meat thermometer. Insert it into the thickest part of a chicken thigh, making sure not to touch the bone. The chicken is safely cooked when it reaches an internal temperature of 165°F (74°C). Visually, the juices should run clear when pierced with a fork or knife.
***Can I add vegetables to the baking dish?***
Definitely! Roasted vegetables like broccoli florets, asparagus spears, bell pepper strips, or onion wedges are excellent additions. Toss them with a little olive oil and seasoning and add them to the baking dish around the chicken during the last 20-25 minutes of cooking, or roast them separately to your desired tenderness. They absorb the delicious chicken drippings!
Ready to simplify your dinners and delight your taste buds? Give these Easy and Delicious Ranch Chicken Thighs a try! They’re a foolproof way to bring flavor and satisfaction to your table any night of the week. What are your favorite sides to serve with chicken? Let us know in the comments below!

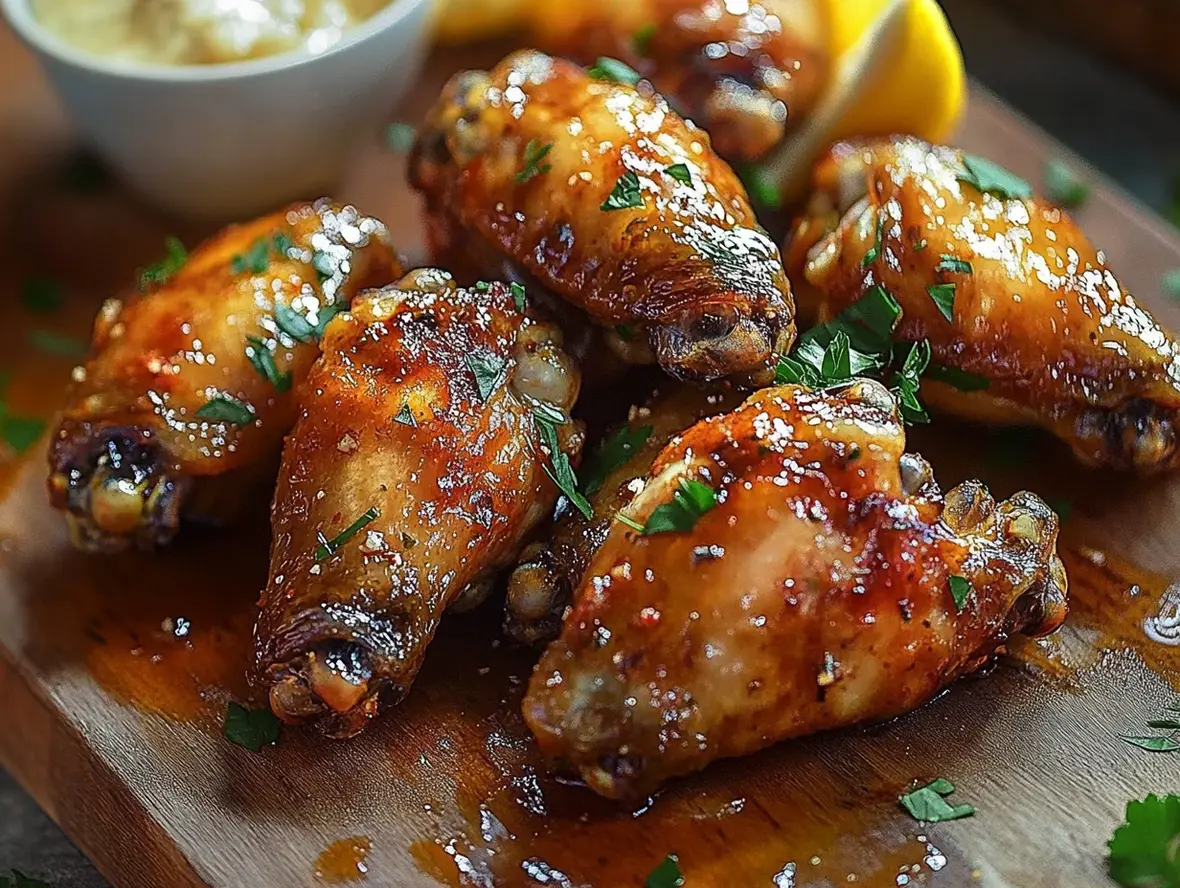
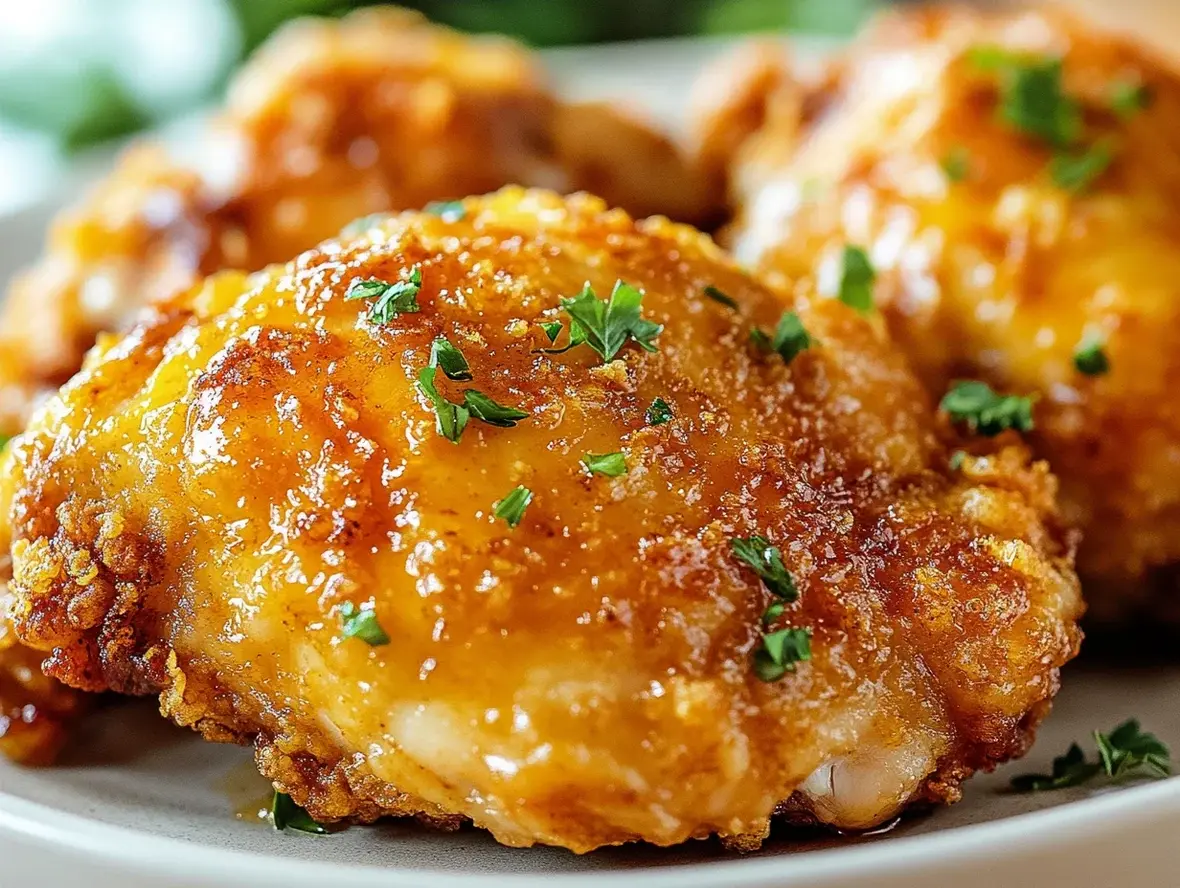
Ranch Chicken Thighs
Description
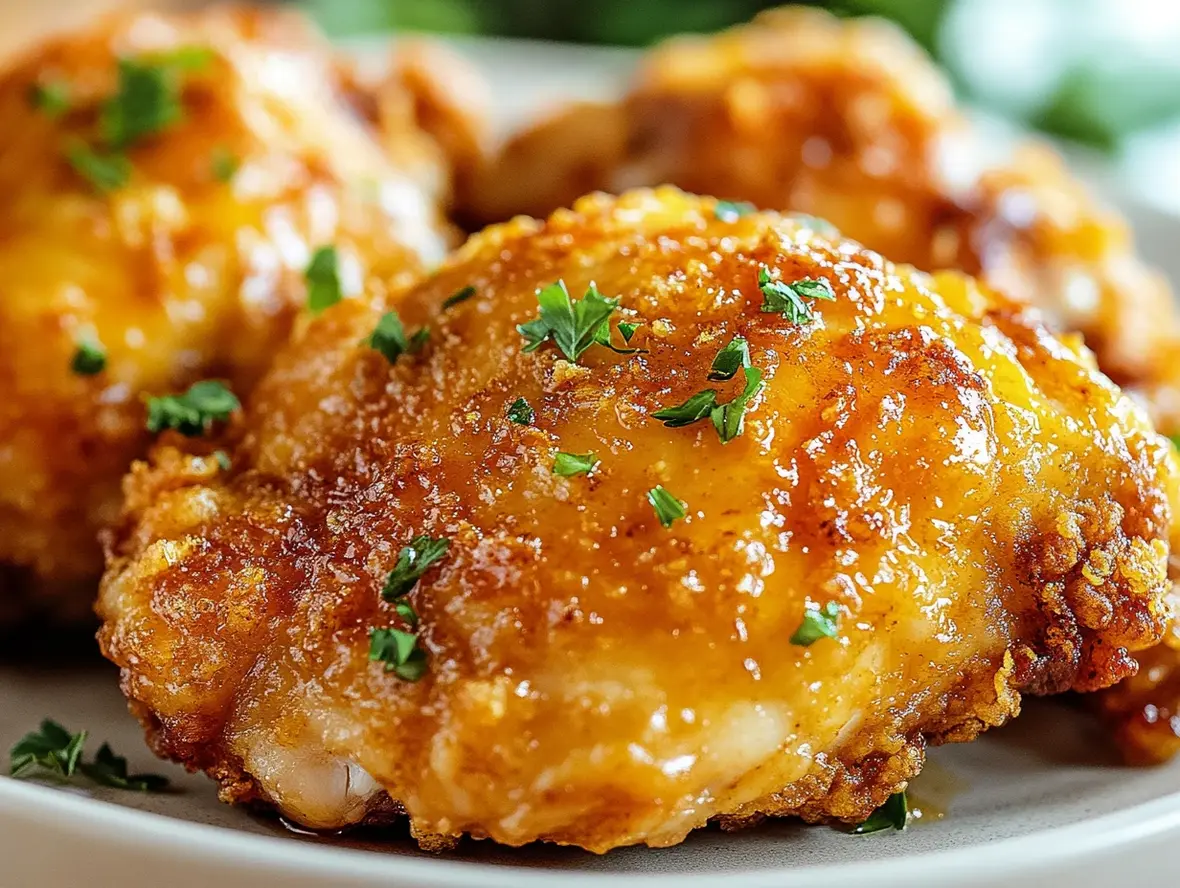
Juicy, flavorful, and perfectly seasoned with a crispy skin, these Ranch Chicken Thighs are a quick and satisfying dinner option. The ranch seasoning adds a savory tang, while baking powder helps achieve an irresistibly crispy texture.
Ingredients
- 5medium chicken thighs (bone-in, skin-on)2 teaspoonsbaking powder1 ouncedry ranch seasoning (approximately2 tablespoons)1/2 teaspoongarlic powder
- 2 teaspoonsbaking powder1 ouncedry ranch seasoning (approximately2 tablespoons)1/2 teaspoongarlic powder
- 1 ouncedry ranch seasoning (approximately2 tablespoons)1/2 teaspoongarlic powder
- 1/2 teaspoongarlic powder
Instructions
- 1️⃣Preheat the oven: Set your oven to425°F. Line a baking sheet with parchment paper or aluminum foil, and lightly spray it with cooking oil to prevent sticking.2️⃣Prepare the chicken: Pat the chicken thighs dry with paper towels. Removing excess moisture ensures the skin will crisp up nicely during baking.3️⃣Make the spice mix: In a small bowl, combine the baking powder, ranch seasoning, garlic powder, and black pepper. Stir until evenly mixed.4️⃣Season the chicken: Rub the spice mixture evenly over each chicken thigh, ensuring both the skin and underside are coated.5️⃣Arrange on the pan: Place the seasoned chicken thighs on the prepared baking sheet, skin-side up. Leave some space between each thigh to allow for even cooking and crispy edges.6️⃣Bake: Place the chicken in the preheated oven and bake for30–40 minutes, depending on the size of the thighs. If your oven has a convection or air fryer setting, use it for even crispier results. For boneless thighs, start checking for doneness around25 minutes.7️⃣Check for doneness: Use a meat thermometer to check that the internal temperature of the chicken thighs has reached165°F. Properly cooked chicken will have clear juices and no pink when cut into.8️⃣Baste and serve: Once the chicken is fully cooked, use the pan juices to baste each thigh for extra flavor and moisture. Serve hot with your favorite side dishes.
- 2️⃣Prepare the chicken: Pat the chicken thighs dry with paper towels. Removing excess moisture ensures the skin will crisp up nicely during baking.3️⃣Make the spice mix: In a small bowl, combine the baking powder, ranch seasoning, garlic powder, and black pepper. Stir until evenly mixed.4️⃣Season the chicken: Rub the spice mixture evenly over each chicken thigh, ensuring both the skin and underside are coated.5️⃣Arrange on the pan: Place the seasoned chicken thighs on the prepared baking sheet, skin-side up. Leave some space between each thigh to allow for even cooking and crispy edges.6️⃣Bake: Place the chicken in the preheated oven and bake for30–40 minutes, depending on the size of the thighs. If your oven has a convection or air fryer setting, use it for even crispier results. For boneless thighs, start checking for doneness around25 minutes.7️⃣Check for doneness: Use a meat thermometer to check that the internal temperature of the chicken thighs has reached165°F. Properly cooked chicken will have clear juices and no pink when cut into.8️⃣Baste and serve: Once the chicken is fully cooked, use the pan juices to baste each thigh for extra flavor and moisture. Serve hot with your favorite side dishes.
- 3️⃣Make the spice mix: In a small bowl, combine the baking powder, ranch seasoning, garlic powder, and black pepper. Stir until evenly mixed.
- 4️⃣Season the chicken: Rub the spice mixture evenly over each chicken thigh, ensuring both the skin and underside are coated.5️⃣Arrange on the pan: Place the seasoned chicken thighs on the prepared baking sheet, skin-side up. Leave some space between each thigh to allow for even cooking and crispy edges.6️⃣Bake: Place the chicken in the preheated oven and bake for30–40 minutes, depending on the size of the thighs. If your oven has a convection or air fryer setting, use it for even crispier results. For boneless thighs, start checking for doneness around25 minutes.7️⃣Check for doneness: Use a meat thermometer to check that the internal temperature of the chicken thighs has reached165°F. Properly cooked chicken will have clear juices and no pink when cut into.8️⃣Baste and serve: Once the chicken is fully cooked, use the pan juices to baste each thigh for extra flavor and moisture. Serve hot with your favorite side dishes.
- 5️⃣Arrange on the pan: Place the seasoned chicken thighs on the prepared baking sheet, skin-side up. Leave some space between each thigh to allow for even cooking and crispy edges.6️⃣Bake: Place the chicken in the preheated oven and bake for30–40 minutes, depending on the size of the thighs. If your oven has a convection or air fryer setting, use it for even crispier results. For boneless thighs, start checking for doneness around25 minutes.7️⃣Check for doneness: Use a meat thermometer to check that the internal temperature of the chicken thighs has reached165°F. Properly cooked chicken will have clear juices and no pink when cut into.8️⃣Baste and serve: Once the chicken is fully cooked, use the pan juices to baste each thigh for extra flavor and moisture. Serve hot with your favorite side dishes.
- 6️⃣Bake: Place the chicken in the preheated oven and bake for30–40 minutes, depending on the size of the thighs. If your oven has a convection or air fryer setting, use it for even crispier results. For boneless thighs, start checking for doneness around25 minutes.
- 7️⃣Check for doneness: Use a meat thermometer to check that the internal temperature of the chicken thighs has reached165°F. Properly cooked chicken will have clear juices and no pink when cut into.8️⃣Baste and serve: Once the chicken is fully cooked, use the pan juices to baste each thigh for extra flavor and moisture. Serve hot with your favorite side dishes.
- 8️⃣Baste and serve: Once the chicken is fully cooked, use the pan juices to baste each thigh for extra flavor and moisture. Serve hot with your favorite side dishes.
Notes
Crispy skin tip: Baking powder is the secret to achieving a perfectly crispy skin. It helps dry the surface and promotes browning.Side suggestions: Pair with roasted vegetables, mashed potatoes, or a crisp green salad for a balanced meal.Storage: Leftovers can be stored in an airtight container in the refrigerator for up to3 days. Reheat in the oven at 375°F to maintain the crispiness.
Side suggestions: Pair with roasted vegetables, mashed potatoes, or a crisp green salad for a balanced meal.Storage: Leftovers can be stored in an airtight container in the refrigerator for up to3 days. Reheat in the oven at 375°F to maintain the crispiness.
Storage: Leftovers can be stored in an airtight container in the refrigerator for up to3 days. Reheat in the oven at 375°F to maintain the crispiness.
“`