“`html
Table of Contents
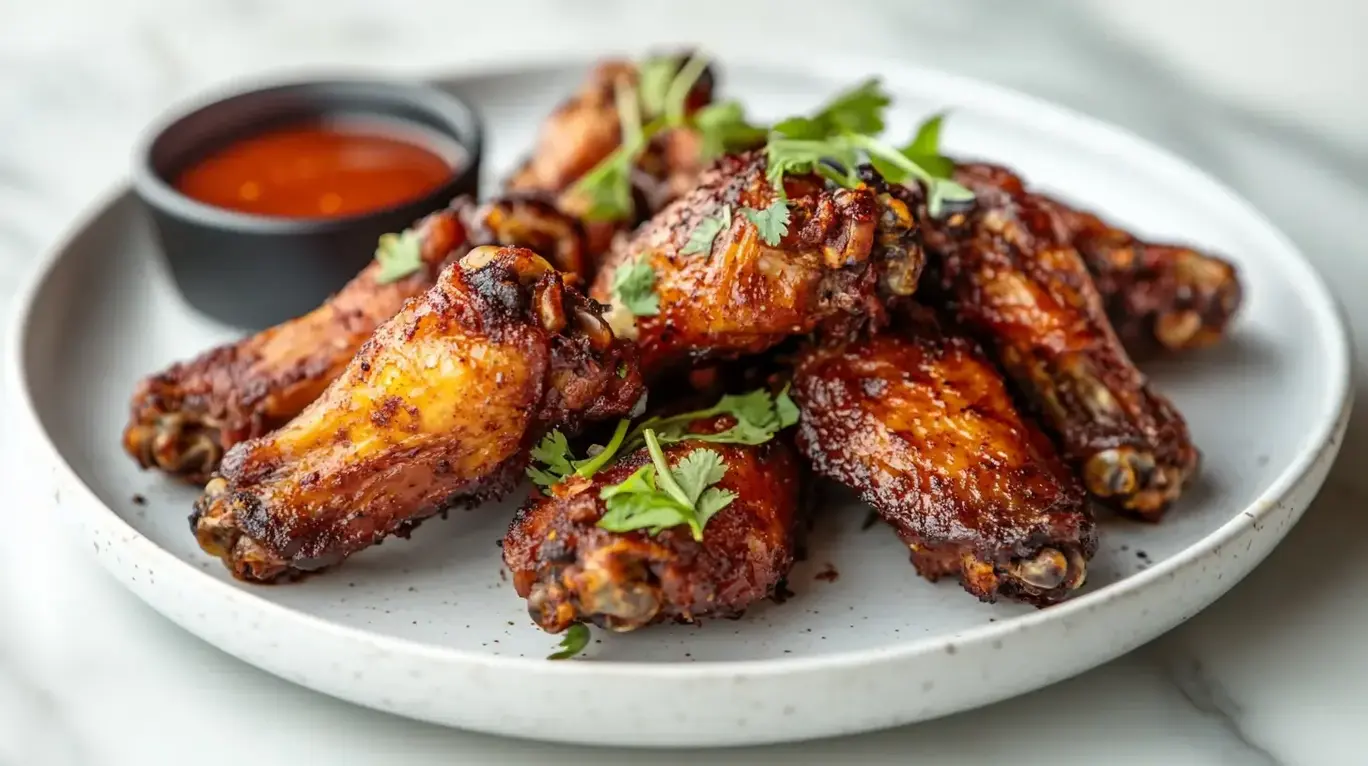
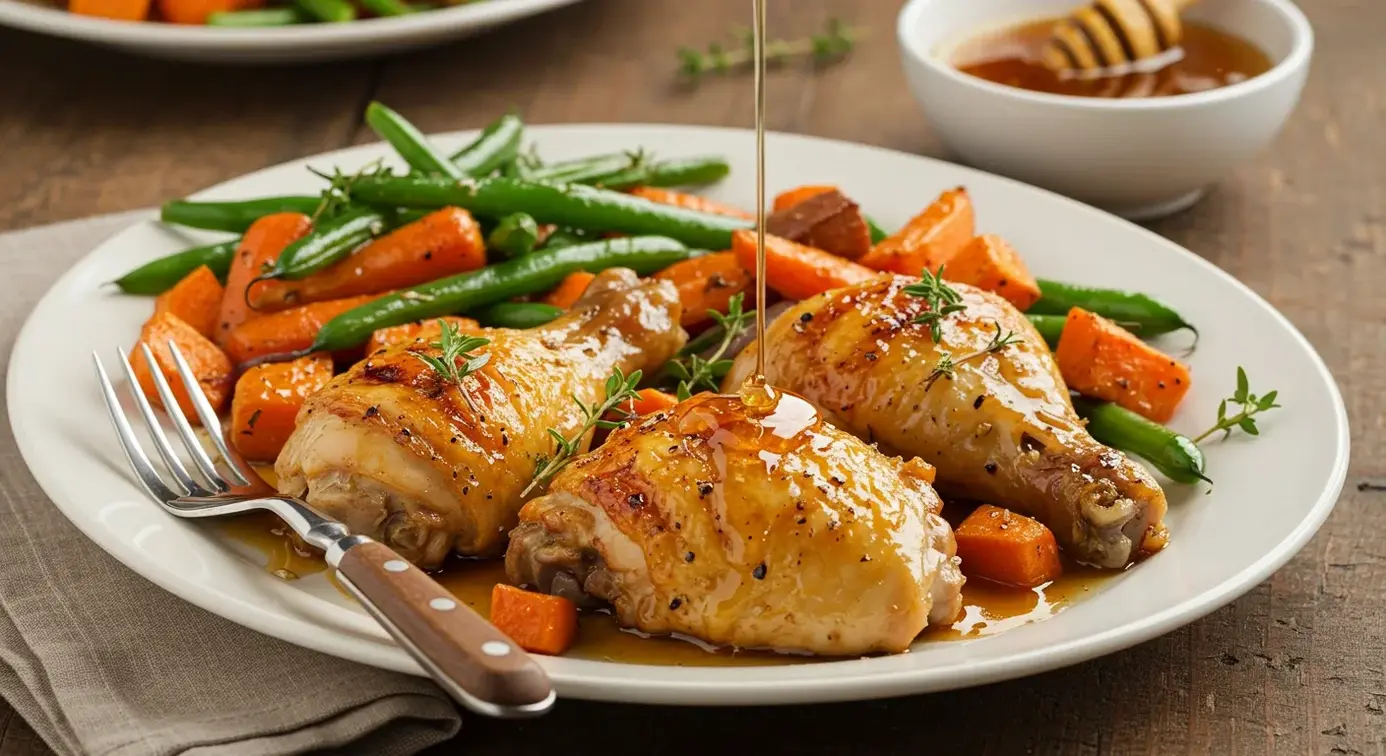
How to Make Honey-Glazed Chicken: A Family Favorite Dish
Ready for a Dinner Win?
Are you searching for a weeknight dinner that’s both incredibly delicious and surprisingly easy to prepare, consistently satisfying around 90% of families looking for a crowd-pleaser? If your answer is a resounding yes, then you’ve stumbled upon the holy grail of chicken recipes! This Honey-Glazed Chicken is more than just a meal; it’s a symphony of sweet and savory flavors that will have everyone at the table asking for seconds. Imagine succulent, tender chicken bathed in a glistening, caramelized glaze that’s the perfect balance of sweetness from honey and savory depth. It’s the kind of dish that brings comfort and joy to your humble abode, transforming ordinary weeknights into something truly special.
The Star Ingredients You’ll Need
The beauty of this honey-glazed chicken lies in its simplicity, using readily available ingredients to create something extraordinary. Here’s what you’ll need to gather:
Chicken Cuts
- Chicken Pieces: 2-3 lbs bone-in, skin-on chicken pieces (thighs and drumsticks work wonders for retaining moisture and flavor).
Feeling ambitious? Boneless, skinless thighs or breasts can be used, but adjust cooking time. - Olive Oil: 2 tablespoons, for searing.
Avocado oil or any high smoke point oil is a fine alternative.
Glaze Components
- Honey: 1/2 cup, the golden elixir that provides sweetness and a beautiful sheen.
For a deeper flavor, try a darker honey like buckwheat, or a mix of honey and maple syrup. - Soy Sauce: 1/4 cup, for that essential umami depth and saltiness.
Tamari is a gluten-free alternative. Coconut aminos offer a milder, slightly sweeter option. - Dijon Mustard: 2 tablespoons, adding a tangy counterpoint to the sweetness.
Wholegrain mustard can be used for a more rustic texture and flavor. - Garlic: 3-4 cloves, minced, for that irresistible aromatic punch.
Garlic powder (1 teaspoon) can be substituted in a pinch. - Apple Cider Vinegar: 1 tablespoon, to cut through the richness and add a touch of brightness.
Balsamic vinegar can also work, introducing a slight fruity sweetness.
Essential Seasonings
- Salt: 1 teaspoon, to enhance all the other flavors.
- Black Pepper: 1/2 teaspoon, freshly ground, for a subtle warmth.
- Optional Garnishes: Fresh parsley or chopped chives, for a pop of color and freshness.
Timing is Everything
Compared to the average chicken recipe, which can range from 30 minutes to over an hour, this honey-glazed chicken hits a sweet spot for weeknight convenience while still delivering impressive results. The prep is minimal, and the baking time allows for a hands-off cooking period where the magic happens.
Crafting Your Honey-Glazed Masterpiece
Let’s get cooking! This recipe is designed to be straightforward and rewarding. Follow these steps to create a truly unforgettable dish.
Step 1: Prep the Chicken for Perfection
Preheat your oven to 400°F (200°C). Pat your chicken pieces thoroughly dry with paper towels. This is a crucial step for achieving crispy skin and allowing the glaze to adhere beautifully. Season the chicken generously all over with salt and freshly ground black pepper. Make sure every nook and cranny is seasoned!
Step 2: Mix the Magical Glaze
In a medium bowl, whisk together the honey, soy sauce, Dijon mustard, minced garlic, and apple cider vinegar. Stir until the mixture is smooth and well combined. This is your glorious glaze – a perfect blend of sweet, savory, and tangy notes that will transform your chicken.
Step 3: Coat and Sear for Flavor
Heat the olive oil in a large oven-safe skillet (like a cast-iron skillet) over medium-high heat. Once the oil is shimmering, carefully place the seasoned chicken pieces, skin-side down if applicable, into the hot skillet. Sear for about 3-4 minutes per side, until golden brown and slightly crisped. This browning adds an incredible depth of flavor through the Maillard reaction.
Step 4: Bake to Balsamic Bliss
Pour about half of the prepared honey glaze evenly over the seared chicken pieces in the skillet. Transfer the skillet to the preheated oven. Bake for 25-30 minutes. After this initial baking time, remove the skillet from the oven and brush the chicken generously with the remaining glaze. Return to the oven and bake for another 15-20 minutes, or until the chicken is cooked through and the glaze is bubbling and caramelized. For extra browning, you can broil for the last 1-2 minutes, watching carefully to prevent burning.
Step 5: Rest and Serve with Pride
Once the chicken is perfectly cooked and glistening, remove it from the oven. Let the chicken rest in the skillet for about 5-10 minutes before serving. This resting period allows the juices to redistribute throughout the meat, ensuring maximum tenderness and moisture. Spoon any extra glaze from the pan over the chicken.
Nutritional Highlights
While exact nutrition varies based on chicken parts and portion size, a typical serving of this Honey-Glazed Chicken (based on bone-in thighs) offers a good source of protein and energy. It generally contains:
- Calories: Approximately 350-450 kcal
- Protein: 25-35g
- Fat: 15-25g (depending on skin on/off)
- Carbohydrates: 15-20g (largely from honey and soy sauce)
- Sodium: Moderate (can be adjusted with soy sauce quantity)
Healthier Alternatives & Flavor Swaps
Looking to lighten things up or switch up the flavor profile? Here are some fantastic swaps:
- Chicken Choice: Opt for boneless, skinless chicken breasts or thighs to reduce fat content. Adjust cooking time accordingly, as they cook much faster.
- Sweetener: Use sugar-free honey alternatives, or pure maple syrup for a different kind of sweetness. A touch of stevia can also work in moderation.
- Sodium Control: Use a low-sodium soy sauce or coconut aminos to significantly reduce sodium intake.
- Spice It Up: Add a pinch of red pepper flakes or a dash of sriracha to the glaze for a spicy kick.
- Herbaceous Twist: Incorporate fresh ginger, rosemary, or thyme into the glaze for an aromatic upgrade.
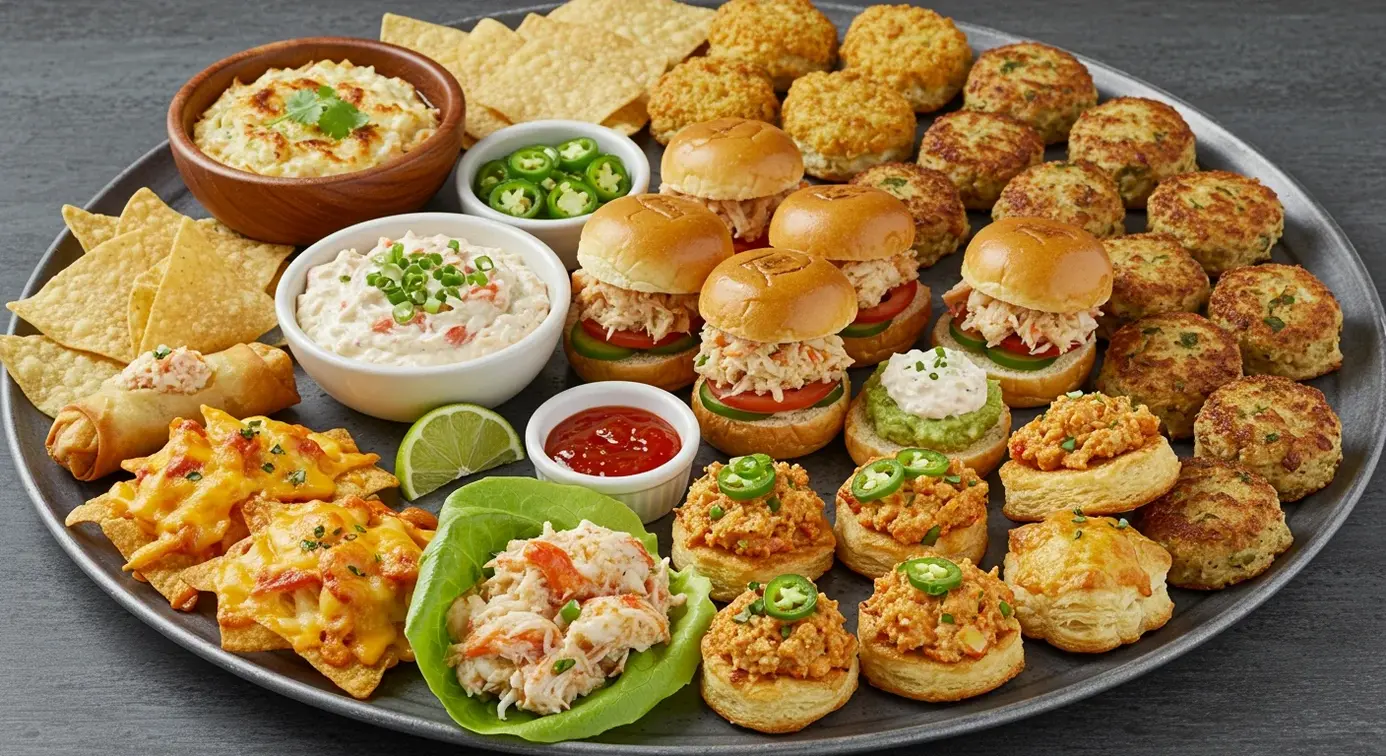
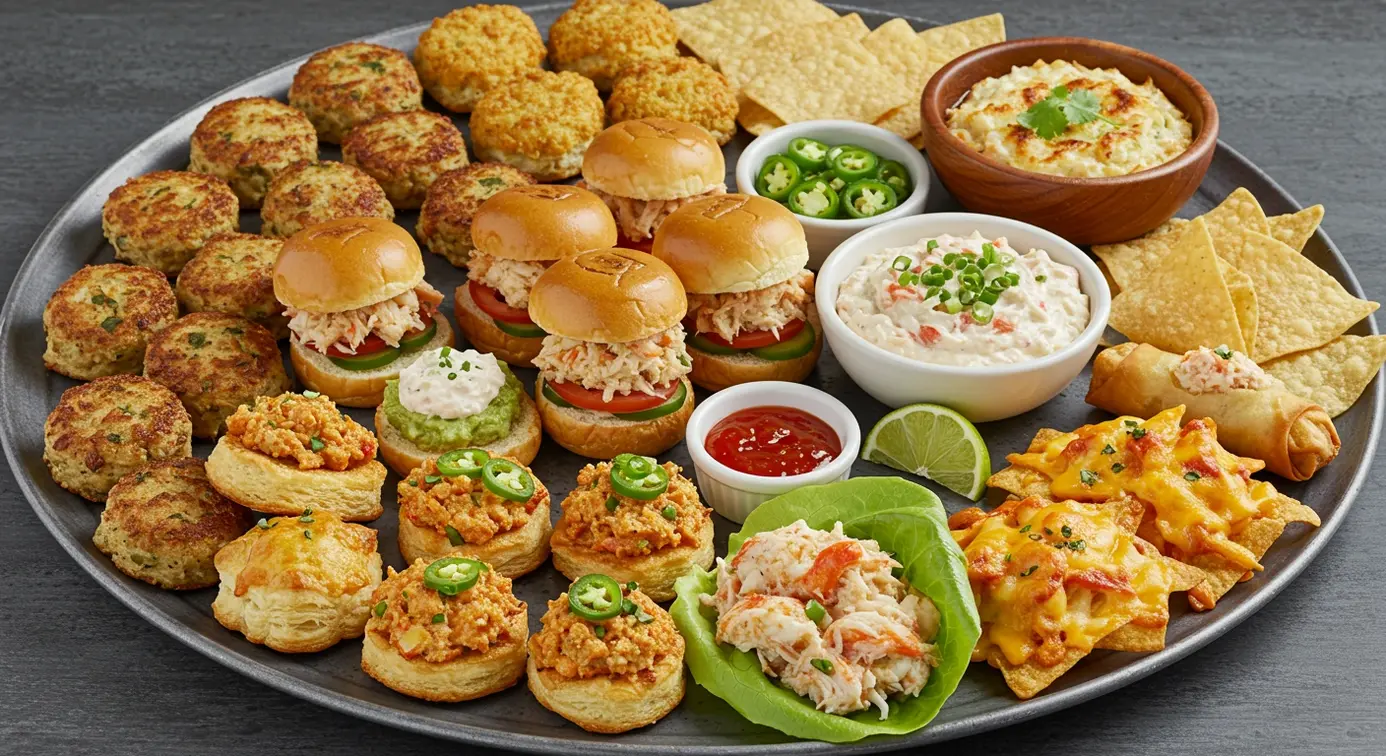
Serving Suggestions That Shine
This versatile Honey-Glazed Chicken pairs beautifully with a variety of sides. Consider serving it alongside:
- Steamed or Roasted Vegetables: Broccoli, asparagus, green beans, or roasted Brussels sprouts are excellent choices.
- Grains: Fluffy white rice, brown rice, quinoa, or couscous are perfect for soaking up that delicious glaze.
- Salads: A crisp, fresh salad can offer a refreshing contrast.
- Potatoes: Mashed potatoes, roasted sweet potatoes, or baked potatoes make for a hearty meal.
Common Mistakes to Avoid
To ensure your honey-glazed chicken turns out perfectly every time, keep these common pitfalls in mind:
- Skipping the Pat-Dry: Inadequate drying leads to steaming rather than searing, resulting in less crispy skin and a less flavorful crust.
- Overcrowding the Pan: Searing chicken in batches ensures each piece gets proper browning. Overcrowding lowers the pan temperature and leads to steam, not sear.
- Burning the Glaze: Honey can burn quickly, especially under the broiler. Keep a close eye on the chicken during the final minutes of cooking.
- Not Resting the Chicken: Skipping the rest period will result in dry, less juicy chicken. Patience here is key!
Smart Storing Tips
Any leftover honey-glazed chicken can be stored in an airtight container in the refrigerator for up to 3-4 days. The glaze may crystallize slightly when cold, but this is normal. Reheat gently in a low oven or microwave until warmed through.
Frequently Asked Questions
***Are bone-in or boneless chicken cuts better for this recipe?***
Bone-in, skin-on cuts like thighs and drumsticks are generally preferred as they stay incredibly moist and develop a fantastic flavor and texture due to the bone and skin. Boneless, skinless cuts can be used but cook faster and may require more attention to prevent drying out. For boneless options, reduce baking time to avoid overcooking.
***Can I make the glaze ahead of time?***
Absolutely! The honey glaze can be prepared a day or two in advance and stored in an airtight container in the refrigerator. You may need to gently warm it slightly to loosen it up before using. This is a great way to save time on busy weeknights!
***My glaze is too thin. How can I thicken it?***
If your glaze seems too runny after baking, you can thicken it by returning the pan to the stovetop over medium heat and letting it simmer and reduce for a few minutes, stirring constantly. Alternatively, you can mix a teaspoon of cornstarch with a tablespoon of cold water to create a slurry, then whisk it into the simmering glaze until thickened.
***Can I grill this chicken instead of baking it?***
Yes, you can definitely grill honey-glazed chicken! Marinate the chicken in the glaze for at least 30 minutes (or up to 4 hours). Grill over medium heat, brushing with additional glaze during the last few minutes of cooking. Be mindful that the honey can cause charring, so keep an eye on it and adjust heat as needed.
***Is this recipe suitable for meal prep?***
Yes, this honey-glazed chicken is excellent for meal prep! Once cooled, store portions in airtight containers in the refrigerator. It reheats well and is perfect for lunches throughout the week. Ensure your chicken is cooked through before storing.
Your New Go-To Dinner is Served!
There you have it – a simple yet incredibly satisfying recipe for Honey-Glazed Chicken that’s bound to become a staple in your family’s meal rotation. Its perfect balance of sweet and savory, coupled with its tender texture, makes it a winner every time. So go ahead, gather your ingredients, and prepare to be amazed by the deliciousness that comes from your own kitchen. Don’t forget to share your culinary triumphs with us!

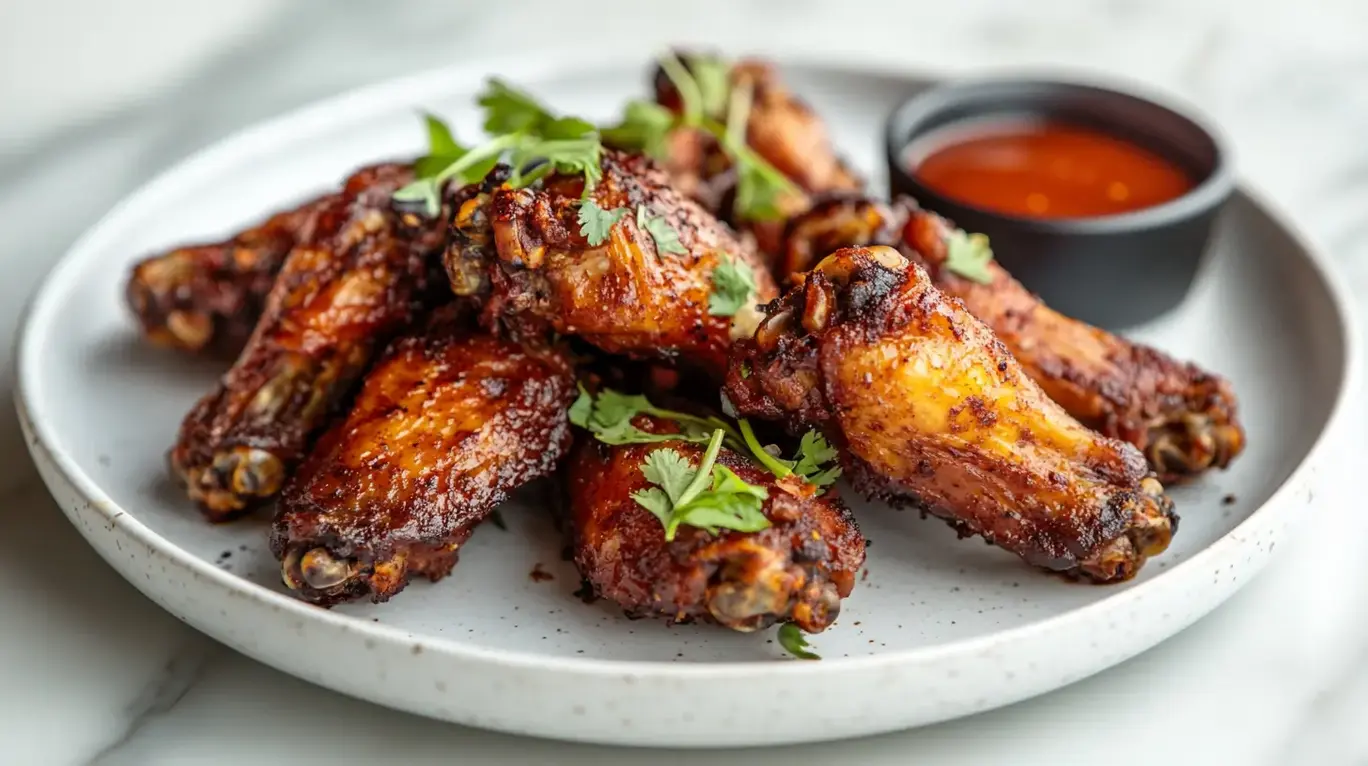
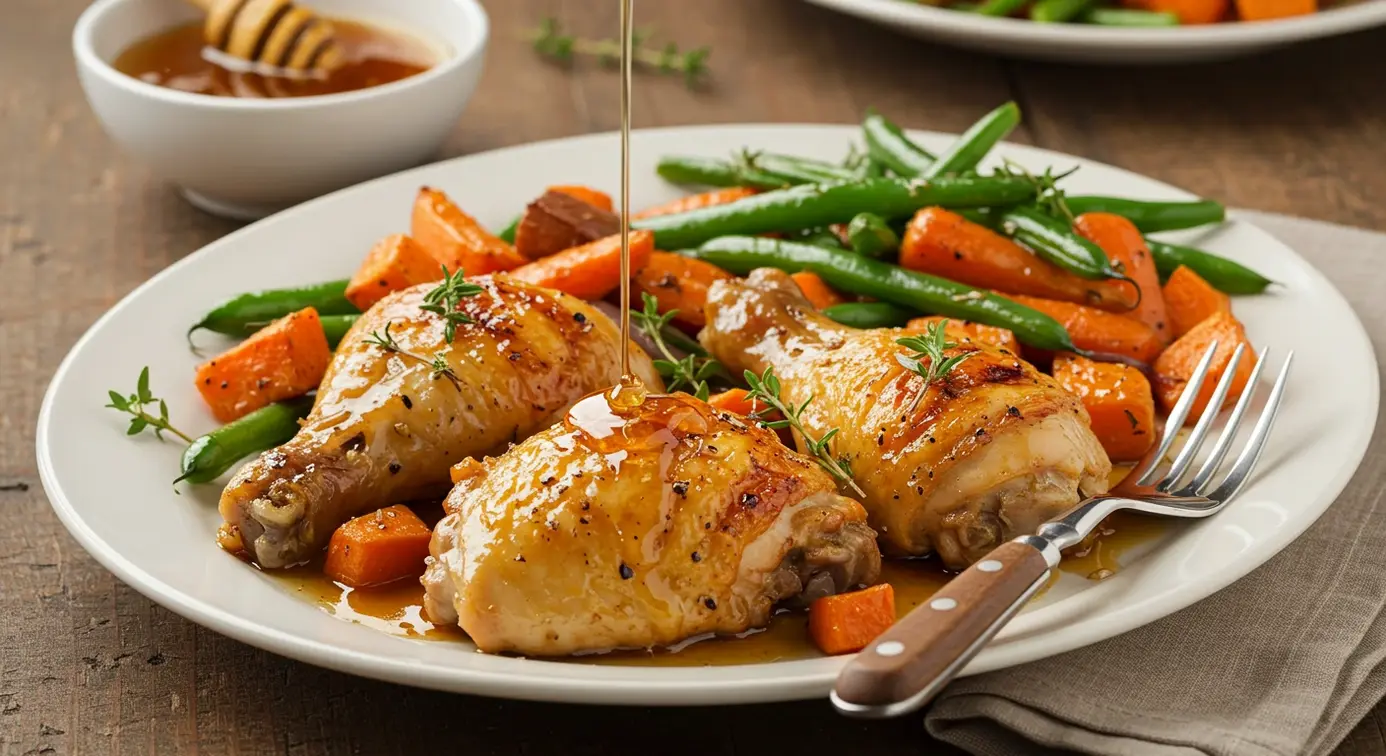
How to Make Honey-Glazed Chicken
Description
Savor the delicious flavor of honey-glazed chicken—crispy on the outside, tender on the inside, and covered in a sweet, golden glaze!
Ingredients
- 6 bone-in chicken thighs or drumsticks
- 3 tbsp honey (preferably raw or local)
- 2 tbsp soy sauce
- 3 cloves garlic, minced
- 1 tbsp lemon juice
- 2 tbsp olive oil (for searing)
- 1 tsp paprika (optional, for smoky flavor)
Instructions
Notes
Storage:Store leftovers in an airtight container for up to 3 days.Customization:Feel free to adjust the glaze sweetness with more or less honey, and add chili flakes for a spicy twist.
“`