“`html
Table of Contents
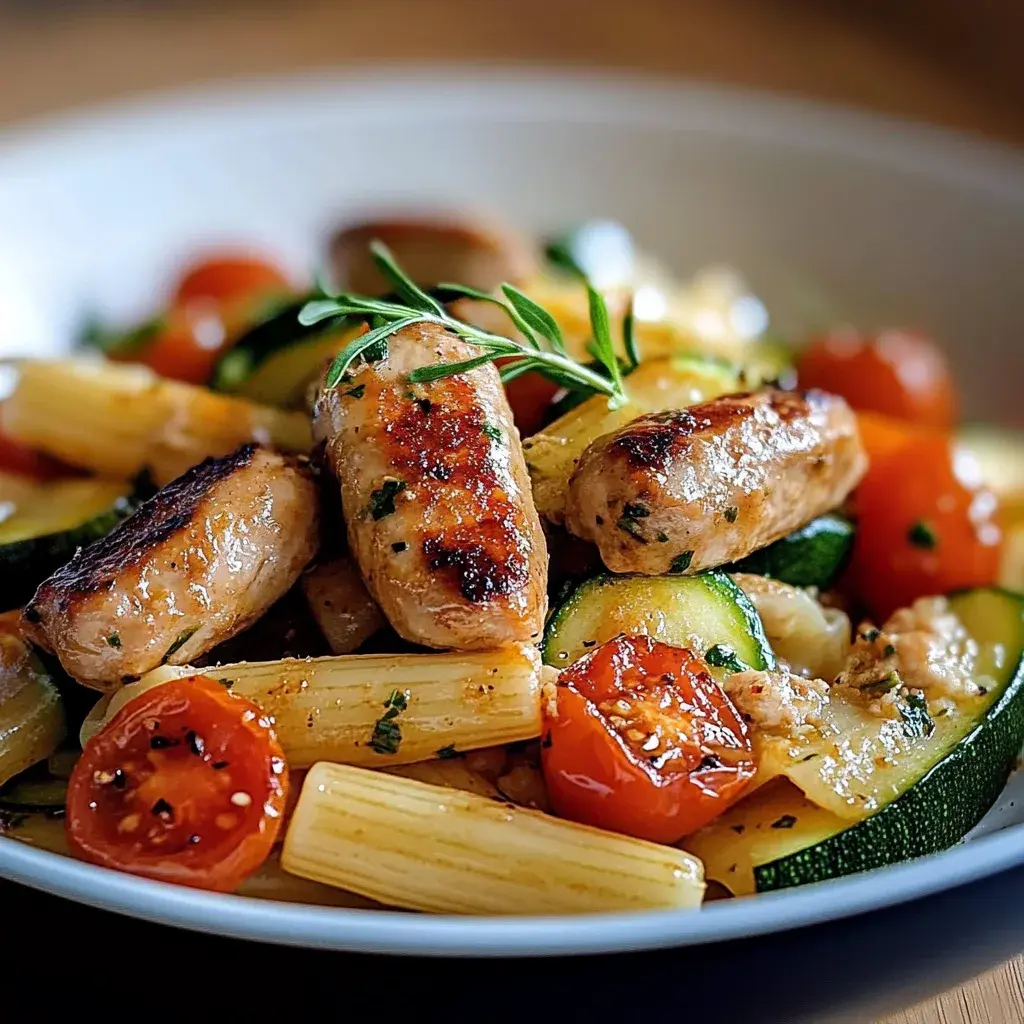
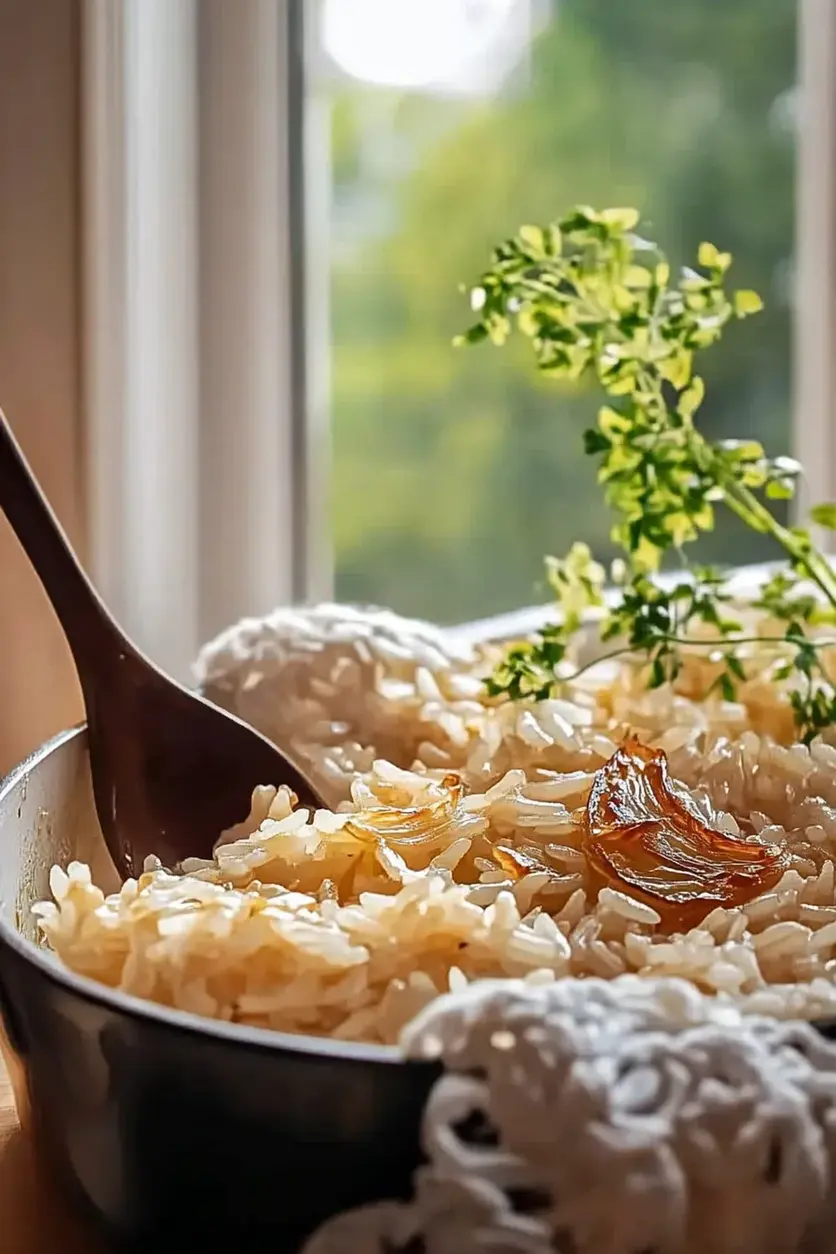
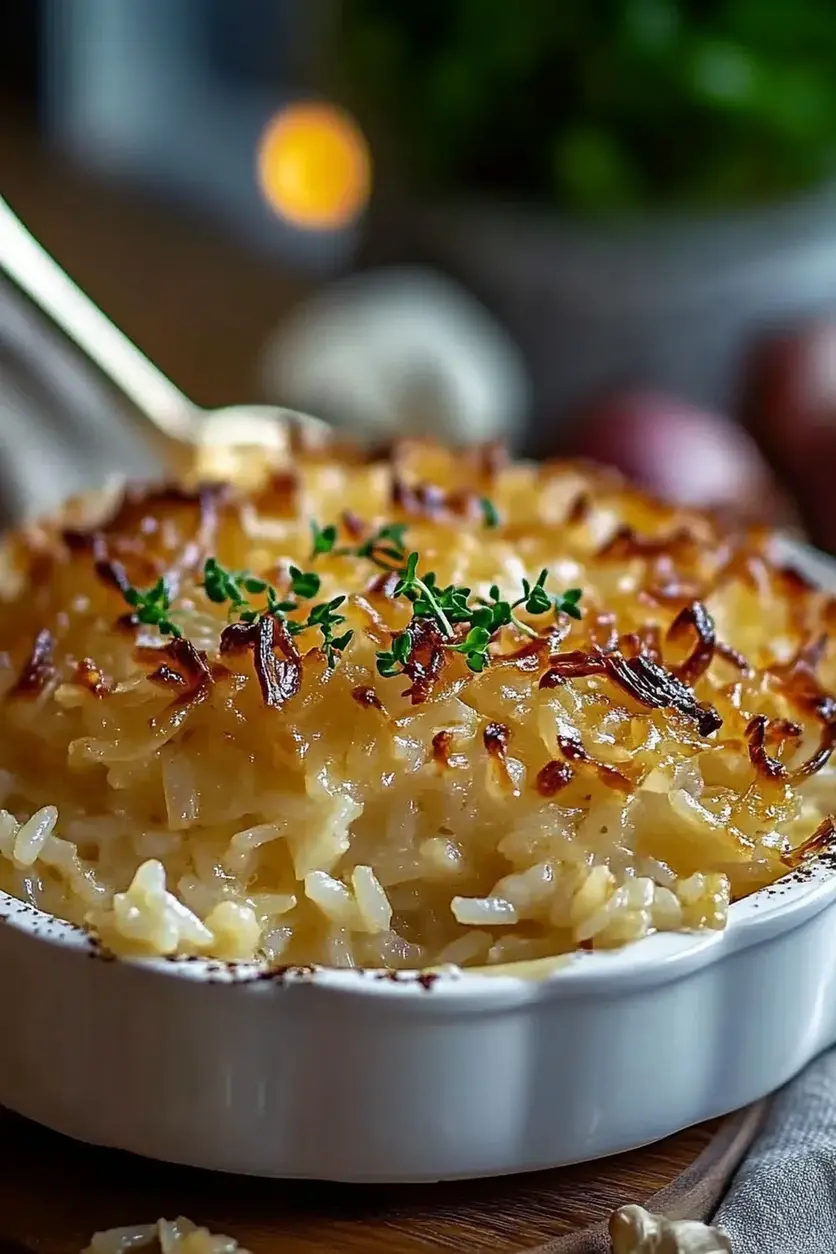
French Onion Butter Rice
Ever wondered how to elevate your plain rice to something truly spectacular with minimal effort? If you’re looking to add a touch of gourmet comfort to your dinner table, you’re in the right place!
Unlock Gourmet Flavor: The Magic of French Onion Butter Rice
Why settle for ordinary rice when you can have an extraordinary side dish that’s bursting with savory, caramelized onion flavor and rich, luxurious butter? French Onion Butter Rice is not just a recipe; it’s an experience. Imagine fluffy grains of rice, each infused with the deep, umami notes of slow-cooked onions and a decadent buttery finish. This dish transforms a humble staple into a stand-alone star, perfect for impressing guests or simply treating yourself. It’s surprisingly simple to make, proving that gourmet doesn’t always mean complicated. Whether you’re a seasoned cook or just starting, this recipe is designed to bring a smile to your face and deliciousness to your plate. Get ready to discover a new way to love your rice!
Ingredients for Irresistible French Onion Butter Rice
The magic of this French Onion Butter Rice lies in its simple yet potent combination of ingredients. Quality matters here, so opt for the best you can find!
- 1 tablespoon Olive Oil: The base for sautéing our onions, providing a neutral starting point for flavor. (You can also use avocado oil or another high-heat neutral oil.)
- 2 large Yellow Onions, thinly sliced: The star of the show! Sweet, mellow, and essential for that deep caramelized flavor. Red onions can add a slightly different color and a touch more bite if desired.
- 3 cloves Garlic, minced: Adds a pungent, aromatic depth that complements the sweetness of the onions. Freshly minced is best for optimal flavor.
- 1.5 cups Long-grain white rice (like Basmati or Jasmine): The perfect canvas for our flavors. The grains will remain separate and fluffy. Arborio or sushi rice would yield a stickier texture, which might not be ideal here.
- 3 cups Low-sodium Chicken Broth: Adds moisture and a savory foundation. Vegetable broth is a great vegetarian alternative, or use beef broth for an even richer flavor.
- 1/2 teaspoon Salt, or to taste: Essential for enhancing all the flavors. Adjust based on the saltiness of your broth.
- 1/4 teaspoon Black Pepper, freshly ground: Adds a subtle warmth and spice that cuts through the richness.
- 4 tablespoons Unsalted Butter, divided: The secret to that luscious, buttery finish. Using good quality butter is highly recommended.
- 2 tablespoons Fresh Parsley, chopped (for garnish): Adds a pop of color and a hint of freshness to balance the richness. Chives or chervil also work beautifully.
Timing: Patience for Perfection
15 minutes
45 minutes
60 minutes
Compared to a standard rice side dish which might take 20-30 minutes, the extended time for French Onion Butter Rice is dedicated to the crucial caramelization of the onions, a process that builds incredible depth of flavor. While it takes a bit longer than your average rice, the payoff is immense!
Step-by-Step Instructions: Crafting Your French Onion Butter Rice
Follow these simple steps to create a side dish that’s anything but ordinary. Let’s get cooking!
1. Caramelize the Onions
Heat the olive oil in a large, heavy-bottomed skillet or Dutch oven over medium-low heat. Add the thinly sliced yellow onions. Cook slowly, stirring occasionally, for 30-40 minutes, or until the onions are deeply golden brown, soft, and sweet. This low and slow method is key to achieving rich flavor without burning. If they start to stick or brown too quickly, reduce the heat and add a tablespoon of water or broth.
2. Sauté the Garlic
Once the onions are beautifully caramelized, add the minced garlic to the skillet. Sauté for about 1 minute until fragrant, being careful not to burn it.
3. Toast the Rice
Add the uncooked rice to the skillet with the onions and garlic. Stir well to coat the grains with the residual oil and onion mixture. Toast the rice for about 1-2 minutes, stirring constantly. This step helps to develop a slightly nutty flavor in the rice and makes it more resistant to becoming mushy.
4. Add Liquids and Broth
Pour in the low-sodium chicken broth. Add the salt and freshly ground black pepper. Stir everything together thoroughly, scraping up any browned bits from the bottom of the pan.
5. Simmer and Cook
Bring the mixture to a boil, then reduce the heat to low, cover the skillet tightly (or transfer to an oven-safe dish and cover with foil), and simmer for 15-20 minutes, or until the liquid is absorbed and the rice is tender. Avoid lifting the lid during this time.
6. Finish with Butter and Herbs
Once the rice is cooked, remove the skillet from the heat. Add 2 tablespoons of the unsalted butter to the hot rice. Gently fluff the rice with a fork, incorporating the butter until it’s melted and evenly distributed throughout. Stir in the remaining 2 tablespoons of butter and the chopped fresh parsley. Let it sit, covered, for 5 minutes before serving.
Nutritional Snapshot (Per Serving, Approximate)
While exact nutritional values can vary based on ingredients and portion sizes, here’s an estimated breakdown for French Onion Butter Rice.
- Calories: ~350-400 kcal
- Protein: ~6-8g
- Fat: ~15-20g (majority from butter)
- Carbohydrates: ~45-50g
- Fiber: ~2-3g
Healthier Twists on French Onion Butter Rice
You can enjoy the delicious flavors of French Onion Butter Rice with some mindful adjustments:
- Reduced Butter: Use just 2 tablespoons of butter for richness and consider adding a tablespoon of good quality olive oil for tenderness.
- Leaner Broth: Opt for low-sodium vegetable broth for a vegetarian and lighter option, or chicken broth if preferred.
- Whole Grains: While this recipe is best with long-grain white rice, for a healthier carb option, you could experiment with brown rice, though it will require longer cooking times and potentially more liquid.
- Broth-to-Water Ratio: Replace half the broth with water to reduce sodium and fat content further, though flavor will be slightly less intense.
Serving Suggestions: The Perfect Pairing
French Onion Butter Rice is incredibly versatile! It shines as a side dish for a variety of main courses:
- Roasts: It’s a natural partner for roast chicken, beef, or pork.
- Steaks: The rich flavors complement a perfectly grilled steak beautifully.
- Fish: Pan-seared salmon or a simple baked white fish gets an elegant upgrade.
- Vegetarian Mains: Serve alongside roasted vegetables, lentil loaf, or a hearty mushroom bourguignon.
Common Pitfalls to Avoid
Even the simplest recipes can have a few tricky spots. Here’s how to ensure success:
- Rushing the Onions: Caramelizing onions takes time. Don’t try to speed it up with high heat, or you’ll end up with burnt, bitter onions instead of sweet, savory ones.
- Not Toasting the Rice: Skipping the toasting step can lead to softer, mushier rice.
- Over-stirring While Cooking: Once the rice is covered and simmering, resist the urge to stir. This can release starch and make the rice gummy.
- Using Stale Rice: Freshly bought rice will yield the best texture.
Storing and Reheating Leftovers
Leftover French Onion Butter Rice can be stored in an airtight container in the refrigerator for up to 3-4 days. For reheating, it’s best to gently warm it on the stovetop over low heat with a splash of broth or water to restore moisture and prevent dryness. Microwaving is also an option, but be sure to stir midway through to ensure even heating.
Frequently Asked Questions About French Onion Butter Rice
***Can I use butter instead of olive oil to sauté the onions?***
Yes, you can, but be cautious with the heat. Butter can burn more easily than olive oil. If you choose to use butter to start, use a medium heat and be prepared to lower it if it starts to brown too quickly.
***What kind of rice is best for this recipe?***
Long-grain white rice like Basmati or Jasmine is ideal because it cooks up fluffy and separates well, allowing the flavors to coat each grain evenly. Avoid short-grain or medium-grain rice which tend to be stickier.
***Can I make this recipe vegetarian or vegan?***
Absolutely! To make it vegetarian, simply substitute the chicken broth with a good quality vegetable broth. For a vegan version, use vegetable broth and replace the butter with vegan butter or a flavorful olive oil.
***Why are my onions not caramelizing?***
Caramelization is a slow process that requires low to medium heat and patience. If your onions aren’t browning, your heat is likely too high, causing them to steam rather than caramelize. They need to release their moisture slowly and then begin to brown. Stirring occasionally is important, but don’t over-stir, as this can also prevent browning.
***Can I add other aromatics?***
While the simple combination is classic, you could experiment with a pinch of dried thyme or a bay leaf added with the broth for extra depth. A touch of Worcestershire sauce or soy sauce added with the broth can also enhance the umami flavor.
The Final Bite: A Side Dish Worth Savoring
French Onion Butter Rice is more than just a side dish; it’s a testament to how simple ingredients, treated with a little patience, can create something truly extraordinary. The sweet, savory depth of caramelized onions, combined with the richness of butter and perfectly cooked rice, makes this a dish your family will request again and again. It’s the perfect way to elevate any meal from ordinary to unforgettable. Give it a try and transform your humble rice into a gourmet delight!

French Onion Butter Rice
Description
Transform simple rice into a gourmet side dish with this French Onion Butter Rice recipe! Rich, buttery, and infused with the savory flavor of caramelized onions, this dish is perfect for any meal.
Ingredients
- 1 cuplong-grain white rice
- 2 tbspunsalted butter
- 1medium yellow onion, thinly sliced
- 2 cupsbeef broth (or chicken broth)
- 1/2 tspgarlic powder
- 1/2 tspdried thyme
- 1/4 cupgrated Parmesan cheese (optional)
- Salt and pepper, to taste
- Fresh parsley, chopped (for garnish)
Instructions
- Caramelize the Onions:In a medium saucepan, melt the butter over medium heat. Add the sliced onions and a pinch of salt. Cook, stirring frequently, until the onions are golden brown and caramelized, about 15 minutes.
- In a medium saucepan, melt the butter over medium heat. Add the sliced onions and a pinch of salt. Cook, stirring frequently, until the onions are golden brown and caramelized, about 15 minutes.
- Toast the Rice:Add the rice to the saucepan with the onions and stir to coat the grains in butter. Cook for 2-3 minutes until slightly toasted.
- Add the rice to the saucepan with the onions and stir to coat the grains in butter. Cook for 2-3 minutes until slightly toasted.
- Simmer:Pour in the beef broth, garlic powder, and thyme. Stir well, bring to a boil, then reduce the heat to low. Cover and simmer for 18-20 minutes, or until the rice is tender and the liquid is absorbed.
- Pour in the beef broth, garlic powder, and thyme. Stir well, bring to a boil, then reduce the heat to low. Cover and simmer for 18-20 minutes, or until the rice is tender and the liquid is absorbed.
- Finish & Serve:Remove from heat and fluff the rice with a fork. Stir in Parmesan cheese if desired. Season with additional salt and pepper to taste.Garnish with fresh parsley and serve warm.
- Remove from heat and fluff the rice with a fork. Stir in Parmesan cheese if desired. Season with additional salt and pepper to taste.
- Garnish with fresh parsley and serve warm.
Notes
For a creamier texture, stir in 2 tablespoons of heavy cream before serving.
Use low-sodium broth to control the salt level.
This rice pairs beautifully with roasted chicken, grilled steak, or as a stand-alone vegetarian dish.
Nutrition
- Calories: 230
- Fat: 6g
- Carbohydrates: 36g
- Protein: 5g
“`