“`html
Table of Contents
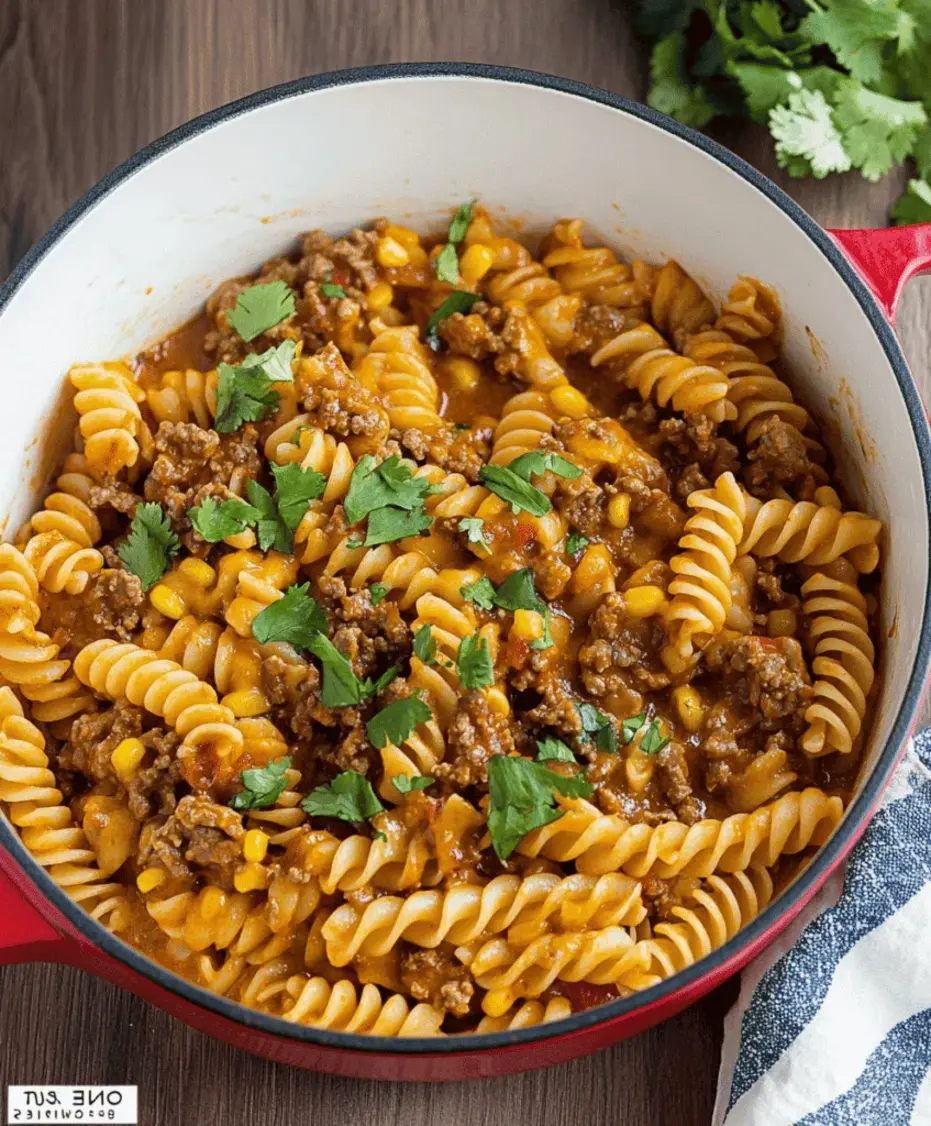
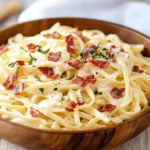
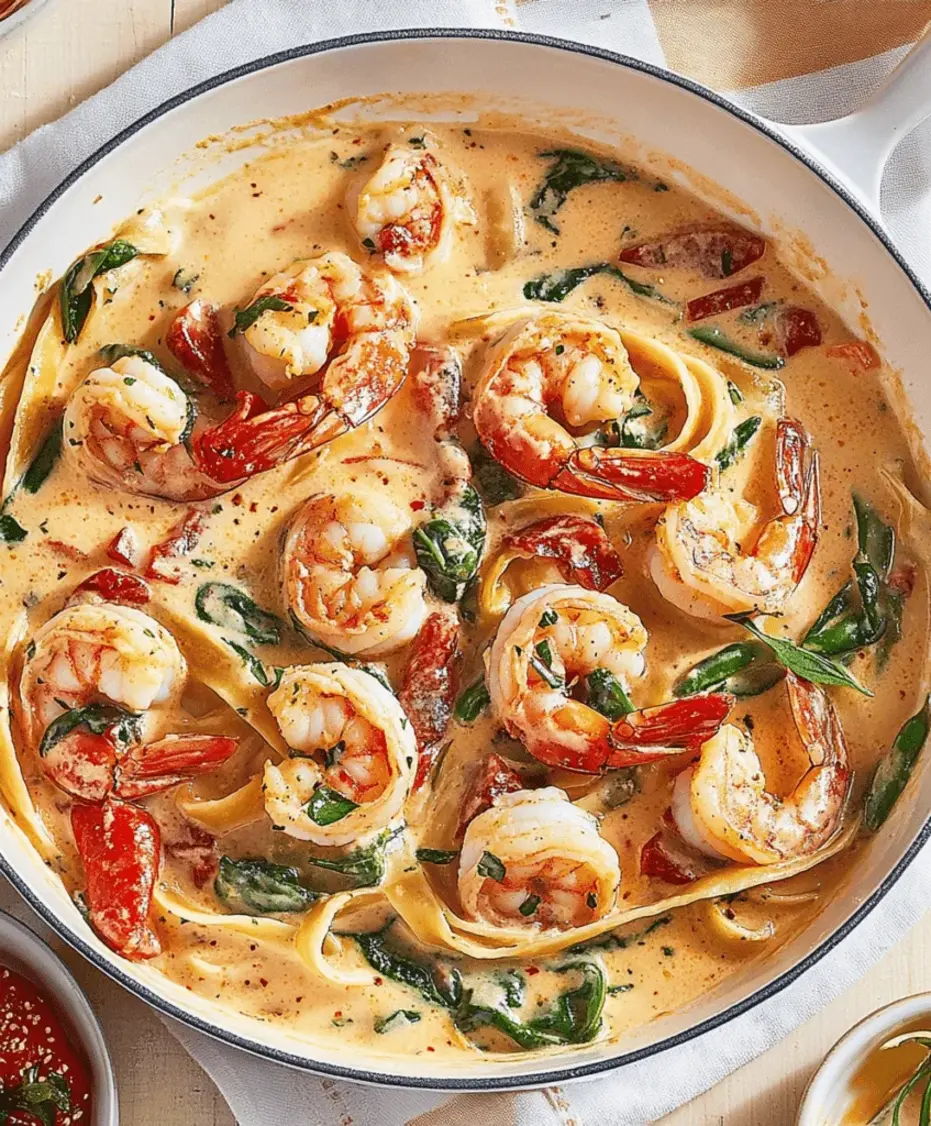
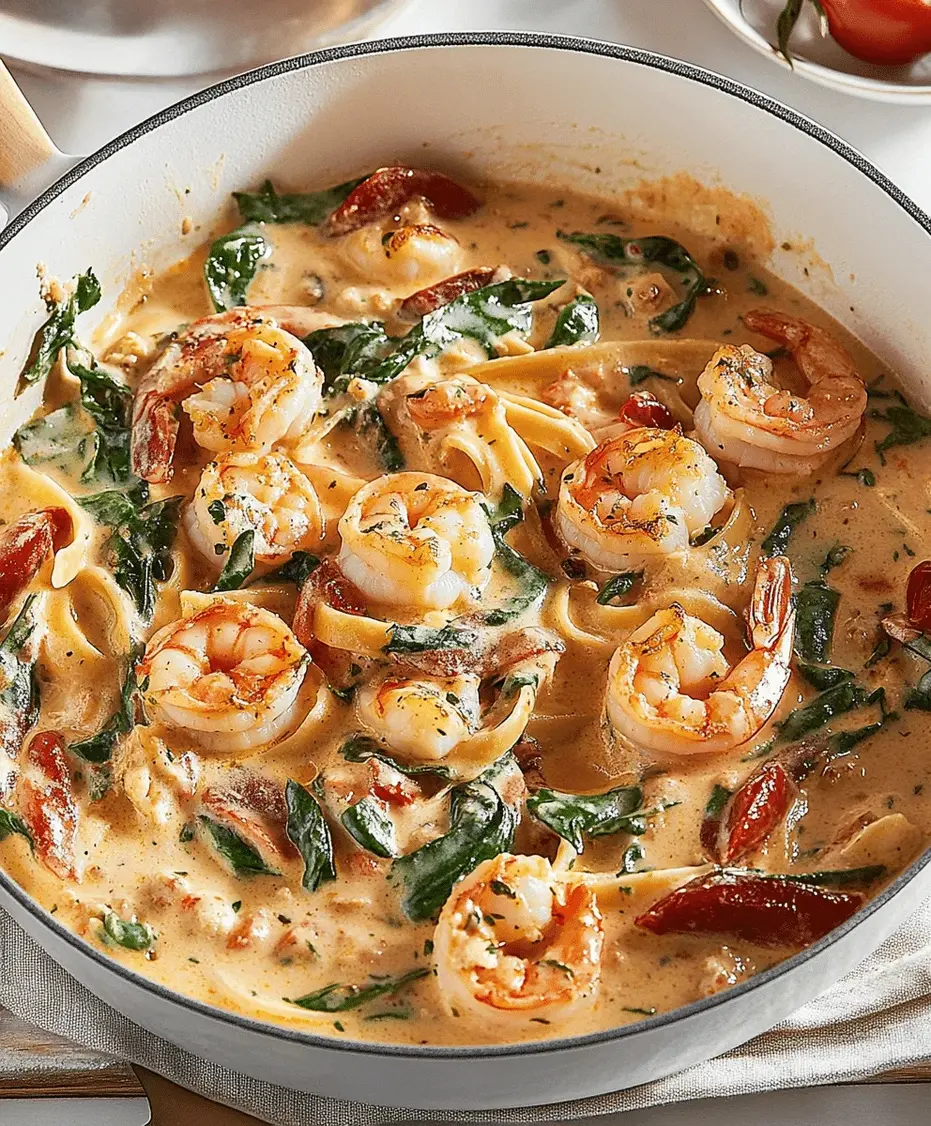
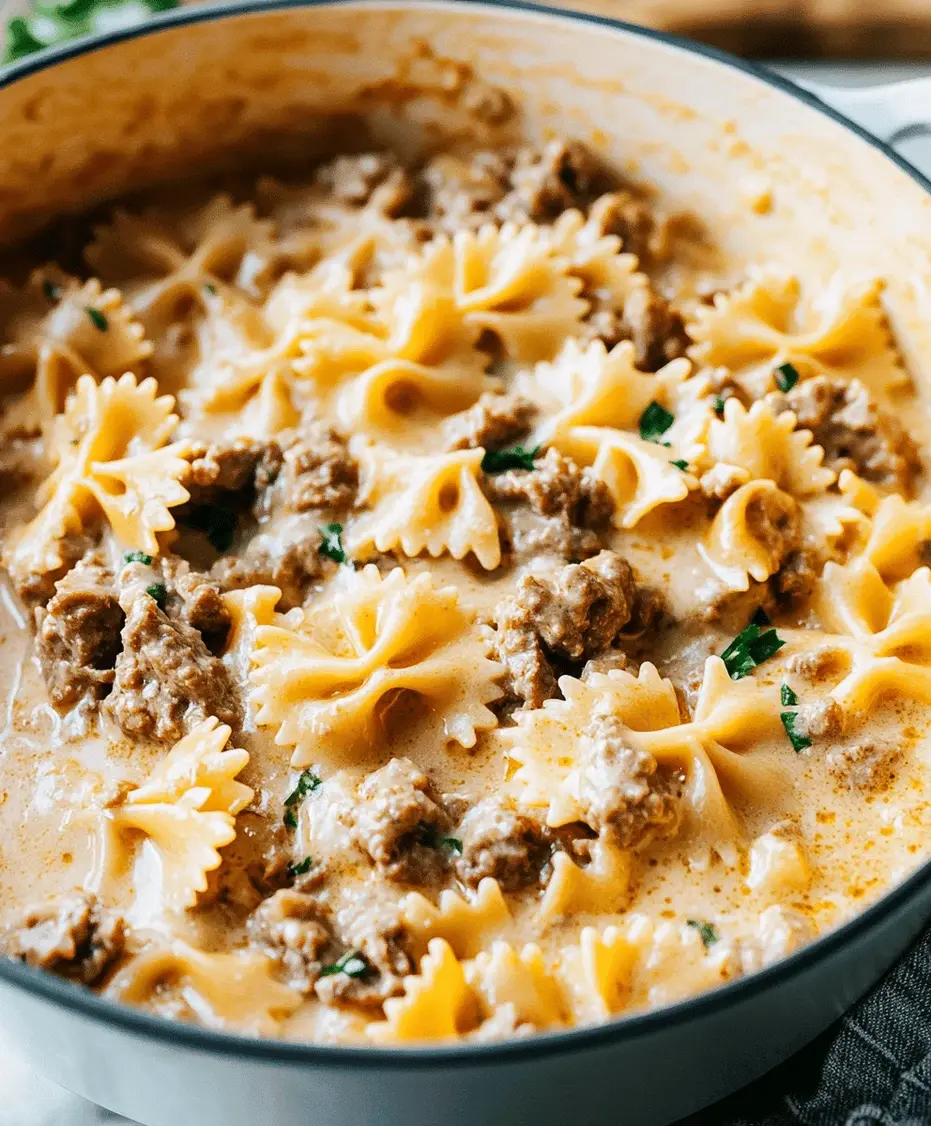
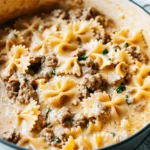
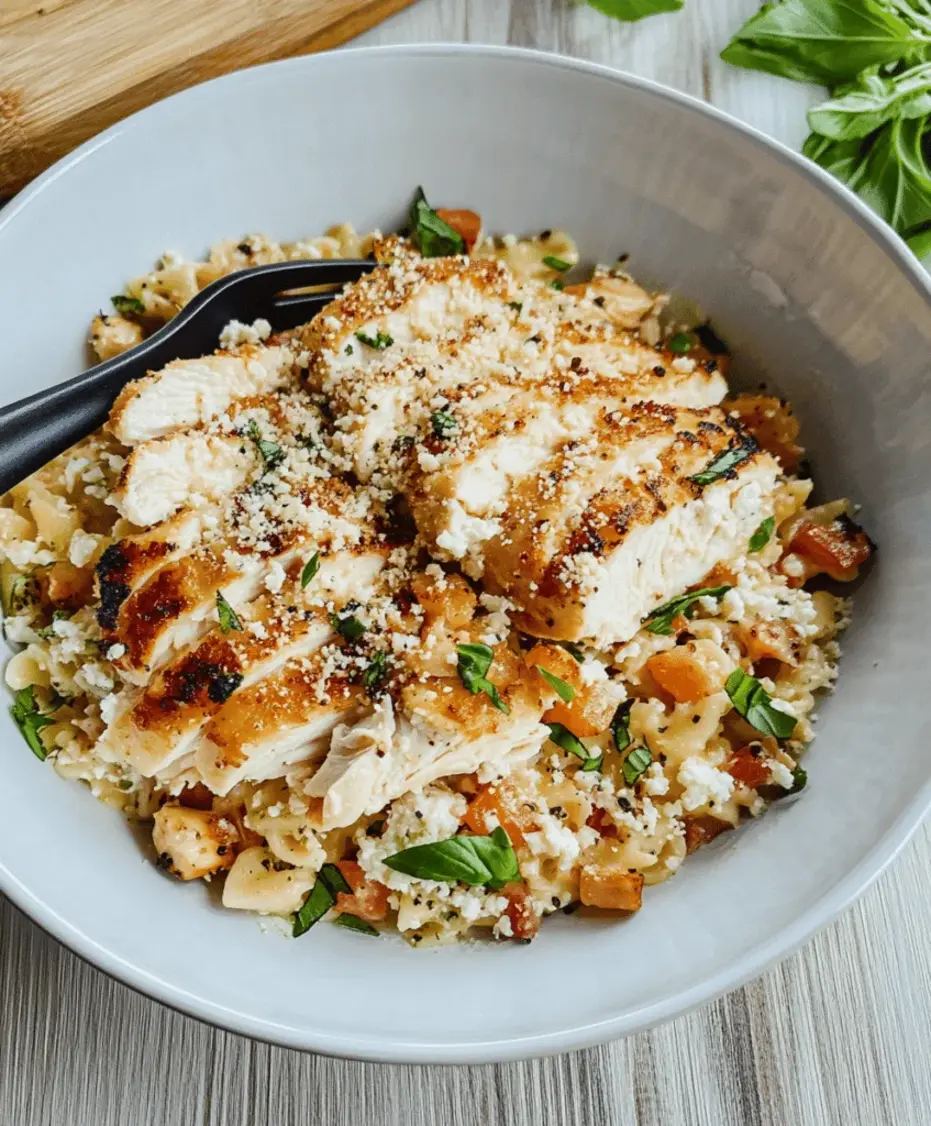
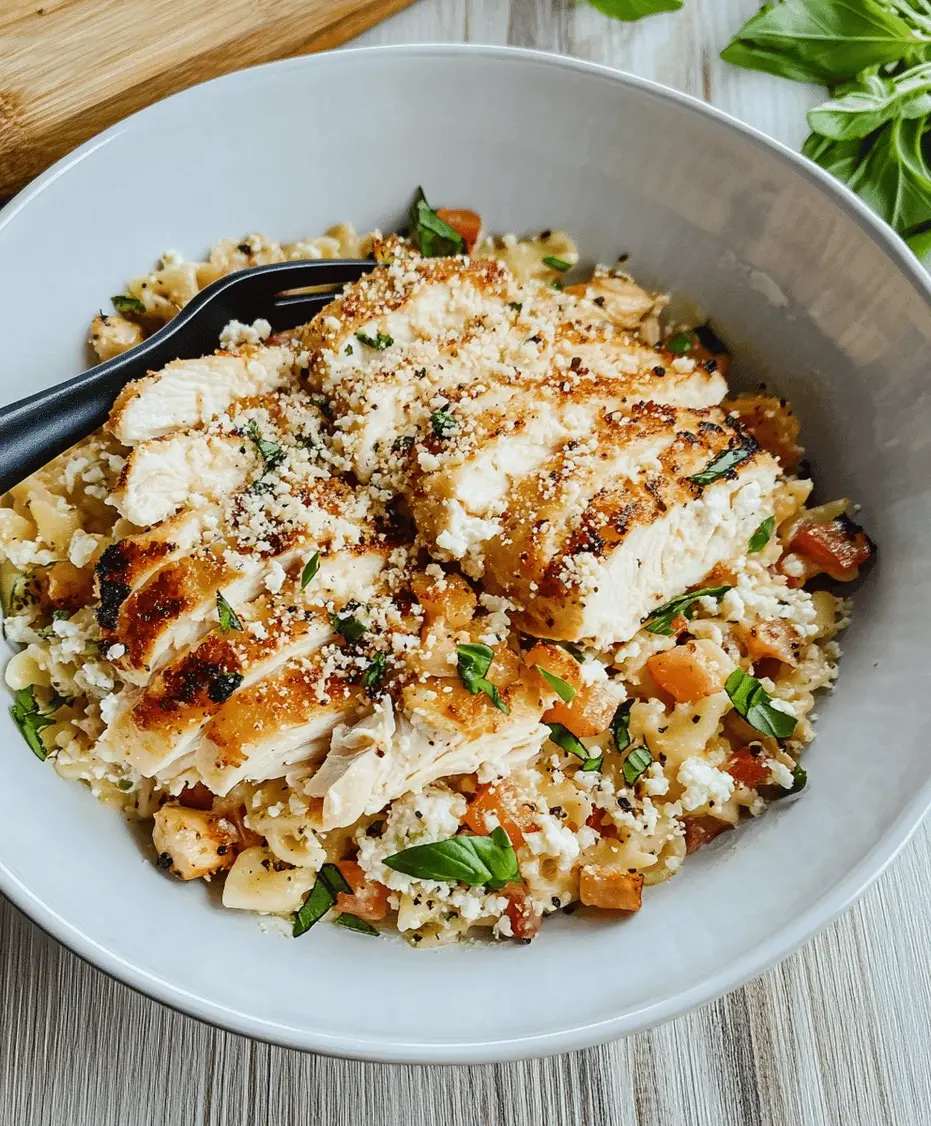
Creamy Ricotta Chicken Pasta Recipe
Craving a Weeknight Wonder? Discover the Magic of Creamy Ricotta Chicken Pasta!
Are you tired of spending your evenings in the kitchen, looking for a meal that’s both incredibly comforting and surprisingly simple to prepare? If you’re nodding your head, then you’re in for a treat! On average, weeknight dinners can take upwards of 45 minutes to an hour, leaving little time for relaxation. But what if you could create a restaurant-quality dish, rich with tender chicken, luscious ricotta, and perfectly cooked pasta, in under 40 minutes? Enter the Creamy Ricotta Chicken Pasta. This recipe isn’t just a meal; it’s an experience – a harmonious blend of flavors and textures that will become your new go-to for busy evenings when you want something special without the fuss. Get ready to impress yourself and your loved ones with this delightful and easy pasta creation.
Ingredients: The Heart of Your Creamy Delight
The beauty of this Creamy Ricotta Chicken Pasta lies in its straightforward yet flavorful ingredient list. We’ve focused on simple components that, when combined, create something truly magical. Don’t be afraid to adjust quantities to your personal preference!
- 1 lb boneless, skinless chicken breasts or thighs: (Choose breasts for leaner, thighs for more flavor and moisture. For a quicker cook, dice them small.)
- 12 oz pasta of your choice: (Penne, fettuccine, or rigatoni work beautifully, holding the sauce well. Use your favorite!)
- 1 tbsp olive oil: (A good quality extra virgin olive oil will add a subtle fruity note.)
- 1 medium onion, finely chopped: (Adds a sweet, aromatic base. Yellow or red onion will work.)
- 2-3 cloves garlic, minced: (The pungent soul of many delicious dishes. Adjust to your love for garlic!)
- 1.5 cups whole milk ricotta cheese: (The star of our creamy sauce! Whole milk ricotta provides the richest texture. Low-fat can be used, but may result in a slightly less creamy sauce.)
- 1/2 cup grated Parmesan cheese: (Adds a salty, umami depth. Freshly grated is always best for flavor and meltability.)
- 1/2 cup chicken broth or pasta water: (To help thin the sauce to the perfect consistency. Pasta water is starchy and helps emulsify the sauce beautifully.)
- Salt and freshly ground black pepper: (To taste. Seasoning is key to bringing out all the wonderful flavors.)
- Optional: Fresh parsley or basil, chopped: (For a fresh, herbaceous finish and a pop of color.)
- Optional: Pinch of red pepper flakes: (For a subtle hint of warmth.)
Timing is Everything: How Long Does it Take?
This recipe is designed for speed and ease, making it ideal for weeknights. Let’s break down the time commitment:
Compared to the average dinner that can easily extend beyond an hour, 40 minutes is a fantastic achievement for a dish this satisfying. Most of the time is hands-off while the pasta cooks and the sauce simmers.
Step-by-Step Culinary Journey
Let’s get cooking! Follow these simple steps to create your irresistible Creamy Ricotta Chicken Pasta.
Step 1: Prep the Chicken
If you haven’t already, dice your chicken breasts or thighs into bite-sized pieces. This ensures they cook quickly and evenly. Season generously with salt and pepper. If you’re feeling fancy and have a few extra minutes, you can lightly dust them with flour for a slightly crispier exterior, but it’s not essential for this creamy dish.
Step 2: Cook the Pasta
Bring a large pot of generously salted water to a rolling boil. Add your pasta and cook according to package directions until al dente – that means it should still have a slight bite. Before draining, reserve about 1 cup of the starchy pasta water; this liquid gold will be crucial for achieving a silky sauce. Drain the pasta and set aside.
Step 3: Sauté the Aromatics
While the pasta cooks, heat the olive oil in a large skillet or Dutch oven over medium-high heat. Add the diced chicken and cook, stirring occasionally, until it’s golden brown and cooked through, about 6-8 minutes. Remove the chicken from the skillet and set aside, leaving any rendered juices behind. Reduce the heat to medium, add the chopped onion, and sauté until softened and translucent, about 4-5 minutes. Add the minced garlic and red pepper flakes (if using) and cook for another minute until fragrant, being careful not to burn the garlic.
Step 4: Create the Ricotta Sauce
Lower the heat to low. Add the ricotta cheese, grated Parmesan cheese, and 1/2 cup of the reserved chicken broth or pasta water to the skillet with the onions and garlic. Stir gently until the cheeses melt and a smooth, creamy sauce begins to form. If the sauce seems too thick, gradually add more pasta water or broth, a tablespoon at a time, until you reach your desired consistency. Taste and adjust seasoning with salt and pepper. This is your moment to make it perfect!
Step 5: Combine and Serve
Return the cooked chicken to the skillet with the sauce. Add the drained pasta. Toss everything together gently until the pasta and chicken are well coated in the luscious ricotta sauce. If it seems a bit stiff, add another splash of pasta water to loosen it up. Stir in most of the fresh parsley or basil, if using, reserving some for garnish. Serve immediately, garnished with the remaining herbs and an extra sprinkle of Parmesan cheese. It’s that simple!
Nutritional Snapshot (Approximate per serving)
While nutritional values can vary based on specific ingredients and portion sizes, here’s a general idea of what you can expect from a serving of this Creamy Ricotta Chicken Pasta:
- Calories: 500-650 kcal
- Protein: 35-45g
- Fat: 20-30g
- Saturated Fat: 10-15g
- Carbohydrates: 40-55g
- Fiber: 3-5g
- Sodium: Varies based on broth and added salt
Please note: This is an estimation. For precise calculations, use a nutrition calculator with your exact ingredients.
Making it Healthier Without Sacrificing Flavor
Looking for ways to make this already delightful dish even lighter? Here are some easy swaps:
- Opt for Whole Wheat Pasta: Swap traditional pasta for whole wheat varieties for added fiber and nutrients.
- Leaner Protein: Use chicken breast exclusively, and consider trimming any visible fat from thighs.
- Lighten the Ricotta: Use part-skim ricotta cheese. While it may slightly alter the texture, it significantly reduces fat content.
- Vegetable Boost: Add a handful of spinach, sautéed zucchini, mushrooms, or bell peppers to the onion and garlic for extra vitamins and fiber.
- Reduced Sodium Broth: Choose low-sodium chicken broth to control your sodium intake.
Serving Suggestions: Elevate Your Plate
This Creamy Ricotta Chicken Pasta is a complete meal on its own, but here are a few ideas to make it even more special:
- Fresh Green Salad: A crisp, simple salad with a light vinaigrette makes a perfect contrast to the creamy pasta.
- Garlic Bread: For the ultimate comfort food experience, some crusty garlic bread is a must-have for soaking up any leftover sauce.
- Steamed Vegetables: Broccoli, asparagus, or green beans offer a healthy and colorful side.
- A Sprinkle of Zest: A little lemon zest grated over the top just before serving can add a bright, zesty counterpoint.
Common Mistakes to Avoid
Prevent kitchen mishaps and ensure success with these common pitfalls:
- Overcooking the Pasta: Mushy pasta will never have the right texture. Always aim for al dente.
- Burning the Garlic: Burnt garlic turns bitter. Add it towards the end of sautéing aromatics and cook briefly until fragrant.
- Sauce Too Thick/Thin: Use the reserved pasta water or broth judiciously. Start with less and add more as needed to achieve the perfect creamy consistency.
- Not Seasoning Enough: Salt and pepper are your friends! Taste and adjust as you go to enhance all the flavors.
- Using Low-Quality Ricotta: The ricotta is a star ingredient. Opt for good quality, preferably whole milk ricotta for the best flavor and texture.
Storing Your Creamy Ricotta Chicken Pasta
Leftovers can be a lifesaver! Here’s how to store your delicious creation:
- Refrigeration: Allow the pasta to cool completely before storing it in an airtight container in the refrigerator. It should stay fresh for 2-3 days.
- Reheating: Reheat gently on the stovetop over low heat, adding a splash of milk, broth, or water to loosen the sauce and restore its creaminess. Microwave reheating is also an option, but stir halfway through to ensure even heating and prevent drying out.
- Freezing: While not ideal, you *can* freeze this pasta if absolutely necessary. The texture of the sauce might change slightly upon thawing. Store in freezer-safe containers for up to 1 month. Thaw overnight in the refrigerator before reheating.
Frequently Asked Questions
***Can I use a different type of cheese instead of ricotta?***
While ricotta is key to the signature creaminess, you could experiment with mascarpone for an even richer sauce, or a blend of cream cheese and a little milk if ricotta isn’t available. However, the texture and flavor profile will change.
***Can I make this vegetarian?***
Absolutely! Simply omit the chicken and consider adding sautéed mushrooms, zucchini, or bell peppers for added heartiness. You might want to use vegetable broth instead of chicken broth.
***How do I make the sauce smoother?***
Ensure your ricotta is at room temperature. Stirring gently over low heat helps the cheese melt smoothly. If it still seems lumpy, you can let the sauce cool slightly and then blend it briefly with an immersion blender before returning it to the pan. Using strained ricotta (if you can find it or make it) can also lead to a smoother texture.
***Can I use pre-cooked chicken?***
Yes, you can! If using rotisserie chicken or leftover cooked chicken, simply add it to the sauce at the end to heat through, rather than cooking it from scratch.
***What kind of pasta is best?***
Any pasta shape that can hold sauce well is a great choice. Penne, rigatoni, farfalle, or even fettuccine work beautifully. The key is to cook it al dente.
A Recipe to Cherish
There you have it – a truly satisfying, Creamy Ricotta Chicken Pasta that proves delicious meals don’t have to be complicated. It’s the perfect balance of comfort, flavor, and ease, making it a winner for any occasion. Whether you’re a seasoned cook or a beginner, this recipe is sure to become a staple in your culinary repertoire. Don’t hesitate to try it tonight and experience the creamy, dreamy goodness for yourself!
Loved this recipe? Share your thoughts in the comments below and let us know how it turned out for you! Don’t forget to share this recipe with your friends and family!
Creamy Ricotta Chicken Pasta Recipe
Description
This Creamy Ricotta Chicken Pasta is a comforting, easy-to-make dish packed with tender chicken, creamy ricotta cheese, and perfectly cooked pasta. A perfect meal for busy weeknights or special occasions!
Ingredients
- 12 ozpasta (penne or fettuccine)
- 2 cupscooked chicken, shredded or diced
- 1 cupricotta cheese
- ½ cupParmesan cheese, grated
- 1 cupheavy cream
- 2 tbspolive oil
- 3cloves garlic, minced
- 1 tspItalian seasoning
- ½ tspred pepper flakes (optional)
- Salt and pepper to taste
- ½ cuppasta water (reserved)
- Fresh basil or parsley for garnish
Instructions
Notes
Use whole-milk ricotta for a richer flavor.
Add spinach or sun-dried tomatoes for extra taste.
Substitute heavy cream with milk for a lighter version.
Nutrition
- Calories: 520
- Sugar: 3g
“`