Introduction
There is something truly magical about the moment a crisp autumn breeze whispers through the trees. Suddenly, you crave warmth and comfort from the inside out. This is precisely the moment you need a bowl of this Velvety Homemade Pumpkin Soup. Moreover, it wraps you in a cozy embrace, turning simple ingredients into a deeply nourishing experience that feels like a hug in a bowl.
Velvety Homemade Pumpkin Soup is a classic fall dish that transforms the humble pumpkin into an incredibly smooth and luxurious culinary experience. This soup matters because it represents more than just a meal. It is a celebration of the season’s finest produce, a healthy and affordable way to feed a family, and a guaranteed way to make any ordinary weeknight feel special. The process of creating this soup from scratch fills your kitchen with an irresistible aromatic warmth that simply defines autumn. Furthermore, this recipe fits our blog’s tone perfectly as we champion approachable, from-scratch cooking that delivers maximum flavor without complexity. For instance, mastering a few simple techniques like roasting the pumpkin can elevate your entire culinary game. This method, similar to the one we use for our favorite roasted vegetables, deepens the flavor profile immensely. Ultimately, a great soup relies on a great broth, which is why we often recommend using a homemade stock as the foundation for any pureed soup.
Why I Love This Recipe
This Velvety Homemade Pumpkin Soup holds a special place in my heart because it is my daughter’s absolute favorite. Every year, as soon as the leaves start to change, she asks when we will make our first big pot of soup together. Consequently, the act of selecting the pumpkin, roasting it, and blending the soup has become our cherished seasonal tradition. I love how its simple, wholesome ingredients come together to create something so profoundly comforting and delicious that it instantly becomes the highlight of our week.
Health and Nutrition
Why it’s good for your body
This Velvety Homemade Pumpkin Soup delivers a powerful nutritional punch. First, pumpkin provides an incredible source of beta-carotene. Your body converts this antioxidant into vitamin A, which is essential for sharp vision and a strong immune system. Furthermore, the warming spices like ginger and cinnamon do more than just add flavor. They also offer anti-inflammatory properties that can help soothe your body.
Additionally, this soup is a fantastic source of dietary fiber. Consequently, it promotes healthy digestion and helps you feel full and satisfied for longer. Moreover, we use simple, whole ingredients that your body recognizes and can use efficiently. For example, a good homemade broth forms the base, contributing valuable minerals and supporting gut health. Ultimately, enjoying a bowl of this Velvety Homemade Pumpkin Soup is a delicious way to nourish yourself from the inside out.
How it fits in a healthy lifestyle
This pumpkin soup fits seamlessly into a balanced eating plan. It is naturally gluten-free and vegan-friendly, making it a wonderful option for many different dietary needs. You can easily enjoy it as a light lunch or as a starter to a larger meal, helping you manage portion control without feeling deprived.
For those focused on heart-healthy choices, this soup is low in saturated fat and cholesterol. Pair it with a side salad for a complete and satisfying meal that supports your wellness goals. If you are looking for more ways to incorporate wholesome, plant-based meals into your routine, explore our guide to starting a plant-based diet. Preparing a big batch of this soup on a Sunday is also a perfect meal prep strategy for a busy week. For more inspiration on planning your meals for success, check out our tips for easy healthy meal prep.
How to Prepare This Dish
Steps and time-saving tips
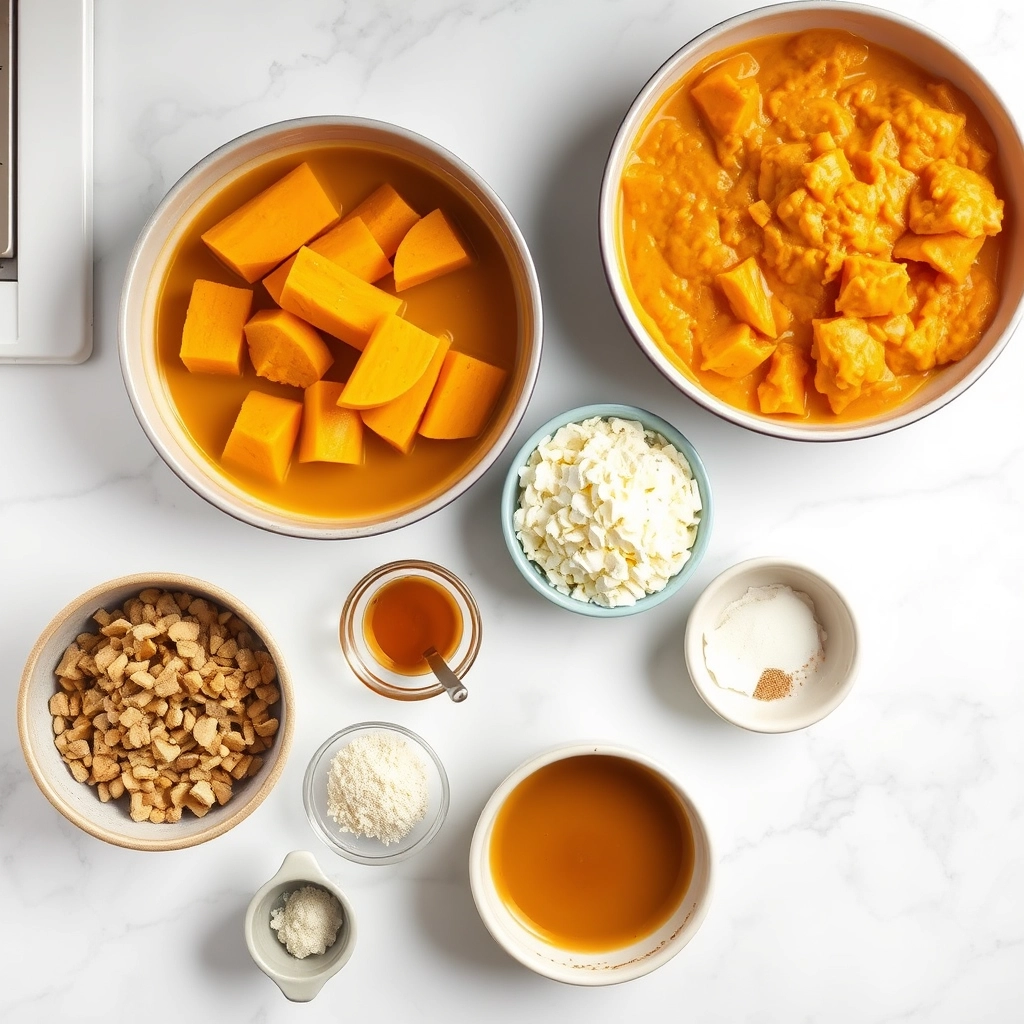
First, gather all your ingredients and preheat your oven. Next, carefully cut your pumpkin in half and scoop out the seeds and stringy pulp. Then, drizzle the pumpkin flesh with olive oil and season it generously with salt and pepper. Roast the halves cut-side down on a baking sheet until the flesh becomes incredibly tender. Meanwhile, you can chop your onion and garlic. For a major time-saving tip, use pre-chopped onions and jarred minced garlic to speed up your prep work significantly. Once the pumpkin is cool enough to handle, simply scoop the soft flesh away from the skin.
Now, heat a large pot over medium heat and sauté your aromatics until they become fragrant and translucent. After that, add the roasted pumpkin flesh and your vegetable broth to the pot. Bring everything to a gentle boil, then reduce the heat and let it simmer for about fifteen minutes. This allows all the wonderful flavors to meld together beautifully. Finally, carefully blend the soup until it is perfectly smooth and velvety. For an extra creamy finish, stir in a splash of coconut milk or heavy cream right at the end. Always taste and adjust your seasoning before serving.
Mistakes I’ve made and learned from
I have definitely learned a few lessons the hard way with this Velvety Homemade Pumpkin Soup. My biggest mistake was rushing the roasting process and pulling the pumpkin out too early. This resulted in a soup that lacked depth and that signature sweet, caramelized flavor. Now I always roast until the edges are deeply golden brown. Another common error was blending the soup while it was far too hot, which led to a messy kitchen explosion. Letting it cool for just ten minutes makes the process so much safer and easier. Forgetting to properly season throughout each step was another pitfall; I now season the pumpkin before roasting, the aromatics while sautéing, and then do a final taste at the end. Getting your knife skills down first makes the prep so much faster and safer. And if you’re new to blending hot liquids, my guide on using an immersion blender will save you from my messy mistakes.

Cultural Connection and Variations
Where this recipe comes from
My love for this soup started in my grandmother’s kitchen every autumn. She would roast the pumpkin whole in her wood-fired oven, filling the entire house with a sweet, smoky aroma that I still associate with the changing leaves. Her version of Velvety Homemade Pumpkin Soup was simple yet profound, a true celebration of the harvest. Meanwhile, cultures around the globe put their own beautiful spin on this classic. In Thailand, for instance, cooks often infuse their pumpkin soup with fragrant lemongrass and spicy red curry paste, creating a vibrant and creamy concoction. Conversely, Australian families might add a hearty scoop of mashed potatoes for a thicker, more substantial texture.
Furthermore, many European versions start with a base of sautéed bacon or pancetta, using the rendered fat to cook the aromatics for a deeply savory foundation. Some Caribbean interpretations even incorporate coconut milk and a touch of allspice, linking it back to the region’s incredible culinary traditions. Ultimately, this global journey shows how a single ingredient can inspire countless variations. Each family and each region holds its own story in the pot. This particular recipe for Velvety Homemade Pumpkin Soup honors my grandmother’s tradition while embracing the universal comfort this dish provides.
How it fits in today’s cooking
This soup absolutely thrives in modern kitchens because it fits so many contemporary lifestyles. Busy home cooks adore its make-ahead potential, often preparing a large batch for easy weekday lunches that taste better each day. Moreover, it remains a cornerstone of holiday feasts, offering a warm, velvety start to a big meal that everyone anticipates. Its natural creaminess also makes it a fantastic candidate for dietary adaptations, as many people now easily swap in vegetable broth and coconut milk to create a luxurious vegan version.
Its seasonal versatility is another huge plus. While we cherish it in the fall, it’s a wonderful way to use preserved foods year-round. In fact, you can create a similar cozy feeling with other seasonal produce, much like the comforting experience you get from a warm slice of our favorite banana bread. People also love serving it in small cups as an elegant appetizer for dinner parties. Ultimately, this dish proves that classic comfort food never goes out of style. It pairs perfectly with a simple salad for a light dinner, or you can offer a heartier option like our popular breakfast casserole for a complete and satisfying brunch spread.
Taste and Texture
What makes it delicious
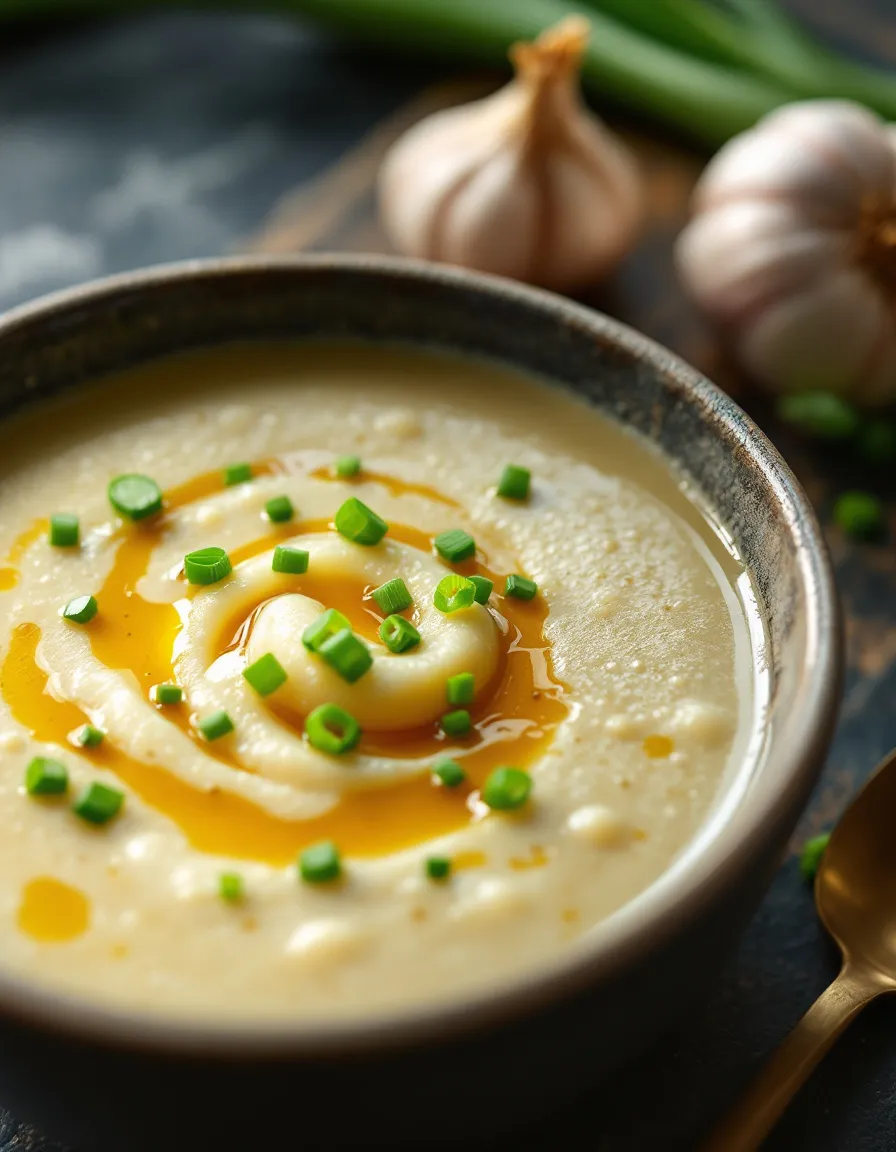
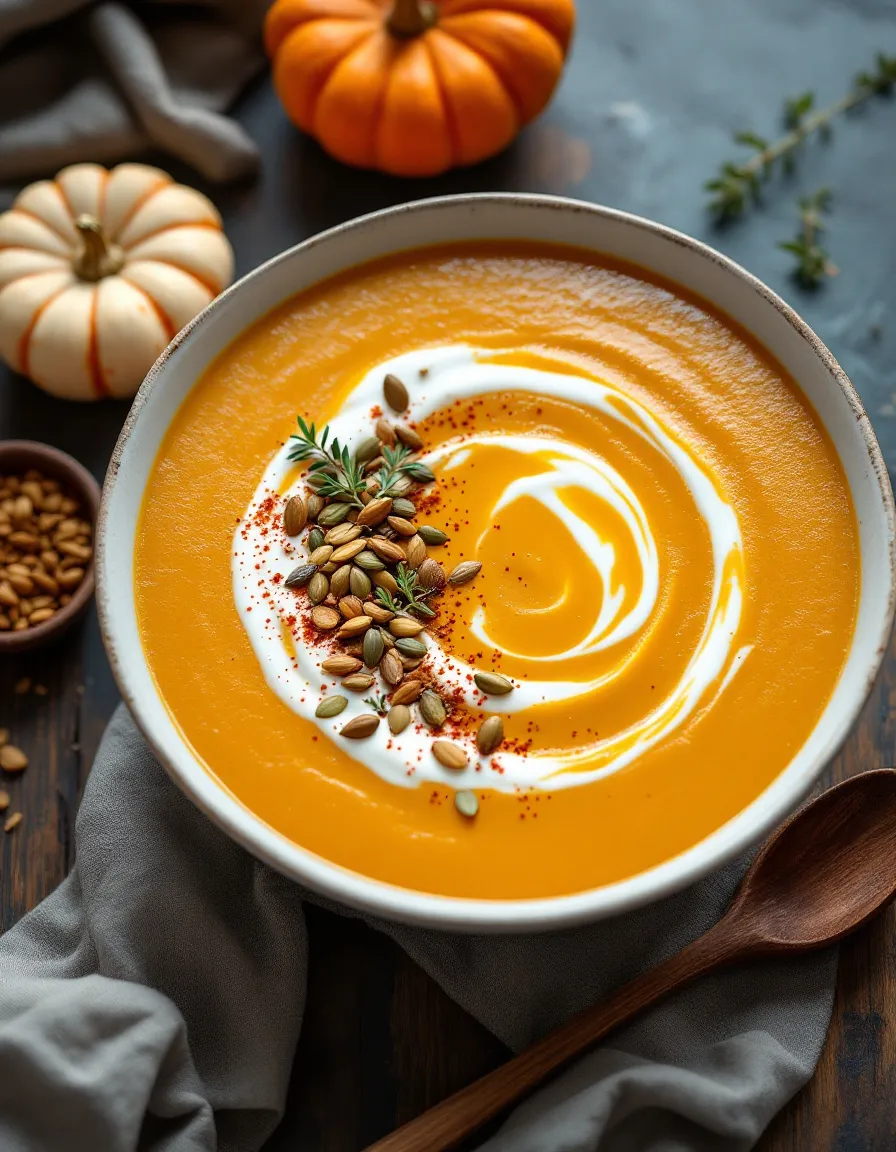
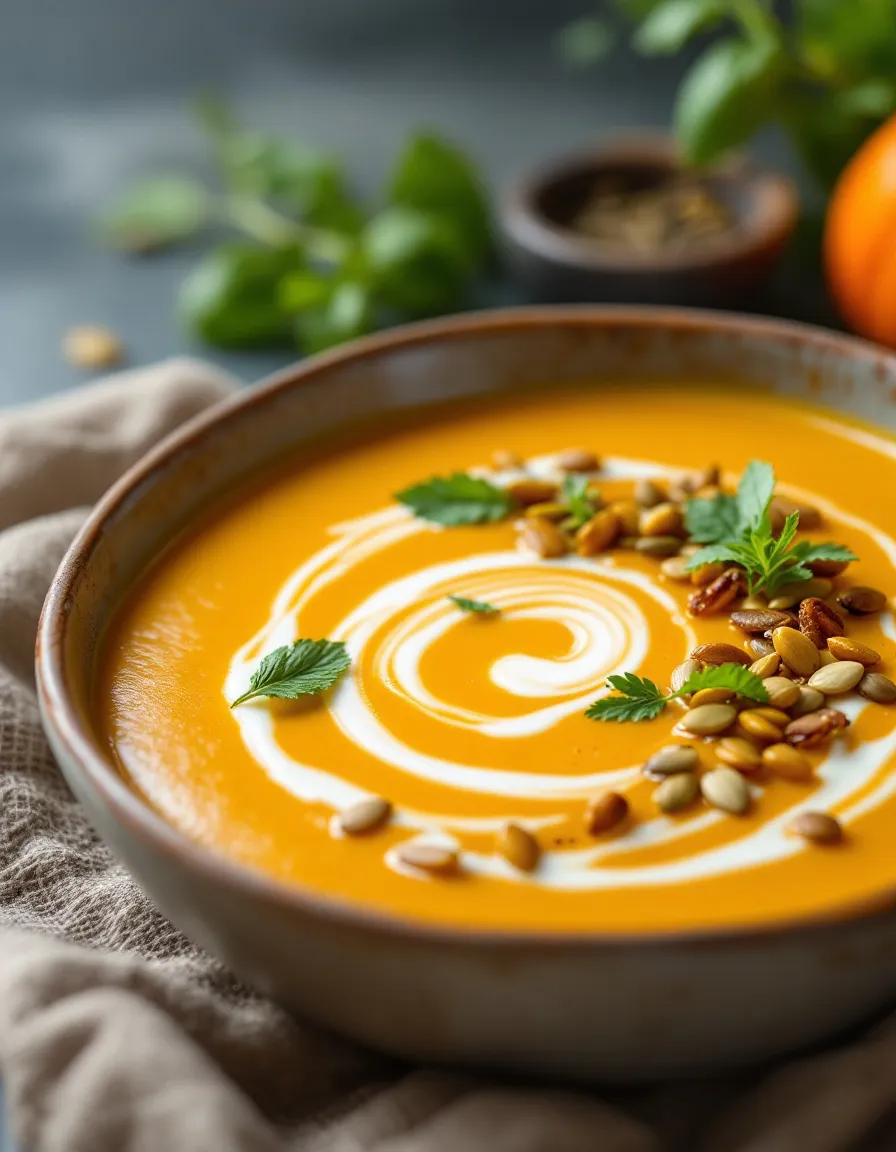
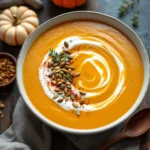
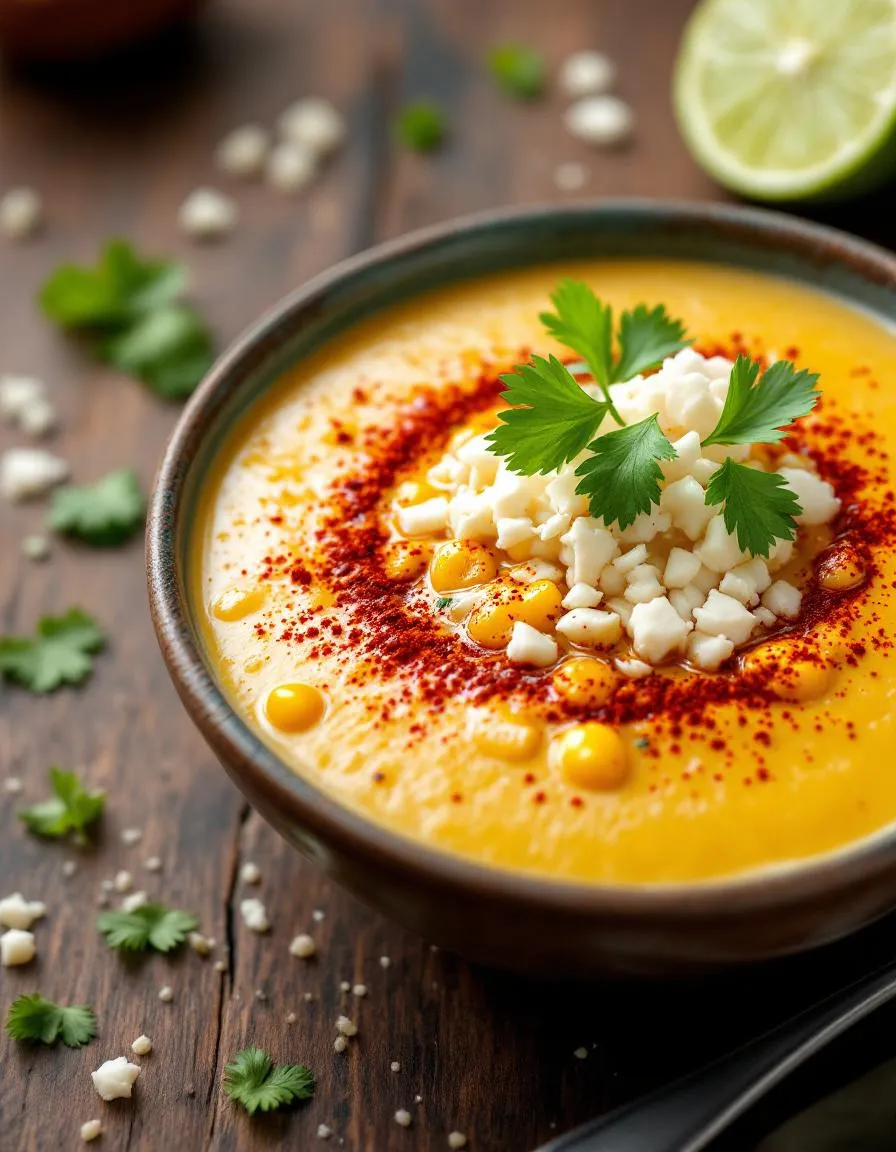
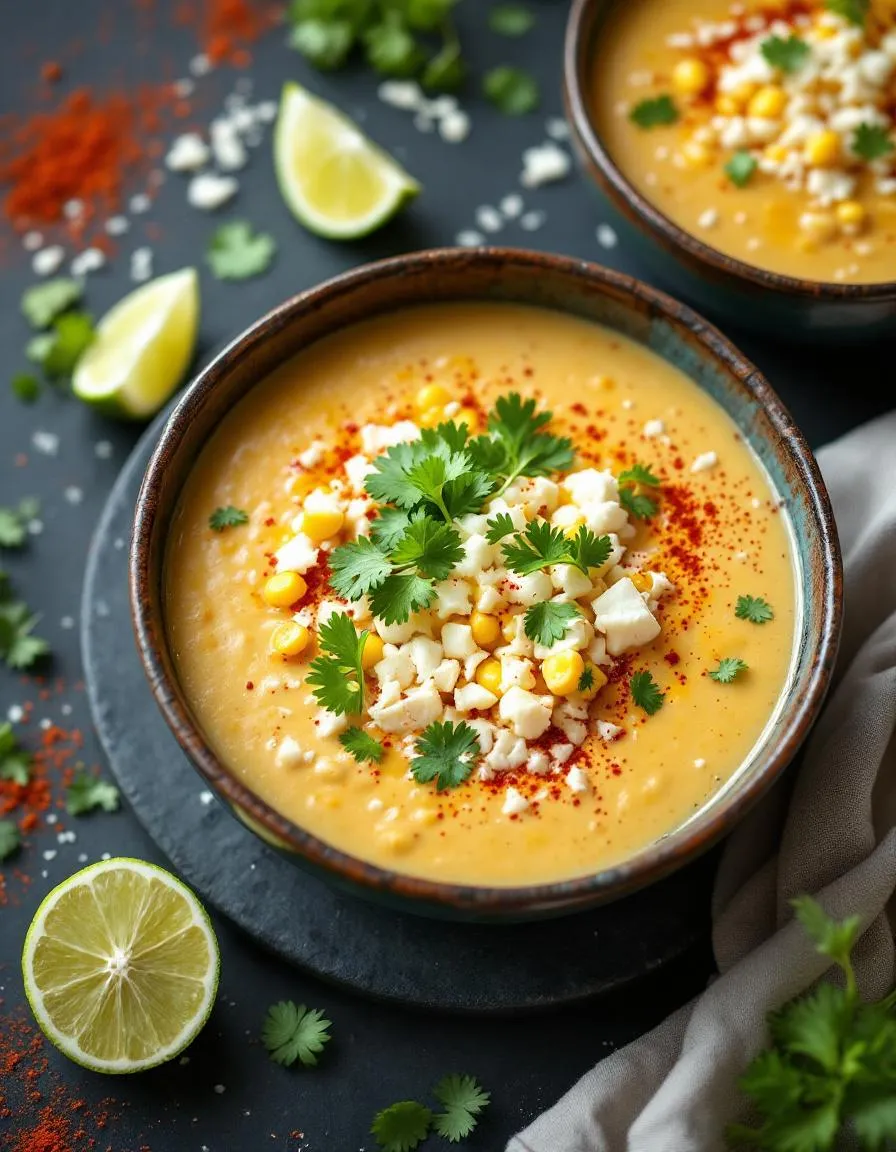
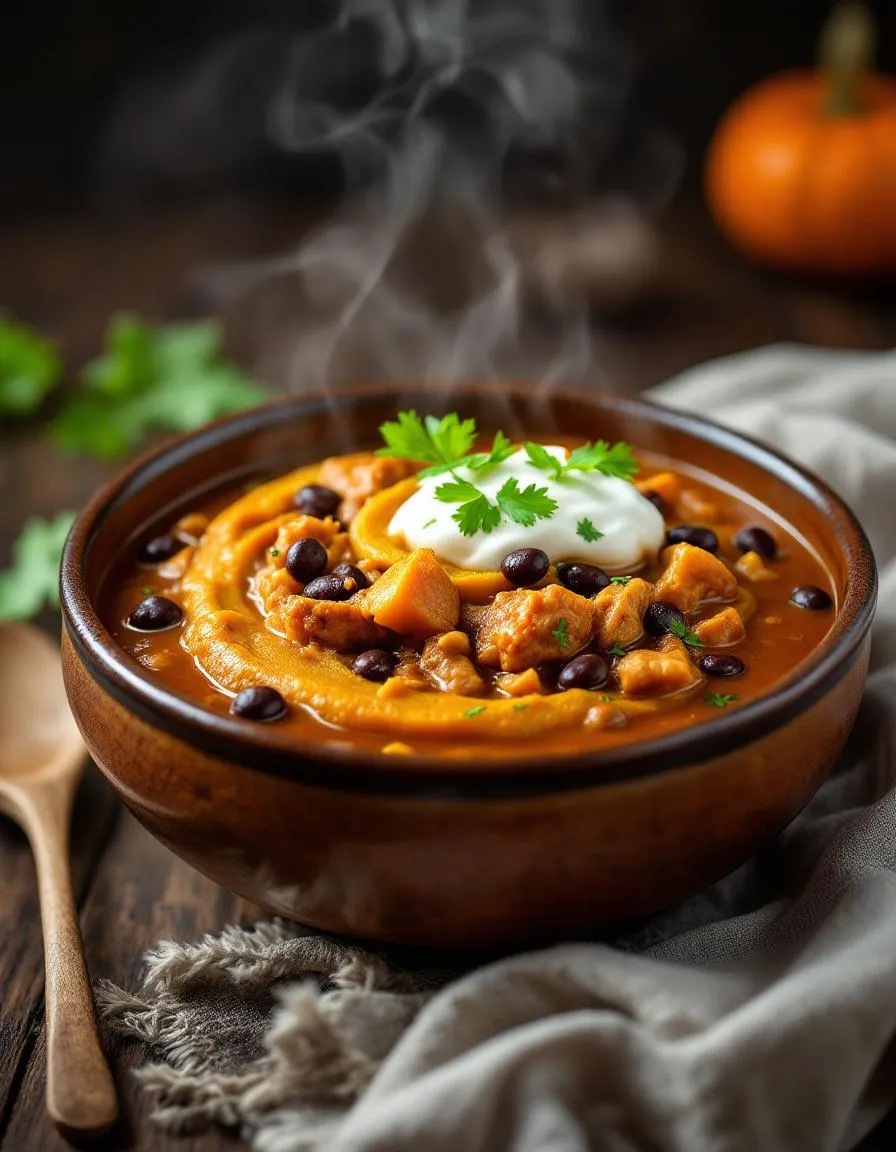
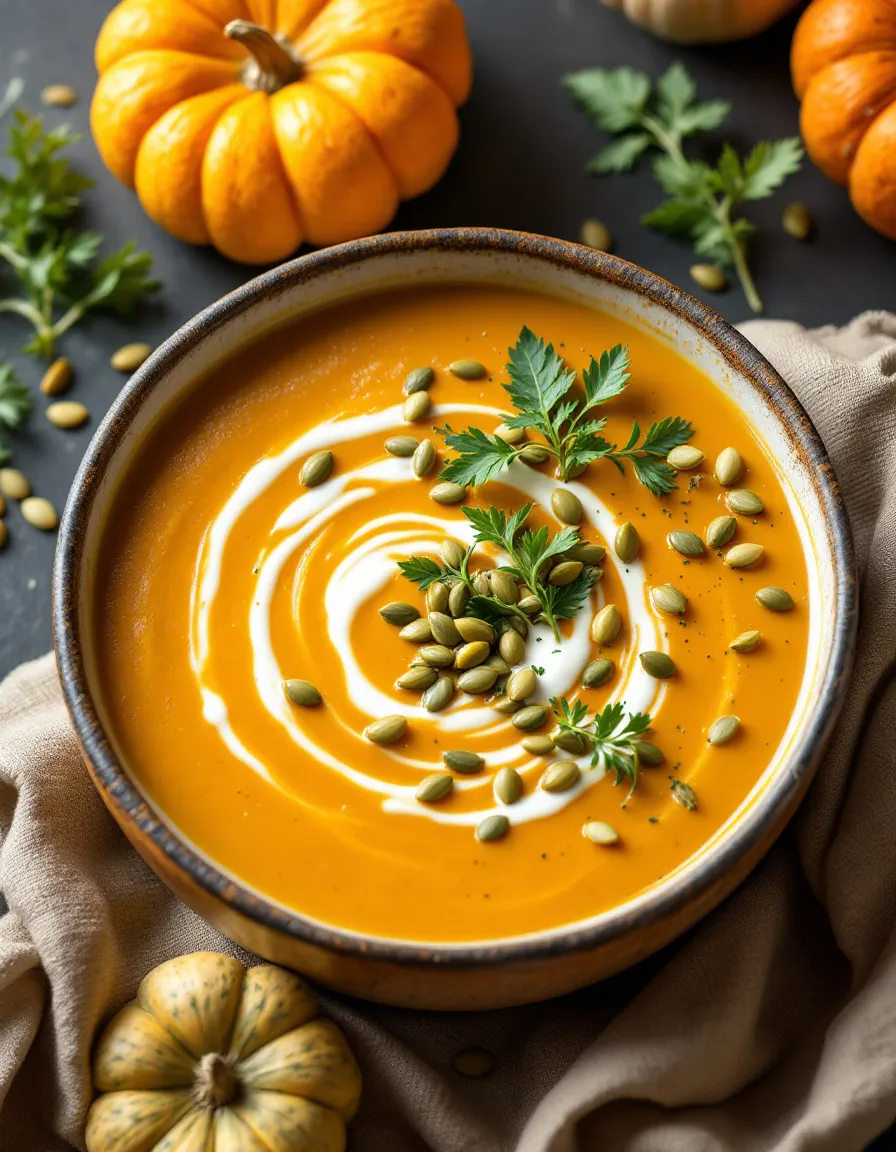
This Velvety Homemade Pumpkin Soup 🎃🍲 delivers a profoundly creamy and smooth mouthfeel that coats your palate luxuriously. Initially, you will notice the earthy, sweet notes of roasted pumpkin, which then mingle beautifully with the warm, aromatic hints of cinnamon and nutmeg. Furthermore, a savory undertone from the vegetable broth and a touch of richness from the coconut milk create a perfectly balanced flavor profile. Each spoonful of this Velvety Homemade Pumpkin Soup 🎃🍲 feels incredibly comforting and warming, making it the ultimate autumnal dish.
Boosting the flavor
You can easily elevate your soup with a few creative additions. For instance, try topping each bowl with a dollop of tangy sour cream or a handful of toasted pumpkin seeds for a delightful crunch. Additionally, a drizzle of our favorite truffle oil drizzle introduces an elegant, earthy depth that complements the pumpkin perfectly. If you prefer a spicy kick, a pinch of smoked paprika or a dash of cayenne pepper works wonderfully. Finally, consider serving it with a side of crusty bread for dipping; our guide on artisan bread pairings offers excellent suggestions for the ultimate cozy meal.
Tips for Success
Best practices for results
Always roast your fresh pumpkin pieces until their edges caramelize for maximum flavor. Furthermore, use a high-powered blender to achieve the signature velvety texture of this Velvety Homemade Pumpkin Soup. Additionally, gradually add your warm broth to the pumpkin puree to control the consistency perfectly. Finally, taste and season your soup just before serving for the brightest flavor.
Mistakes to avoid
Avoid using canned pumpkin pie mix, as it contains sugars and spices that will unbalance your soup; instead, always opt for plain puree or roast your own. Moreover, do not skip the step of sautéing your aromatics like onion and garlic, as this builds a crucial flavor foundation. If your soup seems too thin, simply simmer it a bit longer to reduce, or conversely, if it is too thick, whisk in more broth. For more guidance on fixing textures, see our guide on common cooking mistakes. Remember to use a light hand with powerful spices like nutmeg and clove; you can always add more later. For perfect seasoning every time, follow the principles in our seasoning basics article.
Serving and Pairing Suggestions
How to serve this dish
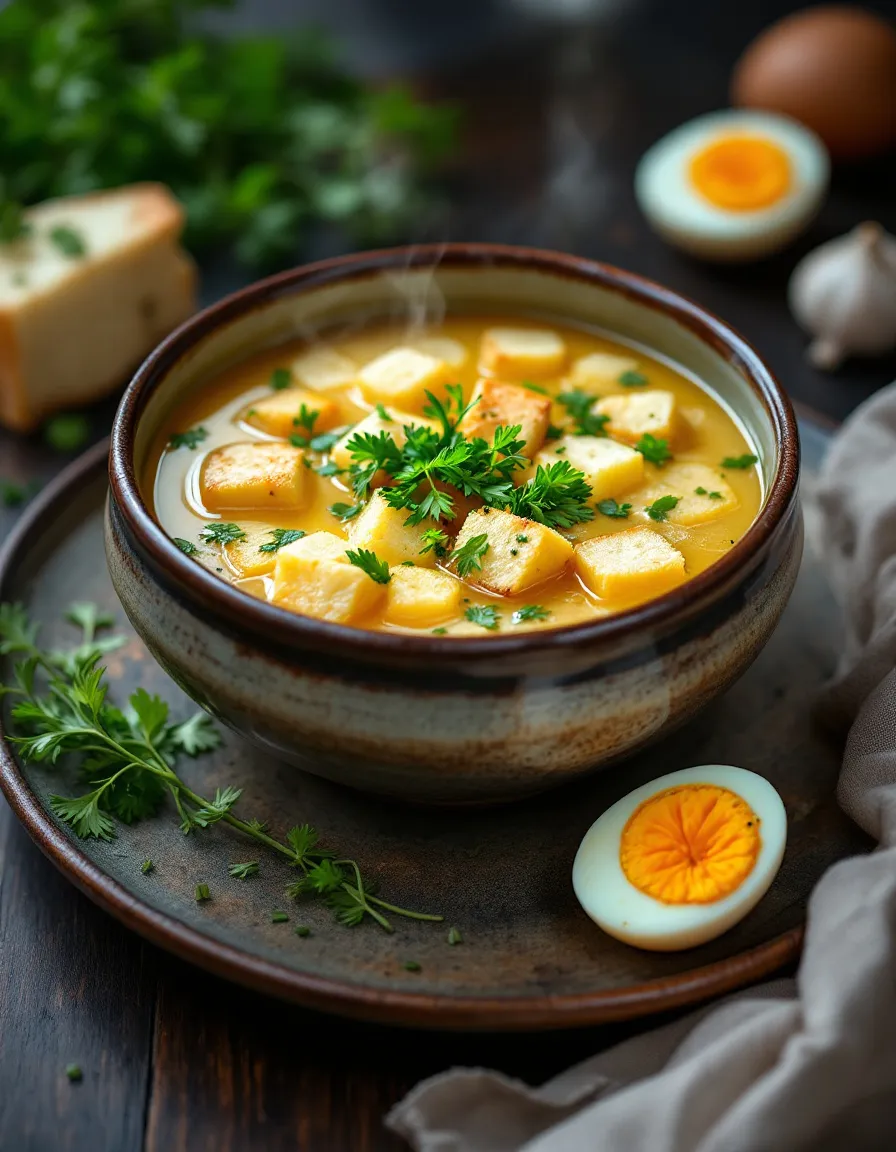
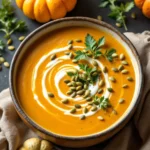
Presentation truly elevates your Velvety Homemade Pumpkin Soup. For instance, serve it in a warm, hollowed-out pumpkin for a stunning holiday centerpiece. Alternatively, you can garnish each bowl with a swirl of coconut cream and a sprinkle of toasted pumpkin seeds. This Velvety Homemade Pumpkin Soup makes a wonderful starter for a festive dinner party. Furthermore, it is a cozy choice for a simple weeknight meal.
What goes well with it
A crusty, warm slice of bread is the perfect partner for this soup. Specifically, our easy no knead bread offers a fantastic texture contrast for dipping. For a heartier meal, consider serving a simple side salad. Our ultimate guide to fresh salads provides excellent inspiration for a light, complementary course. Finally, a crisp, unoaked Chardonnay beautifully cuts through the soup’s rich creaminess.
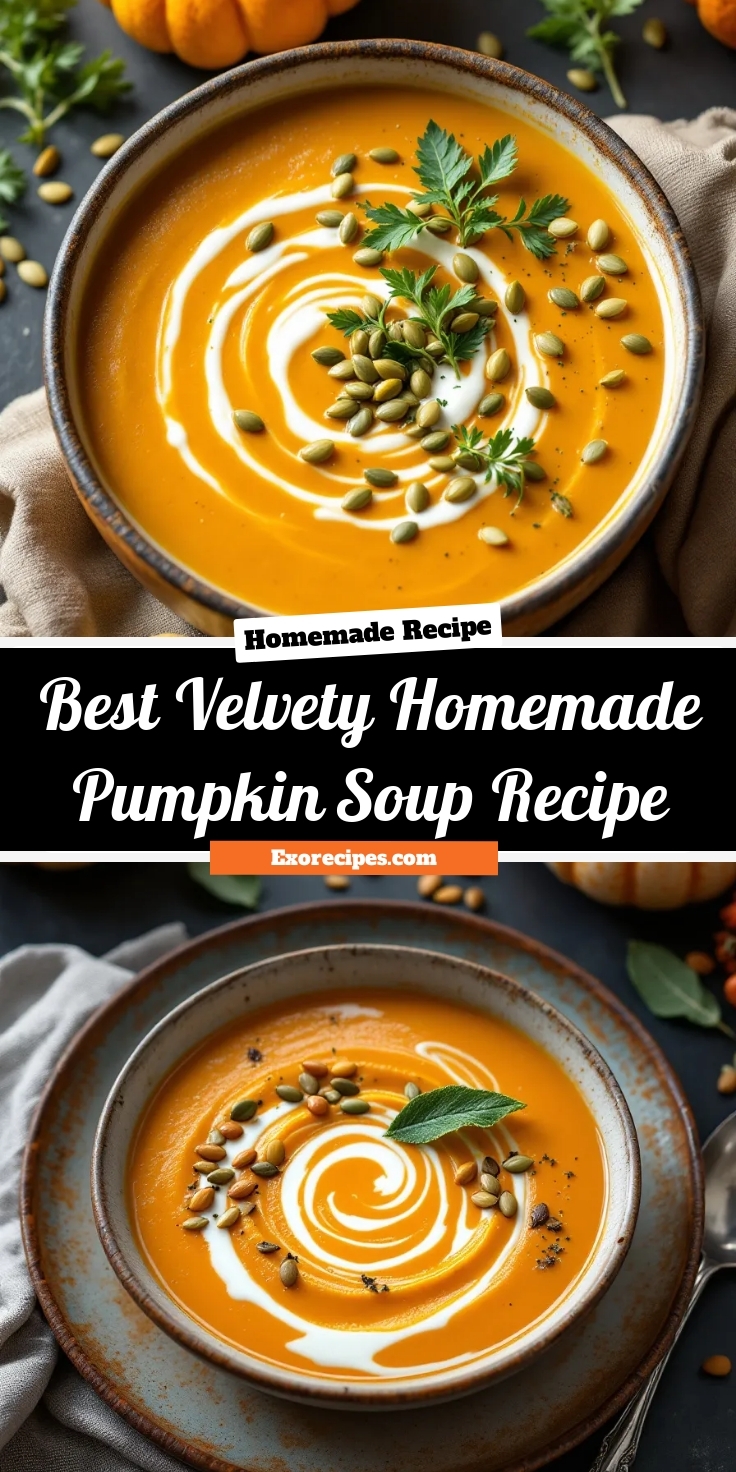
The secret to a truly velvety texture is blending the soup until completely smooth. Using an immersion blender right in the pot is easiest, but a standard countertop blender works great too. For an extra luxurious finish, stir in a touch of heavy cream or coconut milk at the end of cooking your Velvety Homemade Pumpkin Soup 🎃🍲.
Absolutely! Using plain canned pumpkin puree is a fantastic time-saver and yields a consistent, smooth result. Just be sure to avoid canned pumpkin pie mix, as it contains added sugars and spices. Your Velvety Homemade Pumpkin Soup 🎃🍲 will still be delicious with this convenient shortcut.
If your soup is too thin, the easiest way to thicken it is to simmer it uncovered for a few more minutes to reduce and concentrate the liquid. You can also add a small, cooked potato and blend it in, or make a quick slurry with a tablespoon of cornstarch and cold water before stirring it into the simmering soup.
Toppings add wonderful texture and flavor contrast. Popular choices include a drizzle of cream, toasted pumpkin seeds (pepitas), a sprinkle of crispy bacon or croutons, and a fresh herb like chopped chives or sage. A swirl of chili oil or a dash of smoked paprika also adds a nice kick.
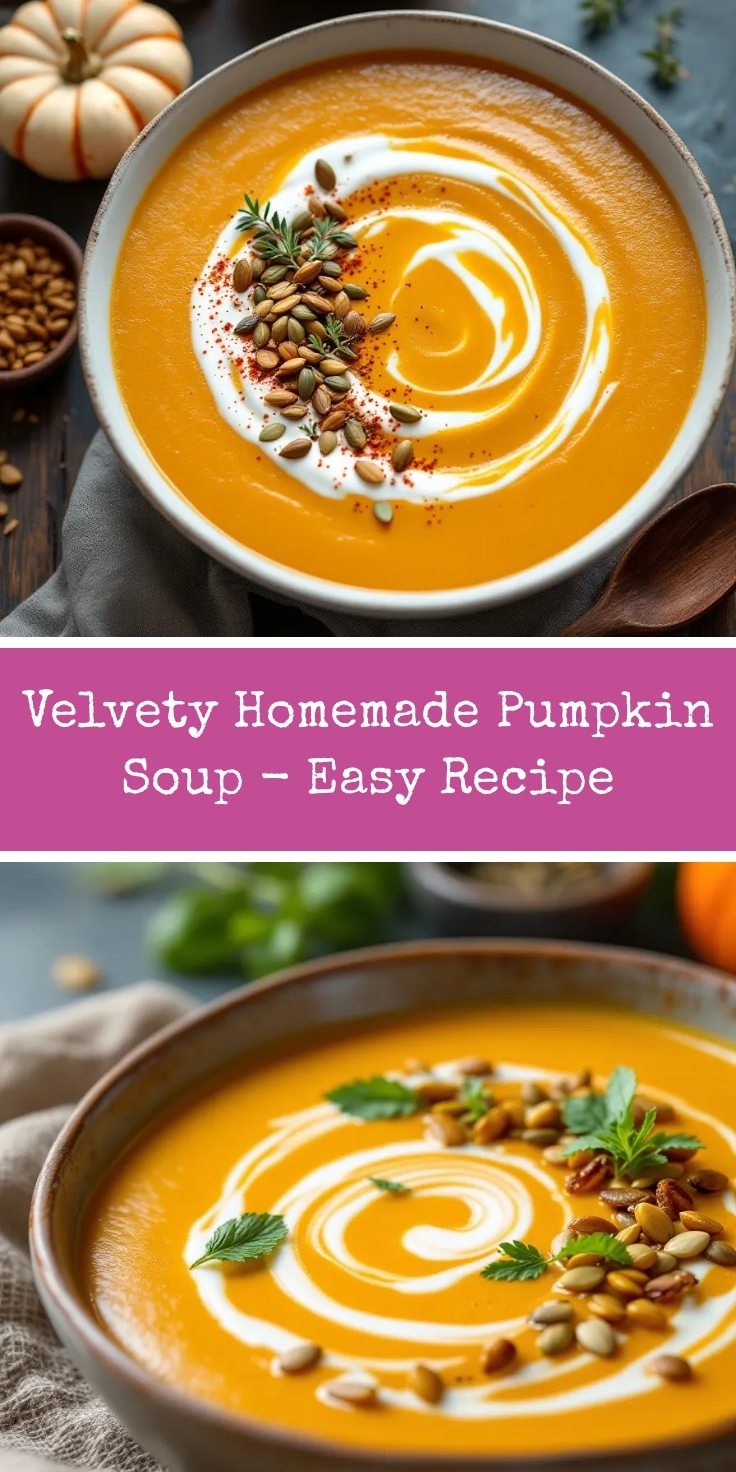
Velvety Homemade Pumpkin Soup 🎃🍲
- Total Time: PT40M
- Yield: 6 servings 1x
Description
A creamy, velvety pumpkin soup that’s perfect for cozy autumn days. With simple ingredients and rich flavors, this homemade pumpkin soup is a comforting meal that warms the soul.
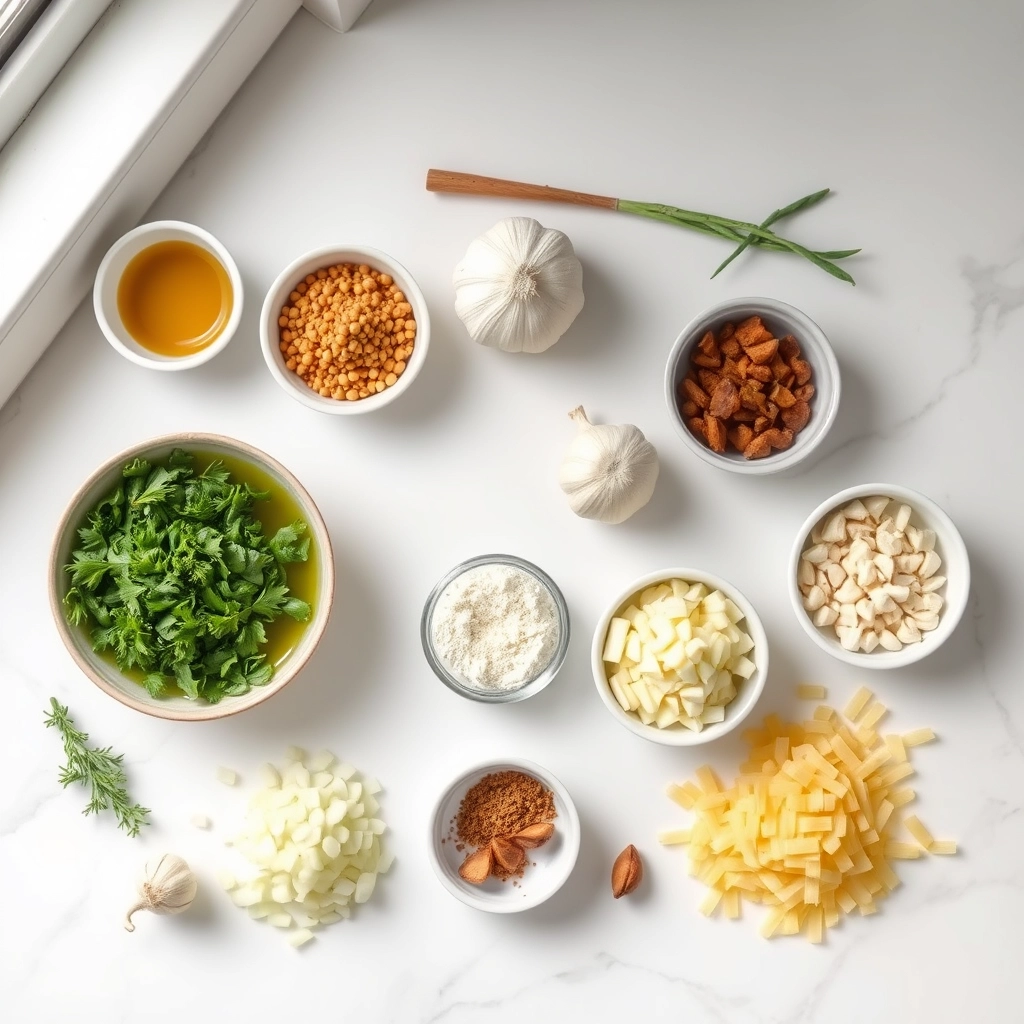
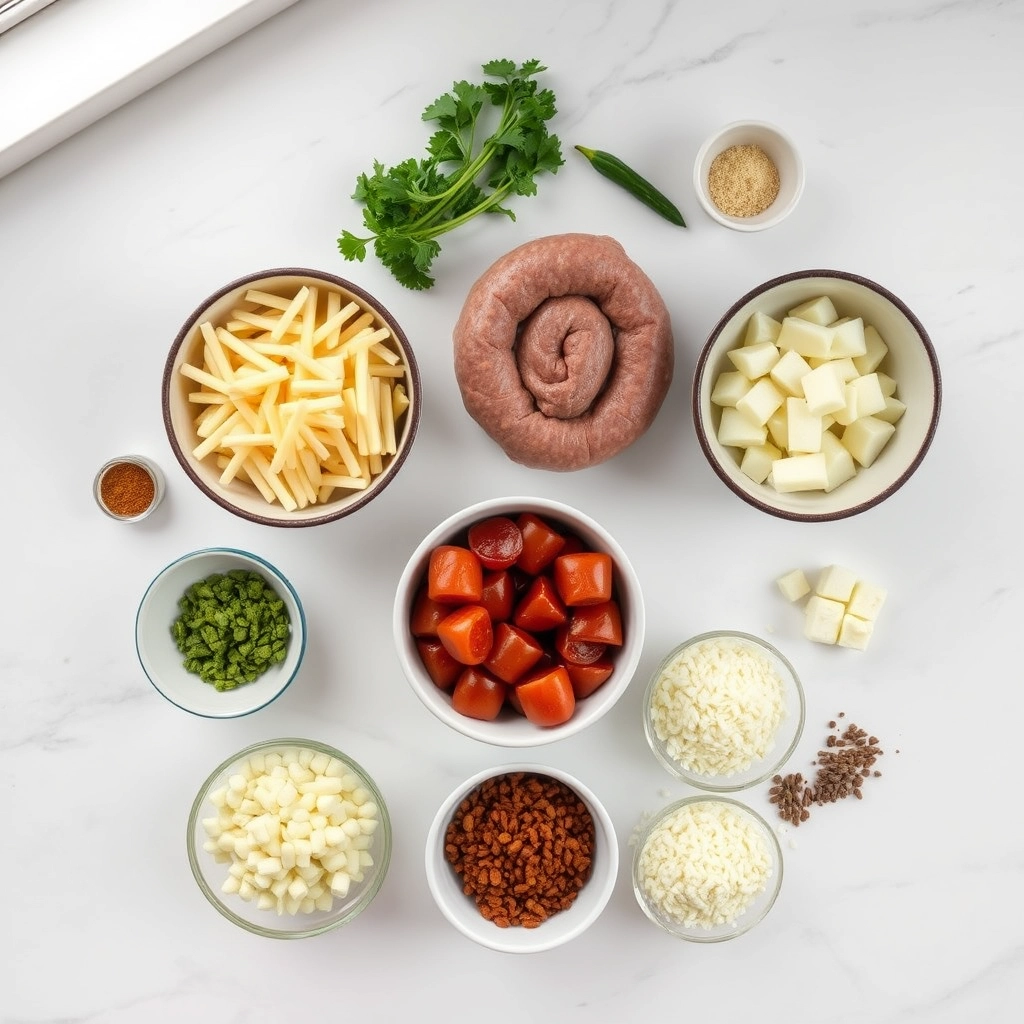
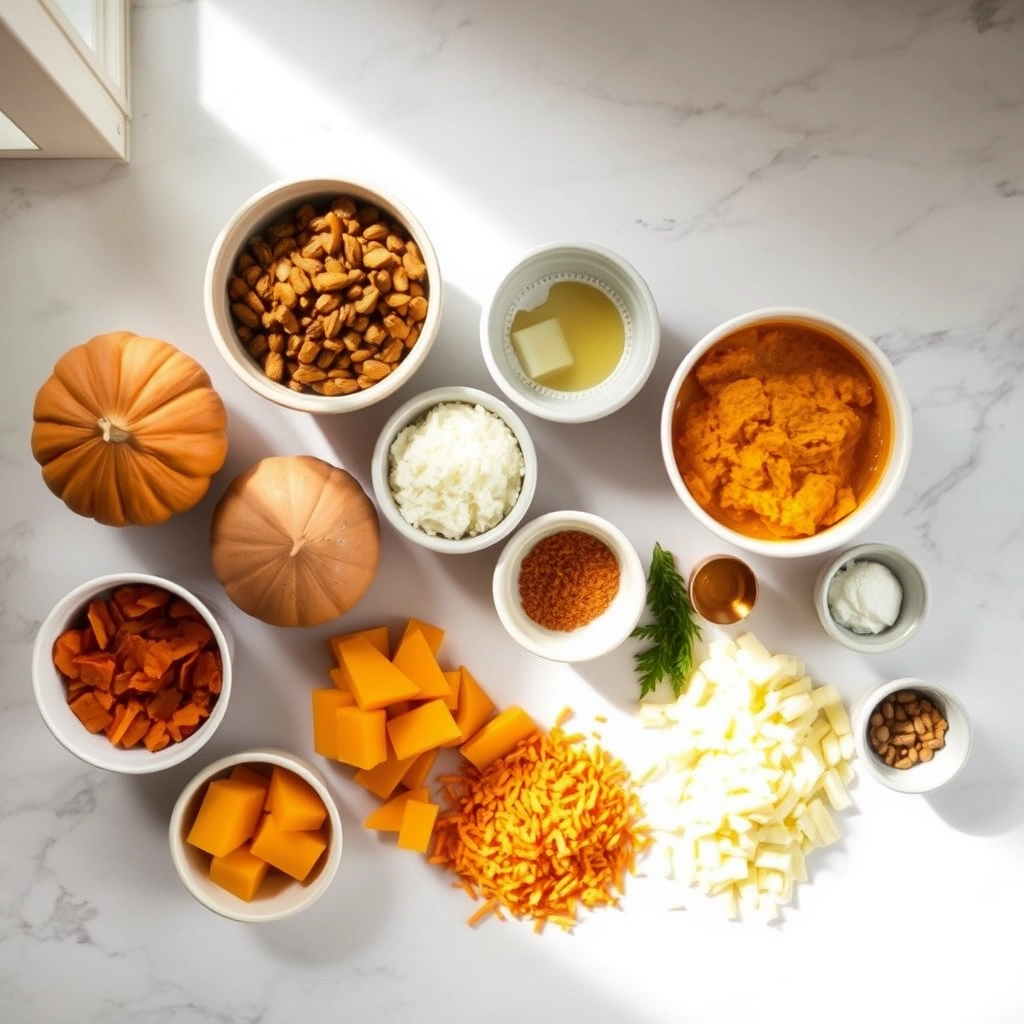
Ingredients
- Ingredients
- 2 tablespoons olive oil
- 1 medium onion, chopped
- 2 cloves garlic, minced
- 4 cups pumpkin puree (fresh or canned)
- 4 cups vegetable broth
- 1 cup heavy cream or coconut milk
- 1/2 teaspoon ground nutmeg
- Salt and pepper to taste
- Optional toppings:
- Fresh parsley, chopped
- Pumpkin seeds
- Croutons
Instructions
- Preparation
- Sauté Onion: In a large pot, heat olive oil over medium heat. Add chopped onion and cook until translucent, about 5 minutes.
- Add Garlic: Stir in minced garlic and cook for 1 minute until fragrant.
- Make Soup
- Add Pumpkin: Pour in pumpkin puree and vegetable broth. Stir well to combine.
- Simmer: Bring mixture to a boil, then reduce heat and let simmer for 15-20 minutes.
- Blend Soup: Use an immersion blender to puree the soup until smooth and velvety. Alternatively, transfer in batches to a blender and puree.
- Finish Soup: Stir in heavy cream or coconut milk and ground nutmeg. Season with salt and pepper to taste.
- Serve
- Serve Warm: Ladle into bowls and garnish with optional toppings like parsley, pumpkin seeds, or croutons.
- Prep Time: PT10M
- Cook Time: PT30M
- Method: Appetizer, Soup
- Cuisine: American