“`html
Table of Contents
- Sweet Beginnings: Why Make Heart-Shaped Cookies?
- Gather Your Sweet Treasures: Ingredients
- The Sweet Rhythm: Timing Your Bake
- Crafting Love: Step-by-Step Instructions
- Nutritional Snapshot
- Wholesome Twists: Healthier Alternatives
- Serving Suggestions: Sharing the Love
- Navigating the Bake: Common Mistakes
- Keeping the Sweetness: Storing Your Cookies
- Frequently Asked Questions
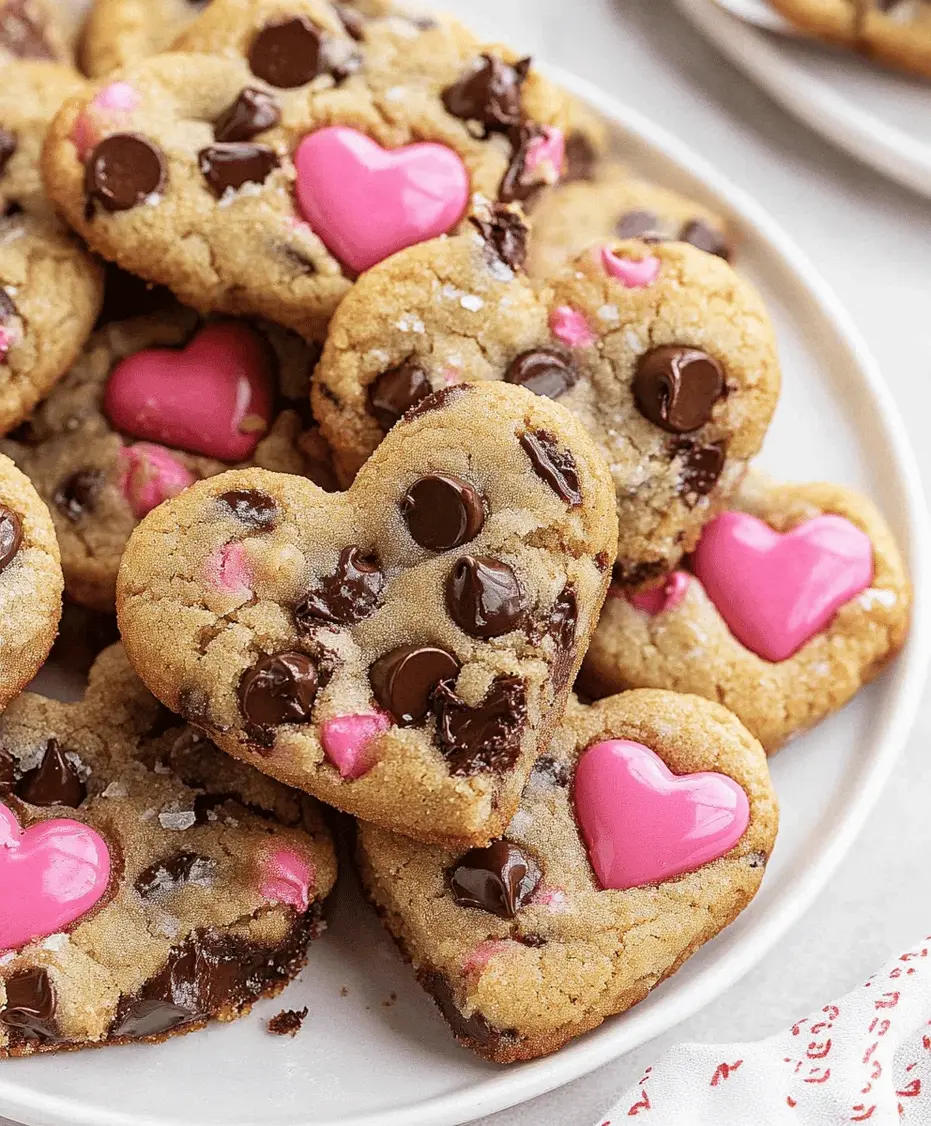
Heart-shaped Chocolate Chip Cookies Recipe
Sweet Beginnings: Why Make Heart-Shaped Cookies?
Are you searching for a way to add a touch of romance and homemade charm to your celebrations, or simply looking for a classic cookie with a delightful twist? For many, the quest for the perfect chocolate chip cookie is a lifelong journey. But what if you could elevate that cherished recipe into something truly special, something that whispers “love” with every bite? These heart-shaped chocolate chip cookies are designed to do just that. They are perfect for Valentine’s Day, anniversaries, or any occasion where you want to express affection. Crafted with readily available ingredients, they strike a beautiful balance: wonderfully crispy edges that give way to a luxuriously chewy center, all studded with generous pockets of gooey, melted chocolate chips. Whether you’re meticulously packaging them as thoughtful gifts or indulging in a moment of sweet self-care, these cookies are destined to spread joy and warmth. Let’s dive into creating these edible expressions of love!
Gather Your Sweet Treasures: Ingredients
The magic of these heart-shaped chocolate chip cookies lies in the quality and harmony of their ingredients. We’re aiming for a cookie that’s not only beautiful but also deeply flavorful and texturally perfect.
Essential Wet Ingredients
- 1 cup (227g) Unsalted Butter, softened: This is the creamy foundation. Using unsalted butter allows you to control the saltiness precisely. It should be soft, but not melted – think of it like a slightly firm cream cheese consistency.
- 1 ½ cups (300g) Granulated Sugar: Provides sweetness and contributes to crisp edges.
- ¾ cup (150g) Light Brown Sugar, packed: Adds moisture, chewiness, and a lovely caramel undertone. Make sure to pack it firmly into your measuring cup!
- 2 large Eggs: Act as binders and add richness. Room temperature eggs incorporate more smoothly.
- 1 teaspoon Pure Vanilla Extract: The soul of many baked goods, vanilla enhances all the other flavors and adds a comforting aroma.
Flavorful Dry Ingredients
- 2 ¼ cups (280g) All-Purpose Flour: The sturdy structure of our cookie. Spoon and level your flour accurately for the best texture.
- 1 teaspoon Baking Soda: Our leavening agent, crucial for that perfect spread and chewy texture.
- ½ teaspoon Salt: Balances the sweetness and intensifies the chocolate flavor. Don’t skip this!
The Heart of the Cookie: Chocolate Chips
- 2 cups (340g) Semi-Sweet Chocolate Chips: The star of the show! Use good quality chips for the best melt and flavor. You can also use chunks or a mix of different chocolates.
Optional Additions for Extra Sparkle
- ½ cup Chopped Nuts: Walnuts or pecans add a delightful crunch and depth of flavor.
- ¼ teaspoon Almond Extract: For a subtle floral note that pairs beautifully with chocolate.
- Edible Heart Sprinkles or Red/Pink Food Coloring: To enhance the visual appeal and thematic connection.
The Sweet Rhythm: Timing Your Bake
Compared to average chocolate chip cookie recipes, the chilling time is an essential step that ensures better shape retention, especially for heart shapes, and develops flavor. While the active prep is similar, the patience required for chilling elevates the final result.
Crafting Love: Step-by-Step Instructions
Follow these steps closely to create cookies that are as beautiful as they are delicious. Remember, baking is a form of love, so approach it with joy!
Step 1: The Creamy Foundation
In a large mixing bowl, cream together the softened unsalted butter, granulated sugar, and light brown sugar using an electric mixer (or a whisk and some elbow grease!) until the mixture is light, fluffy, and pale in color. This process, often called “creaming,” incorporates air, which is vital for a light cookie texture. Aim for about 3-5 minutes of mixing.
Step 2: Enriching the Dough
Add the eggs one at a time, beating well after each addition to ensure they are fully incorporated. Then, stir in the pure vanilla extract. If you’re using almond extract, add it now as well. The mixture should look smooth and emulsified.
Step 3: The Dry Embrace
In a separate medium bowl, whisk together the all-purpose flour, baking soda, and salt. Whisking ensures that the leavening agent and salt are evenly distributed throughout the flour, preventing pockets of saltiness or uneven rising.
Step 4: Bringing It All Together
Gradually add the dry ingredients to the wet ingredients, mixing on low speed (or using a spatula) until just combined. Be careful not to overmix at this stage; overmixing can develop the gluten in the flour too much, leading to tough cookies.
Step 5: The Chocolatey Finale
Gently fold in the semi-sweet chocolate chips (and any chopped nuts, if using) using a spatula or wooden spoon. Distribute them evenly throughout the dough. The dough will be thick and slightly sticky.
Step 6: The Crucial Chill
Cover the bowl with plastic wrap and refrigerate the dough for at least 30 minutes (or up to 2-3 days). Chilling the dough is essential. It solidifies the butter, which prevents the cookies from spreading too much during baking, and allows the flavors to meld together, resulting in a more complex taste. For heart shapes, chilling is especially important for clean cuts.
Step 7: Sculpting Your Hearts
Preheat your oven to 375°F (190°C). Line baking sheets with parchment paper or silicone baking mats. On a lightly floured surface, roll out the chilled dough to about ¼-inch thickness. Using heart-shaped cookie cutters (various sizes can create a lovely assortment), cut out your cookies. Gather the scraps, re-roll gently, and cut more cookies until all the dough is used. If the dough becomes too soft to cut cleanly, chill it again briefly.
Step 8: Baking to Golden Perfection
Arrange the shaped cookies on the prepared baking sheets, leaving about 2 inches between them. Bake for 9-12 minutes, or until the edges are golden brown and the centers are still slightly soft. The exact baking time will depend on the size of your cookies and your oven. For a chewier cookie, err on the side of under-baking slightly.
Step 9: Cooling and Savoring
Let the cookies cool on the baking sheets for 5 minutes before carefully transferring them to a wire rack to cool completely. This allows them to set up properly. Enjoy the fruits of your labor!
Nutritional Snapshot
- Calories: Approximately 180-220 per cookie (varies based on size and ingredients).
- Macronutrients: Rich in carbohydrates and fats, with a moderate amount of protein from eggs and chocolate.
- Note: This is an estimated nutritional value and can vary based on specific ingredients used.
Wholesome Twists: Healthier Alternatives
Looking to make these cookies a bit lighter without sacrificing taste? Try these swaps:
- Flour: Substitute half of the all-purpose flour with whole wheat flour or almond flour for added fiber and nutrients.
- Sugar: Reduce the granulated sugar by ¼ cup and replace it with a sugar substitute like erythritol or xylitol (use with caution if you have pets, as xylitol is toxic to dogs). You can also try using maple syrup or honey, though these will alter the texture and require slight adjustments to other wet ingredients.
- Chocolate Chips: Opt for dark chocolate chips with a higher cocoa content (70% or more) for less sugar and more antioxidants. You can also use sugar-free chocolate chips.
- Butter: Replace half the butter with unsweetened applesauce or mashed banana for reduced fat and added moisture. This will make the cookies softer and gummier.
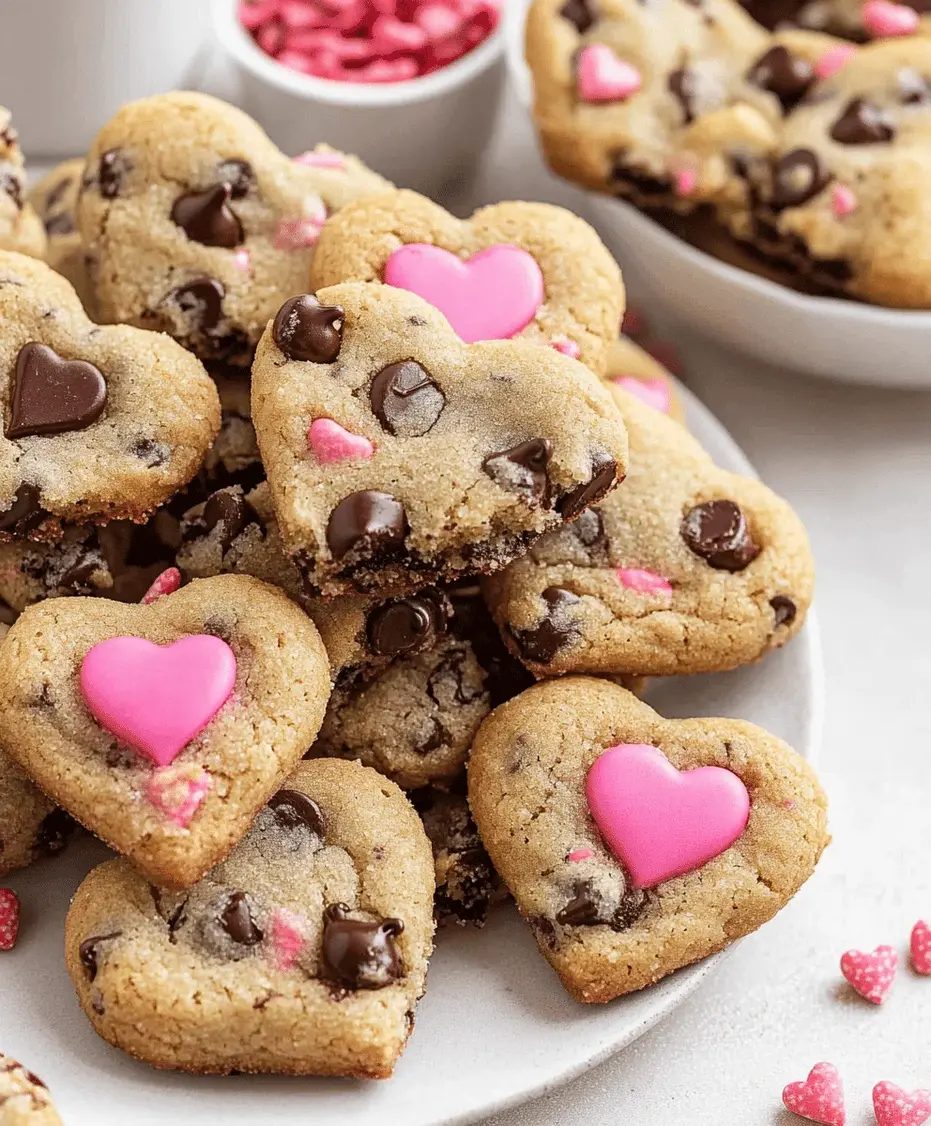
Serving Suggestions: Sharing the Love
- Enjoy them warm with a scoop of vanilla ice cream for the ultimate indulgence.
- Pair with a glass of cold milk – a classic for a reason!
- Drizzle with melted white chocolate or royal icing for an extra festive touch, especially for Valentine’s Day.
- Package them in cute tins or treat bags as edible gifts for friends, family, or colleagues.
Navigating the Bake: Common Mistakes
- Overmixing the Dough: This develops gluten and results in tough, flat cookies. Mix until just combined.
- Not Chilling the Dough: Warm dough spreads excessively, leading to thin, crispy cookies instead of chewy ones, and making heart shapes difficult to cut.
- Overbaking: Cookies continue to bake slightly as they cool. Pull them out when the edges are golden and the centers look slightly underdone for a chewy texture.
- Measuring Flour Incorrectly: Scooping flour directly from the bag can pack too much into the cup. Spoon it in and level it off for accuracy.
Keeping the Sweetness: Storing Your Cookies
Once completely cooled, store your heart-shaped chocolate chip cookies in an airtight container at room temperature for up to 3-4 days. For longer storage, you can freeze baked cookies for up to 2-3 months, or freeze the dough (formed into balls or discs) for up to 3 months and bake as needed.
Frequently Asked Questions
***Can I make these cookies without a heart-shaped cutter?***
Absolutely! You can use any cookie cutters you have, or simply drop rounded spoonfuls of dough onto the baking sheet and flatten them slightly with a spatula before baking for classic chocolate chip cookies. Shaping them into balls before baking will yield puffier cookies, while flattening will result in a crisper edge.
***Why are my cookies spreading too much?***
This is often due to not chilling the dough sufficiently, using melted butter instead of softened, or too much sugar relative to flour. Ensure your butter is softened (not melted) and that the dough is well-chilled before baking.
***How do I get perfectly gooey chocolate chips?***
Using good quality chocolate chips and not overbaking the cookies are key. For an extra gooey effect, you can even add a few extra chocolate chips on top of the cookies right after they come out of the oven. The residual heat will melt them beautifully.
***Can I add other mix-ins?***
Yes! Feel free to add about ½ cup of your favorite chopped nuts (like walnuts or pecans), M&Ms, or even white chocolate chips along with or instead of the semi-sweet chips.
Conclusion
These heart-shaped chocolate chip cookies are more than just a treat; they are a tangible expression of warmth, care, and affection. With their delightful crispy edges, chewy centers, and melting chocolate chips, they’re guaranteed to bring smiles and create cherished memories. Whether you’re baking for Valentine’s Day, a special anniversary, or just because you want to share some sweetness, this recipe is a winner. Don’t wait to spread some love – grab your apron and get baking!
Print
Heart-shaped Chocolate Chip Cookies Recipe
Description
These heart-shaped chocolate chip cookies are perfect for Valentine’s Day or any special occasion. Made with simple ingredients, they offer the perfect balance of crispy edges and a chewy center, filled with gooey chocolate chips. Whether gifting or indulging, these cookies are sure to spread love in every bite!
Ingredients
- 2 ½ cupsall-purpose flour
- 1 tspbaking soda
- ½ tspsalt
- 1 cupunsalted butter, softened
- ¾ cupbrown sugar, packed
- ¾ cupgranulated sugar
- 2large eggs
- 2 tspvanilla extract
- 2 cupschocolate chips
- 1 tbspmilk (if needed)
Instructions
Notes
Use a heart-shaped cookie cutter for perfect shapes.
Chill the dough for 30 minutes for better texture.
For extra sweetness, drizzle with melted chocolate.
Nutrition
- Calories: 180
- Sugar: 12g
“`
