# The Ultimate Guide to This Homemade Artisan Bread
## Experience the Joy of Baking Artisan Bread at Home
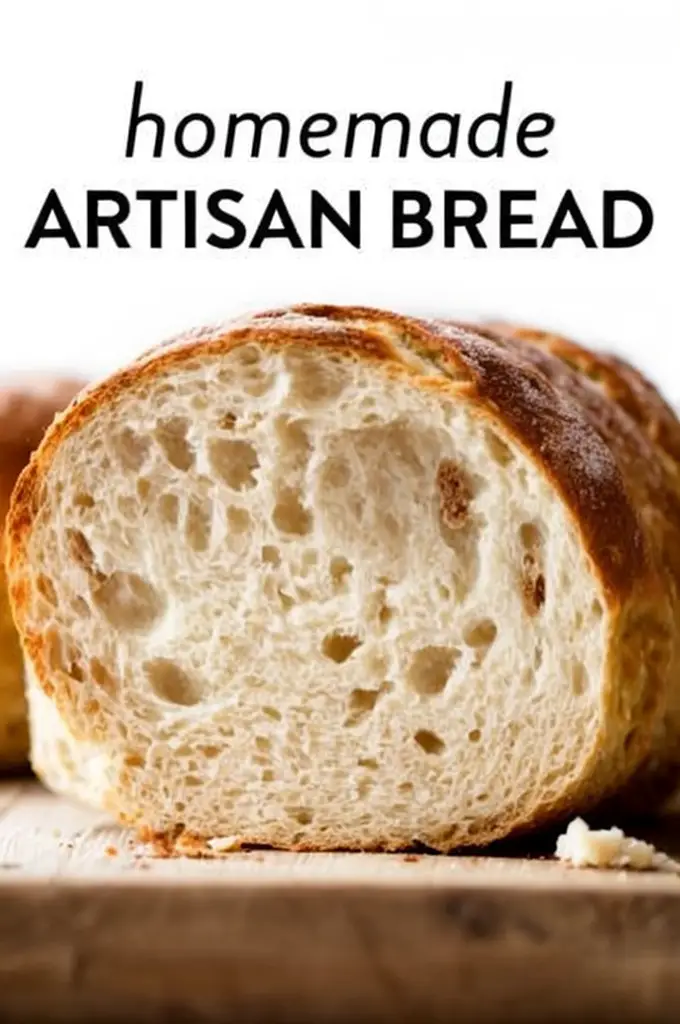
Imagine the aroma of fresh bread wafting through your kitchen, a scent that has comforted homes since time immemorial. Crafting homemade artisan bread not only brings this delightful fragrance into your life but also invites you to appreciate the simple pleasures of bread-making. This guide will take you on a journey to create a loaf that’s both rustic and refined, featuring a golden crust and a chewy, tender interior. Let’s explore how you can master this rewarding and delicious experience from the comfort of your home.
—
## Why Make Artisan Bread at Home?
### Creative Fulfillment
Baking bread is not merely about mixing and baking; it’s an art form that engages all your senses. Picture yourself kneading and shaping the dough, each movement meditative and calming. It’s a creative outlet that culminates in something tangible and delicious, providing a sense of accomplishment that is both joyful and satisfying.
### Health Benefits
In a world where processed foods often dominate, baking your own bread ensures you know exactly what’s in your loaf. Free from preservatives and artificial additives, homemade bread offers a wholesome alternative, bringing you closer to authentic flavors and natural ingredients.
### Cost Efficiency
While store-bought artisan bread can be a delightful splurge, its price tag often reflects this indulgence. By making bread at home, you can enjoy artisan quality at a fraction of the cost, making this a budget-friendly option without compromising on taste or quality.
—
## Essential Ingredients for an Artisan Bread Masterpiece
Building a masterpiece begins with knowing your materials. Here’s what you’ll need:
### Ingredient List
| Ingredient | Quantity |
|———————-|——————-|
| All-purpose flour | 4 cups |
| Active dry yeast | 2¼ tsp |
| Salt | 2 tsp |
| Warm water | 1½ cups |
| Cornmeal (for dusting)| As needed |
### Key Ingredients and Their Roles
– **All-Purpose Flour**: This versatile flour provides the structure and gluten necessary for a well-formed loaf. Its balanced protein content makes it ideal for both a sturdy crust and soft crumb.
– **Yeast**: Often referred to as the soul of the bread, yeast is essential for the rise. It’s the silent powerhouse that transforms a simple mixture into a lofty bread.
– **Salt**: Salt plays a dual role, enhancing the overall flavor and controlling the growth of yeast. This balance ensures a steady rise and a flavorful finish.
– **Warm Water**: Adding warm water activates the yeast, setting the stage for fermentation and rise. The temperature is crucial; it should be just warm enough to encourage yeast activity without overheating.
– **Cornmeal**: Sprinkled on your baking sheet, cornmeal prevents sticking and adds a delightful texture to the bottom of your loaf.
—
## Step-by-Step Guide: How to Make This Artisan Bread
### Preparing the Dough
1. **Mix Dry Ingredients**: In a large bowl, blend the flour, yeast, and salt.
2. **Add Water**: Gradually pour warm water into the mixture, stirring until a dough begins to form.
3. **Knead**: Transfer the dough to a floured surface and knead for 8-10 minutes. Your aim? A smooth, elastic dough that bounces back when lightly pressed.
> **Tip**: A well-kneaded dough is key to a uniform texture and robust structure in your final loaf.
### First Rise and Shaping the Dough
1. **First Rise**: Place your kneaded dough in a greased bowl, cover it with a damp cloth, and allow it to rise in a warm, draft-free area. The goal is to let it double in size, a process that usually takes 1-2 hours.
2. **Deflate and Shape**: Gently punch down the dough to release gas pockets. Shape it into a ball and position it onto a baking sheet dusted with cornmeal.
### Second Rise and Baking
1. **Proof Again**: Allow the shaped dough to undergo a second rise for 30-45 minutes. This proofing period is crucial for developing flavor and ensuring a voluminous loaf.
2. **Heat the Oven**: Preheat to 400°F (204°C), ensuring it’s completely warm before the bread goes in.
3. **Prepare for Baking**: Use a sharp knife to make slashes on the top of your dough – these are aesthetic and functional, allowing it to expand. Lightly dust with flour for a rustic look.
4. **Bake**: Place your loaf in the oven to bake for 30-35 minutes. It’s done when the crust is golden brown and sounds hollow when tapped.
> **Note**: Patience is rewarded – let your bread cool completely before slicing to ensure the best crumb structure and flavor.
—
## Pro Tips for Perfecting Your Artisan Bread
– **Optimal Room Temperature**: Keep your kitchen at room temperature to facilitate yeast activity and proper dough rising.
– **Mind the Humidity**: Humidity can affect your rise times and crust. In dry climates, you might need to add a bit more water; in humid areas, slightly less.
– **Storage Solutions**: To maintain freshness, store your bread in a bread box or wrap it in a clean, dry towel. Avoid plastic wrap, as it traps moisture and affects the crust.
—
## FAQs About This Homemade Artisan Bread
### Can I use whole wheat flour for this recipe?
Absolutely! You can substitute up to half of the all-purpose flour with whole wheat flour to create a heartier and more nutrient-rich loaf. Keep in mind that whole wheat flour absorbs more liquid, so you may need to adjust water levels accordingly.
### How can I ensure my bread is crusty on the outside but soft inside?
Key factors include proper kneading, allowing adequate rise times, and avoiding premature slicing. Letting your bread rest before slicing ensures the interior sets nicely while the exterior remains crisp.
—
## Conclusion
Crafting this artisan bread from scratch isn’t just about following a recipe; it’s a culinary adventure that bridges the past with the present. Each step offers a chance to engage with your bread on a new level, from the initial mix to the final bake. This process is enriched by the anticipation of sharing and savoring your creation. Are you ready to fill your home with the warmth and satisfaction that comes from crafting something truly special?
In weaving the art and science of bread-making, you’re not just baking; you’re creating a piece of tradition right in your kitchen. So roll up your sleeves and embrace the journey of turning pure ingredients into a loaf of artisan delight. Experience the joy, pride, and most importantly, the taste of homemade artisan bread, made with your own hands. Enjoy!
