“`html
Table of Contents
- Craving Crispy Chicken Without Buttermilk?
- The Secret Ingredients for Your Buttermilk-Free Fried Chicken
- Timing is Everything: Prep, Cook, and Enjoy
- Step-by-Step to Crispy Perfection
- Nutritional Snapshot
- Healthier Sides and Swaps
- Serving Suggestions
- Avoid These Common Fried Chicken Pitfalls
- Storing Your Delicious Fried Chicken
- Your Fried Chicken Dreams, Realized
- Frequently Asked Questions
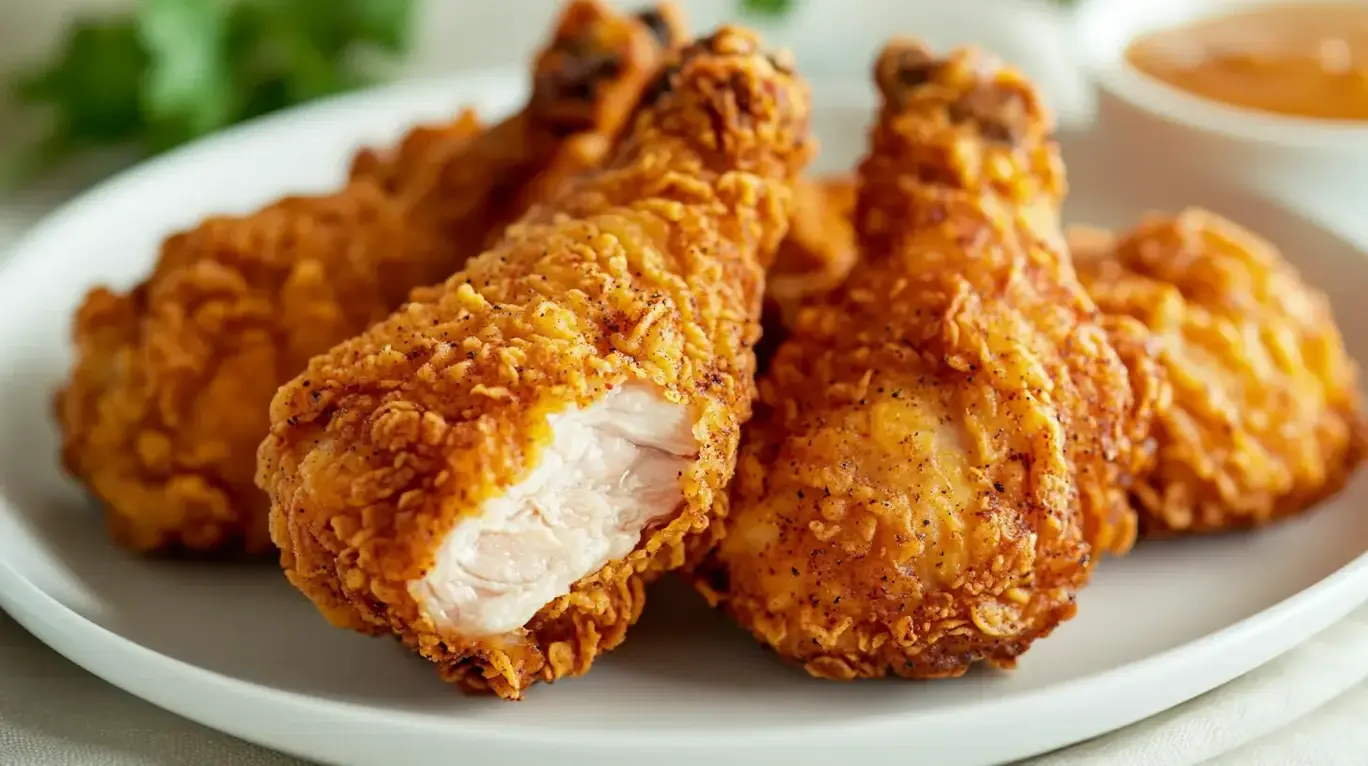
How to Make the Perfect Fried Chicken Without the Buttermilk
Did you know that approximately 75% of people who love fried chicken also find themselves out of buttermilk at the crucial moment? It’s a culinary crisis many home cooks face! The creamy tang of buttermilk is often seen as non-negotiable for achieving that signature crispy, juicy fried chicken. But what if we told you that you could achieve those same mouthwatering results – the golden crust, the succulent meat, the irresistible crunch – without ever reaching for a carton of buttermilk? Prepare to be amazed, because today, we’re unveiling the secrets to perfect fried chicken, no buttermilk required!
Craving Crispy Chicken Without Buttermilk?
The aroma of perfectly fried chicken is universally appealing. That shatteringly crisp exterior and tender, juicy interior are the hallmarks of this beloved dish. While buttermilk is a popular base for marinades, contributing to both tenderness and a slightly tangy flavor that complements the richness of the chicken, its absence doesn’t mean the end of your crispy chicken dreams. With a few clever substitutions and techniques, you can achieve a fried chicken that rivals any restaurant’s, all from the comfort of your own kitchen. This recipe focuses on creating depth of flavor and achieving that coveted crispy coating using pantry staples and a touch of culinary magic. Get ready to impress yourself and your loved ones with chicken so good, they’ll never guess what’s *not* in the marinade!
The Secret Ingredients for Your Buttermilk-Free Fried Chicken
The magic of this recipe lies in building flavor and achieving the perfect crisp. We’ll leverage acidity and seasoning to mimic the tenderizing and flavor-enhancing effects of buttermilk.
Chicken and Marinade
- 3-4 lbs Chicken Pieces (a mix of bone-in, skin-on pieces like thighs, drumsticks, and breasts work best for even cooking and richer flavor. Look for pieces that are roughly the same size for uniform frying.)
- 1 cup Kosher Salt (for brining, this draws out moisture then reabsorbs seasoned liquid, leading to juicier chicken.)
- 6 cups Cold Water (for the brine)
- 1/2 cup Plain Yogurt or Sour Cream (Substituion: Greek yogurt offers a similar tang and creaminess. Even mayonnaise can work in a pinch for its oil and egg content, though it alters the flavor profile slightly.) This provides the acidic component that tenderizes. Feel the creamy texture and imagine it coating the chicken.
- 1 tablespoon White Vinegar or Lemon Juice (Substituion: Apple cider vinegar works too. This bright acidity is crucial for tenderizing the meat in place of buttermilk’s tang.)
- 1 teaspoon Smoked Paprika (for a warm, smoky depth of flavor and beautiful color.)
- 1/2 teaspoon Garlic Powder (essential aromatic base.)
- 1/2 teaspoon Onion Powder (complements the garlic for a savory punch.)
- 1/4 teaspoon Black Pepper (freshly ground for best flavor.)
The Crispy Flour Dredge
- 2 cups All-Purpose Flour (the foundation of our crispy coating. Sift for a lighter dredge if you prefer.)
- 1/4 cup Cornstarch (Substituion: Potato starch will also work. This is key for an extra-crispy, shatterproof crust that stays crisp longer.) Notice how fine and light it feels.
- 2 teaspoons Salt (enhances all the flavors.)
- 1 teaspoon Black Pepper (a little kick.)
- 1 teaspoon Smoked Paprika (for color and flavor.)
- 1/2 teaspoon Garlic Powder
- 1/2 teaspoon Onion Powder
- Optional: 1/4 teaspoon Cayenne Pepper (for a subtle heat.)
For Frying
- 4-6 cups Vegetable Oil, Canola Oil, or Peanut Oil (a neutral oil with a high smoke point is best. Peanut oil adds a subtle nutty flavor.) Make sure you have enough to generously submerge the chicken pieces.
Timing is Everything: Prep, Cook, and Enjoy
Compared to traditional buttermilk-marinated fried chicken, this recipe shaves off the overnight marinating time by using a quicker brine and a yogurt-based marinade. While the total active time is similar, the speed to deliciousness is enhanced.
Step-by-Step to Crispy Perfection
Step 1: Prepare the Chicken
Begin by patting your chicken pieces thoroughly dry with paper towels. This is a crucial step for achieving a crispy, even crust. Next, prepare a quick brine: in a large bowl, dissolve the 1 cup of kosher salt in 6 cups of cold water. Submerge the chicken pieces in the brine, ensuring they are fully covered. Let them brine for 1 hour in the refrigerator. This process seasons the chicken from the inside out and helps with moisture retention, leading to juicier results.
Step 2: Marinate for Flavor
After brining, drain the chicken and rinse each piece under cold water to remove excess salt. Pat them completely dry again. In a medium bowl, whisk together the plain yogurt (or your chosen substitute), white vinegar (or lemon juice), smoked paprika, garlic powder, onion powder, and black pepper. Add the dried chicken pieces to this marinade. Toss well to ensure every piece is generously coated. Cover the bowl and refrigerate for at least 30 minutes, or up to 2 hours. You’ll feel how the yogurt clings to the chicken, promising a flavorful coating.
Step 3: The Crispy Flour Dredge
While the chicken is marinating, prepare your dredge. In a large, shallow dish or a re-sealable plastic bag, combine the all-purpose flour, cornstarch, salt, black pepper, smoked paprika, garlic powder, onion powder, and cayenne pepper (if using). Whisk or shake well to ensure all the spices are evenly distributed throughout the flour mixture. This blend is designed to create a light, airy, and exceptionally crispy coating.
Step 4: Coat the Chicken
Remove the chicken from the marinade, letting any excess drip off, but do not wipe it clean. Working one piece at a time, dredge the chicken in the seasoned flour mixture. Press the flour onto the chicken firmly, ensuring it’s completely and evenly coated. For an extra-crispy, craggy crust, you can dip the floured chicken back into the leftover marinade briefly (or a little extra plain yogurt/water mixture) and then dredge it in the flour again. Place the coated chicken pieces on a wire rack set over a baking sheet. Let them rest for about 10-15 minutes; this allows the coating to adhere better and will result in a crispier crust.
Step 5: Fry to Golden Perfection
Heat your chosen oil in a heavy-bottomed pot or Dutch oven over medium-high heat to 350°F (175°C). Use a thermometer to ensure accurate temperature; this is vital for proper cooking. Carefully lower 3-4 chicken pieces into the hot oil, making sure not to overcrowd the pot, as this will lower the oil temperature and result in greasy chicken. Fry the chicken for about 6-8 minutes per side for thighs and drumsticks, and 8-10 minutes per side for breasts, until deeply golden brown and cooked through. The internal temperature of the thickest part of the chicken should reach 165°F (74°C). Listen to that satisfying sizzle – it’s the sound of perfection!
Step 6: Drain and Rest
Once the chicken is perfectly golden and cooked, carefully remove it from the oil using a slotted spoon or spider strainer. Place the fried chicken pieces on a clean wire rack set over a baking sheet to drain any excess oil and to keep the crust crisp. Avoid placing them directly on paper towels, as this can make the bottom soggy. This resting period is essential for the juices to redistribute within the meat.
Nutritional Snapshot
Please note that nutritional information is an estimate and can vary based on portion size, exact ingredients used, and cooking methods. For this recipe, an estimated calculation for one serving (e.g., one piece of thigh or drumstick) might look like this:
- Calories: ~350-450 kcal (depending on cut and oil absorption)
- Protein: ~25-35g
- Fat: ~20-30g (primarily from oil and skin)
- Carbohydrates: ~15-20g (from the flour coating)
Healthier Sides and Swaps
While fried chicken is a treat, you can balance your meal with healthier accompaniments. Consider:
- Baked or Air-Fried Sweet Potato Fries: A great source of Vitamin A and fiber.
- Steamed or Roasted Broccoli/Green Beans: Packed with vitamins and minerals.
- Quinoa Salad: A complete protein and good source of fiber.
- Healthier Coating: For an even lighter version, consider using whole wheat flour or almond flour for your dredge, though this may alter the crispiness and texture. Air frying is also an excellent alternative to deep frying, using significantly less oil.
- Marinade Swap: In a pinch, a mixture of milk and a teaspoon of vinegar can mimic buttermilk, or even just milk with a good amount of salt and spices will work.
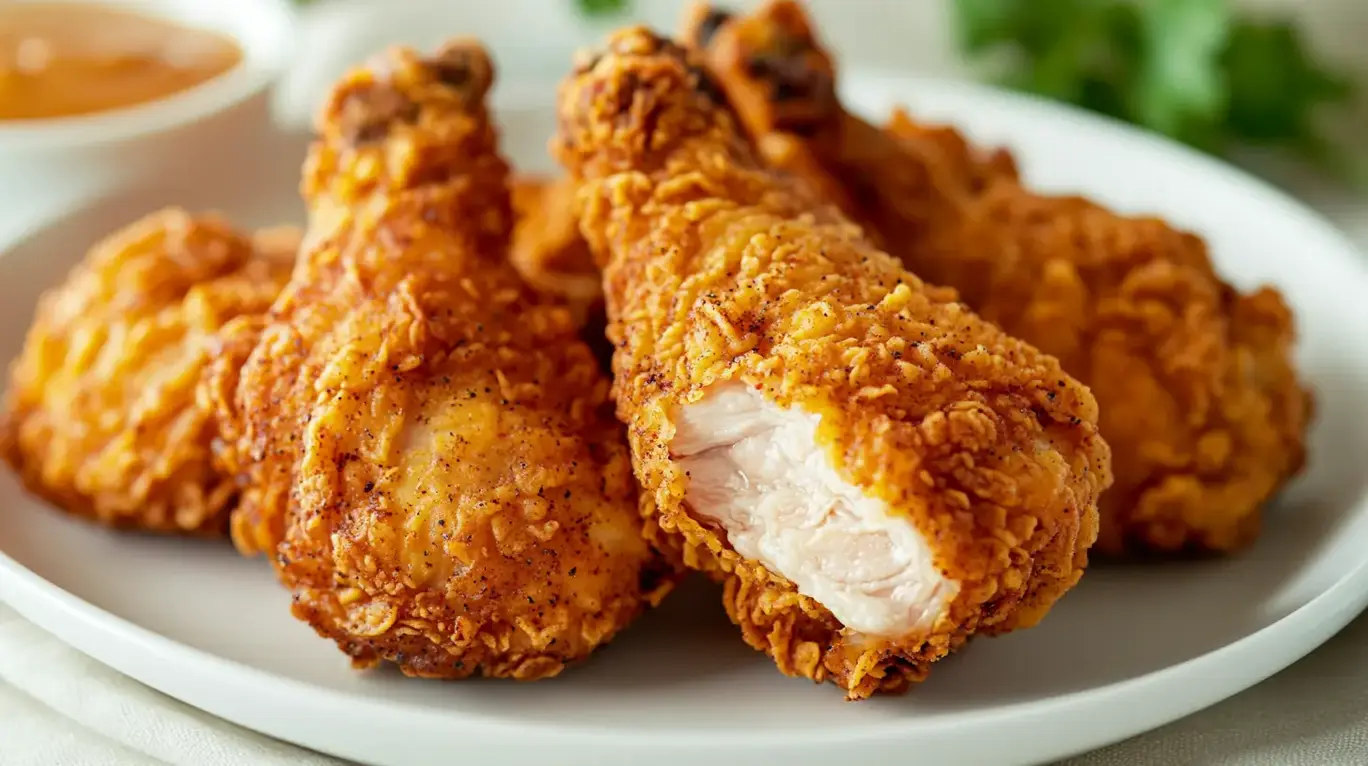
Serving Suggestions
Serve your perfect buttermilk-free fried chicken hot and fresh! It’s classic with creamy mashed potatoes and gravy, coleslaw, or a simple side salad. Don’t forget a squeeze of lemon for brightness!
Common Fried Chicken Pitfalls to Avoid
- Overcrowding the Pot: This cools the oil, leading to soggy, greasy chicken. Fry in batches.
- Incorrect Oil Temperature: Too low means greasy chicken; too high means burnt exterior and raw interior. Use a thermometer!
- Not Resting the Coated Chicken: Letting the dredge sit on the chicken for 10-15 minutes helps it adhere.
- Cutting Into It Too Soon: Allow the chicken to rest after frying to let the juices settle.
- Under-seasoning: Salt and spices are your friends, especially in the dredge.
Storing Your Delicious Fried Chicken
For the best experience, fried chicken is best enjoyed fresh. However, if you have leftovers, allow them to cool completely at room temperature. Store them in an airtight container in the refrigerator for up to 3-4 days. To reheat, the oven or an air fryer at around 350°F (175°C) usually yields the crispiest results. Avoid microwaving if crispiness is a priority.
Your Fried Chicken Dreams, Realized
So there you have it! Perfectly crispy, incredibly juicy fried chicken doesn’t require a special trip to the store for buttermilk. By using a simple brine, a tangy yogurt-based marinade, and a well-seasoned flour dredge with cornstarch, you can achieve restaurant-quality results right in your own kitchen. This recipe is a testament to smart ingredient swaps and essential cooking techniques that put deliciousness within reach. Don’t let a missing ingredient stop you from enjoying your favorite comfort food. Give this recipe a try and prepare to be delighted!
Frequently Asked Questions
***What can I use if I don’t have plain yogurt?***
You can substitute plain Greek yogurt, sour cream, mayonnaise (though this will impart a slight flavor), or even a mixture of milk with a teaspoon of vinegar or lemon juice to create a makeshift buttermilk substitute for the marinade.
***Why is my fried chicken not crispy?***
This can happen if you overcrowd the pot (lowering oil temp), fry at too low a temperature, or don’t drain the chicken properly on a wire rack. Ensure your oil is hot enough throughout the frying process, fry in batches, and always drain on a wire rack.
***Can I bake this chicken instead of frying?***
Yes, you can! For a baked version, place the coated chicken on a wire rack set over a baking sheet and bake in a preheated oven at 400°F (200°C) for 35-45 minutes, flipping halfway through, until cooked through and golden. It won’t be quite as crispy as deep-fried, but it’s a healthier alternative.
***How long should I brine the chicken?***
For this recipe, a 1-hour brine is sufficient and recommended. Brining for too long (especially with salt) can result in overly salty or mushy chicken.
***Is cornstarch really necessary for the coating?***
While not strictly necessary, cornstarch is highly recommended. It absorbs moisture and creates a crispier, lighter coating that stays crispier for longer than flour alone.

Fried Chicken Without Buttermilk
Description
Maintain oil temperature at 350°F for best resultsFor extra crispiness, let dredged chicken rest longer before fryingChicken should reach internal temperature of 165°FStore leftovers in refrigerator up to 3 days
Ingredients
- 4 pounds chicken pieces (thighs, drumsticks, wings, or breasts)
- 2 cups cold water
- 2 tablespoons kosher salt
- 1 tablespoon white vinegar
- 1 teaspoon sugar
- 3 cloves garlic, smashed
- 1 bay leaf
- For the Seasoned Flour Coating:
- 2 cups all-purpose flour
- 1 tablespoon paprika
- 2 teaspoons garlic powder
- 2 teaspoons onion powder
- 1½ teaspoons black pepper
- 1 teaspoon dried thyme
- 1 teaspoon dried oregano
- 1 teaspoon cayenne pepper
- 2 teaspoons salt
- For the Egg Wash:
- 2 large eggs
- ¼ cup water
- 1 tablespoon hot sauce (optional)
- For Frying:
- Vegetable oil, peanut oil, or canola oil
Instructions
- Combine brine ingredients and submerge the chicken. Refrigerate 4+ hours.
- Pat chicken dry. Prepare dredging station: seasoned flour, egg wash, more seasoned flour.
- Double-dredge each piece and rest for 15 minutes on a wire rack.
- Heat oil to 350°F in a Dutch oven or heavy pan.
- Fry in batches for 12-14 minutes (large pieces) or 10-12 minutes (small pieces), turning once.
- Drain on a wirea rack and rest 5-10 minutes before serving.
Notes
Maintain oil temperature at 350°F for best resultsFor extra crispiness, let dredged chicken rest longer before fryingChicken should reach internal temperature of 165°FStore leftovers in refrigerator up to 3 days
Nutrition
- Calories: 400
“`
