Sheet Pan Chicken Parmesan: A Crispy, Cheesy One-Pan Wonder
Let’s be honest: some nights, the thought of juggling multiple pots, pans, and a mountain of dishes is enough to make you order takeout. But what if I told you there’s a way to enjoy the crispy, saucy, cheesy goodness of Chicken Parmesan—with just one sheet pan and 30 minutes? Enter this Sheet Pan Chicken Parmesan, your new weeknight superhero. It’s all the flavor of the classic dish, minus the fuss (and the oil splatters).
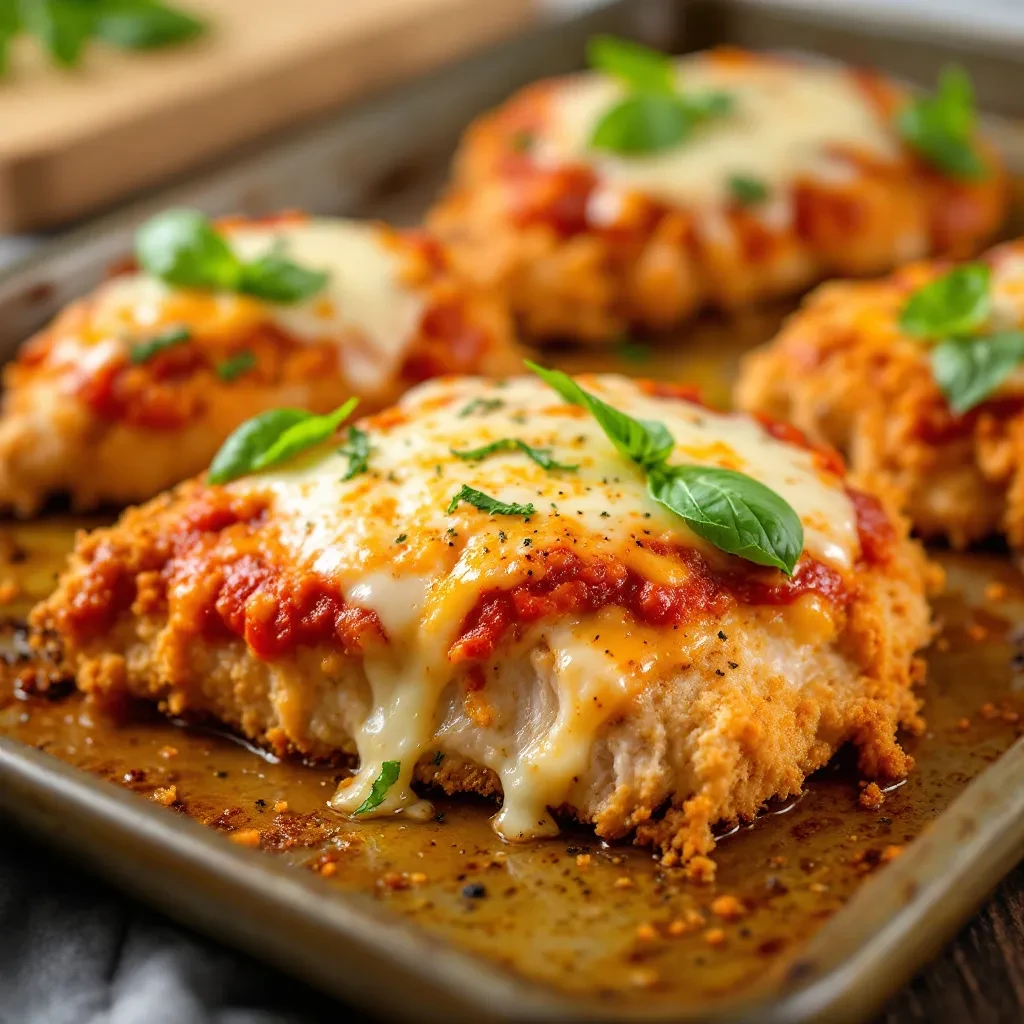
As a mom of two and a self-proclaimed “cleanup avoider,” I’m always on the hunt for meals that deliver big flavor with minimal effort. This recipe checks every box: tender chicken, golden breadcrumbs, melty mozzarella, and a tangy marinara sauce that soaks into every bite. Plus, it’s a hit with picky eaters and adults alike—my kids call it “pizza chicken,” and honestly? I’ll take it. Serve it with a simple garlic bread or a crisp salad, and dinner is done.
Why You’ll Love This Sheet Pan Chicken Parmesan
Here’s why this recipe deserves a permanent spot in your rotation:
- One-pan magic: No flipping, no frying—just layer and bake.
- Kid-approved: Even the littlest critics will devour it.
- Meal-prep friendly: Leftovers reheat beautifully for lunches.
- Customizable: Swap panko for gluten-free breadcrumbs or add a sprinkle of red pepper flakes for heat.
How to Make Sheet Pan Chicken Parmesan
Ingredients You’ll Need
- 4 boneless, skinless chicken breasts (or thighs)
- 1 cup Italian-seasoned breadcrumbs
- ½ cup grated Parmesan cheese
- 1 egg, beaten
- 1 cup marinara sauce (homemade or store-bought)
- 1 cup shredded mozzarella
- 2 tbsp olive oil
- Fresh basil or parsley for garnish
Step-by-Step Instructions
- Prep the chicken: Pound chicken to an even ½-inch thickness (this ensures even cooking). Pat dry with paper towels.
- Bread the chicken: Dip each piece in beaten egg, then coat with a mix of breadcrumbs and Parmesan.
- Layer & bake: Arrange chicken on a greased sheet pan. Drizzle with olive oil and bake at 400°F for 15 minutes.
- Add toppings: Spoon marinara over each piece, sprinkle with mozzarella, and bake for another 10 minutes until bubbly.
- Garnish & serve: Top with fresh herbs and extra Parmesan. Boom—dinner’s ready!
Pro Tips for the Best Chicken Parmesan
Want to take this dish to the next level? Try these tricks:
- Don’t skip the pounding: Uniform thickness = no dry spots. Use a rolling pin or meat mallet (or improvise with a heavy skillet!).
- Broil for extra crispiness: For a deeper golden crust, broil for the last 2 minutes (watch closely!).
- Make it ahead: Bread the chicken and refrigerate up to 24 hours before baking.
Pair this with my easy Caesar salad for a restaurant-worthy meal at home.
Frequently Asked Questions
Can I use chicken tenders instead of breasts?
Absolutely! Adjust cooking time to 12–15 minutes total (tenders cook faster).
How do I store leftovers?
Keep in an airtight container for up to 3 days. Reheat in the oven or air fryer to maintain crispiness.
What’s the best marinara sauce for Chicken Parmesan?
I love Bon Appétit’s marinara, but any high-quality jarred sauce works.
Can I freeze Sheet Pan Chicken Parmesan?
Yes! Freeze before baking. Thaw overnight in the fridge, then bake as directed.
How do I prevent soggy breading?
Pat chicken dry before breading, and avoid overcrowding the pan.
What sides go well with this dish?
Try roasted veggies, spaghetti, or creamy polenta.
There you have it—a fuss-free, flavor-packed dinner that’ll make you feel like a kitchen rockstar. Whether you’re racing through a Wednesday night or hosting a casual Friday feast, this Sheet Pan Chicken Parmesan is your ticket to crispy, cheesy bliss. Now, who’s ready to ditch the dishes and dig in?
PrintSheet Pan Chicken Parmesan
Description
A quick and easy twist on classic Chicken Parmesan, made on a sheet pan for minimal cleanup. Crispy breaded chicken cutlets are topped with marinara sauce and melted mozzarella, then served alongside roasted vegetables for a complete meal.
Ingredients
For the Crust:
- For the Chicken:
- 4 boneless, skinless chicken breasts
- 1 cup all-purpose flour
- 2 large eggs, beaten
- 1 cup Italian-style breadcrumbs
- 1/2 cup grated Parmesan cheese
- 1 tsp garlic powder
- 1 tsp dried oregano
- 1/2 tsp salt
- 1/4 tsp black pepper
- For the Toppings:
- 1 1/2 cups marinara sauce
- 1 1/2 cups shredded mozzarella cheese
- 1/4 cup grated Parmesan cheese
- 2 tbsp chopped fresh basil
- For the Vegetables:
- 2 cups broccoli florets
- 1 red bell pepper, sliced
- 1 yellow bell pepper, sliced
- 2 tbsp olive oil
- 1/2 tsp salt
- 1/4 tsp black pepper
Instructions
1. Prepare the Crust:
- Preheat oven to 425°F (220°C). Line a large sheet pan with parchment paper.
- Pound chicken breasts to an even 1/2-inch thickness using a meat mallet.
- Set up three shallow bowls: one with flour, one with beaten eggs, and one with breadcrumbs mixed with 1/2 cup Parmesan, garlic powder, oregano, salt, and pepper.
- Dredge each chicken breast in flour, then dip in egg, and coat with breadcrumb mixture. Place on one side of the prepared sheet pan.
- In a bowl, toss broccoli and bell peppers with olive oil, salt, and pepper. Spread on the other side of the sheet pan.
- Bake for 15 minutes. Remove from oven and flip chicken. Stir vegetables.
- Top each chicken breast with marinara sauce, then mozzarella and remaining Parmesan. Return to oven for 5-7 minutes until cheese is melted and chicken reaches 165°F (74°C).
- Garnish with fresh basil before serving.
Notes
For extra crispiness, place the breaded chicken on a wire rack on the sheet pan. You can substitute the vegetables with zucchini, mushrooms, or asparagus. Leftovers keep well in the refrigerator for up to 3 days.
