“`html
Table of Contents
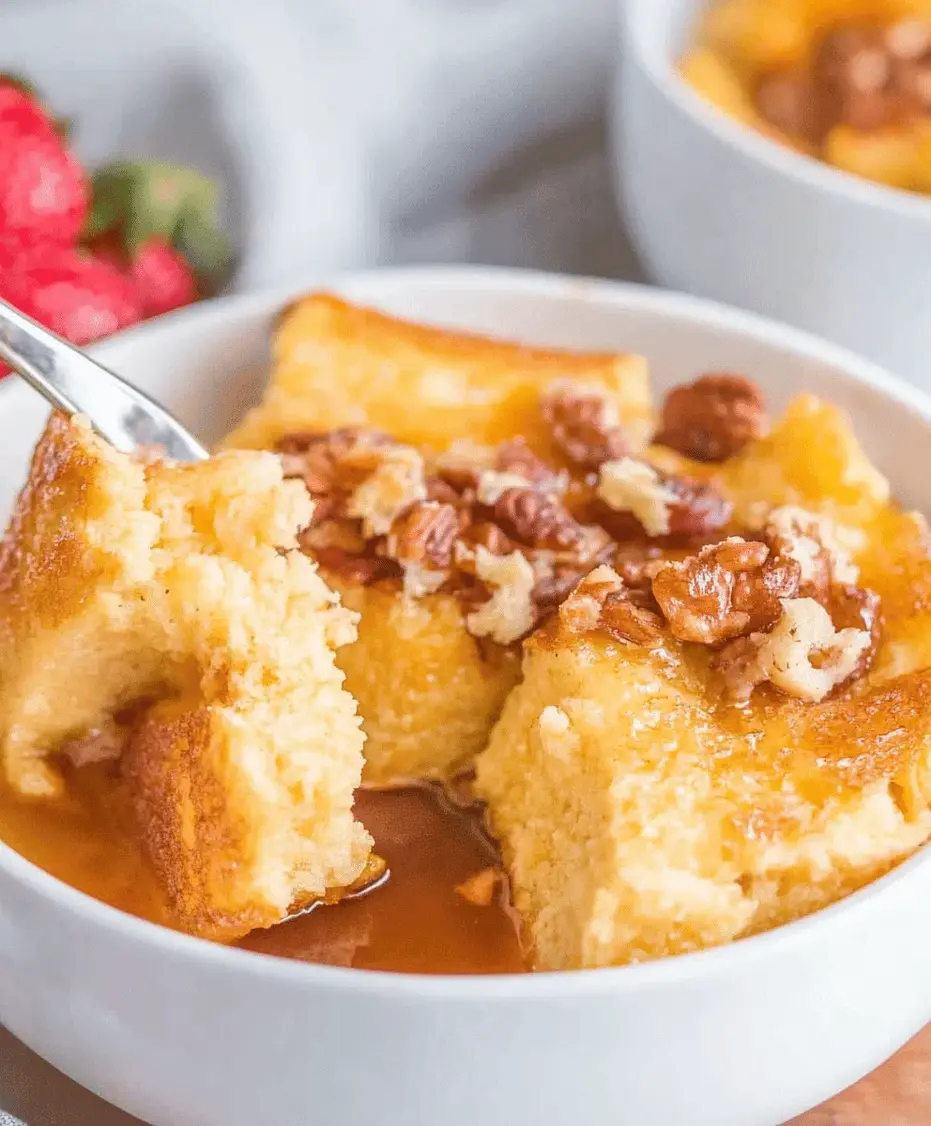
How To Make The Absolute Best French Toast Casserole Recipe
Is French Toast Casserole Really a Make-Ahead Breakfast Marvel?
Looking for a breakfast that’s both incredibly delicious and remarkably easy to prepare ahead of time? You’re not alone! The search for the perfect make-ahead breakfast dish often leads to the inviting world of French toast casserole. Imagine waking up to the aroma of warm spices, rich custard, and sweet, eggy bread, all without slaving over a hot stove first thing in the morning. This French toast casserole recipe delivers exactly that – a comforting, crowd-pleasing dish that makes holidays, weekend brunches, or even busy weekday mornings feel special. It’s the ultimate set-it-and-forget-it breakfast masterpiece, transforming humble bread into a decadent treat.
Ingredients for Your Decadent French Toast Casserole
The magic of a great French toast casserole lies in its simple yet impactful ingredients. We’re aiming for a rich, creamy custard that generously soaks into every corner of the bread, topped with a delightful crunch.
- Bread: 1 loaf (about 1 pound) sturdy, day-old Challah, Brioche, or thick-cut Texas toast. Stale bread is key here as it absorbs the custard beautifully without turning mushy. If you don’t have day-old bread, you can lightly toast fresh slices.
- Eggs: 6 large eggs. These are the foundation of our rich custard, providing structure and that classic eggy flavor.
- Milk: 2 cups whole milk. While any milk works, whole milk lends the creamiest texture. For a richer flavor, you can substitute half-and-half.
- Heavy Cream: 1/2 cup heavy cream. This is our secret weapon for extra richness and a luxurious mouthfeel.
- Sweetener: 1/2 cup granulated sugar, plus 2 tablespoons for the topping. This balances the richness and brings out the sweet, comforting notes.
- Flavorings:
- 2 teaspoons ground cinnamon. This warm, aromatic spice is essential for that classic French toast flavor.
- 1 teaspoon ground nutmeg. Nutmeg adds a subtle, warm complexity that pairs perfectly with cinnamon. Freshly grated is best if you have it!
- 1 teaspoon vanilla extract. Vanilla enhances all the other flavors and adds a sweet aroma.
- 1/4 teaspoon salt. This enhances sweetness and balances the flavors.
- For the Topping:
- 1 cup all-purpose flour. This forms the base of our crumbly topping.
- 1/2 cup packed light brown sugar. Brown sugar adds a caramel-like sweetness and moisture to the topping.
- 1/2 cup cold unsalted butter, cut into small cubes. Cold butter is crucial for creating flaky, crispy bits.
- 1/2 cup chopped pecans or walnuts (optional). For an extra layer of crunch and nutty goodness.
Timing Your French Toast Casserole
Compared to traditional French toast that takes about 15-20 minutes from start to finish (including prep and cooking), this casserole is a time-saver in the long run. The initial prep is slightly longer, but the ability to let it soak overnight means your active morning time is minimal, making it ideal for busy schedules or entertaining.
Step-by-Step French Toast Casserole Instructions
Step 1: Prep the Bread
Take your loaf of bread and cut it into 1-inch cubes. If your bread is very fresh, spread the cubes on a baking sheet and toast them lightly in a 300°F (150°C) oven for about 10-15 minutes until slightly dried out. This step is crucial for preventing a soggy casserole. Place the bread cubes into a greased 9×13 inch baking dish. Don’t pack them too tightly; you want the custard to be able to flow around them.
Step 2: Whisk the Custard
In a large bowl, whisk together the eggs, whole milk, heavy cream, granulated sugar, cinnamon, nutmeg, vanilla extract, and salt. Whisk until everything is thoroughly combined and the mixture is smooth. This is the luscious custard that will transform your bread into soft, flavorful bites.
Step 3: Soak and Chill
Evenly pour the custard mixture over the bread cubes in the baking dish. Gently press down on the bread with a spatula or the back of a spoon to ensure all the pieces are coated and begin to absorb the liquid. For the best results, cover the dish tightly with plastic wrap and refrigerate for at least 4 hours, or preferably overnight. This allows the bread to fully soak up the custard, ensuring a moist and tender casserole.
Step 4: Prepare the Topping
About 15-20 minutes before you’re ready to bake, prepare the crunchy topping. In a medium bowl, combine the flour and brown sugar. Add the cold, cubed butter. Use your fingertips, a pastry blender, or a fork to cut the butter into the flour mixture until it resembles coarse crumbs with some pea-sized pieces. If you’re using nuts, stir them in now. This crumb topping will bake up to a delightful golden crisp.
Step 5: Bake to Golden Perfection
Preheat your oven to 350°F (175°C). Remove the plastic wrap from the casserole. Sprinkle the crumb topping evenly over the soaked bread. Place the baking dish on a baking sheet (to catch any potential drips) and bake for 45-55 minutes, or until the casserole is set, puffed up around the edges, and the topping is golden brown and crispy. A knife inserted into the center should come out mostly clean.
Nutritional Information
While exact nutritional values can vary based on specific ingredients used, a typical serving (about 1/8th of the casserole) of this French toast casserole contains approximately:
- Calories: 450-550 kcal
- Protein: 15-20g
- Fat: 20-30g
- Carbohydrates: 50-65g
- Sugar: 25-35g
- Fiber: 3-5g
Please note: This is an estimated range. For precise nutritional data, you should use a recipe calculator with your specific ingredients.
Healthier Alternatives
Want to lighten up this decadent dish without sacrificing too much flavor? Here are some fantastic swaps:
- Bread: Opt for whole wheat bread or sourdough for added fiber and a slightly less sweet base.
- Milk/Cream: Use 2% milk or unsweetened almond milk for a lighter custard. You can reduce or omit the heavy cream.
- Sweetener: Reduce the amount of sugar in both the custard and the topping. You can also use a sugar substitute like erythritol or stevia, adjusting quantities as directed.
- Topping: Swap some of the flour for almond flour or oat flour. Use a lighter brown sugar or a sugar substitute. Reduce the butter and increase the nuts for crunch.
- Fruit: Fold in fresh berries, sliced bananas, or chopped apples into the bread cubes before pouring the custard. This adds natural sweetness and nutrients.
Serving Suggestions
This French toast casserole is a star on its own, but it truly shines with a few simple accompaniments:
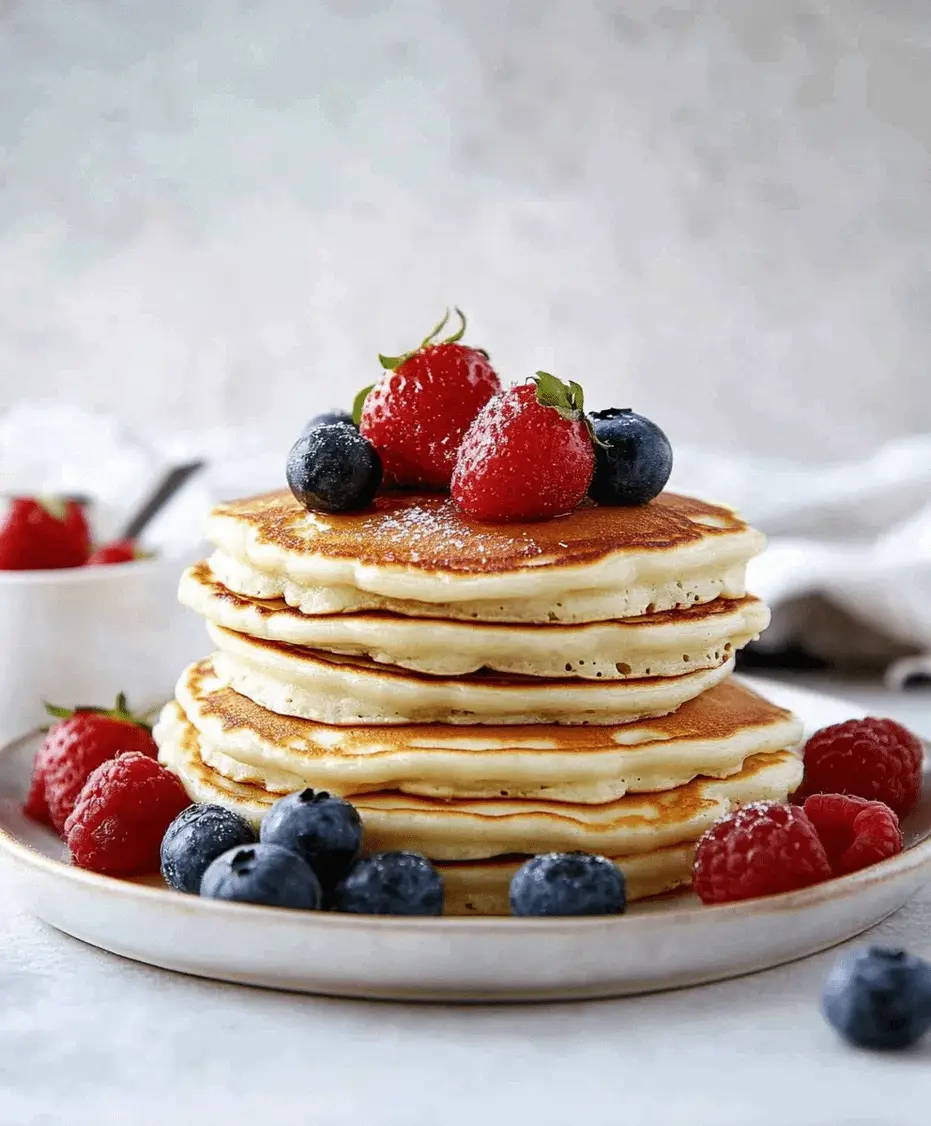
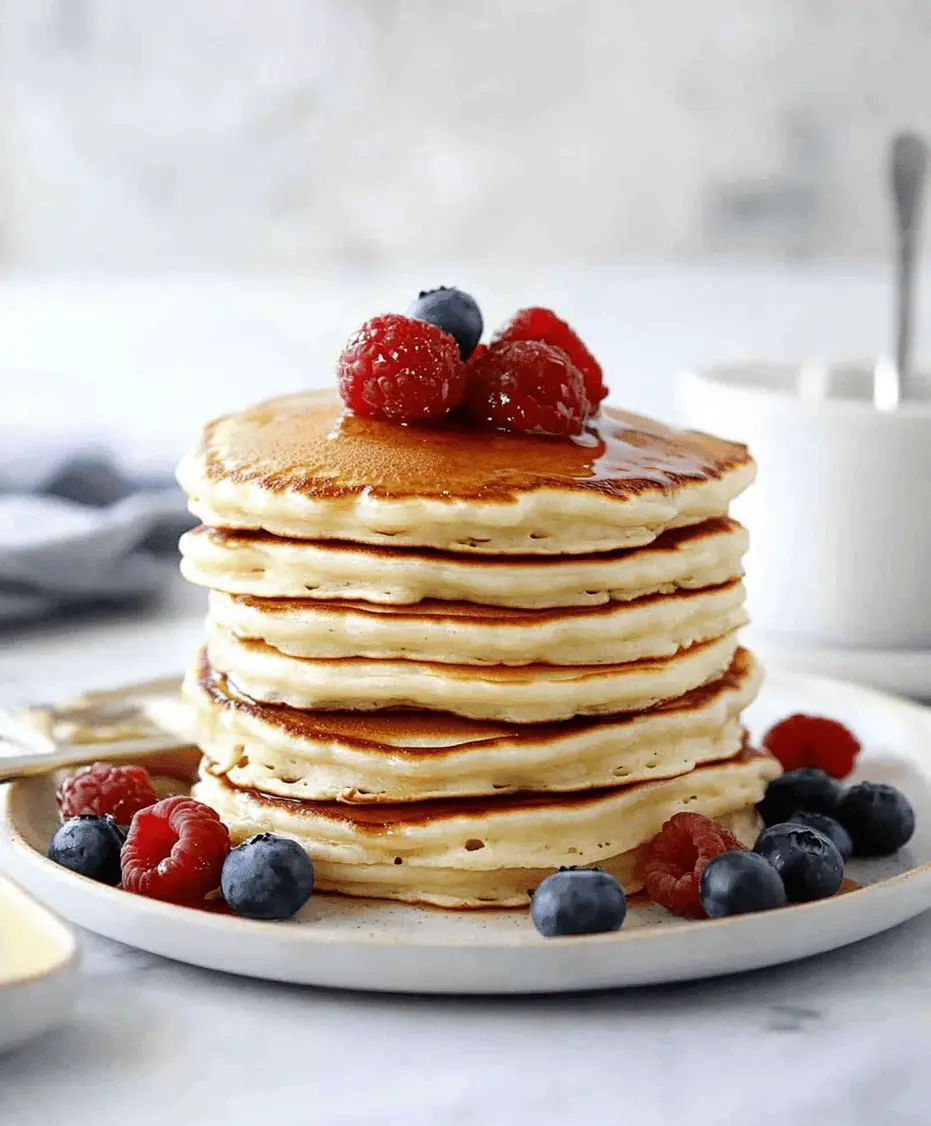
- Fresh Fruit: A side of mixed berries, sliced strawberries, or a fruit salad adds a refreshing contrast.
- Syrup: Classic maple syrup is a must for many!
- Whipped Cream: A dollop of lightly sweetened whipped cream elevates it to dessert-like status.
- Bacon or Sausage: For a complete brunch feast, serve alongside your favorite breakfast meats.
- Powdered Sugar: A light dusting of powdered sugar offers a beautiful finishing touch.
Common Mistakes to Avoid
To ensure your French toast casserole turns out absolutely perfect every time, be mindful of these common pitfalls:
- Using Fresh Bread: As mentioned, fresh bread will become soggy. Always use day-old, dried-out, or lightly toasted bread.
- Not Soaking Long Enough: Skipping the overnight soak (or at least 4 hours) means the bread won’t absorb enough custard, resulting in a dry middle.
- Over-Mixing the Topping: If you overwork the topping ingredients, especially the butter, it can become greasy and less crumbly.
- Baking at the Wrong Temperature: Too high, and the topping will burn before the inside is cooked. Too low, and it will take too long and might not set properly.
- Cutting Pieces Too Small: If bread pieces are too small, they can disintegrate into mush during soaking and baking.
Storing Your French Toast Casserole
Thanks to its make-ahead nature, storing this casserole is a breeze:
- Refrigerating: Once assembled (but before baking), cover the dish tightly with plastic wrap and refrigerate for up to 2 days. When ready to bake, remove from the fridge about 30 minutes before baking and add 5-10 minutes to the baking time.
- Freezing: You can assemble and freeze the unbaked casserole for up to 1 month. Thaw completely in the refrigerator overnight before baking as directed.
- Leftovers: Baked leftovers can be stored, covered, in the refrigerator for up to 3 days. Reheat individual portions in the microwave or oven until warmed through.
Frequently Asked Questions
***What kind of bread is best for French toast casserole?***
Sturdy, slightly stale bread like Challah, Brioche, or thick-cut Texas toast is ideal. These breads have a good structure that can absorb the custard without becoming overly mushy.
***Can I use fresh bread instead of day-old bread?***
Yes, but you should toast it first! Spread fresh bread cubes on a baking sheet and bake at 300°F (150°C) for about 10-15 minutes until they are slightly dried and firm. This mimics the texture of day-old bread.
***How long does the casserole need to soak?***
For optimal results, you should let it soak for at least 4 hours, but overnight is highly recommended. This ensures the bread fully absorbs the custard for a moist and tender casserole.
***Can I make this recipe gluten-free?***
Yes! Simply substitute your favorite gluten-free bread for the regular bread. You may need to adjust the soaking time slightly as GF breads can absorb liquid differently.
***My topping looks too dry/too wet. What went wrong?***
For the topping, ensure your butter is cold. If it seems too dry, you might have used too much flour; add a tiny bit more butter. If it’s too wet, add a touch more flour. The goal is a crumbly texture.
Have you tried this ultimate French toast casserole? We’d love to hear about your experience in the comments below! Don’t forget to share your favorite variations and serving tips!

How To Make The Absolute Best French Toast Casserole Recipe
Description
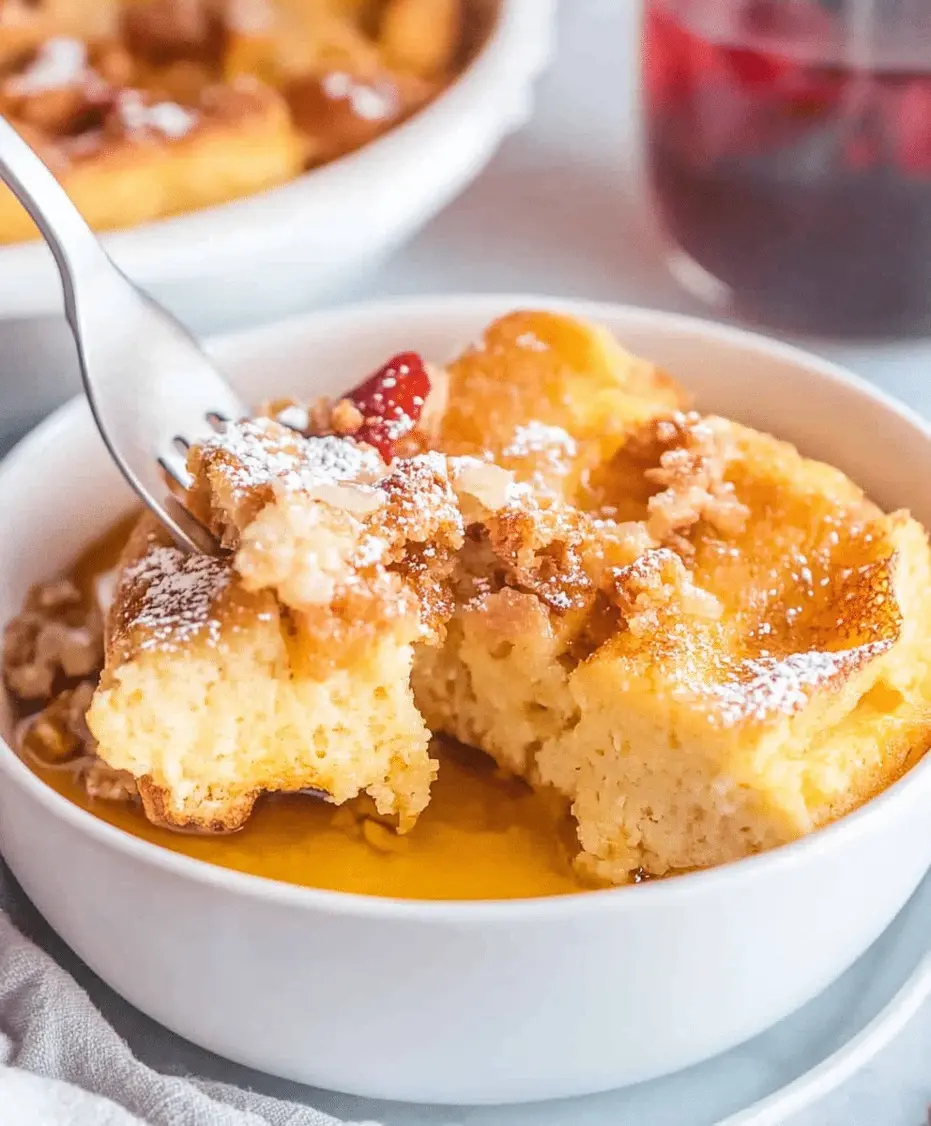
This French toast casserole is the perfect make-ahead breakfast dish. Made with rich custard-soaked bread, warm spices, and a crispy golden topping, it’s a crowd-pleasing dish ideal for holidays or weekend brunch.
Ingredients
- 1loaf of French bread, cubed
- 6large eggs
- 2 cupswhole milk
- ½ cupheavy cream
- ½ cupgranulated sugar
- ¼ cupbrown sugar
- 1 tbspvanilla extract
- 1 tspcinnamon
- ½ tspnutmeg
- ¼ tspsalt
- Topping:
- ½ cupbrown sugar
- ½ cupall-purpose flour
- ½ cupunsalted butter, cold and cubed
- 1 tspcinnamon
Instructions
Notes
Use day-old bread for the best texture.
Substitute milk with dairy-free alternatives if needed.
Add pecans or raisins for extra flavor.
Nutrition
- Calories: 350
- Sugar: 20g
“`